
Part 2 showed where the skill and artifact files live in a project. After the OAuth setup and Pro-Code Builder setup, you can bring those files, the Fusion AI Studio extension, a coding assistant, and the CLI together in VS Code.
Install the Fusion AI Studio extension
Download aistudio-extension.zip from the Oracle Fusion AI Studio extension package for the release branch that matches your Fusion environment. The link opens the release-26C branch. If your environment is on a different release, switch to the matching release branch in the repository and open its extensions folder. Extract the .vsix file. In VS Code, open Extensions, choose the … menu, select Install from VSIX…, and open the extracted file. Reload VS Code if prompted.
In Extensions → Installed, look for Fusion AI Studio by oracle. Open its Features → Commands view to see what this installed version supports. The example shown here was installed from a VSIX; check your own installed version against the package for your release.
One workspace, several ways to work
| VS Code area | Use it for |
|---|---|
| Explorer | Find the local app, workflow, and other artifact files. |
| Fusion AI Studio visual editor | Open an app or workflow file on a canvas. |
| Command Palette | Find extension actions such as Fetch from Server. |
| Coding assistant | Inspect related local files, plan an edit, and explain what changed. |
| Integrated terminal | Run a known AI Studio CLI check and read its result. |
You can add a coding assistant extension alongside Fusion AI Studio. The example workspace has Codex and Claude Code installed; GitHub Copilot and Amazon Q Developer are other VS Code options. Use the assistant available under your organization’s account and data rules.
Fetch an artifact from the server
Open Show and Run Commands with Ctrl+Shift+P and type Fusion. Select Fusion AI Studio: Fetch from Server. The first picker asks for an artifact type. Choose App to retrieve an Agentic App, or Workflow for a workflow file. Then search by name and read the status beside each result. The same name can appear as both [DRAFT] and [PUBLISHED].
In this example, select COE Compliance and Security [DRAFT]. Its local app file opens from src/apps in the AI Studio App Editor. You can run Fetch from Server again, choose Workflow, and open a related .wf file from src/workflows.
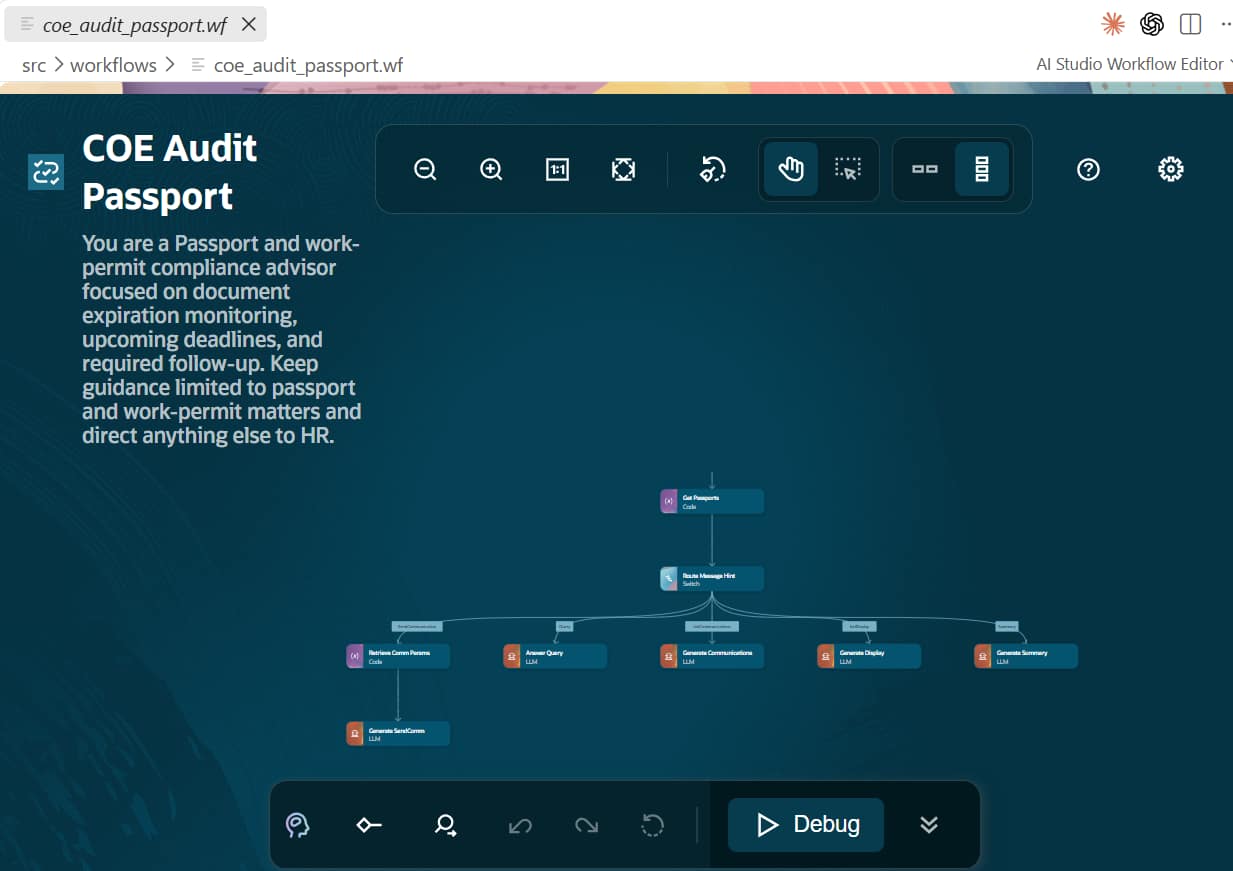
The visual editor also lets you make and save a local change to an app or workflow. Review the result in the editor and validate the local file before requesting a server save. A local save and a server DRAFT update are separate steps.
Ask a coding assistant to inspect the local files
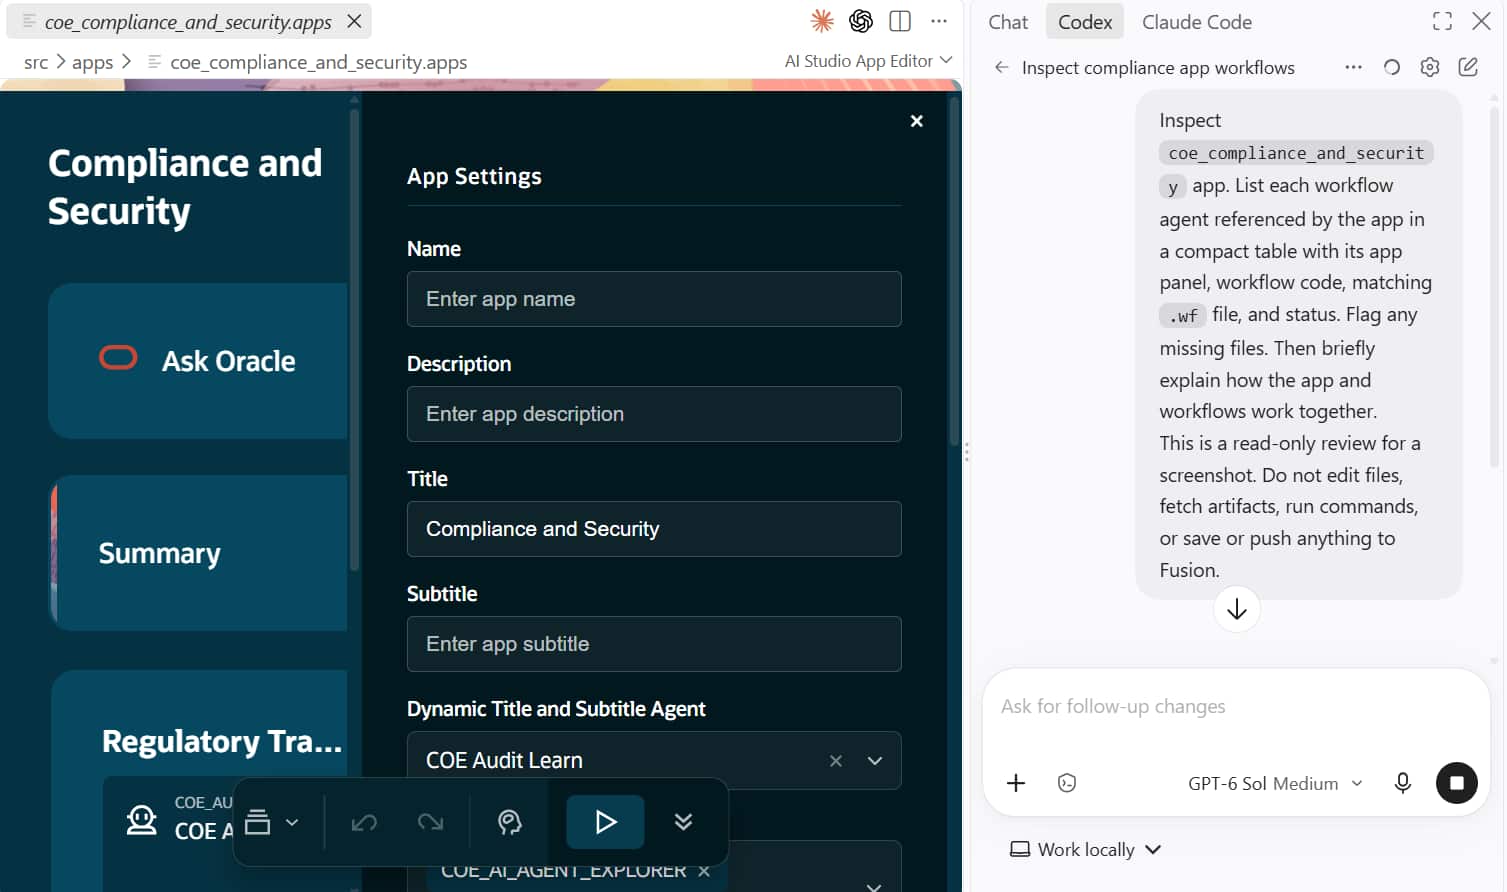
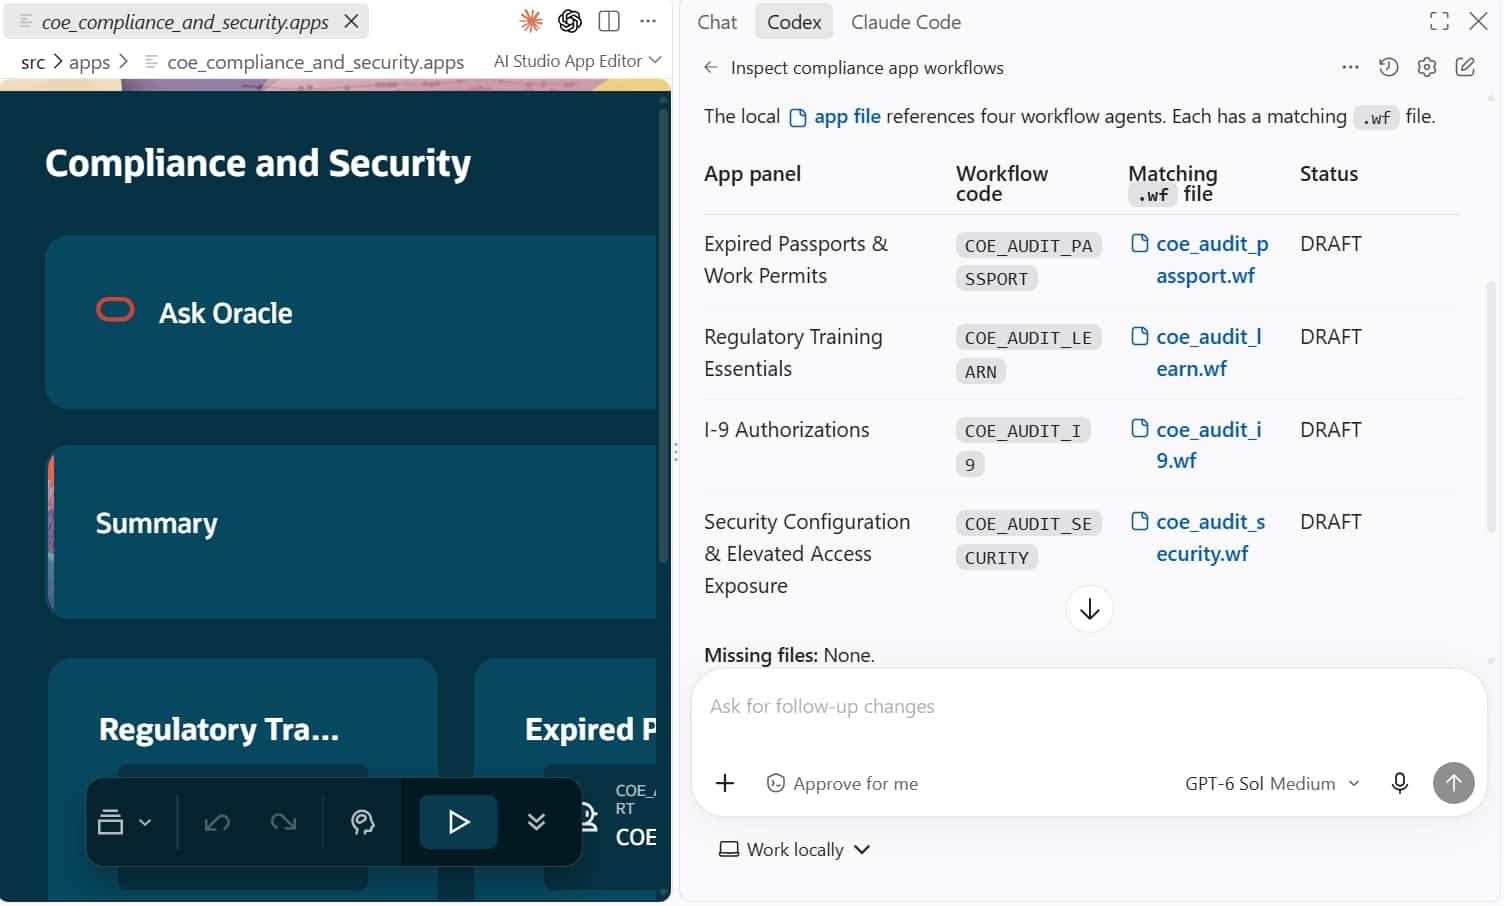
Open the app beside your coding assistant and start with a read-only request:
Inspect
coe_compliance_and_security.apps. List each workflow code referenced by the app, its matching local.wffile, and whether anything is missing. Do not edit files, fetch artifacts, run commands, or save anything to Fusion.
Run a local check in the integrated terminal
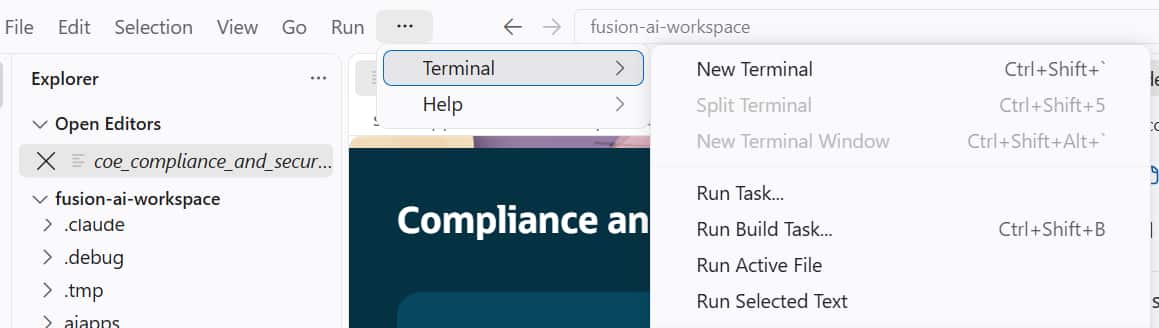
Open … → Terminal → New Terminal. Check that the prompt is at the AI Studio project root, where .agents/skills/aistudio and src are available. Run a validation command for the file you want to check:
node .agents/skills/aistudio/scripts/aistudio.js validate-workflow --file src/workflows/coe_audit_passport.wf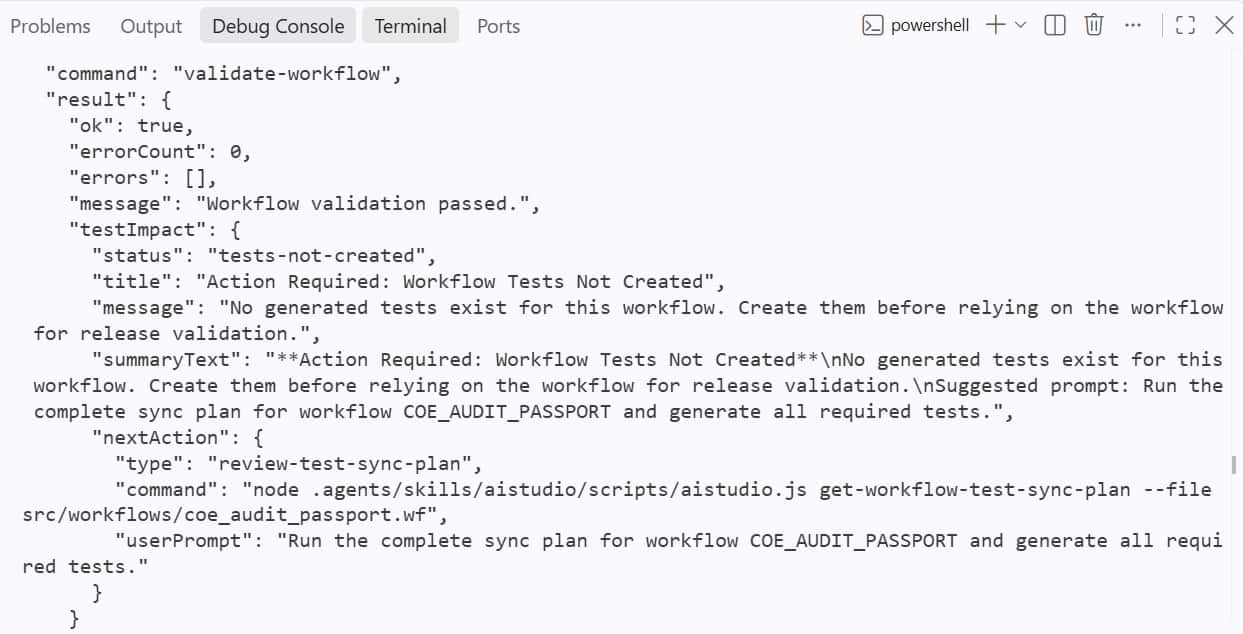
Read the result below any Node warning. In this capture, ok: true and errorCount: 0 confirm that the local file passed validation. That result does not confirm that a server DRAFT was updated. For more commands and when to use them, see the AI Studio CLI Command Map.
Key takeaways
- Fetch the artifact type you need from the Fusion command list, and check whether you selected DRAFT or PUBLISHED.
- Open the resulting local file in the Fusion visual editor, with related files in the same Explorer.
- Use a coding assistant for a read-only inventory before asking for changes, and use the integrated terminal to validate a known file.
- Keep local edits, local validation, generated tests, and server saves distinct when reviewing progress.
Previous: Pro-Code Builder Experience | Next: The Development Lifecycle with the AI Studio CLI
Back to the Learning Path for Fusion AI Agent Studio CLI