Having your data in the Oracle Cloud Infrastructure (OCI) and using MySQL HeatWave’s secure storage is a sound investment for any organization. Still, sometimes, there is a need to have access to the data outside of OCI. You can accomplish this in various ways, including exporting the data, but what if you need real-time data updates? Outbound replication allows you to use your MySQL HeatWave DB system as a source and your on-premises as a replica. Once configured, your replica will accept transactions duplicating the source’s data.
Unlike some other features in OCI, outbound replication is not a managed service. No objects or processes are built in OCI to manage the configuration, so you must configure and maintain the setup as you usually do for MySQL replication.
This blog will examine how to set up outbound replication from a MySQL HeatWave DB system to an on-premises MySQL server. It is written as a tutorial that you can follow to set up outbound replication yourself. Let’s begin with the prerequisites.
Prerequisites
First and foremost, you must connect your on-premises MySQL database server to your MySQL HeatWave DB system through a virtual private network (VPN).
Tip: A blog with a walkthrough of setting up and configuring OpenVPN Access Server can be found here: Using MySQL HeatWave with OpenVPN Access Server.
Next, your on-premises MySQL server should be the same version or later than your source (the MySQL HeatWave DB system). Additionally, your on-premises MySQL server must be configured as described in the replica configuration details page of the online documentation.
Note: You cannot configure outbound replication if a DB system has HeatWave Lakehouse enabled.
If you installed the latest MySQL server enabling GTIDs, you likely have all the requirements covered. However, you should consult the Replica Configuration section in the OCI documentation to ensure any additional requirements and prerequisites are met. You can proceed once you have confirmed that your on-premises MySQL server meets the requirements.
Overview
The process we will use in this blog is the best practice for setting up a replica. Since the source is likely to contain data, we will need to make a copy of the data, save it to an Object Storage bucket, and then load it on the replica before we start outbound replication. This will copy the data and the user accounts created on the source, which your applications may need to read data from the replica.
We will begin by taking a dump of all the data on the source (our MySQL HeatWave DB system), saving it to an Object Storage bucket, and then importing the data on our on-premises replica. We will then set up replication from the source to the replica. We will complete the following high-level steps.
- Create a dump and load the data on the replica
- Configure the source (your on-premises MySQL server)
- Setup outbound replication on the DB system
The first step is to make a copy of the data on the MySQL HeatWave DB system that we will be using as the source. This ensures that the on-premises MySQL server has the same data, users, and permissions. It will also make starting outbound replication easier and reduce the possibility of replication errors.
Create a Dump and Import the Data
This step is not specific to outbound replication, and it isn’t the only way you can get a copy of your data out of OCI and onto your on-premises server. See the Exporting and Importing section in the OCI documentation for more information about this and other processes to make a copy of your data.
We will be using another object in OCI that you may not have used before – a bucket in the Object Storage service that permits you to store files that can be uploaded and downloaded quickly. The MySQL Shell has been designed to work directly with an Object Storage bucket, automating the dump and import (load) process. Nice!
Note: You will need the OCI command line interface (CLI) configuration file setup. See the OCI CLI documentation for more details on setting up the OCI CLI.
Once we have the data in the bucket, we load it to our on-premises server. We will take the following steps to dump and load the data.
- Create an Object Storage bucket.
- Dump the data on the source.
- Load the data on the replica (on-premises server).
Let’s begin by creating the bucket.
Create an Object Storage Bucket
Creating an Object Storage bucket is easy and takes only a few clicks. Buckets are storage containers where you can place one or more unstructured files for later use. Typical use cases are uploading and downloading files for access in or outside OCI. Object Storage uses namespaces for access, which will be part of the name and how you access your bucket. Object Storage buckets are a paid service, and while economically priced, you should consider the long-term cost of keeping files in the bucket.
To create the bucket, click on the OCI Cloud menu, then choose Storage | Buckets, as shown in Figure 1.
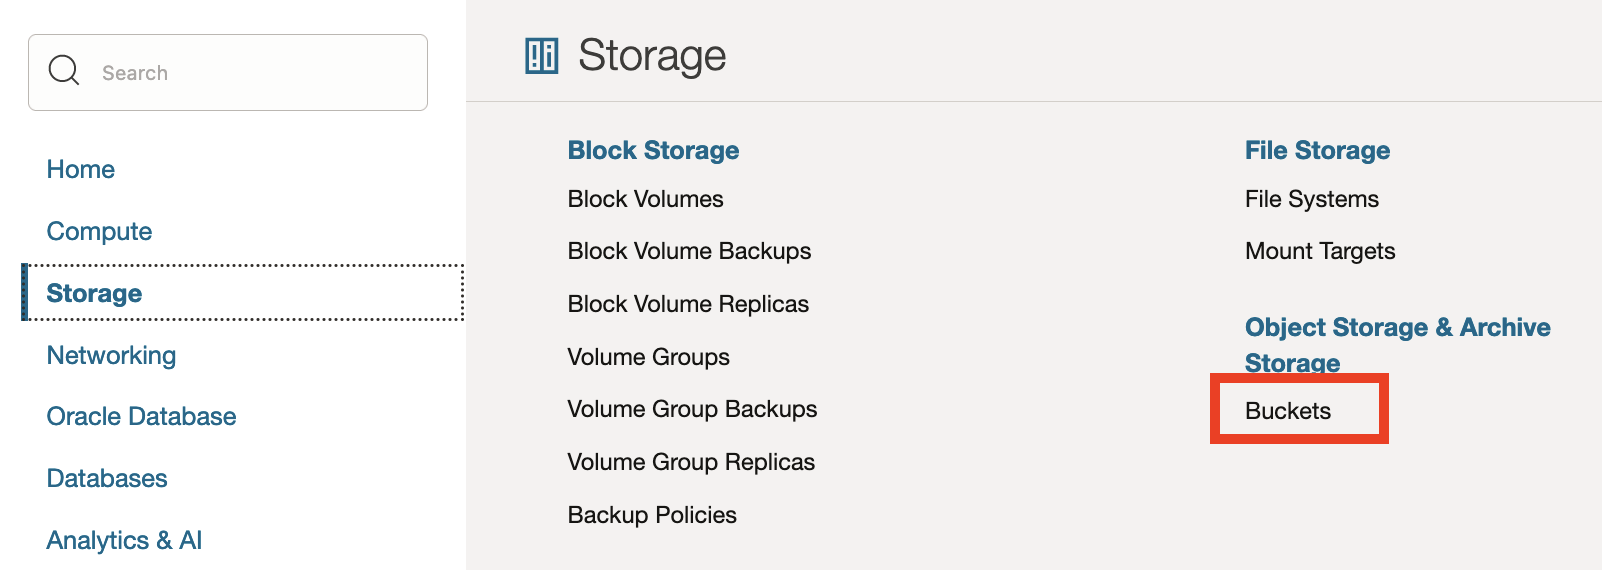
Figure 1. OCI Cloud Menu (Buckets)
This will show you a list of the buckets you have defined in your compartment. Be sure to choose the correct compartment from the drop-down list on the left. Click the Create Bucket button to create a bucket, as shown in Figure 2.
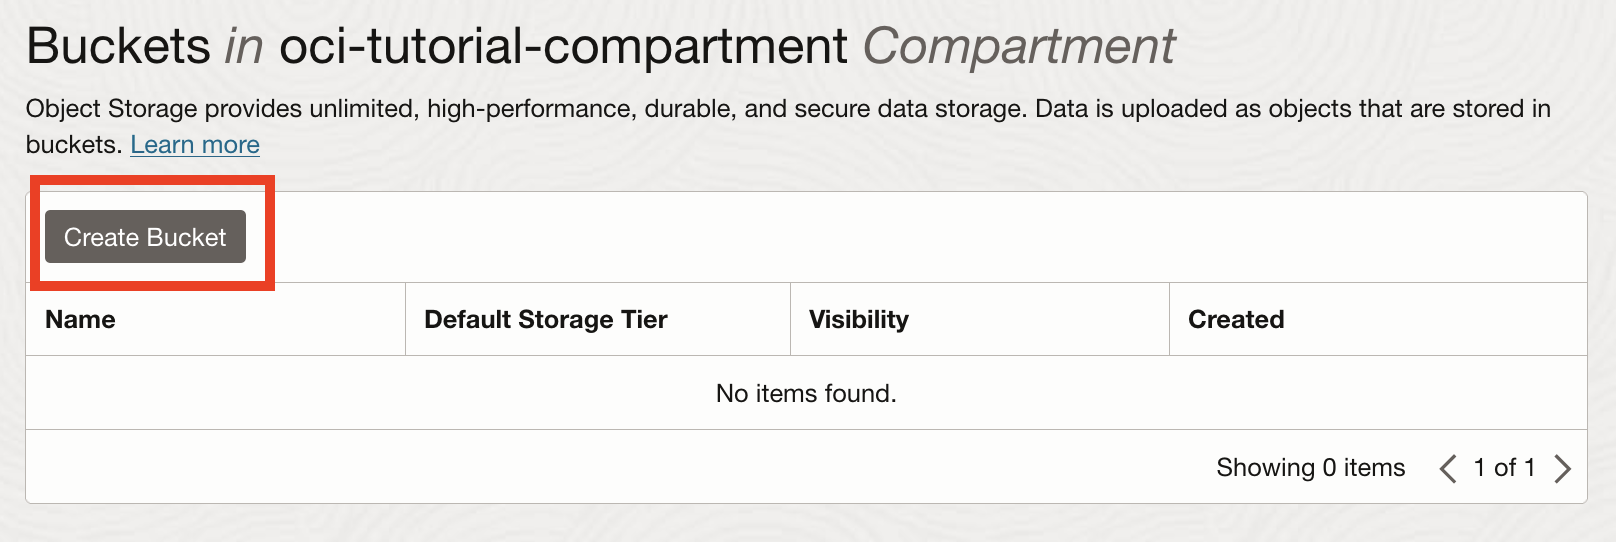
Figure 2. Buckets List
On the create bucket dialog, enter a name for the bucket. For example, if you are following along with this demonstration, enter bucket-mysql-instances as shown in Figure 3. You can leave the rest of the selections with the default settings.
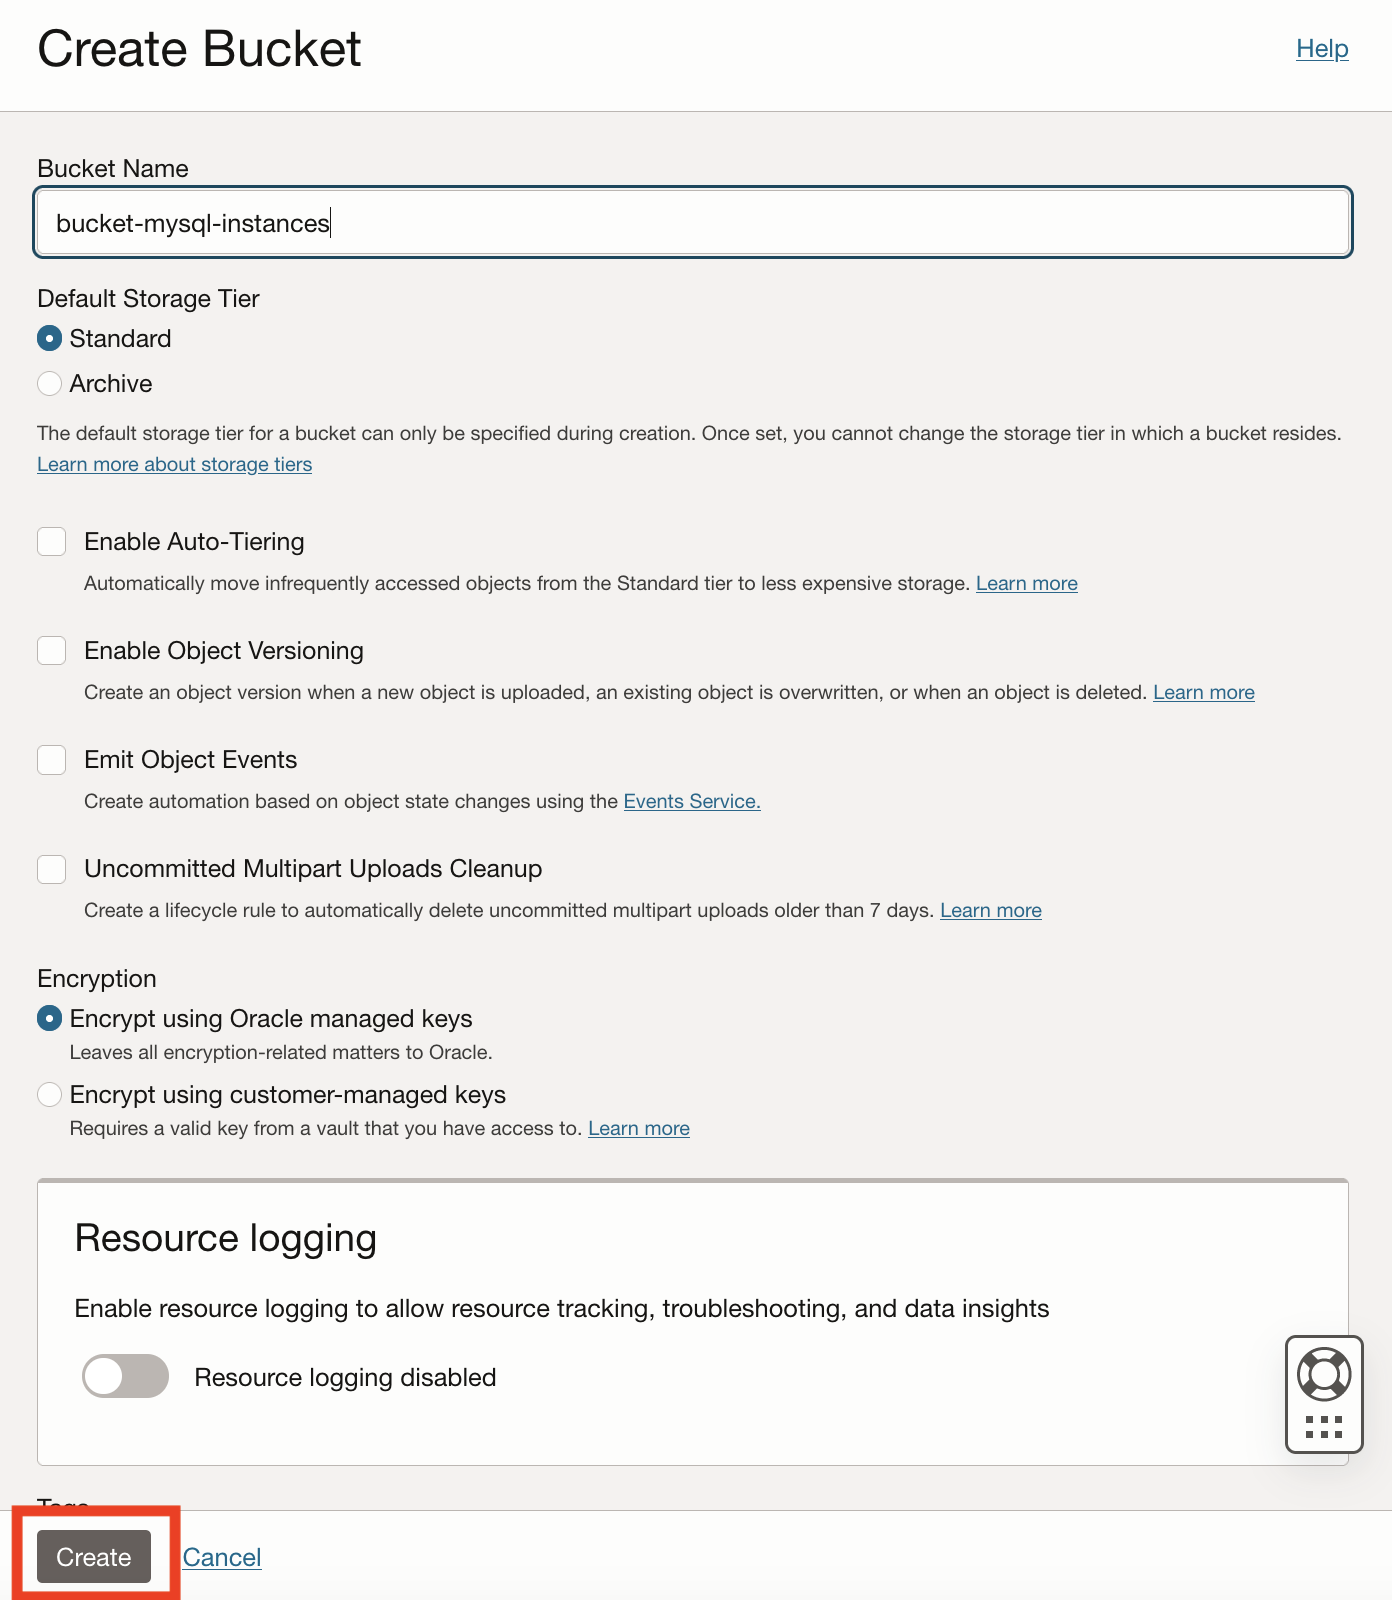
Figure 3. Create Bucket Dialog
When you are ready, click the Create button to create the bucket. As shown in Figure 4, once the bucket is created, it will appear in your list of buckets in your compartment.
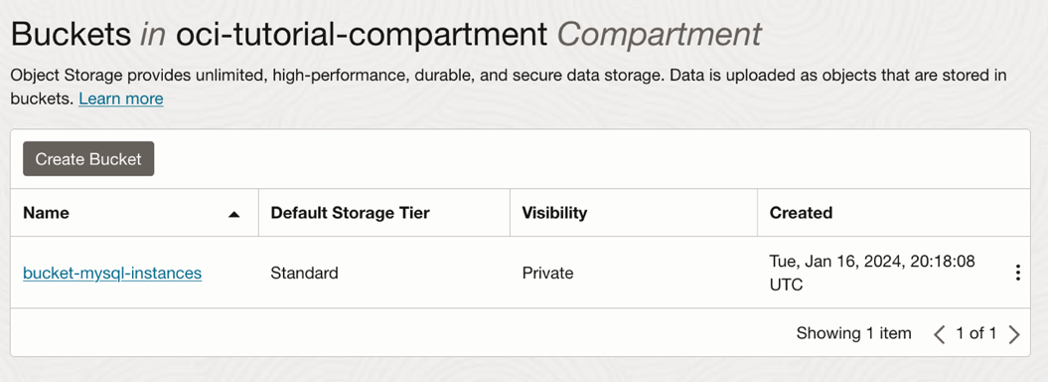
Figure 4. List of Buckets (new bucket added)
Next, we can go to our source MySQL HeatWave DB system and dump the data into the bucket.
Dump the Data on the Source
For this step, you must connect with a VPN to your VCN using one of the three options available. For a tutorial on connecting with OpenVPN, see the blog post Using MySQL HeatWave with OpenVPN Access Server.
We will use the MySQL Shell and its utility library to dump the data into files in the bucket we just created. We will use the util.dumpInstance() to dump the entire database into the bucket. We only need to specify a name prefix for the files and the bucket namespace using a JSON structure. In this case, we will define the namespace for the bucket, assigning it to the osBucketName key. We will also use the prefix outbound_rpl (a text string used to group the data into a folder in the bucket) to see the files under that name. Finally, we set the ocimds option to true to ensure compatibility with MySQL HeatWave Service. The completed JSON structure we will use is shown below.
{
ocimds:true,
osBucketName:”bucket-mysql-instances”
}
Tip: See the online documentation for more information about the MySQL Shell utilities.
Launch MySQL Shell in JavaScript mode and connect to your source (MySQL HeatWave DB system), then run the following command.
util.dumpInstance(“outbound_rpl”, {ocimds:true, osBucketName:”bucket-mysql-instances”})
Listing 1 shows the util.dumpInstance() method in action.
Listing 1. Dumping data to the bucket using MySQL Shell
> util.dumpInstance(“outbound_rpl”, {ocimds:true, osBucketName:”bucket-mysql-instances”})
Acquiring global read lock
Global read lock acquired
Initializing – done
2 out of 6 schemas will be dumped and within them 18 tables, 7 views, 6 routines, 6 triggers.
5 out of 8 users will be dumped.
Gathering information – done
All transactions have been started
Locking instance for backup
Global read lock has been released
Writing global DDL files
Writing users DDL
Running data dump using 4 threads.
NOTE: Progress information uses estimated values and may not be accurate.
Writing schema metadata – done
Writing DDL – done
Writing table metadata – done
Starting data dump
99% (47.27K rows / ~47.69K rows), 41.06K rows/s, 2.66 MB/s uncompressed, 619.22 KB/s compressed
Dump duration: 00:00:03s
Total duration: 00:00:04s
Schemas dumped: 2
Tables dumped: 18
Uncompressed data size: 3.03 MB
Compressed data size: 715.22 KB
Compression ratio: 4.2
Rows written: 47273
Bytes written: 715.22 KB
Average uncompressed throughput: 945.42 KB/s
Average compressed throughput: 222.85 KB/s
Once the dump is complete, you can return to the OCI bucket list, click on the bucket, and then click on the list of objects. You should see a new folder named outbound_rpl, as shown in Figure 5.
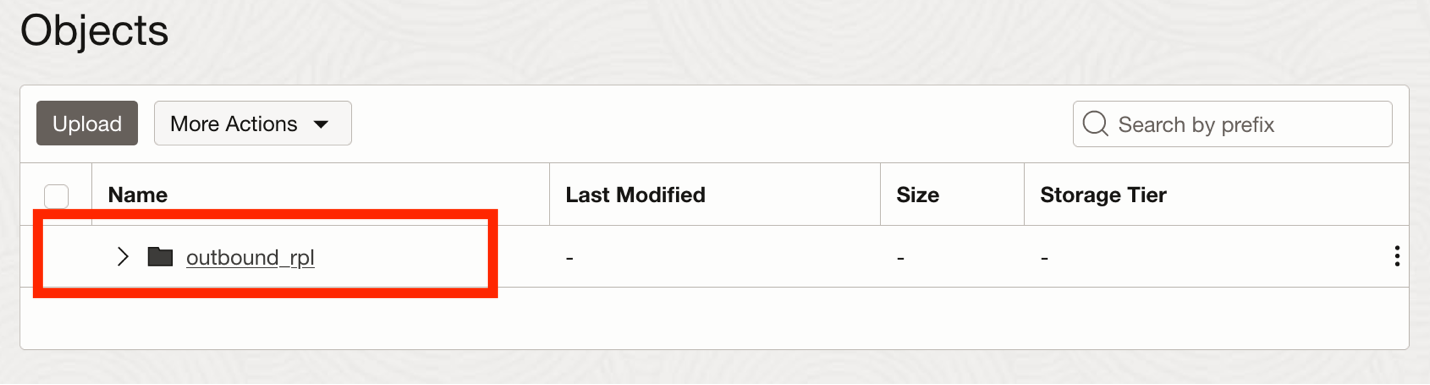
Figure 5. Bucket contents updated
If you expand the folder, you will see the files used by MySQL Shell to dump the data, as shown in Figure 6. Don’t worry about what the files look like or how many there are. In the next step, we will use another utility to load the data using MySQL Shell on our on-premises MySQL server.
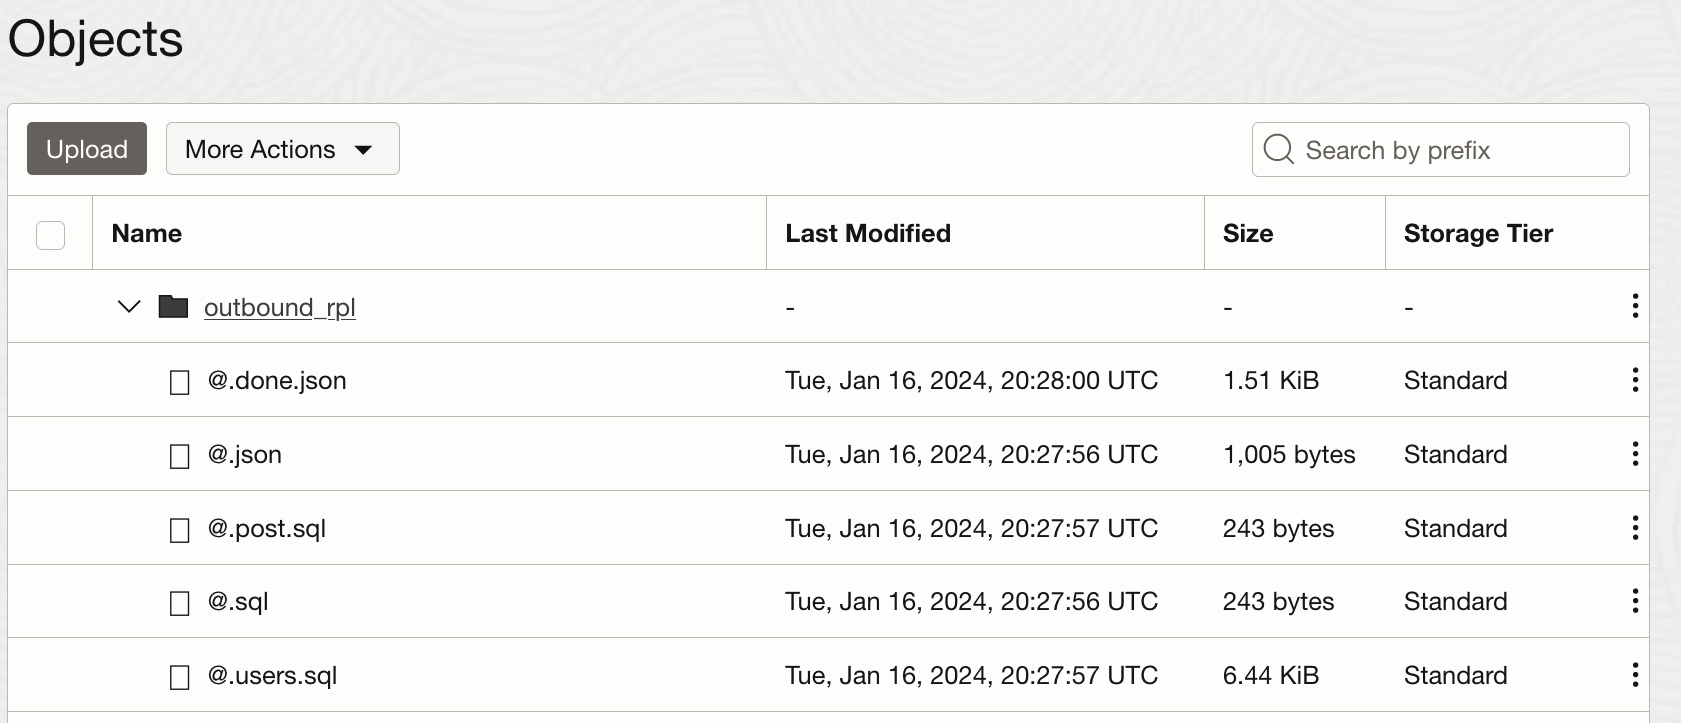
Figure 6. Dumped files in the bucket
Next, we will load the data from the bucket onto our on-premises MySQL server.
Load the Data on the Replica (On-premises MySQL Server)
This step requires that your on-premises MySQL server, hence replica, be configured to support GTIDs and the other prerequisites met as described in the Replica Configuration section in the OCI documentation.
To use the utility to load the dump from the bucket, we will need the local_infile option enabled. You can enable it by adding the following to your my.cnf file and restarting the server.
local-infile=1
You can also turn on local_infile for the session using the following command. This method is the preferred method.
set @@global.local_infile=ON;
See the Enabling or Disabling Local Data Loading Capability in the online documentation for more details. Be sure to turn this feature off after successfully loading the data.
Since the dump on the source included all user accounts and their grants, you will also want to exclude the OCI-specific user accounts, such as the MySQL administrator account created when you created the DB system (mysql_admin) and the administrator account. If you don’t exclude these, you may see errors when loading the dump. We do this using the excludeUsers option, supplying a list of user@host strings as shown below. Notice we also specify the bucket name for the utility.
{
osBucketName:”bucket-mysql-instances”,
loadUsers: true, updateGtidSet: “append”, excludeUsers:[
“administrator@’%'”,
“mysql_admin@’%'”
]
}
The utility we will use is the util.loadDump() utility to load the dump from the bucket. We will use the following command.
util.loadDump(“outbound_rpl”, {osBucketName:”bucket-mysql-instances”, loadUsers: true, updateGtidSet: “append”, excludeUsers:[“administrator@’%'”, “mysql_admin@’%'”]})
Listing 2 demonstrates how to turn on local_infile (in SQL mode) and then run the load utility.
Listing 2. Loading Dump on Replica
> \sql
Switching to SQL mode… Commands end with ;
> set @@global.local_infile=ON;
Query OK, 0 rows affected (0.0002 sec)
> \js
Switching to JavaScript mode…
> util.loadDump(“outbound_rpl”, {osBucketName:”bucket-mysql-instances”, loadUsers: true, updateGtidSet: “append”, excludeUsers:[“administrator@’%'”, “mysql_admin@’%'”]})
Loading DDL, Data and Users from OCI Object Storage bucket=bucket-mysql-instances, prefix=’outbound_rpl’ using 4 threads.
Opening dump…
Target is MySQL 8.0.35. Dump was produced from MySQL 8.0.35-u2-cloud
Fetching dump data from remote location…
Listing files – done
Scanning metadata – done
Checking for pre-existing objects…
Executing common preamble SQL
Executing DDL – done
Executing view DDL – done
Starting data load
1 thds loading – 100% (3.03 MB / 3.03 MB), 1.50 MB/s, 13 / 18 tables done
Executing user accounts SQL…
NOTE: Skipping CREATE/ALTER USER statements for user ‘administrator’@’%’
NOTE: Skipping CREATE/ALTER USER statements for user ‘mysql_admin’@’%’
NOTE: Skipping GRANT statements for user ‘administrator’@’%’
NOTE: Skipping GRANT statements for user ‘mysql_admin’@’%’
NOTE: Skipping CREATE/ALTER USER statements for user ‘mysql_admin’@’%’
Recreating indexes – done
Executing common postamble SQL
Appending dumped gtid set to GTID_PURGED
18 chunks (47.27K rows, 3.03 MB) for 18 tables in 2 schemas were loaded in 8 sec (avg throughput 1.50 MB/s)
0 warnings were reported during the load.
Okay, now you can go to Object Storage and delete the bucket if you no longer need it. You will need to delete all the objects first. See Deleting an Object Storage Bucket for instructions on how to empty the bucket.
Next, we need to configure the source to prepare for starting outbound replication.
Configure the Source
To configure the source, we must log into our MySQL HeatWave DB system with MySQL Shell using the MySQL administrator account you created when you created the DB system.
The first thing we will do is create a replication user and password on the source. We use the typical commands, starting with turning off the binary log, or these transactions may fail on your on-prem MySQL server. Listing 3 demonstrates the commands to create the replication user. Be sure to specify a password that you will remember.
Listing 3. Create the Replication User
> SET sql_log_bin=0;
Query OK, 0 rows affected (0.0295 sec)
> CREATE USER rpl_admin@’%’ IDENTIFIED BY ‘**********’ REQUIRE SSL;
Query OK, 0 rows affected (0.0295 sec)
> GRANT REPLICATION SLAVE ON *.* TO rpl_admin@’%’;
Query OK, 0 rows affected (0.0295 sec)
> SET sql_log_bin=1;
Query OK, 0 rows affected (0.0295 sec)
Notice that we also added the REQUIRE SSL option to the CREATE USER command, which is required to connect to the MySQL HeatWave DB system.
That’s all we need to do on the source; now, let’s turn to the replica.
Setup Outbound Replication
If your data is loaded correctly on your replica and the replica is configured correctly, we can enable outbound replication using two commands. First, we will issue the CHANGE REPLICATION SOURCE command to connect the replica to the source. Next, we will start replication with the START REPLICA command.
We will need several pieces of information for the CHANGE REPLICATION SOURCE command, including the replication user, password, host (IP address of the MySQL HeatWave DB system located on the DB system details page), enable SSL and auto position, and finally specify a name for the replication channel. The name can be anything you want; MySQL will create one if no channel is created.
In this example, we will use outbound_rpl as the channel name. We will also use this name for the START REPLICA command.
Tip: See Setting Up Replication Using GTIDs in the online manual for more information on these commands and how to use them.
Listing 4 shows how to run these commands to start replication on the replica.
Listing 4. Starting Replication on the Replica
CHANGE REPLICATION SOURCE TO SOURCE_HOST=’10.0.1.229′, SOURCE_PORT=3306, SOURCE_USER=’rpl_admin’, SOURCE_PASSWORD=’*********’, SOURCE_SSL=1, SOURCE_AUTO_POSITION=1 FOR CHANNEL ‘outbound_rpl’;
Query OK, 0 rows affected, 2 warnings (0.0190 sec)
Note (code 1759): Sending passwords in plain text without SSL/TLS is extremely insecure.
Note (code 1760): Storing MySQL user name or password information in the connection metadata
repository is not secure and is therefore not recommended. Please consider using the USER and
PASSWORD connection options for START REPLICA; see the ‘START REPLICA Syntax’ in the
MySQL Manual for more information.
> START REPLICA FOR CHANNEL ‘outbound_rpl’;
Query OK, 0 rows affected (0.0083 sec)
You may not see any response other than “Query OK,” so you must check the replication status to ensure replication is working. When you see the channel change to Active, outbound replication is working. Huzzah!
Tip: If you encounter errors, you should first check the check the replica state, connect to and log into the DB system with MySQL Shell and examine the Performance Schema Replication Tables as discussed in the online documentation. For example, you can query the replication_connection_status table to learn more about the issue. You can also use the following command on the replica to get details on the status.
SELECT * FROM performance_schema.replication_applier_status_by_worker;
This will show us details of the error as written to the performance schema tables by replication.
