MySQL is the world’s most popular, open-source database. MySQL is easy-to-use, super-fast and is great for transactional applications – but it isn’t great for running analytics. Oracle HeatWave MySQL Database Service gives you automated and integrated generative AI and auto machine learning (ML) in one cloud service for transactions and lakehouse-scale analytics – without the need for ETL (extract, transform and load). Your data does not need to leave the database instance, so you can perform analytics and ML on live data. HeatWave Lakehouse lets you query data in object storage with unmatched performance and price-performance – and automatically build, train, and explain machine learning (ML) models.
Heatwave Lakehouse empowers users to query hundreds of terabytes of data in the object store using standard MySQL syntax and queries. Lakehouse is the only fully-managed cloud database service that combines transactions, analytics and machine learning services into one MySQL database, delivering real-time, secure analytics without the complexity, latency and cost of ETL duplication. HeatWave Lakehouse is an integrated feature of HeatWave MySQL Database Service.
But, in order to use Heatwave Lakehouse, you will need to transer your CSV, Avro, Parquet, and/or JSON files to Oracle Cloud Infrastructure (OCI) Object Storage. In this post, we will show you an easy way to transfer multiple files and/or directories of files to HeatWave Lakehouse, using the Oracle Command Line Interface (CLI). If you need more information about how to get started with HeatWave Lakehouse, please refer to this post.
The CLI is a small-footprint tool that you can use on its own or with the Console to complete OCI tasks. The CLI provides the same core functionality as the Console, plus additional commands. Some of these, such as the ability to run scripts, extend the Console’s functionality. There are a few requirements for using CLI, such as an OCI account, a user created in that account, a keypair for signing API requests, a supported version of Python, and you can use FIPS-validated libraries on Linux if needed,
In short, the CLI allows you to interact with OCI services using commands within a terminal application. CLI is a very easy way to manage and automate various tasks related to Oracle Cloud resources. With the CLI, you can manage resources, automate tasks, configure your OCI environment and much more. In this example, we will be using the CLI within a Bash script to copy files from one computer to an Object Storage bucket on an OCI account.
To get started, you will need an OCI account and a user for that account. You will also need to install the CLI, and install a supported version of Python. And, of course, you will need access to all of the files you want to transfer to Object Storage. It also helps if you have a basic knowledge of using the OCI web interface.
Create API Key
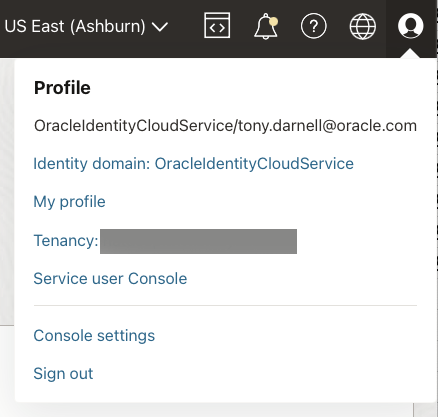
First, you will need to login to your OCI account. In order to use the CLI, you will need the basic authentication information required by CLI, the SDK or any other OCI developer tool. To access this authentication information you will need to create an API key. Click on the top right Profile icon on the console page, and click on My profile.
From your profile page, on the left under Resources, click API keys. Then, under API keys, click Add API key.
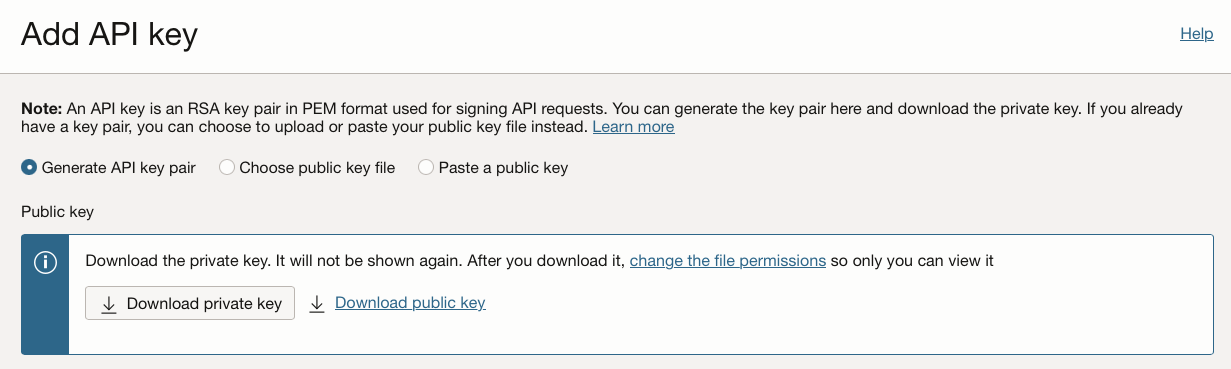
For this example, I will let OCI generate my API key pair. Click Download private key and save this key for later. Click Add at the bottom. Next, a pop-up window will display your configuration file preview.
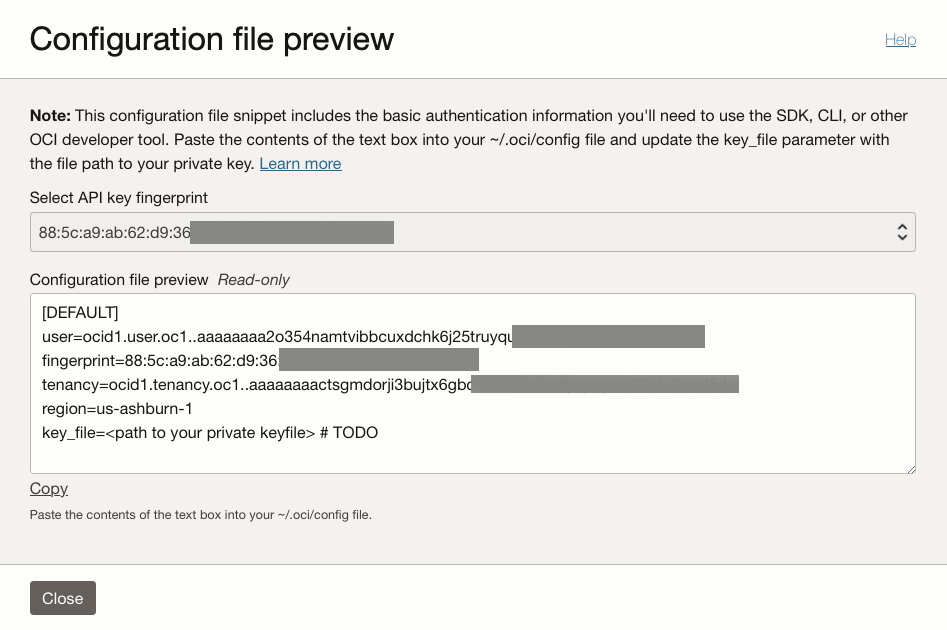
Click Copy towards the bottom of the window to copy the contents of your configuration file. In your home directory, create a directory named .oci, and place the contents into a file named config. Change the permissions on the config file to 600 (chmod 600 config), so only you can read and write the file and other users have no access to it.
You will need to edit the config file, and put the path to the private keyfile you downloaded earlier on the last line for the variable key_file. I usually just store the private keyfile in the same .oci directory. So, for me, last line looks like this:
key_file = /Users/tonydarnell/.oci/oracleidentitycloudservice_tony.darnell-15-11-18-27.pem
Save the config file and close it.
Create Object Storage Bucket
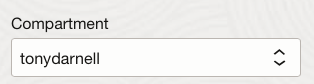
An Oracle Object Storage bucket is a component of the OCI Object Storage service, and is used as a container for storing and organizing data objects, including images, backups, videos, files and any type of unstructured data. From the top-left (hamburger) menu, go down to Storage, and then over to the right to Object Storage & Archive Storage and click on Buckets. You will want to create a bucket, and then inside your bucket, you will be able to create directories and load individual files. Be sure you are in the correct compartment (on the left) for your user. When you create a bucket, it will be saved in this compartment.
Click on the Create Bucket icon.
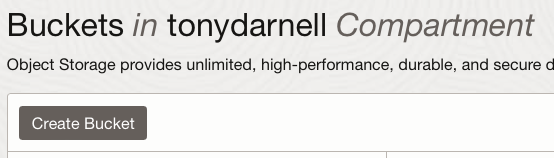
You can use the default values, except you might want to change the bucket name. I named my bucket LH_Bucket (since I will be using the uploaded files with Heatwave Lakehouse).
Then click the Create button at the bottom.
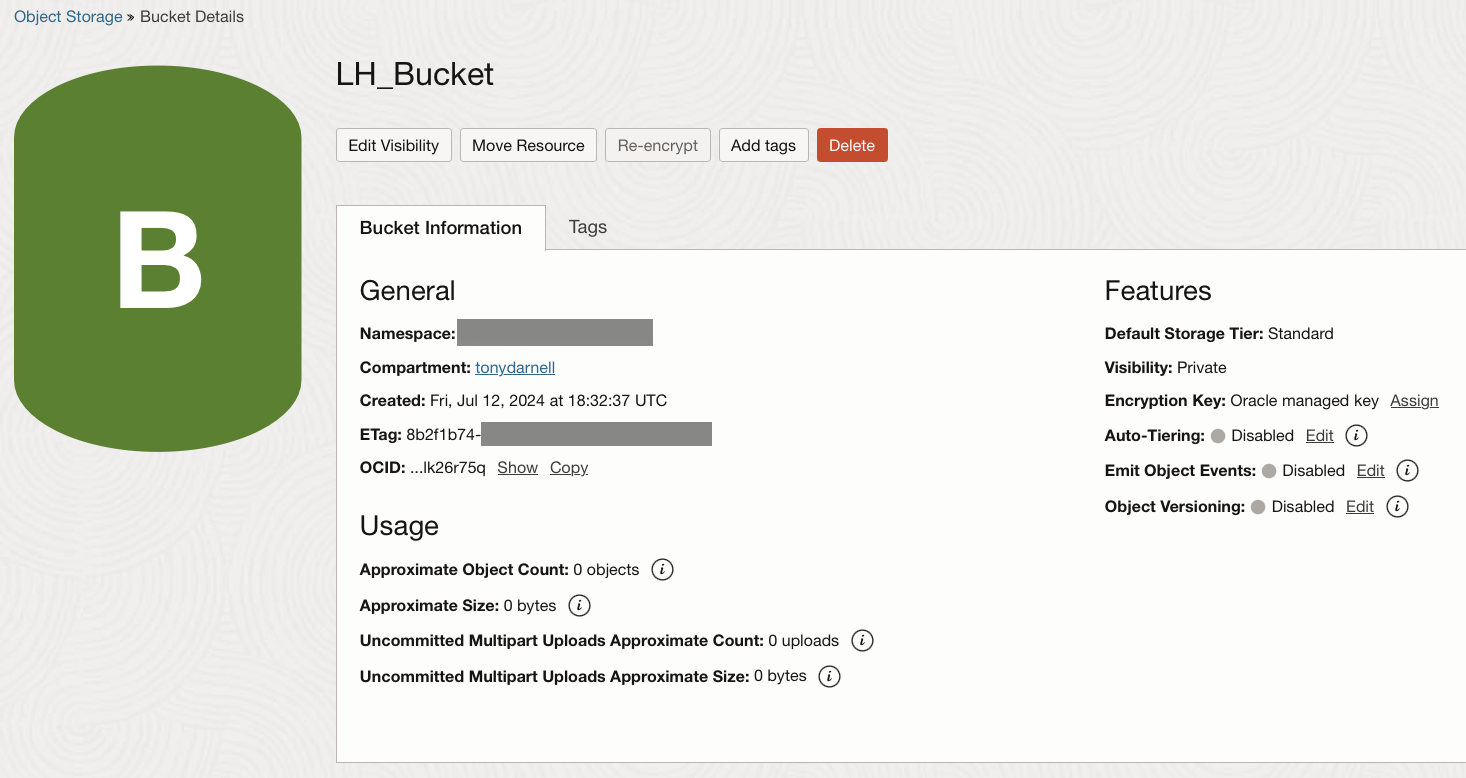
After the bucket has been created, you will see a list of the buckets. Click on the bucket name you just created, and you should see the bucket details.
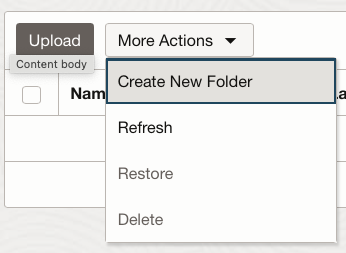
To test the first transfer of files, I will create a folder (directory) named test inside of the LH_Bucket. Under the Objects section on the Bucket Details page, there is a drop-down menu labeled “More Actions“. Click the menu and select Create New Folder.
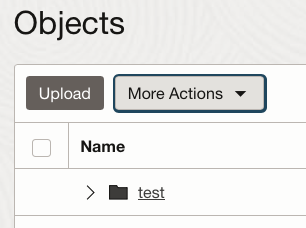
I am going to name the folder test, and then click Create at the bottom of the page. I can now see the folder named test under Objects:
On my computer, I created a directory named testload in my home directory, and I have placed three images in this folder. This bash script will copy all of the items inside this testload directory to the directory named test inside the Object Storage bucket named LH_Bucket. You will want to change the values of the four variables in bold to match your instance.
#!/bin/bash

# Variables
BUCKET_NAME="LH_Bucket"  # this is the name of the bucket you created
NAMESPACE_NAME="my_tenancy"  # this is your tenancy name
LOCAL_DIRECTORY="/Users/tonydarnell/testload" # Specify the folder on your computer
FOLDER_PATH="test" # Specify the folder path inside the bucket

    # Upload each file in the directory to the OCI Object Storage bucket
    for file in "$LOCAL_DIRECTORY"/*; do
        if [ -f "$file" ]; then

        FILE_NAME=$(basename "$file")

         # specifying the folder
        OBJECT_NAME="${FOLDER_PATH}/${FILE_NAME}"

            echo "Uploading $file to OCI Object Storage..."

            # without specifying the folder
            # oci os object put --bucket-name $BUCKET_NAME --namespace $NAMESPACE_NAME --file "$file"

            # specifying the folder
            oci os object put --bucket-name $BUCKET_NAME --namespace $NAMESPACE_NAME --name "$OBJECT_NAME" --file "$file"

# to only test one file, uncomment the next line
# exit
            if [ $? -eq 0 ]; then
                echo "Successfully uploaded $file"
            else
                echo "Failed to upload $file"
            fi
        fi
    done
echo "All files have been processed."
exit
I named this script upload_to_oci_test.sh. Here is the (truncated) output when I run the script:
$ sh upload_to_oci_test.sh
Uploading /Users/tonydarnell/testload/picture_01.jpg to OCI Object Storage...
Uploading object  [####################################]  100%
{
  "etag": "d894a242-9e43-4a0b-b51d-5e8516c9184d",
  "last-modified": "Fri, 12 Jul 2024 19:53:08 GMT",
  "opc-content-md5": "VaJ1cnzTgGLkOWo9FWuSPA=="
}
Successfully uploaded /Users/tonydarnell/testload/picture_01.jpg
Uploading /Users/tonydarnell/testload/picture_02.jpg to OCI Object Storage...
. . .
All files have been processed.
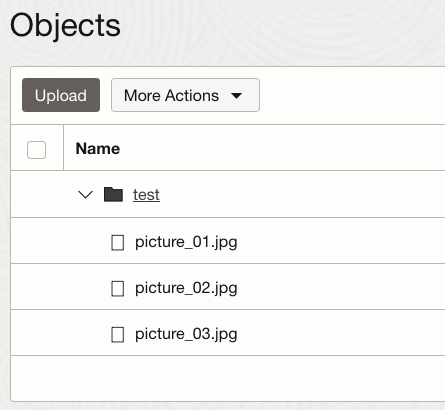
I can then click on the directory name test under Objects on the Bucket Details page and see the three files I uploaded:
Here is a another script if you need to copy more than one directory and the contents of each directory. I created a new directory named testmultiple, and inside of that directory I created five new directories. I inserted into each directory a simple text file containing the word “hello”. Here is a listing of the five directories, and the contents of one of the directories.
$ ls -l /Users/tonydarnell/testmultiple
total 0
drwxr-xr-x  3 tonydarnell  staff  96 Jul 15 15:44 directory_01
drwxr-xr-x  3 tonydarnell  staff  96 Jul 15 15:45 directory_02
drwxr-xr-x  3 tonydarnell  staff  96 Jul 15 15:45 directory_03
drwxr-xr-x  3 tonydarnell  staff  96 Jul 15 15:45 directory_04
drwxr-xr-x  3 tonydarnell  staff  96 Jul 15 15:45 directory_05

$ ls -l /Users/tonydarnell/testmultiple/directory_01
total 8
-rw-r--r--  1 tonydarnell  staff  6 Jul 15 15:44 file_01.txt
Then, when I run the new script below, I will specify the source directory for the script (/Users/tonydarnell/testmultiple) to begin loading all of the directories and files included inside of that directory. You will want to change the values of the three variables in bold to match your instance. For simplicity, I have not included capturing any error messages in this script:
#!/bin/bash

# Variables - all names are case-sensitive
SOURCE_DIR="/Users/tonydarnell/testmultiple"
BUCKET_NAME="LH_Bucket"
NAMESPACE="natdsepltfrmanalyticshrd1"

# Function to copy files to OCI Object Storage
copy_files_to_oci() {
    local src_dir="$1"
    local dest_dir="$2"
    echo "Creating directory in OCI Object Storage: $dest_dir"
    oci os object bulk-upload -ns $NAMESPACE -bn $BUCKET_NAME --src-dir "$src_dir" --object-prefix "$dest_dir/"
}

# List directories and copy files
for dir in "$SOURCE_DIR"/*/; do
    if [ -d "$dir" ]; then
        dir_name=$(basename "$dir")
        echo "Processing directory: $dir_name"
        copy_files_to_oci "$dir" "$dir_name"
    fi
done

echo "All directories and files have been copied to OCI Object Storage."

exit
Here is the (truncated) output when I run this script:
$ sh upload_all_directories.sh
Processing directory: directory_01
Creating directory in OCI Object Storage: directory_01
Uploaded directory_01/file_01.txt  [####################################]  100%
{
  "skipped-objects": [],
  "upload-failures": {},
  "uploaded-objects": {
    "directory_01/file_01.txt": {
      "etag": "aedc68d4-8ab4-4722-96ed-9a09af263bd0",
      "last-modified": "Mon, 15 Jul 2024 19:52:36 GMT",
      "opc-content-md5": "sZRqySSS0jR8YjW00mERhA=="
    }
  }
}
Processing directory: directory_02
. . .
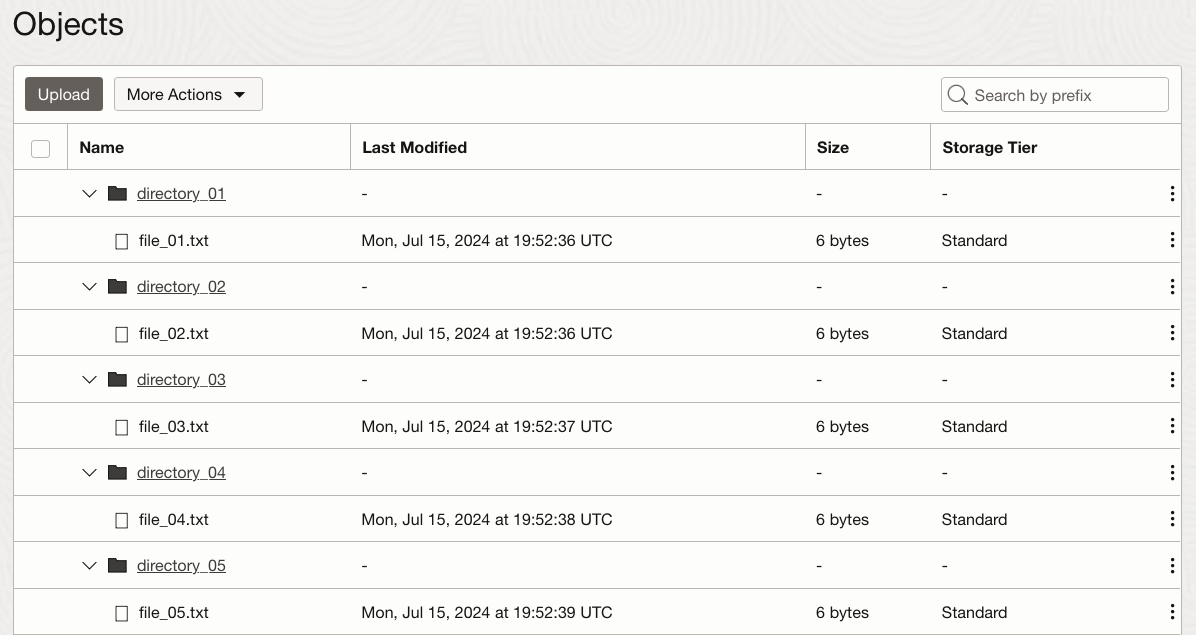
After the copy process has completed, I can see all of the directoreis and files listed in Object Storage:
Since all of the directories and files have now been copied to my Object Storage bucket, I can now load these files into HeatWave Lakehouse.