Introduction
Here’s an easy way to transfer objects between your OCI tenant and another OCI customer’s tenant without having to export and move the data by other means. No more downloading and emailing data, or moving it out to any third-party tooling for loading into another OCI tenant.
There are many scenarios where this can be helpful. For example, your organization might want to share resources with another part of your business that has its own tenancy. Or an OCI user wants to create a path to quickly share data objects with a customer or partner as needed.
The steps below work whether the tenants are in the same region or across separate regions. For example, if a business’s OCI tenant is in the Ashburn, Virginia region and its customer’s tenant is in the Chicago region, they can use this method to transfer objects between their respective buckets on OCI.
As you read this post, you can find more background and definitions in this documentation: Accessing Object Storage Resources Across Tenancies.
Scenario
In the scenario below we’ve got two tenancies. One we’ll call, “Sendertenant,” and the other, “Receivertenant.” Contents of the bucket in Sendertenant need to be copied to a bucket in Receivertenant for further processing. Note that a group needs to be nominated from the Sendertenant that will make the request.
Step 1: Define policies for both tenancies
First, define the policies in the tenancy that is making the request :
- Define Receivertenant’s tenancy as <ocid1.tenancy.oc1..aax>. This will be the OCI tenancy that is accepting the request.
- Endorse group ObjectstorageAdmins to manage object-family in tenancy Receivertenant
Next, define the policies in the tenancy receiving the request :
- Define tenancy Sendertenant as ocid1.tenancy.oc1..aaaaxxxx
- Define group ObjectstorageAdmins as <ocid1.group.oc1..aaaaxx>
- Admit group ObjectstorageAdmins of tenancy Sendertenant to manage object-family in compartment <bucket_compartment>
Step 2: Install rclone
Install rclone on a VM machine on Sendertenant. Follow the link https://rclone.org/downloads/ for rclone installation. Verify successful installation of rclone with the command:rclone version

Steps 3: Create “sender” and “receiver” buckets
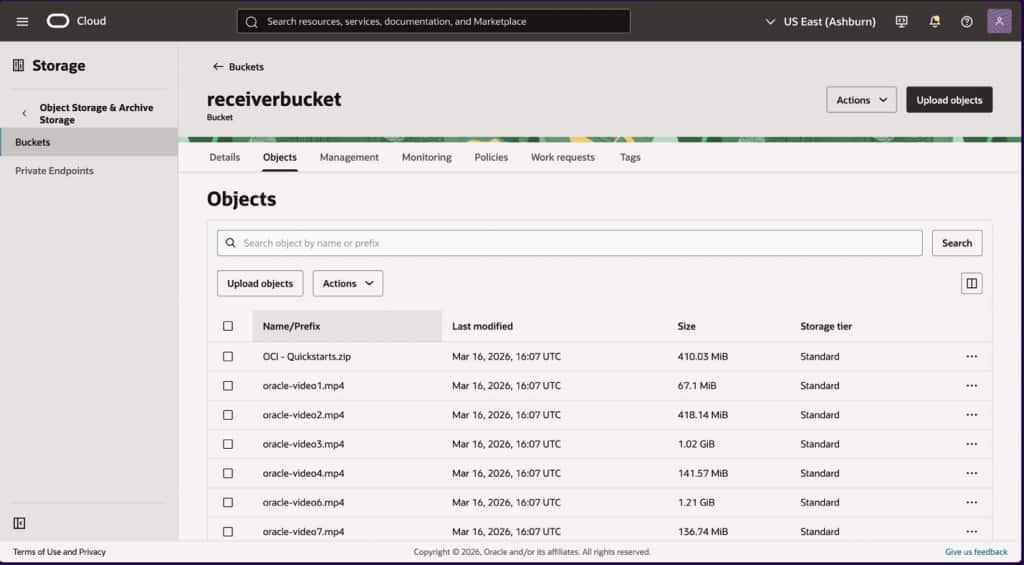
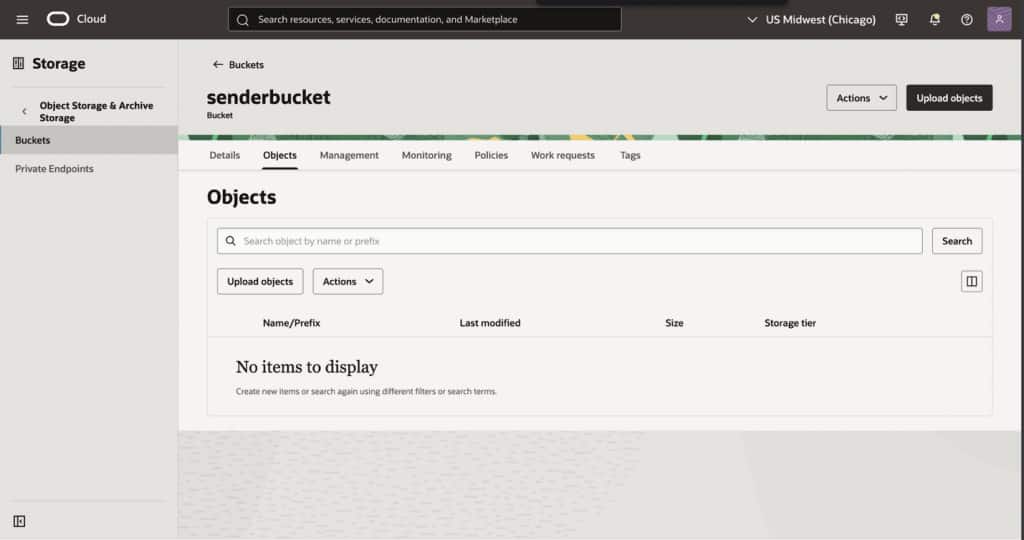
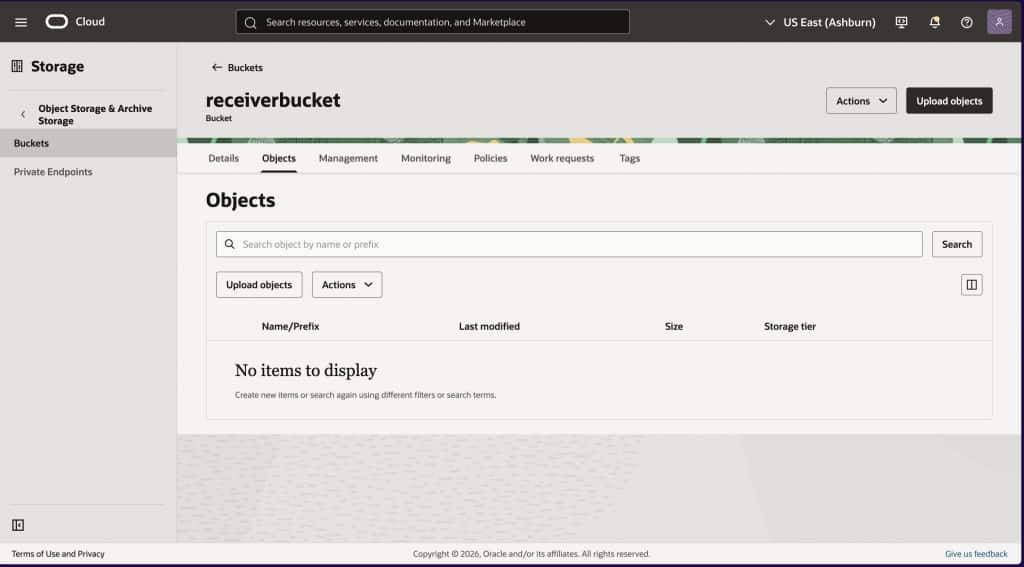
For this demo, I created two new buckets: “senderbucket” in Sendertenancy in the Chicago region, and “receiverbucket” in Receivertenancy, in the Ashburn, Virginia region.
Step 4: Configure source and destination buckets:
Use “rlcone config” to configure the source and destination buckets by selecting OCI object storage option from the menu, as seen in the image below. Type “n” in your terminal to configure a “new remote”.
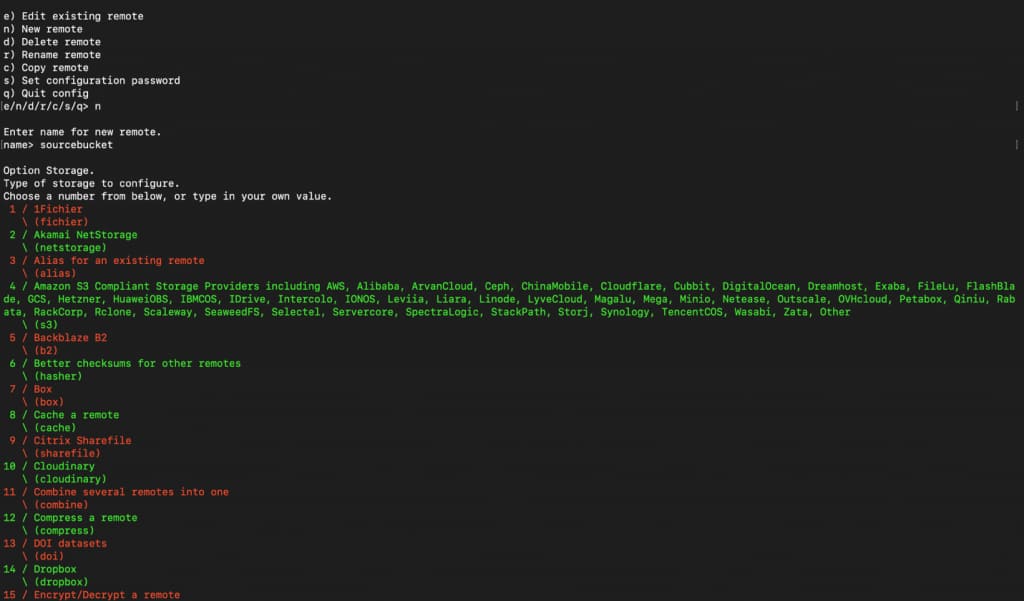
Step 4.1: The terminal will offer you a long list of possible storage choices. Choose, “Oracle Cloud Object Storage” from the list.

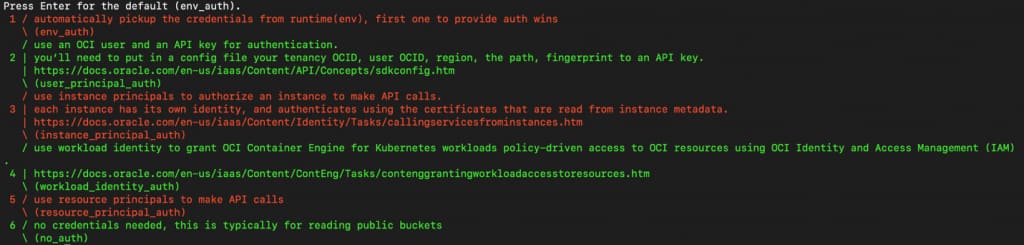
Step 5: Choose the authentication options. Do this for both object storage buckets:
The image below shows different authentication mechanisms you can use with rclone when configuring oci object storage. Choose the one that works for your tenant. For more guidance around authentication, read here: https://rclone.org/oracleobjectstorage/
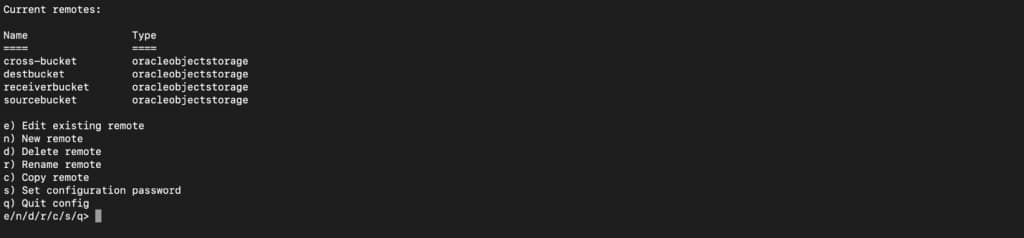
Step 6: Check to see if “sourcebucket” bucket is configured. Once configured, it will become available under “current remotes”. You can see it by typing “rclone listremotes,” which will show you all the connections you have made with rclone.

Step 7 Configure the receiver bucket by following the same steps.
Congratulations! You have both buckets configured. Which you will be able to see here:
Start Transferring Data
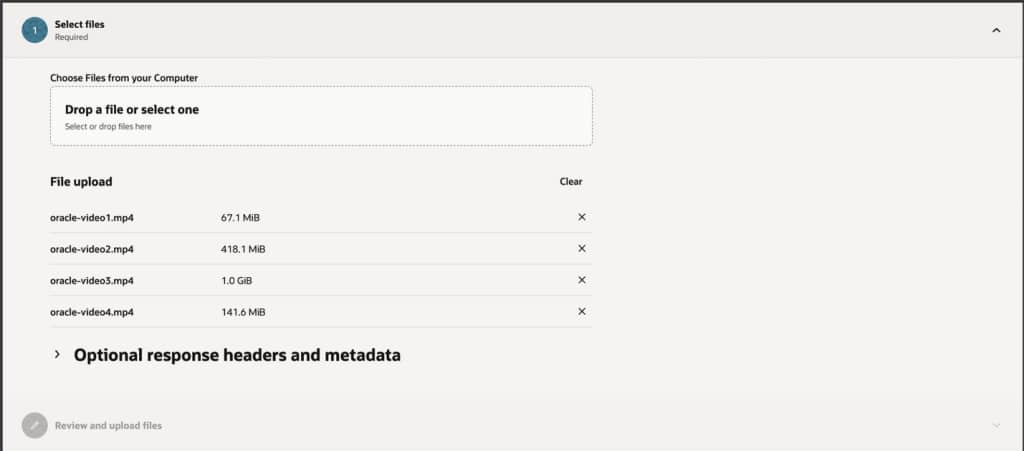
Step 8: Do a test transfer. Upload some video files in the source bucket to test and transfer to the target bucket.
Step 9. You can log back into the instance and run the command below to transfer data from source bucket to destination bucket using the “rclone copy” command.
rclone --progress --oos-no-check-bucket --fast-list --no-traverse --transfers 8 --oos-chunk-size 10M --oos-upload-concurrency 10 --checkers 10 copy sourcebucket:senderbucket receiverbucket:receiverbucket
This is the command we can use to transfer the flies from senderbucket to recevierbucket. You can use more options with rclone, or change parameters to configure according to your needs.
In this example, the statements : sourcebucket:senderbucket receiverbucket:receiverbucket represents the inputs as you can see below which can be changed to your variables:
<rclone-config-name-for-sender>:<actual-bucket-name-on-oci> <rclone-config-name-for-receiver>:<actual-receiver-bucket-name-on-oci>
Step 10. Check transfer progress. You should see a progress in your terminal of the files being transferred
Step 11. Validate transfer. Once the transfer is complete, you can check the time taken, the number of files transferred. You can also validate these on the destination bucket.