
A practical guide to restoring a selected backup or a known, good recovery point into an existing Exadata Database Home
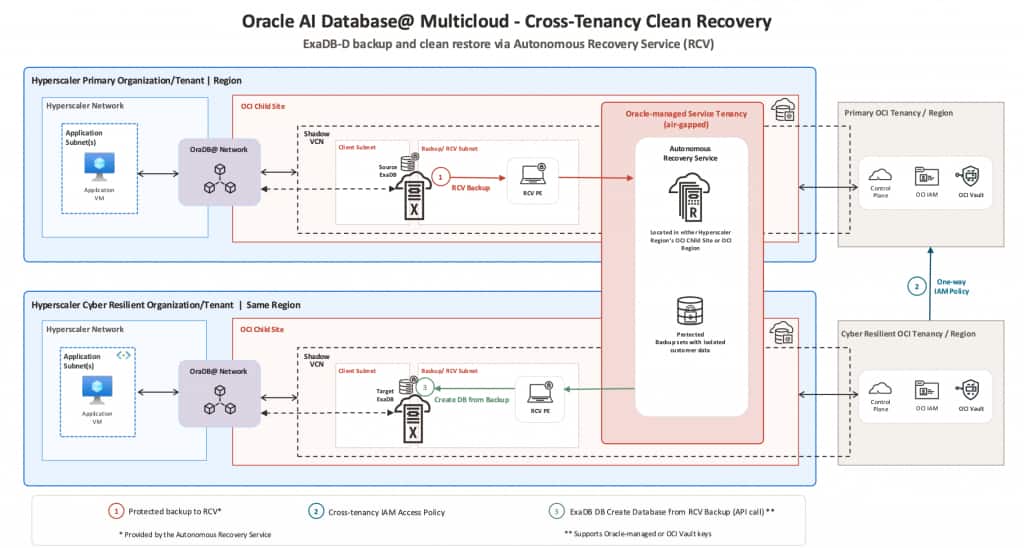
The A-Team post describes a cross-tenancy clean-room pattern in which a production database is protected by Autonomous Recovery Service and a separate recovery tenancy hosts a restored copy.
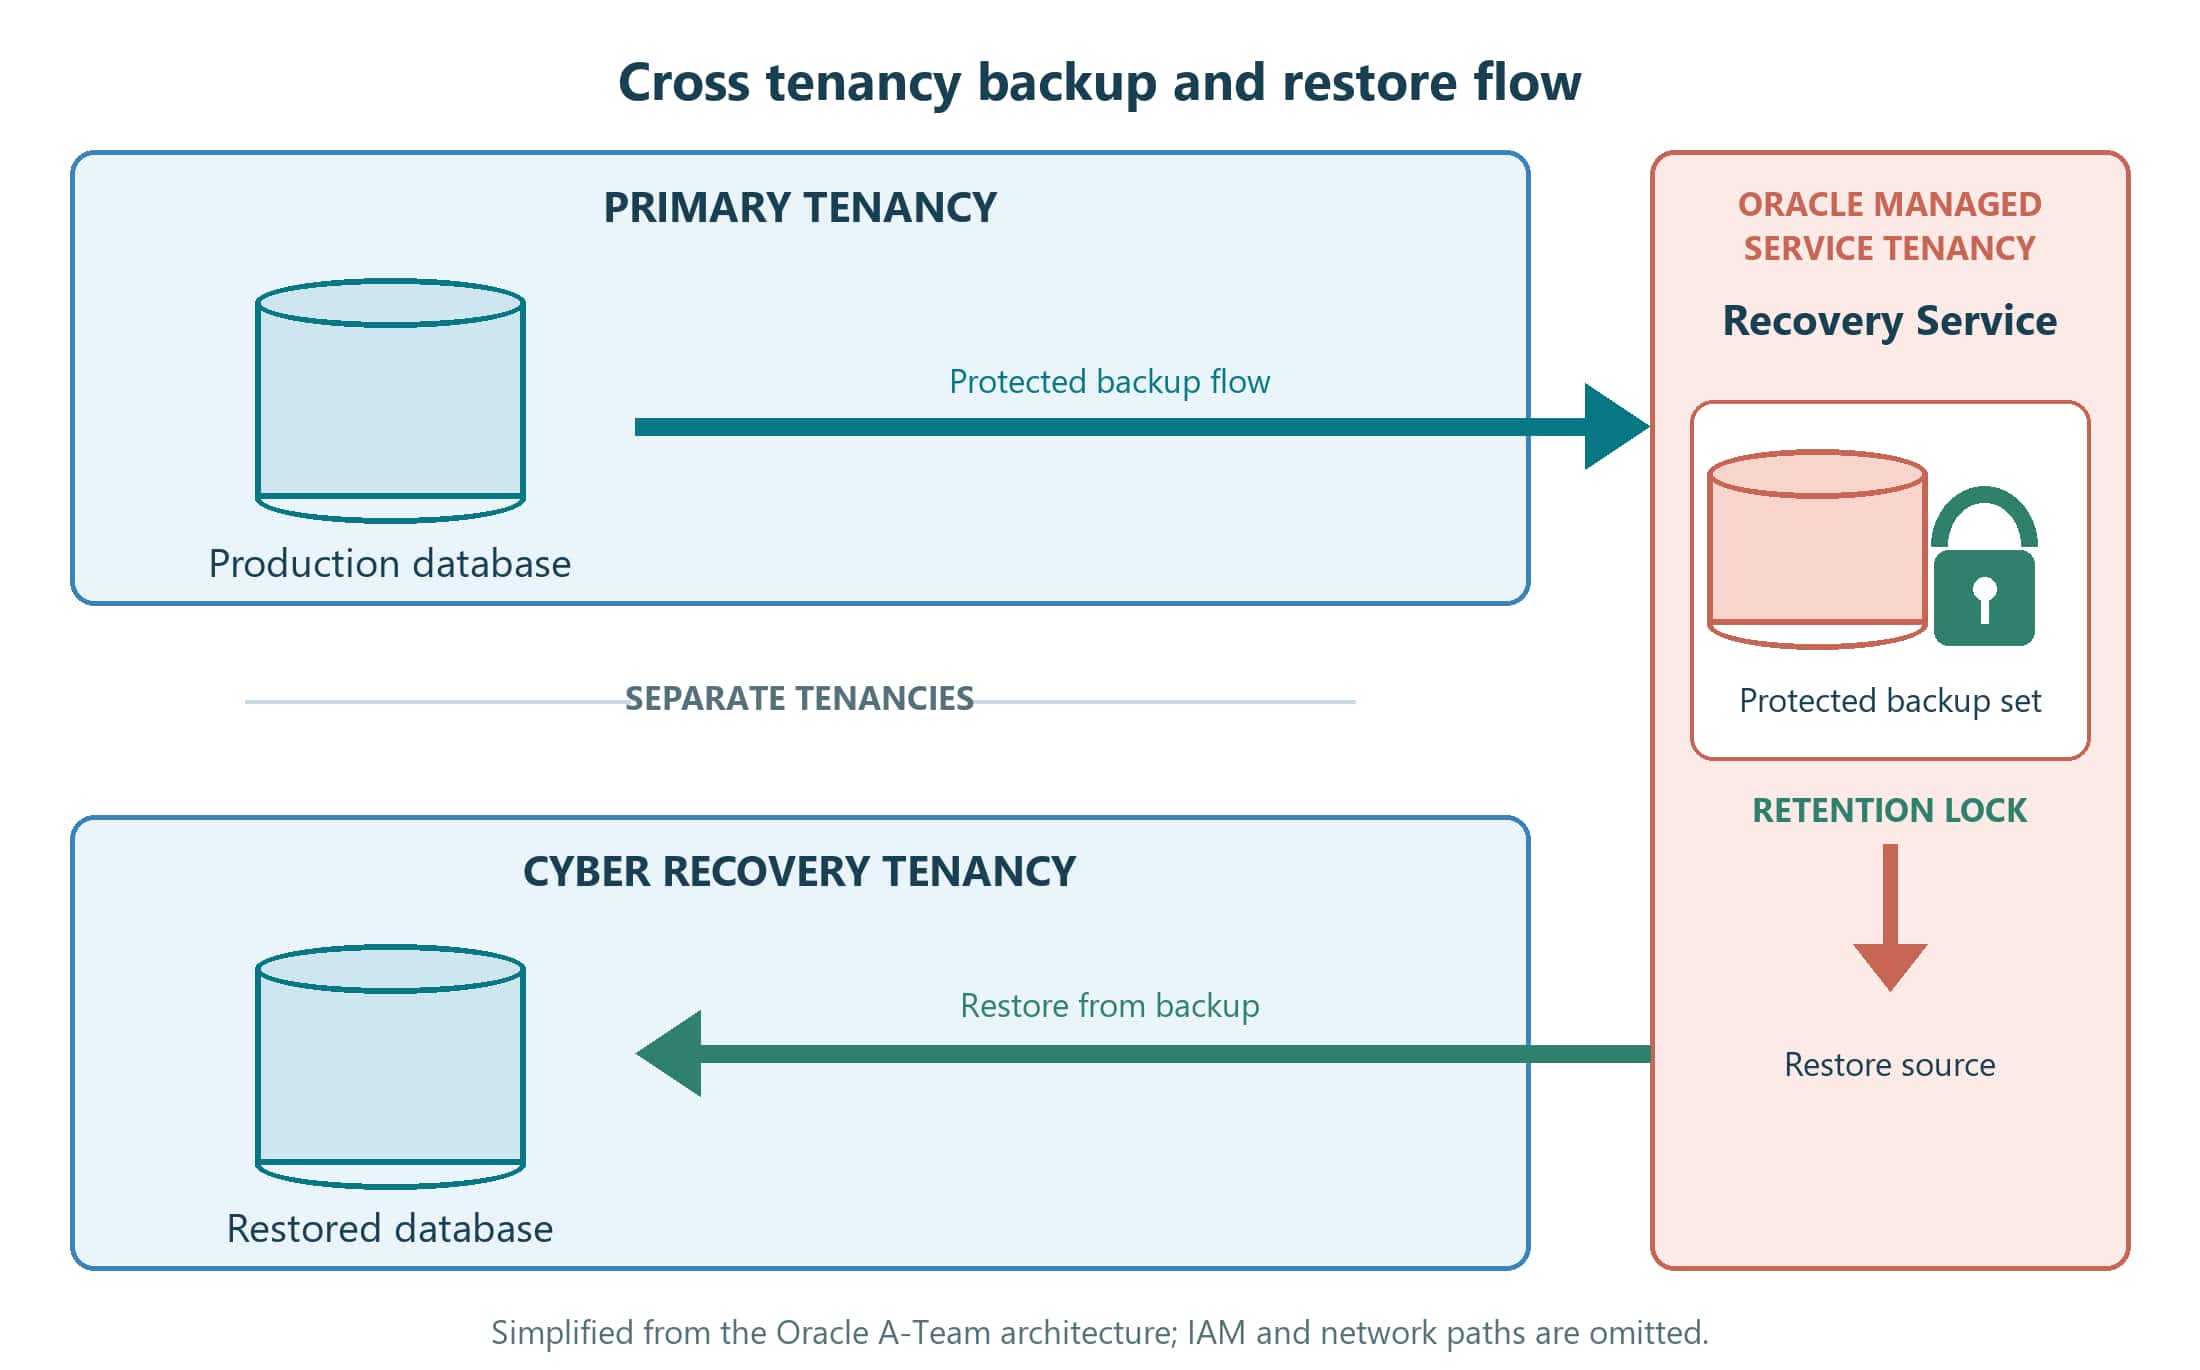
That blog outlines the architecture, IAM relationship, and recovery preparation. This article provides the database restore details behind that design.
The examples use the OCI Python SDK to create a database in an existing Exadata Database Home, either from a chosen backup or from a source database at a known good point in time. A selected-backup Terraform example follows. Cross-tenancy recovery is a tested design pattern rather than a fully automated Autonomous Recovery Service feature; rehearse it and verify the recovered database before reconnecting applications.
A restore request needs three sets of information:
- Recovery point: a selected backup OCID, or a source database OCID and, when needed, a point-in-time timestamp
- Source encryption information: the TDE wallet password or access to the OCI Vault key material needed by the backup. Other key configurations need separate validation and are outside these examples
- Destination: the existing Database Home OCID in the recovery tenancy and region, plus a new database administrator password
Cross-tenancy recovery also needs matching IAM policies in both tenancies. Validate the Endorse and Admit statements and access to the required key material before starting a restore.
Prerequisites
Protect production databases and collect recovery data
Before a cross-tenancy restore, protect each production database with Autonomous Recovery Service. Use a protection policy with retention lock and confirm that the lock is in effect for the protected backups. A newly enabled retention lock has a minimum 14-day delay before it becomes permanent.
Record each source database OCID and, if the database uses customer-managed keys, its KMS key and Vault OCIDs. Run the following OCI CLI command for each source compartment from an environment with access to the production inventory:
oci db database list \
  --compartment-id <source-compartment-ocid> \
  --query 'data[*].{DB_Name:"db-name",DB_OCID:id,KMS_Key_ID:"kms-key-id",Vault_ID:"vault-id"}' \
  --output table
These identifiers are the minimum recovery inventory. Keep the configuration needed to create the database and its destination cluster in the recovery tenancy up to date:
- Current database software version.
- Database size, so the destination has enough storage.
- VM sizing and configuration.
For the restore examples below, also have:
- A provisioned ExaDB-D/ExaDB-XS
- Properly sized VMs clusters within the provisioned ExaDB-D/ExaDB-XS
- Existing destination Database Homes that are compatible with the source database version
- Configuration in place to utilize the Autonomous Recovery Service, following the checklist.
- An OCI SDK configuration profile for the destination tenancy and target region.
- The source backup OCID, or the source database OCID and intended recovery timestamp.
- A new administrator password that meets the current OCI Database service password requirements.
- The encryption information required by the source backup: a wallet password or access to the correct OCI Vault key and any historical key versions needed by the backup.
1. Select the source backup
Restore a selected backup
Choose a backup OCID when you know the exact backup to restore. This path passes CreateDatabaseFromBackupDetails to CreateDatabaseFromBackup.
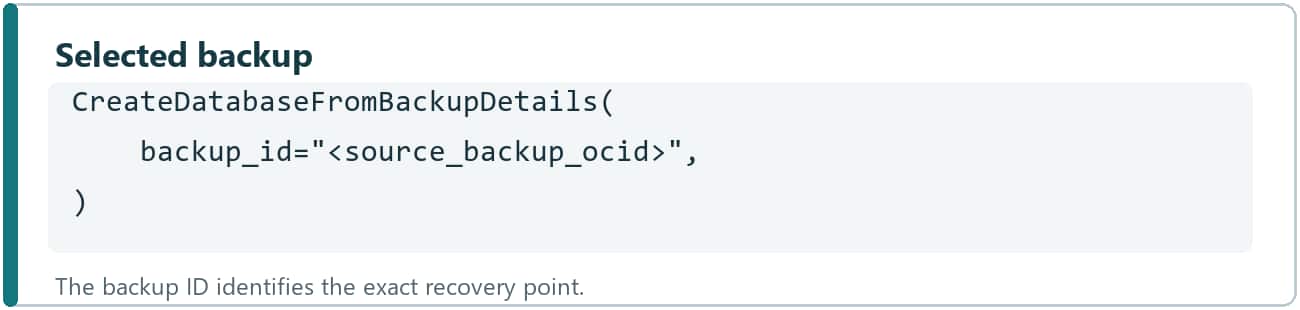
Recovery point: CreateDatabaseFromBackupDetails accepts a backup OCID, not a separate point-in-time timestamp. The service restores the selected backup into a consistent database; use the next option when you must explicitly choose a recovery time or want to use the most recent recovery point.
Restore a source database to current or a specific point in time
Use the source database OCID and a timezone-aware recovery timestamp when you need a specific point in time. Omit the timestamp to use the latest available recovery point.
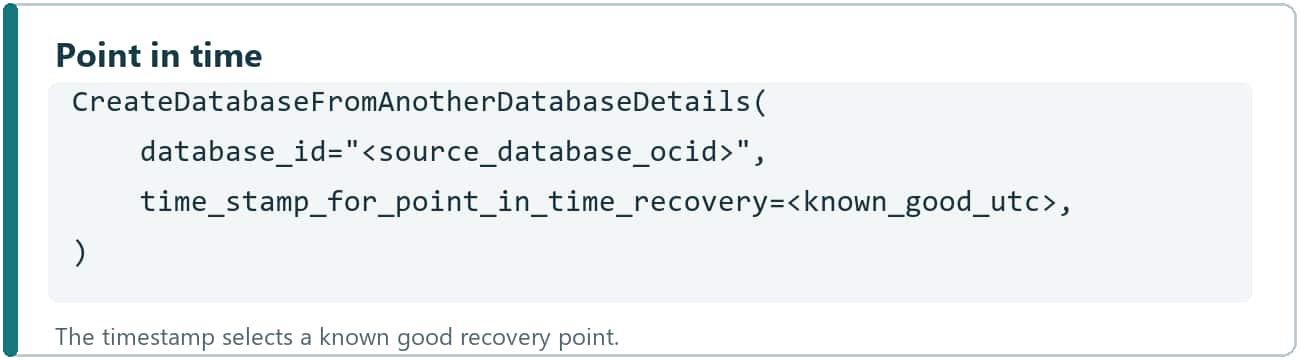
Recovery point: The timestamp must be within the available recovery history and the backup destination must contain the backups and redo needed to recover to that time.
2. Provide source encryption information
Oracle-managed keys or a TDE wallet
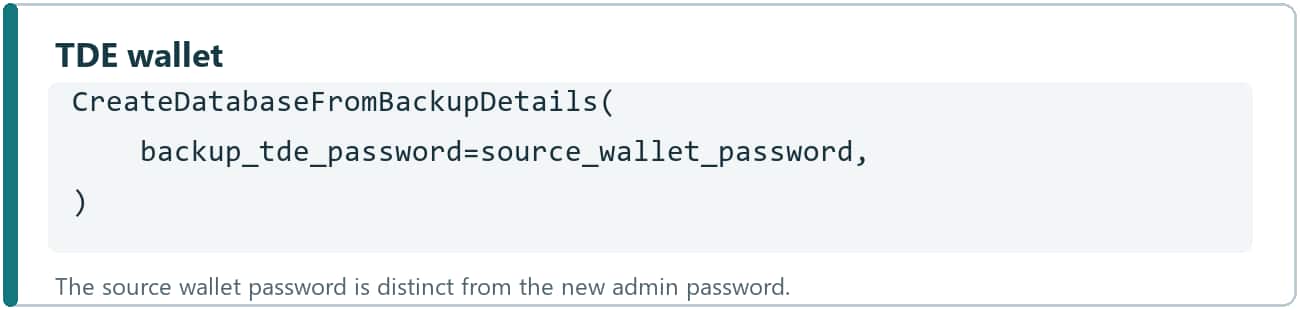
For a source protected by a TDE wallet, put the source database’s backup_tde_password in the nested database details. This password opens the source backup wallet; it is different from the new database administrator password.
OCI Vault
For a source protected by OCI Vault, the destination must be able to use the same key material utilized by the source database to restore and recover the new database. Ensure you capture the KMS OCIDs associated with the Database OCIDs in preparation for restoring. Put kms_key_id and, when needed, kms_key_version_id on the outer create request, not in the nested database details.
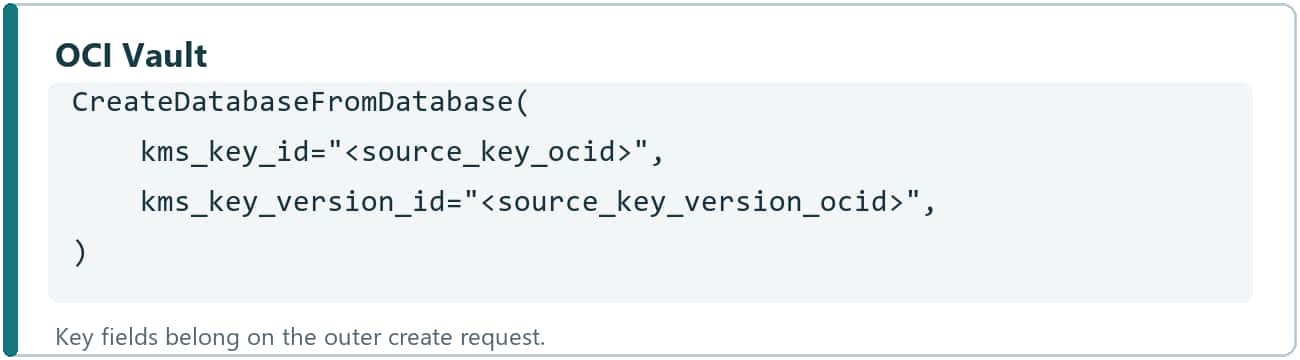
Key history: An older backup can require a historical key version. Retain access to the source key and the versions needed by the selected backup and recovery data. These fields identify the key material for the existing configuration; they are not a general mechanism for switching a restore to an unrelated Vault or key type.
3. Identify the destination
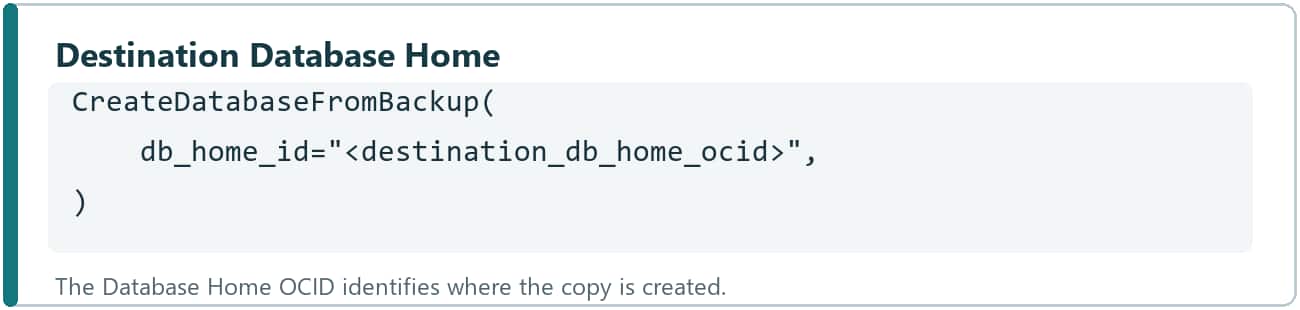
In this workflow, db_home_id identifies the existing destination Database Home. That home belongs to a VM cluster and determines the available database software version.
| Value | Purpose |
|---|---|
| db_home_id | Destination Database Home OCID on the outer request. |
| admin_password | New database administrator password in the nested database details. |
| db_name | Optional database name. If supplied, it starts with a letter and has up to eight alphanumeric characters. |
| db_unique_name | Optional unique database name in the destination environment. |
4. Monitor database creation and verify the restore
Both restore paths use the asynchronous create_database operation. The response contains the new database OCID and the opc-work-request-id response header. Record both, along with opc-request-id for support and audit purposes. A returned database OCID means the create request was accepted; it does not mean the restore has finished.
Capture the work request
Add these lines after the create_database call in either Python example below:
database_id = response.data.id
work_request_id = response.headers.get("opc-work-request-id")
request_id = response.headers.get("opc-request-id")
print("New database OCID:", database_id)
print("Work request OCID:", work_request_id)
print("OCI request ID:", request_id)
If the work request header contains multiple comma-separated OCIDs, monitor each one.
Watch progress and inspect failures
Use an OCI CLI profile for the destination tenancy and region. Repeat the first command until the work request reaches SUCCEEDED, FAILED, or CANCELED. The status and percent complete show the progress of the create operation. The log entries provide more detail:
oci work-requests work-request get --work-request-id <work_request_ocid> --profile DEFAULT --region <destination_region>
oci work-requests work-request-log-entry list --work-request-id <work_request_ocid> --profile DEFAULT --region <destination_region>
If the status is FAILED or CANCELED, inspect the work request errors before retrying. Keep the work request OCID and OCI request ID with the error details:
oci work-requests work-request-error list --work-request-id <work_request_ocid> --profile DEFAULT --region <destination_region>Confirm the database is usable
After the work request succeeds, get the new database by its OCID. Check that lifecycle-state is AVAILABLE and that db-home-id and the database name match the intended destination. If the state is FAILED or RESTORE_FAILED, inspect lifecycle-details and the work request errors.
oci db database get --database-id <new_database_ocid> --profile DEFAULT --region <destination_region>Finally, connect to the restored database in the recovery tenancy with the new administrator credentials. Confirm that it opens and that the expected schemas, objects, and representative data are present. For a point-in-time restore, check data around the intended recovery timestamp and confirm that unwanted post-incident changes are absent before reconnecting applications. For example:
SELECT name, open_mode, database_role FROM v$database;
SELECT name, open_mode FROM v$pdbs;
The work request status and OCI database state confirm that provisioning completed. The connection and data checks confirm that the recovered copy is usable for the planned recovery.
5. Backup the new database
Once the restore is complete, confirm that the new database is usable and that its data reflects the intended recovery point. Only then enable backups and confirm the first backup succeeds. If you need to restore the source again to a different point in time, backups already started for the first copy can complicate the repeat restore. Wait until you are confident that this is the recovery point that you intend to keep for the database before starting its backup schedule.
Complete Python SDK examples
Selected backup using a TDE wallet
import getpass
import uuid
import oci
from oci.database.models import CreateDatabaseFromBackup, CreateDatabaseFromBackupDetails
client = oci.database.DatabaseClient(oci.config.from_file(profile_name="DEFAULT"))
database_details = CreateDatabaseFromBackupDetails(
    backup_id="<source_backup_ocid>",
    admin_password=getpass.getpass("New database admin password: "),
    backup_tde_password=getpass.getpass("Source TDE wallet password: "),
)
create_request = CreateDatabaseFromBackup(
    db_home_id="<destination_db_home_ocid>",
    database=database_details,
)
response = client.create_database(
    create_new_database_details=create_request,
    opc_retry_token=str(uuid.uuid4()),
)
print("New database OCID:", response.data.id)
Point-in-time recovery using OCI Vault
import getpass
import uuid
from datetime import datetime, timezone
import oci
from oci.database.models import CreateDatabaseFromDatabase, CreateDatabaseFromAnotherDatabaseDetails
client = oci.database.DatabaseClient(oci.config.from_file(profile_name="DEFAULT"))
database_details = CreateDatabaseFromAnotherDatabaseDetails(
    database_id="<source_database_ocid>",
    admin_password=getpass.getpass("New database admin password: "),
    time_stamp_for_point_in_time_recovery=datetime(
        2026, 9, 17, 6, 0, 0, tzinfo=timezone.utc
    ),
)
create_request = CreateDatabaseFromDatabase(
    db_home_id="<destination_db_home_ocid>",
    database=database_details,
    kms_key_id="<source_key_ocid>",
    kms_key_version_id="<source_key_version_ocid>",
)
response = client.create_database(
    create_new_database_details=create_request,
    opc_retry_token=str(uuid.uuid4()),
)
print("New database OCID:", response.data.id)
The create_database call is asynchronous: a returned database OCID does not mean recovery is complete. Poll get_database until the lifecycle state is AVAILABLE, and inspect lifecycle details and the OCI request ID if it fails.
Before you submit the restore
- Confirm that the destination Database Home is compatible with the source database version.
- Validate cross-tenancy IAM policies for the backup, source database, and required key material.
- For a point-in-time restore, confirm the timestamp is before the incident and within the available recovery history.
- Record the returned database OCID and OCI request ID so that the restore can be monitored and audited.
Automate a selected-backup restore with Terraform
Terraform uses the same inputs as the first Python example. In the OCI provider, the nested database block corresponds to the Python database_details object, while resource-level fields correspond to the outer create request.
This example restores a selected backup into an existing Exadata Database Home:
variable "destination_db_home_ocid" {
  type = string
}
variable "source_backup_ocid" {
  type = string
}
variable "new_admin_password" {
  type      = string
  sensitive = true
}
variable "source_wallet_password" {
  type      = string
  sensitive = true
}
resource "oci_database_database" "restore_from_backup" {
  source     = "DB_BACKUP"
  db_home_id = var.destination_db_home_ocid
  database {
    backup_id           = var.source_backup_ocid
    admin_password      = var.new_admin_password
    backup_tde_password = var.source_wallet_password
    # Required by the Terraform provider for this restore path.
    db_name        = "RESTORE1"
    db_unique_name = "RESTORE1"
  }
  lifecycle {
    prevent_destroy = true
  }
}
Review the Terraform plan before applying a restore:
terraform init
terraform fmt
terraform validate
terraform plan -out=restore.tfplan
terraform apply restore.tfplan
Keep passwords in a secure secret store or pass them through protected TF_VAR_ environment variables instead of committing them to .tf or .tfvars files. The sensitive flag hides values in command output, but Terraform state may still contain them; protect the state backend accordingly.
Terraform and point-in-time recovery
The Python point-in-time example restores into an existing Database Home. The Terraform provider documents database-ID and recovery-timestamp fields through oci_database_db_home, which creates a new Database Home. Use the Python SDK when you need point-in-time recovery into an existing home, or the Terraform DB Home resource when a new home is appropriate.
References
OCI Python SDK: CreateDatabaseFromBackupDetails
OCI Python SDK: CreateDatabaseFromAnotherDatabaseDetails
OCI Terraform Provider: oci_database_database
OCI Terraform Provider: oci_database_db_home
Terraform sensitive data guidance