Original Publish Date : 9/8/2015
Below are the steps to configure SAML 2.0 SSO using ADFS as Identity Provider and WLS as Service Provider.
In this example I am using ADFS 2.0 on Windows Server 2008R2.
Let’s have a look at the ADFS IDP configuration first :
Step 1 :
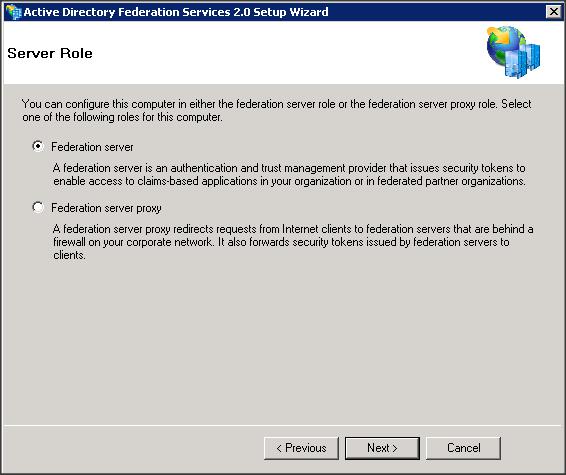
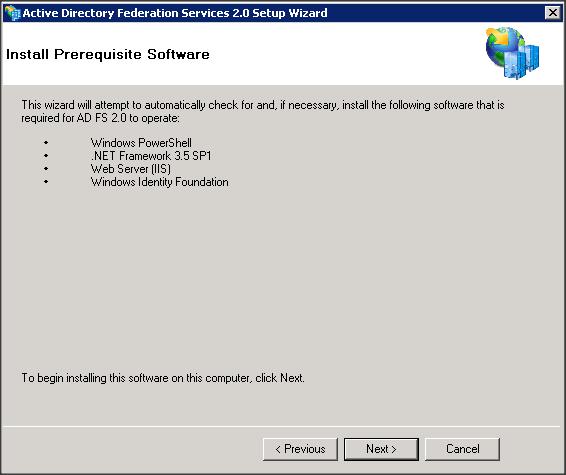
Download and install ADFS 2.0
– Create a Federation Server
Step 2 :
– Create a self signed certificate and configure SSL on IIS
Step 3 :
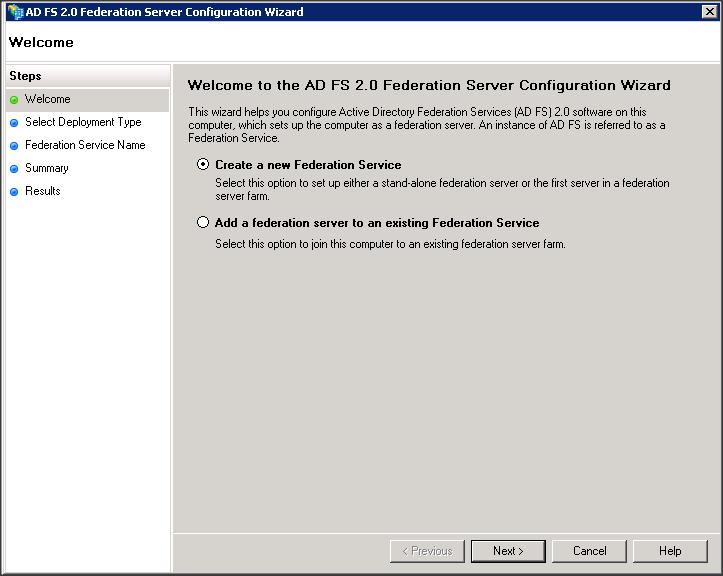
– Start ADFS 2.0 Management / Configuration Wizard
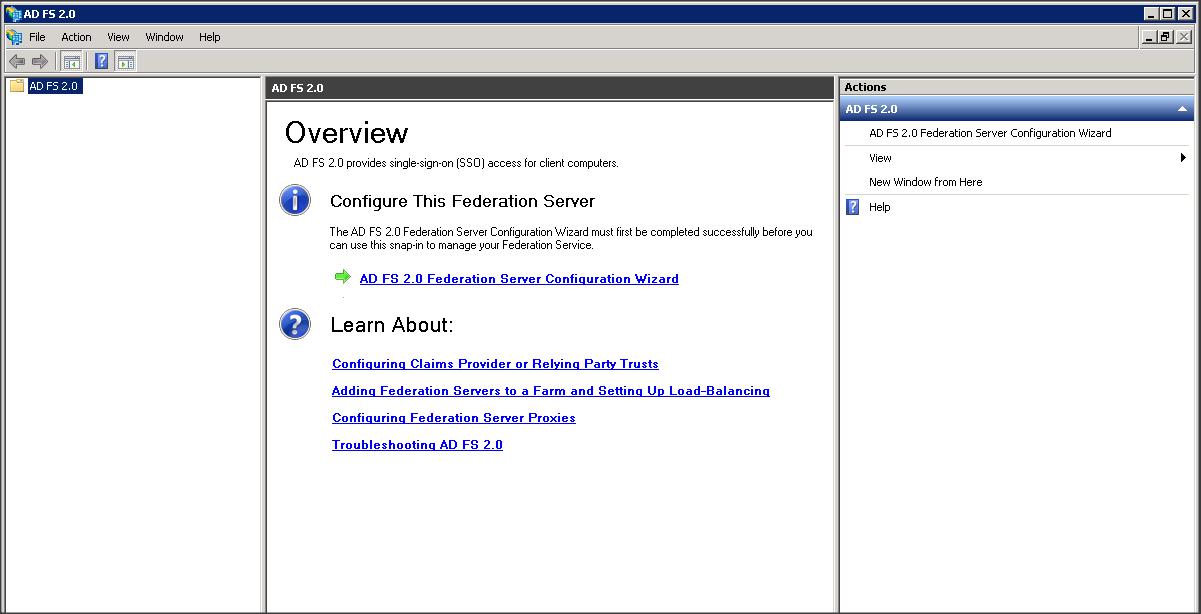
– Create a new Federation Service
– Select the self-signed certificate you created using IIS from the drop down menu.

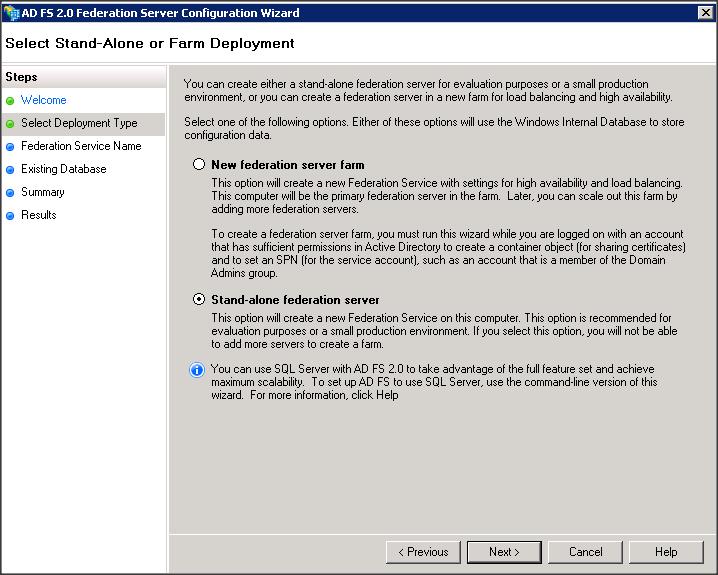
– Lets create a Stand-alone federation server for this example. If you want to use the high-availability / load balancing feature in ADFS then create a Federation server Farm.
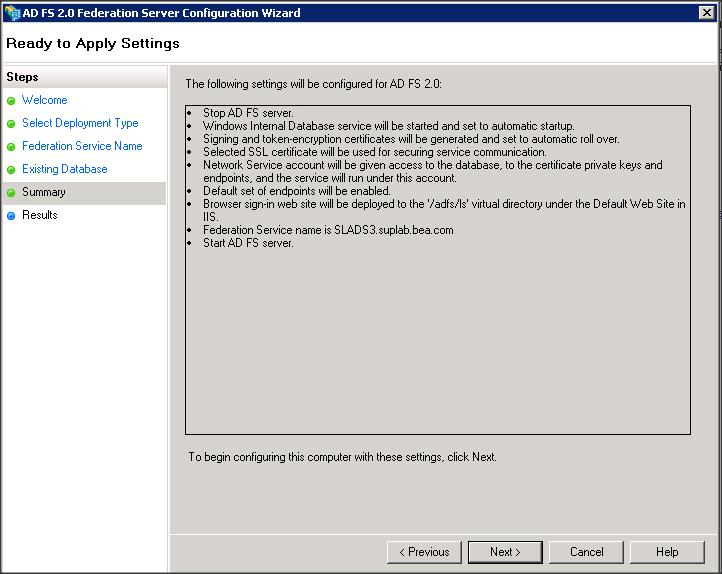
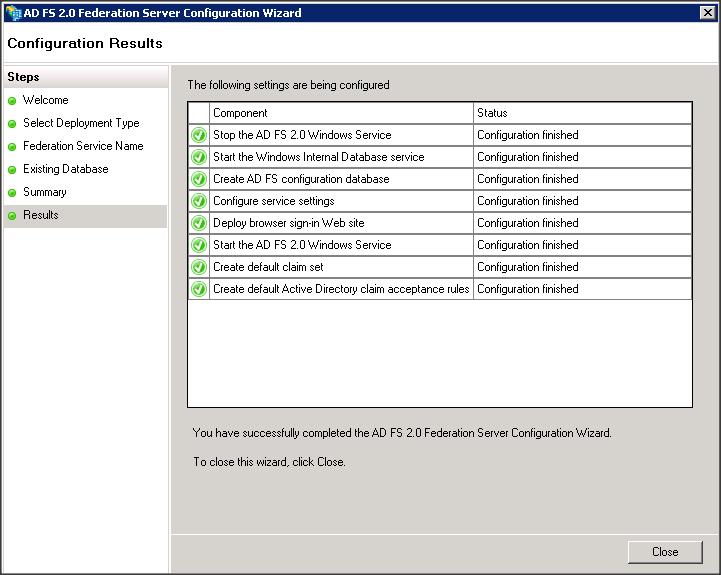
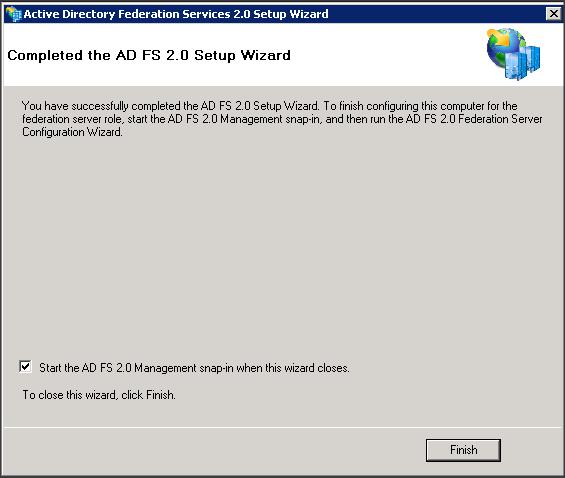
We have now completed the configuration of AD FS 2.0.
Step 4 :
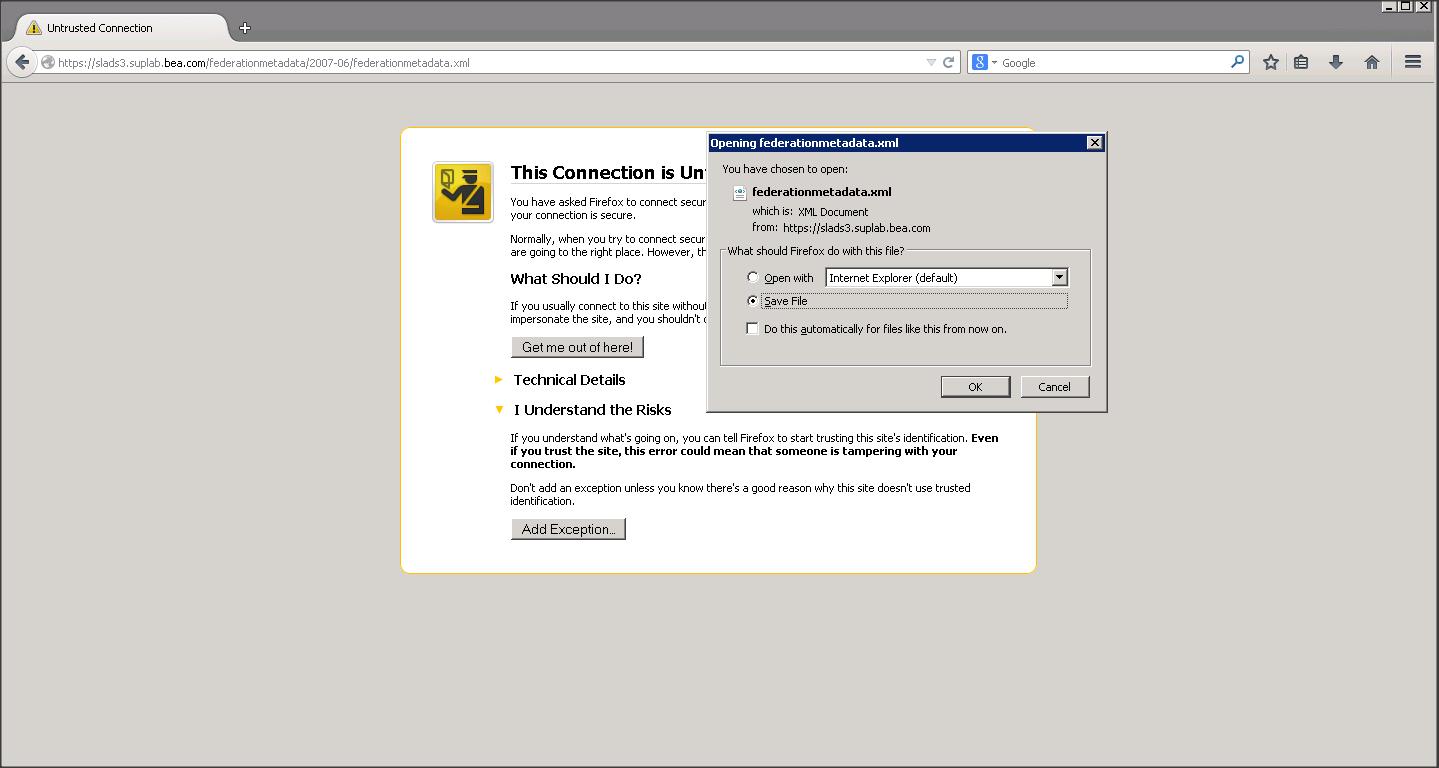
To download the AD FS metadata (i.e IDP metadata in our case) access the following link :
https://<ADFS_hostname>/federationmetadata/2007-06/federationmetadata.xml
NOTE :
– Metadata downloaded from ADFS contains information about both SP and IDP. It also contains few tags which are not supported by WLS.
– Remove the following tags from federationmetadata.xml :
(a) <ds:Signature xmlns:ds=”http://www.w3.org/2000/09/xmldsig#”> ………. </X509Data></KeyInfo></ds:Signature>
(b) <RoleDescriptor xsi:type=”fed:ApplicationServiceType” ……….. </EndpointReference></fed:PassiveRequestorEndpoint></RoleDescriptor>
(c) <RoleDescriptor xsi:type=”fed:SecurityTokenServiceType” ……….. </EndpointReference></fed:PassiveRequestorEndpoint></RoleDescriptor>
(d) <SPSSODescriptor WantAssertionsSigned=”true” protocolSupportEnumeration=”urn:oasis:names:tc:SAML:2.0:protocol”> ……….. </SPSSODescriptor>
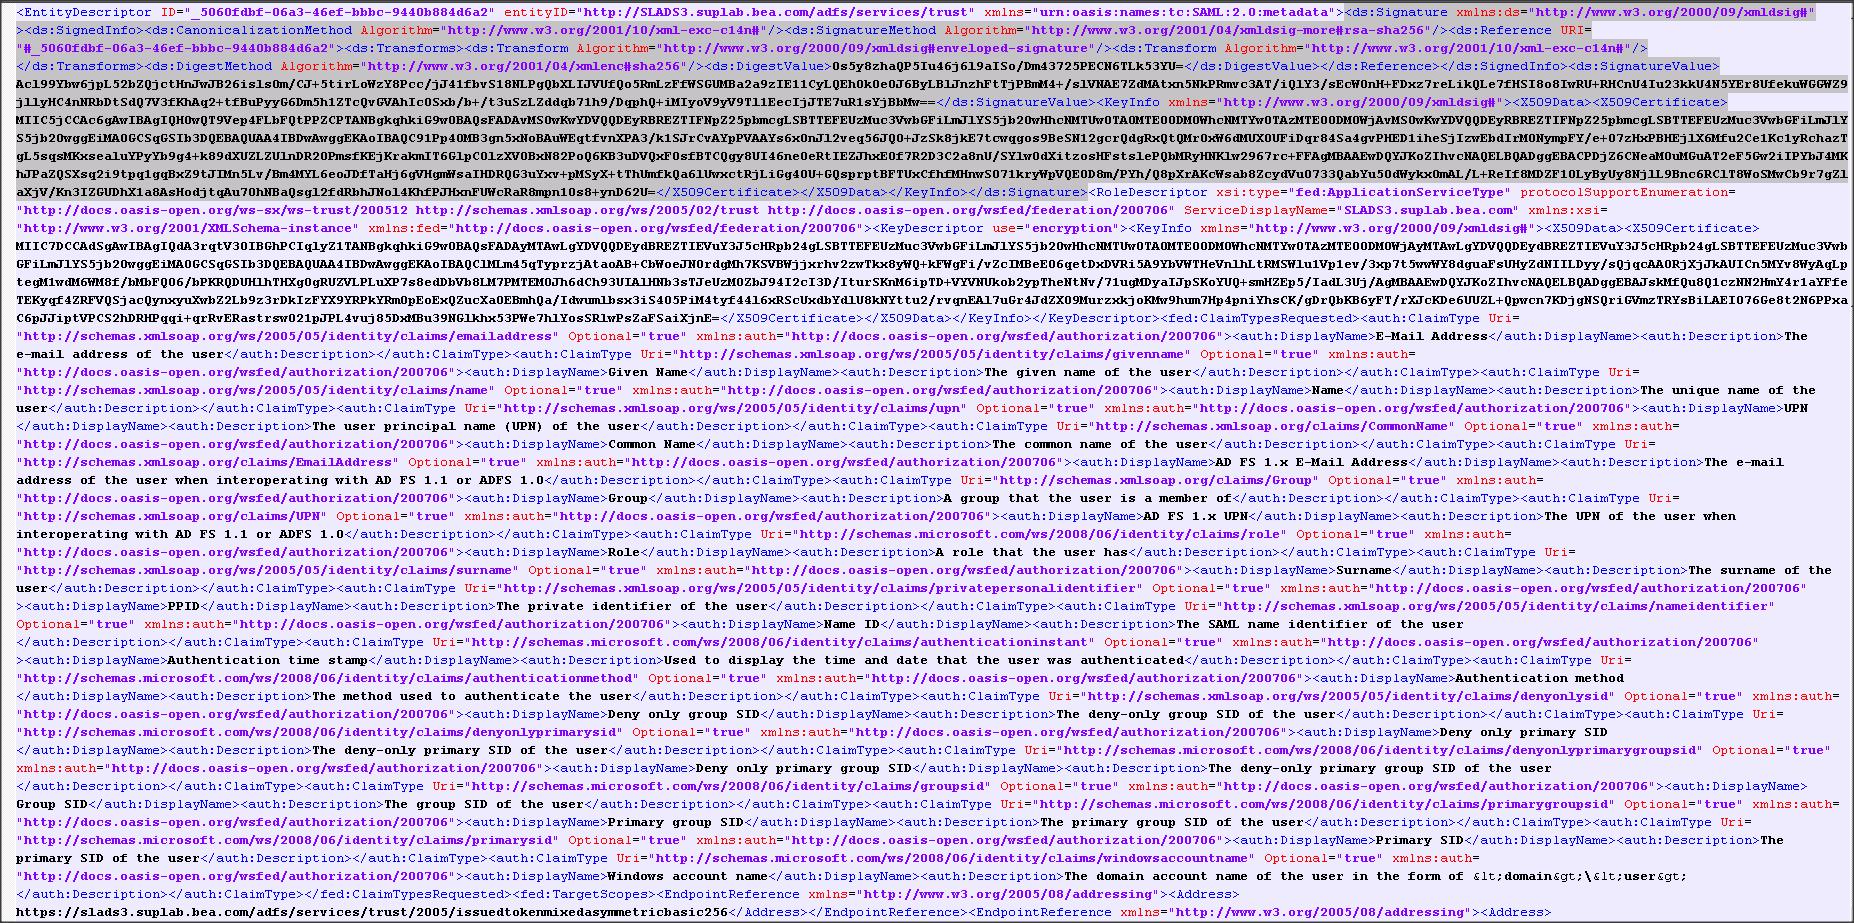
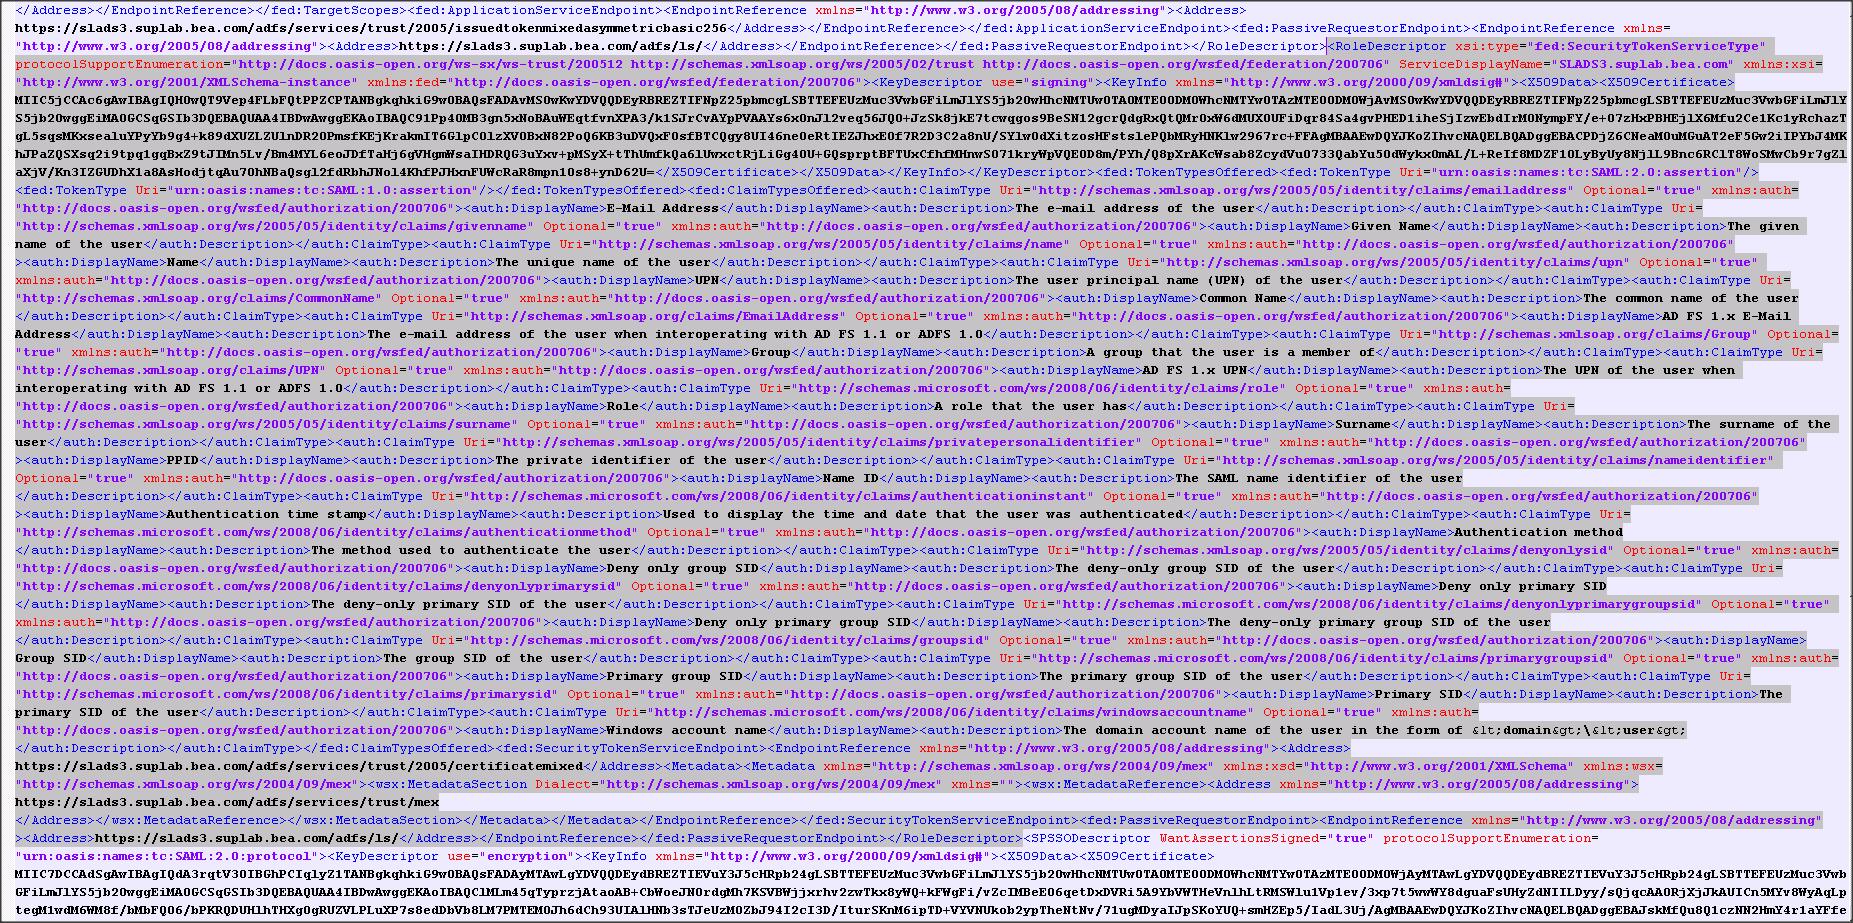

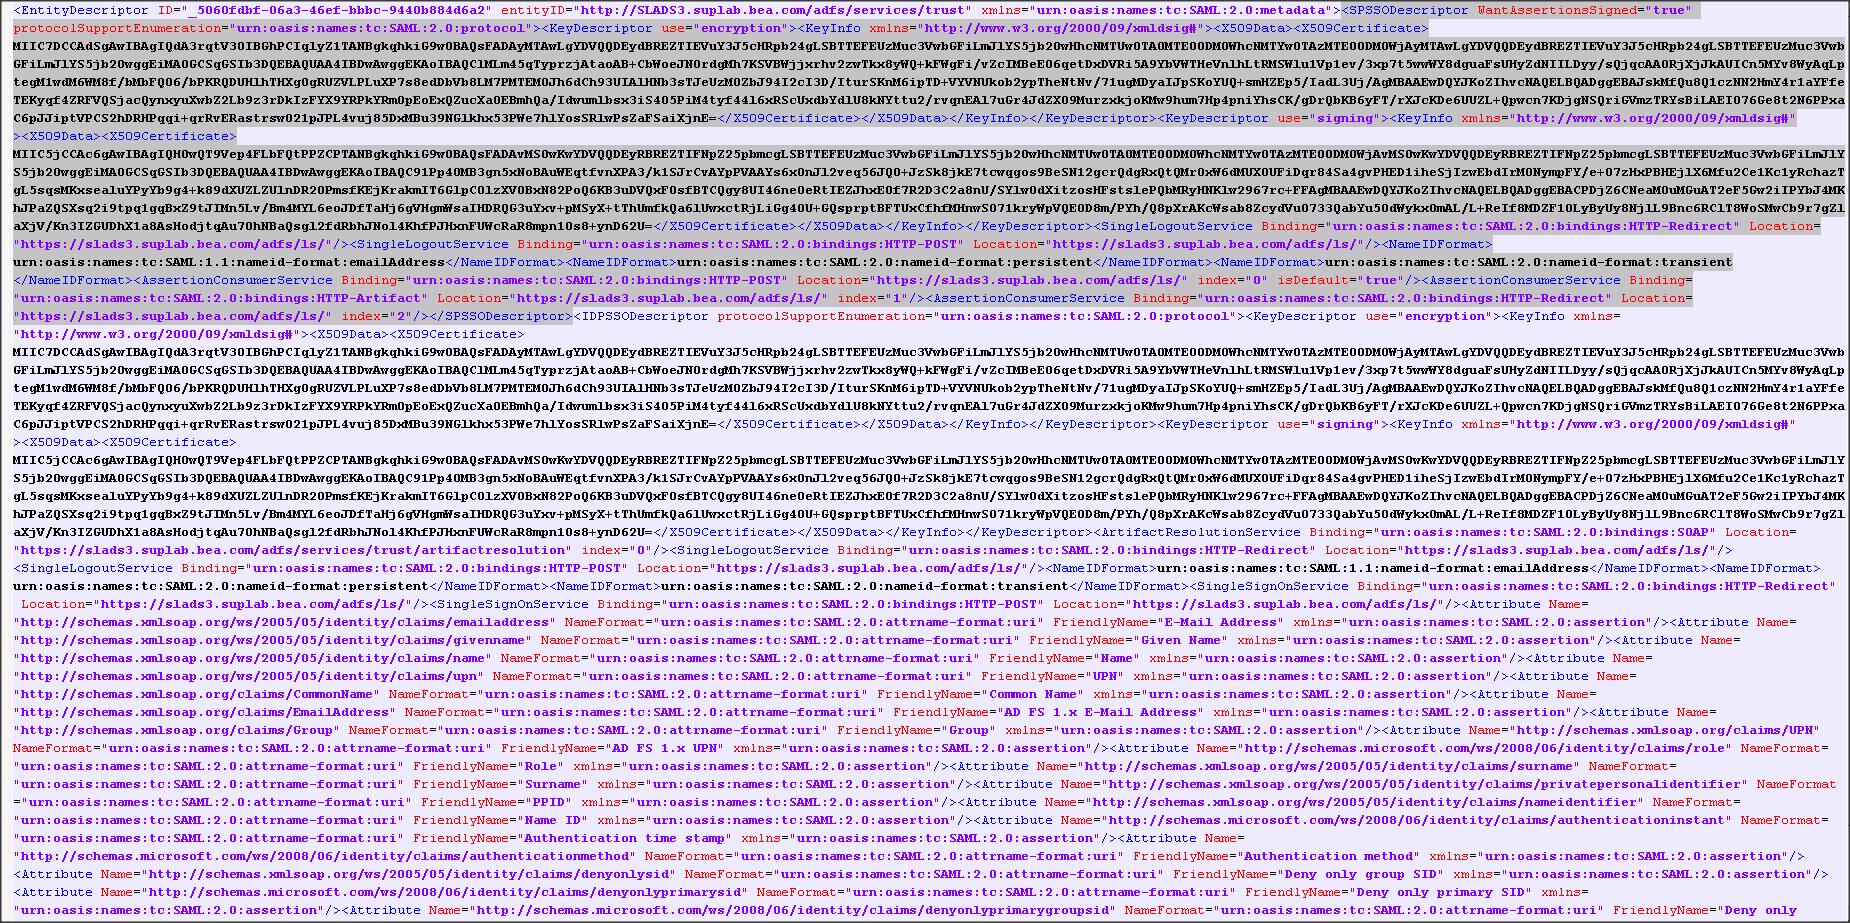
The final edited federationmetadata.xml file is as follows :

Step 5 :
– Export the self-signed certificate you created in IIS to .pfx file (say adfscert.pfx).
Convert this pfx file to .jks using the following command :
Command :
keytool -importkeystore -srckeystore adfscert.pfx -srcstoretype PKCS12 -srcstorepass password -destkeystore identity.jks -deststoretype JKS -deststorepass password
– Copy the identity.jks and modified federationmetadata.xml to Weblogic box.
Step 6:
Weblogic SP configuration :
– Configure “Custom Identity and Custom Trust” on Admin Server using the identity.jks file that you copied from ADFS box.
NOTE : To reduce the complexity of this configuration I am avoiding creation of two separate certificates/keystores on ADFS box and WLS box.
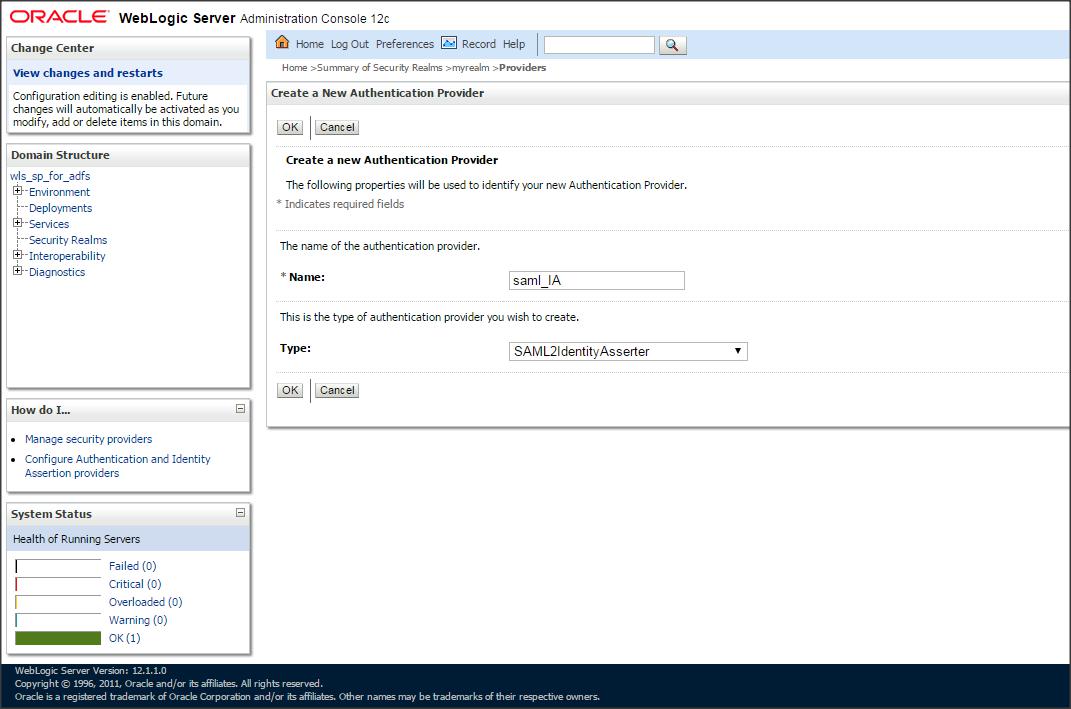
– Create an Identity Asserter using Weblogic Admin console.
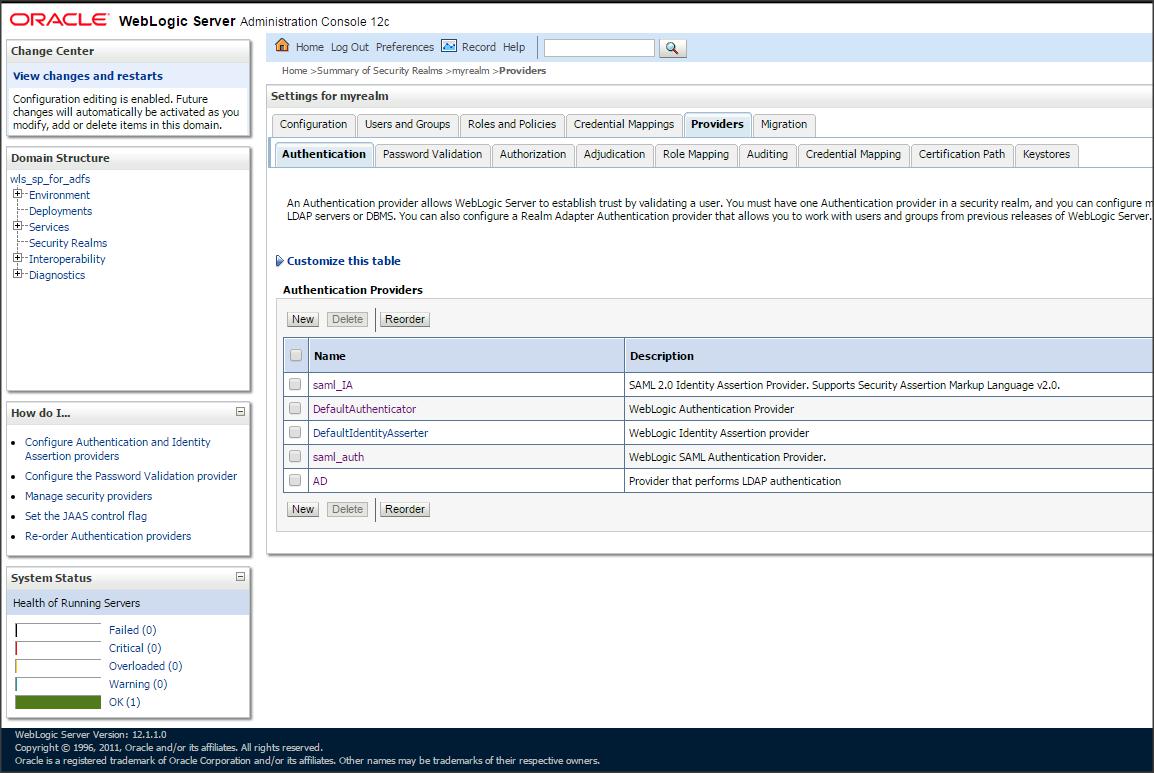
Login to Weblogic console –> Click on ” myrealm ” –> ” Providers ” –> ” Authentication ” –> new ” SAML2IdentityAsserter “ say ” saml_IA ” :
– Create an AD provider and retrieve the users from Active Directory. (Alternatively, you can create a new SAMLAuthenticator provider and enable the ” virtual user ” feature in WLS SP).
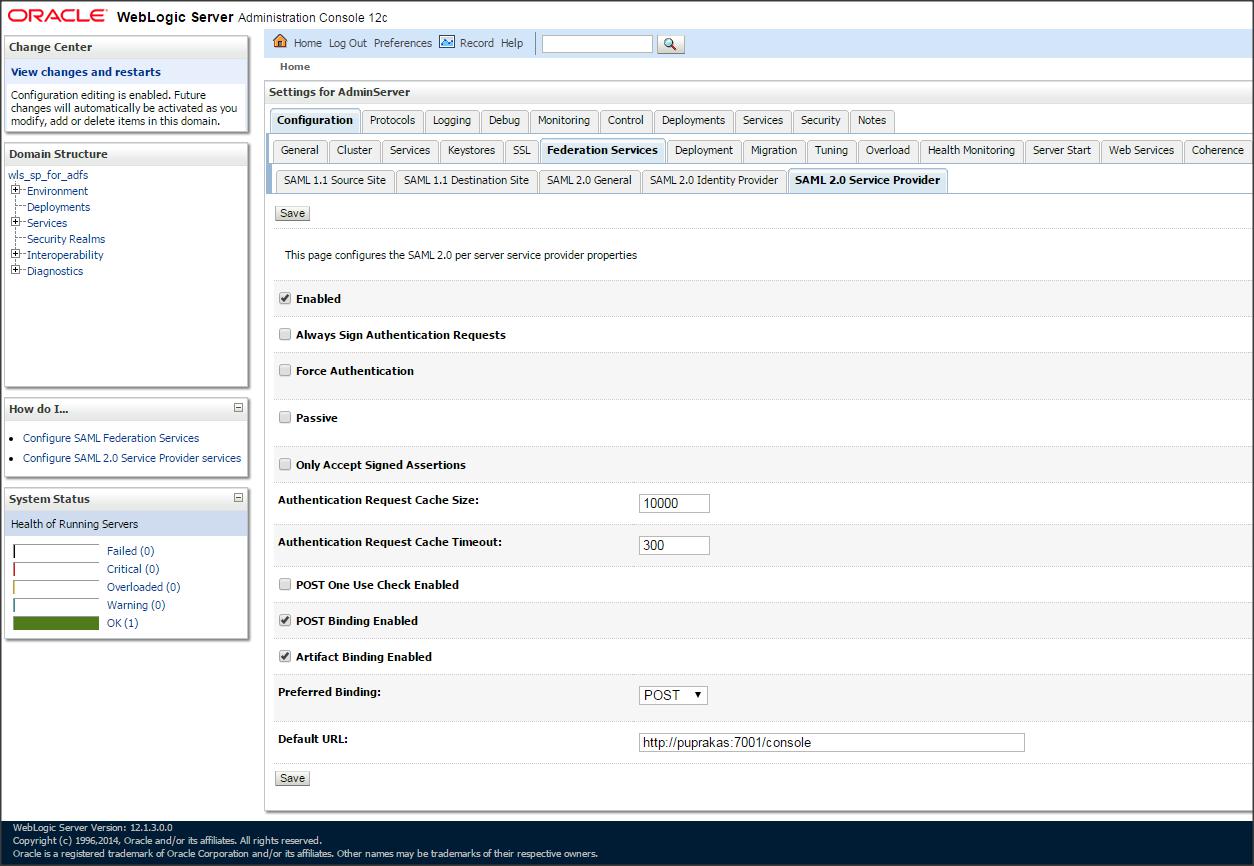
– Click on ” Servers ” –> Admin Server –> ” Federation Services ” –> ” SAML 2.0 Service Provider ” and make the following changes :
Enabled : check
Preferred Binding : POST
Default URL : http://<DestinationSiteDNSName>:<PORT>/console
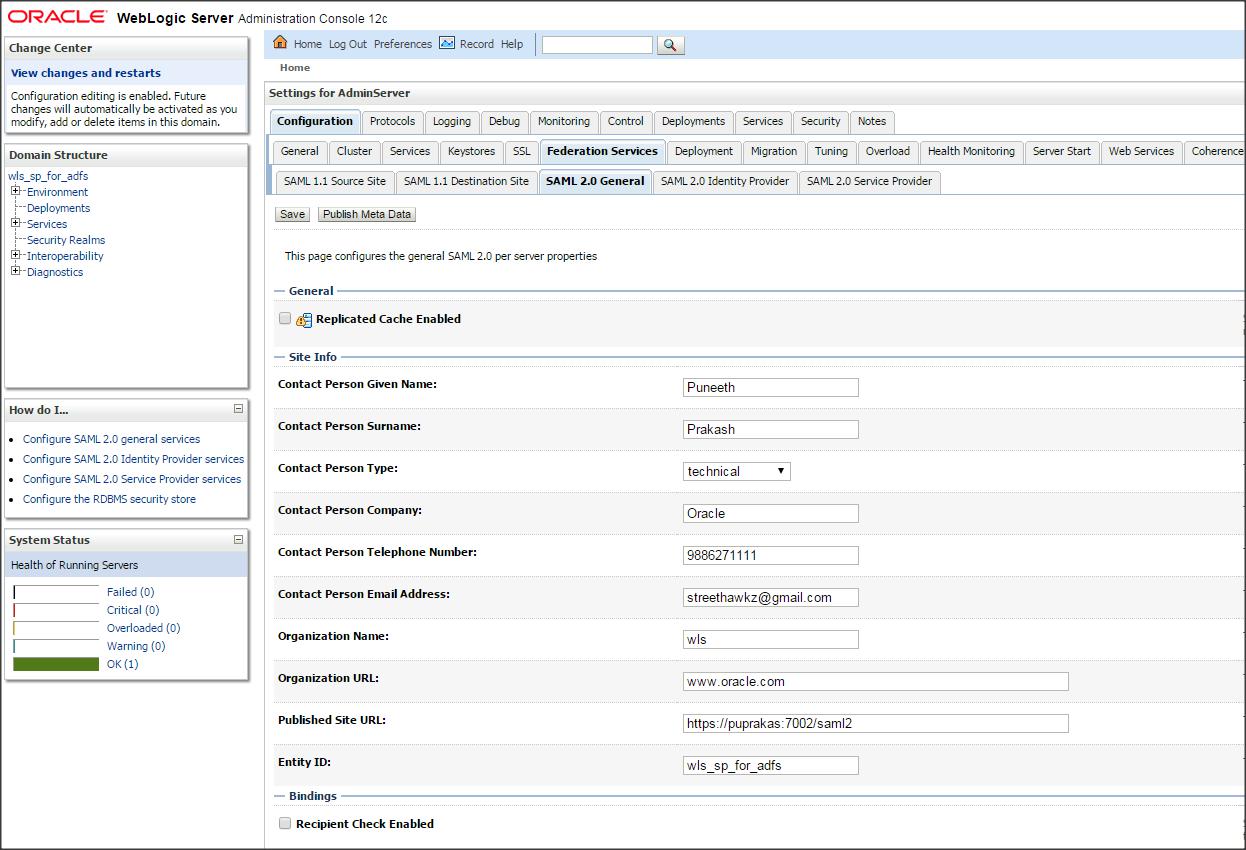
Now click on ” Servers ” –> Admin Server –> ” Federation Services ” –> ” SAML 2.0 General ” and make the following changes :
Replicated Cache Enabled : Uncheck
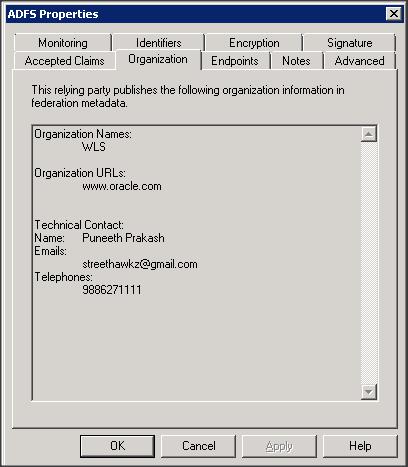
Contact Person Given Name
Contact Person Surname
Contact Person Type
Contact Person Company
Contact Person Telephone Number
Contact Person Email Address
Organization Name
Organization URL
Published Site URL : https://<DestinationSiteDNSName>:<PORT>/saml2
Entity ID : ( Destination Domain name)
Single Sign-on Signing Key Alias
Single Sign-on Signing Key Pass Phrase
Confirm Single Sign-on Signing Key Pass Phrase
Recipient Check Enabled : Uncheck
– Save the changes and export SP metadata into an XML file ( say sp.xml ) –> Click on “ Publish Meta Data ” button.
Click on ” Security Realms ” –> ” myrealm ” –> ” Providers ” –> Authentication -> saml_IA –> ” Management ” –> ” New ” –> “ New Web Single Sign-On Identity Provider Partner ” say ” WebSSO-IdP-Partner-1 ” and then select ” federationmetadata.xml ” :
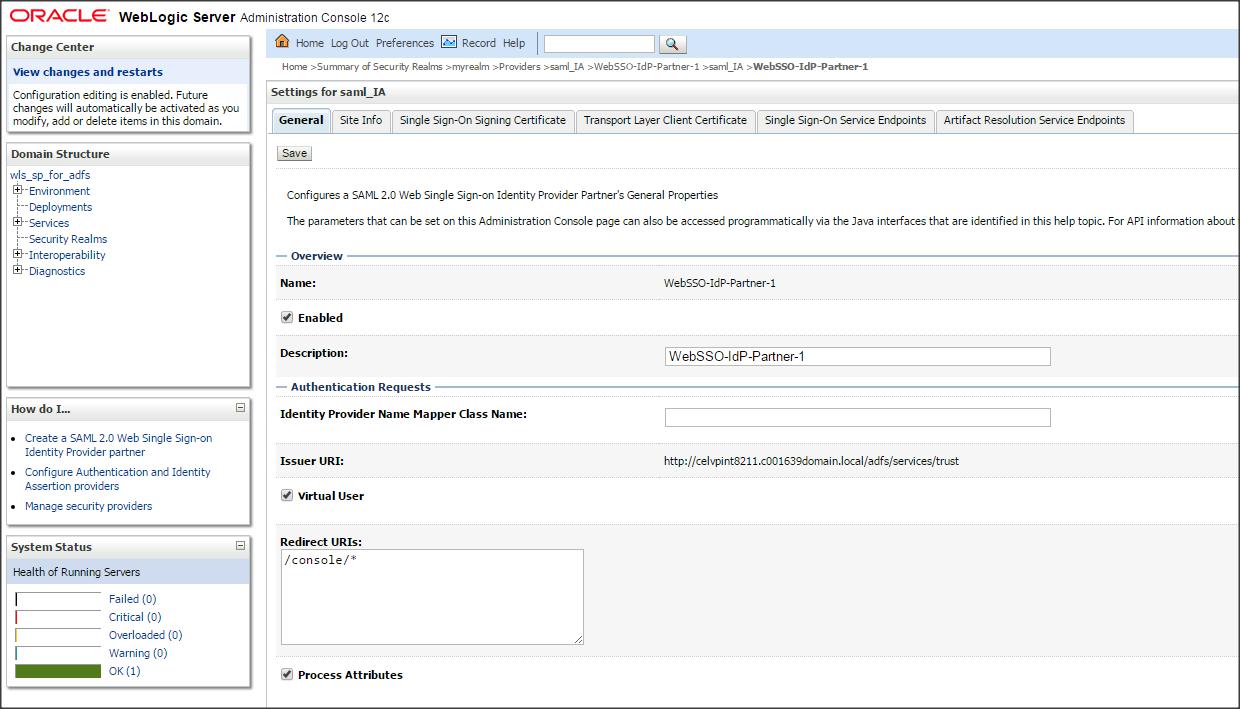
Click on ” WebSSO-IdP-Partner-1 ” and enter the following :
Name : WebSSO-IdP-Partner-1
Enabled : Check
Description : WebSSO-IdP-Partner-1
Redirect URIs : /console/*
Step 7 :
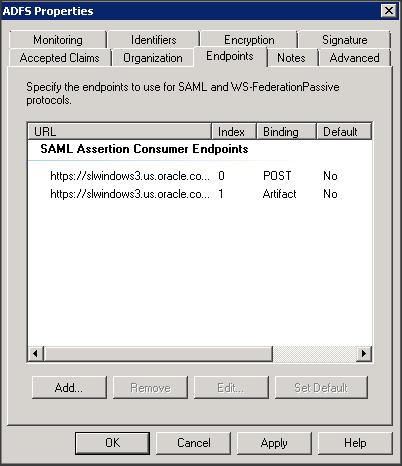
ADFS IDP configuration :
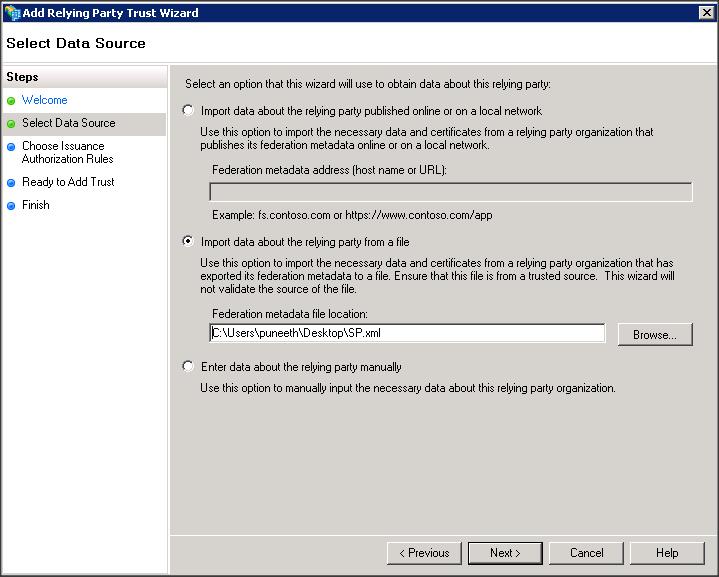
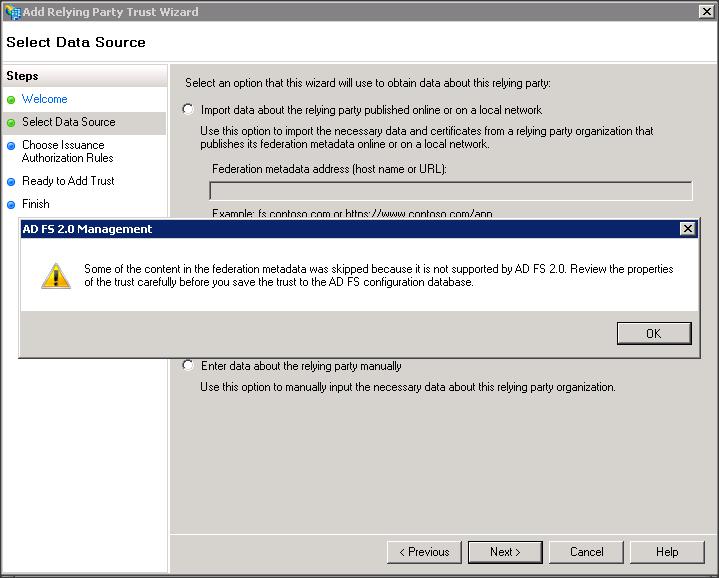
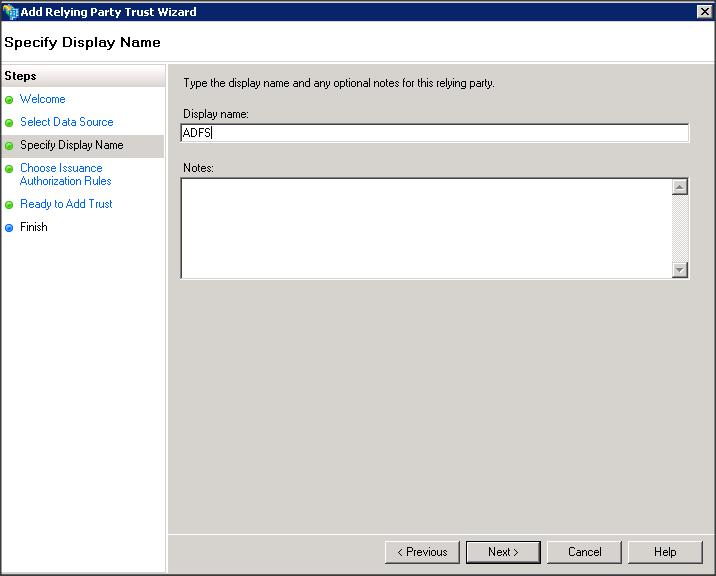
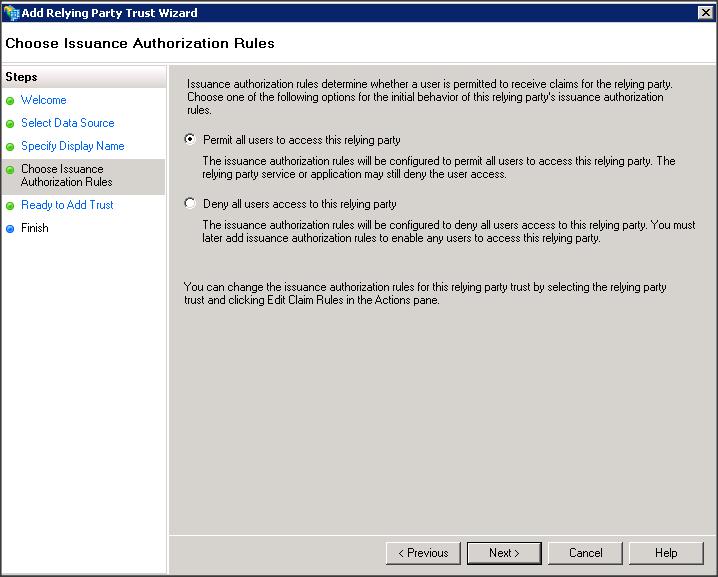
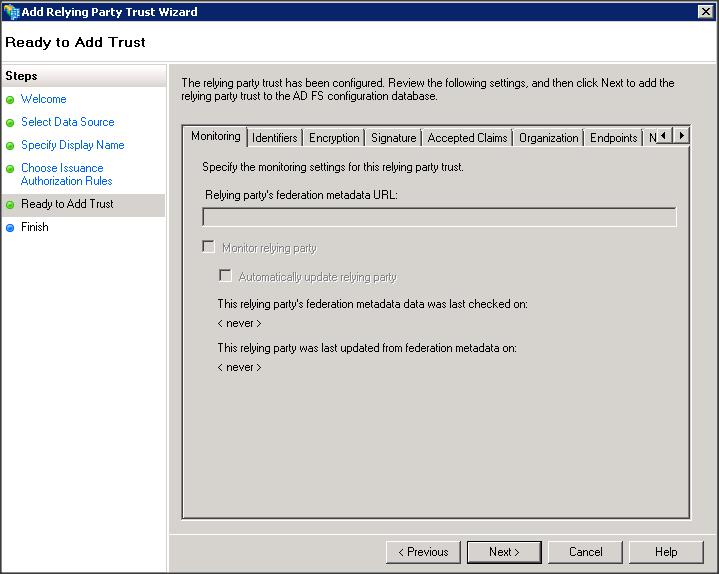
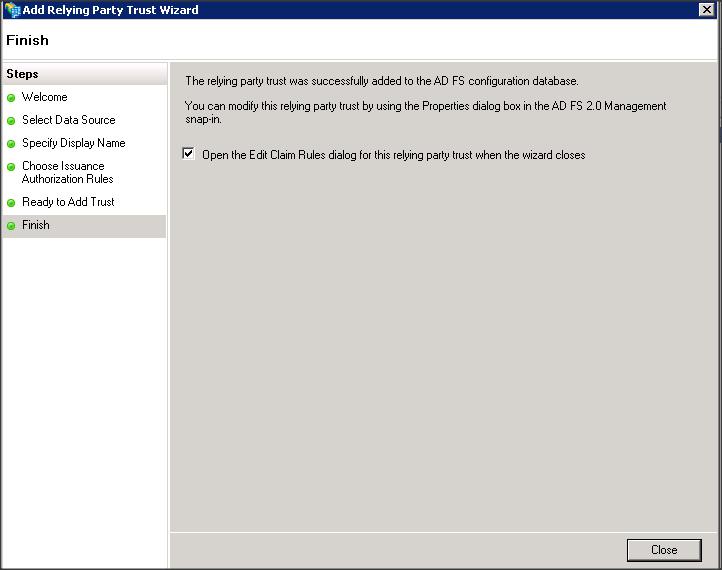
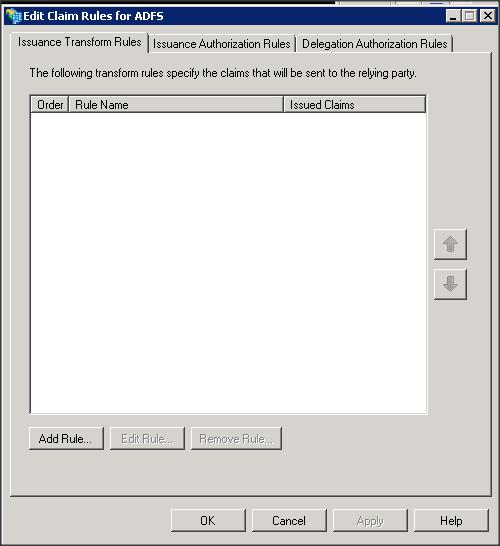
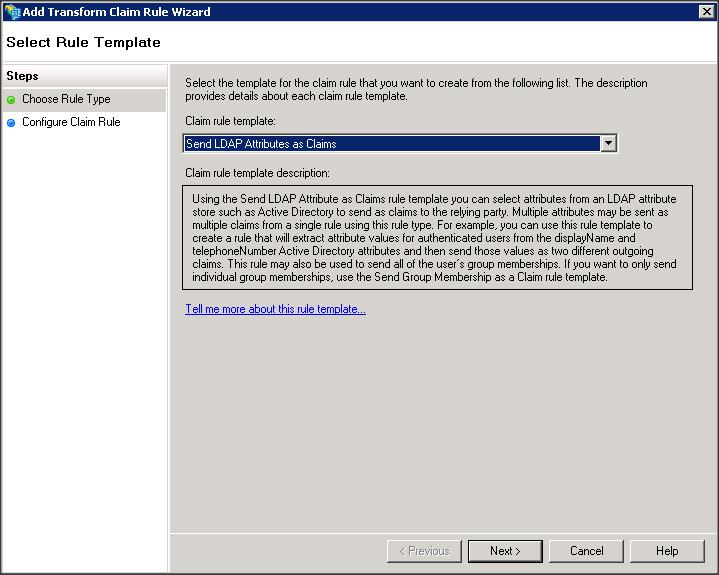
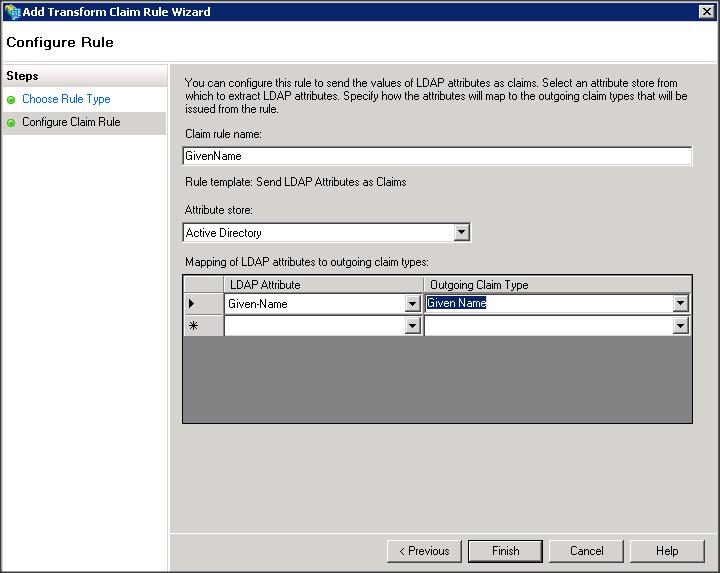
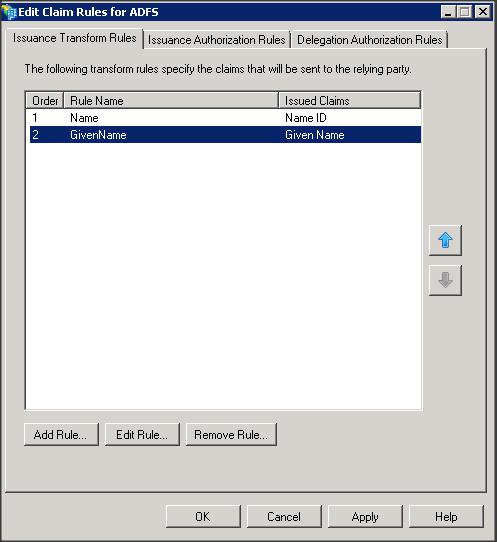
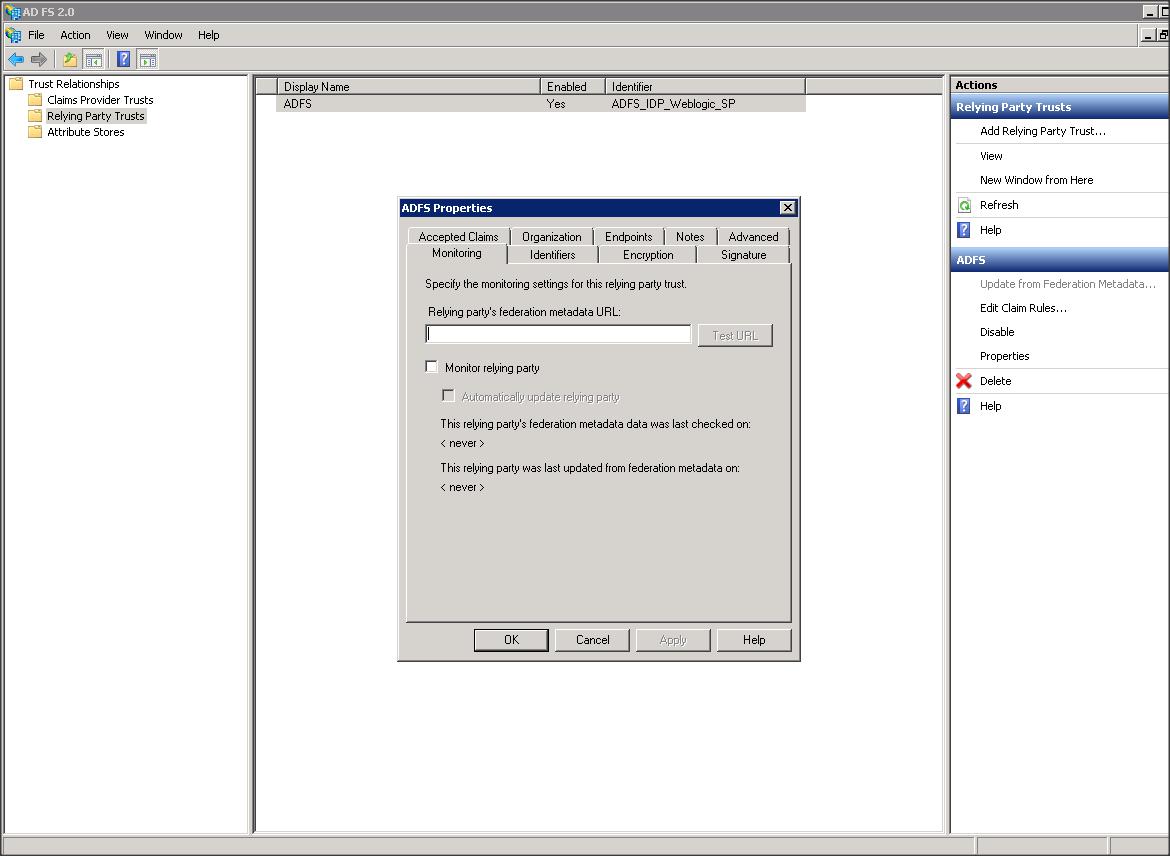
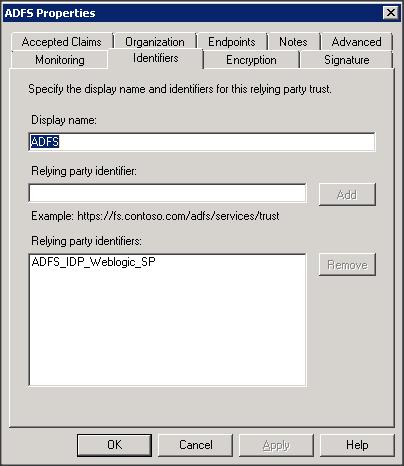
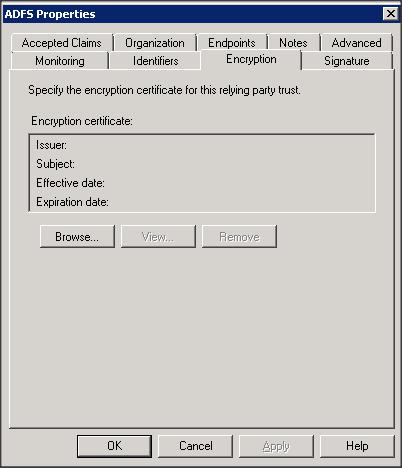
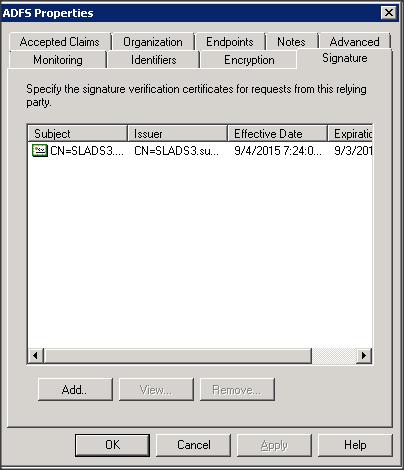
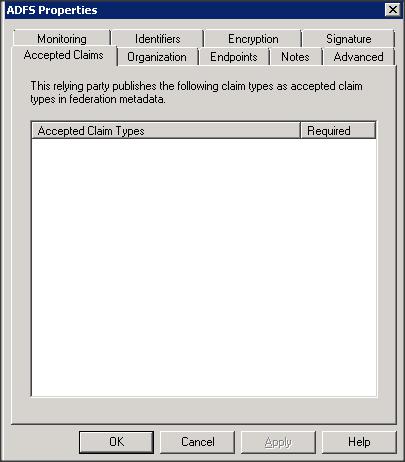
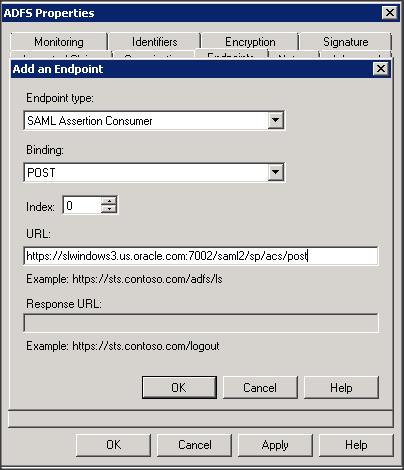
– Add a Replying Party Trust using ADFS 2.0 Management wizard
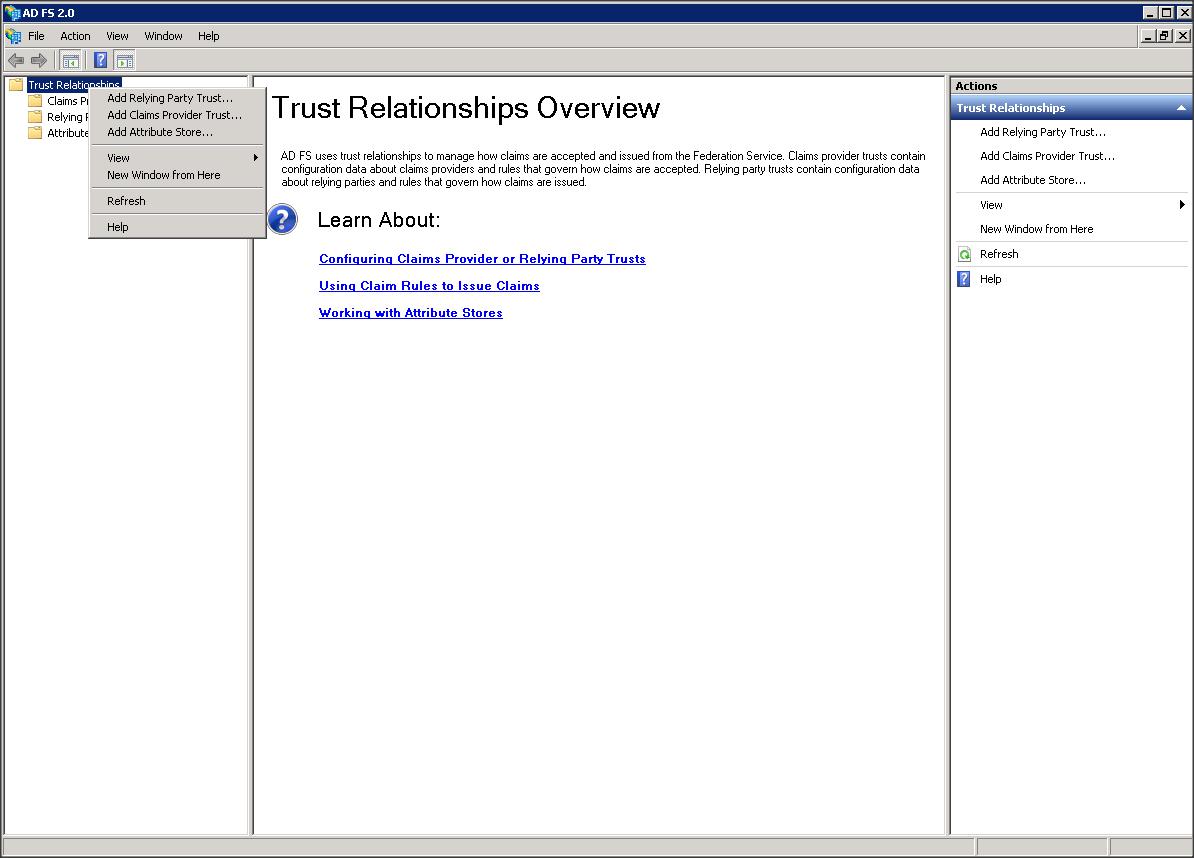
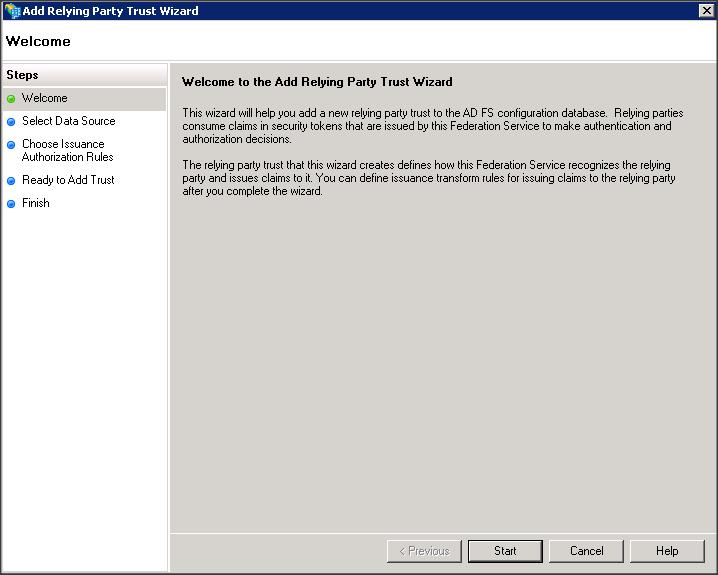
– Import the replying party data into ADFS IDP using the SP metadata file that you copied from WLS box (i.e sp.xml)


Step 8 :
NOTE :
If you are testing SAML SSO with WLS console application, then make sure you change the cookie name of WLS console application :
Login to console –> <domain-name> -> Configuration -> General -> Advanced -> Console Cookie Name: JSESSIONID
– We have completed all the SP and IDP related configuration now. It time to test SSO 🙂
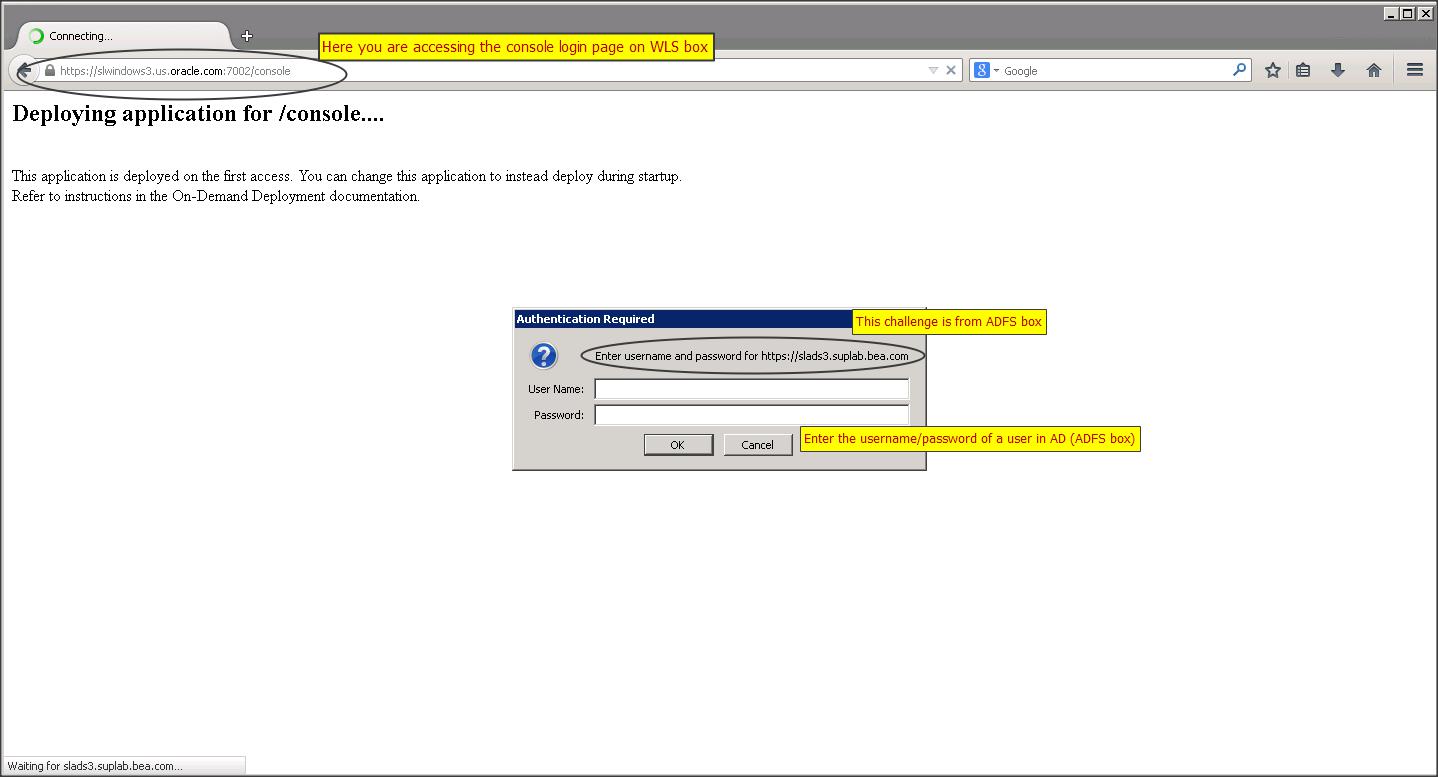
– To access an SP initiated SSO access the following link :
https://<WLS_hostname>:7002/console
– Once you access the console page you should be redirected to ADFS box asking for a credentials on a browser pop-up :
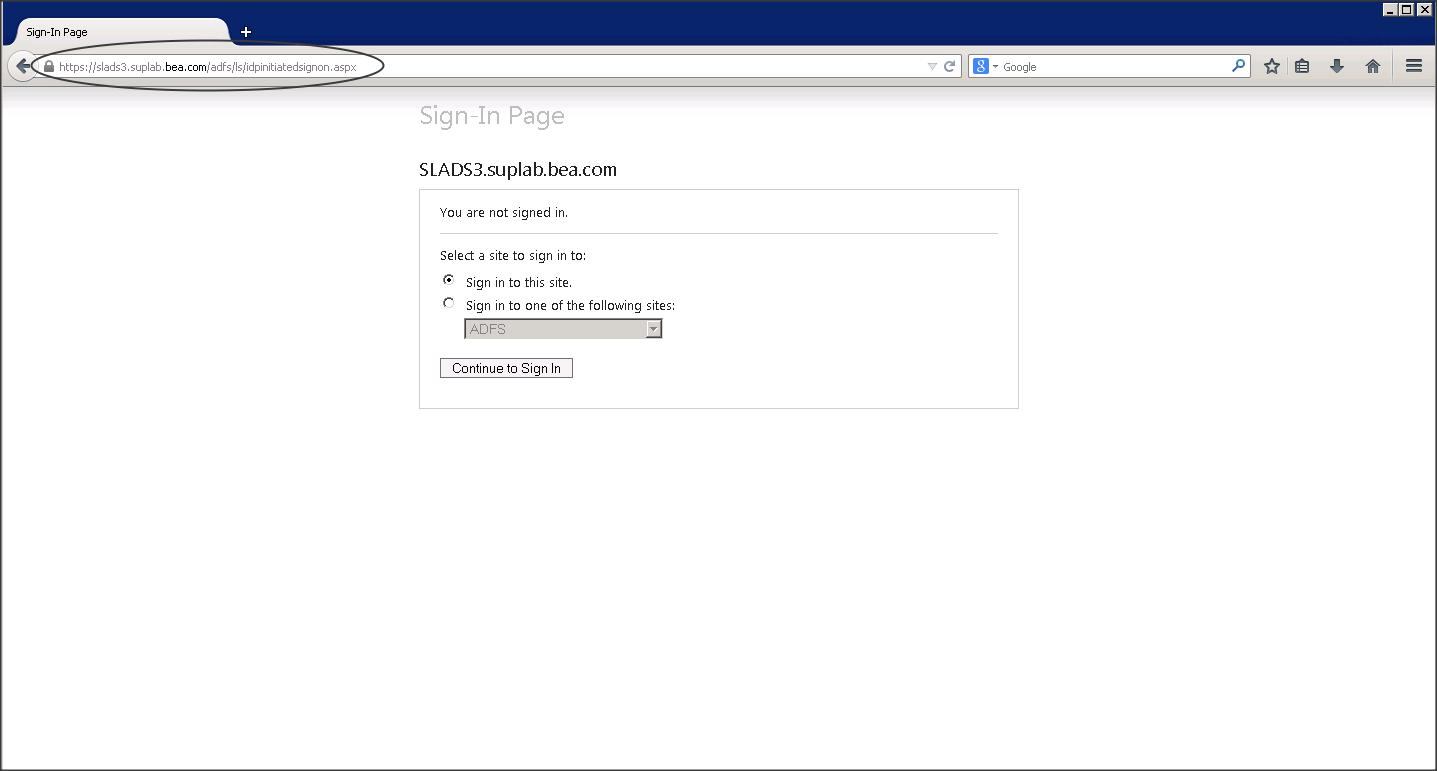
– To access IDP initiated SSO access the following link :
https://<ADFS_hostname>/adfs/ls/idpinitiatedsignon.aspx