Recap: What is a Multi-level Approval?
A multi-level approval system involves more than one level of approval to process a request. Our previous blog on multi-approvals demonstrated how to perform multi-level approvals in a Travel Request Application using Approval Tasks. With the introduction of the Workflow component in APEX 23.2, we will now be able to visualize and design multi-level approvals in a declarative manner. This blog handles an Expense Reimbursement scenario to demonstrate the effective use of Workflow and Approval Tasks to build multi-level approval systems.
Designing an Expense Reimbursement App
In this section, we will design an Expense Reimbursement Application where the reimbursement flow will use the following logic:
- For Expense Amount < 1000 No Approval is required – the request is auto-approved.
- For Expense Amount between 1000 and 2000 One Level of approval is required.
- For Expense Amount between 2000 and 5000 Two Levels of approval are required.
- For Expense Amount above 5000 Three Levels of approval are required.
- If the request is rejected at the 1st Level, the Employee receives a “Reimbusrsent Request Rejected” Email and needs to resubmit the Request
- If the request is rejected at higher levels, then the request goes back to the 1st level for another round of approvals.
- If the request gets approved at all the levels of approval, the employee receives a “Reimbursement Request Approved” Email.
Prerequisite
It is assumed that the users logging in into the application at run time, have already been created beforehand. Create the following users using the Manage Users And Groups menu option under Workspace Administration: STEVE, JANE, BO, SUSIE, MATT, CLARA.
Create the App
- Navigate to App Builder
- Click Create
- Click New Application
For Name – enter Expense Reimbursement

Sample Table and Sample Data
Install the Dataset
- Navigate to SQL Workshop and click SQL Scripts
- Click Create
- Copy and Paste the commands given below into the Script Editor to create a new Table APPROVAL_LEVELS and insert the manager records into it.
- Click Run
- Click Run Now.
 CREATE TABLE "APPROVAL_LEVELS"
   (    "LEVEL_ID" NUMBER GENERATED BY DEFAULT ON NULL AS IDENTITY MINVALUE 1 MAXVALUE 9999999999999999999999999999 INCREMENT BY 1 START WITH 1 CACHE 20 NOORDER  NOCYCLE  NOKEEP  NOSCALE  NOT NULL ENABLE,
    "MGR_NAME" VARCHAR2(255),
    "MGR_EMAIL" VARCHAR2(400),
    "LEVEL_CODE" NUMBER DEFAULT 1 NOT NULL ENABLE,
     CONSTRAINT "APPROVAL_LEVELS_PK" PRIMARY KEY ("LEVEL_ID")
  USING INDEX  ENABLE
   ) ;


insert into APPROVAL_LEVELS values (10, 'JANE', 'jane@expenseteam.com', 1);

insert into APPROVAL_LEVELS values (20, 'MATT', 'martin@expenseteam.com', 1);

insert into APPROVAL_LEVELS values (30, 'BO', 'bo@expenseteam.com', 2);

insert into APPROVAL_LEVELS values (40, 'CLARA', 'clara@expenseteam.com', 2);

insert into APPROVAL_LEVELS values (50, 'SUSIE', 'susie@expenseteam.com', 3);
Creating the Task Definition
In the empty Application, we go to the Shared Components→ Workflows and Automations→ Task Definitions and hit Create . Fill in the Create Task Definition Wizard fields as shown below, and hit Create.
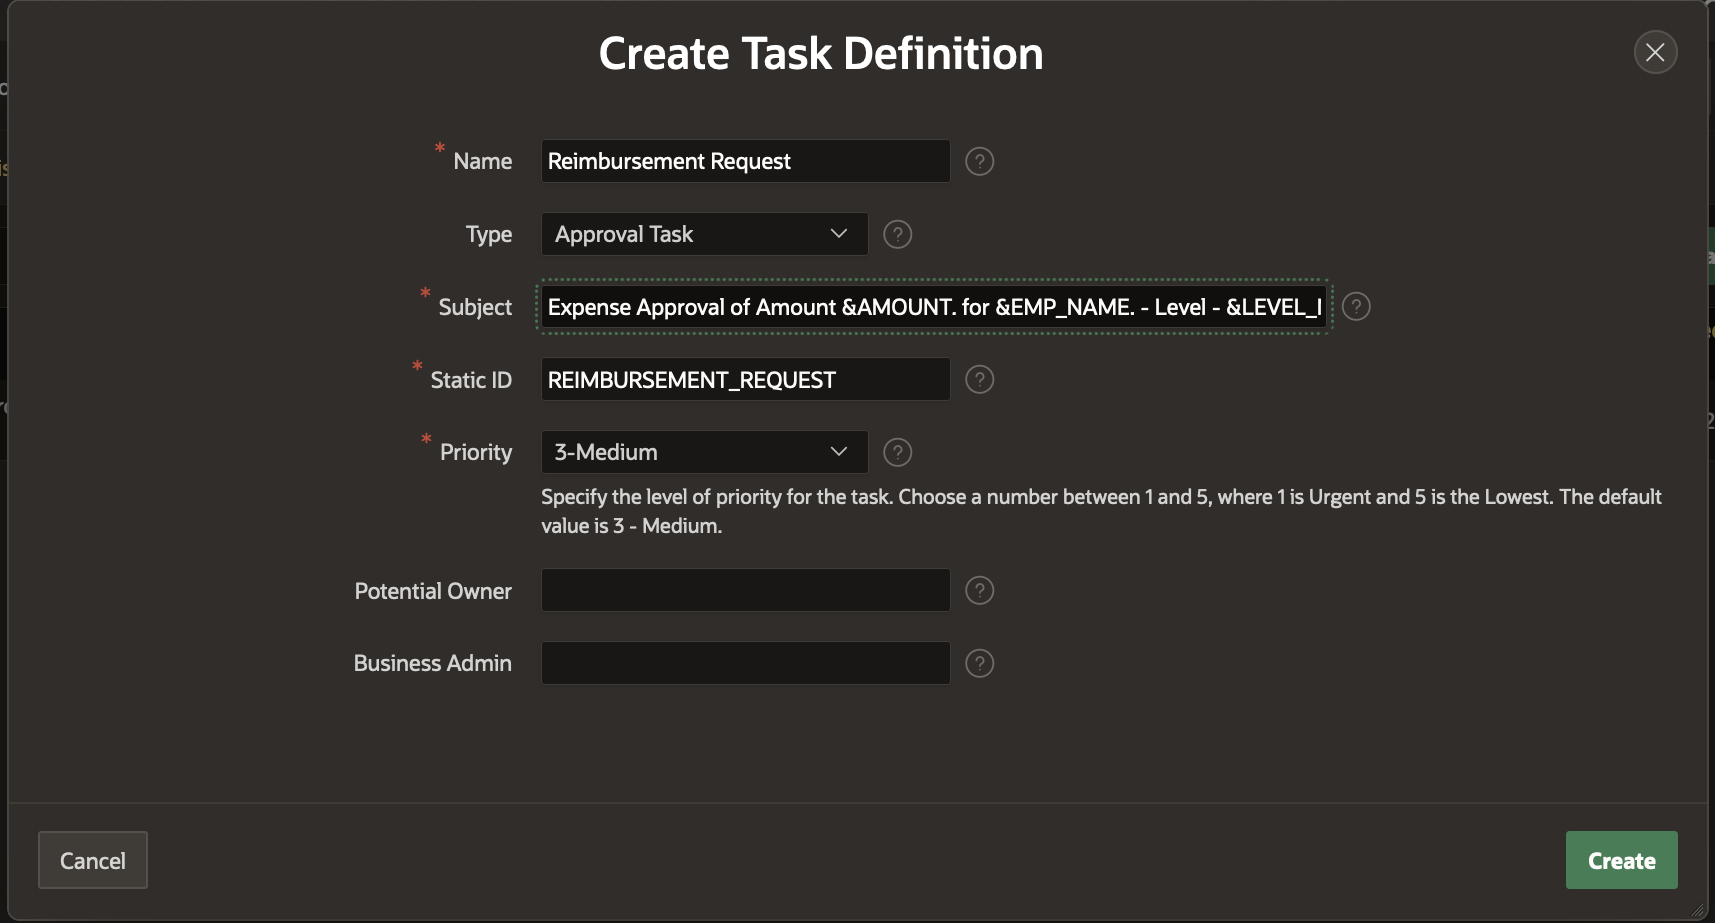
Leave the Potential Owner and Business Administrator fields empty for now. We will fill them up in the next section.
We can now further configure the Reimbursement Request Task Definition in the Edit Task Definition screen that opens once the Create is hit.
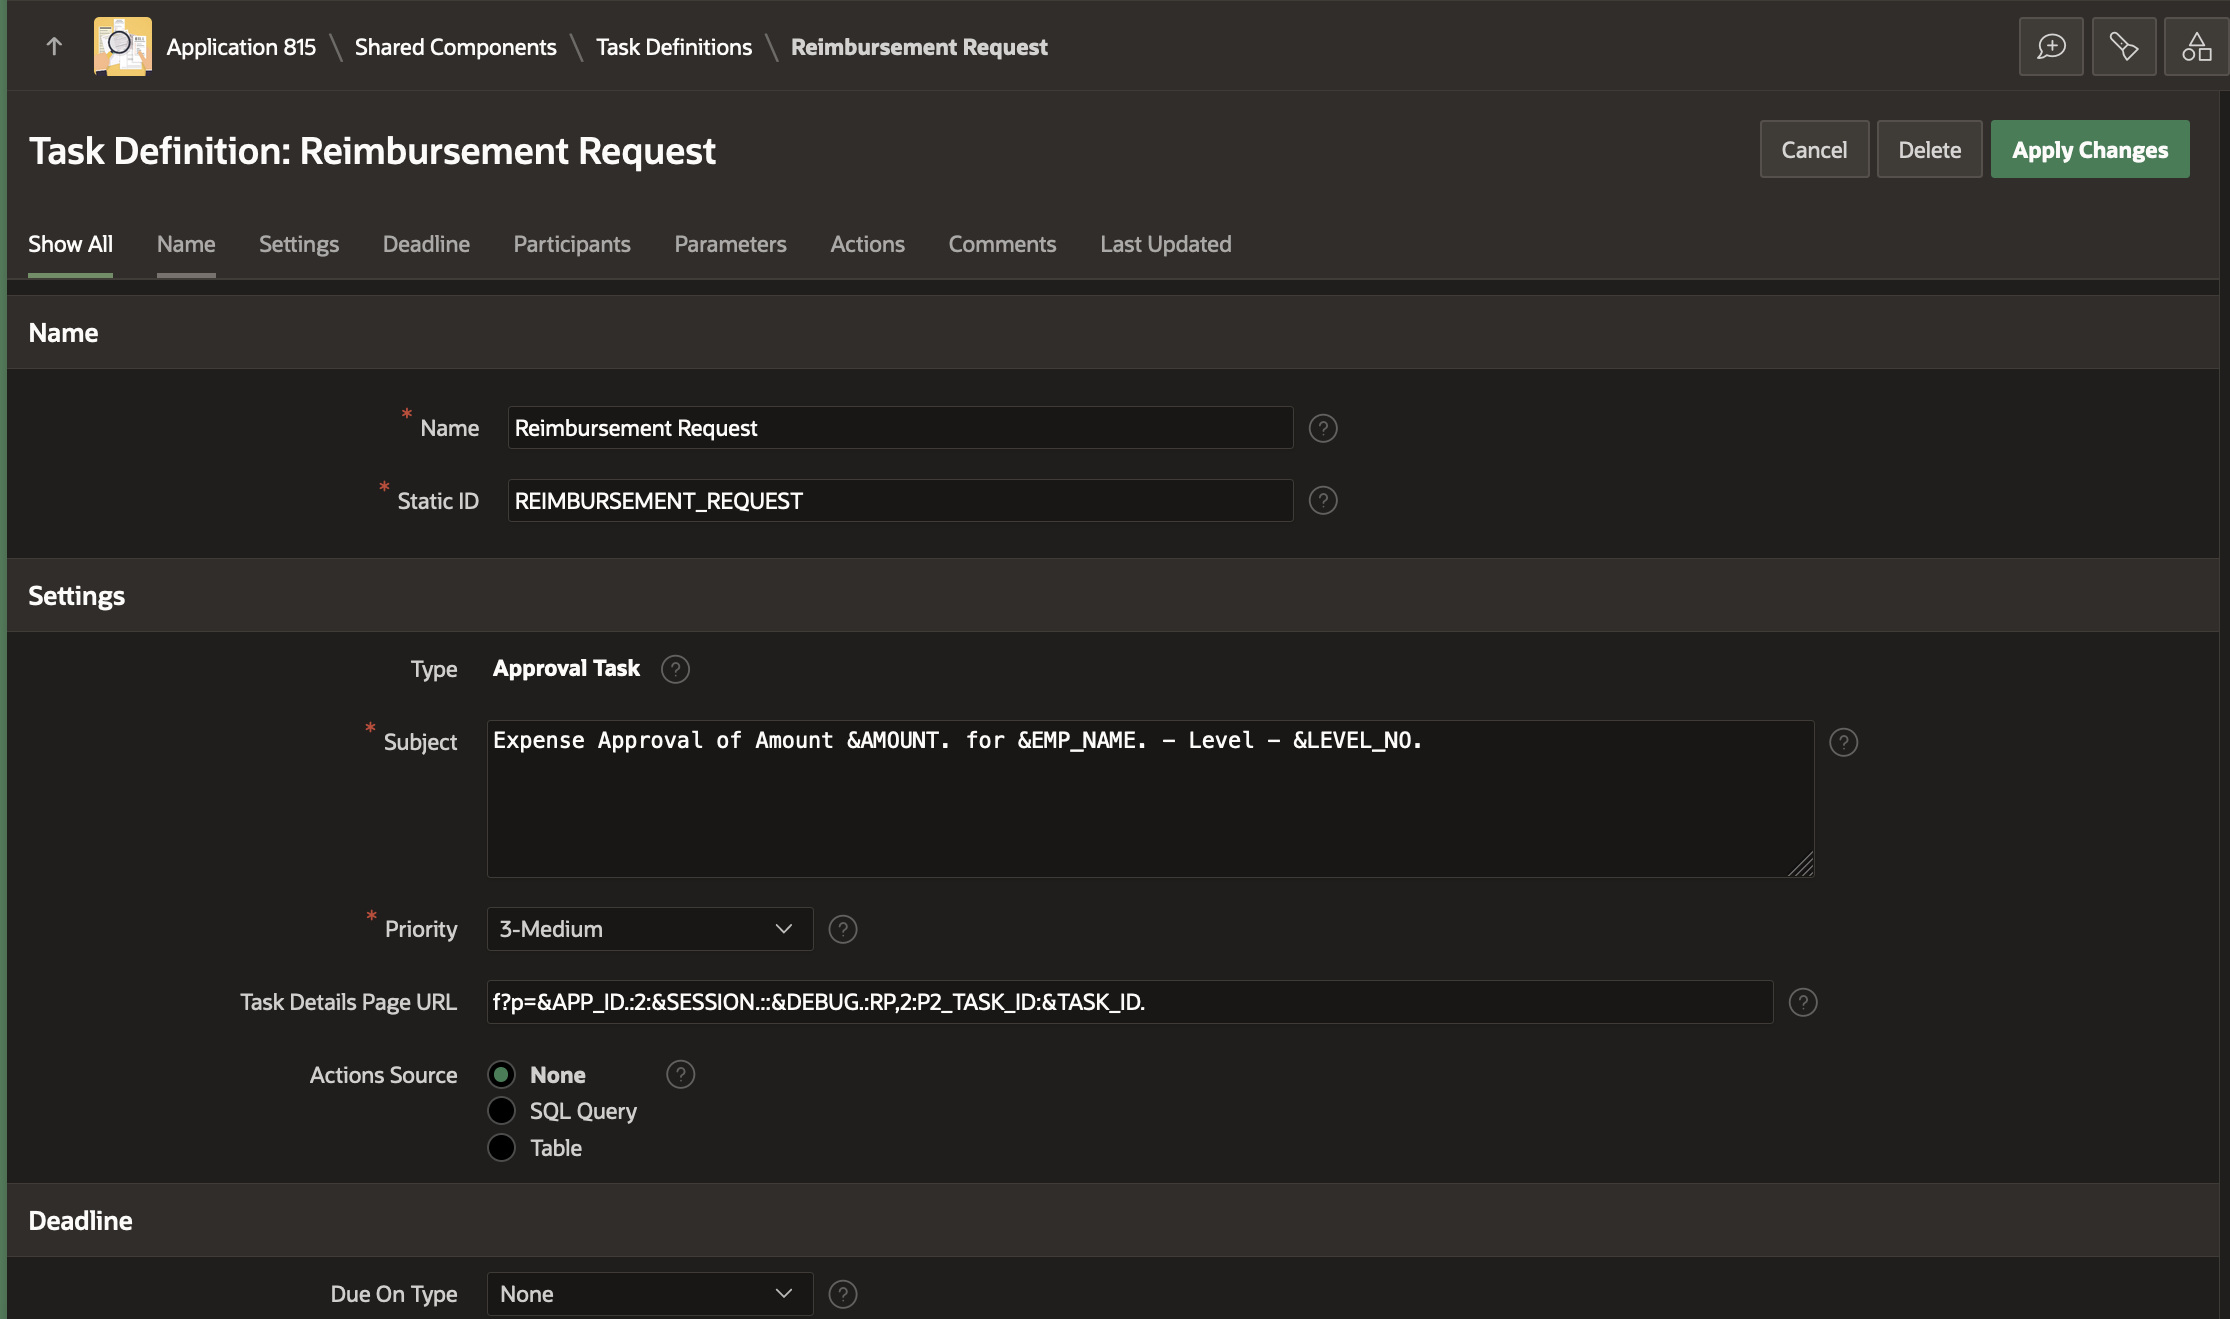
Note
1) The Actions Source is selected as None, and we keep it that way.
2) The Task Details Page URL is generated by clicking the Create Task Details Page button that appears initially. To learn more about generation of Task Details Page in a Task Definition, check out the Generating Task Details Page section in this blog.
Add Task Participants
In the Participants section, select Participant Type as Potential Owner and Value Type as SQL Query. In the Value field, add the following SQL query
select mgr_name from approval_levels where level_code = :LEVEL_NO
NOTE: This query will fetch the manager(s) for a given approval level.
In the Participants section, select Participant Type as Business Administrator and Value Type as STATIC. In the Value field, enter ‘PAT’ .
Add Task Parameters
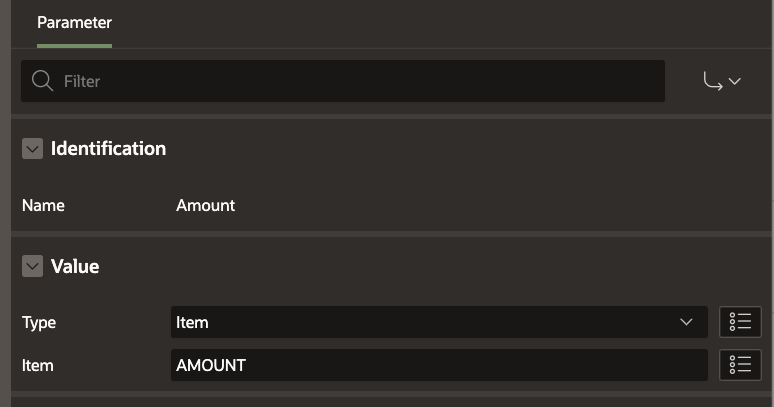
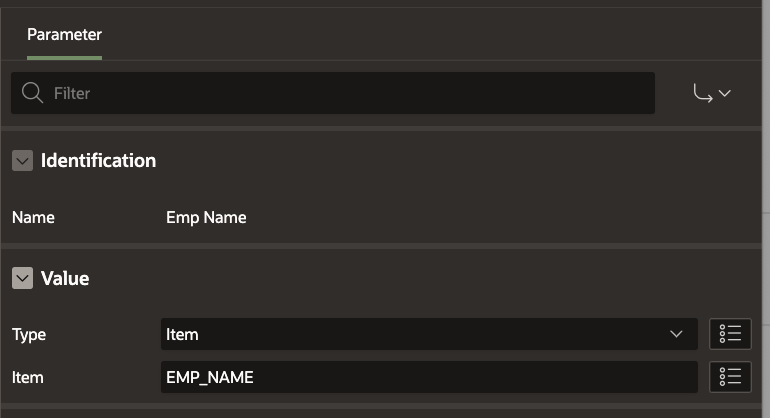
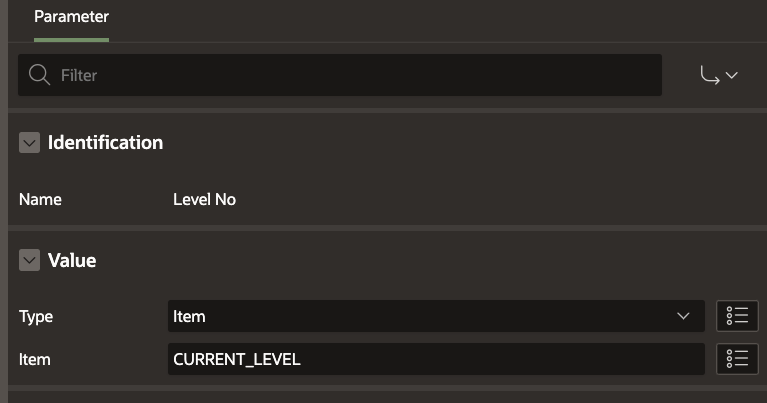
Add the following entries to the Task Parameters section: AMOUNT, LEVEL_NO and EMP_NAME.
Here is how the task definition looks now
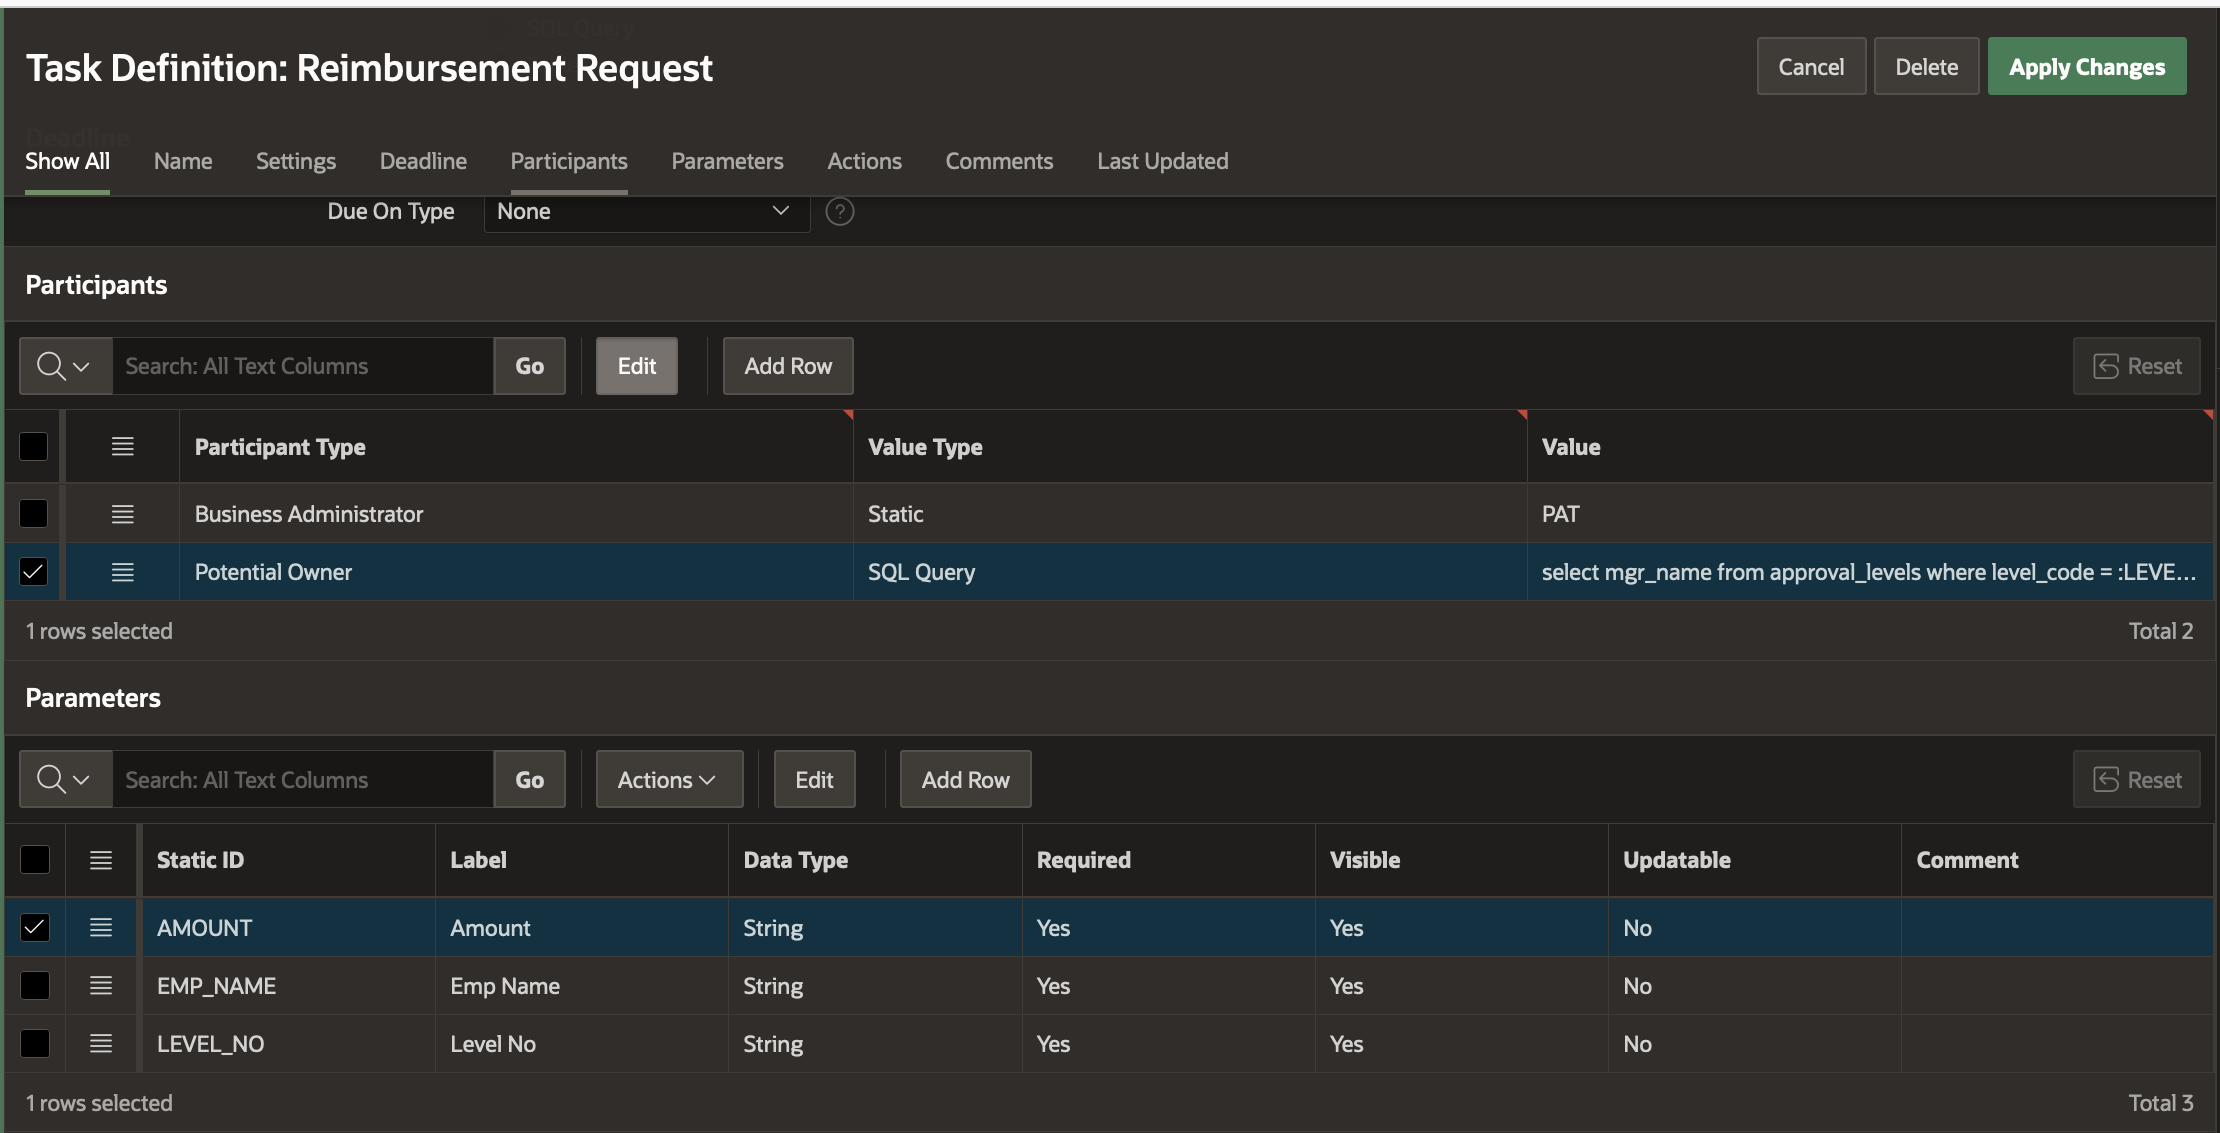
The Reimbursement Request Task Definition is now complete!
Creating the Expense Reimbursement Workflow
Brushing Up: The blog series Simplify Business Process Management Using APEX Workflow contains a detailed guide on how to create and use workflows for business process management. It also contains details of APEX Workflow Parameters, Variables, Activities and Connections.
To design the Expense Reimbursement Workflow, go to the Shared Components→ Workflows and Automations→ Workflows and hit Create.
This brings us to the Workflow Designer (Shared Components -> Workflows -> Workflow Definition) Page. You will find that a new workflow with a new version has been auto-created with a Start Activity, an Execute Code Activity and an End Activity. Remove the Execute Code Activity as shown in this blog.
Modify the Workflow Name to Expense Reimbursement Workflow, Title to Expense Reimbursement for &EMP_NAME. and the Static ID to EXP_REIMBURSEMENT_WF .
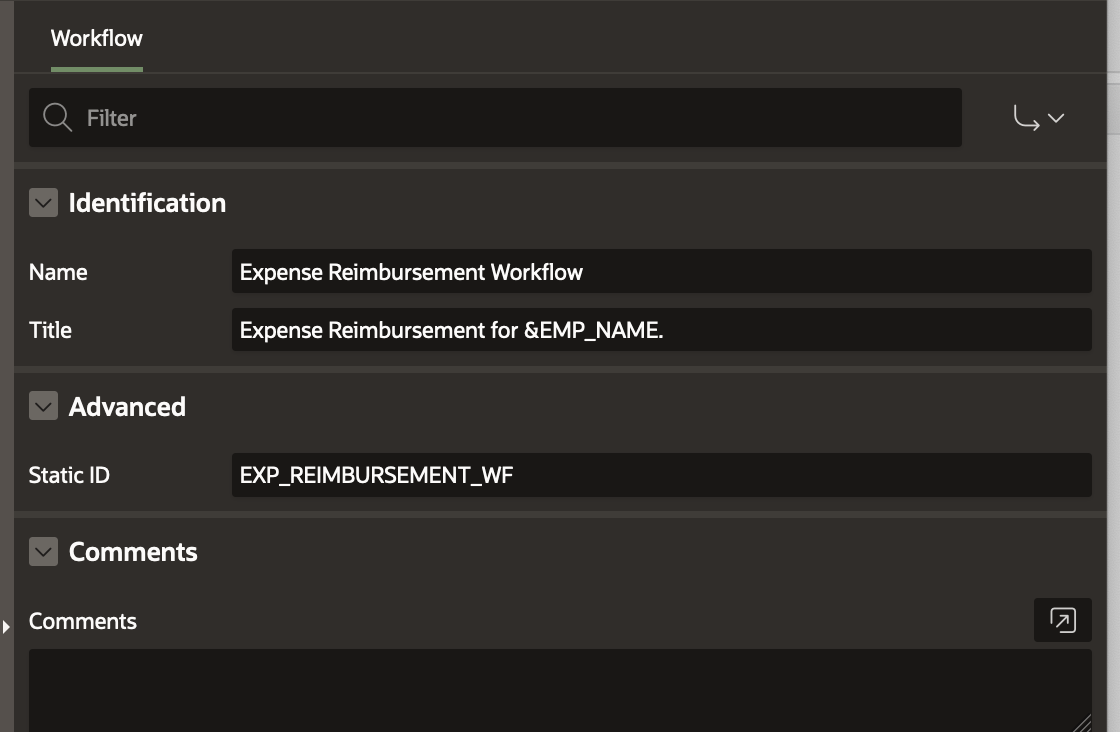
Modify the Workflow Version to 1.0
Parameters for the Workflow
We will define the following parameters for the Expense Reimbursement Workflow.
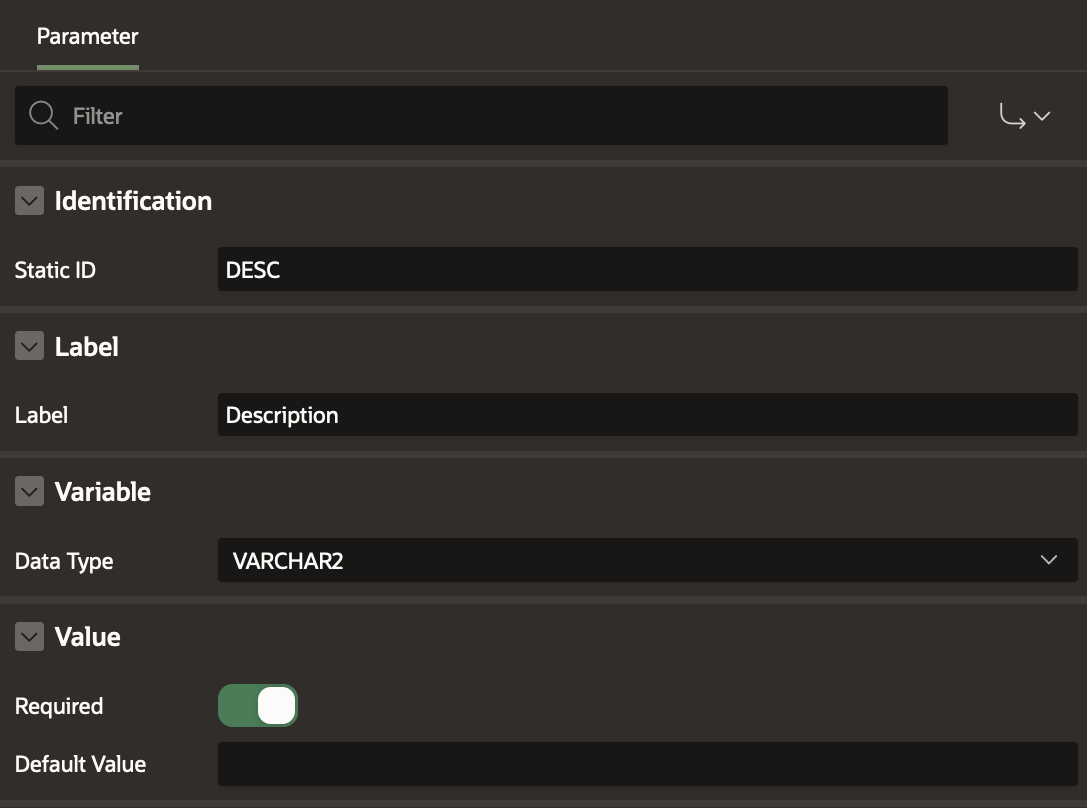
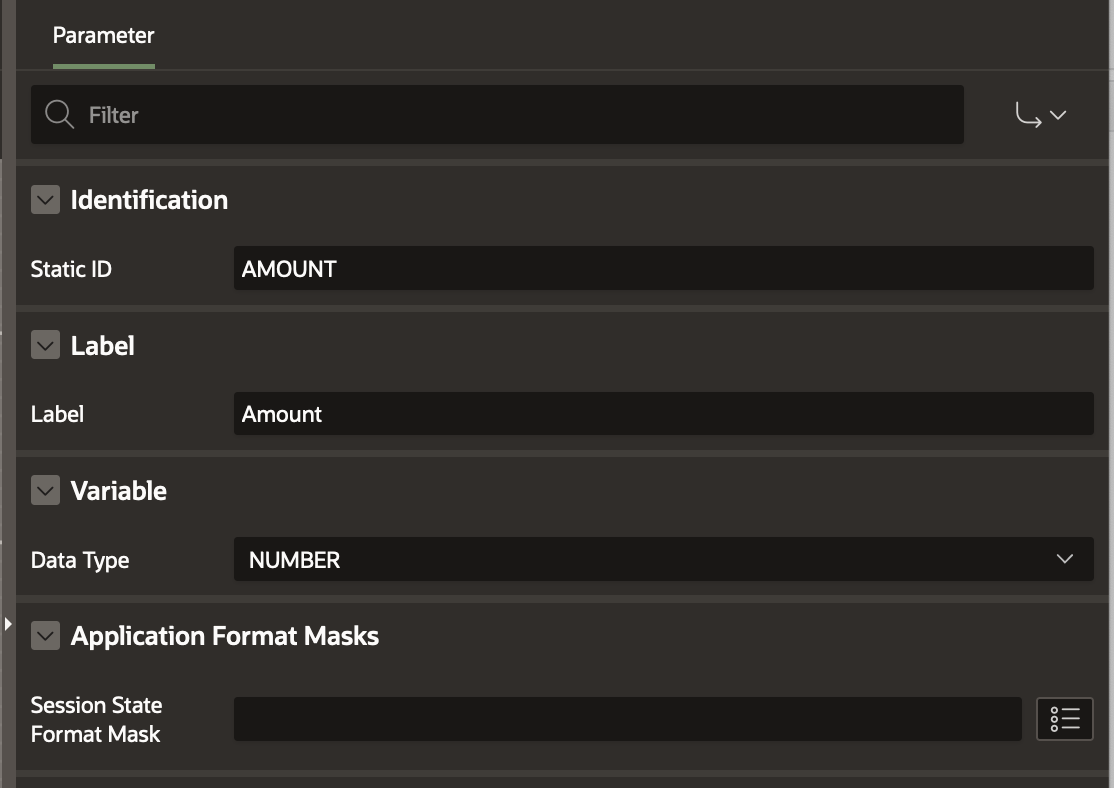
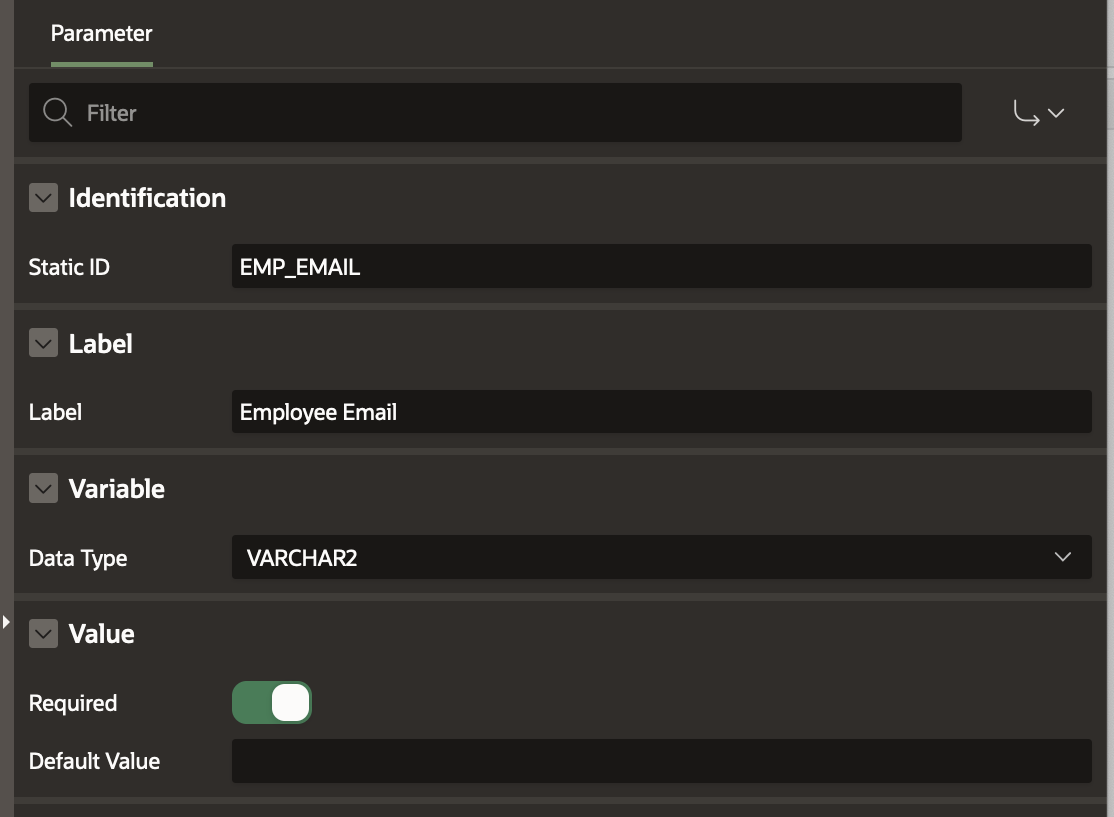
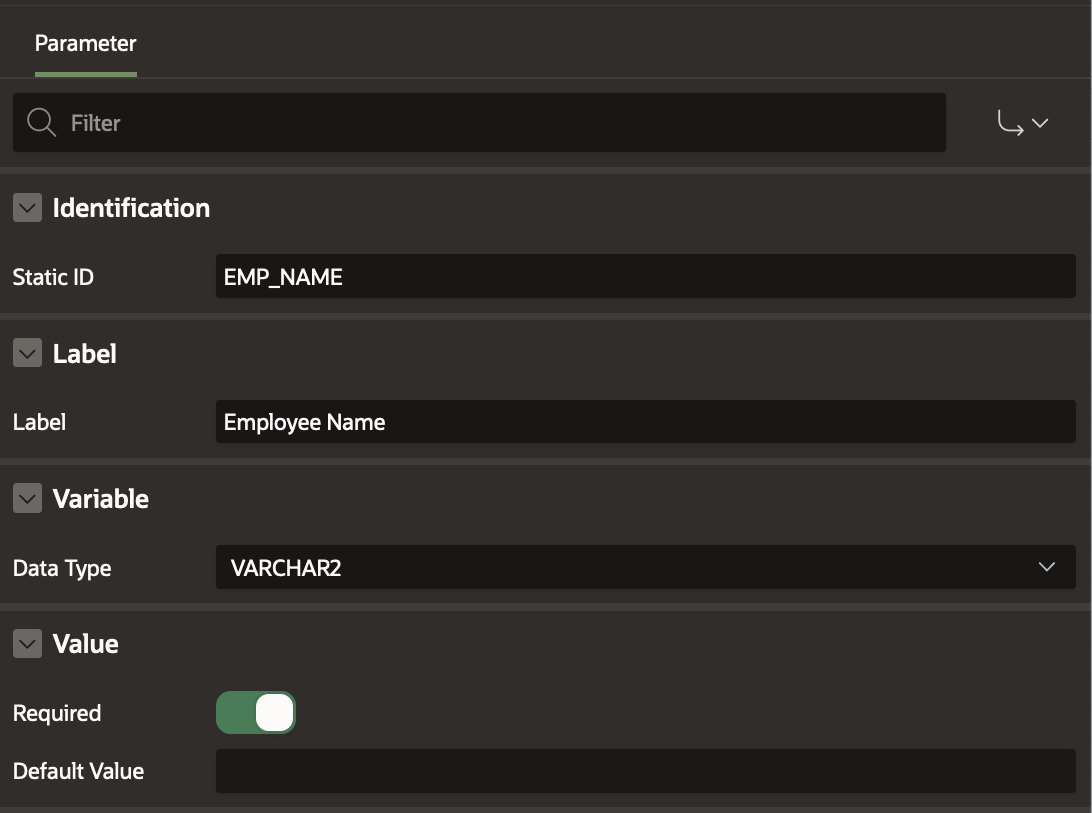
EMP_NAME (Employee Name), EMP_EMAIL (Employee Email) , DESC ( Description ) , AMOUNT Amount)
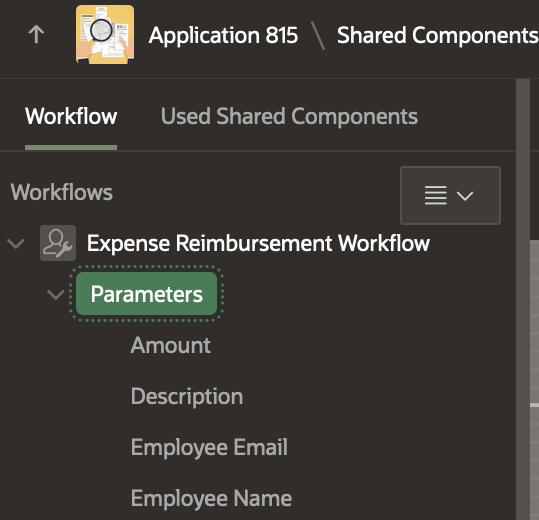
To create a new Parameter, right click on the Workflow in the Tree and select Create Parameter. This adds a Parameter with label “New” in the Workflow Tree. Go to the Property Editor and change the Labels and Static IDs to the values given above.
Variables in the Workflow
Define the following Workflow Variables
MAX_LEVEL initialized to Null , CURRENT_LEVEL initialized to Static Value 1.
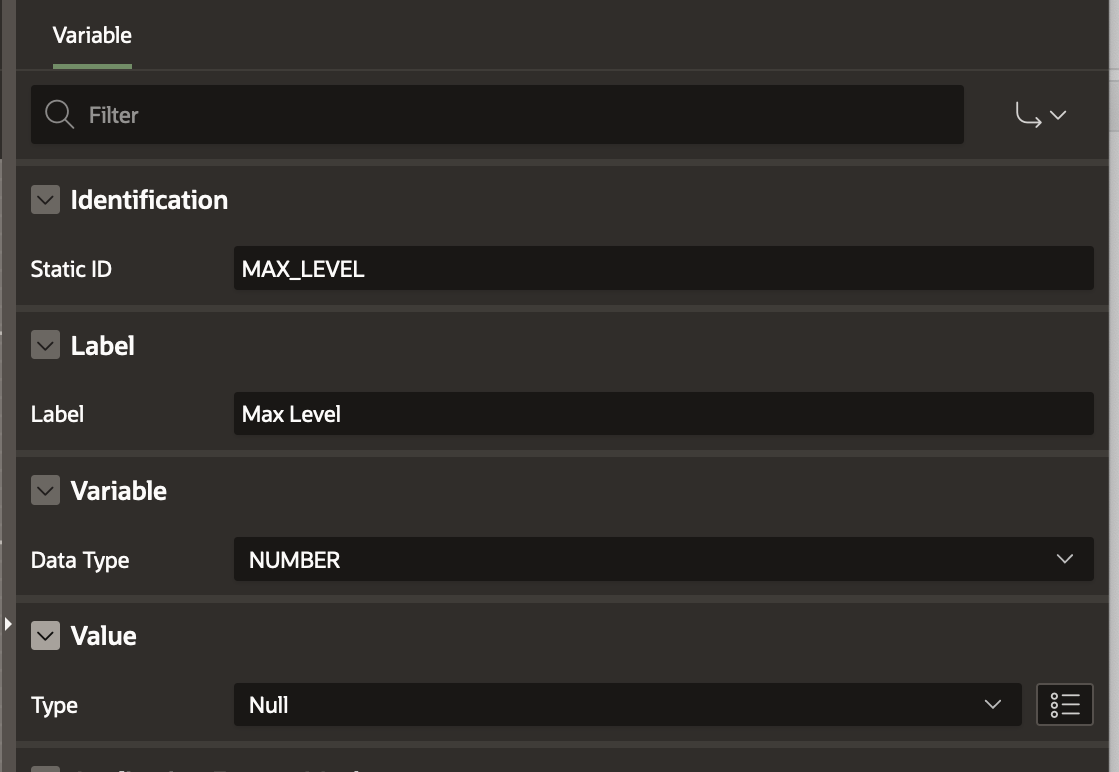
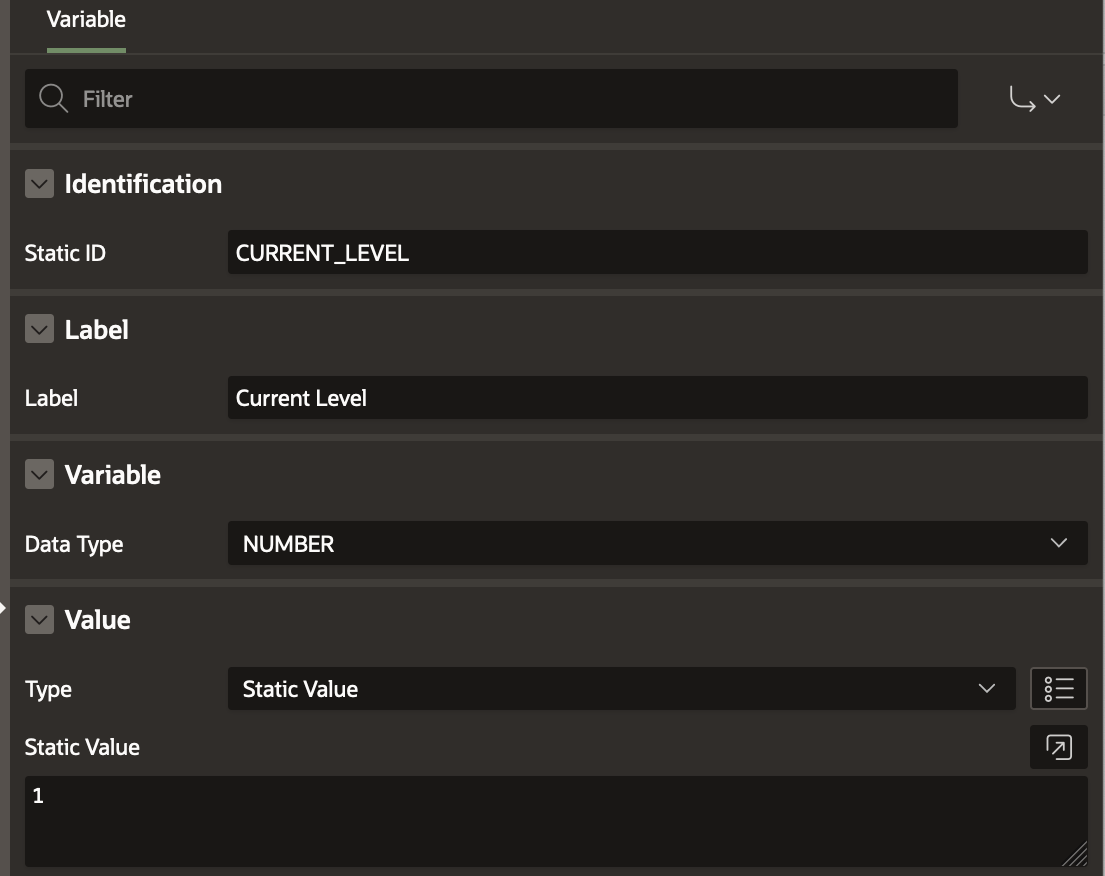
Note: To learn about defining workflow variables, check Adding Workflow Variables section in this blog.
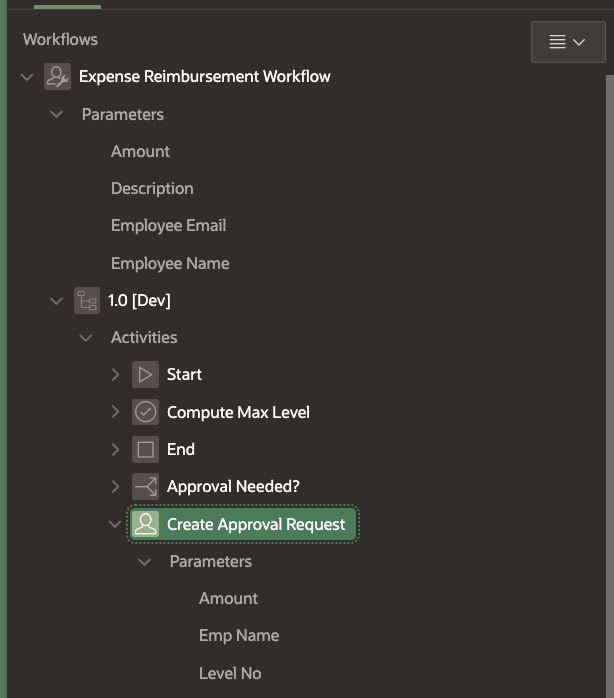
Activities in the Workflow
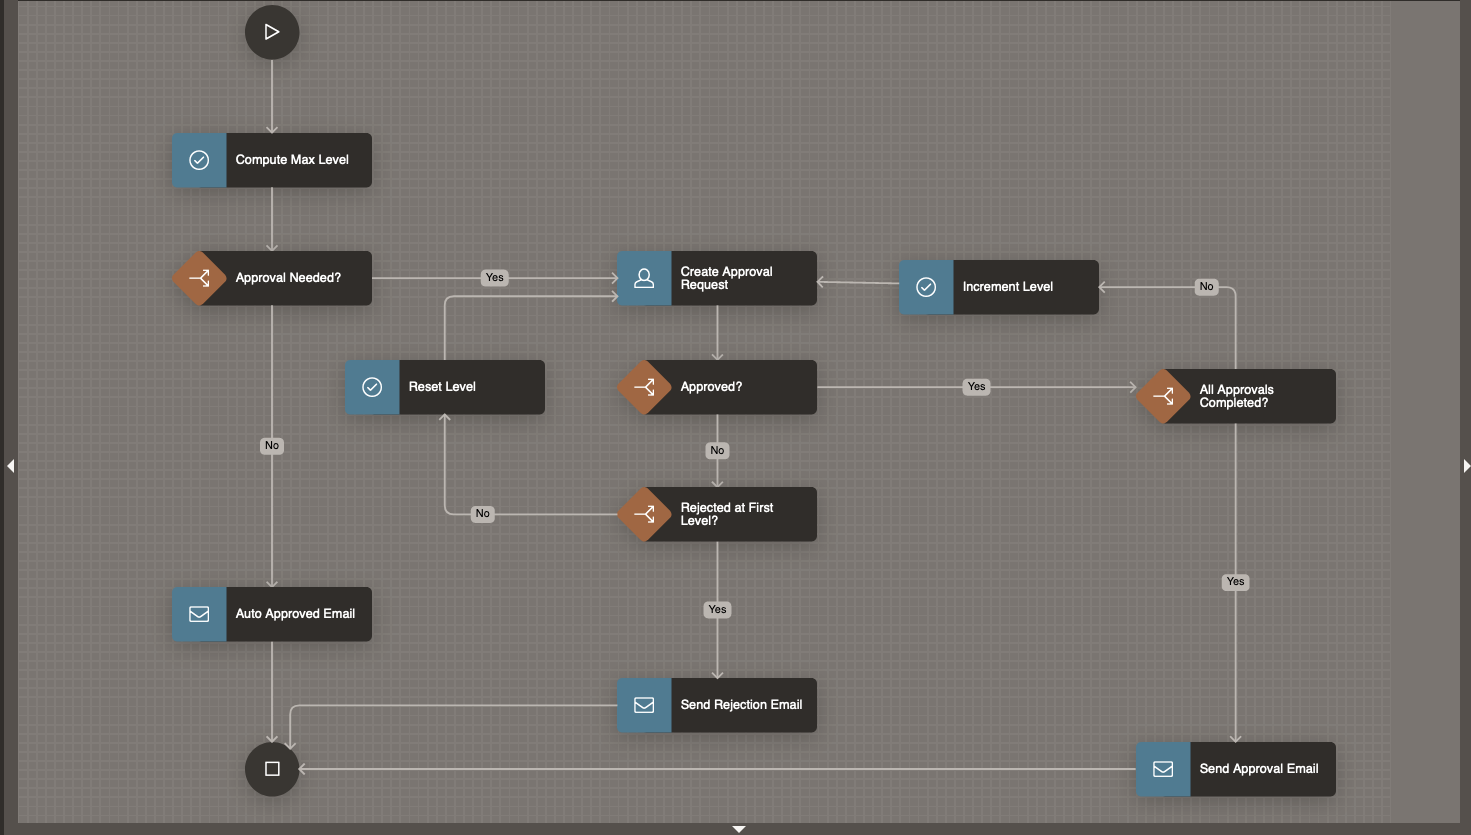
Follow the flowchart shown in the beginning of this blog and define the following activities accordingly
Note: To get a detailed description of the different Workflow Activities visit this blog .
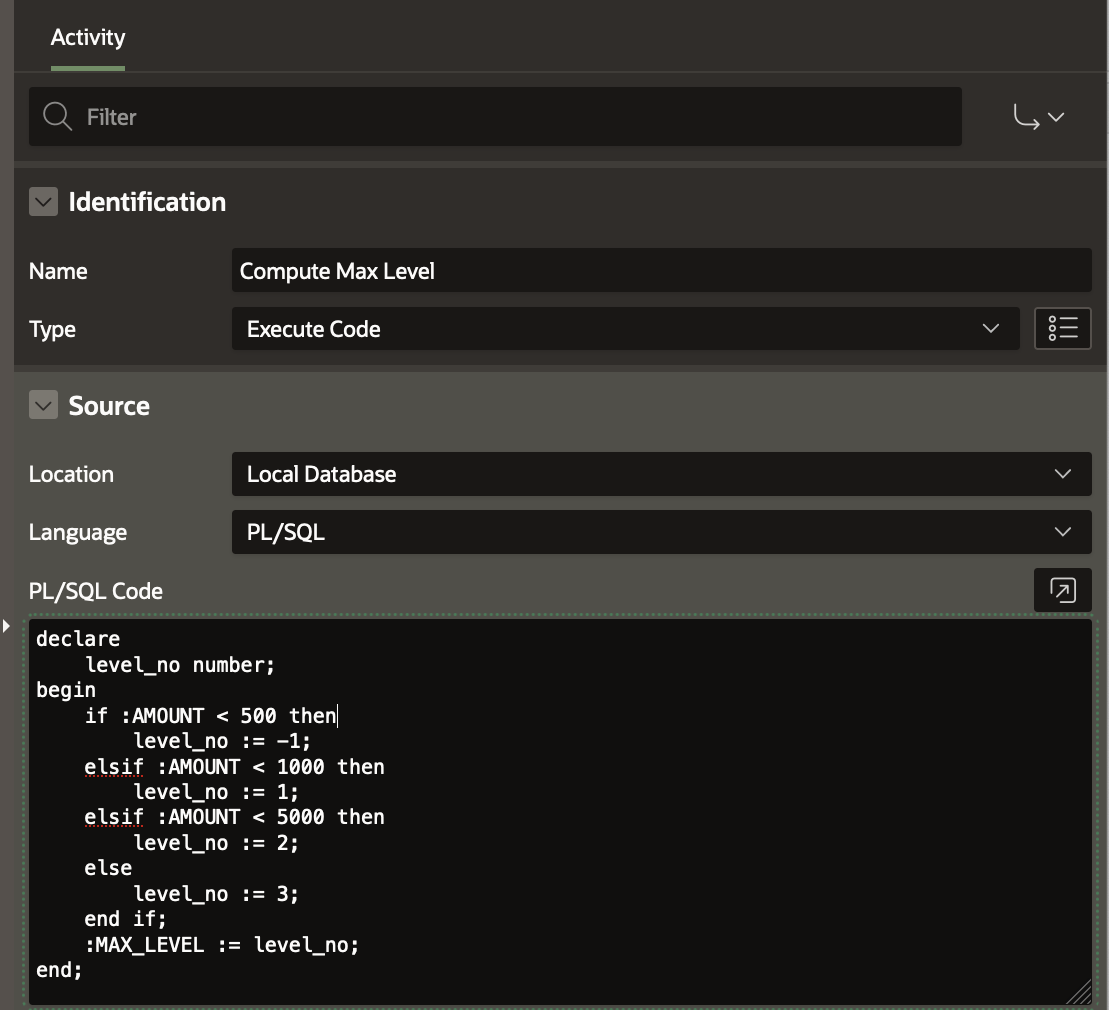
1) Compute Max Level
Activity Type : Execute Code
Code:
declare
    level_no number;
begin
    if :AMOUNT < 500 then
        level_no := -1;
    elsif :AMOUNT < 1000 then
        level_no := 1;
    elsif :AMOUNT < 5000 then
        level_no := 2;
    else
        level_no := 3;
    end if;
    :MAX_LEVEL := level_no;
end;
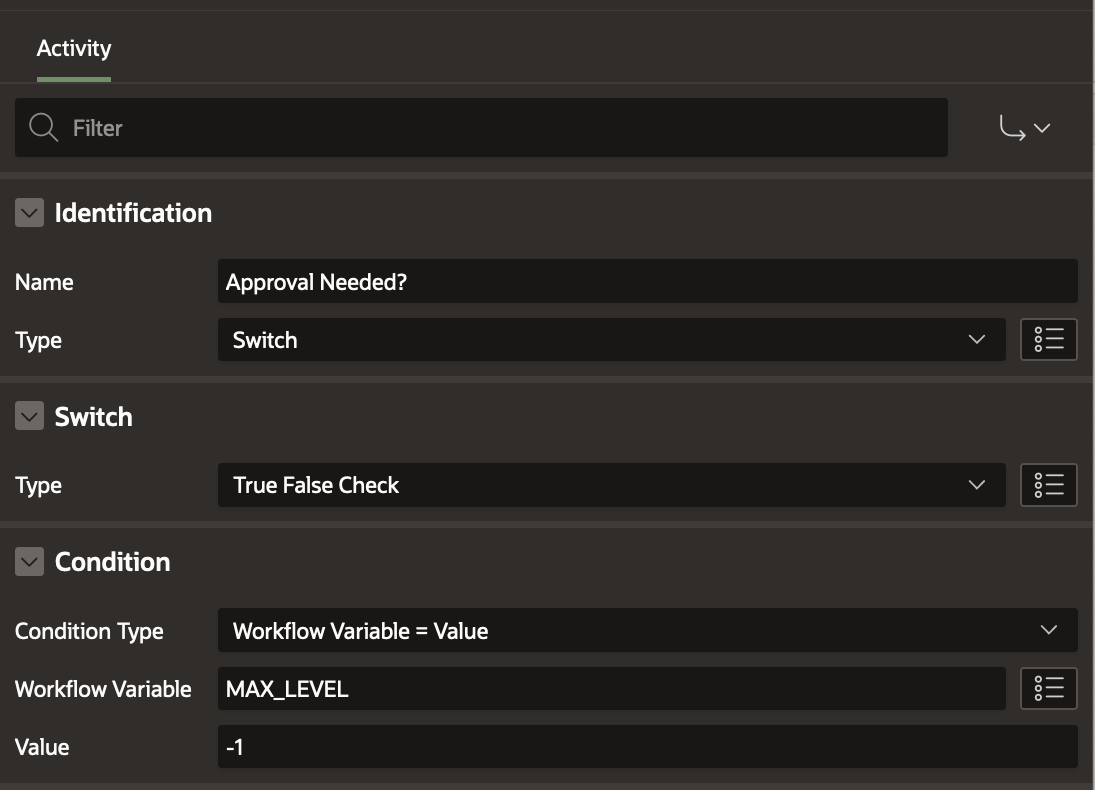
2) Approval Needed
Activity Type: Switch ( True False Check)
3) Create Approval Request
Activity Type: Human Task – Create
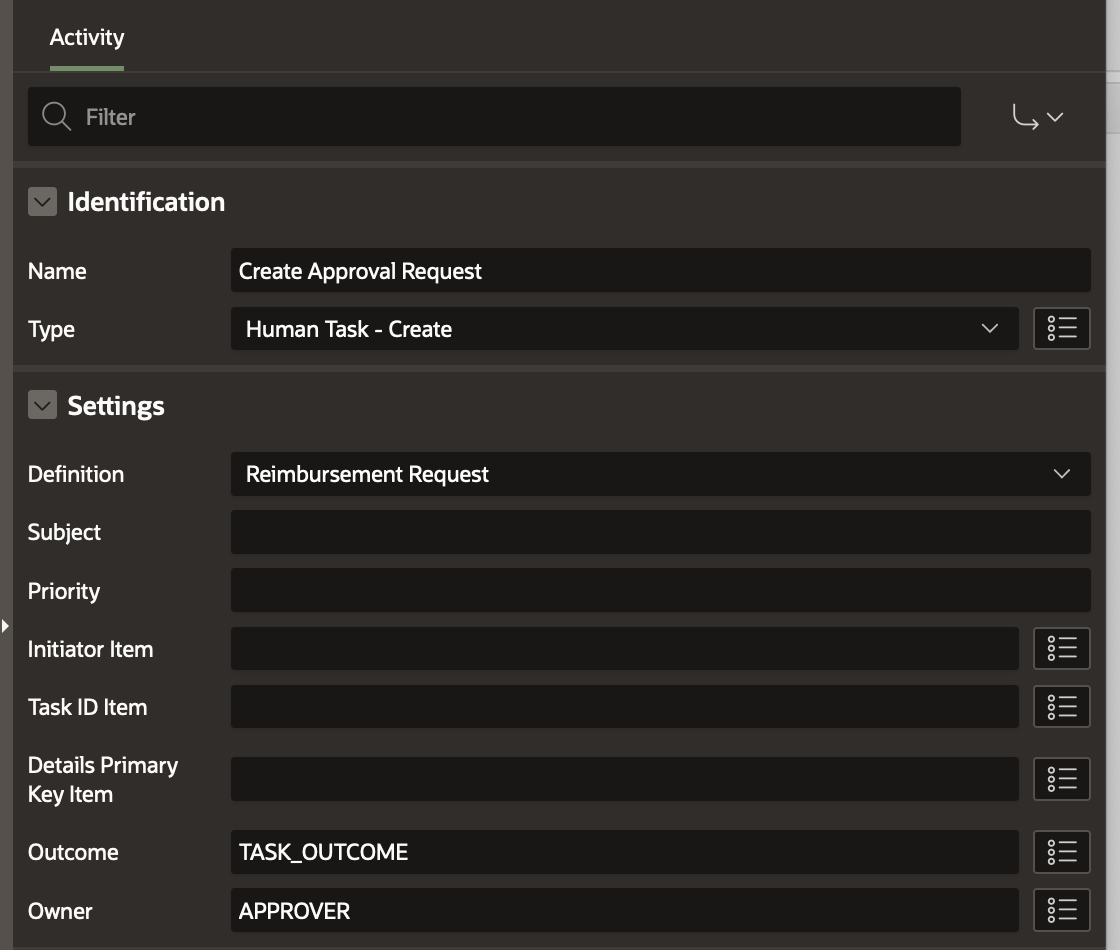
Set the Task Parameters (Amount, Emp Name, Level No) as shown below
At this point, check the Variables in your Workflow Tree. You will notice there are 2 new workflow variables automatically created under Variables.
These are TaskOutcome (static Id TASK_OUTCOME) and Approver (Static ID APPROVER).
To learn more about these workflow variables, visit the Tech Tips under section Creating the Raise Appointment Request Activity in this blog.
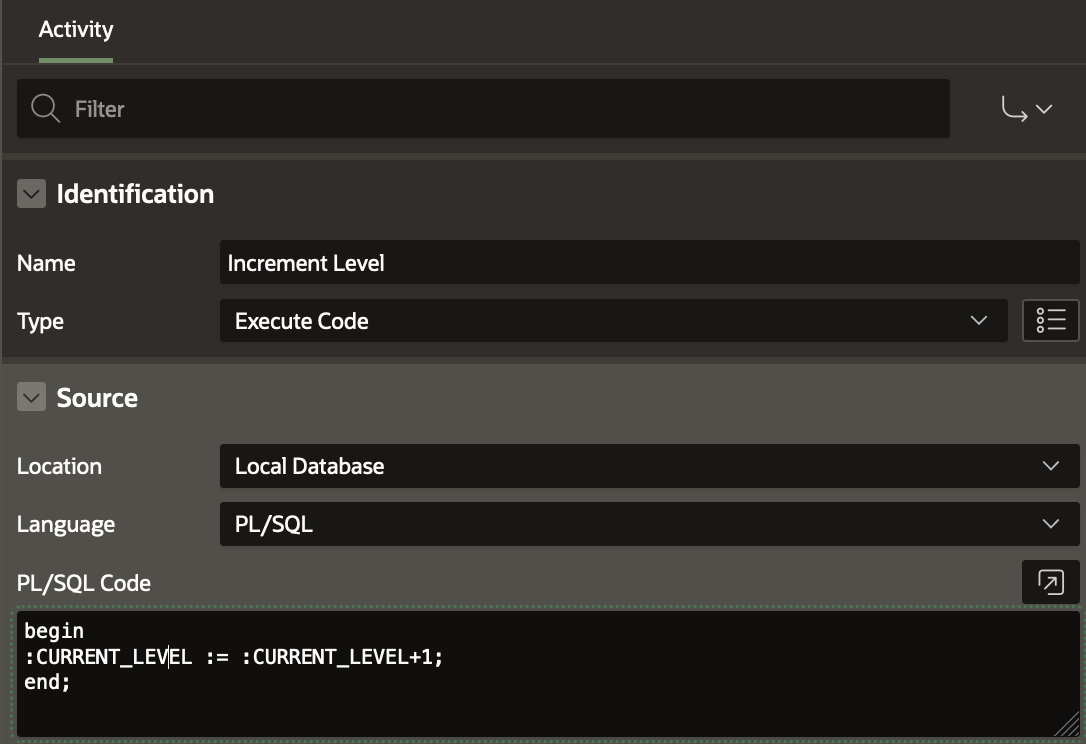
4) Increment Level
Activity Type: Execute Code
Code:
begin
:CURRENT_LEVEL := :CURRENT_LEVEL+1;
end;
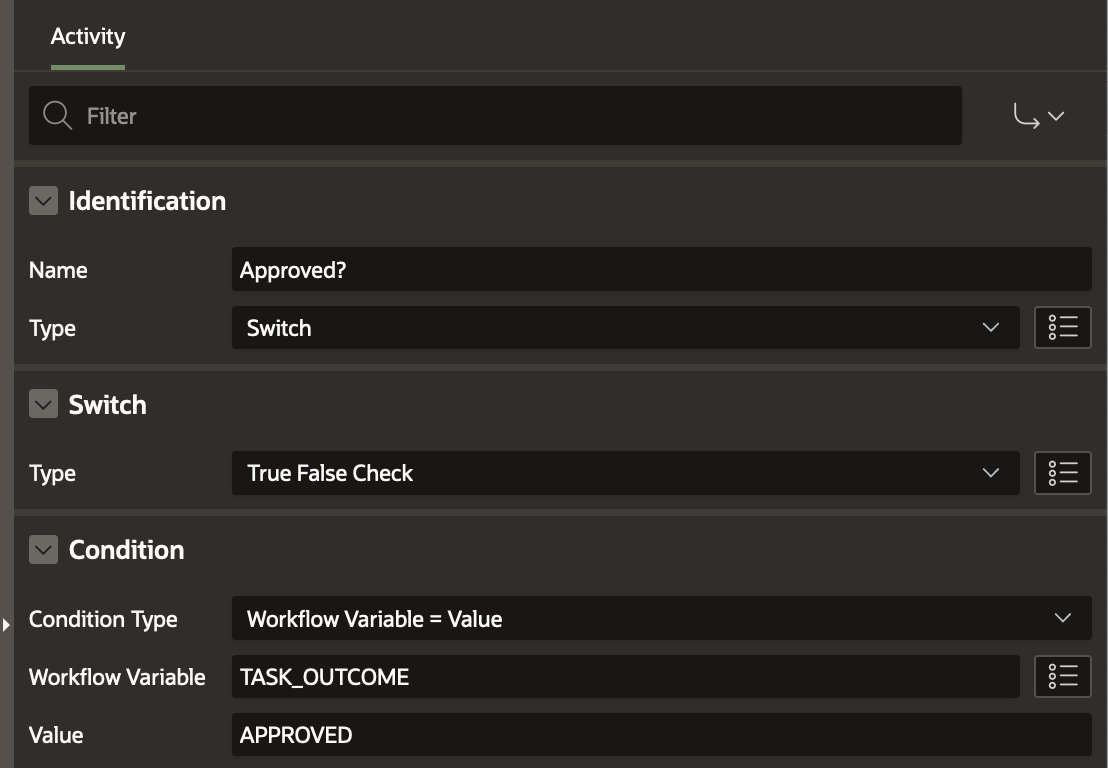
5) Approved?
Activity Type: Switch (True False Check)
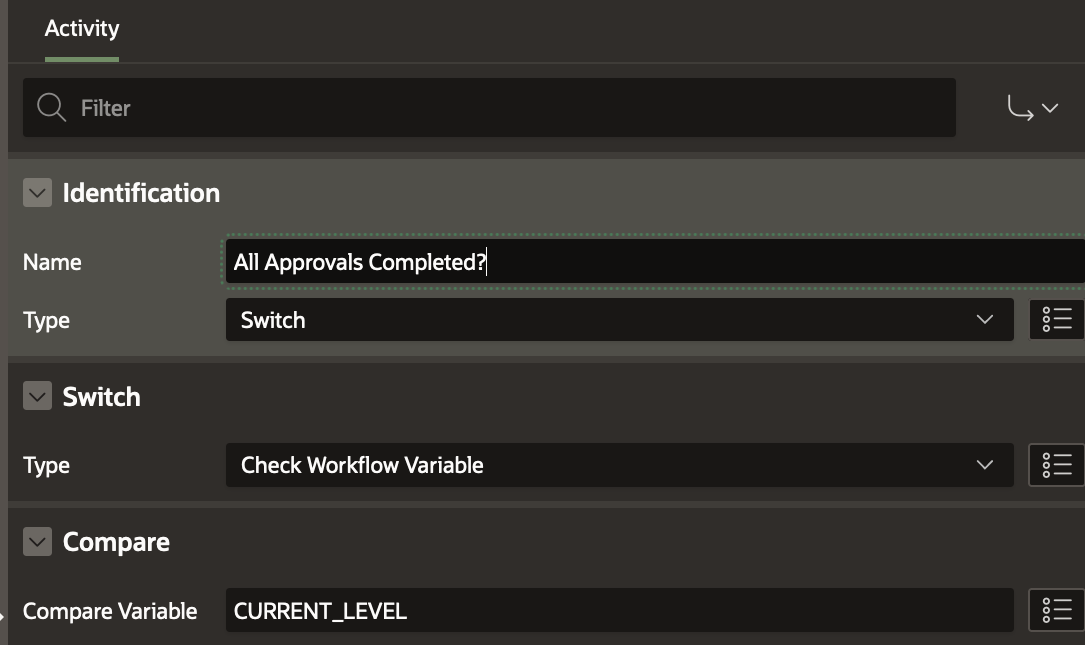
6) All Approvals Completed?
Activity Type: Switch ( Compare Workflow Variable)
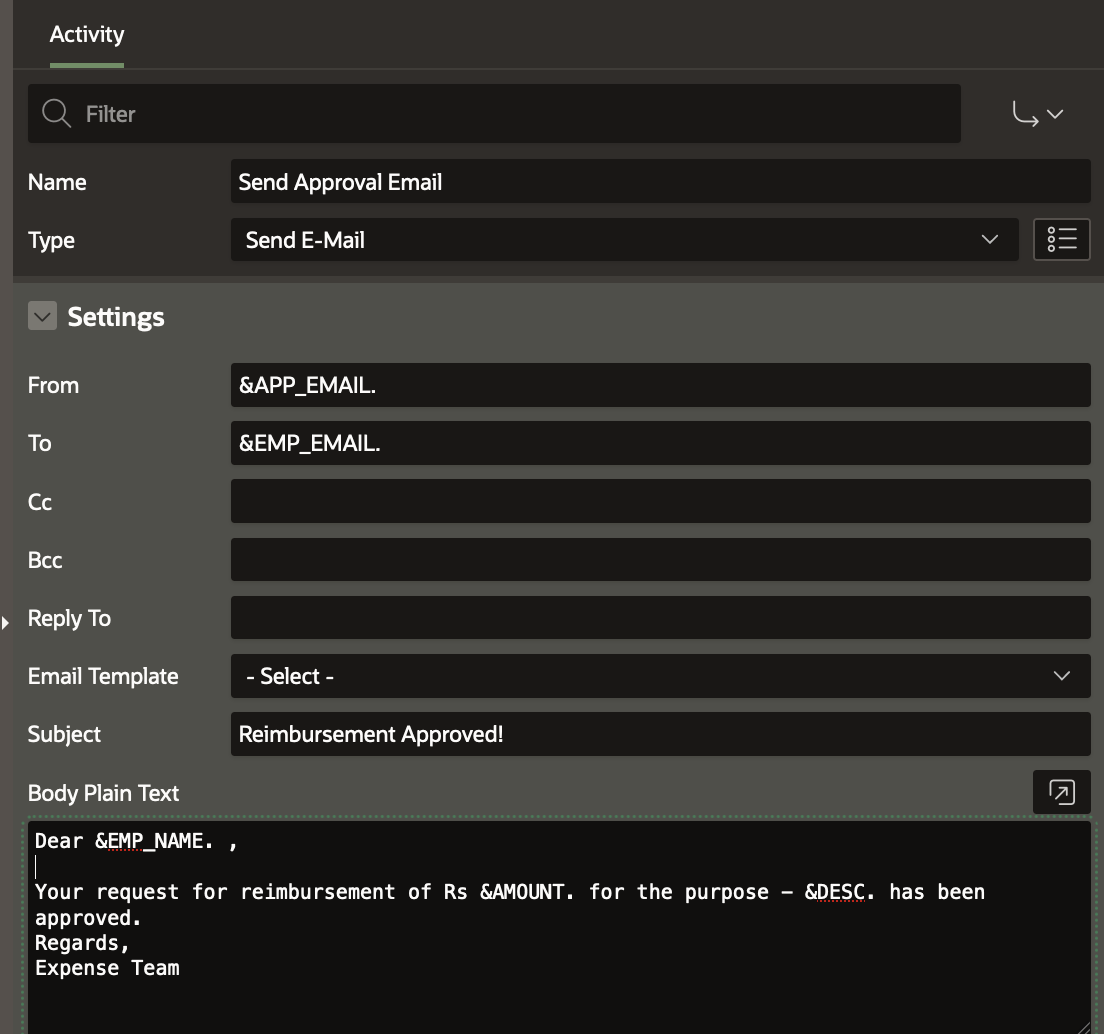
7) Send Approval Email
Activity Type: Send E-Mail
Mail Body:
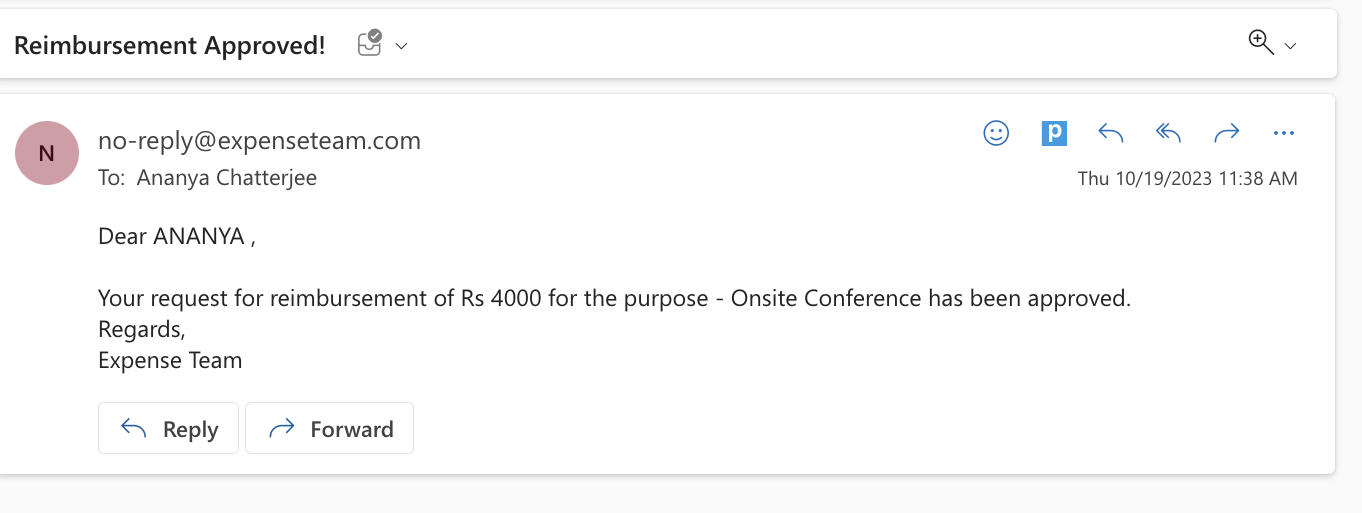
Dear &EMP_NAME. ,

Your request for reimbursement of Rs &AMOUNT. for the purpose - &DESC. has been approved.
Regards,
Expense Team
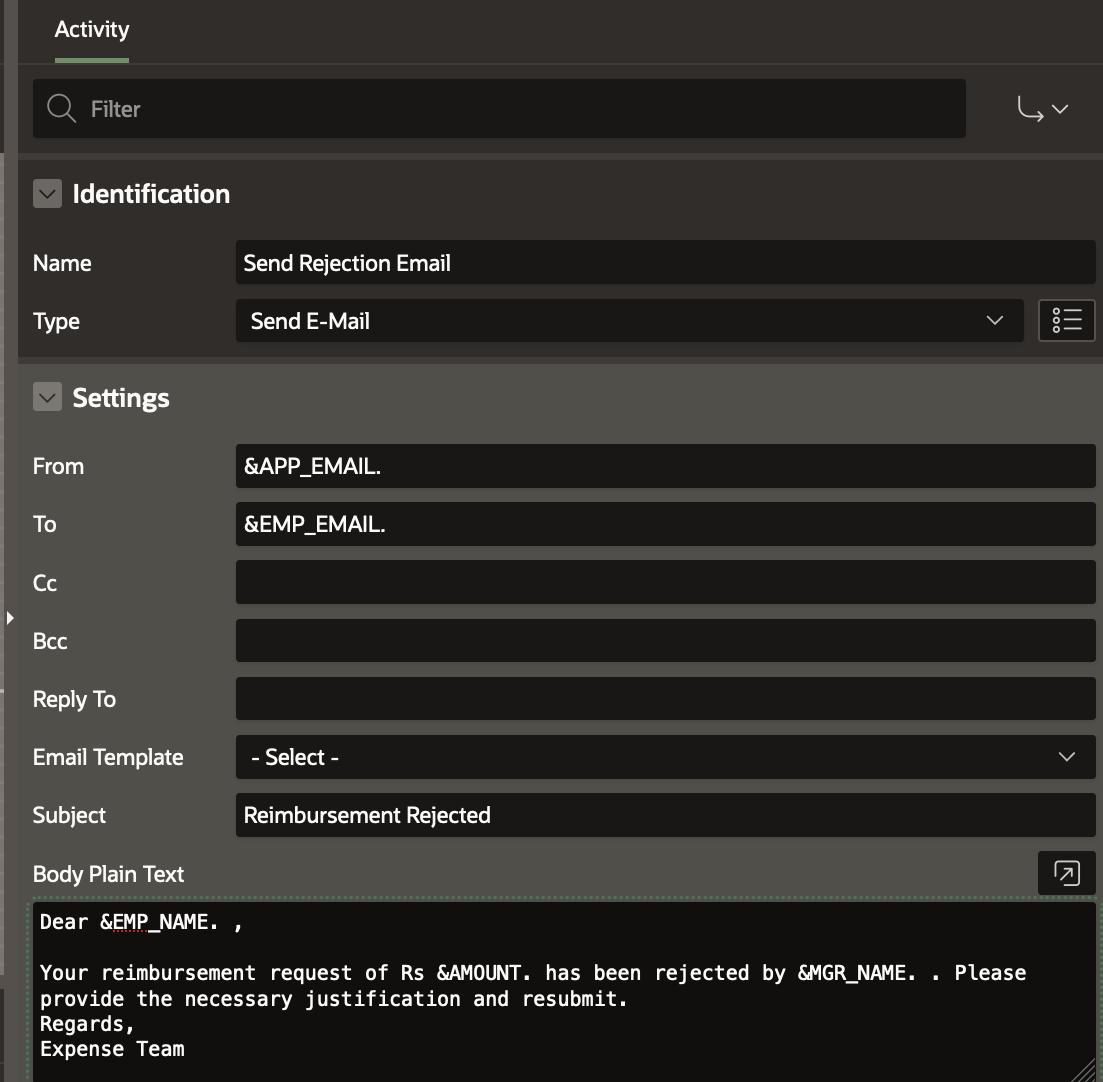
8) Send Rejection Email
Activity Type: Send E-Mail
Mail Body:
Dear &EMP_NAME. ,

Your reimbursement request of Rs &AMOUNT. has been rejected by &MGR_NAME. . Please provide the necessary justification and resubmit.
Regards,
Expense Team
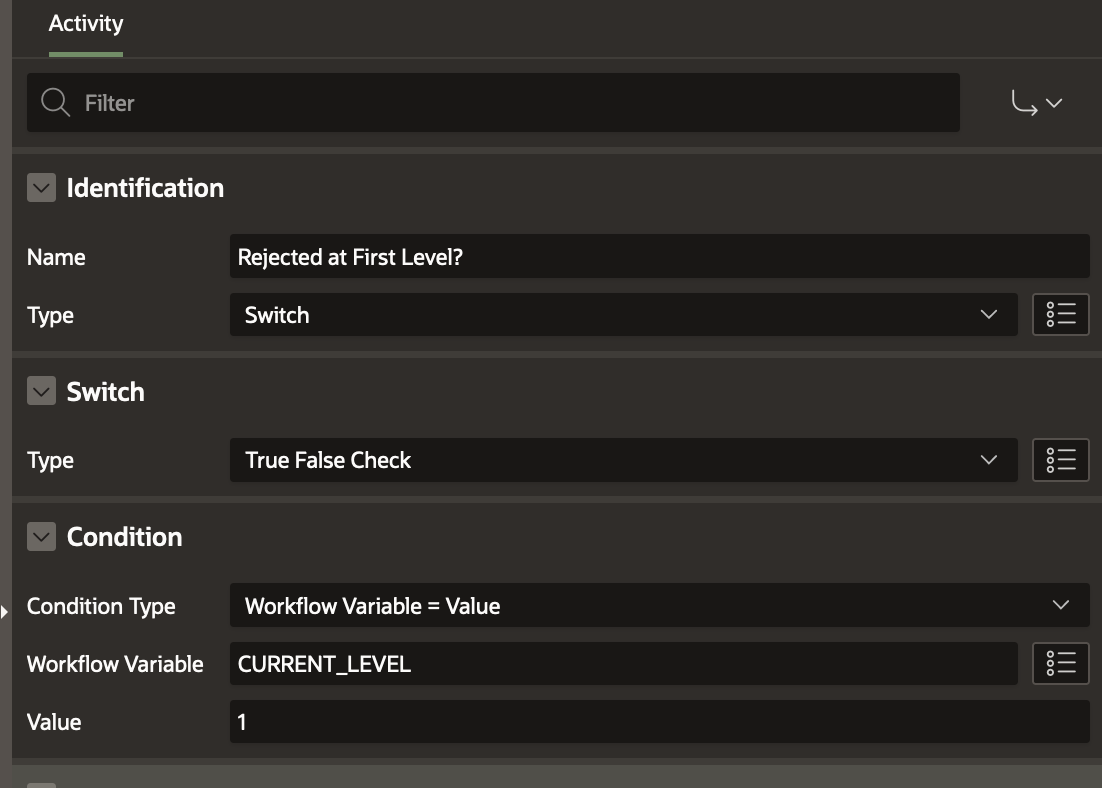
9) Rejected at First Level?
Activity Type: Switch (True False Check)
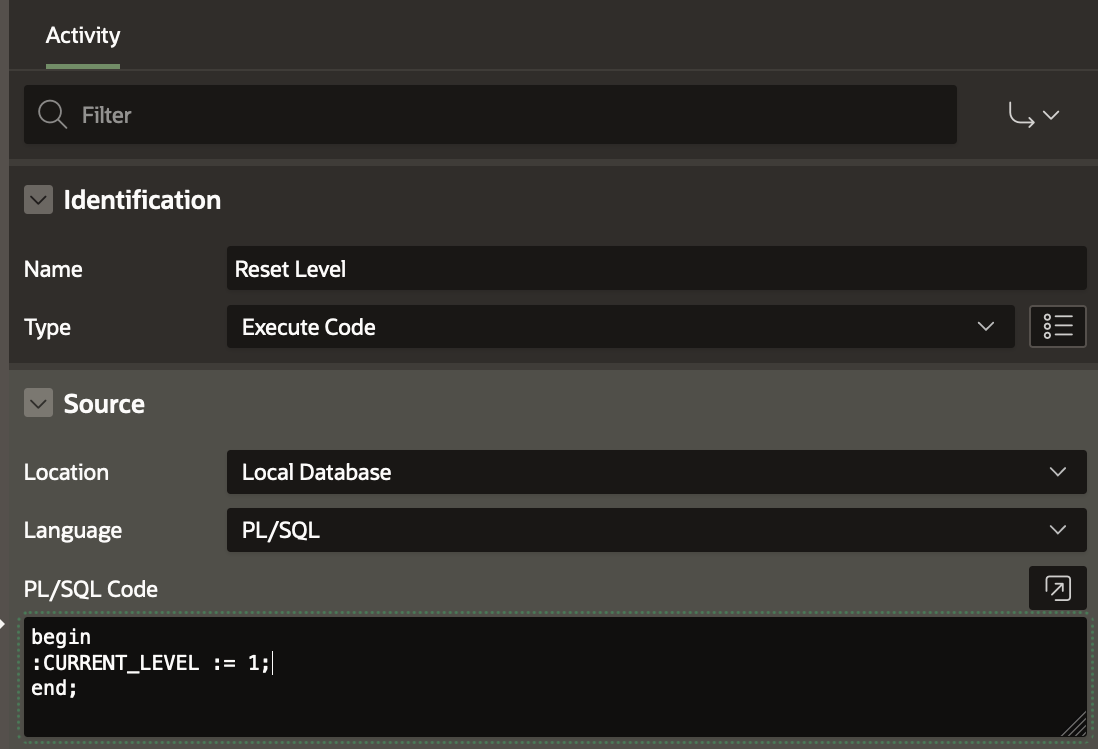
10) Reset Level
Activity Type: Execute Code
Code:
begin
:CURRENT_LEVEL := 1;
end;
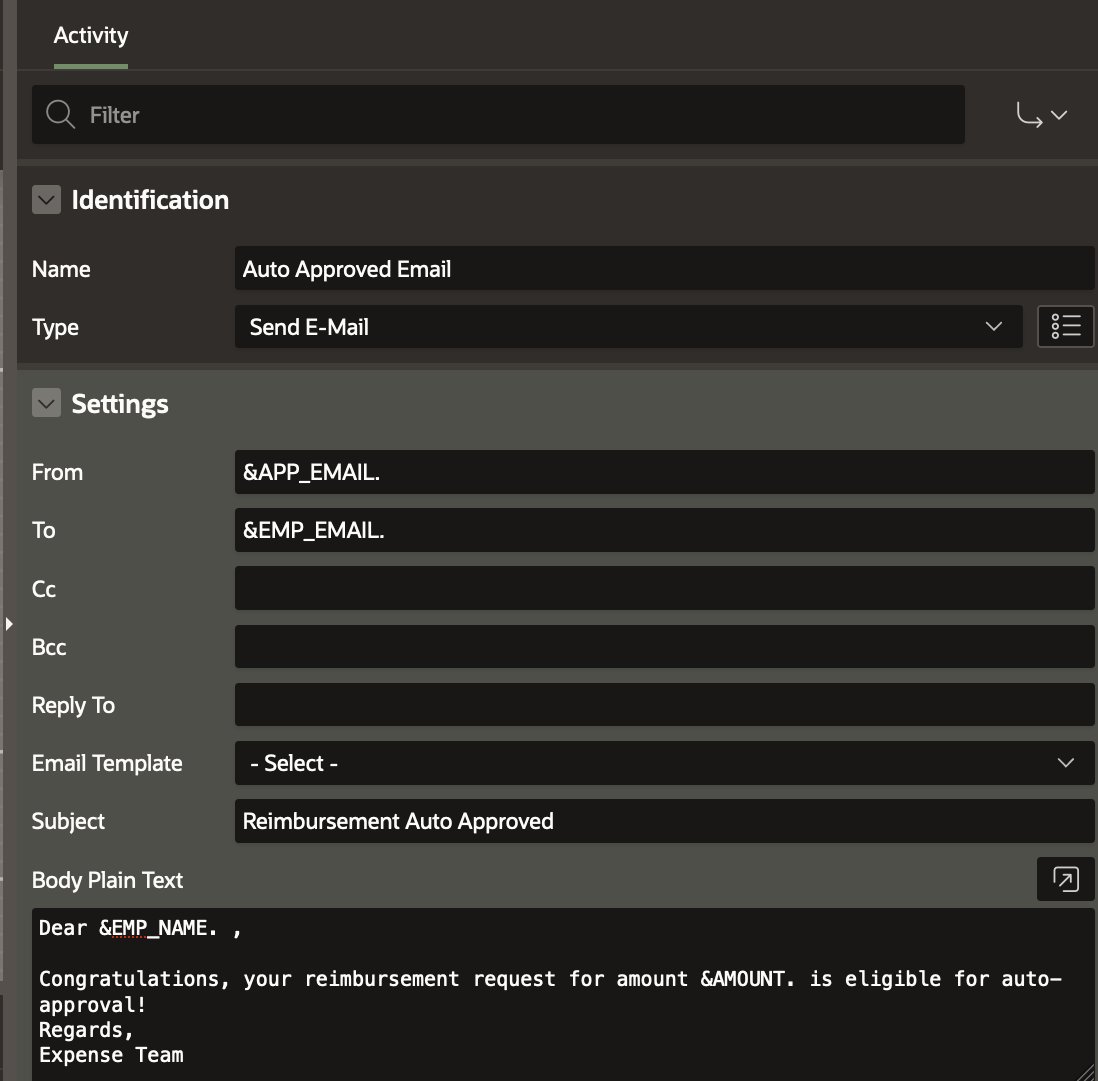
11) Auto Approved Email
Activity Type: Send E-Mail
Mail Body:
Dear &EMP_NAME. ,

Congratulations, your reimbursement request for amount &AMOUNT. is eligible for auto-approval!
Regards,
Expense Team
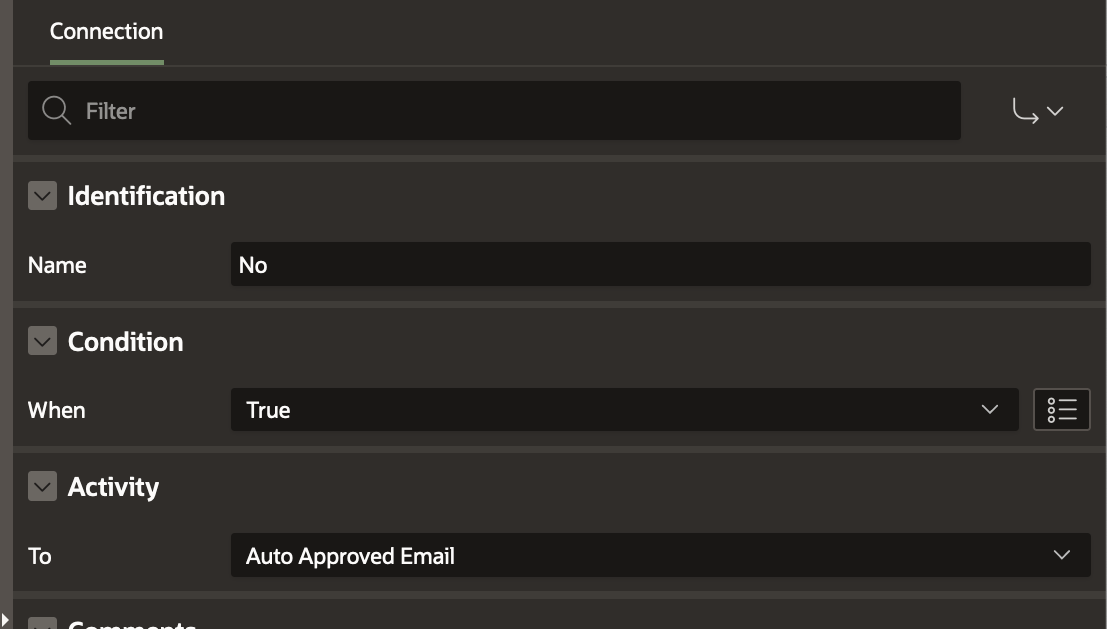
Adding the conditional connections for the Switch Activities
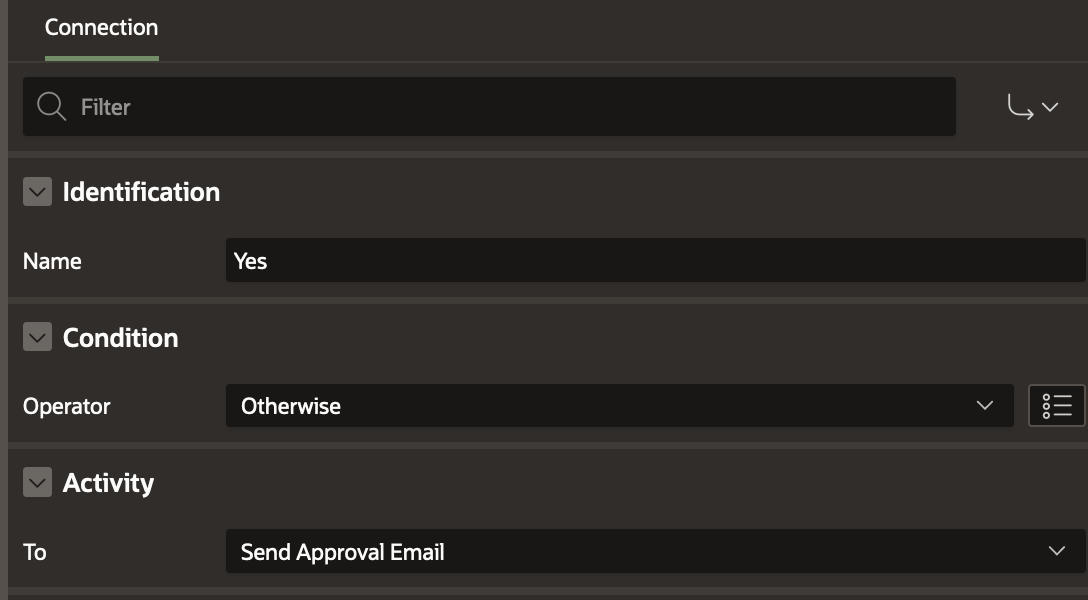
For the Approval Needed? Switch Activity define the True and False connections as shown below
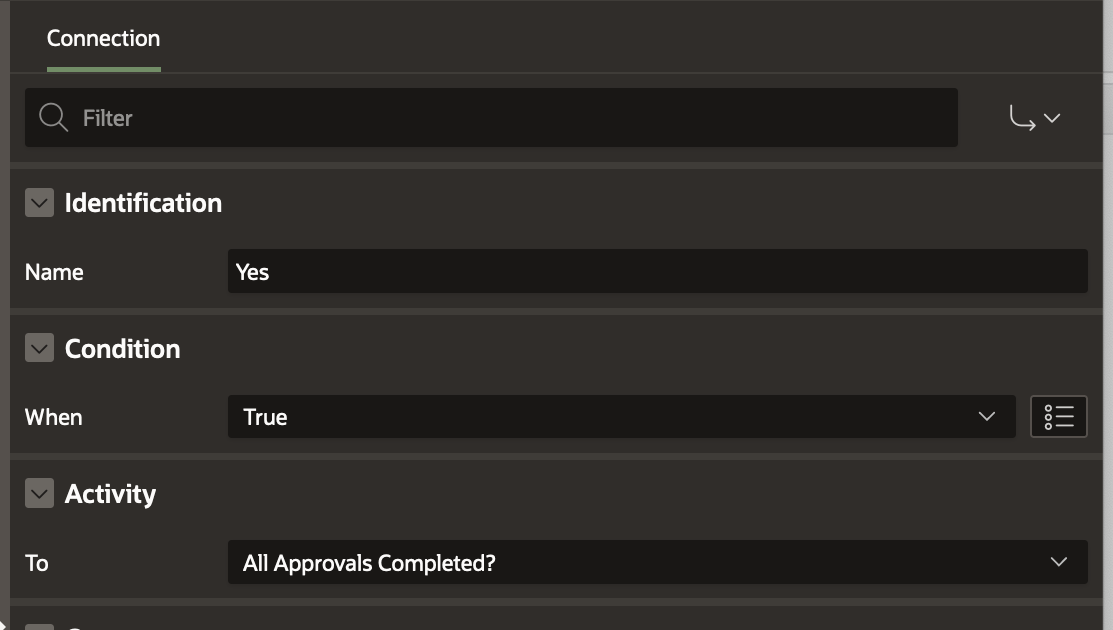
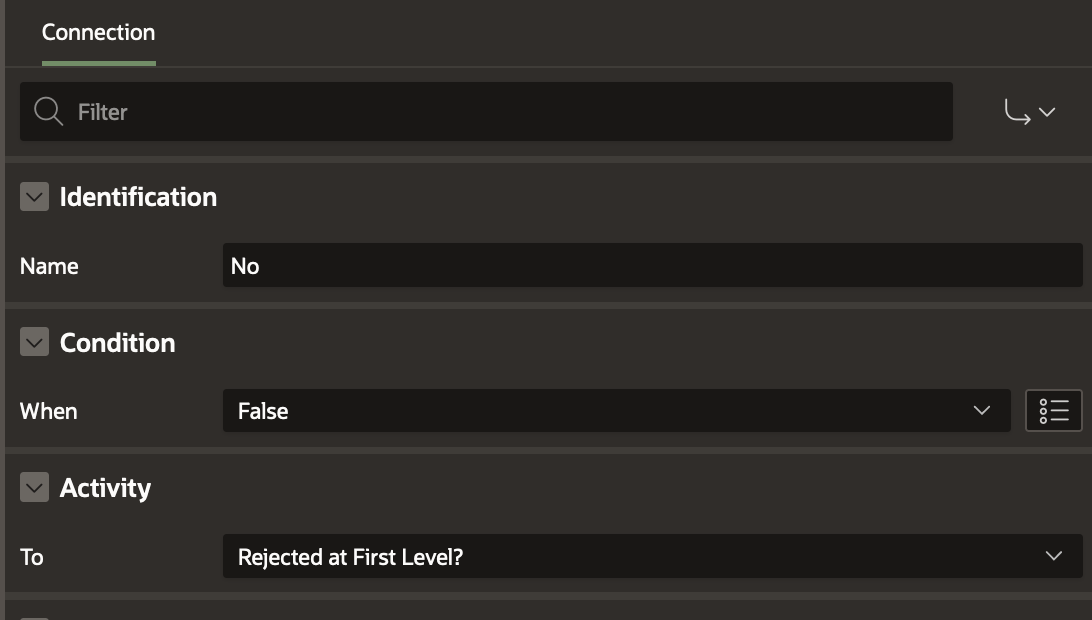
For the Approved? Switch Activity define the True and False connections as shown below
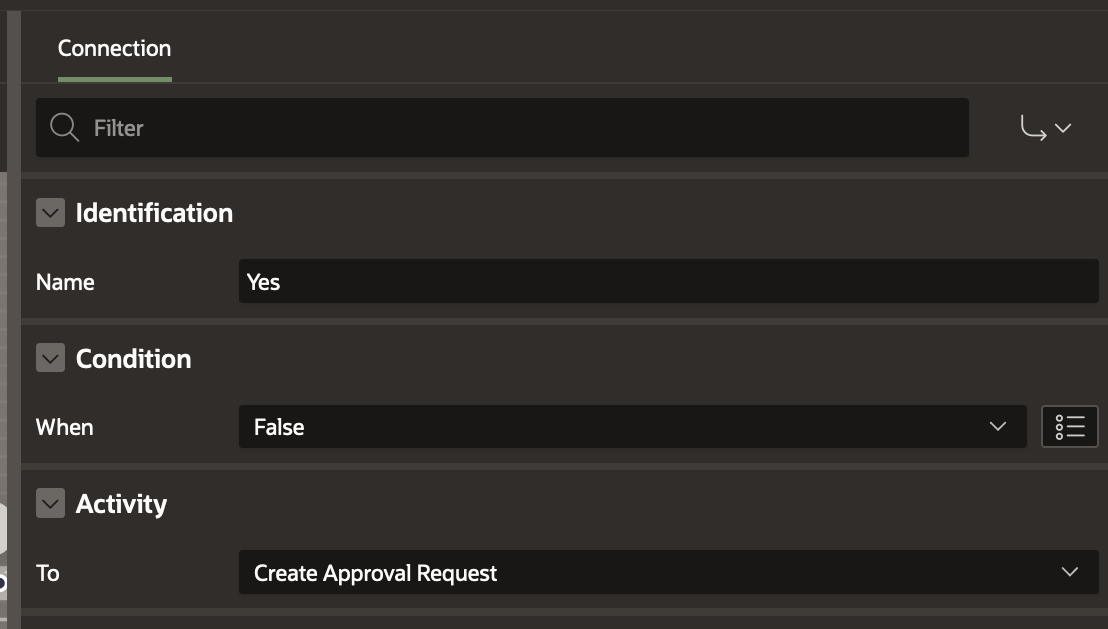
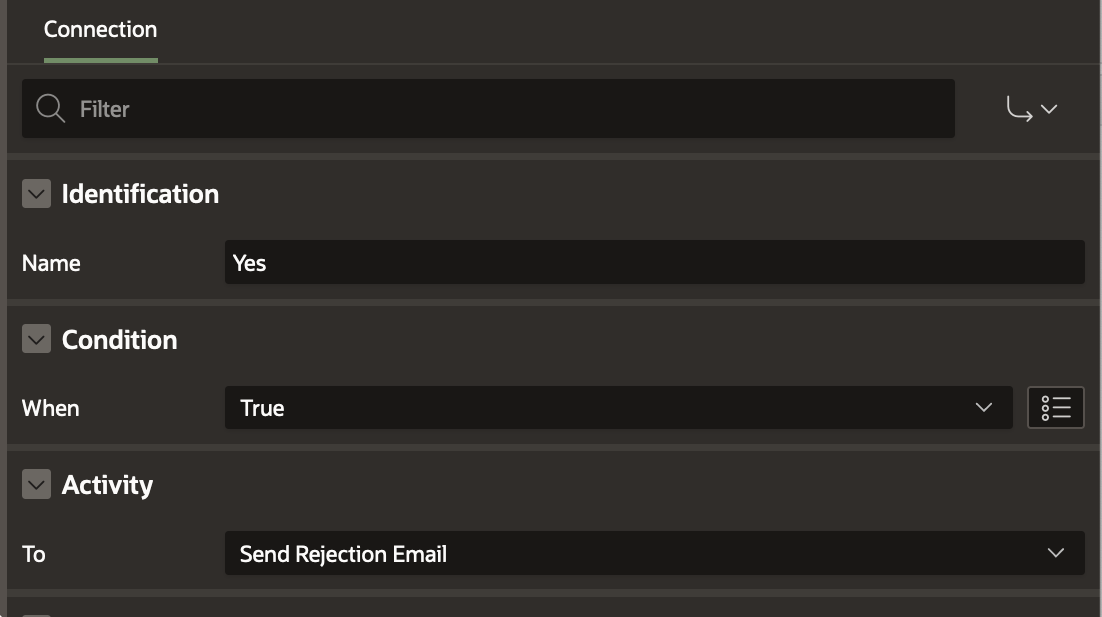
For the Rejected At First Level? Switch Activity define the True and False connections as shown below
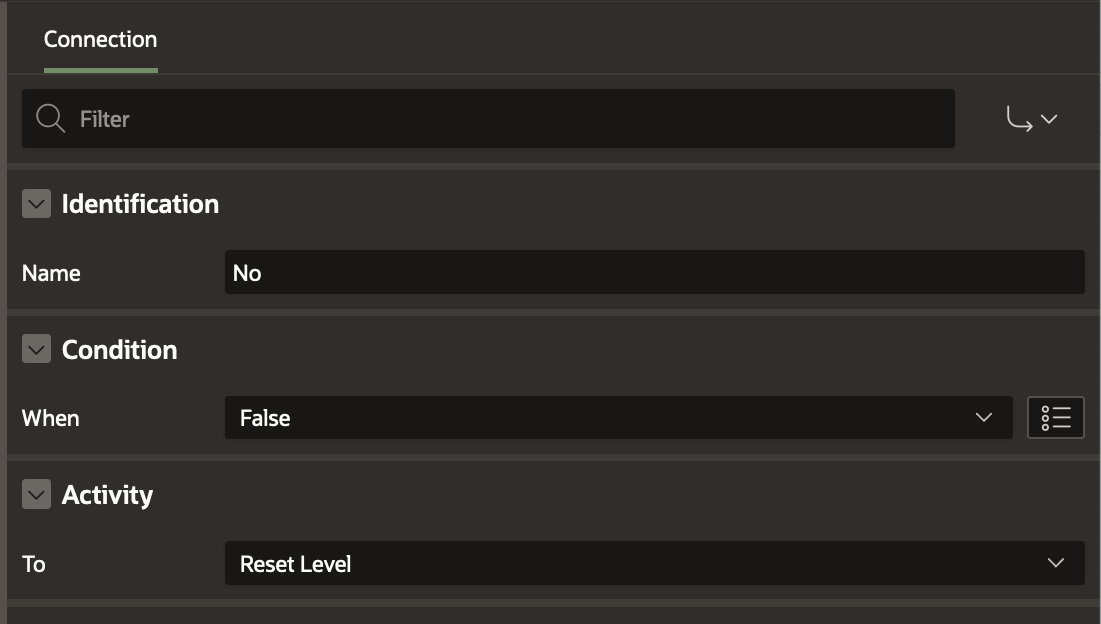
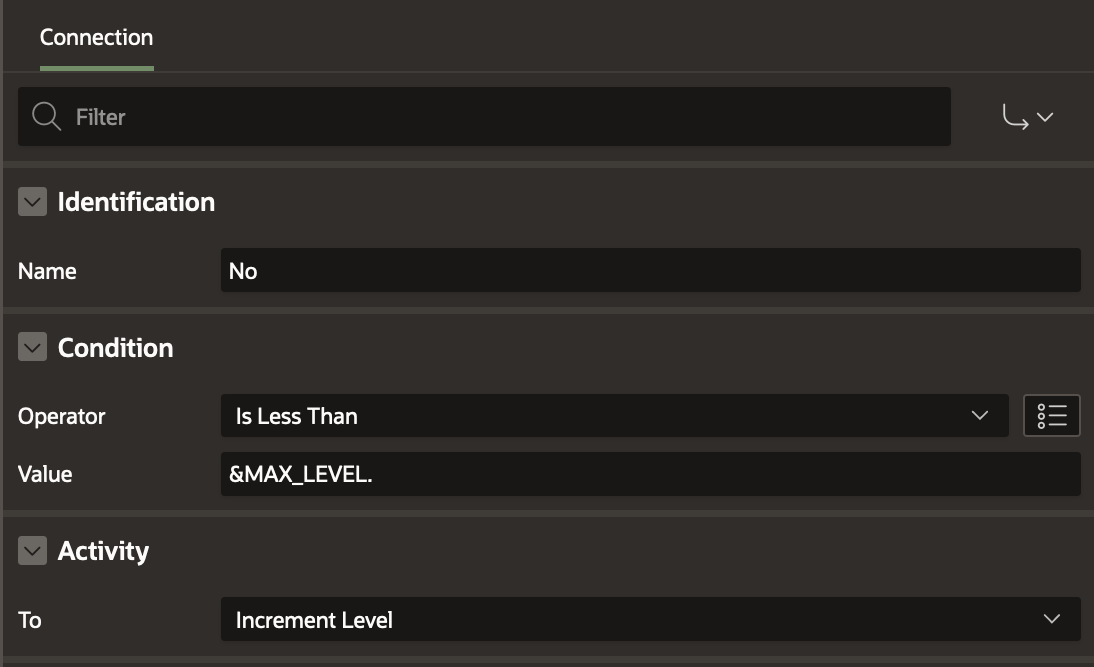
For the All Approvals Completed? Switch Activity, define the conditional connections as shown below
Note: These connections as well as the non-conditional connections between the different activities can be drawn in the Diagram Builder. To learn more about drawing connections between activities refer to this blog .
The Final Workflow Diagram
Link all the activities together so that the final workflow looks like this:
Creating the Submit Expenses page
Now that we have the task definition and the workflow created, we will create the page which will submit the expense reimbursement request. Submitting this page will create a Expense Reimbursement workflow instance based on the workflow we have just configured.
Click on Create Page in your Expense Reimbursement application. Choose the Page type as Blank Page
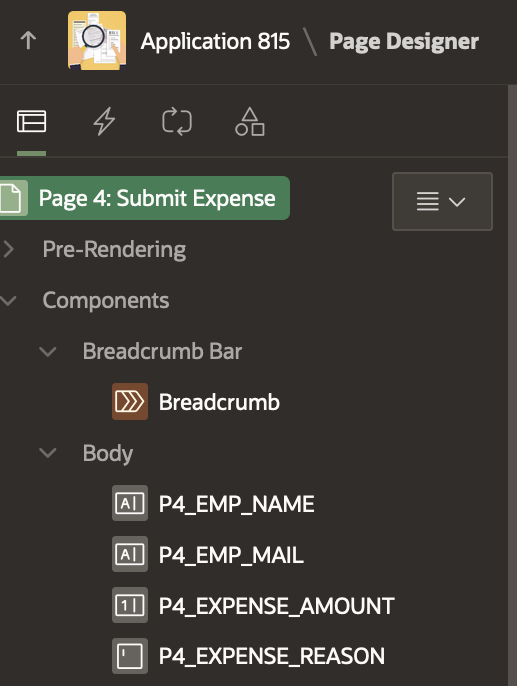
Name this page “Submit Expense” .
In the Page Designer, add the following Page Items to the Body : Employee Name, Employee Email, Expense Amount and Expense Reason
Add a button SUBMIT to the Page.
Navigate to the Processing Tab and Create a new Page Process of type Workflow. Name the process “Submit Expense“.
Under the Settings, Click the Type and set it as Start. Set the Workflow Definition as Expense Reimbursement Workflow.
Set the Success Message as “Expense Report Submitted!”
Under Server-Side-Conditions set When Button Pressed to SUBMIT
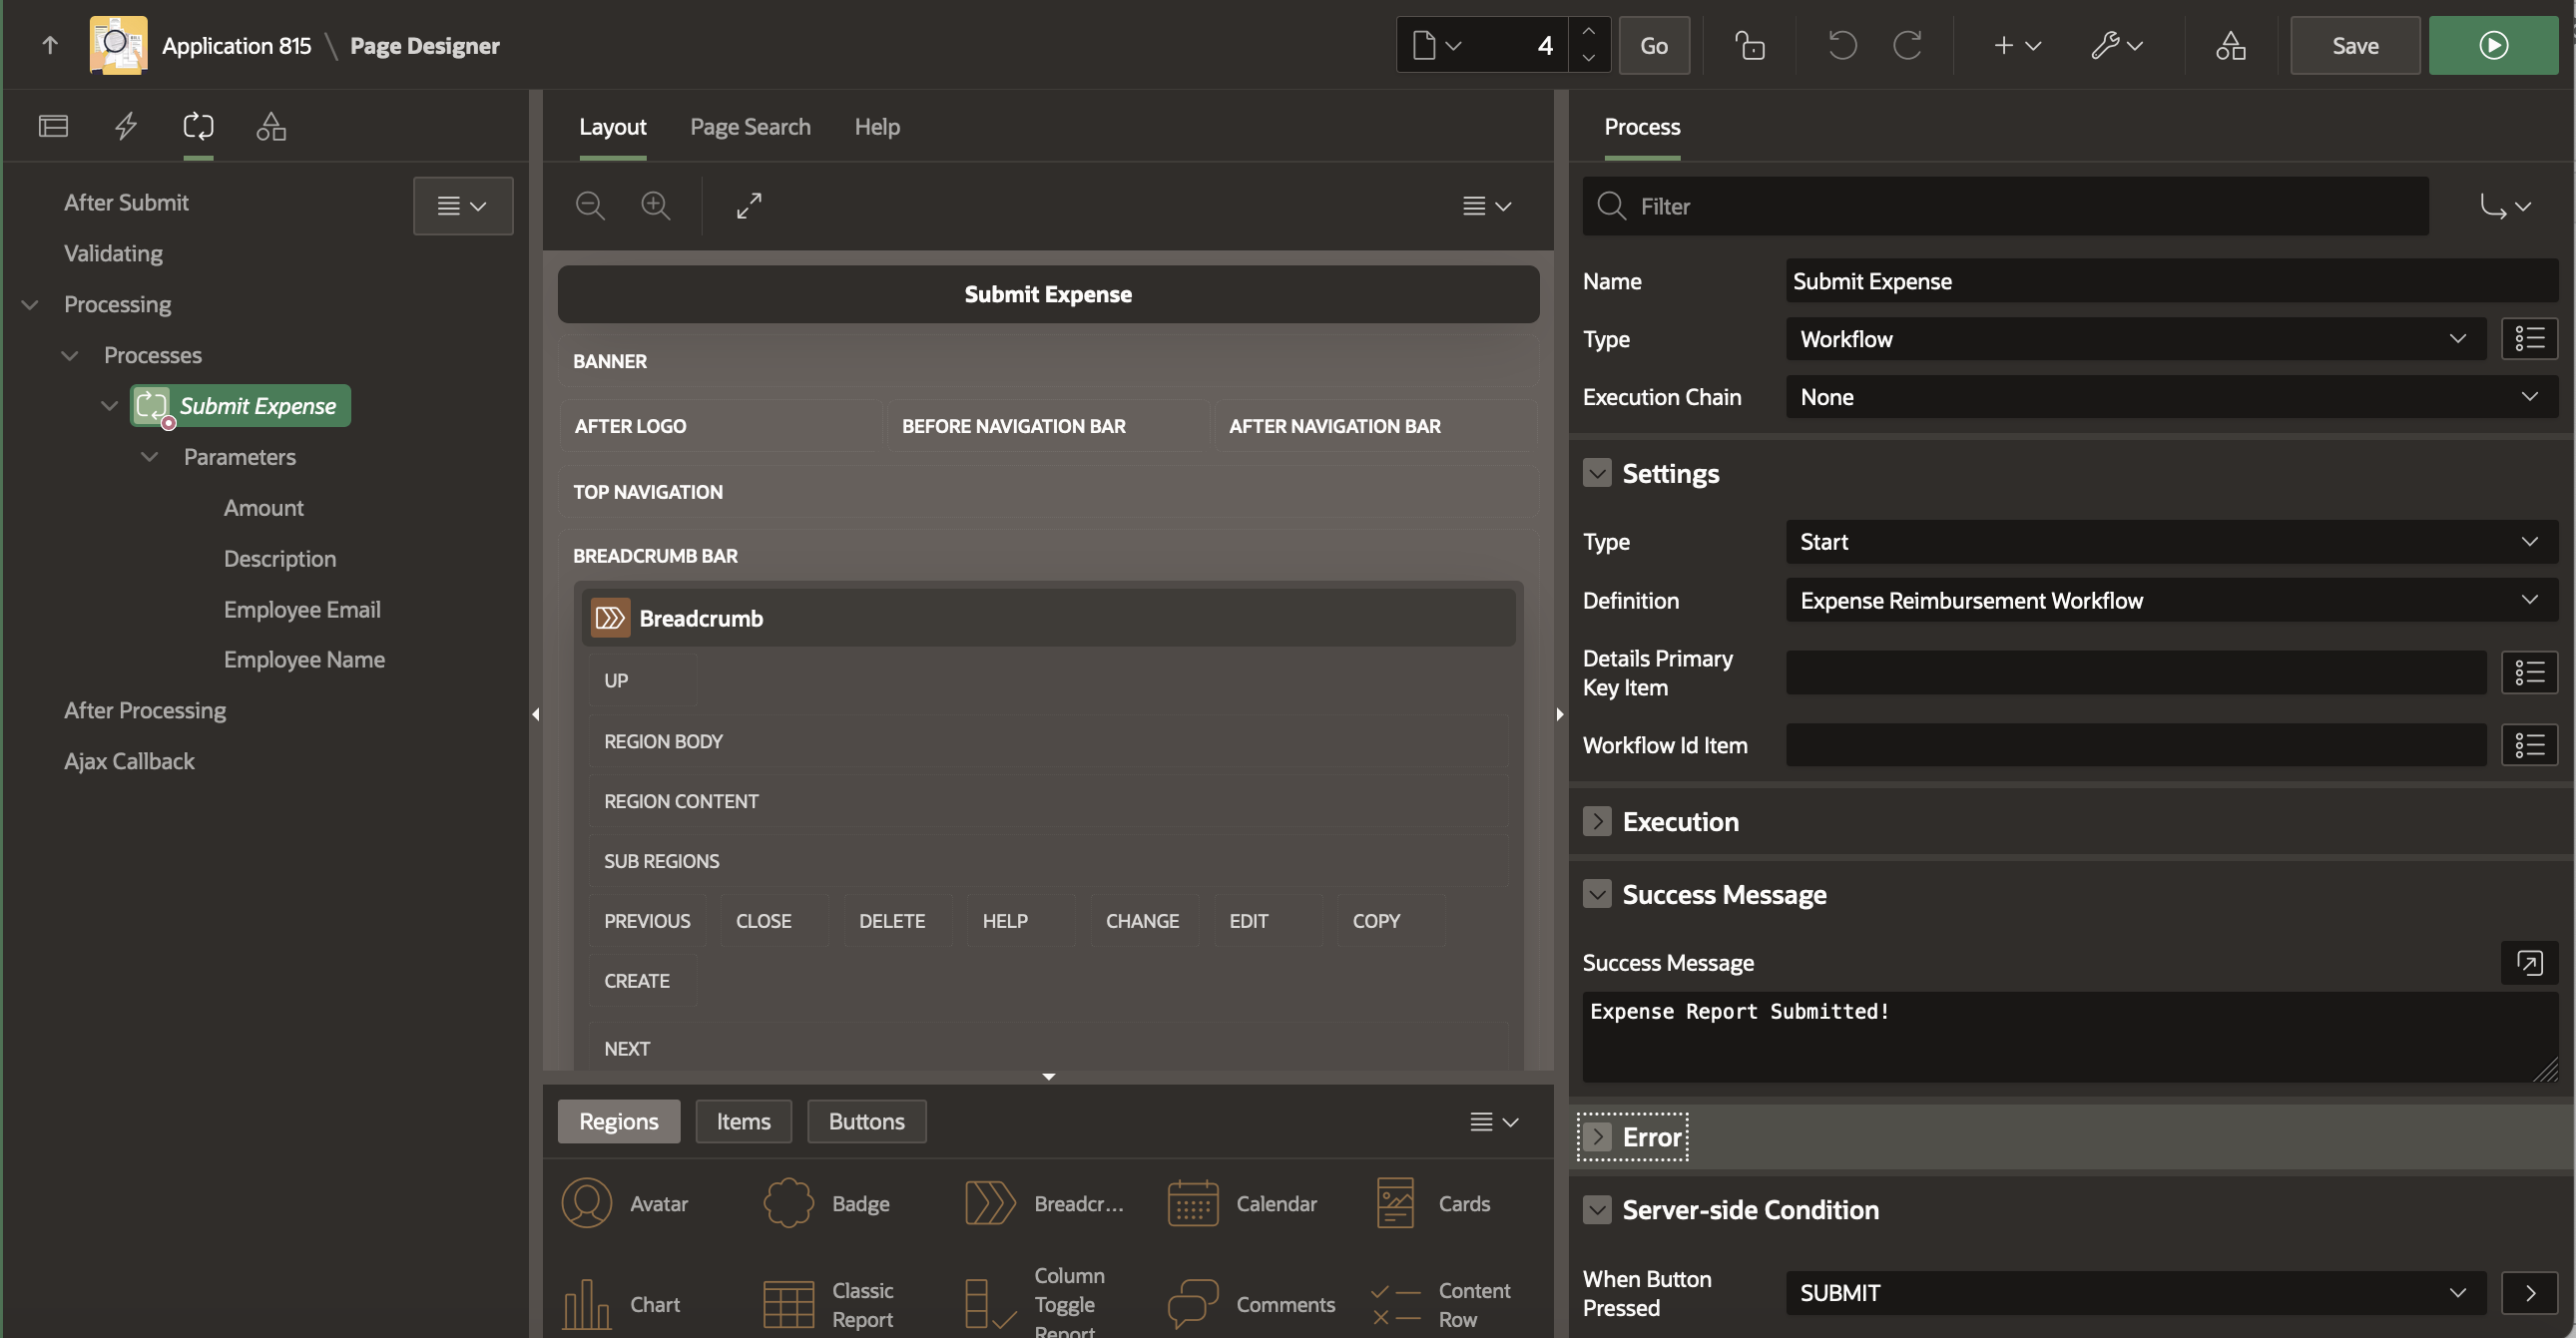
Set Parameters for the Workflow Page Process
Under Submit Expense -> Parameters in the Processing section:
- Click on Amount and set it to Page Item P4_AMOUNT
- Click on Description and set it to Page Item P4_EXPENSE_REASON
- Click on Employee Email and set it to Page Item P4_EMP_EMAIL
- Click on Employee Name and set it to Page Item P4_EMP_NAME
Save the changes.
Creating the Pending Expense Approvals Page
The page will be used by the managers to approve the expense request.
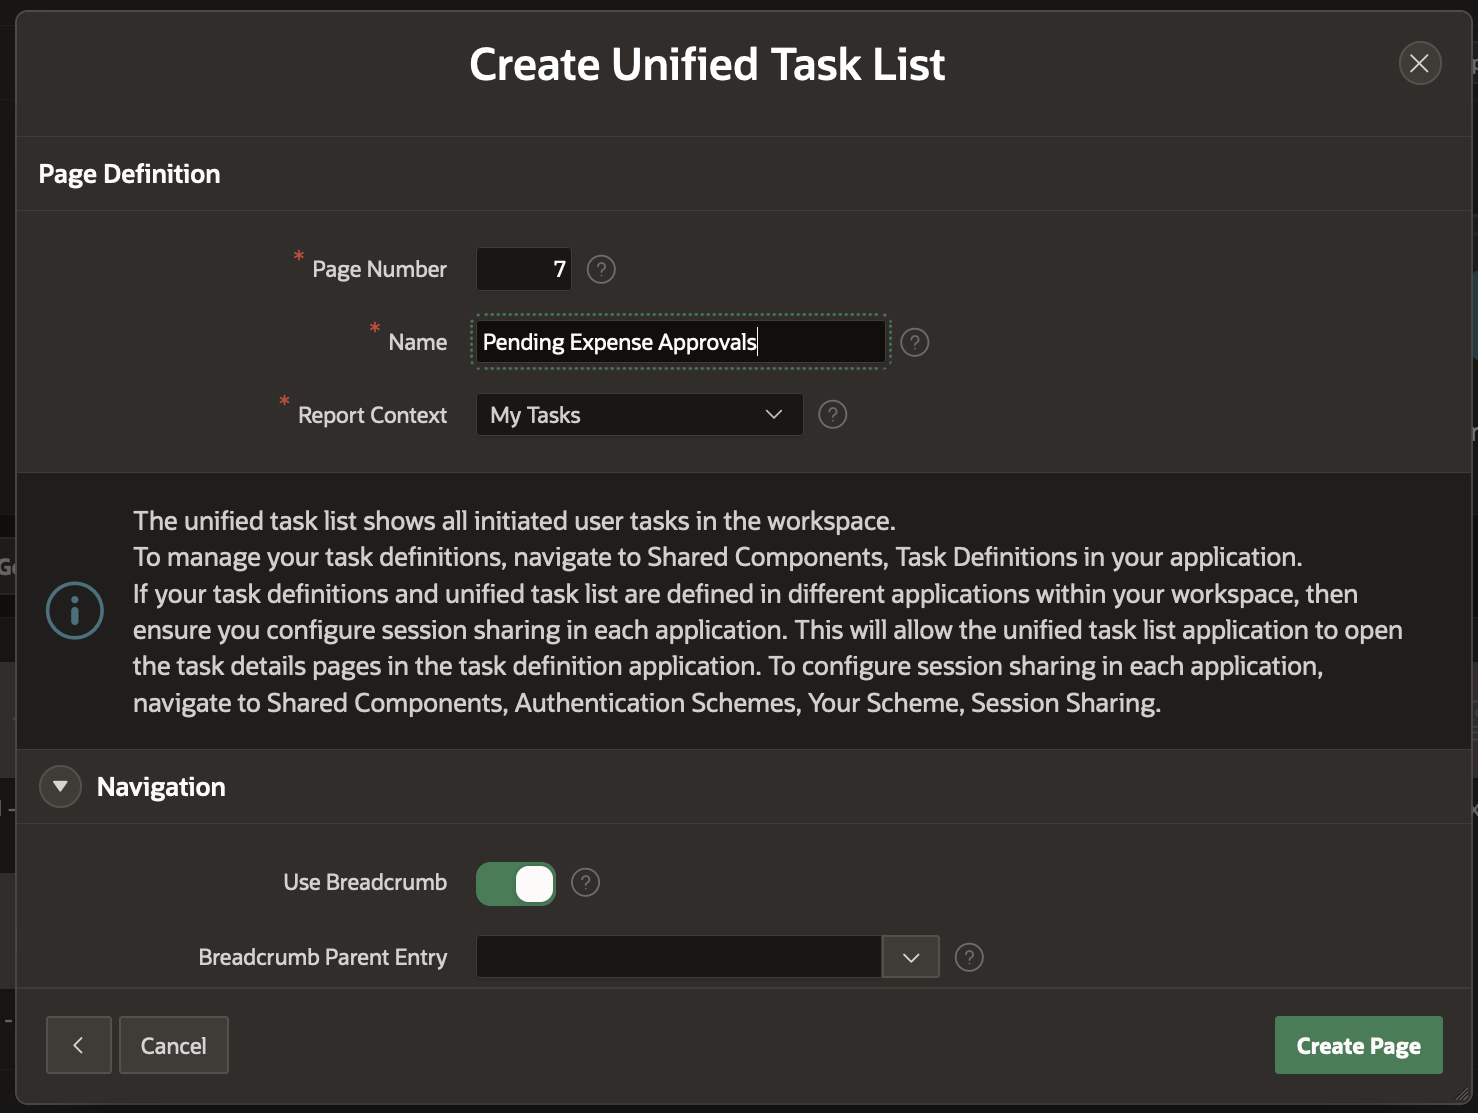
Go to the Application Home and click on Create Page. In the Create Page Wizard, select Unified Task List.
In the Create Unified Task List Wizard, enter Name as Pending Expense Approvals. Leave the Report Context as My Tasks. Enter the Breadcrumb and Navigation Menu entries as shown below. Click on Create Page . This will create the Pending Expense Approvals Unified task list page where Managers can log in to Approve or Reject the expense reimbursement requests.
Creating the Monitor Expense Workflows Page
Finally, we need the page that the submitter of the Expense report will use to monitor the reimbursement workflow.
We use the Workflow Console and Details pages with Initiated By Me report context which allows a logged in user to view all Workflows Initiated by him or her.
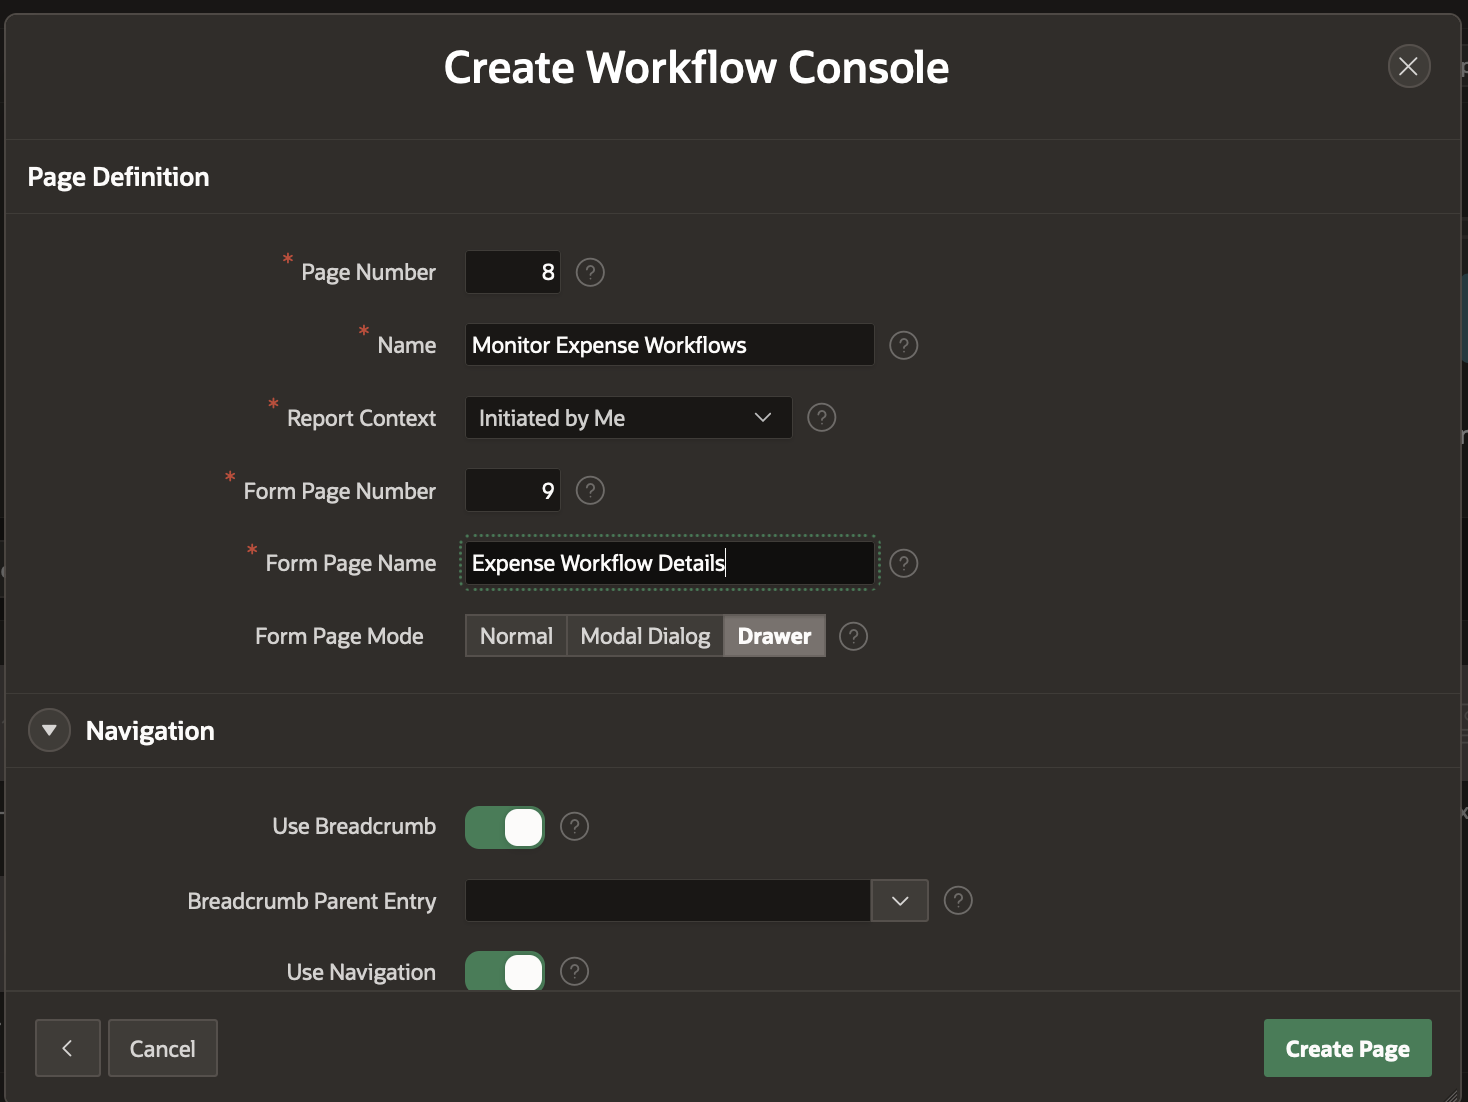
To create the Workflow Console and Details pages:
- On the Application home page, select Create Page.
- Under Components, select Workflow Console.
- Select the Report Context as Initiated By Me.
- For the Form Page, enter Monitor Expense Workflows
- For the Workflow Details page, set the name as Expense Workflow Details
Our Application is now Complete and Ready to Run!
Running the Application
Setting the APP_EMAIL substitution string
We would like the email sender to be no-reply@expenseteam.com.
Go to Application Home Page and click on Edit Application Definition.
Under Substitutions , add the following Entry

Save the changes by clicking on Apply Changes.
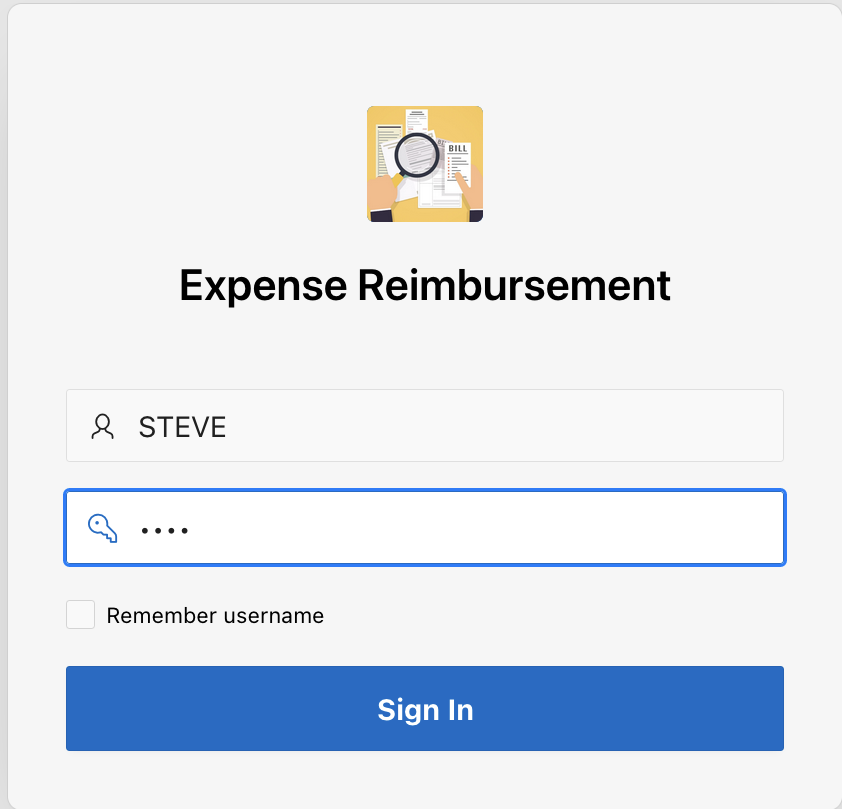
From Application Home Page, click on Run Application.
Log In as STEVE . Clck on Submit Expense to Submit a New Expense Reimbursement Request for ANANYA.
Fill in the details as shown below and click on Submit
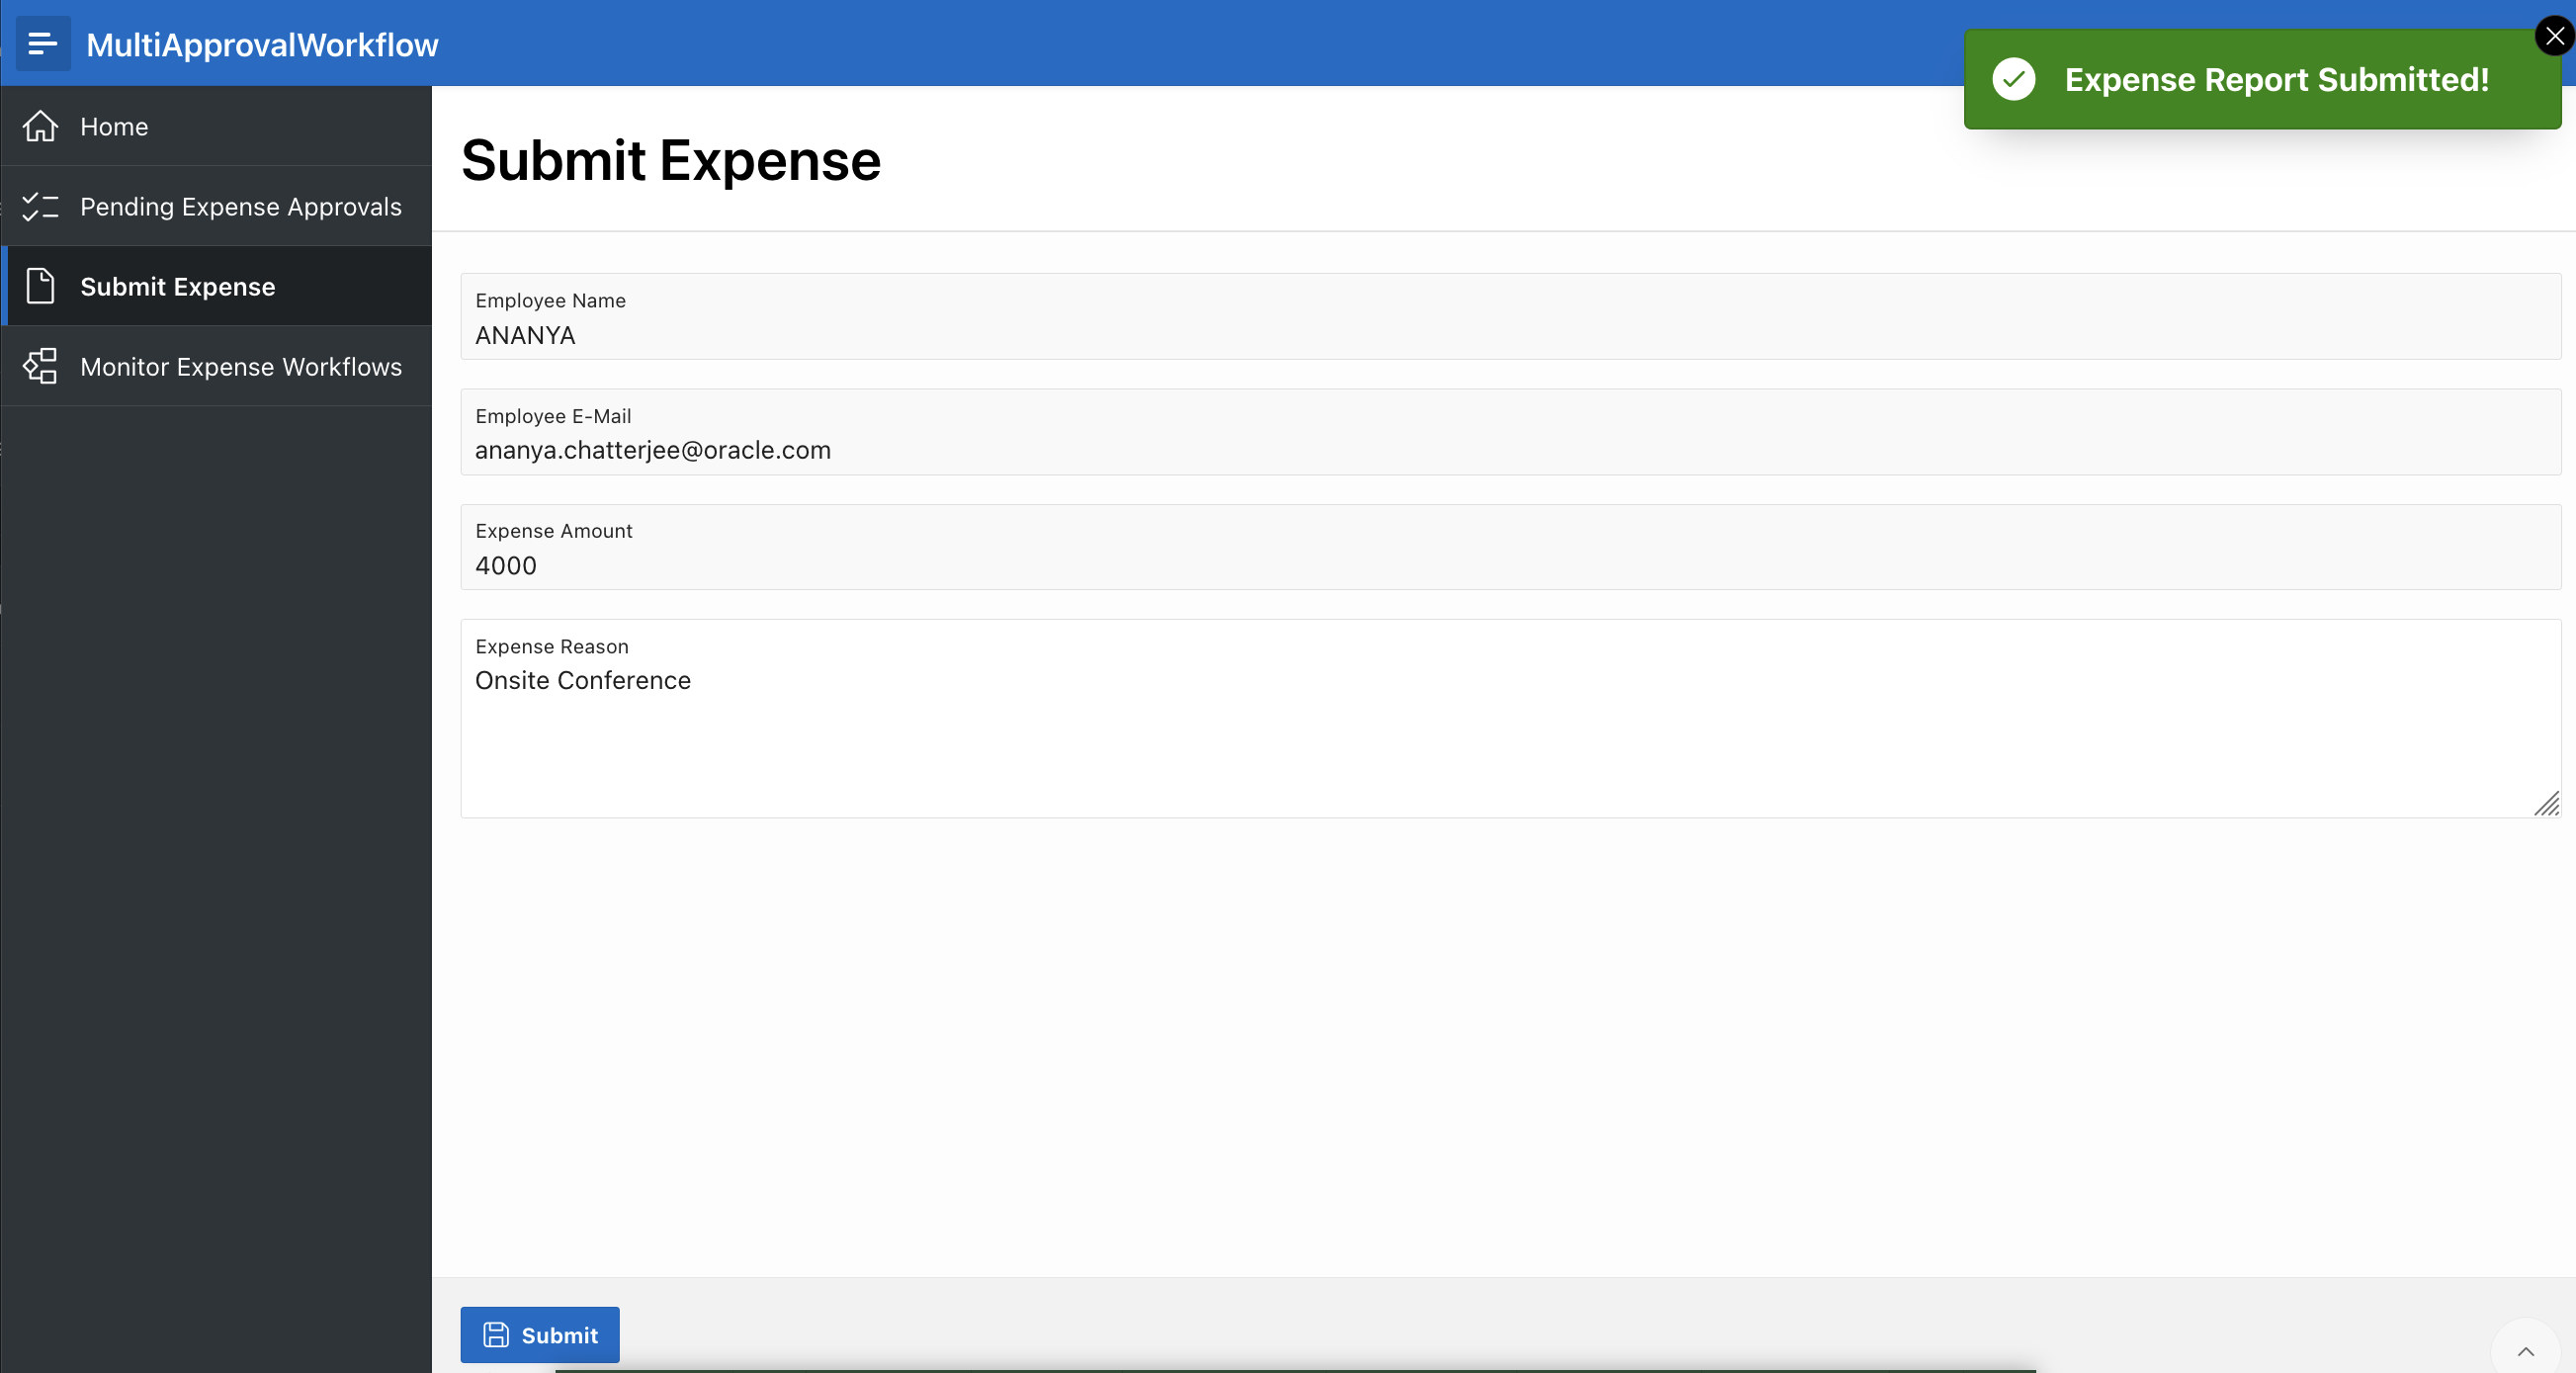
Clcik on Monitor Expense Workflows and notice that there is an Active Workflow for the Expense Request. Click on the Workflow to view its details.
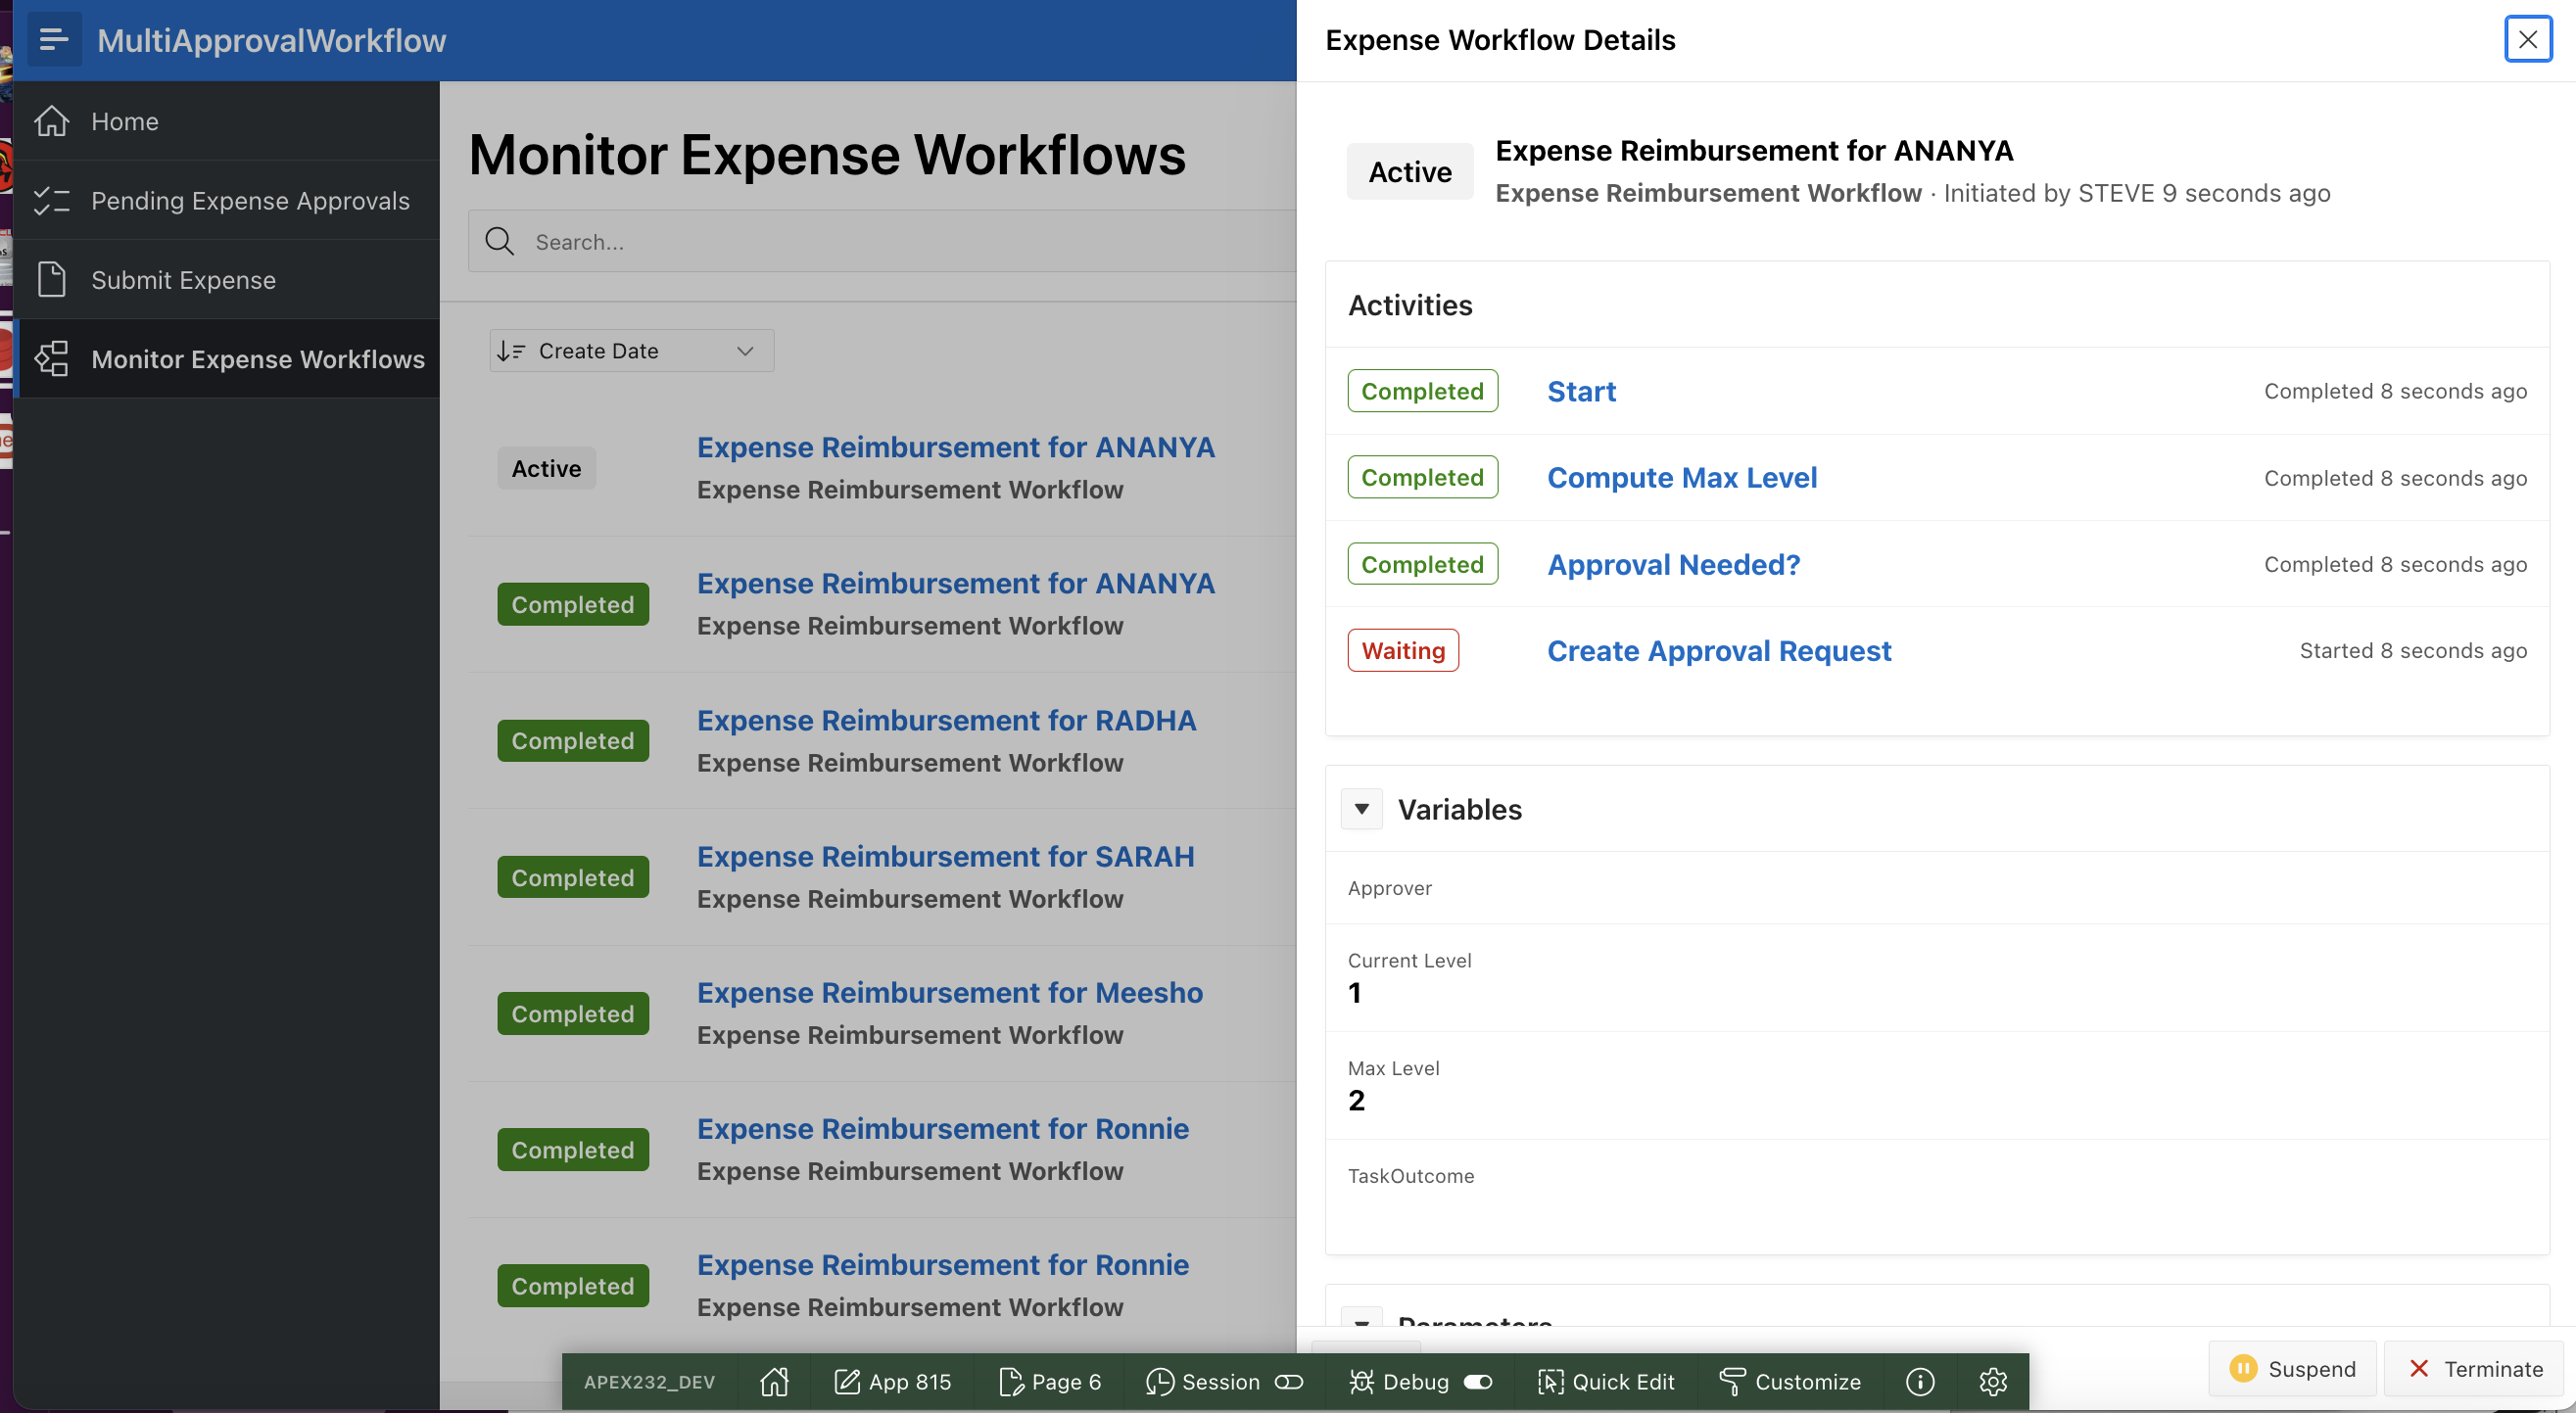
The Details show that the workflow is waiting at the Approval Task.
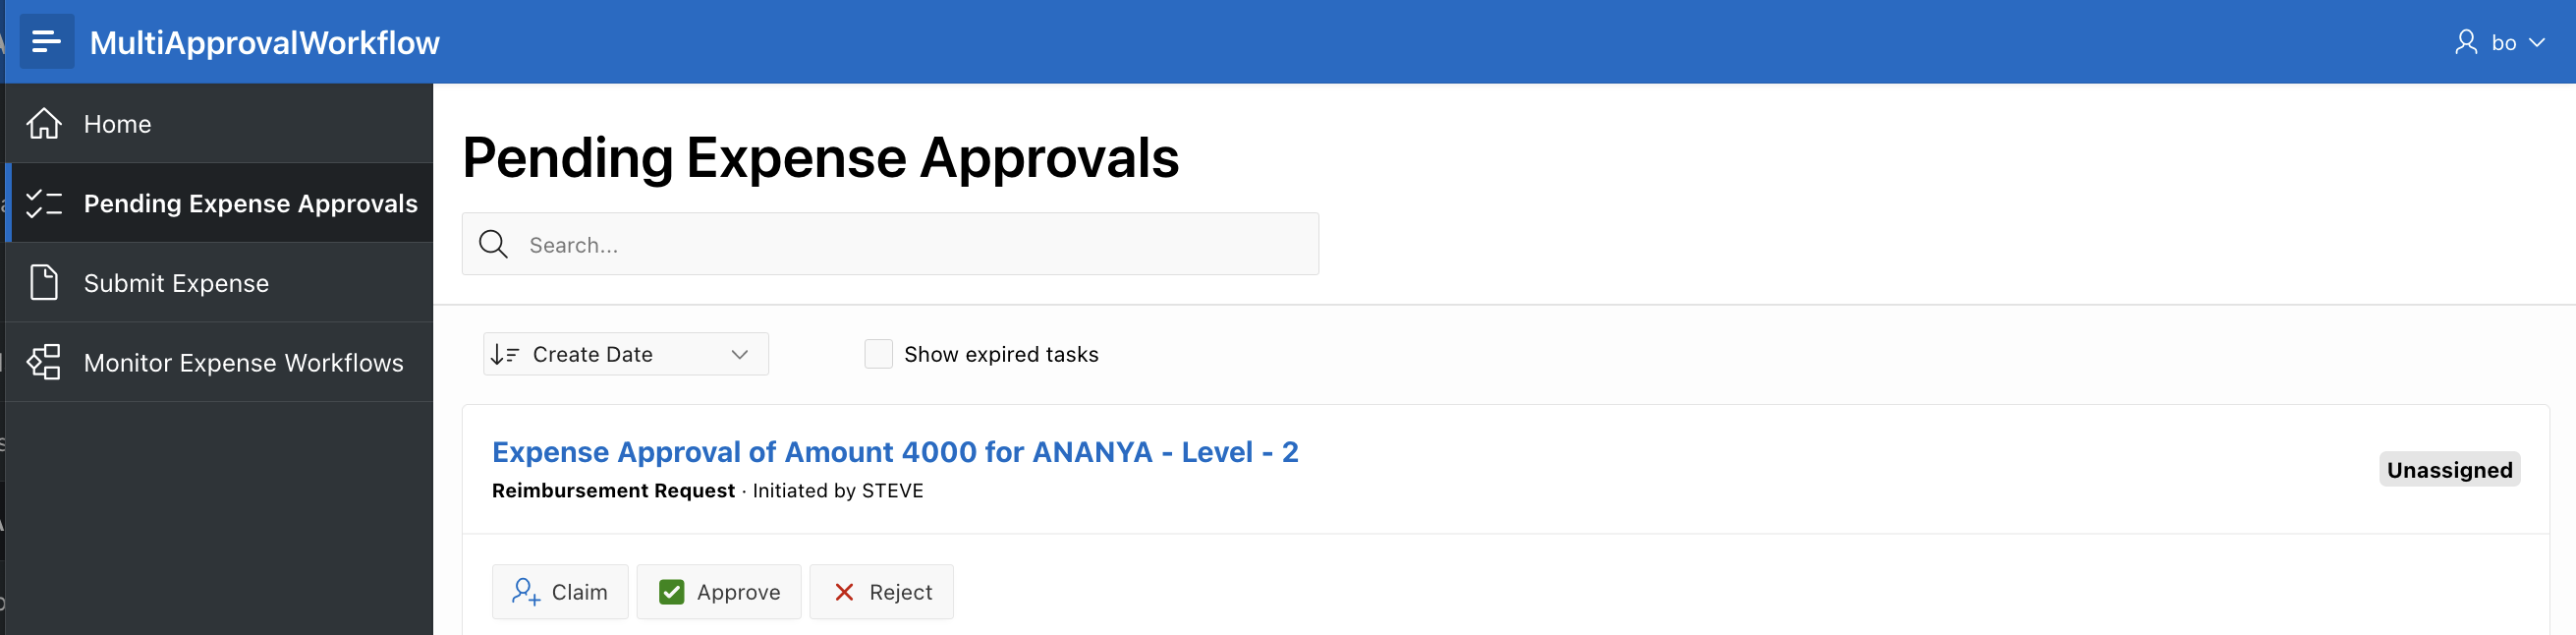
Log In as Jane and go to Pending Expense Approvals to Approve the Level 1 of Reimbursement Request .

As per our business logic, for Expense Amount between 2000 and 5000 Two Levels of approval are required.
Log out and Log in as Bo and go to Pending Expense Approvals to Approve the Level 2 of the Reimbursement Request.
Log out and Log back in as Steve.
Navigate to Monitor Expense Workflows and verify that the Workflow is in COMPLETED state. Click on the workflow to open the details and view all the completed activities.
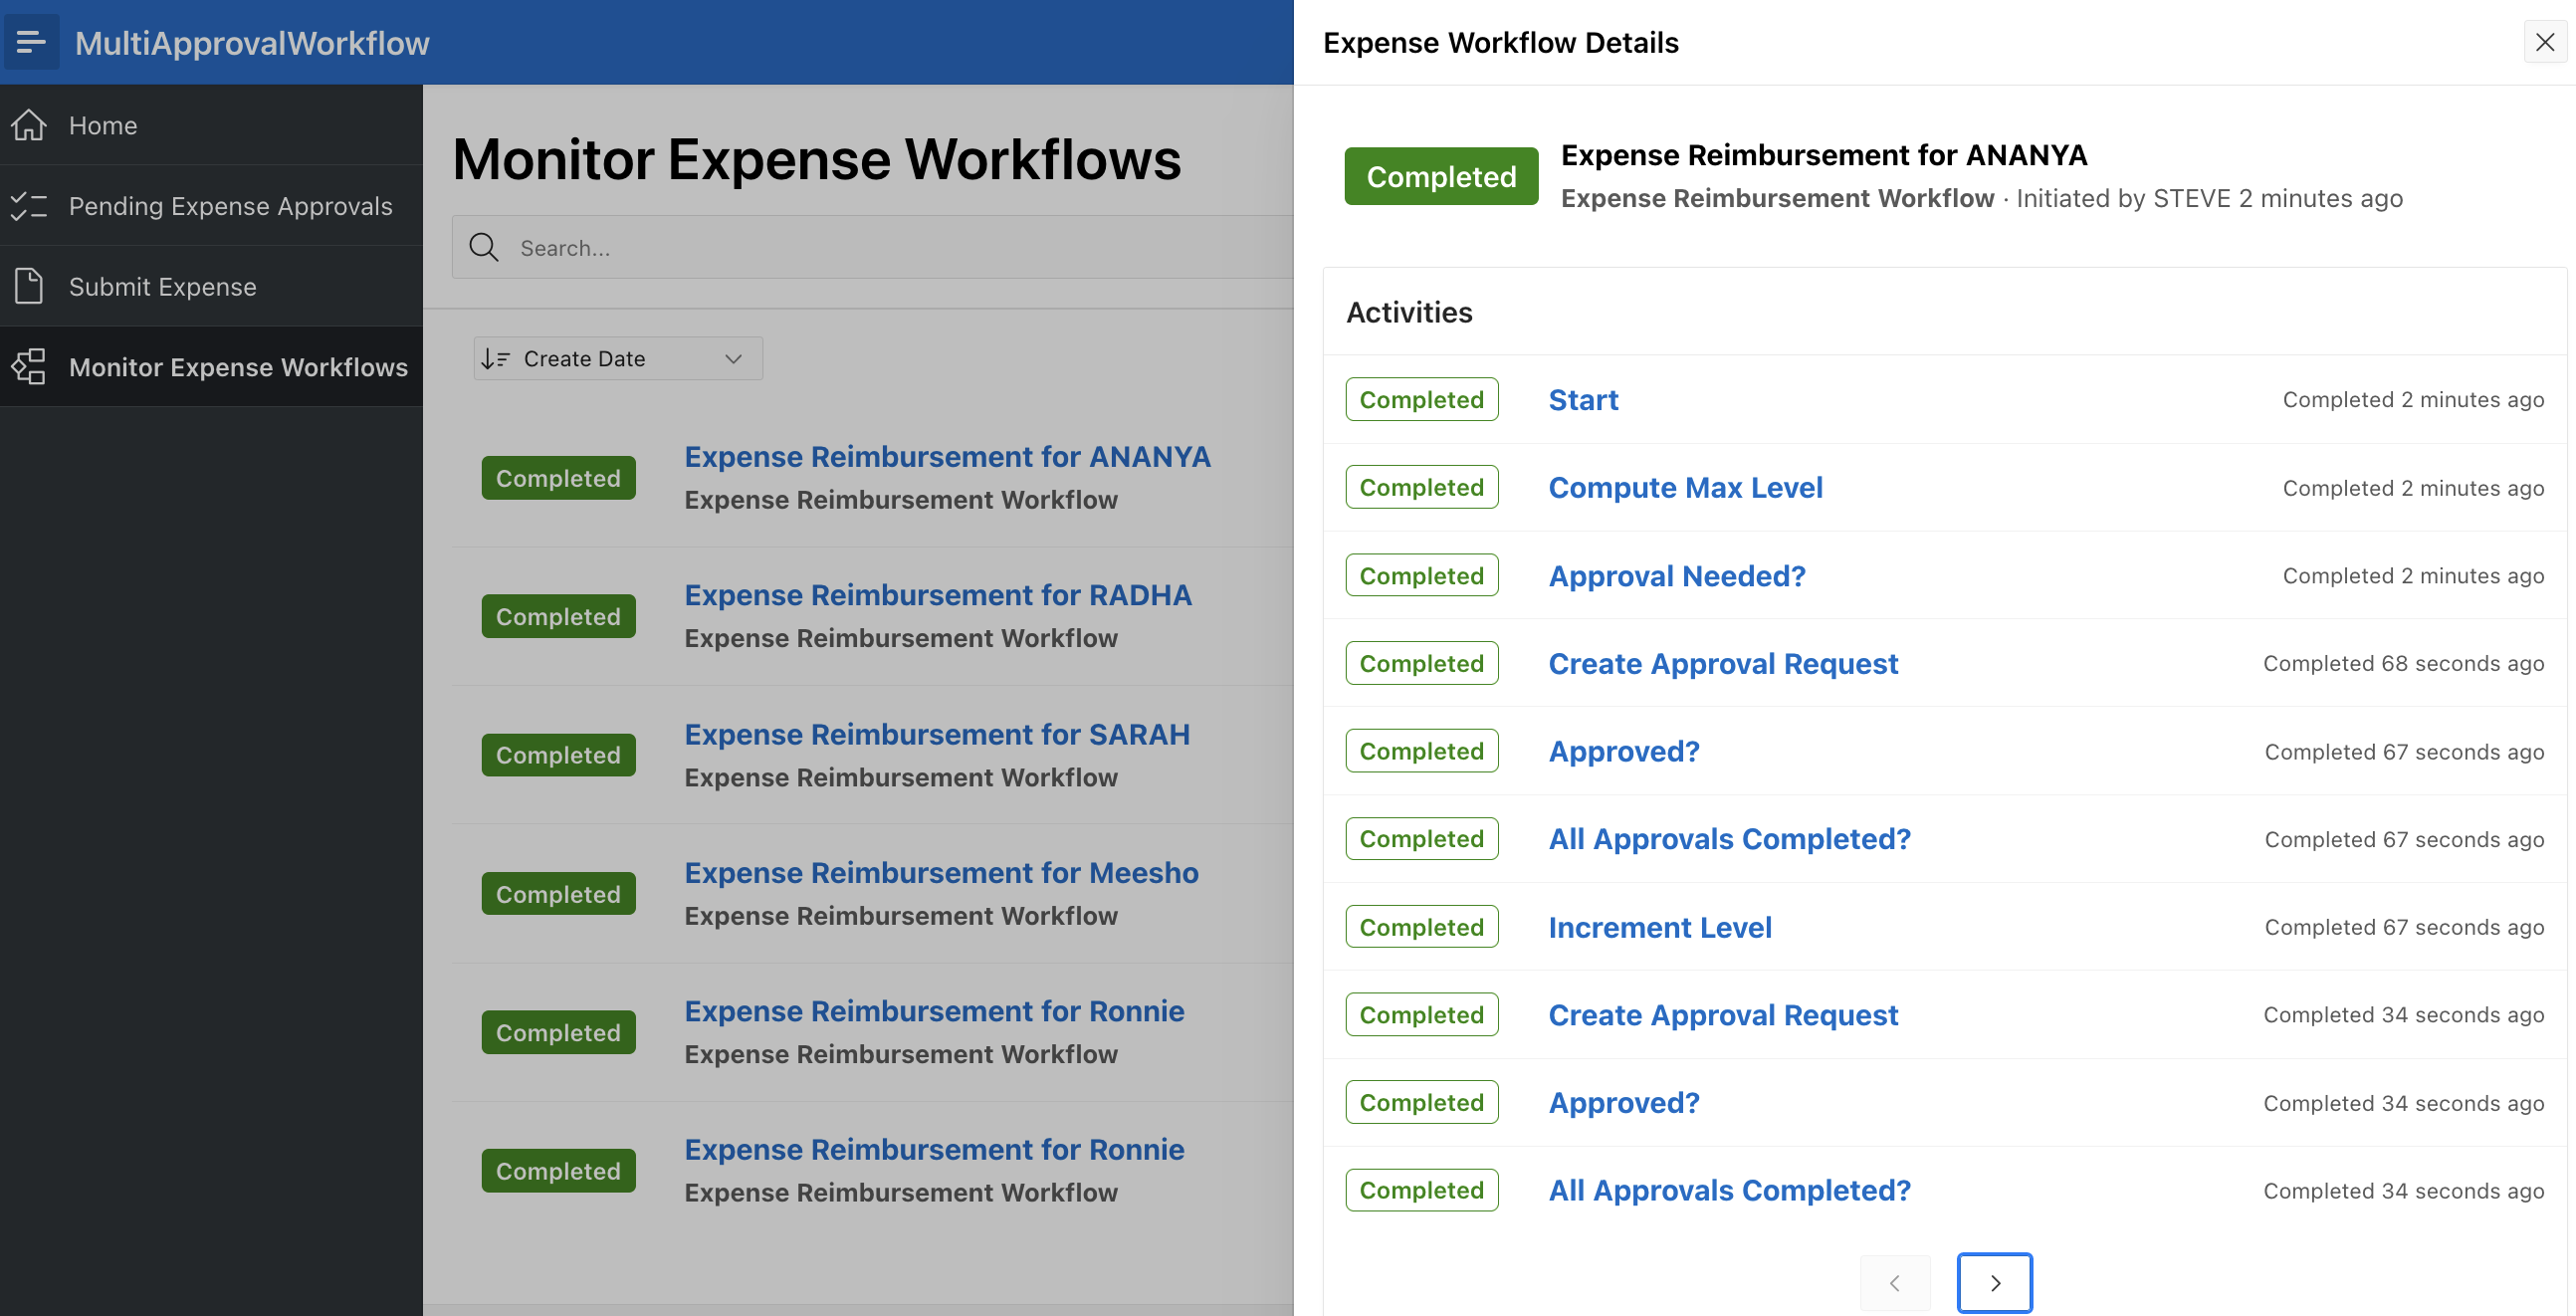

Note that an Email is received in the inbox address provided as part of the Submit Expense request.
Other Scenarios to try…
You may try the following usecases and observe the difference in the workflows.
1. Submit an Expense request for an amount less than 1000. You should received an Auto approved email and the workflow should not create any Human Approval tasks.
2. Submit an Expense request for an amount greater than 5000 The Reimbursement Request task should be created and approved at 3 levels one after the other, before the approval email is sent.
3. Submit an Expense request for an amount greater than 5000 . At the 2nd level, reject the task. Ensure that the Workflow goes back to the 1st level of approval.
4. Submit an Expense request for an amount greater than 5000 . At the Ist level, reject the task.Ensure that a Rejection email is received at the inbox address of the requestor.
What did you learn?
The above examples demonstrate how to use the Workflows and Human Tasks to set up multi-level approvals which would be condition-dependent and much more straightforward, delcarative and visually-aided.