Creating the Workflow
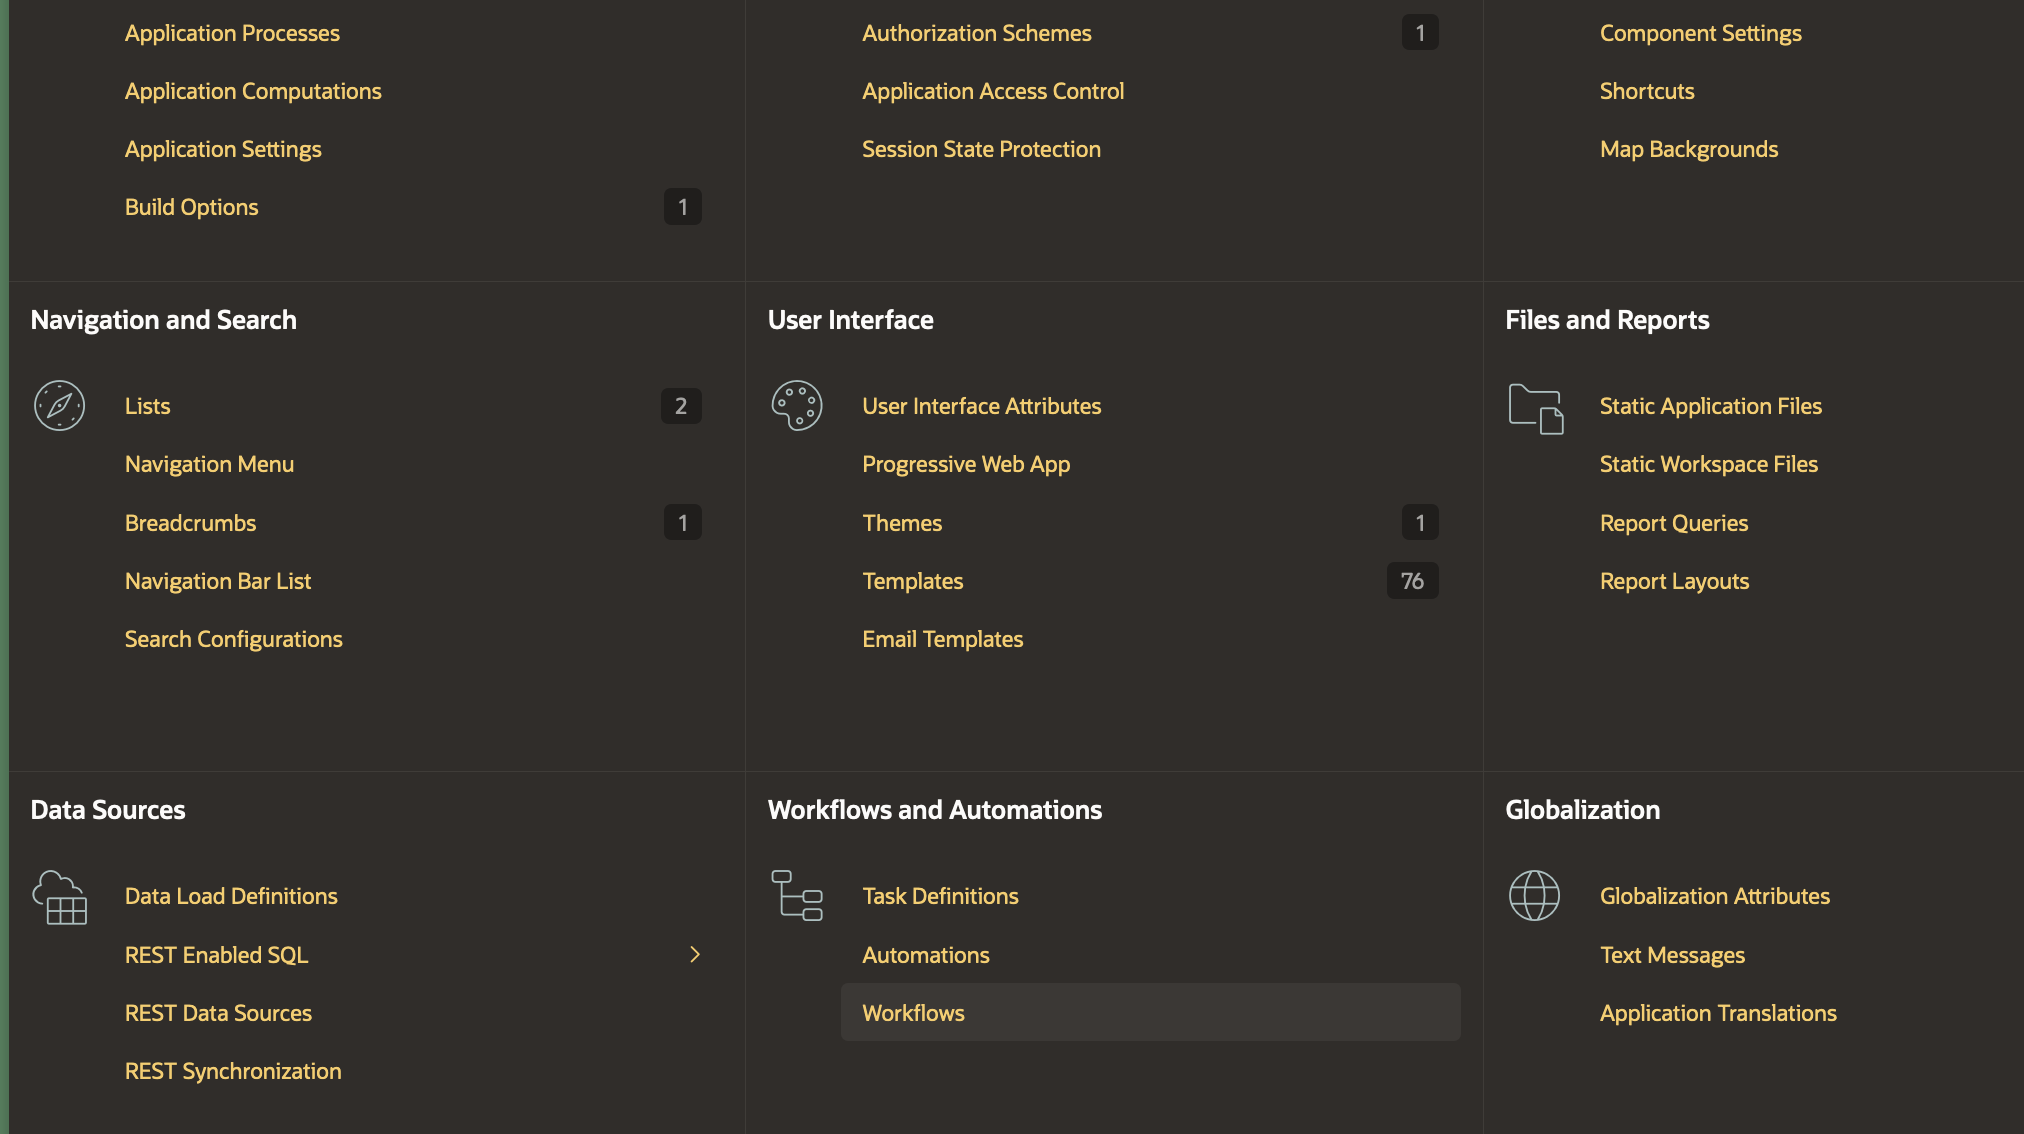
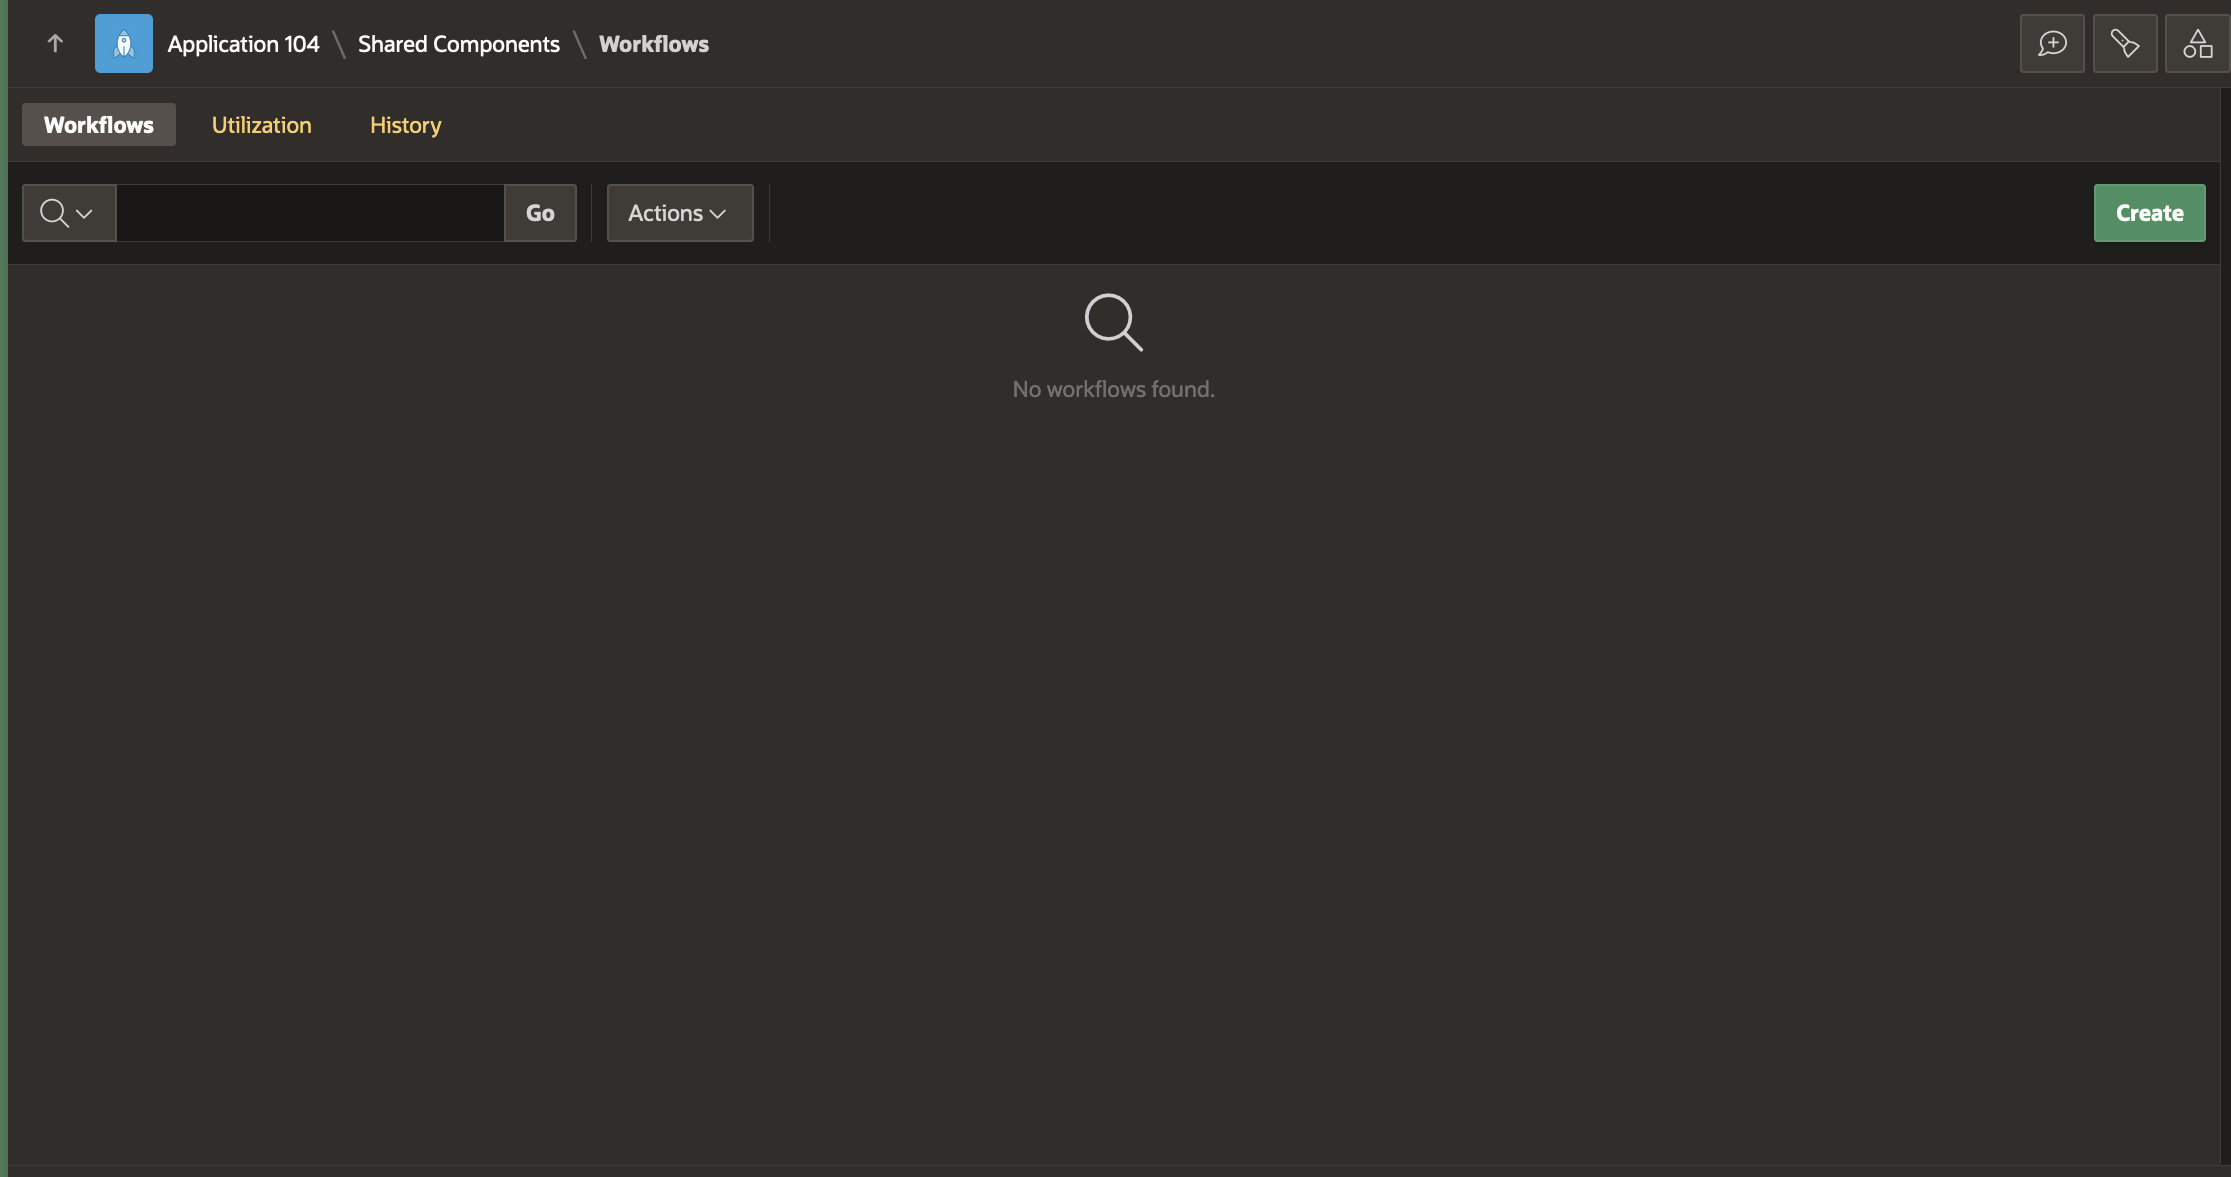
In the empty Application, we go to the Shared Components→ Workflows and Automations→ Workflows and hit Create.
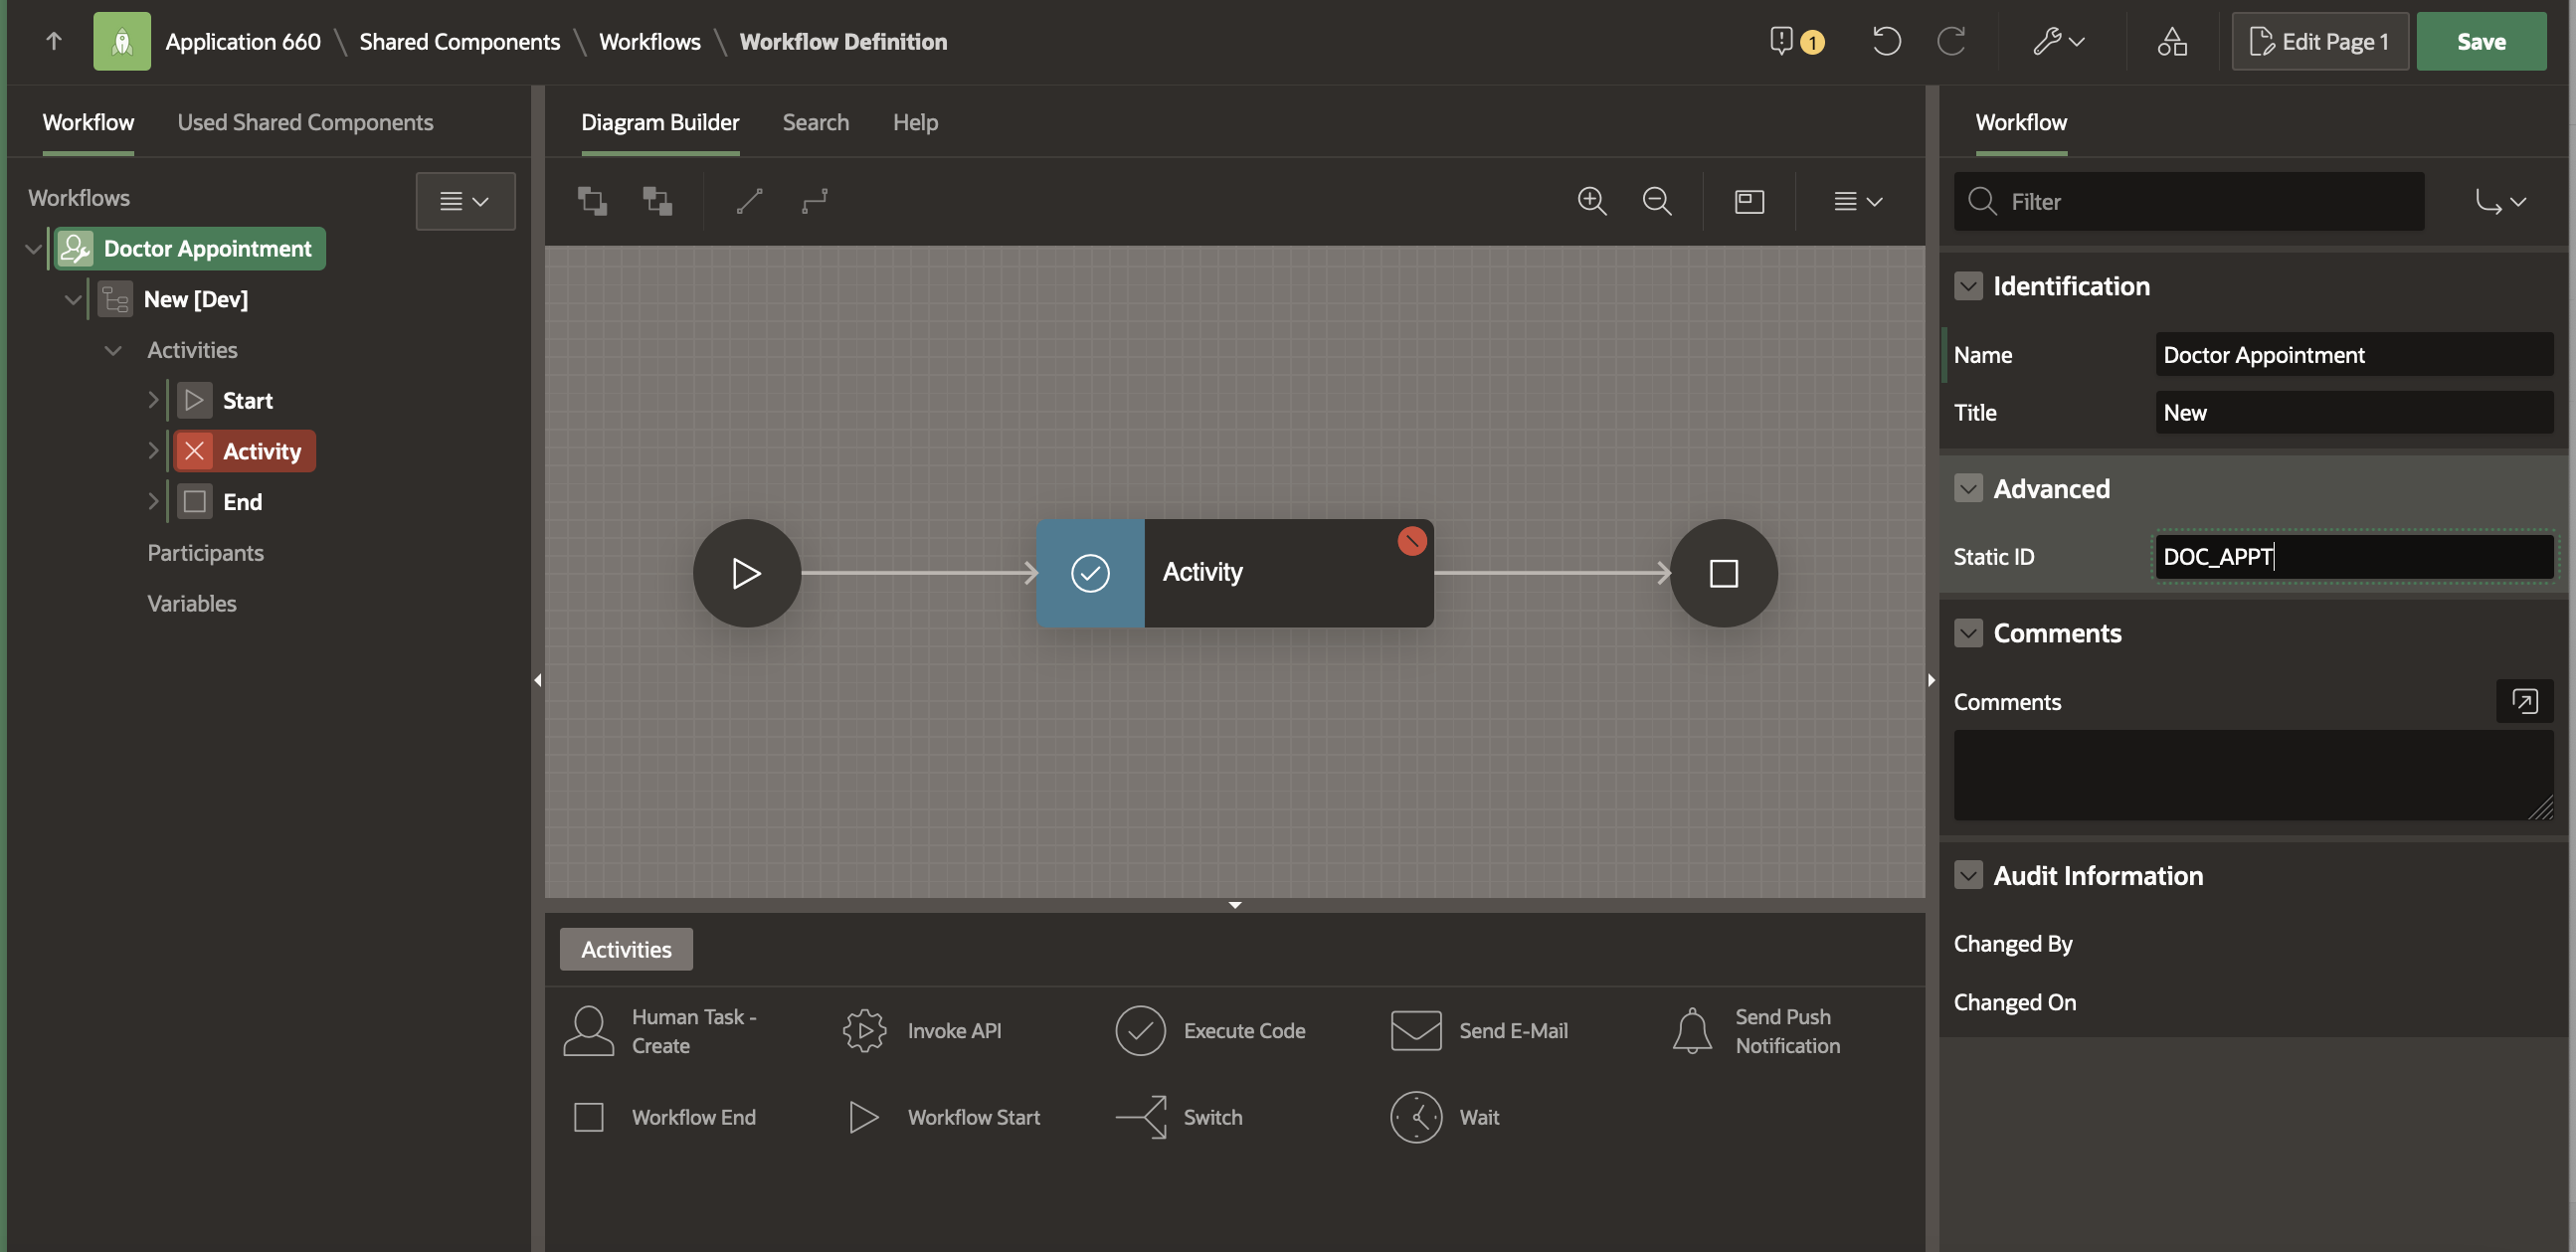
This brings us to the Workflow Designer (Shared Components -> Workflows -> Workflow Definition Page. You will find that a New Workflow with a new version has been auto-created with a Start Activity, an Execute Code Activity and an End Activity.

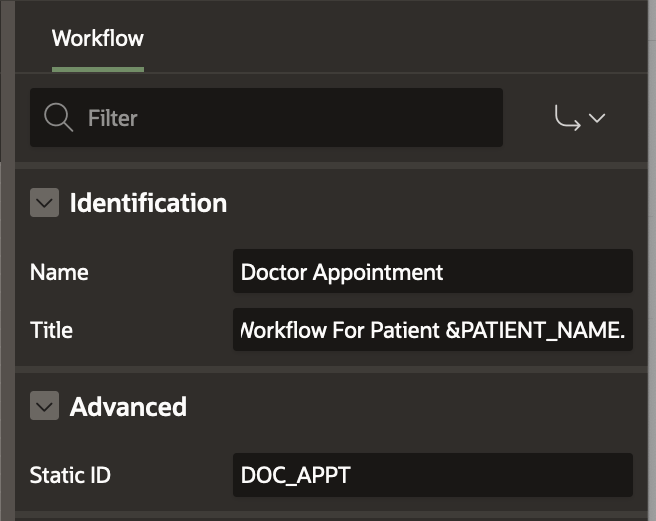
Modify the Workflow Name to Doctor Appointment and the Static ID to DOC_APPT .
Modify the Workflow Version to 1.0
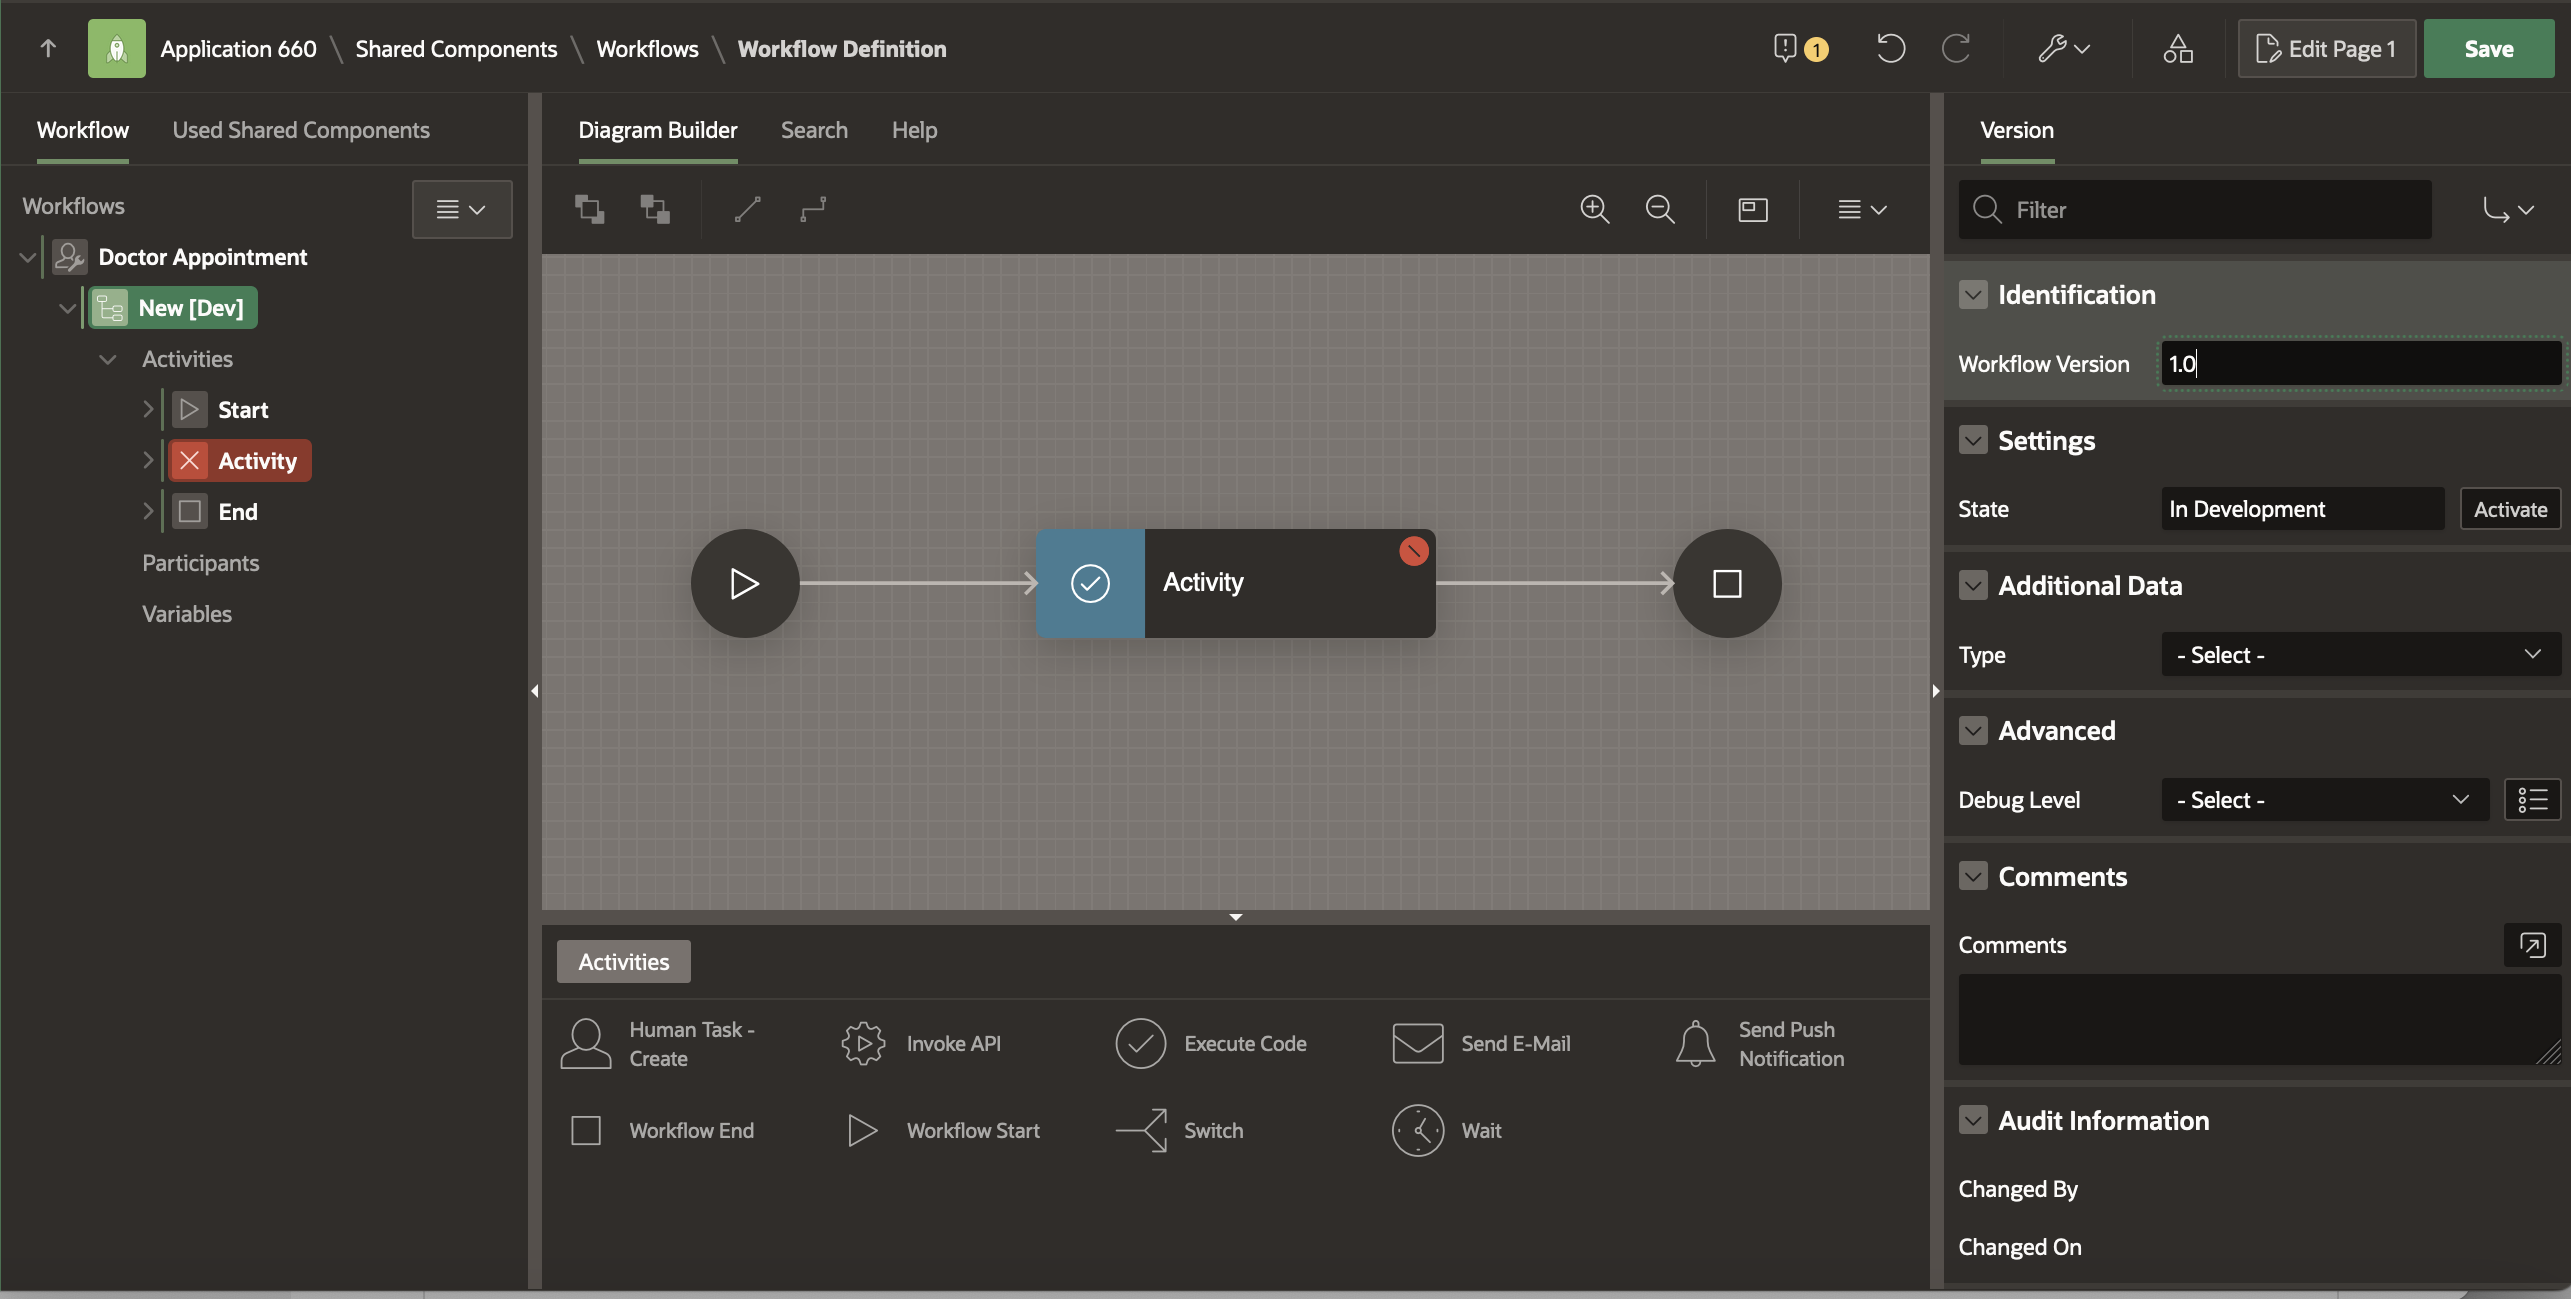
Note: You may have noticed the label [Dev] next to the version in the tree on the left pane. This means that this version of the Workflow is In Development and all parts of it are editable. We will learn about workflow versioning- Active vs. In Development versions in future blogs in this series.
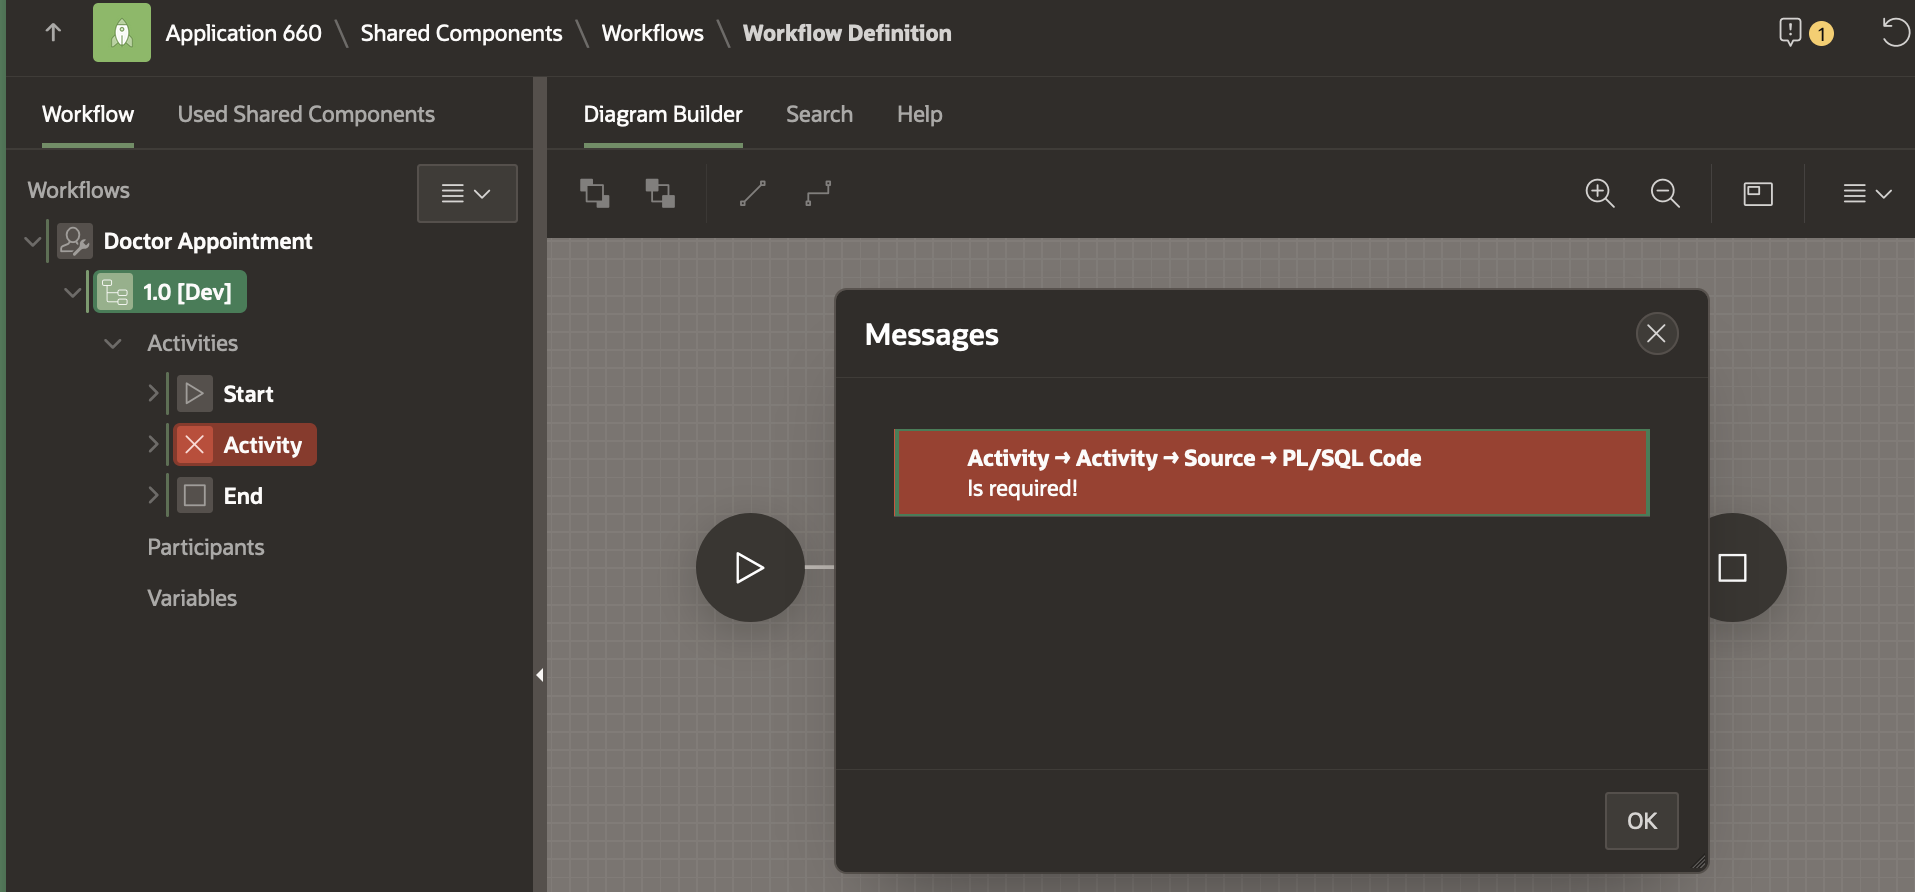
The Workflow cannot be saved yet as the there are validation errors. Click on the error icon (Yellow exclamation mark) to see the error.
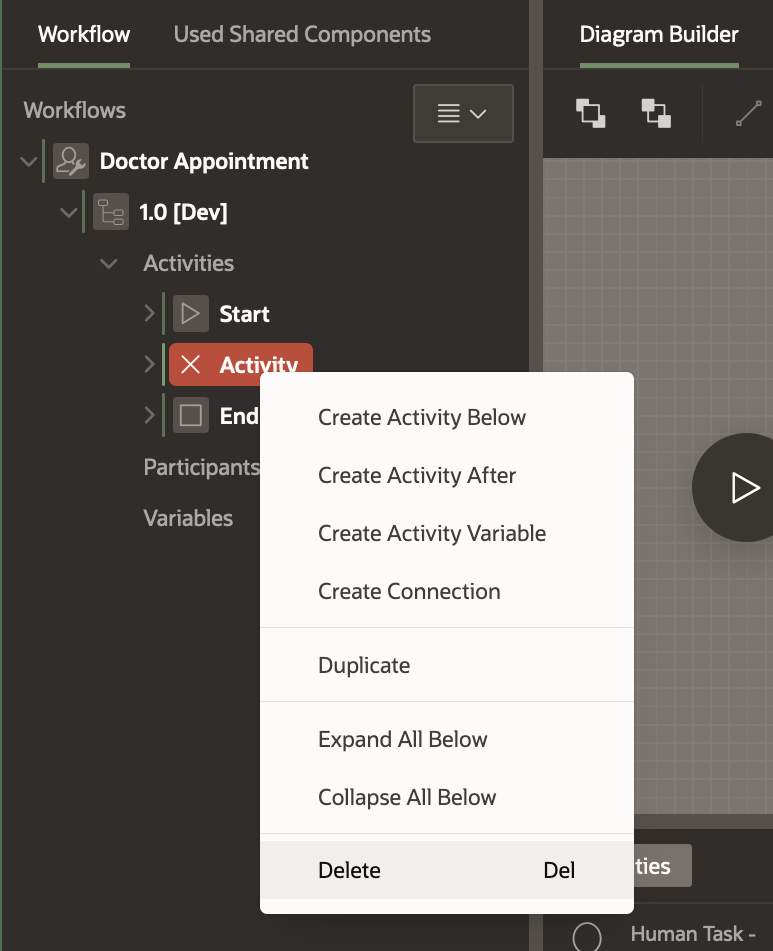
For now, let’s delete this activity as we will add new specific activities in later sections of this blog. Right click on the Activity highlighted in RED in the Workflow tree and click Delete. Alternatively you can delete the Activity by clicking on the three dots at the bottom right corner of the Activity in the Diagram. This will open the menu and you can click on Delete on the menu.

The Workflow now looks like this with just the Start and the End activities.

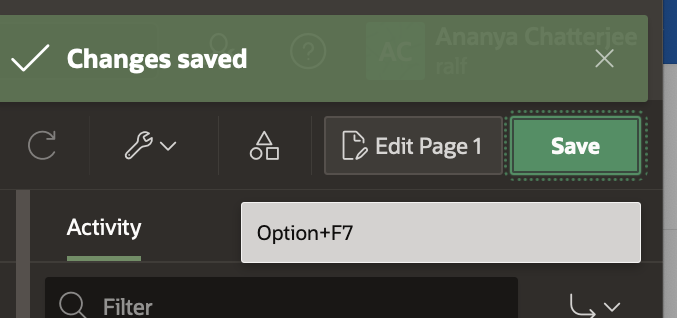
Now click on Save ( the GREEN button at the top right corner) to save the Workflow. Note that, a workflow model cannot be saved until its validation errors have been fixed.
Getting familiarised with the Workflow elements and terms
At this point, let us take a step back and familiarize ourselves with the workflow elements and terms. We already introduced the concepts of Activities and Connections.
Let us now look into the different types of Activities and Connections.

| Activity Type | Description | Blocks the workflow engine until execution completes? |
|---|---|---|
| Execute Code | Executes PL/SQL Code | Yes |
| Invoke API | Invokes a procedure or function inside a PL/SQL package or an API from a REST Data Source. | Yes |
| Push Notifications | Sends push notifications using PWA | Yes |
| Send E-Mail | Sends an Email based on the Email settings. | Yes |
| Human Task – Create | Creates an Approval or Action Task based on the Task Definition specified. Once the task is created, the activity and workflow go into the Waiting state until the task is completed/approved/rejected by its owner/ errors out/ expires. | No |
| Wait | Denotes a deliberate pause in the workflow execution. At runtime, the workflow pauses execution when it encounters a Wait Activity. A Wait Activity can have timeout specifications. When the specified time has elapsed, the workflow resumes execution. A Wait Activity can also be interrupted by calling apex_workflow.continue_activity() passing the Static ID of the Wait Activity and the Workflow Instance ID as parameters. | No |
| Switch | Denotes a fork or conditional branching in a workflow execution. After adding a switch activity, the developer must define branches or connections out of the switch activities with the appropriate conditions specified. |
Yes |
| Workflow Start | Denotes the Start of a workflow. A workflow model must have exactly one Start Activity. | Yes |
| Workflow End | Denotes the End of a workflow. Depending on the End State attribute of this activity, the Workflow is either Completed or Terminated. | Yes |
Connection Types
| Connection Type | Description |
|---|---|
| Normal | Connects two activities in the workflow. No conditions. Not applicable for Switch Activities |
| Timeout | If an activity has a due date specified, the timeout connection can be used to move the workflow to an alternate target activity in case the current activity execution times out. Not applicable for Switch and Wait activities. |
| Error | Allows for efficient error management within the workflow without letting it go into a state of exception. Not applicable for Switch activities. |
| Switch connections | Connections leading out of a Switch Activity. They are conditional in nature. |
In this application, we use Normal, Switch connections and Timeout connection types. You will learn more about the Error Connection in subsequent blogs.
Workflow Data – Parameters, Variables, Activity Variables, and Additional Data
Any business process handles a vast amount of data specific to that business. As part of the workflow execution, data can be provided as input to the workflow. Depending on the business usecase, the workflow may also need to refer to additional data besides what has been provided as input. Some of this data could be modified by the workflow. There can also be activity specific data relevant to a particular activity in the workflow. We will understand the concepts of the different types of workflow data through the medical appointment application we are building.
Inputs to the Doctor Appointments Workflow
If we look back at the flow chart depicting the business logic, the appointment booking process starts with the Hospital Staff submitting the patient details to the system and this is when the workflow begins.
The inputs to the workflow would therefore be the patient details. In workflow terminlogy, these are called Workflow Parameters
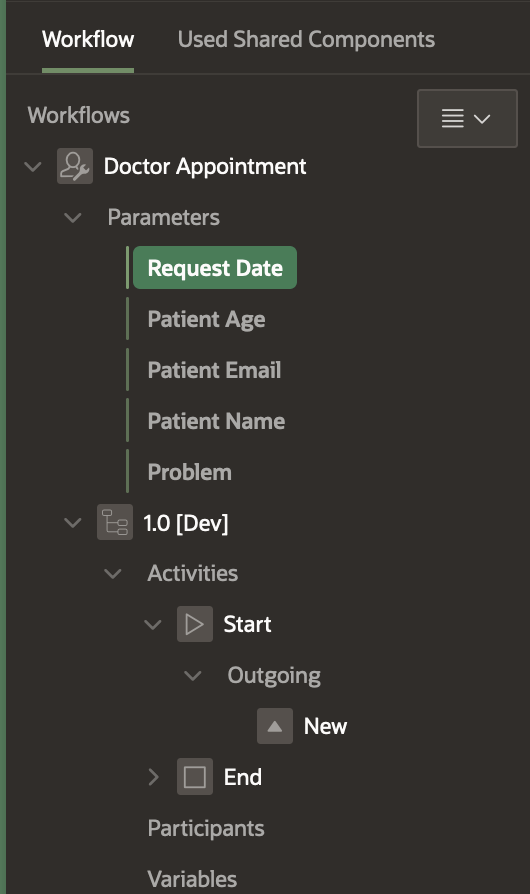
We will define the following parameters for the Doctor Appointment Workflow.
PATIENT_NAME, PATIENT_AGE, PATIENT_EMAIL, PROBLEM, REQUEST_DATE
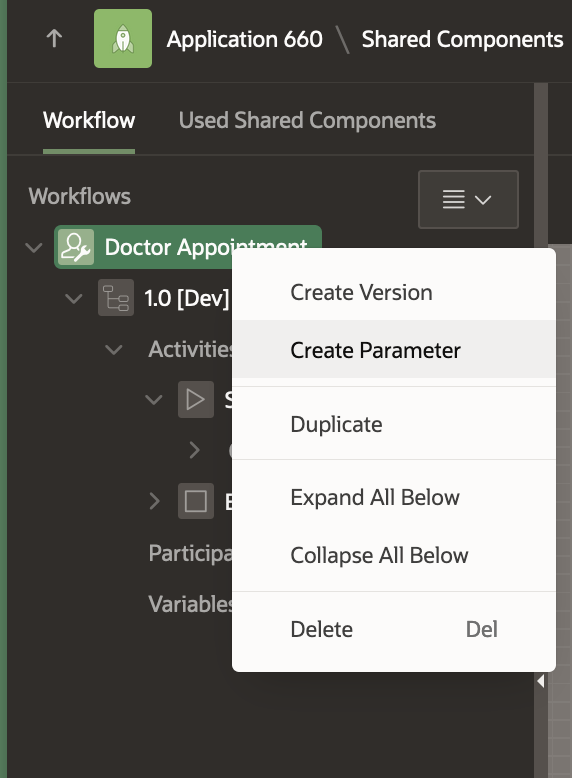
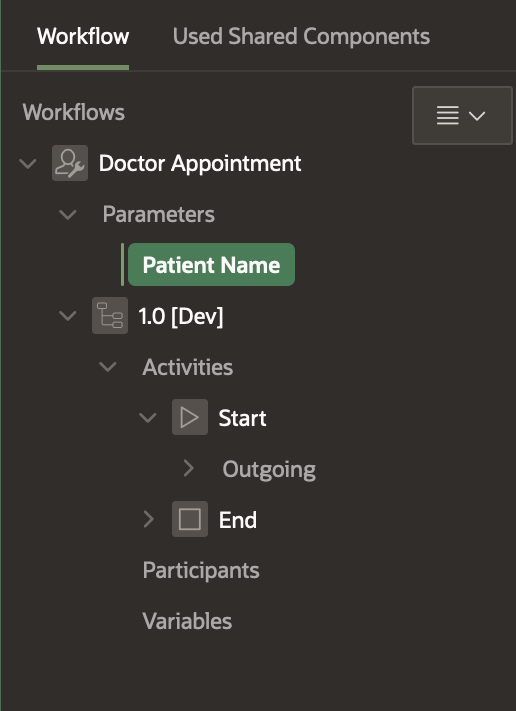
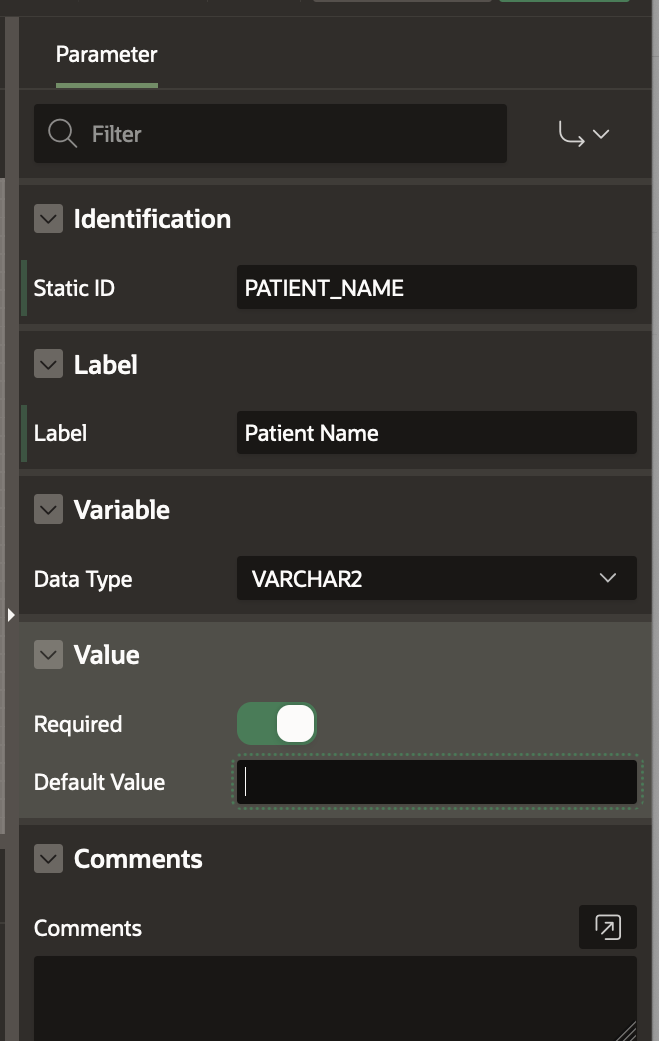
To create a new Parameter, right click on the Doctor Appointment Workflow in the Tree and select Create Parameter. This adds a Parameter with label “New” in the Workflow Tree. Go to the Property Editor and change the Label to Patient Name and the Static ID to PATIENT_NAME . Leave the Data Type as VARCHAR2.
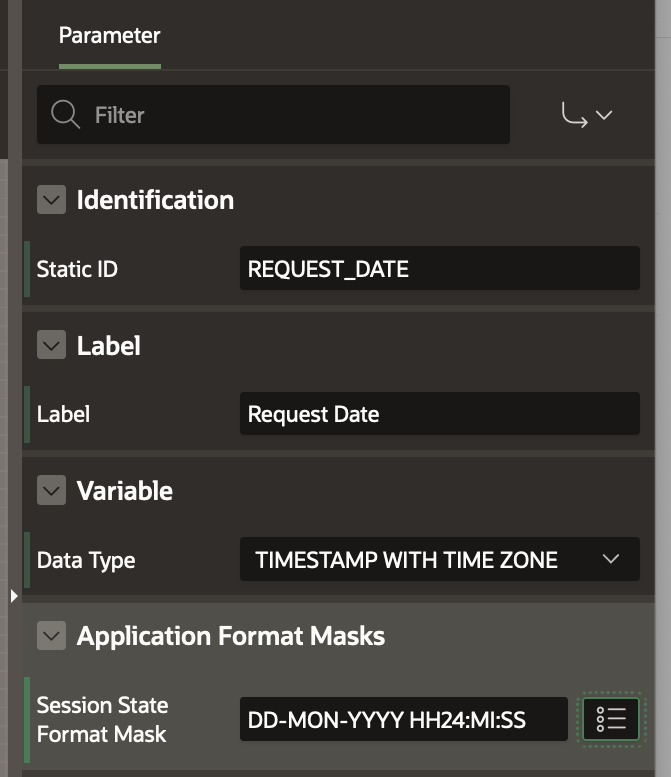
Similarly add the rest of the Parameters. For PATIENT_AGE Parameter, select Data Type as Number. For REQUEST_DATE, select Data Type as Timestamp with Time Zone. Under Application Format Masks, set the Session State Format Mask as DD-MON-YYYY HH24:MI:SS .
Using the parameters in the Workflow Subject
The Workflow has a Title field which is a descriptive title for the Workflow and shows up in the Workflow Console that the Hospital Staff will eventually use to monitor the progress of the appointment process. The Title supports using workflow parameter static IDs as substitution strings.
To set the Workflow Title, click on the Doctor Appointment Workflow in the Tree and update the Title in the Property Editor to Doctor Appointment Workflow for patient &PATIENT_NAME. as shown below. Click on the Save button to save your changes.
Additional Data for the Workflow
In addition to the input parameters, the Workflow also needs information about the available doctors based on the patient’s particular problem. An understanding of the appointment process tells us that the doctor data will be needed by almost all activities of the workflow.
To define Additional Data,
Click on the Workflow Version 1.0[Dev] in the tree and go to the Additional Data section in the Version Property Editor.
- Select Table/View as Type
- Select DOCTOR from the list of Tables that appear
- Select DNAME as the Primary Key Column for the DOCTOR Table

Cllck Save to save the changes.
Note: Now the values of all columns of the DOCTOR table will be available as Bind Variables or Substitution Strings at all points and by all activities during the execution of this Workflow.
Adding Workflow Variables
Why are Parameters and Additional Data not enough?
The inputs provided to the Appointment Workflow are read-only in nature. This means that once the workflow is submitted, their values will never be modified. The workflow needs to process and pass data from one activity to the next. As an example, consider the different business steps:
- Before an appointment is confirmed, the workflow needs to compute the doctor’s availability based on his/her current appointment schedule. So, Availability of the doctor is a variable that will be determined based on this computation.
- When an appointment is confirmed, the Booking ID for the appointment entry needs to passed on to later activities which calculate and update the appointment fees.
- Data such as Availability, Booking ID and Fee need to be updatable by the activities of the workflow as part of the execution. Data such as these need to be defined as Workflow Variables.
Creating Workflow Variables
To create a new workflow variable, right-click on 1.0 [DEV] (the workflow version) in the Tree and select Create Variable.
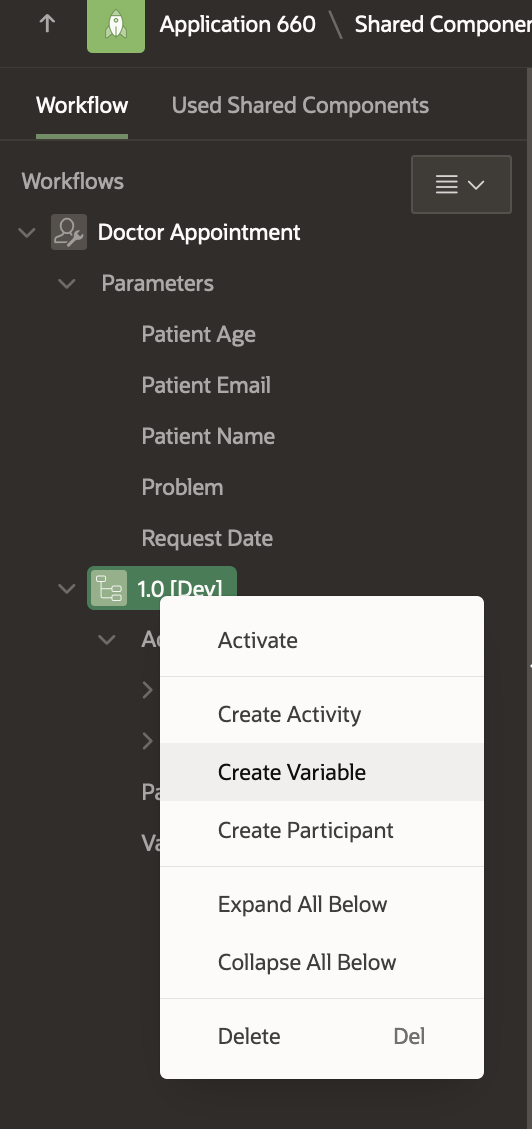
A new variable with Name “New” gets created in the tree. Click on it and modify the following properties in the Property Editor.
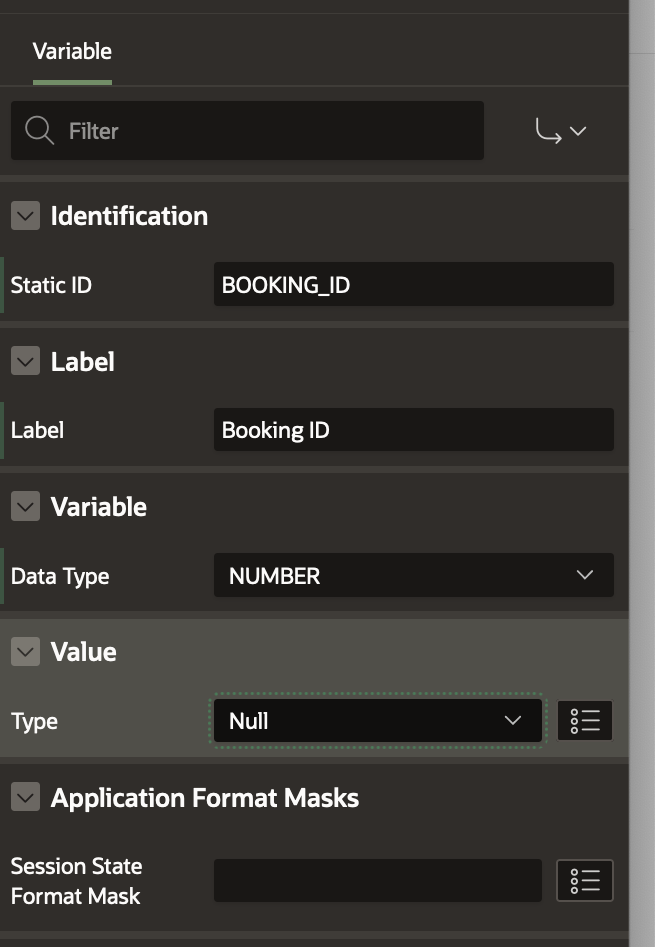
- Set Name as Booking ID
- Set Static ID as BOOKING_ID
- Set Data Type as NUMBER
- Set Source as Null (this is because we know that the Booking ID only gets generated later in the workflow after the appointment is confirmed, so it needs to be initialized to null
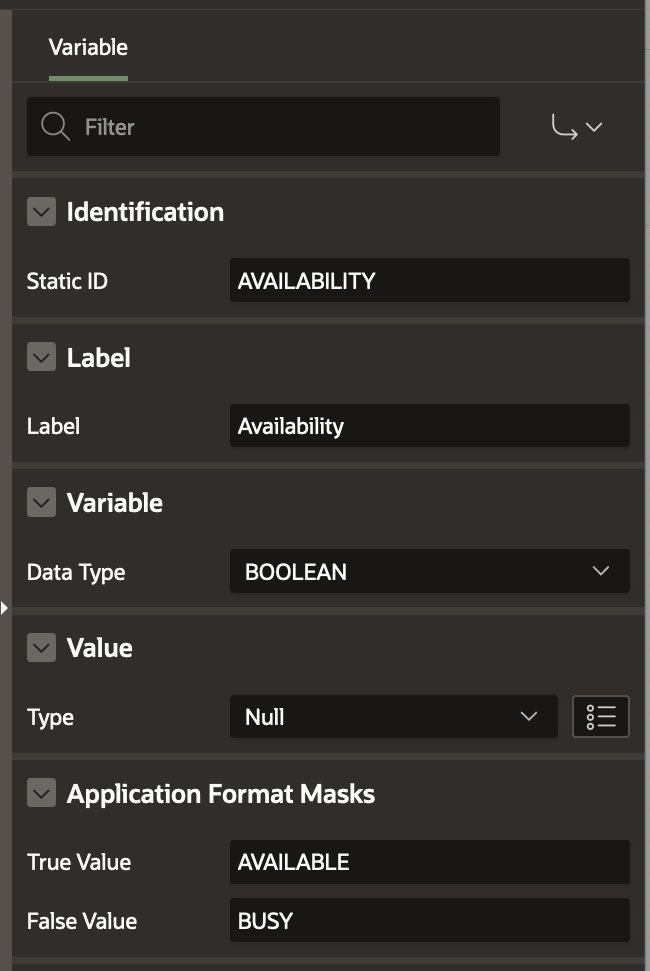
- Create variable AVAILABILITY with Data Type BOOLEAN. In the Format Mask section, specify AVAILABLE as the True Value and BUSY as the False value and initialize it to Null.
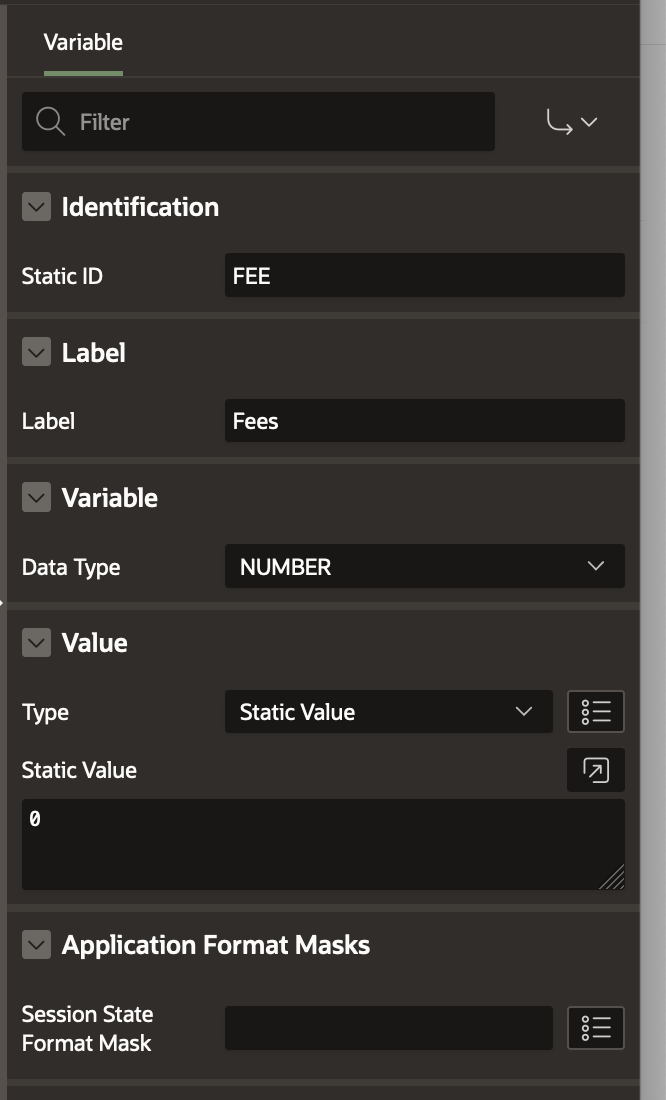
- Create variable FEE with Data Type NUMBER, initialized to 0.
In the next Section you will learn how to add Human Tasks to your Workflow.