With input from:
Mahesh Bhupathi, Senior Solutions Architect, Oracle Fusion Data Intelligence
Introduction
Modern enterprises span multiple time zones, making it essential for users to analyze transactional data in their local time. This two-part blog article series explains how to implement dynamic, user-selectable time zones for date/time columns (for example, GL_POSTED_DATETIME) in Oracle Fusion Data Intelligence (FDI) and Oracle Analytics Cloud (OAC).
In this article (Part 1), we focus on the key building blocks: importing time zone data, modeling it in the semantic layer, and creating initialization logic to capture user preferences.
Import the Custom Time Zone Table
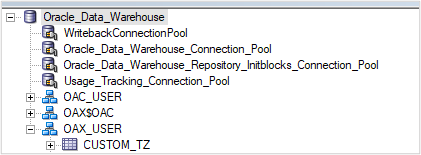
1. Import your time zone lookup table (for example, Excel or CSV) into the OAX_USER schema. See the Timezone Attachment.
2. Grant the necessary read privileges:
GRANT SELECT ON “CUSTOM_TZ” TO “OAX$OAC”;
GRANT SELECT ON “CUSTOM_TZ” TO “OAX$OAC” WITH GRANT OPTION;
Model the External Application
Integrate the CUSTOM_TZ table into the external application.
1. Import the CUSTOM_TZ table to the OAX_USER schema in the physical layer.
2. Create an alias of the CUSTOM_TZ table.

3. Join the alias with the base table on the TIMEZONE column.

4. Drag the tables to the business model and mapping layer.
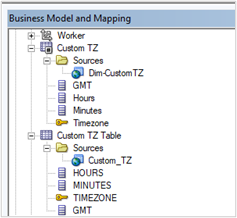
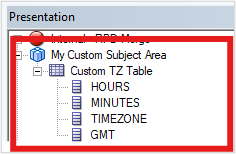
5. Drag the custom time zone table to the presentation layer to the subject area, My Custom Subject Area.
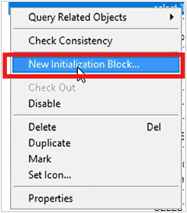
Create an Initialization Block
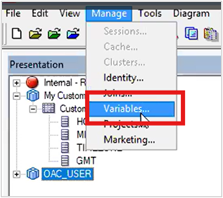
1. Click Manage and select Variables.
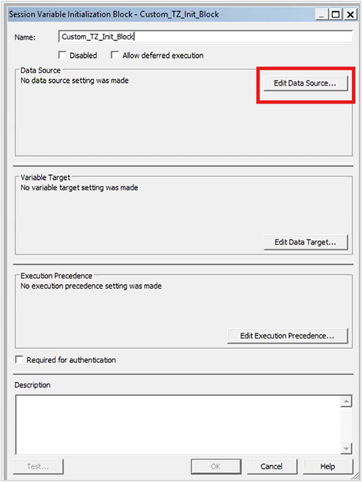
2. Create Custom_TZ_Init_Block.
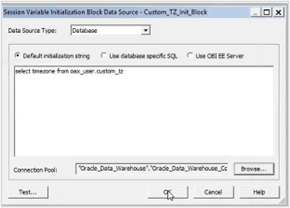
3. Click Edit Data Source.
4. Paste the query: SELECT TIMEZONE FROM OAX_USER.CUSTOM_TZ
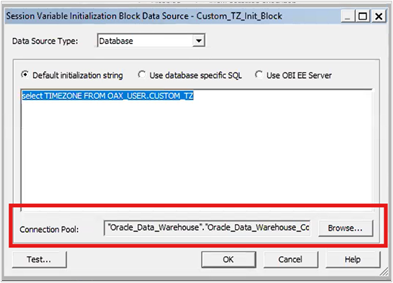
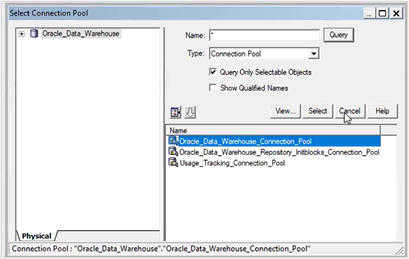
5. Browse and select the connection pool.
6. Click OK.
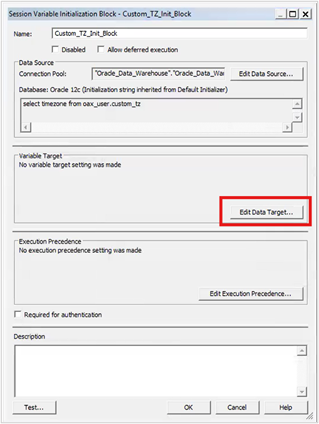
7. Click Edit Data Target.
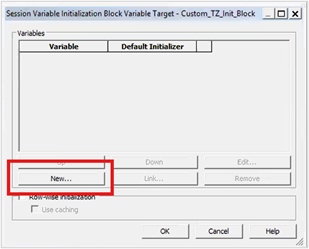
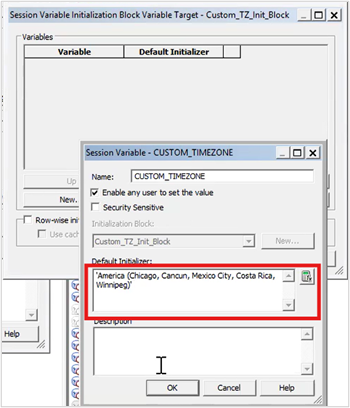
8. Click New to create a session variable.
9. Create a session variable CUSTOM_TIMEZONE and enable any user to set the value.
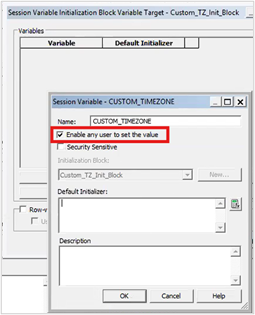
10. Assign a default value and click OK.
11. Click OK and run global consistency check and save the RPD.
12. Validate and merge the RPD on console. Refer to the Merge Applications blog article for details on external applications.
Create a Logical Subject Area
1. Create a dataset in OAC.
2. Select local subject area.
3. Create a manual query.
4. Paste in the following query:
| SELECT “MY CUSTOM SUBJECT AREA”.”CUSTOM TZ TABLE”.”HOURS” , “MY CUSTOM SUBJECT AREA”.”CUSTOM TZ TABLE”.”MINUTES”, “MY CUSTOM SUBJECT AREA”.”CUSTOM TZ TABLE”.”TIMEZONE”, “MY CUSTOM SUBJECT AREA”.”CUSTOM TZ TABLE”.”GMT” FROM “MY CUSTOM SUBJECT AREA” |
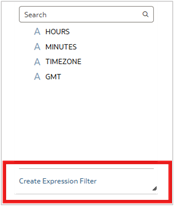
5. Create an expression filter.
6. Add the expression TIMEZONE=VALUEOF(NQ_SESSION.CUSTOM_TIMEZONE) and click Apply.
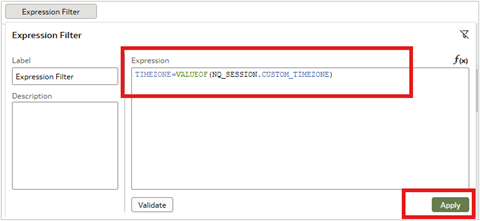
7. Click OK.

8. Save the dataset.

Conclusion
With the foundational elements in place, we’re ready to extend the model, link the custom time zone data to transaction tables, and enable dynamic user selection in reports and dashboards. Continue to the next article in this blog article series, User-Defined Time Zones in Oracle Fusion Data Intelligence – Extending and Bringing It All Together (Part 2), for details on implementation and integration.
Call to Action
Now that you’ve read this article, try it yourself and let us know your results in the Oracle Analytics Community, where you can also ask questions and post ideas. If you have questions or need more details, you can always check the Help Center for Oracle Analytics.