Using Vagrant with Oracle VirtualBox enables you to create local virtual machines using just a few commands and do so without the need for an ISO file. Virtual machines when created manually in Oracle VirtualBox use an ISO file. With Vagrant, you don’t have to spend time searching for and downloading an ISO file for each virtual machine you’re creating. This allows for rapid deployment of environments using different operating systems and operating system versions. This blog demonstrates how to create and then access multiple Linux virtual machines using Vagrant with Oracle VirtualBox.
Prerequisites
Create Virtual Machines
Vagrant boxes are used to initiate new virtual machine environments with Vagrant (see Vagrant box documentation for more about boxes and environments). Each Vagrant environment must be located in its own directory.
You can access Vagrant boxes for different operating systems and operating system versions from the Vagrant Public Registry. See Configuring Virtual Machines in the Oracle VirtualBox User Guide for operating systems supported by Oracle VirtualBox.
Oracle Linux
Clone the git repository containing Vagrant boxes for Oracle Linux.
git clone https://github.com/oracle/vagrant-projects.git |
Navigate to the directory containing the Vagrant box for the desired Oracle Linux version. For this example, the Oracle Linux 9 directory is used.
cd vagrant-projects/OracleLinux/9 |
Use vagrant up to create the virtual machine using VirtualBox as the provider.
vagrant up --provider=virtualbox |
Once the command completes, the virtual machine is booted and ready to access.
Fedora
This example uses the generic fedora28 box available at generic/fedora28 on the Vagrant Public Registry.
Use vagrant init to initialize the Vagrant environment.
vagrant init generic/fedora28 --box-version 4.3.12 |
Use vagrant up to create the virtual machine using VirtualBox as the provider.
vagrant up --provider=virtualbox |
Once the command completes, the virtual machine is booted and ready to access.
Ubuntu
This example uses Ubuntu’s trusty64 box available at ubuntu/trusty64 on the Vagrant Public Registry.
Use vagrant init to initialize the Vagrant environment.
vagrant init ubuntu/trusty64 --box-version 20191107.0.0 |
Use vagrant up to create the virtual machine using VirtualBox as the provider.
vagrant up --provider=virtualbox |
Once the command completes, the virtual machine is booted and ready to access.
List Virtual Machines
The Vagrant command line interface or VirtualBox Manager can be used to check the status of the created virtual machines.
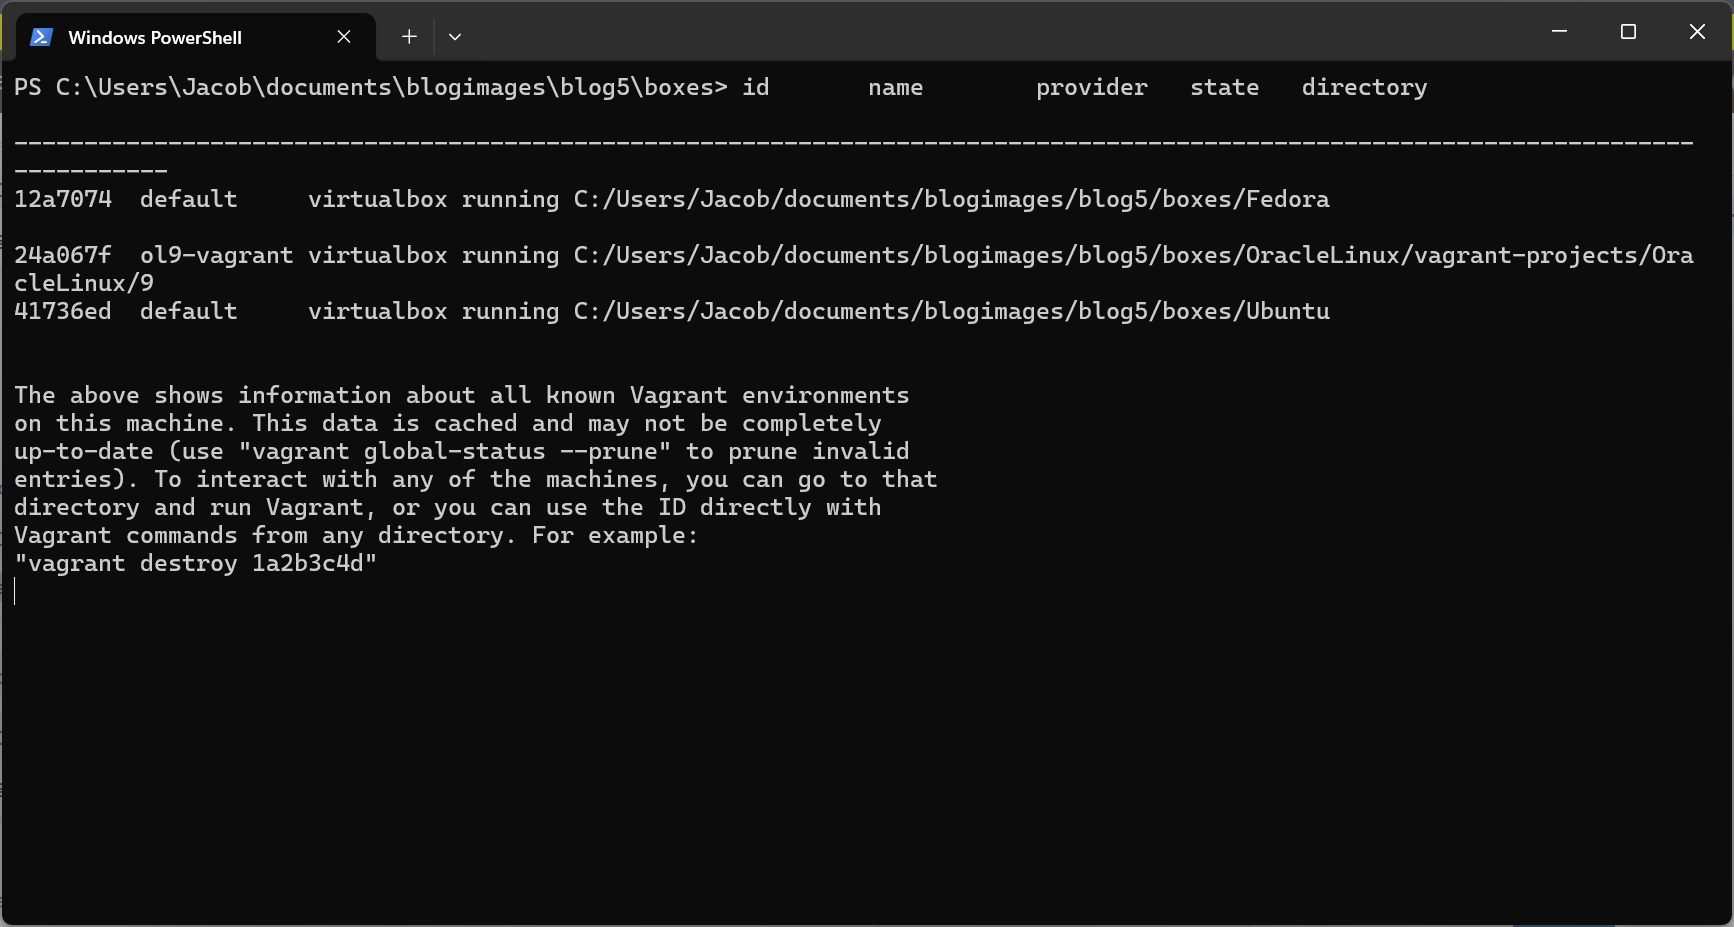
Use the vagrant global-status command to list all Vagrant environments.
vagrant global-status |
The output of the command shows the status of all virtual machines created using Vagrant.
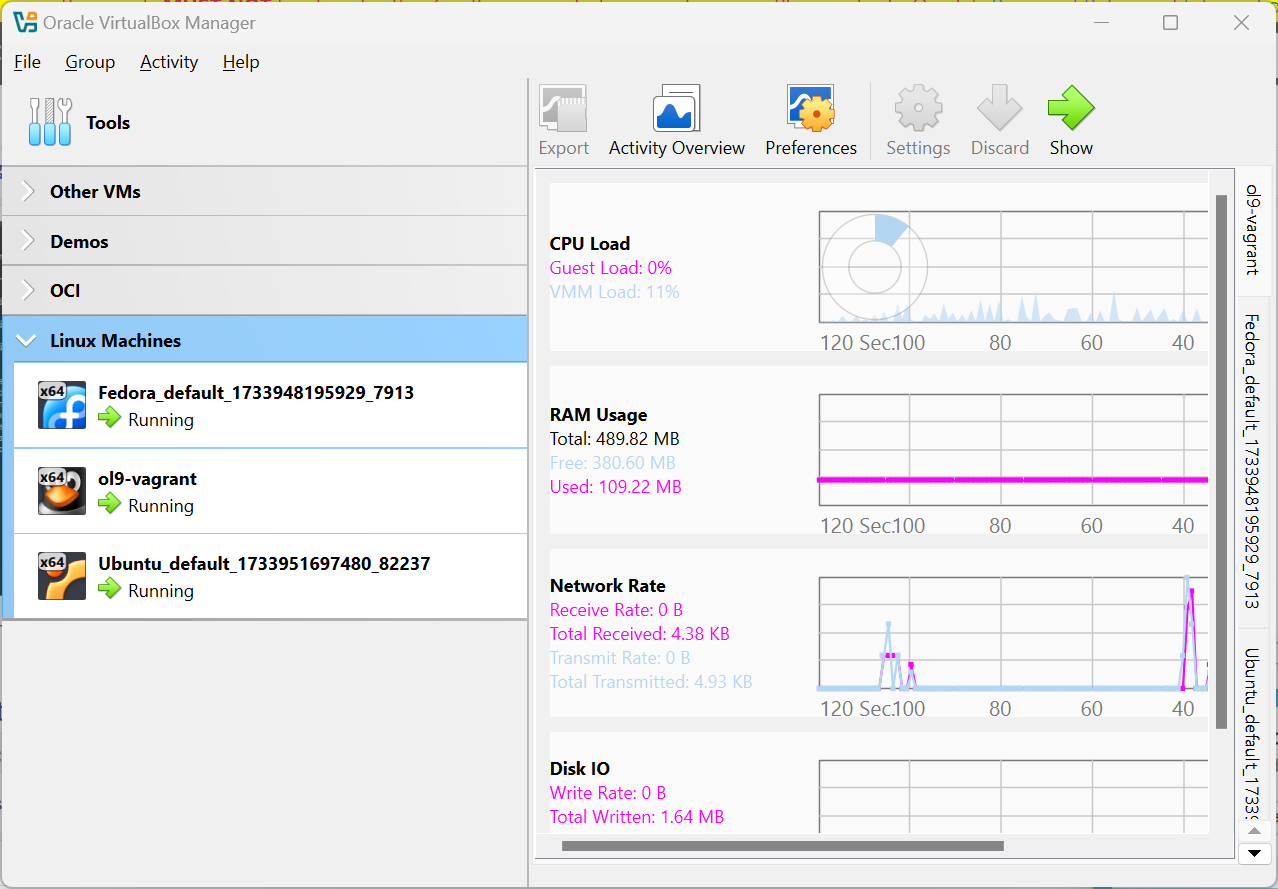
VirtualBox Manager displays the status of the created virtual machines.
Access Virtual Machines
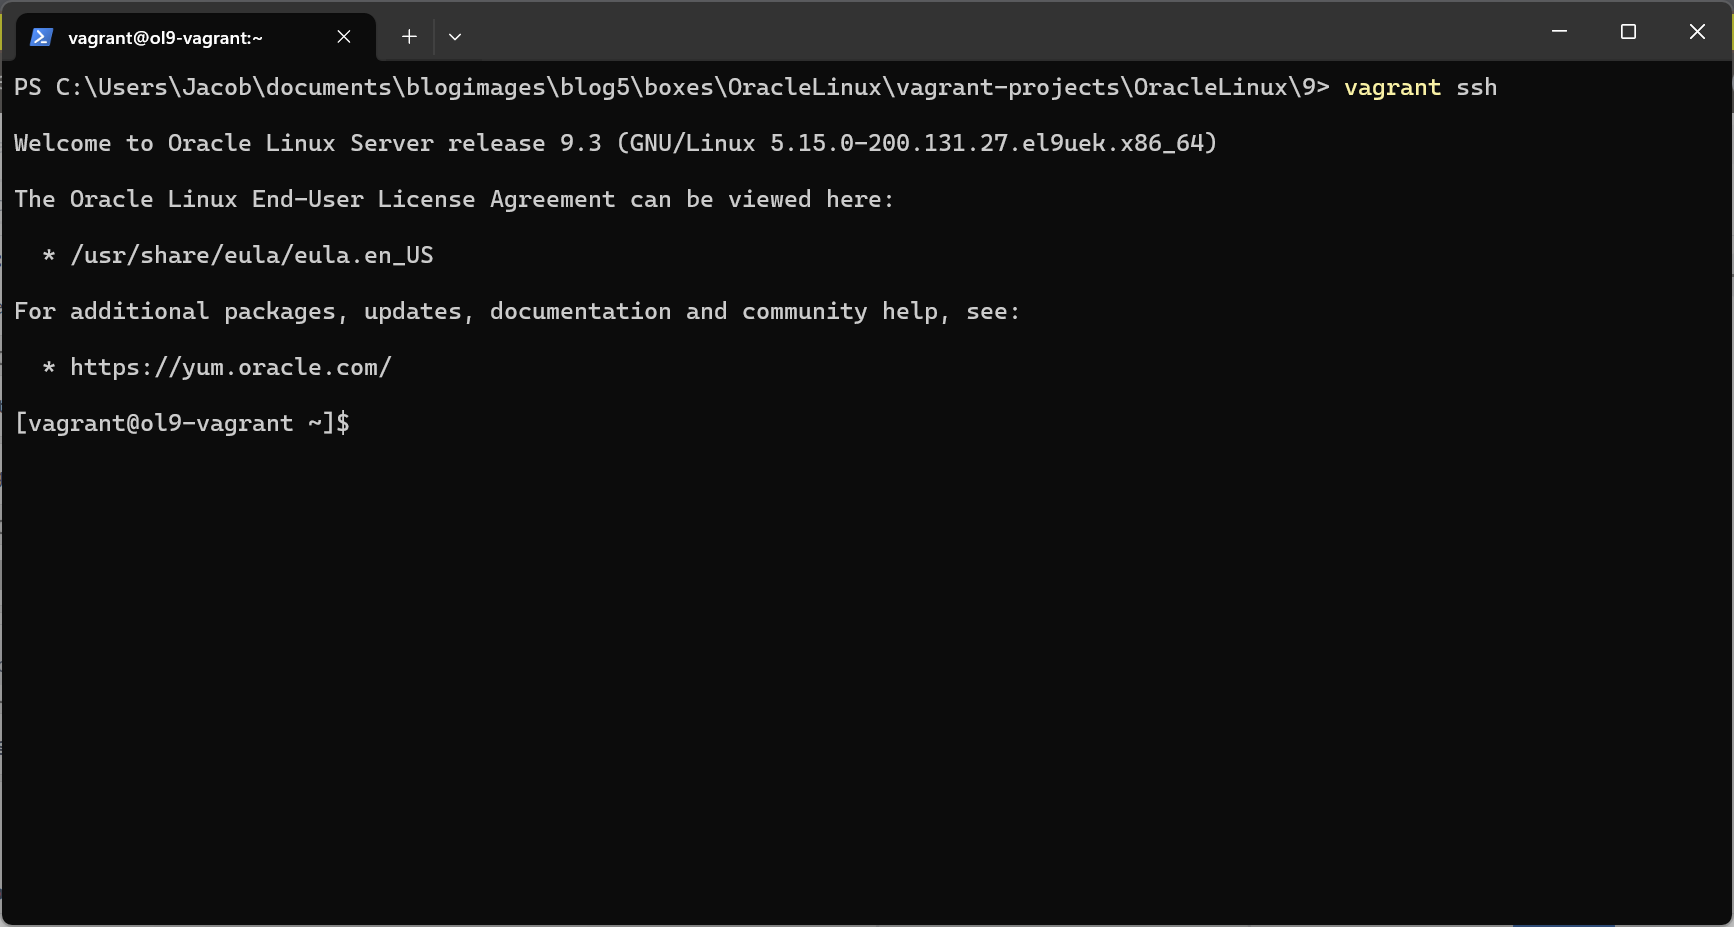
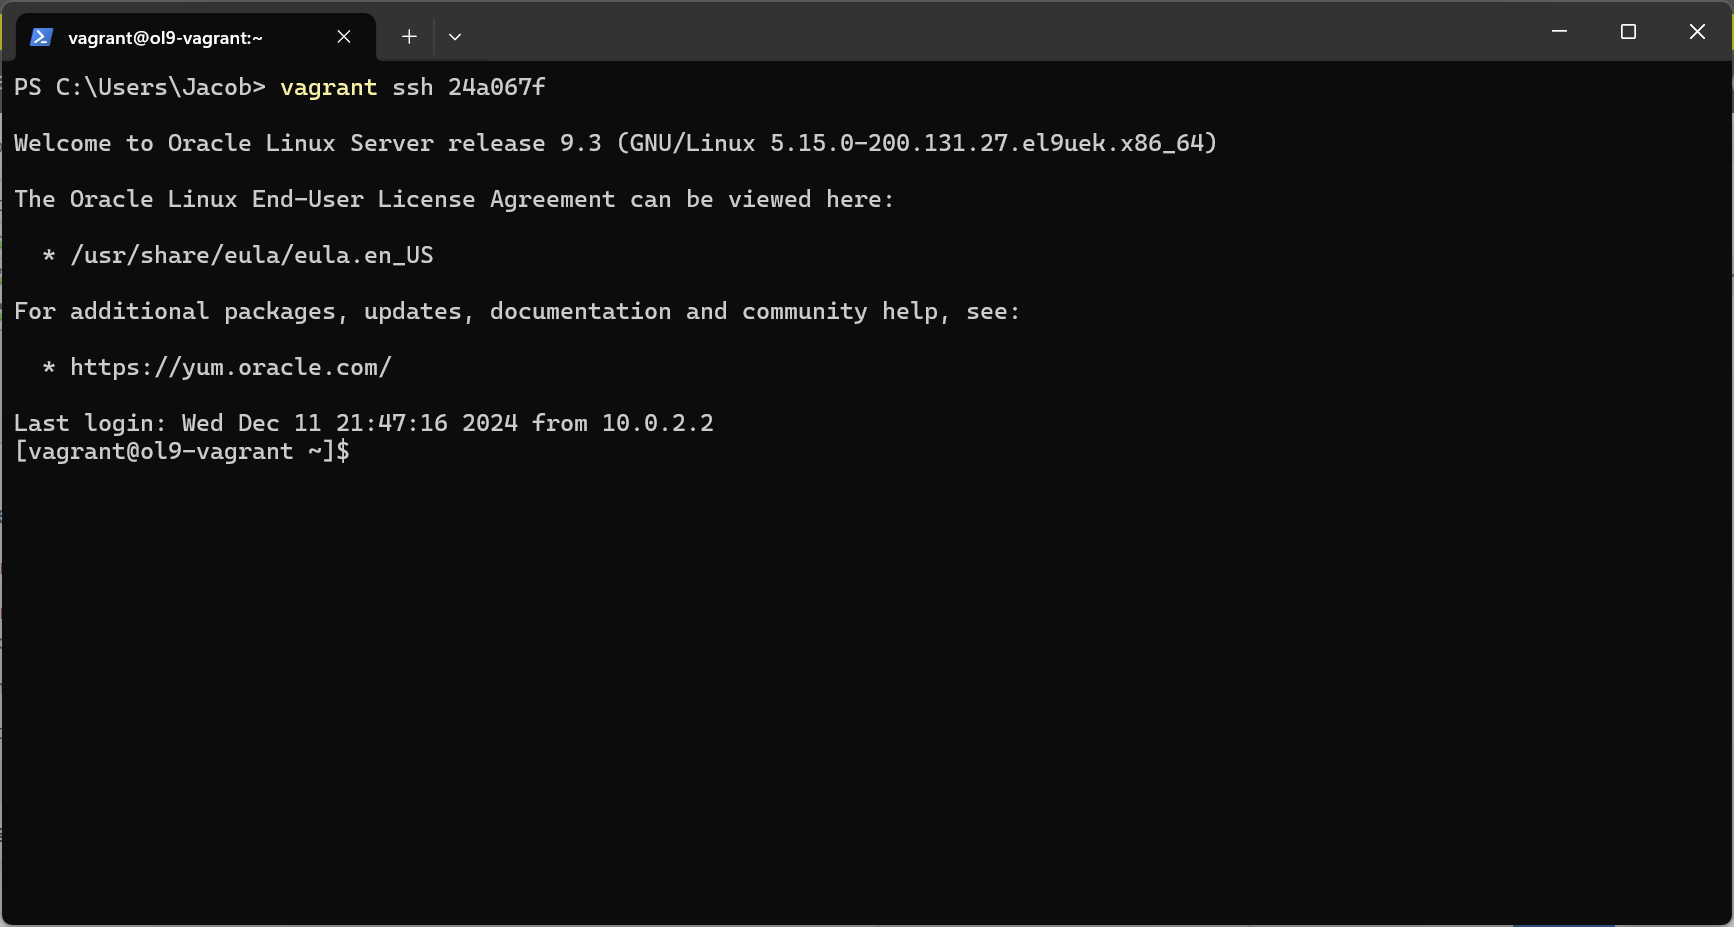
To access the virtual machines created, run the vagrant ssh command. If you are not located in the directory containing the Vagrant environment, the machine id must be provided.
These examples use vagrant ssh to access the Oracle Linux 9 virtual machine.
Inside Vagrant environment directory:
vagrant ssh |
Outside Vagrant environment directory:
vagrant ssh <machine-id> |
Three virtual machines with different operating systems all managed by Oracle VirtualBox are now accessible. For example, you can use performance metric monitoring or clone the virtual machine. With Oracle VirtualBox’s integrations with Oracle Cloud Infrastructure (OCI), you can export and import the virtual machines to and from OCI.
Download Oracle VirtualBox now to use with Vagrant to help you create virtual machines quickly and easily.
Resources
- Oracle VirtualBox website
- VirtualBox community website
- Oracle Virtualization Blog
- Oracle VirtualBox User Guide
