The Solaris Image Packaging system (“IPS”) is the software distribution and lifecycle framework designed to distribute the Solaris operating system with all its userland and kernel components. It is of course not restricted to just operating system packages, it can be (and is already) used to change system configuration or install 3rd party software.
In this article I do want to walk you through
- how to set up a very minimal package repository server to serve as a sandbox for experiments
- what the basic files involved in creating an IPS package should look like
- how you can distrbute and execute a script leveraging IPS
- finally we will putting it all together and put together a “free open source software” (FOSS for short) package that builds the binary in place (with all dependencies handled via IPS)
A Minimal IPS Repo Server
The repo server is an integral part of any IPS setup, it is the place whre packages are stored and from where these packages are distributed to install clients. Clients request package installations through the well known pkg install command, the client system maintains a list of repo servers to query for the package. This list is maintained through the pkg publisher command and its siblings.
The minimal server will be able to serve network based install requests, but e. g. not be able to answer pkg search -r requests. We will work with the repo admin commands to list the contents of this server. Its only purpose is to provide a playground to create the package this article is about. It can of course also be used for all kinds of experiments with IPS because it is easy to set up and has just a minimal footprint.
These three commands set up the actual server:
$ pkgrepo create repo/oow-hol
$ pkgrepo set –s repo/oow-hol publisher/prefix=oow-hol
$ pkgrepo set –s repo/oow-hol –p oow-hol \
          repository/origins=http://<hostname>:10000
Now one only needs to link the SMF service that controls the repo server service (sic!) to the server on port 10000, tell it where the actual repo files are located, and enable the repo service:
$ svccfg -s pkg/server setprop pkg/port=10000
$ svccfg -s pkg/server setprop pkg/inst_root=<absolute path to repo location>
$ svcadm enable pkg/server
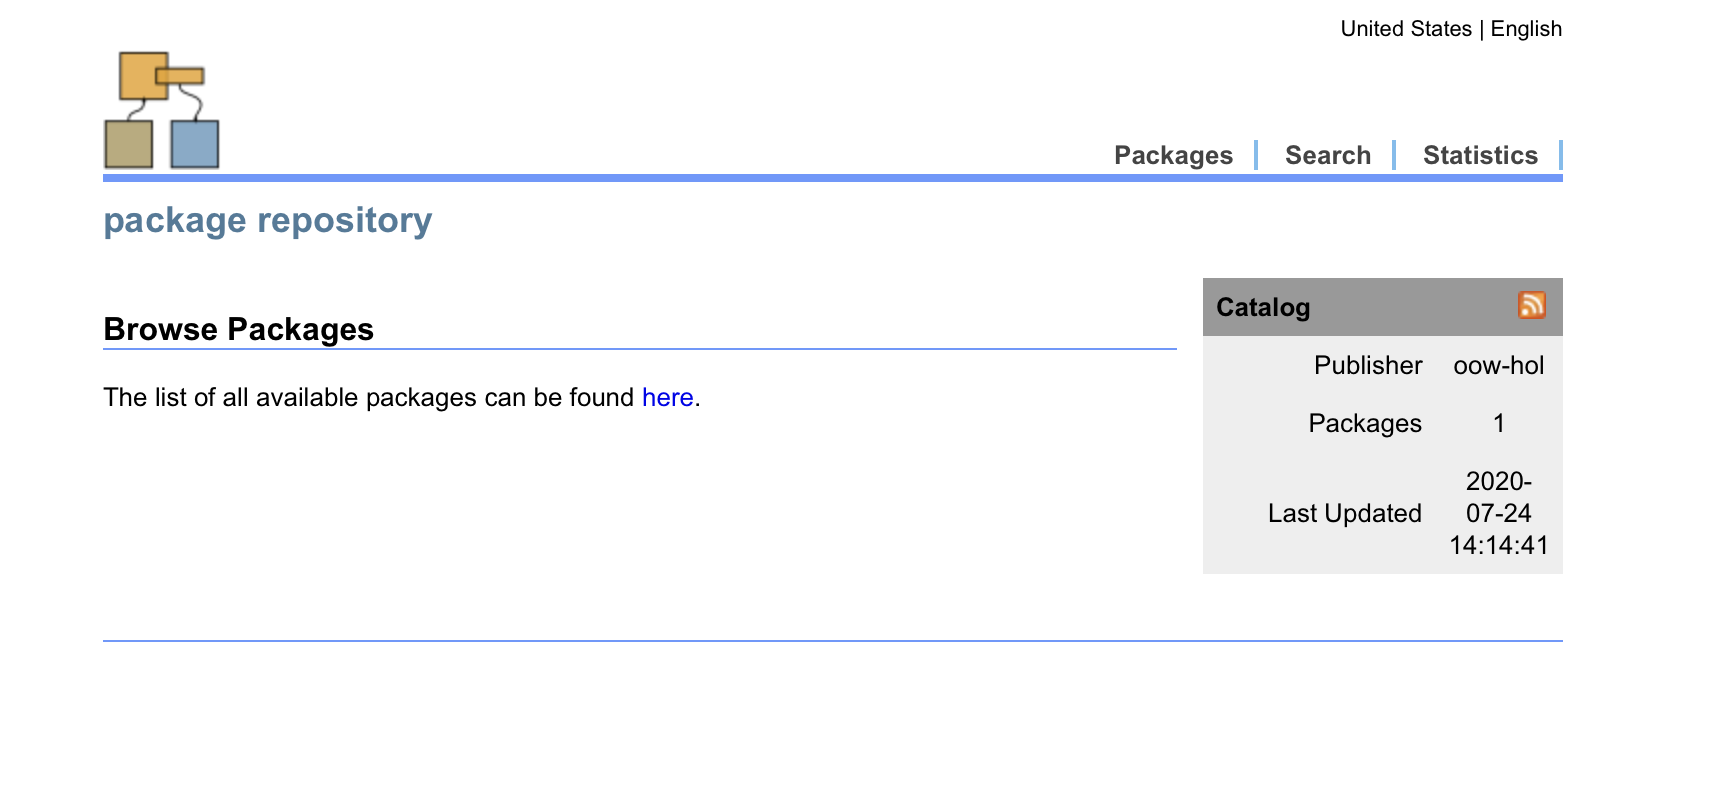
Browsing to https://<hostname>:10000 should result in a screen like this:
Building libzmq as an Example FOSS
This article was triggered by Solaris product management investigating Jupyter notebooks, and we discovered that there was a critical dependency to be resolved before the Jupyter python packages could be installed. While pip is able to handle most of (python-) related dependencies it cannot automatically install the libzmq (or 0mq for short) message queuing software required by the Jupyter framework.
libzmq is available from GitHub, the build itself is straightforward provided that all the packages it needs are available. While the usual approach to building would be to preinstall these, we can now use IPS to ensure the needed prerequisites are available on the target system. Once that has been done libzmq builds with these commands (make sure to set proxies appropriately)
git clone https://github.com/zeromq/libzmq

cd libzmq
./autogen.sh
MAKE=gmake ./configure
gmake
(The script deliberately ends with just the gmake instead of a gmake install because IPS could not follow-up with all the actions or changes to the system a possible gmake install would trigger.)
Designing the IPS Package
This section will walk you through two crucial files describing and defining the service, both will be quoted as a whole at the end of this article (for cut&paste and customization)
The first step in creating the package is to take note of the dependencies that need to be satisfied to allow libzmq to build. libzmq requires the usual suspects to be available, eventual prerequisites for these packages to install would be handled through IPS transparently:
- git
- libtool
- autoconf
- automake
- pkg-config
- gcc
- gnu-make
We will get back to this list later when we assemble the so called IPS “manifest” file which describes where to find files, where they should be installed on the target system and so on.
Building the software requires a script to be run, the gist of that script has already been presented in the previous section, now we will learn how any script can be installed and then run by means of IPS with the help of Service management facility (“SMF” for short).
SMF controls all kinds of services among its central parts are a XML file describing the service, another manifest file and a start and/or a stop script. The start script would run after a svcadm enable command has been issued, the stop script executes when a service is disabled. The build script for libzmq will become the start script of a service that also makes sure this script is only run once. IPS will install and enable this service. All output of the build process would naturally appear in the service’s log file
The manifest file that describes the package to be created starts with some metadata mostly giving it a name, a descriptive text etc..:
set name=pkg.fmri value=libzmq-build@1.0
set name=pkg.summary value="Script that is only run once"
set name=pkg.description \
    value="This pkg delivers a service that runs a script only once \
while executing its start method\
It builds libzmq in a temp. build directory, all output will \
appear in the log of this service"
The next two lines define the service that will in the end run the build script, first the SMF service is given a name and IPS is instructed to start it after install. The next line starting with file copies the service’s manifest file that defines what the service is about from the local directory holding the contents of the whole package into the package:
set name=org.opensolaris.smf.fmri value=svc:/site/libzmq-build \
    value=svc:/site/libzmq-build:default
file lib/svc/manifest/site/libzmq-build.xml \
    path=lib/svc/manifest/site/libzmq-build.xml owner=root group=sys \
    mode=0444 restart_fmri=svc:/system/manifest-import:default
The directory where the package is being built is assumed to have the following structure
<pwd>
  +-> <pkg manifest file, "libzmq-build.p5m" here>
  |
  +-> ./proto  # by convention the package contents is stored in
  |            # a tree reflecting the target directory structure.
  |            # This "build" tree is rooted at "proto"
  +-> ./repo.  # This is where the local sandbox repo server is rooted
There is no actual need to reflect the target file location under proto but there is tooling available in Solaris that can create a manifest file from an existing directory under proto, cf. the documentation about the pkgsend generate command. All the file clauses in the package’s manifest file will be relative to a directory parameter given to the final publish command. This command which we will discuss a bit transfers the contents with the correct metadata to the repo server, and thereby creating the actual package inside the repo server.
The SMF Service Definition
Let’s take a look at the SMF service’s XML manifest file. The first few definition give it a name and sets dependencies within the SMF framework. These dependencies are kind of generic for a service that wants to run a script once, it has to the local filesystem available and milestone/self-assembly-complete should depend on “our” SMF service.
...
<service name='site/libzmq-build' type='service' version='1'>
    <dependency name='fs-local' grouping='require_all' restart_on='none' type='service'>
            <service_fmri value='svc:/system/filesystem/local:default' />
    </dependency>
    <dependent name='libzmq-build-complete' grouping='optional_all' restart_on='none'>
        <service_fmri value='svc:/milestone/self-assembly-complete' />
    </dependent>
...
Next are the “interesting” definitions that actually describe what should be executed and how, all of these are part of the instance XML tag. The script we want to run is part of the start method of this service, to be executed when the service is enabled.
...
   <instance enabled='true' name='default'>
        <exec_method type='method' name='start' exec='/lib/svc/method/libzmq-build.sh' timeout_seconds='0'/>
        <exec_method type='method' name='stop' exec=':true' timeout_seconds='0'/>
        <property_group name='startd' type='framework'>
            <propval name='duration' type='astring' value='transient' />
        </property_group>
        <property_group name='config' type='application'>
            <propval name='ran' type='boolean' value='false' />
        </property_group>
    </instance>
...
The start method has the timeout set to zero which means allow it to run forever, and never mark it failed because timing out. The stop method is only an empty stub which is always successful and does nothing. Two properties are set as well, one tells SMF that this service will not leave a prcoess behind that needs to be monitored and kept alive, the other property is specfic to this service and records if it has been run. Right after installing this service this property must be false as nothing has been run so far. That needs to be done in the manifest which is run when the service mis imported into SMF. The script which runs when the service is started needs to flip that to trueand make sure that once the service has run it does not run again. The actual implementation is taken 1:1 from the SMF documentation. The following lines need to be addded to the build script we want to execute when the service comes up:
# Load SMF shell support definitions
. /lib/svc/share/smf_include.sh

# If nothing to do, exit with temporary disable.
ran=$(/usr/bin/svcprop -p config/ran $SMF_FMRI)
if [ "$ran" == "true" ] ; then
    smf_method_exit $SMF_EXIT_TEMP_DISABLE done "service ran"
fi

# insert build script here...

# Record that this run-once service has done its work.
svccfg -s $SMF_FMRI setprop config/ran = true
svccfg -s $SMF_FMRI refresh

smf_method_exit $SMF_EXIT_TEMP_DISABLE done "service ran"
This insertion to the actual build script also can also be used as simple example on how to interact with SMF via scripting.
The SMF manifest closes with some descriptive information what the service does, these do not influence how it actually runs.
Finalizing the Package’s Manifest File
The packages manifest file closes with putting the actual build script we intend to run in its final destination, due diligence mandates that the script requires an environment where scripts can be run, i.e. there’s a Oracle Solaris 11.4 core OS and shell scripting is possible:
file lib/svc/method/libzmq-build.sh \
    path=lib/svc/method/libzmq-build.sh owner=root group=bin \
    mode=0755
depend fmri=pkg:/shell/ksh93 type=require
depend fmri=pkg:/system/core-os@11.4 type=require
Last not least the manifest file also records the packages libzmq depends on, as we want IPS to control the presence of the prerequisites and not maybe doubly install them by enforcing an additional install inside the build script:
depend fmri=pkg:/developer/build/gnu-make type=require
depend fmri=pkg:/developer/build/libtool type=require
depend fmri=pkg:/developer/build/autoconf type=require
depend fmri=pkg:/developer/build/automake type=require
depend fmri=pkg:/developer/build/pkg-config type=require
depend fmri=pkg:/developer/gcc type=require
depend fmri=pkg:/developer/versioning/git type=require
Publishing the Package and an Example Run/Install
Now that everything for the delivery of the package has been prepared it can be send to the repo server. In the first section I explained a handy way pf setting up a simple local playground repo server, which will be the target for publication in this demo, done through a single pkgsend publish command:
root@pkg-test:~/oow-hol# pkgsend -s repo/oow-hol publish -d proto libzmq-build.p5m
pkg://oow-hol/libzmq-build@1.0,5.11:20200813T190349Z
PUBLISHED
root@pkg-test:~/oow-hol# pkgrepo -s repo/oow-hol list
PUBLISHER NAME                                          O VERSION
oow-hol   libzmq-build                                    1.0:20200813T190349Z
root@pkg-test:~/oow-hol#
The -d option points pkgsend to the starting for all the relative paths listed in the file clauses in the manifest file libzmq-build.p5m.
Now if you want to test drive the build process you can install the package provided your test repo server is configured as a repo server (which is what the first command actually does):
root@pkg-test:~/oow-hol# pkg set-publisher -p http://localhost:10000/oow-hol
pkg set-publisher:
  Added publisher(s): oow-hol
root@pkg-test:~/oow-hol# pkg publisher
PUBLISHER                   TYPE     STATUS P LOCATION
solaris        (syspub)     origin   online T <system-repository>
oow-hol                     origin   online F http://localhost:10000/
You have to have also another (larger) repo server configured to satisfy the prerequisites defined in the libzmq-build package.
Installing the package would now happen the usual way:
root@pkg-test:~/oow-hol# pkg install libzmq-build
           Packages to install: 27
           Mediators to change:  3
            Services to change:  2
       Create boot environment: No
Create backup boot environment: No

DOWNLOAD                                PKGS         FILES    XFER (MB)   SPEED
Completed                              27/27     2547/2547  419.4/419.4 32.6M/s

PHASE                                          ITEMS
Installing new actions                     3413/3413
Updating package state database                 Done
Updating package cache                           0/0
Updating image state                            Done
Creating fast lookup database                   Done
Updating package cache                           3/3
Note that the total number of packages to install became 27, because there are dependencies to be resolved. Seven packages are required by our example package, but these packages also carry dependencies which result in a total of 27 packages in this particular system.
Now if you want to check if the newly added service is running you might be surprised that it is “stuck” in an unusual state:
root@pkg-test:~/oow-hol# svcs -xv
svc:/site/libzmq-build:default (Run-once service)
 State: offline* transitioning to online since August 28, 2020 at  4:07:40 AM PDT
Reason: Start method is running.
   See: http://support.oracle.com/msg/SMF-8000-C4
   See: /var/svc/log/site-libzmq-build:default.log
Impact: This service is not running.
But this state makes perfect sense as our service has to build the actual library we’re interested in. If one does the natural next step and checks the contents of the service’s log file it becomes immediately obvious that everything is everything is running according to plan:
root@pkg-test:~/oow-hol# tail -f /var/svc/log/site-libzmq-build\:default.log
config.status: executing libtool commands
Making all in doc
gmake[1]: Entering directory '/scratch-4327/libzmq/doc'
gmake[1]: Nothing to be done for 'all'.
gmake[1]: Leaving directory '/scratch-4327/libzmq/doc'
gmake[1]: Entering directory '/scratch-4327/libzmq'
  CXX      tools/curve_keygen.o
  CXX      src/libzmq_la-address.lo
  CXX      src/libzmq_la-channel.lo
  CXX      src/libzmq_la-client.lo
  CXX      src/libzmq_la-clock.lo
  CXX      src/libzmq_la-ctx.lo
^C
root@pkg-test:~/oow-hol#
Once the build has finished the library could be found in a top-level directory named /scratch-<number> with the number neing the PID of the shell that executed the build script during install. If you want to actually install libzmq library to your system you can run gmake install from that build directory. The library would then install into /usr/local which happens to be the default install target directory for most of the FOSS packages that are built from source. (Can of course be changed as with most packages --prefix=<target directory> changes the install target directory for libzmq)
Appendix: Cleanup After Running Experiment
This section is strictly speaking not a part of this demo walkthrough but if you have performed this demo you might want to clean up your system and put it in a state in which the demo could be run again. Or you have to perform multiple attempts until your own experiment actually works. If you do not want to use beadm to freeze the system’s state before running the demo you need to rollback mainly the pkg installand cleanup the build directory. In detail this is what needs to be done to prep the system for a rerun:
-
wait until build has finished, e.g. by monitoring svcs -xv (file delete operations might fail as long as the svcs is still trying to get up and running)
-
pkg uninstall libzmq is the obvious step
-
Some libzmq-build specific cleanup actions:
- If you ran gmake install manually, manually cleanup /usr/local via a gmake uninstall
- Optionally zfs destroy build directory
- Optionally rmdir /scratch-* mountpoints
-
pkgrepo -s repo/oow-hol remove libzmq-build to remove the package from the repo server
Once these steps have been performed the system is ready for a rerun of the libzmq script. The only remains are the additional packages that were installed to satisfy the dependencies defined in the libzmq package