Before you start reading this blog we would like to suggest for better understanding, please visit “What is Accounting Tag and How to setup for Fluid requisition(Part I)” blog. In previous blog we covered how to enable and setup Accounting Tag for eProcurement product. Now, we shall see how to utilize Accounting Tag functionality for fluid requisition.
Accounting Tag functionality for Fluid Requisition
While doing data entry in fluid requisition, requester can use Accounting Tags functionality at three different pages of Fluid Requisition.
1) Requisition Defaults Page
2) Mass Change Page
3) Distribution Schedule page
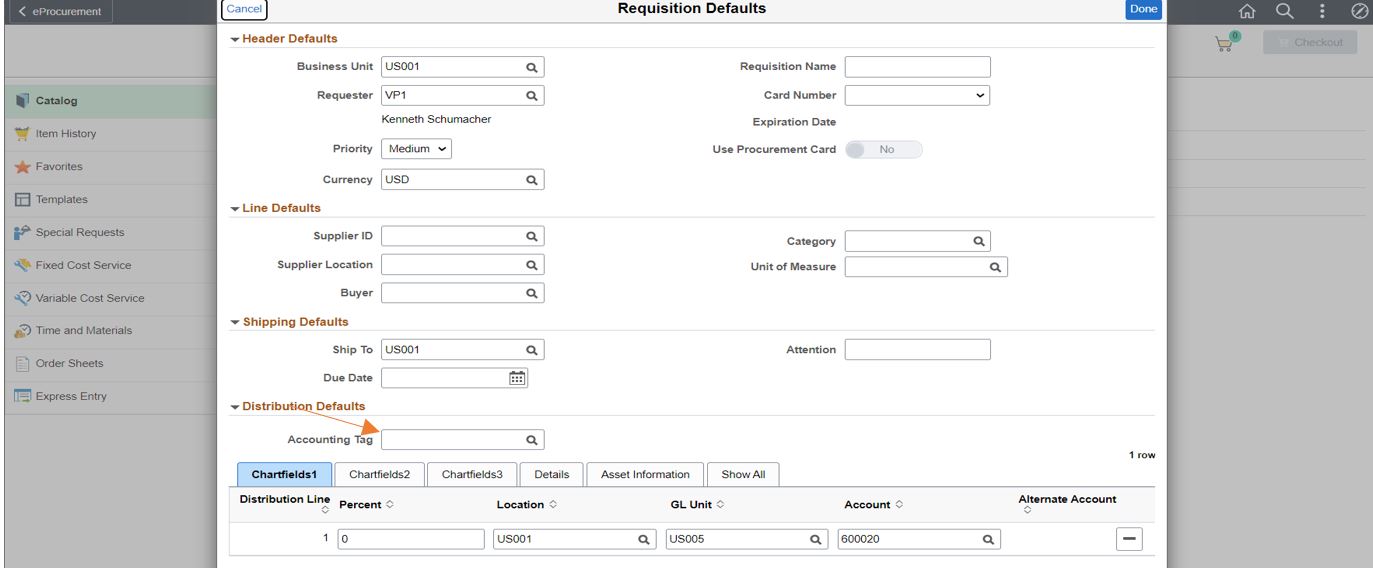
1) Requisition Defaults Page: Navigate to Requisition Defaults page of Fluid requisition and expand the distribution defaults section. You will see the Accounting Tag field and a single row of distribution line with multiple Chatfield tabs.
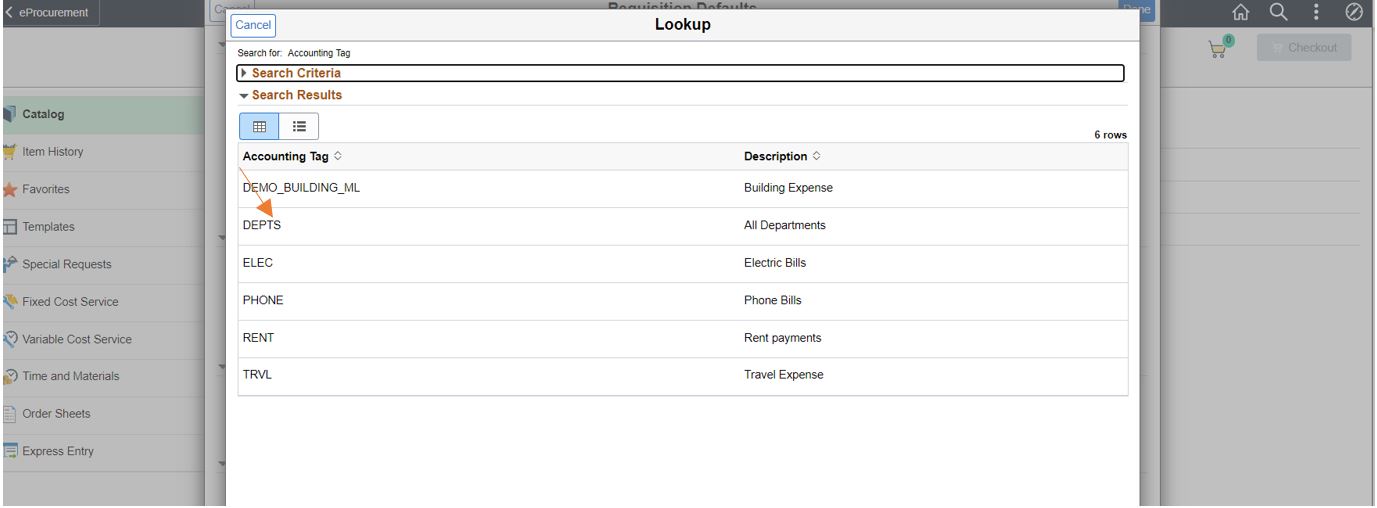
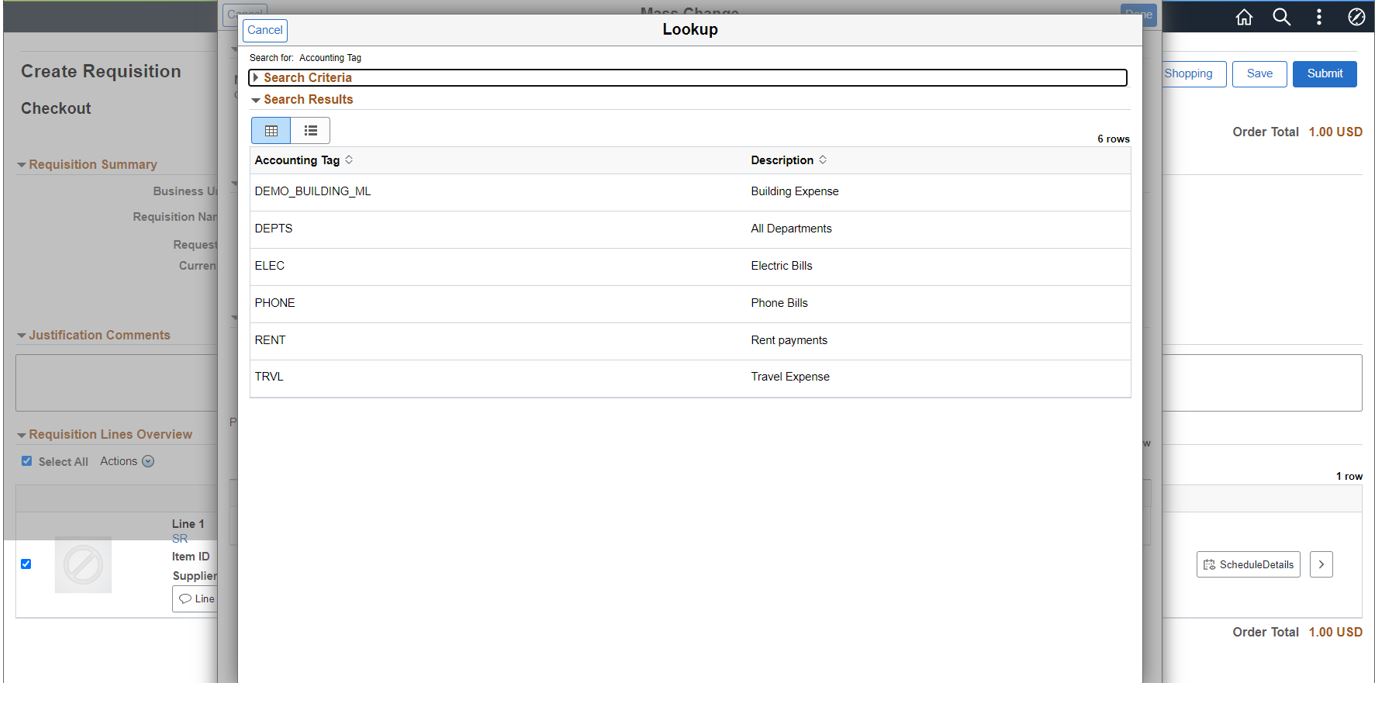
Choose the ‘DEPTS’ from lookup prompt page of Accounting Tag field.
We can see the effect of applying Accounting Tag, the single row of distribution line gets split into 24 rows of distribution lines immediately.
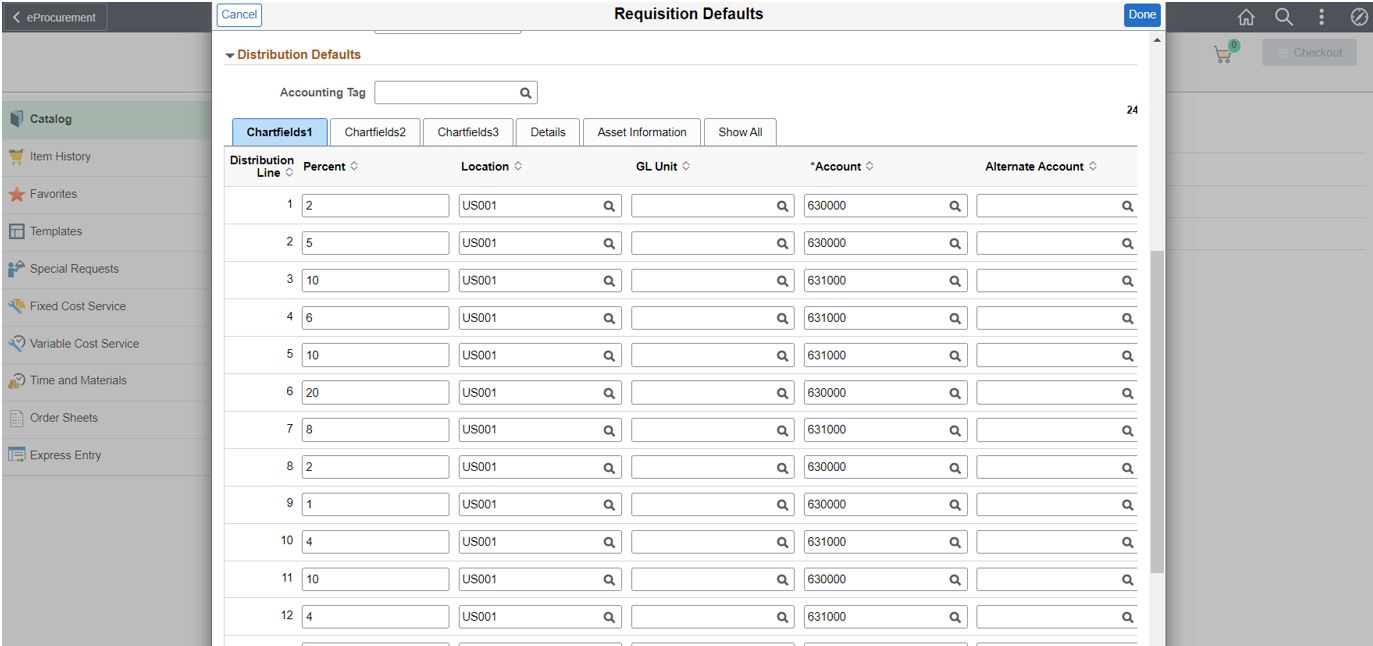
Requester can click on Done button and continue entering different types of items which will now have 24 rows of distribution lines as per percentages defined for ‘DEPTS’.
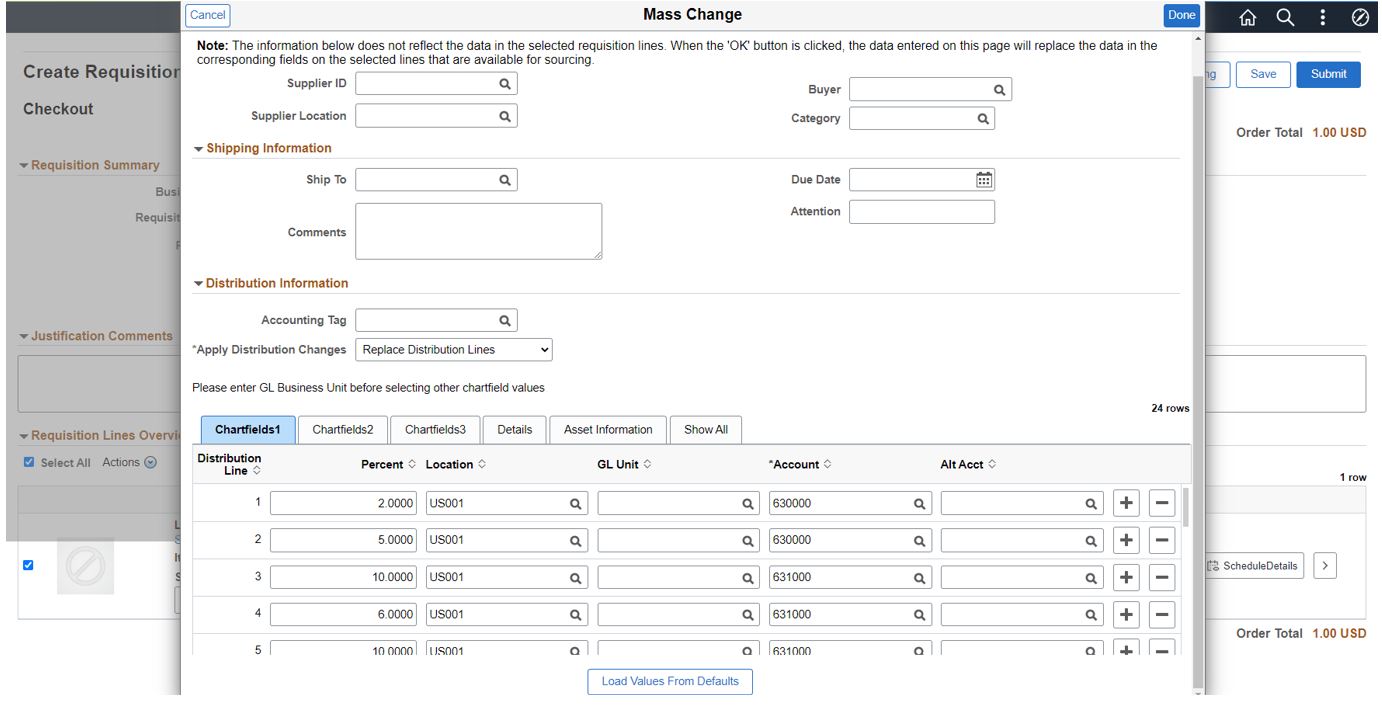
2) Mass Change Page: Navigate to Mass change page from Fluid checkout page. We can see Accounting Tag field; Apply Distribution Changes drop down and Single row of Distribution line in Distribution Information section.
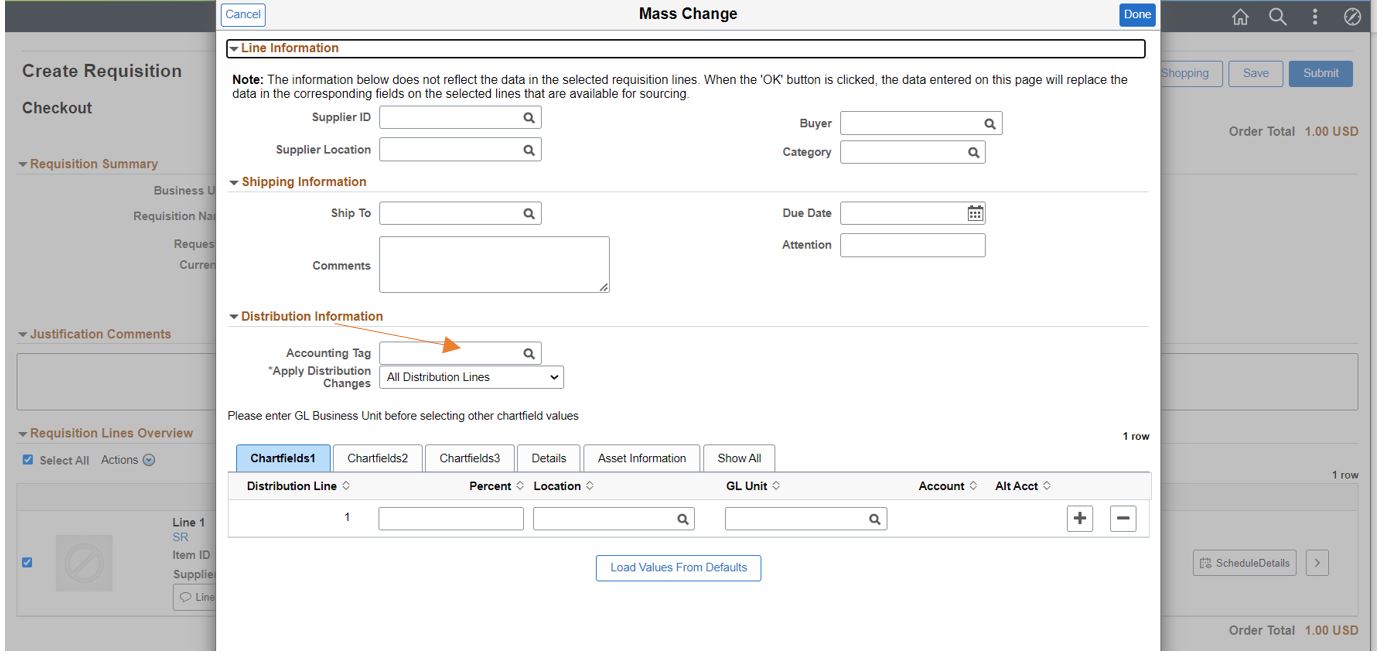
Choose the ‘DEPTS’ from lookup prompt page of Accounting Tag field.
We can see the effect of applying Accounting Tag, there are 24 rows of distribution lines created immediately. Choose Replace Distribution Lines option from Apply Distribution Changes dropdown then Click on Done button which will replace the distribution lines of fluid requisition schedule(s).
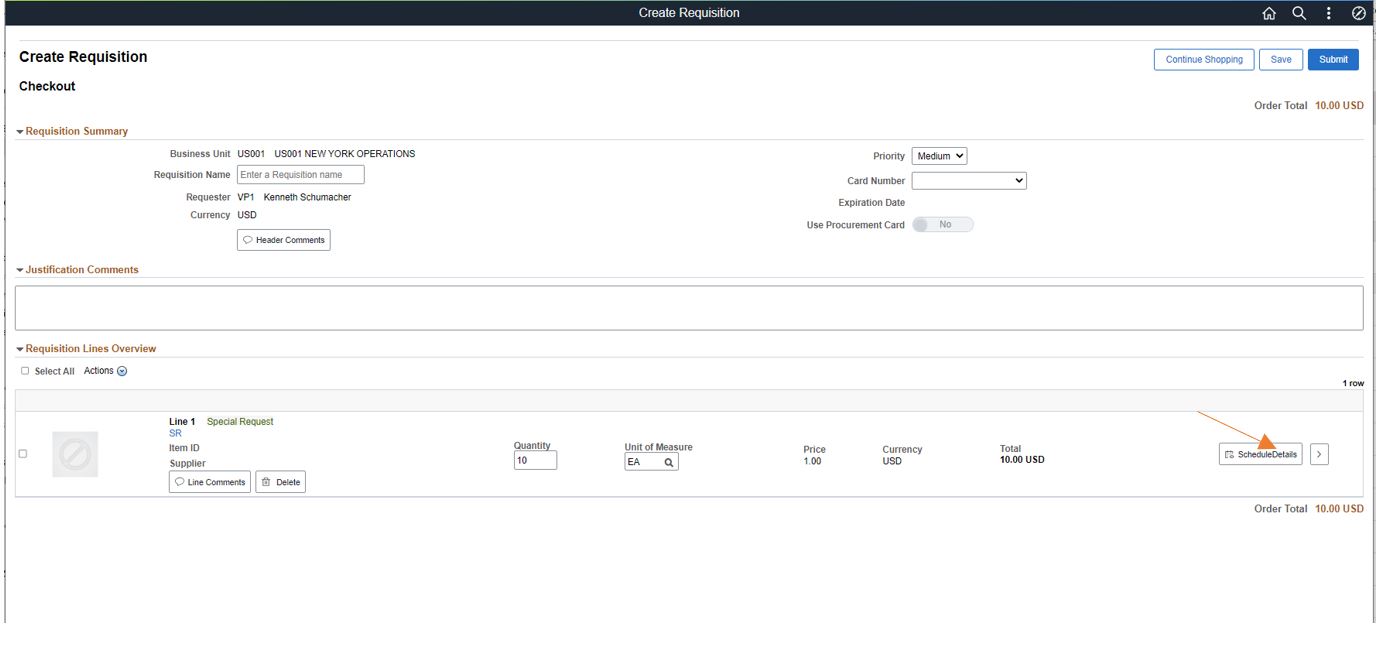
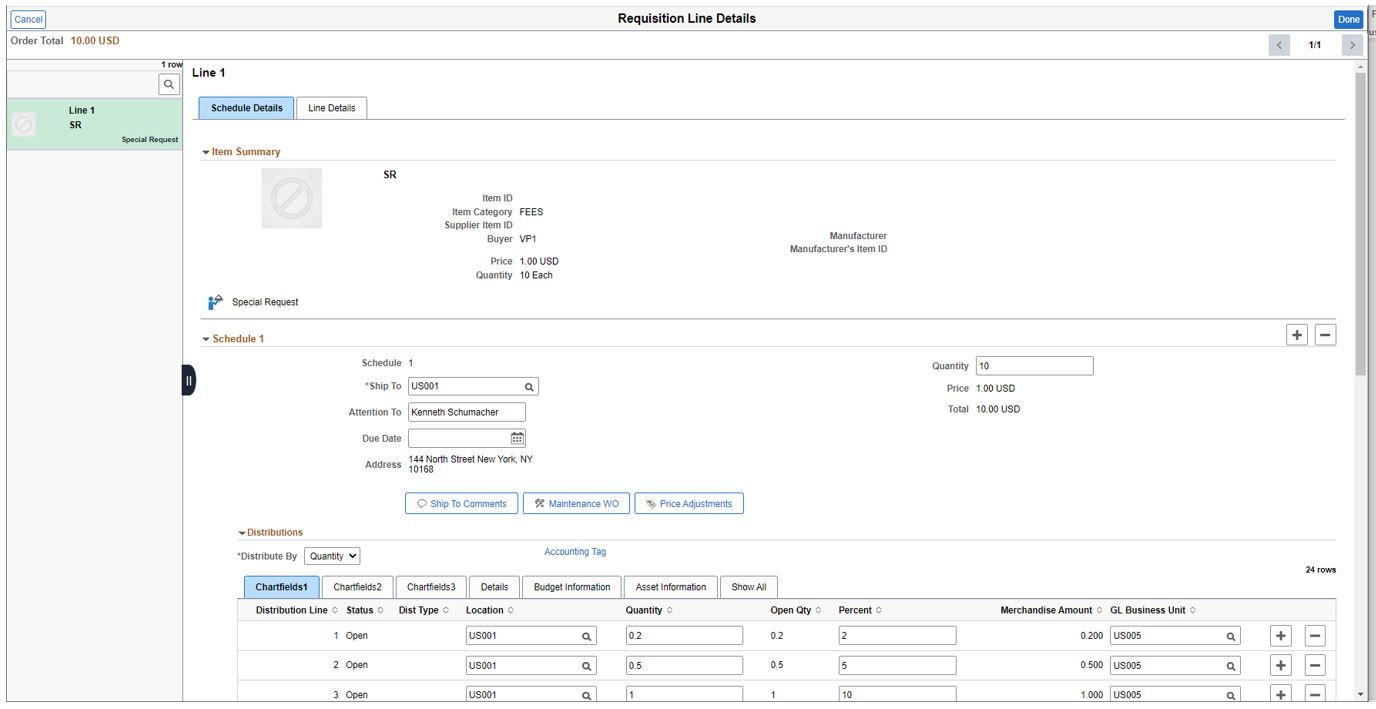
3) Distribution Schedule: From Fluid Schedule checkout page, navigate to Schedule Details page by clicking on schedule details button
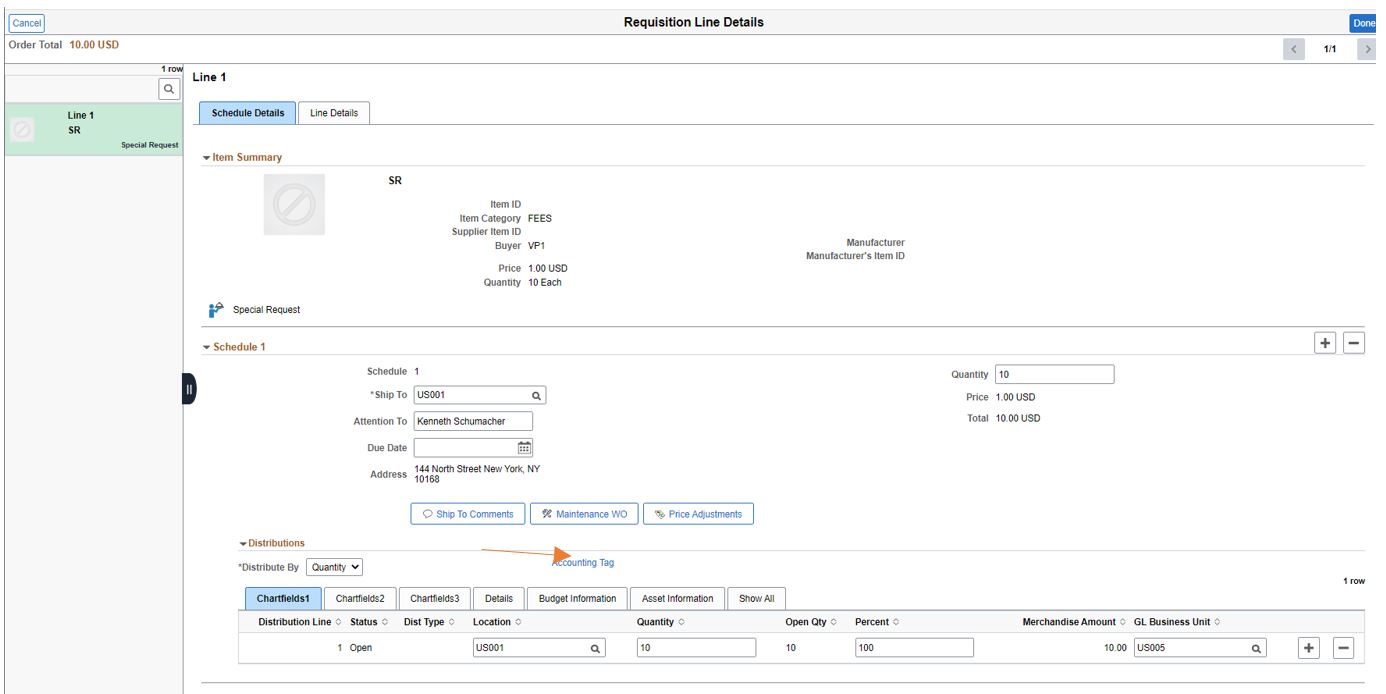
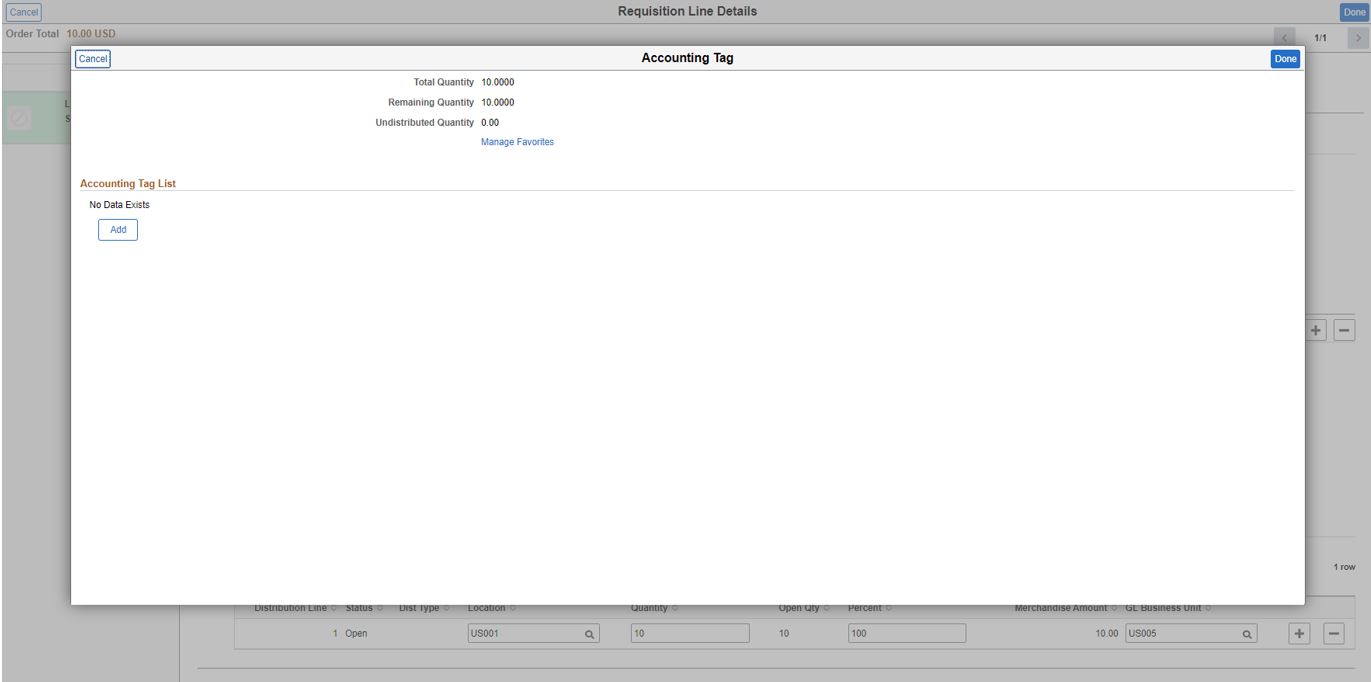
We will see Accounting Tag hyperlink in distributions section of schedule details tab page. Click on Accounting Tag hyperlink
Click on Add button
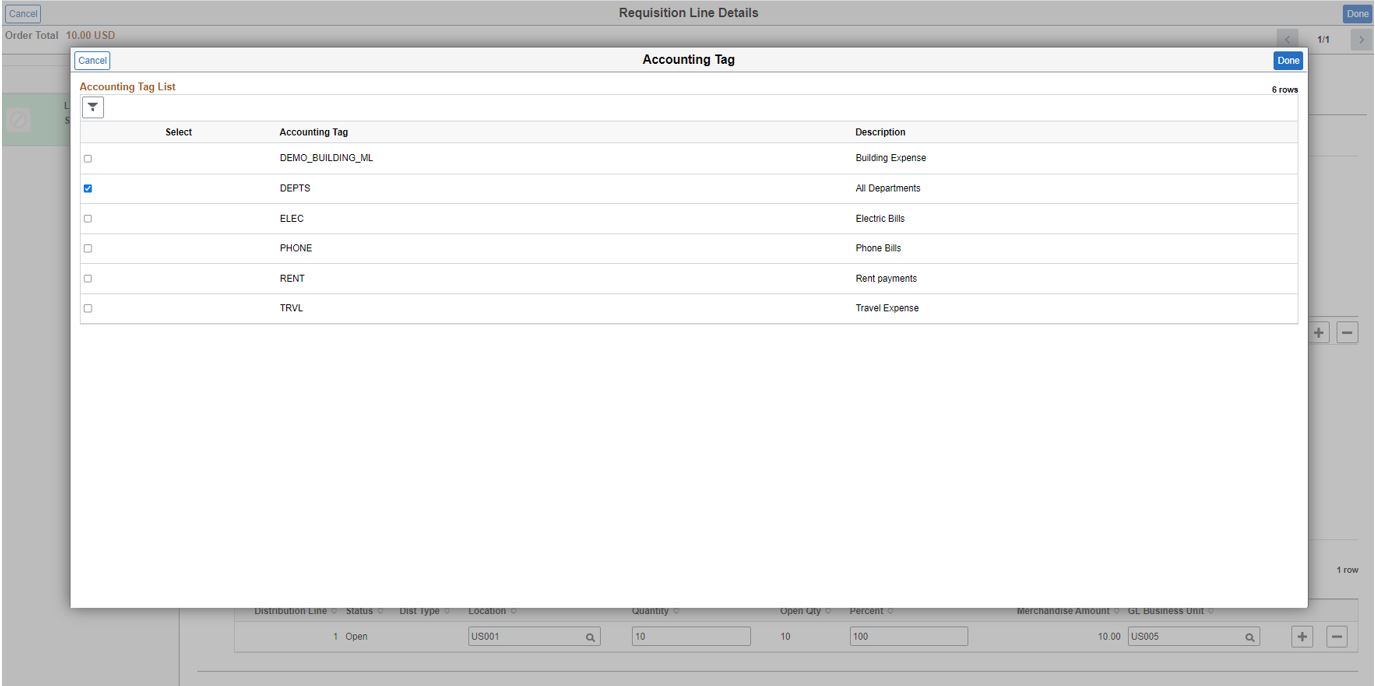
select ‘DEPTS’ row in Accounting Tag page with list of Accounting Tag rows, click on ‘Done’ button.
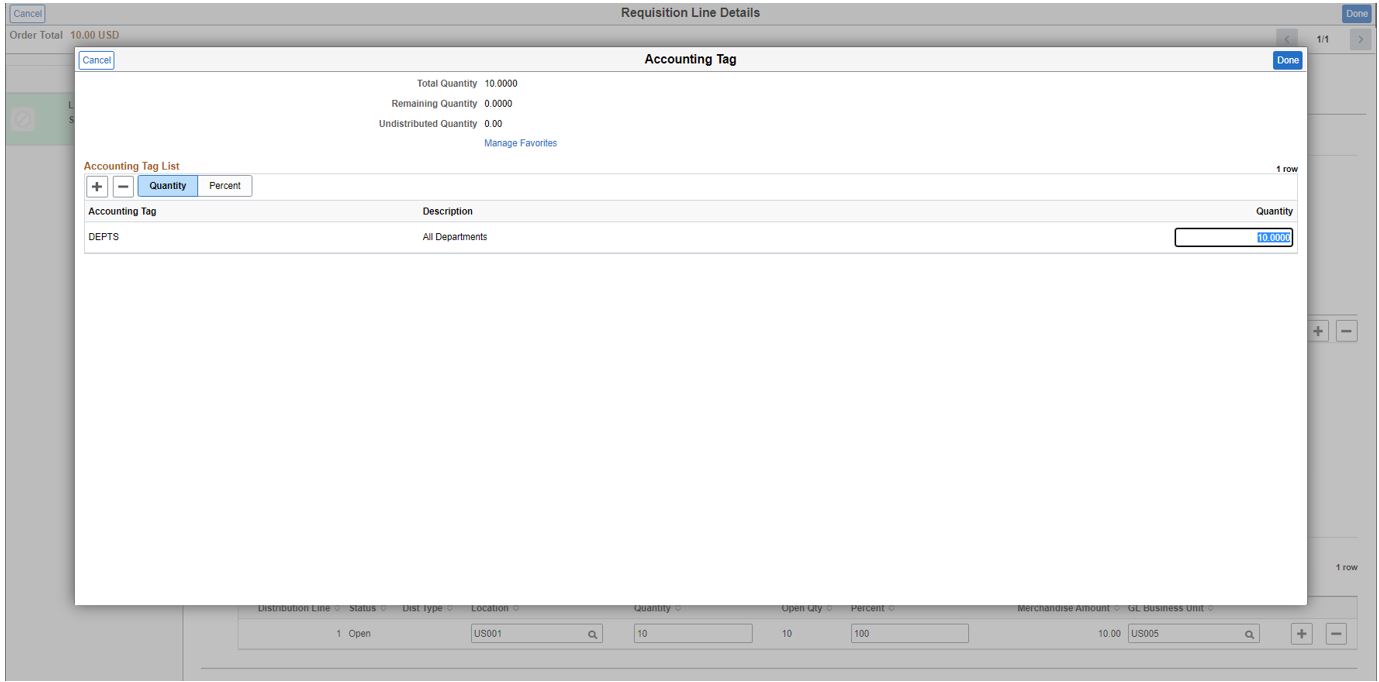
Enter the value in Quantity field and click on ‘Done’ button
We can see the result of applying Accounting Tag on Schedule Details Tab page, the single distribution line row got split into 24 rows of distribution lines.
Extending Accounting Tag functionality to ePro is a great value proposition for the customers, as it makes entering ChartFields in the requisitions quite fast and simple.
Check out this video on the PeopleSoft YouTube Channel that provides an Introduction to the Fluid Accounting Tag capability.