※ 本記事は、Simon Coterによる”Install Oracle Database 23c on Oracle Linux 8“を翻訳したものです。
2023年4月27日
Oracleでは、Vagrantプロジェクト専用のGitHubリポジトリがあります。Vagrantプロジェクトは、様々なOracleソリューションの構築プロセスを自動化することに重点を置いています。:
- ContainerRegistry: Oracle Container Registryのローカル・ミラー
- ContainerTools: container-toolsを使ったOracle Linux 8
- DockerEngine: Dockerを使ったOracle Linux 7
- LAMP: Apache、MySQLおよびPhpを使用するOracle Linuxシステム。
- OCNE: Oracle Cloud Native Environment(Oracle LinuxのKubernetesディストリビューション部分)
- Ocr-Yum-Mirror: ローカルYumミラーとローカルContainer Registryミラーを備えたOracle Linux 8システム
- OracleAPEX: Oracle Application Expressを使用したOracle Linux 8
- OracleDG: Oracle Dataguardを使用したOracle Linuxシステム
- OracleDatabase: Oracle Databaseを使用したOracle Linuxシステム (リリースは様々、23c freeを含みます)
- OracleFPP: Oracle Fleet PachingおよびProvisioning
- OracleGoldenGate: Oracle GoldenGateを使用したOracle Linuxシステム
- OracleLinux: 標準のOracle Linuxリリース (7、8および9)
- OracleRAC: Oracle Real Application Clusterを使用したOracle Linuxシステム
今日は、Oracle Database 23c free editionについて詳しく説明し、いくつかの簡単なステップでOracle Databaseを稼働させる方法に関するステップバイステップ・ガイドを紹介します。
要件
- 次のステップは、Microsoft Windows、LinuxまたはMacOSオペレーティング・システムで機能します。
- Git
- Oracle VM VirtualBox
- Hashicorp Vagrant
はじめに – GitHubリポジトリをクローニング
- https://github.com/oracle/vagrant-projects/で公開されているGitHubリポジトリをクローニングします
# git clone https://github.com/oracle/vagrant-projects
- ディレクトリ“vagrant-projects/OracleDatabase/23.2.0-Free”に変更
# cd vagrant-projects/OracleDatabase/23.2.0-Free
Oracle Database 23c freeの仮想マシン作成
Oracle Database 23c仮想マシンを起動する前に、次のオプションを検討できます。:
- Oracle Database 23cソフトウェア: 構成されたOracle Database 23c free-editionをさらにデプロイする場合は、https://www.oracle.com/database/technologies/free-downloads.html にあるOracle Linux用のRPMパッケージのダウンロードを続行し、同じファイルを”vagrant-projects/OracleDatabase/23.2.0-Free”ディレクトリにコピーすることをお薦めします。
- Oracle Databaseのカスタマイズ: Oracle Databaseの構成をカスタマイズする場合は、https://github.com/oracle/vagrant-projects/tree/main/OracleDatabase/23.2.0-Free にある指示を確認してください。
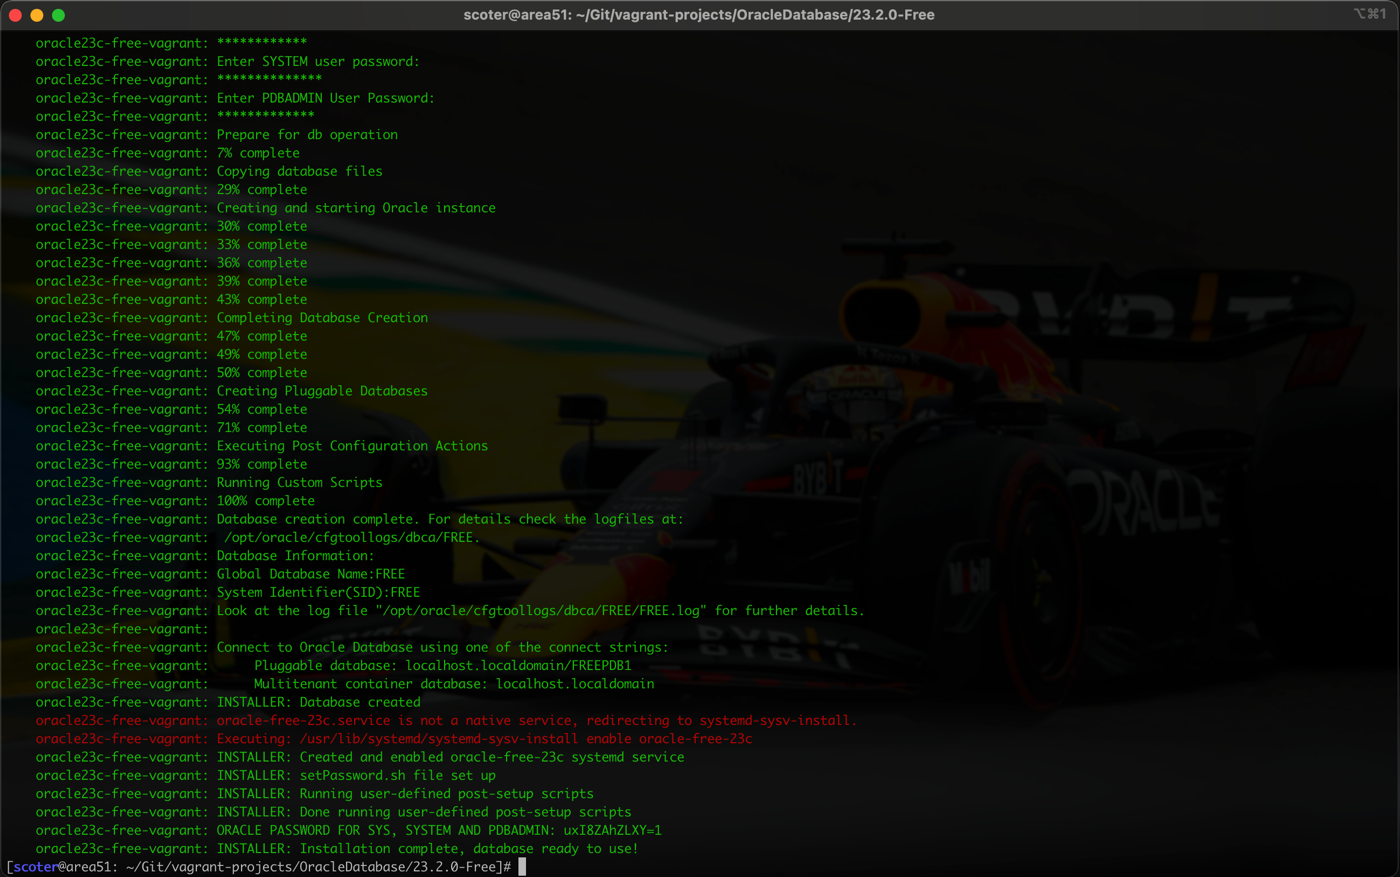
- 仮想マシンの作成、Oracle Linux 8 OSの更新、Oracle Database 23c freeのソフトウェアのインストール、Oracle Databaseの構成の取得
# vagrant up
Oracle Database 23c free editionへの接続
- 作成された仮想マシンに接続します
# vagrant ssh
- ユーザーを”oracle”に切り替えます
# sudo su - oracle
- 管理権限を持つOracle Databaseへの接続
# sqlplus / as sysdba

[オプション] 他の操作
VagrantおよびVirtualBoxによって取得された仮想マシンは、VirtualBoxユーザー・インタフェースでも表示されます。そこには、さらに操作を実行するオプションもあります。:
- 仮想マシンのクローニング
- 仮想マシン・スナップショットの取得
- 仮想マシンのエクスポート(Oracle Cloud InfrastructureまたはOpen Archive Format)
