A prerequisite for this blog is that you already have some familiarity using foundational Oracle Cloud Infrastructure services like Compute and Networking.
OCI offers a centralized log management and analytics solution to ingest and analyze all the logs produced by any service or resource. Getting logs centralized and analyzed by machine learning makes the IT admin life easier while solving IT problems quicker and provide valuable insights. This blog reviews the 5 steps required for continuous log collection from OCI compute instances using the Management Agent and OCI Logging Analytics
The preferred way of continously collecting your logs from your own OCI compute instances in OCI Logging Analytics is through a service gateway, so your logs don’t have to leave your tenant.
1. Network configuration for OCI Logging Analytics solution for getting OCI compute instance logs
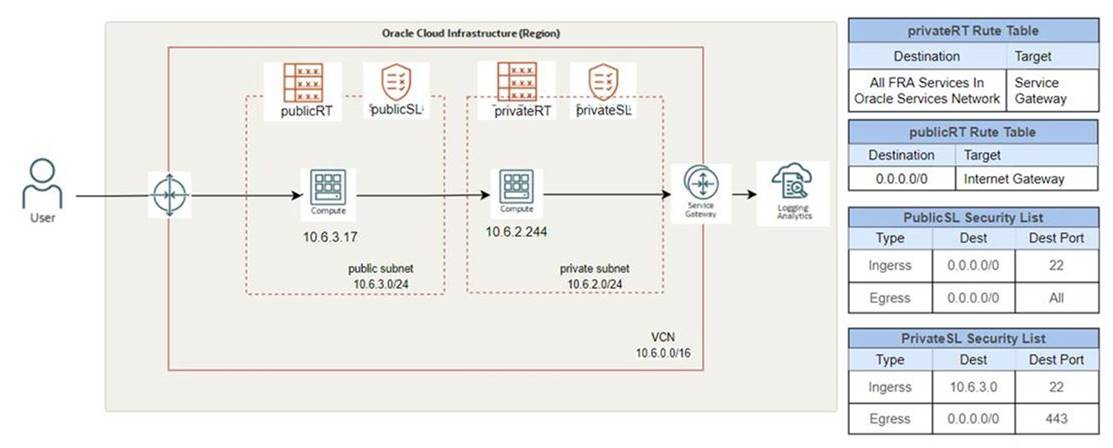
In the Oracle Cloud console, once you navigate to the Networking service and choose the Virtual Cloud Network (VCN) you want to use, you then create a Service Gateway. The Service Gateway redirects all the requests to Management Agent Public End Pont internally without the need to open ports to the internet.

All the traffic from the subnet where the OCI Compute instance is running, is redirected to the Service Gateway. If you want to restrict the traffic to a specific CIDR that is dependent on the region you work with, then refer to the service CIDR list to identify your region details. Once you created the Service Gateway, create and assign the security lists and the route tables as shown in Figure 1 if you haven’t done so already.
2. Logging Analytics onboarding and policies setup for OCI compute instance
If you have not yet used Logging Analytics, perform the initial Logging Analytics setup. Once you’ve done that follow the steps in Set Up Ingestion. (Skip Step 5 “Copy the agent installation command…”. Agents will be discussed later.)
Next, create a dynamic group named instance_dynamic_group for the compartment where the compute instance resides.
ANY {instance.compartment.id = 'compartment OCID'
Create a policy to allow the Management Agent to interact with the Oracle Cloud Infrastructure Management Agent Cloud Service.
ALLOW DYNAMIC-GROUP instance_dynamic_group TO MANAGE management-agents IN COMPARTMENT compartement_name
3. Enable Management Agent on your OCI Compute instance
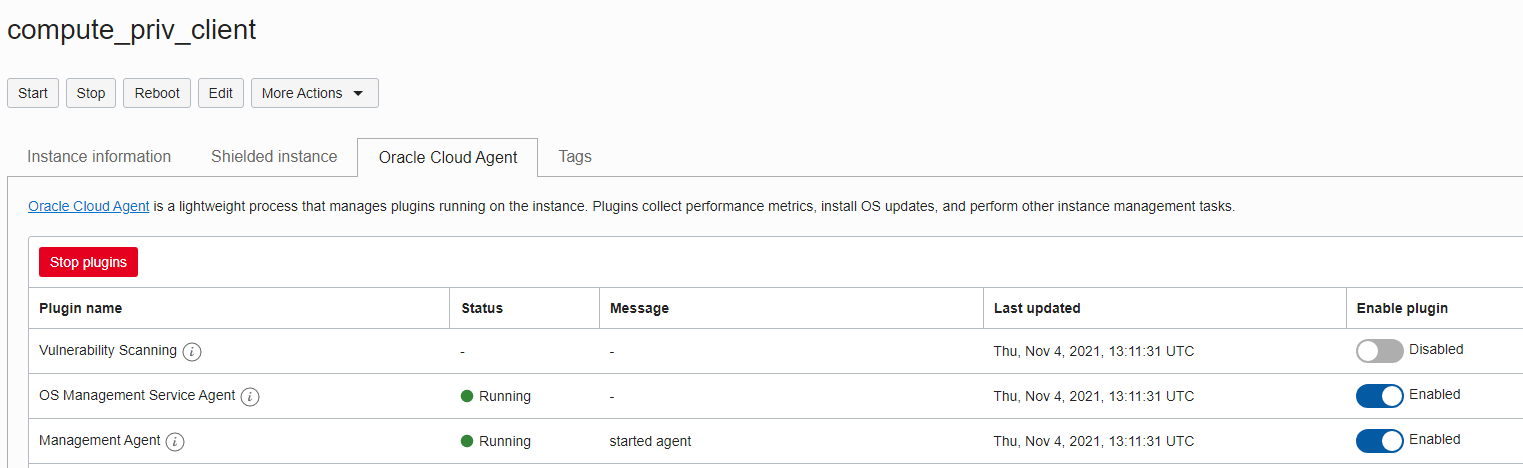
Management Agents allow Oracle Cloud services to interact and collect data from entities that are managed by them. Management Agents can be installed as standalone or as a plugin of the Oracle Cloud Agent. The Oracle Cloud Agent is a lightweight process that manages plugins running on the instance. Plugins collect performance metrics, install OS updates, and perform other instance management tasks.
When you create a Compute Instance an Oracle Cloud Agent is installed automatically. To inject data directly into OCI Logging Analytics, the Management Agent plugin has to be enabled. Enabling the plugin can happen during the instance creation phase or later in the Oracle Cloud Agent tab.
If your instance does not have a Cloud Agent, you can install the Management Agent as a standalone using these steps: Deploy Management Agents on Compute Instances.
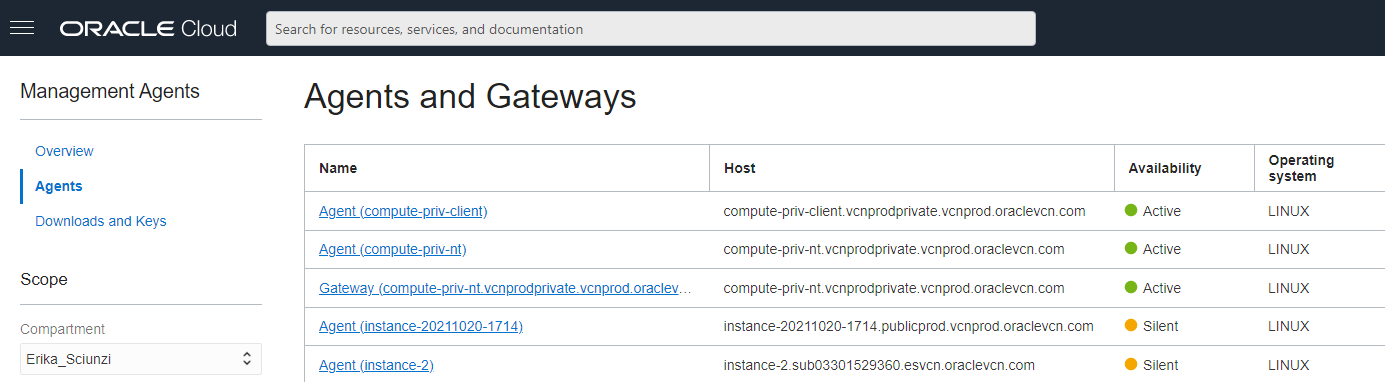
Whether you install the Management Agent manually or enable it as a plugin, once the Management Agent is running you will see it on Observability and Management -> Management Agent -> Agent (select the correct compartment).
Check if the Logging Analytics plugin is enabled:

4. OCI Compute instance and log association
The first time the Management Agent checks in, a host entity associated with the agent is automatically created in Logging Analytics. You can view this entity under Logging Analytics, Administration.
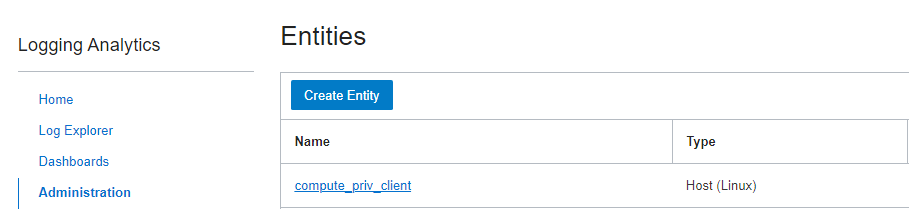
From here, you can associate the logs you want to import from this new entity or use the shortcut under Administration, Add data. Here, select the OS (Linux in this case).
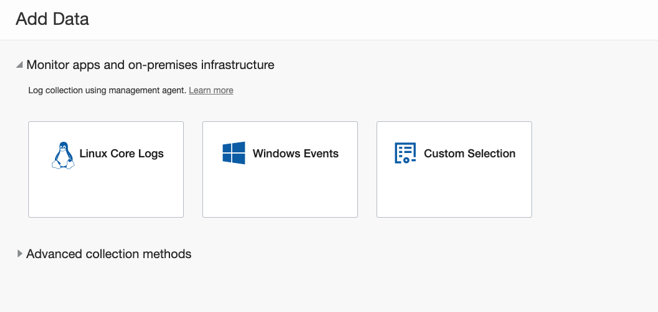
Then, select the target entity. Select the source(s) you want. Check if the OS user agent has the permission to access the file. For tips on how to give access to log files, see the section “Prepare Your Host to Transmit Logs to Logging Analytics”.

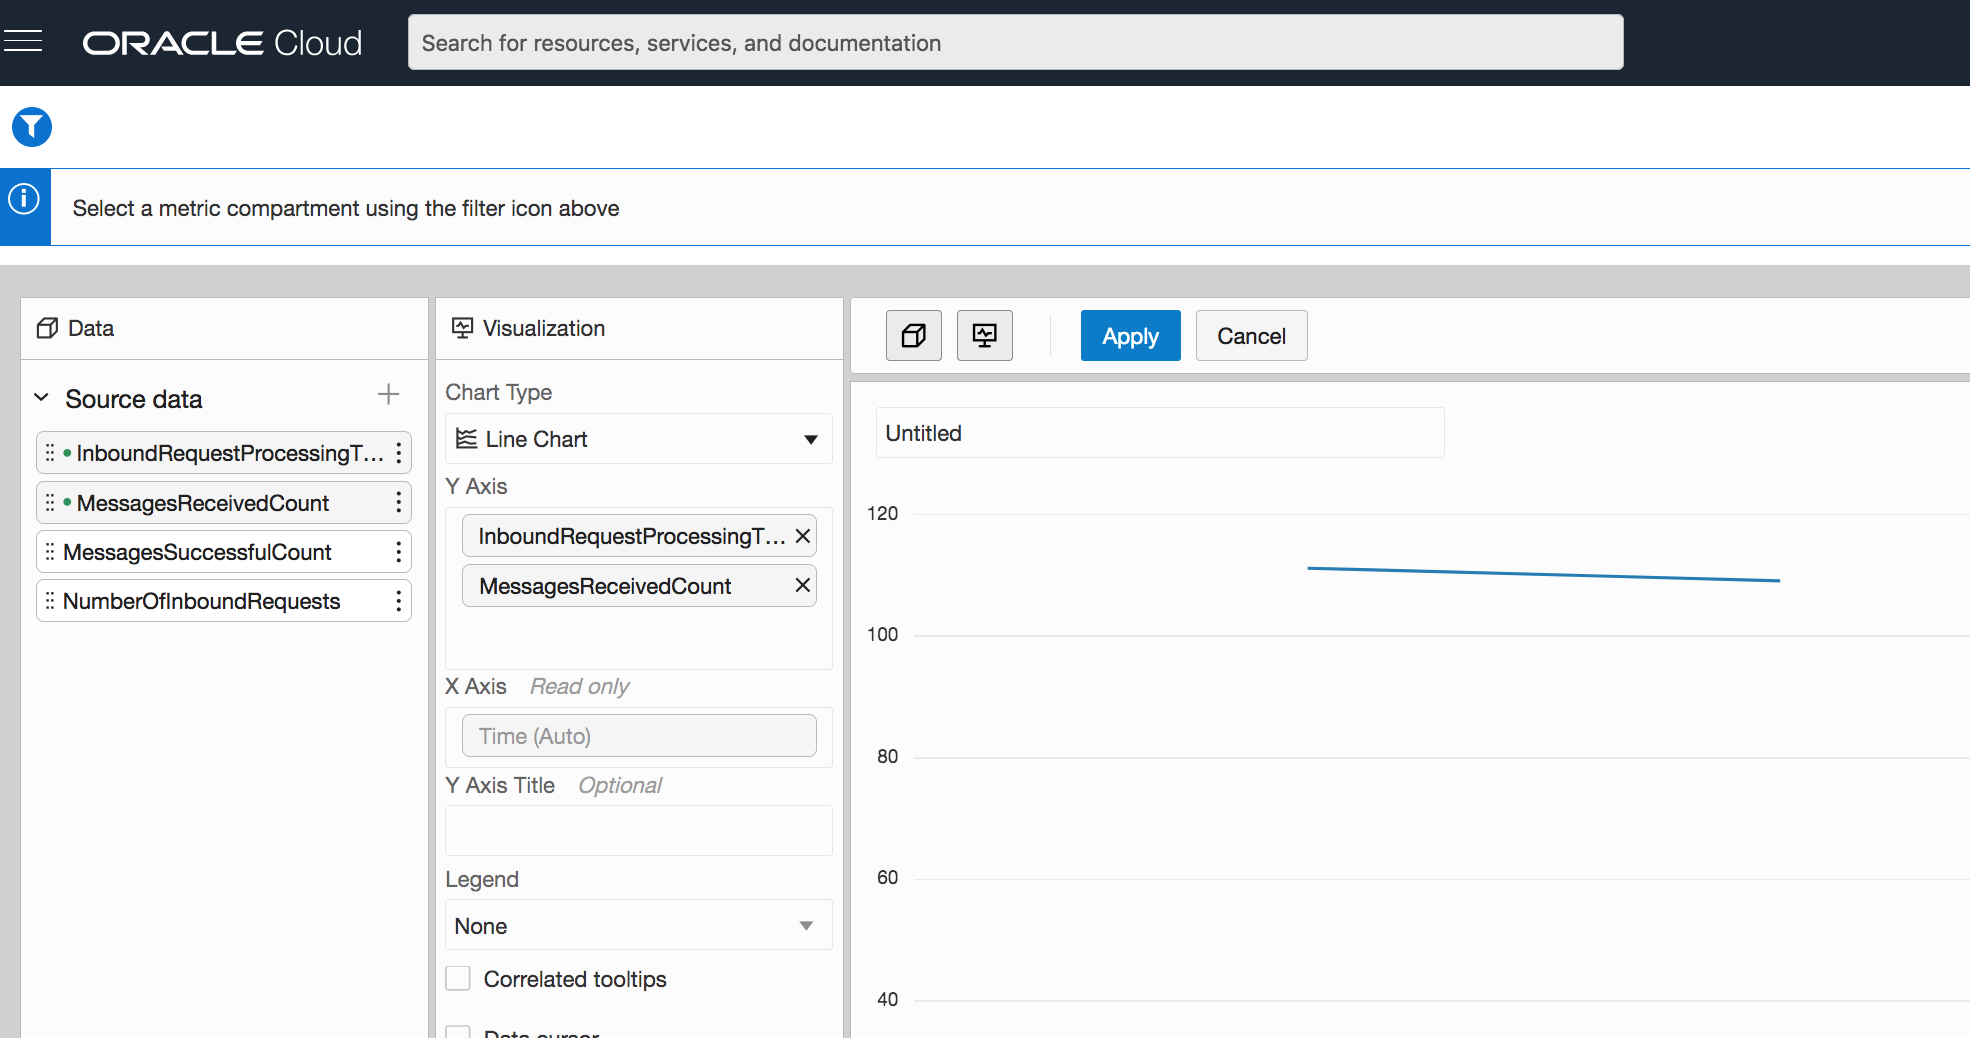
5. View and analyze the logs
In this case, I selected the Linux Syslog Logs. After a few minutes, I could see the Linux Syslog Logs in the Explorer, along with all the others logs. From here, use all the OCI Logging Analytics capabilities.
Appetite comes with eating
Now you are able to continously ingest logs from an OCI Compute instance without those logs having to leave your tenant. In Italy we say “L’appetito vien mangiando” – Appetite comes with eating – you are probably now wondering how to import custom logs.
Resources
- Read our other Logging Analytics blog posts.
- Knowledge Content for OCI Observability and Management Services (O&M) GitHub
- Practice one of our free hands-on lab
- Start your free trial
- Get started documentation