In the previous post, we explored how the MySQL Shell extension for Visual Studio Code brings database development directly into your editor. In this follow-up, we’ll walk through how to connect to a HeatWave MySQL database which is hosted in the cloud on Oracle Cloud Infrastructure (OCI) and how to browse schemas and run queries, all without leaving VS Code. Here is an architecture diagram that gives an idea of how VS Code connects to the HeatWave MySQL DB system.

Prerequisites
Before you get started, ensure you have the following:
- A HeatWave MySQL provisioned on Oracle Cloud Infrastructure (OCI)
- The host IP address or hostname of the MySQL server
- A valid MySQL user with access to the target schema(s)
- Port 3306 open to your IP or internal access through the Compute instance (via VCN/Subnet security rules)
- An SSH private key file
- The MySQL Shell for VS Code extension installed
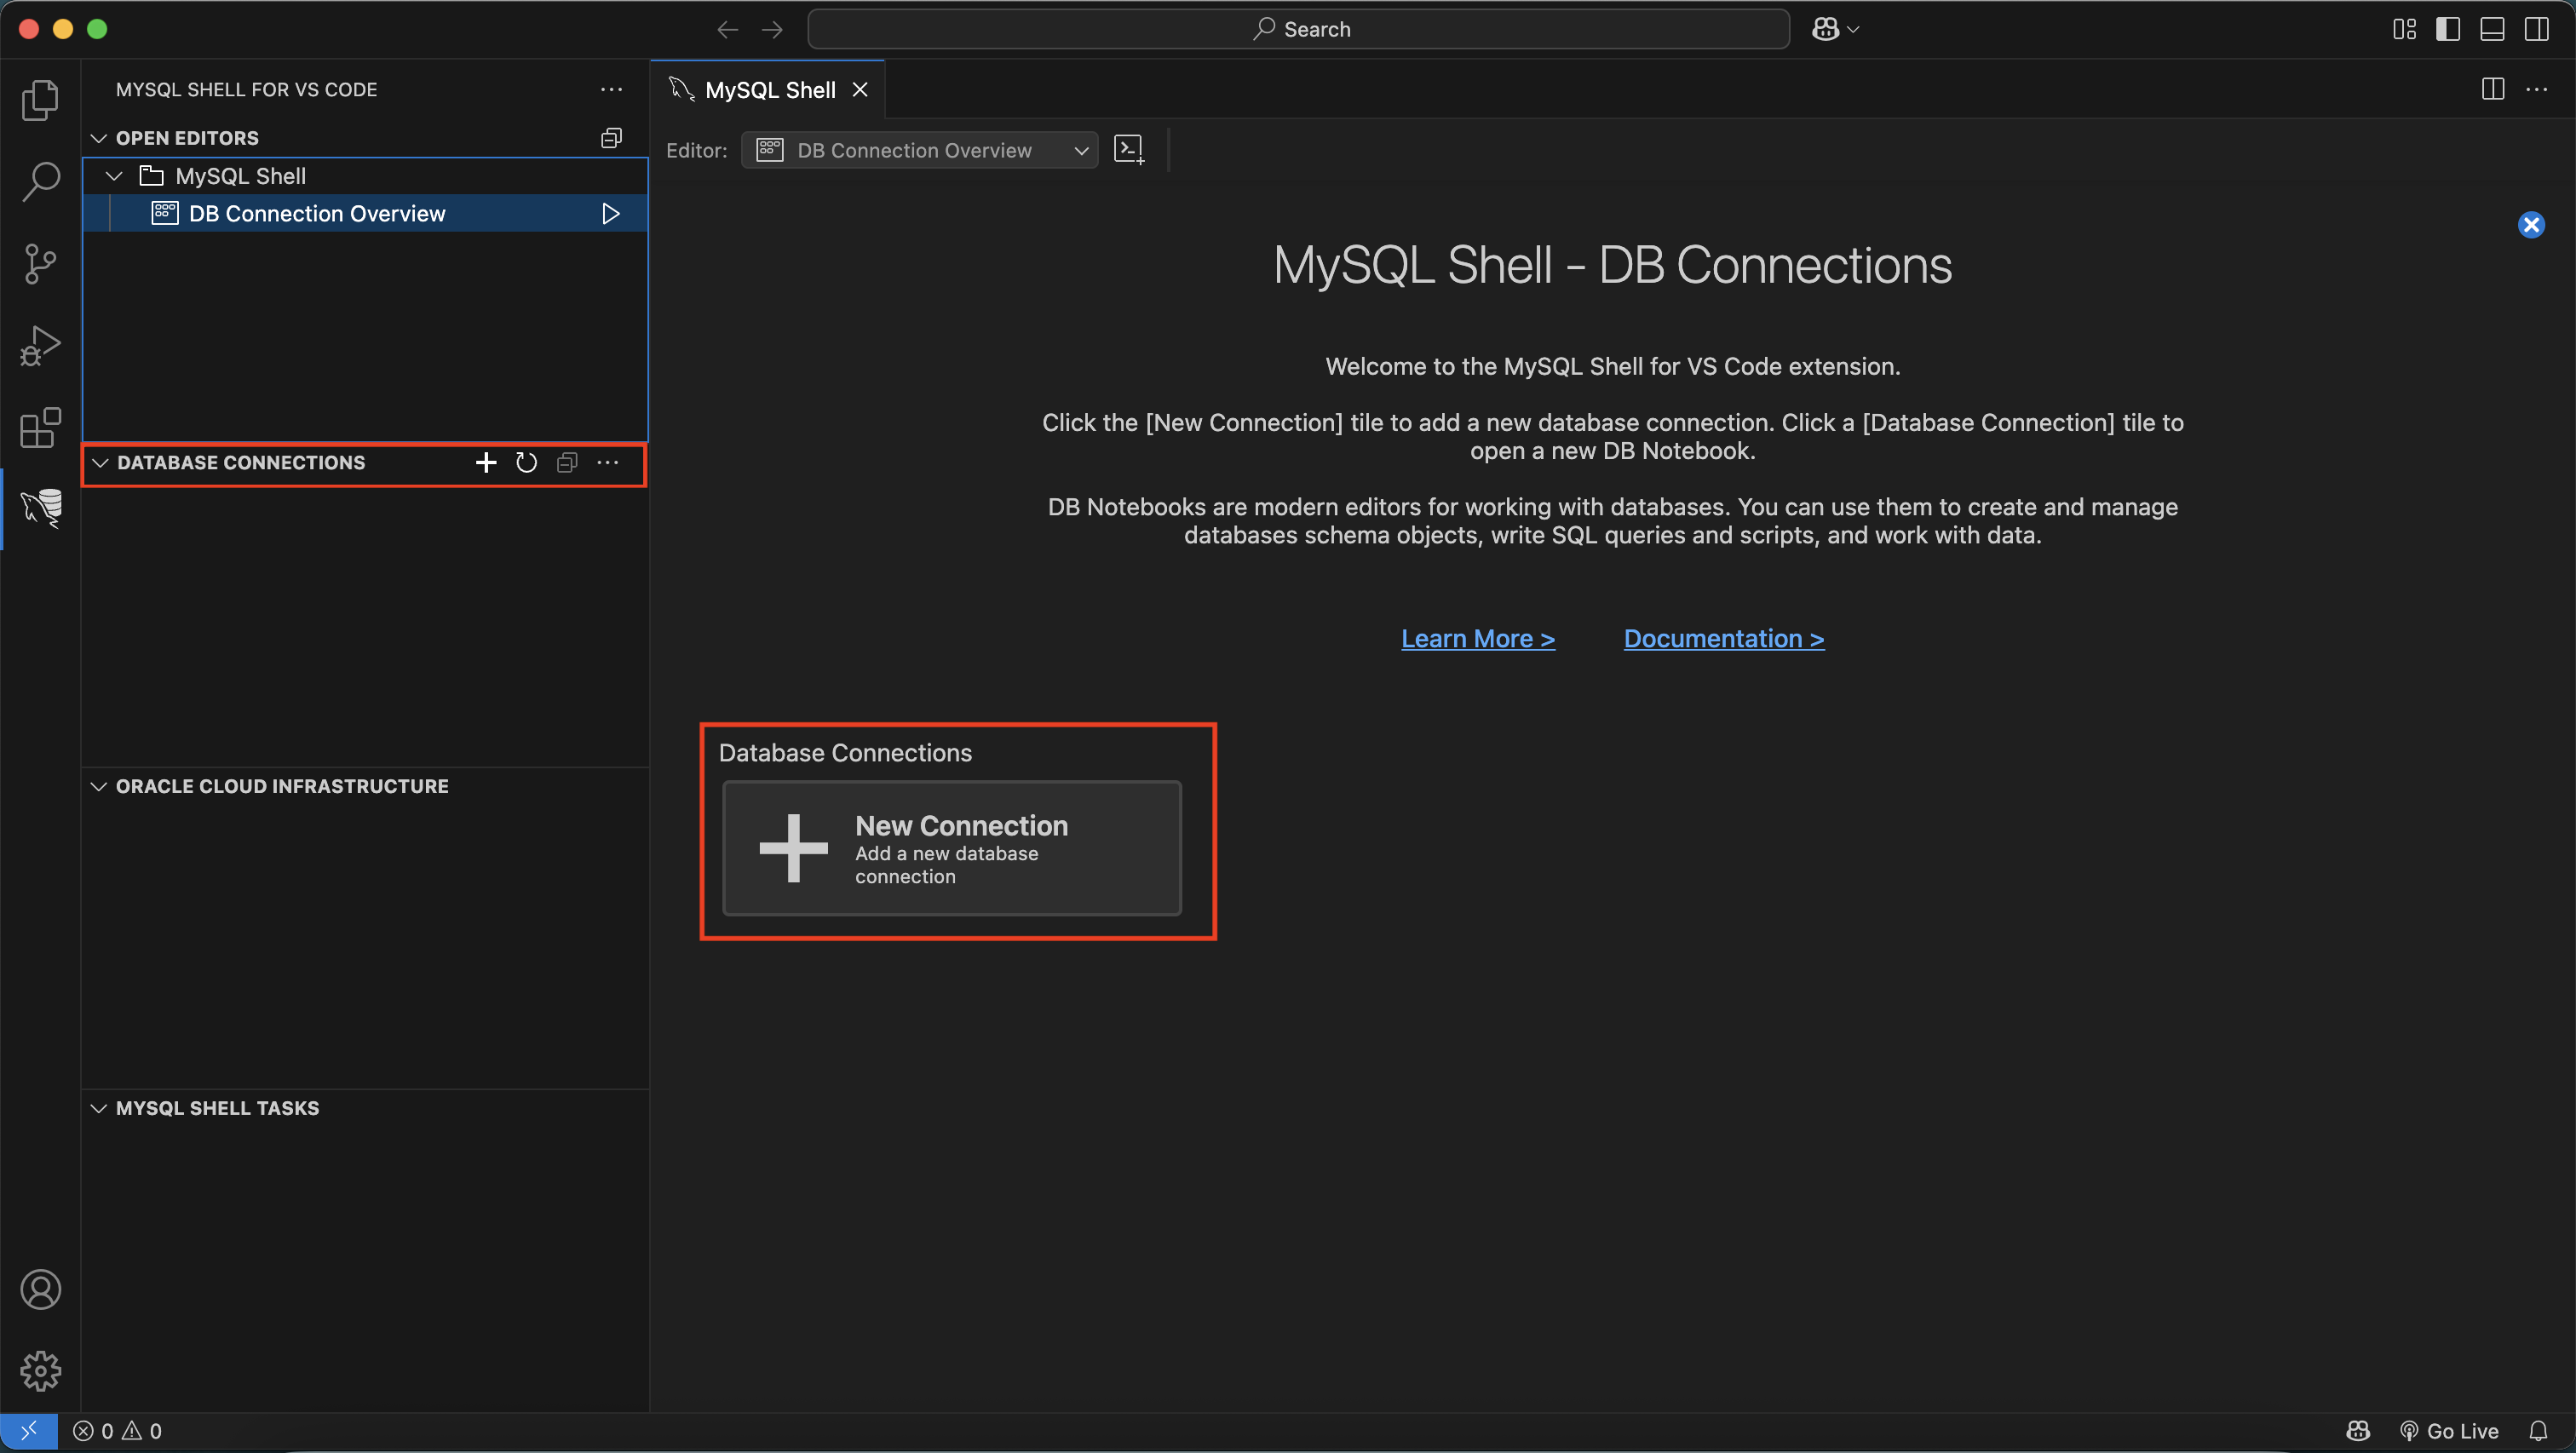
Connecting from VS Code
Step 1: Open the MySQL Extension Panel
- Launch Visual Studio Code
- Click on the MySQL Shell for VS Code icon in the left sidebar
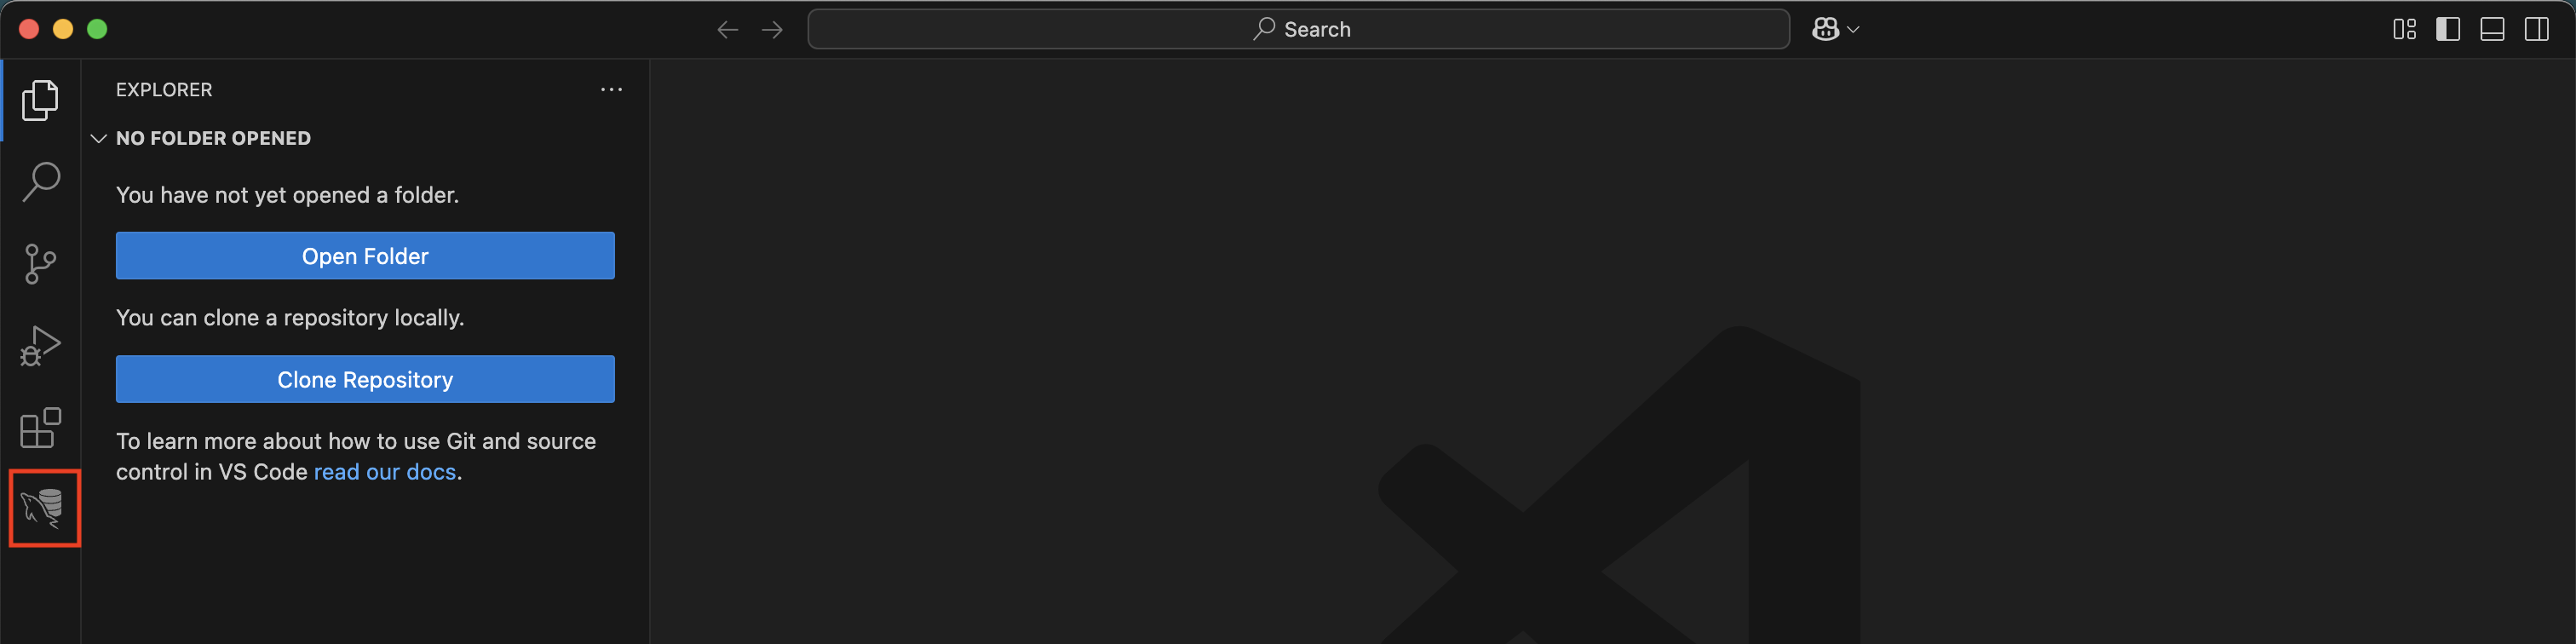
This opens the database panel where you can add and manage connections
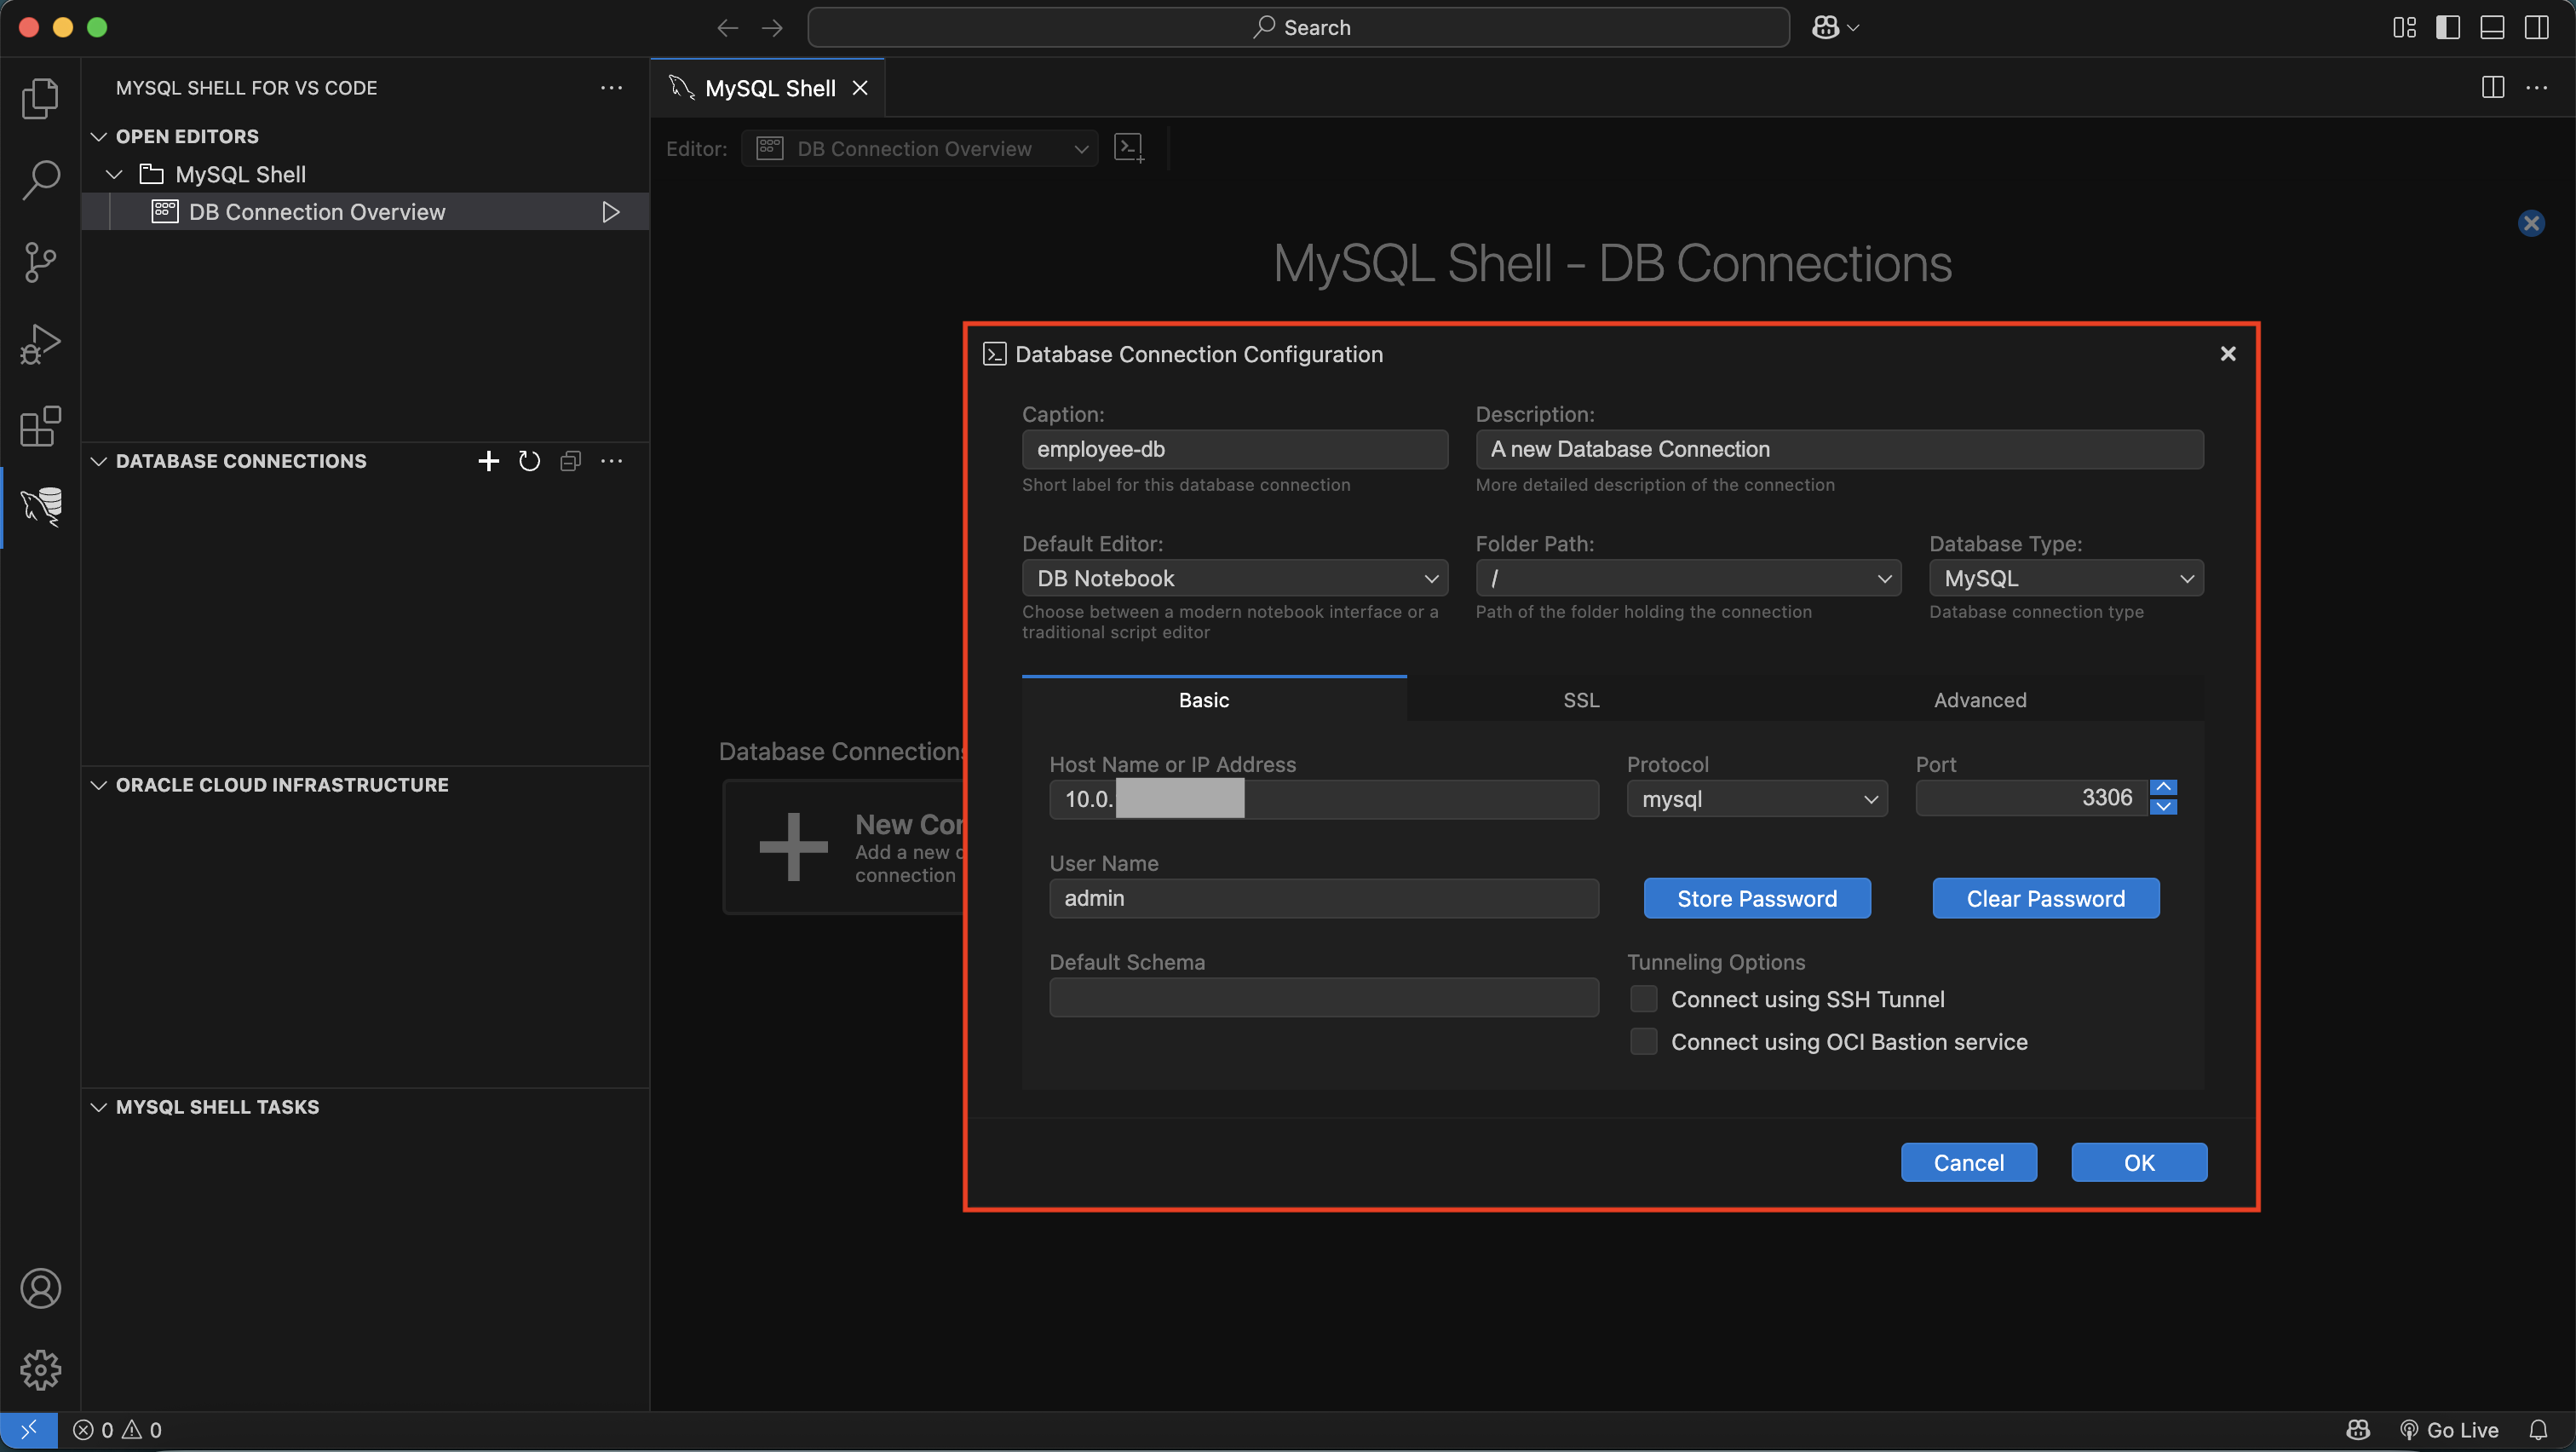
Step 2: Add a New Connection
- Click + New Connection
- Fill in the required fields:
- Caption: A friendly name for your connection
- Description: A meaningful description (optional)
- Host Name or IP Address:
- For HeatWave: Private IP address
- Port: 3306
- Username: Your MySQL login username
- Password: You can choose to store password to minimize entering the password every time for convenience
Using SSH Tunneling for Private HeatWave Connections
You can securely connect to your HeatWave MySQL DB system using an SSH tunnel through a compute instance, which acts as a jump host or bastion host. OCI also provides the Bastion service as an alternative for secure access to private resources. In this blog, we’ll focus specifically on setting up SSH tunnel via a compute instance.
Step 3: Connecting Using an SSH Tunnel
Check Connect Using SSH Tunnel box under Tunneling options
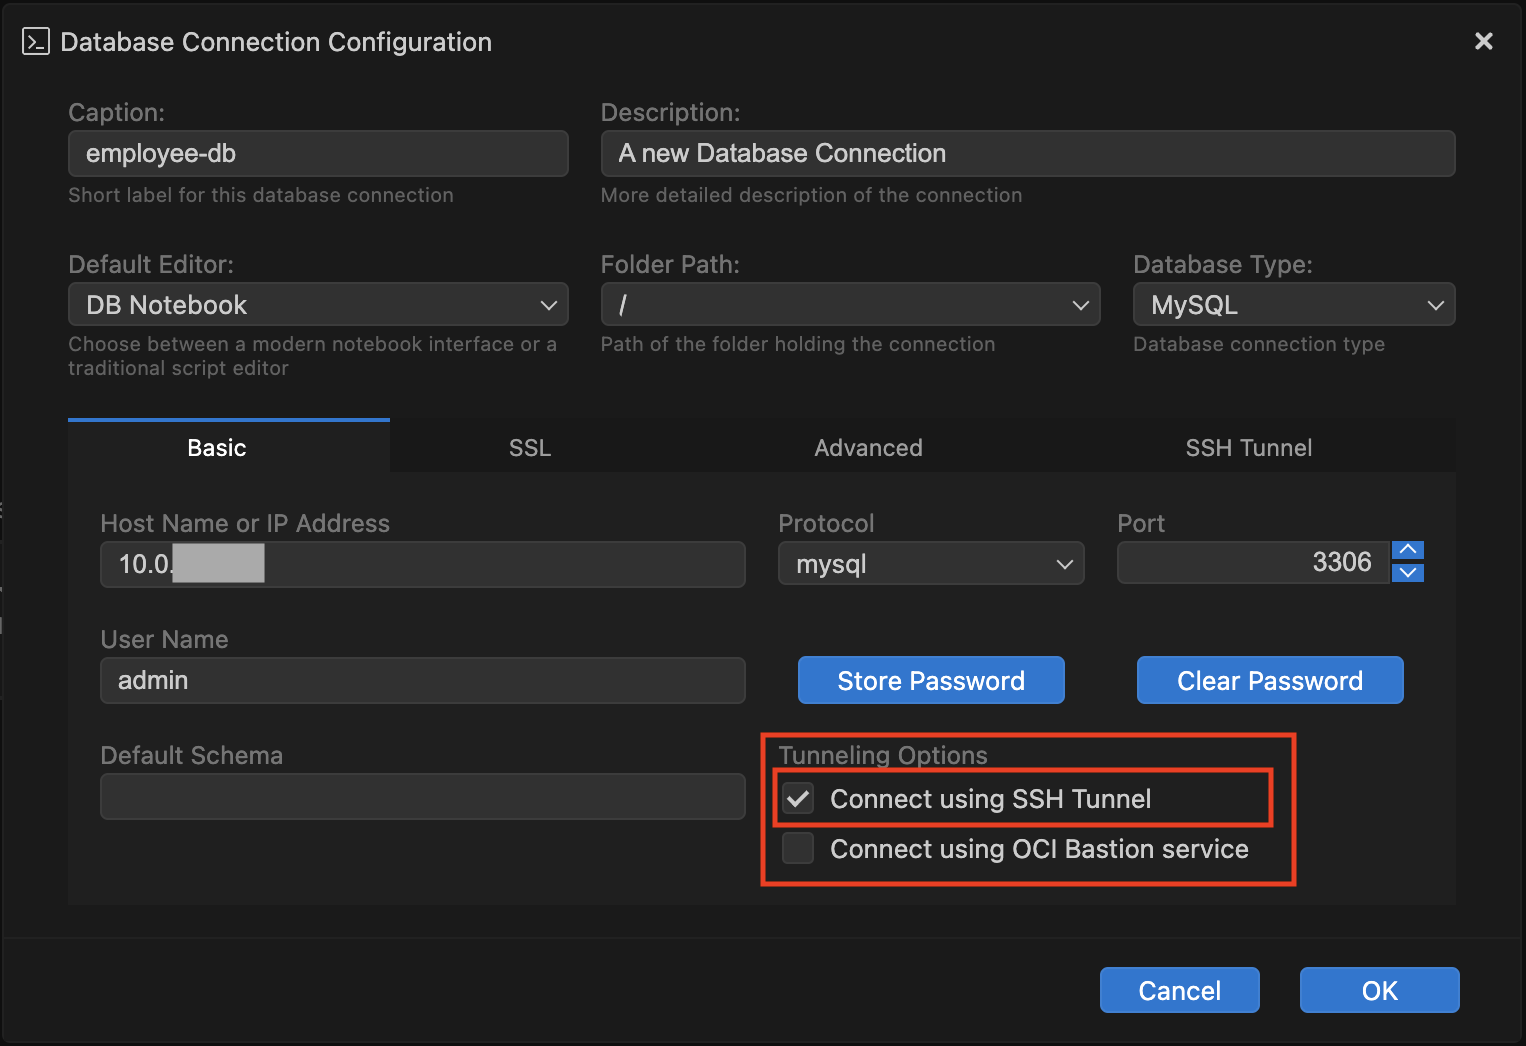
Expand the SSH tunnel section and configure:
- SSH Host: Public IP or hostname of your Compute instance
- SSH Port: 22 (default SSH port)
- SSH Username: Username for the Compute instance (e.g., opc on Oracle Linux)
- SSH Key: Browse and Select your private key file
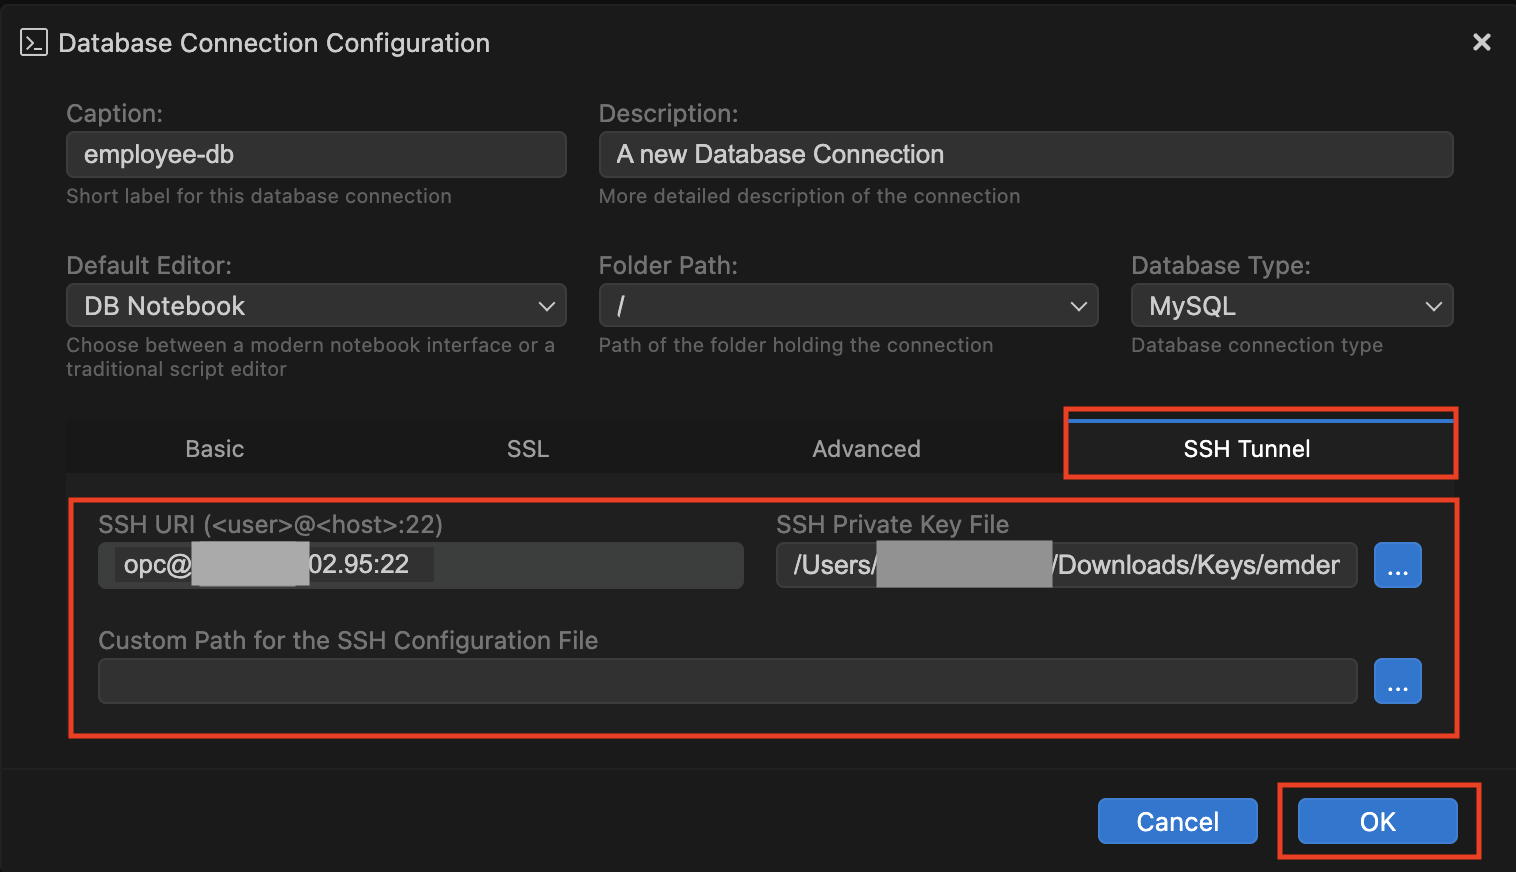
The MySQL Shell extension with route your connection securely through the tunnel
Step 4: Test and Connect
Click Ok to save the connection. Once created, your connection will appear in the left panel
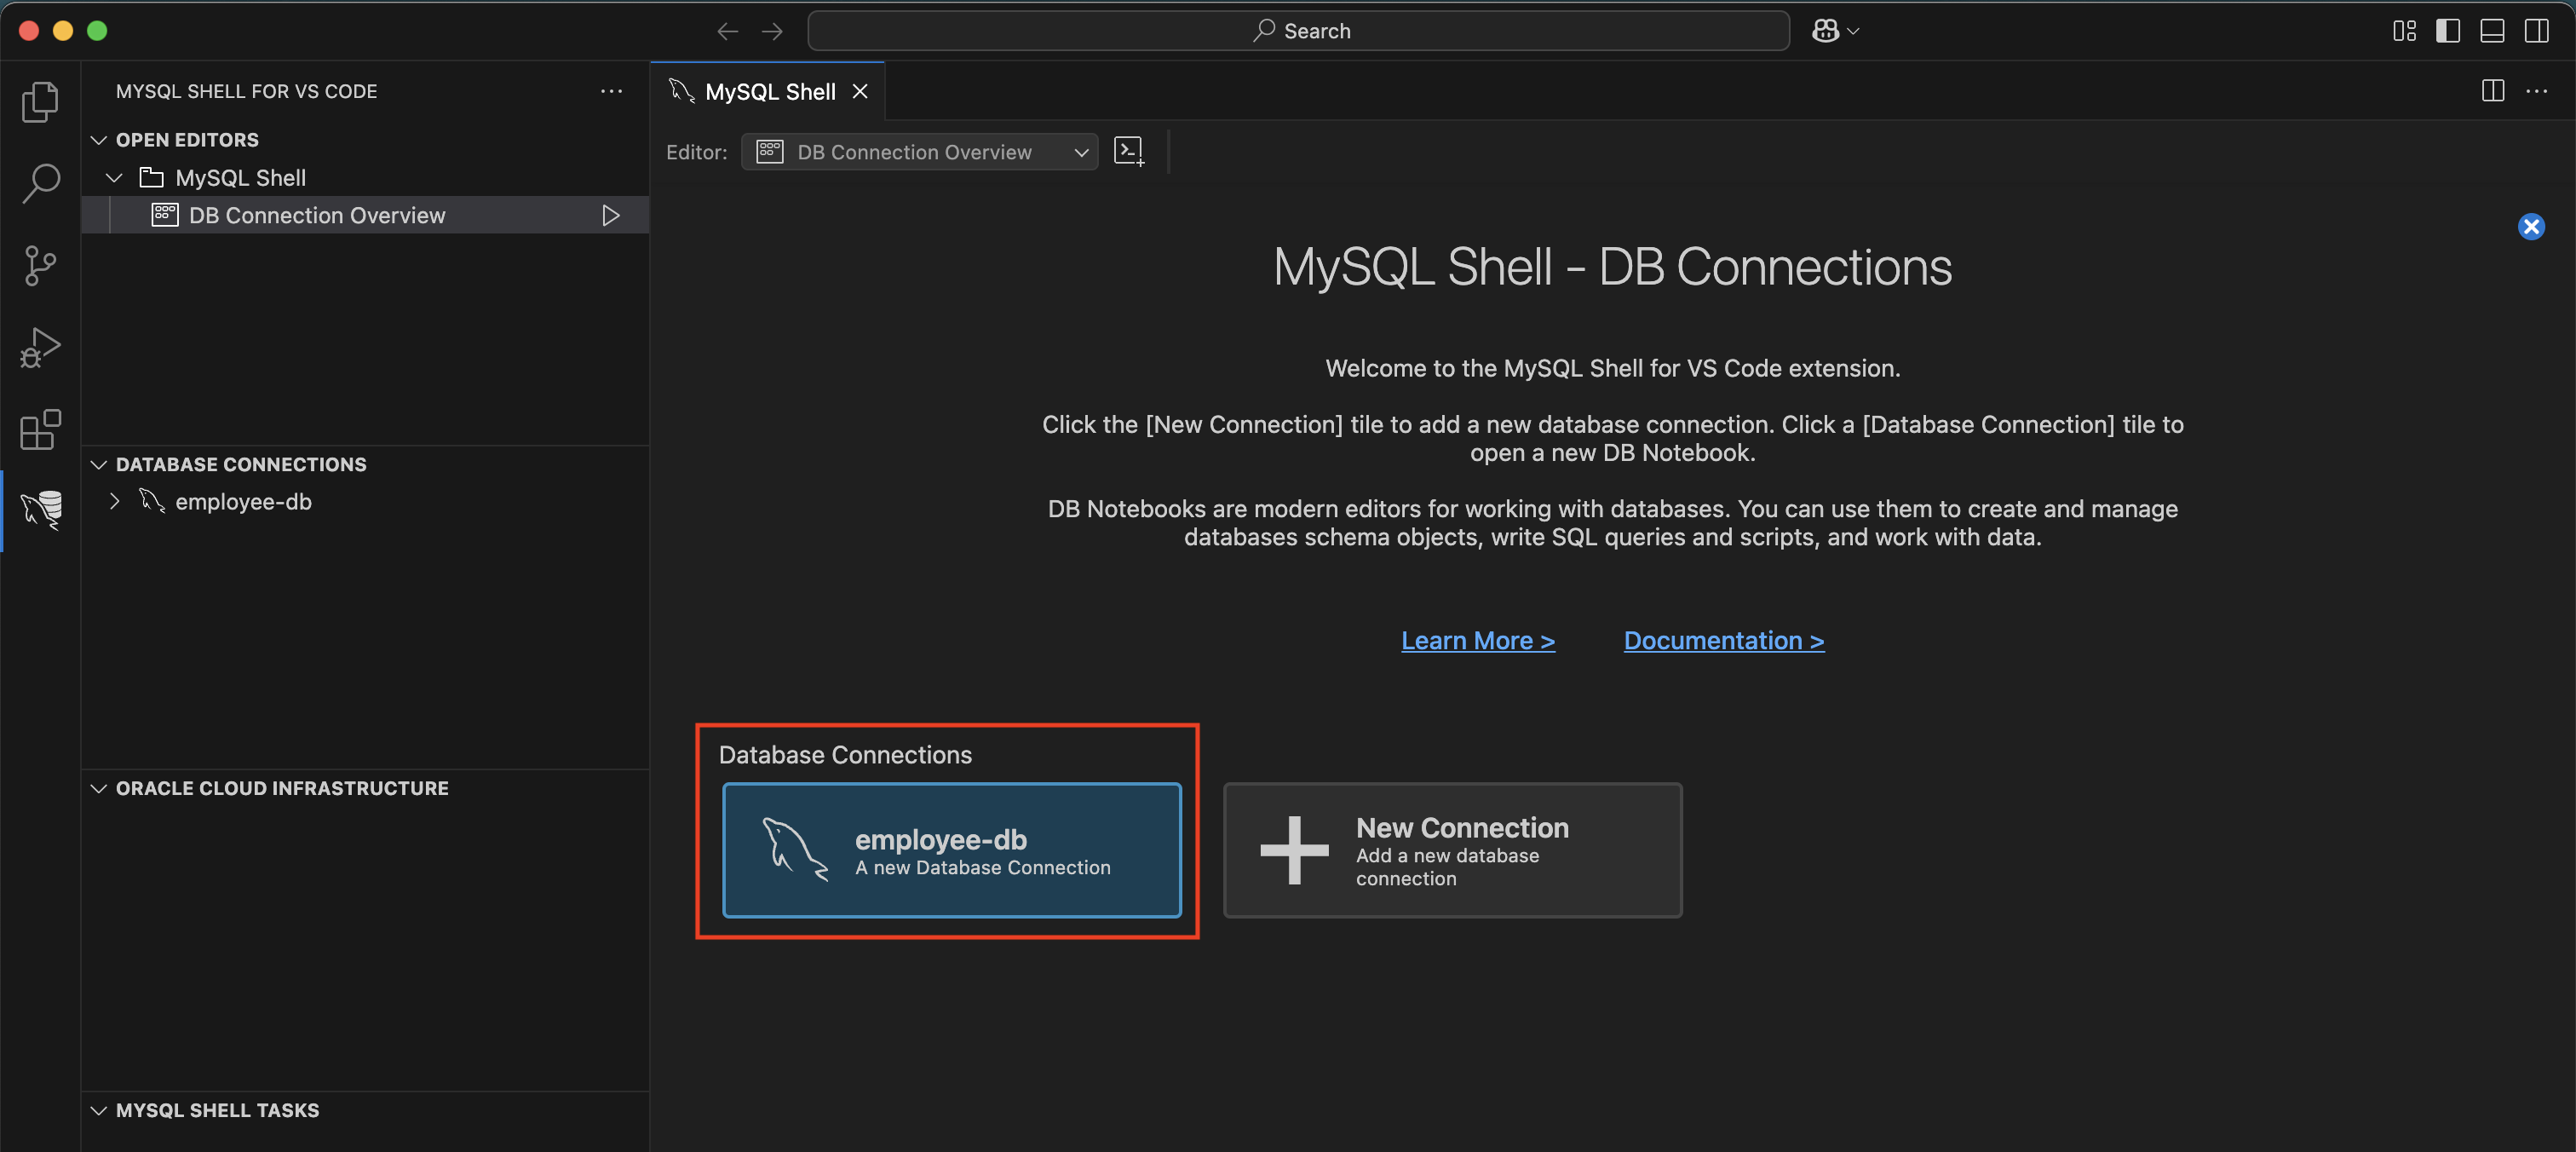
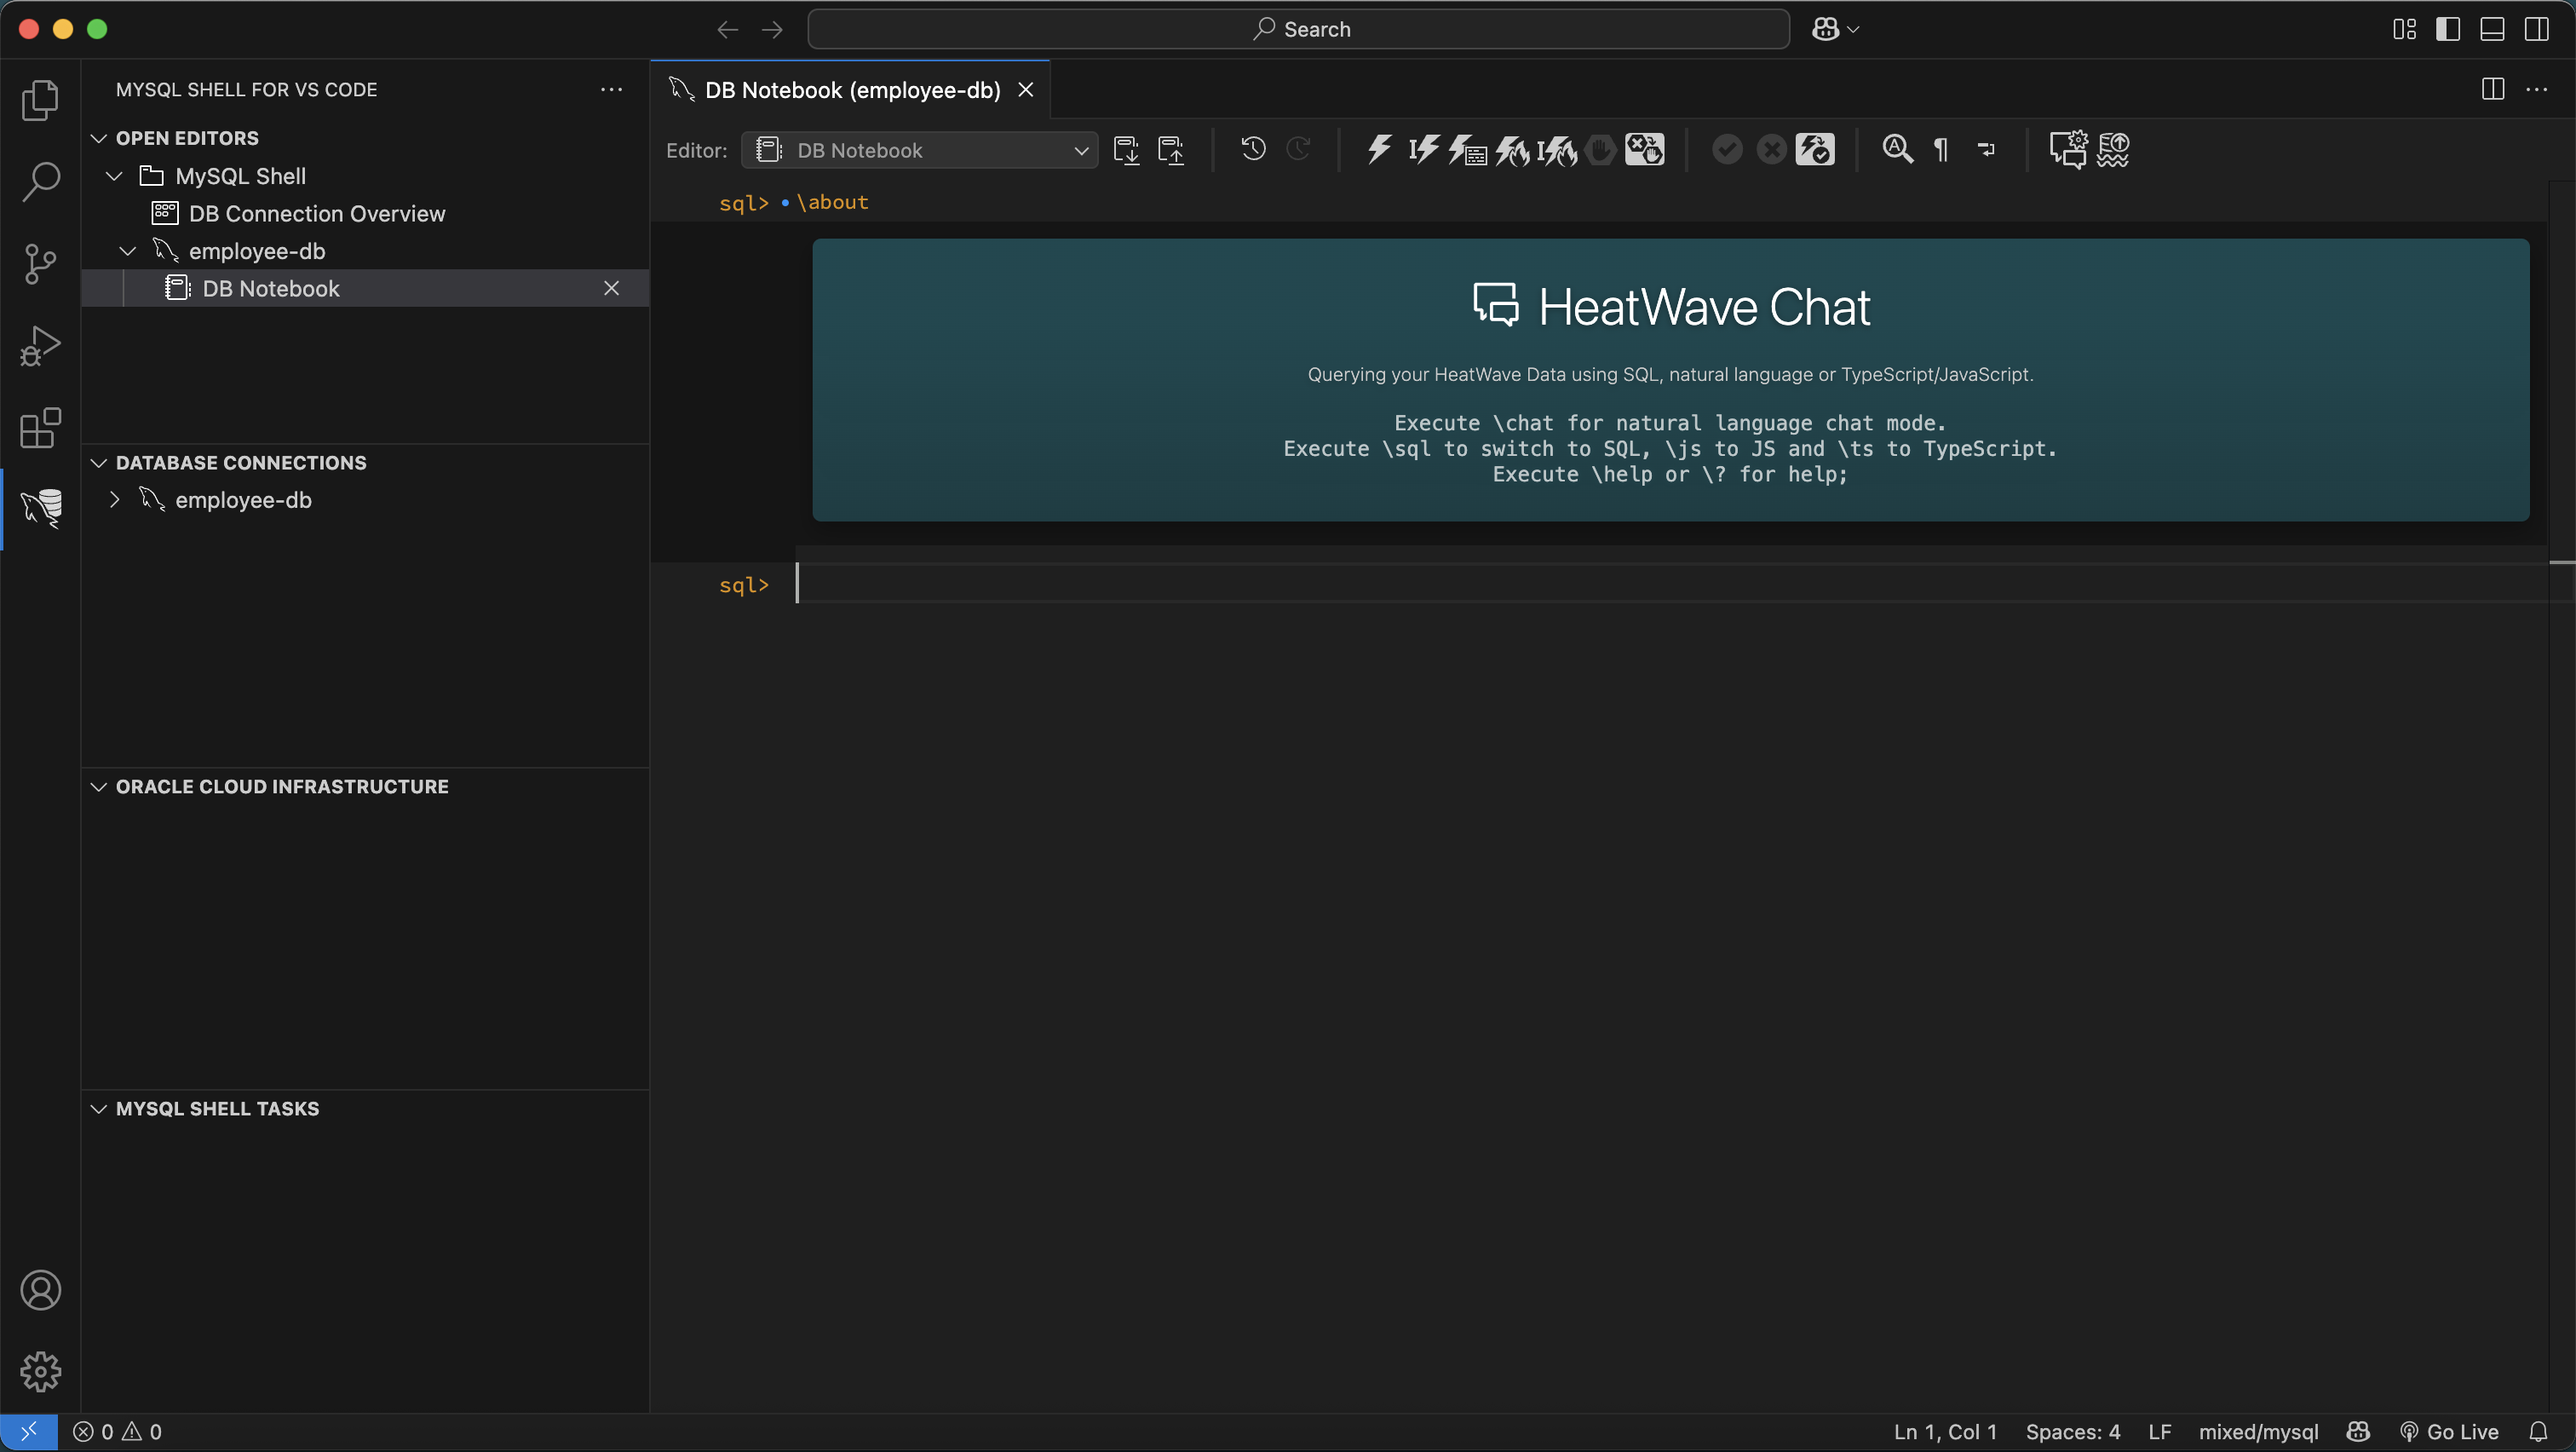
Clicking on the connection opens MySQL Shell for MySQL DB system
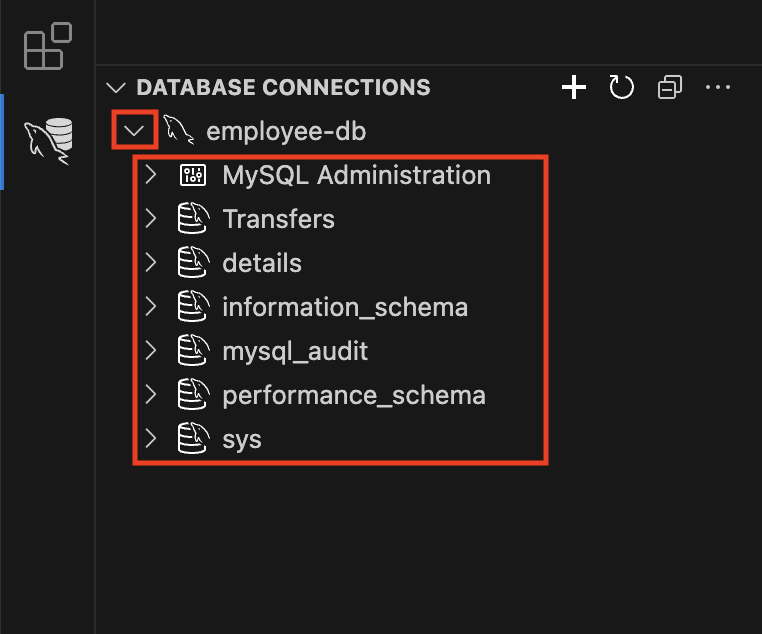
Browsing Schemas and Tables
After connecting:
- Expand the connection to view available schemas
- Click on a schema to reveal its tables, views, and other database objects in an organized way
Run a Quick Query
Try this simple command:
SHOW databases;
This lists all available databases on the connected server.
Click the Run button in the top editor toolbar to execute your query. Results appear just below, displayed in a clean, tabular layout

Troubleshooting tips
Connection refused? Check firewall rules and ensure port 3306 is open
Permission denied? Confirm your MySQL user has appropriate schema access
What’s Next?
Now that you are connected and exploring your MySQL database within VS Code, it’s important to note that MySQL Shell for VS Code delivers a comparable experience to traditional tools like MySQL Workbench, enabling you to manage and interact with your databases using familiar workflows right from your editor.
In the next post, we’ll take a high-level look at how MySQL Shell for VS Code compares with MySQL Workbench, highlighting the ways in which the extension streamlines common database development tasks for a modern workflow.