In this article, I will guide you through the process of setting up a fully functional Zabbix monitoring system on Oracle Cloud Infrastructure.
The deployment and configuration of the Zabbix server and web frontend, as well as the integration with MySQL HeatWave Database Service as backend, is totally automated using OCI Resource Manager Stack (Terraform).
The Terraform modules are on GitHub: https://github.com/lefred/oci-zabbix-heatwave.
To start the process, we just need to click on the following button:
![]()
This will open the OCI Web Console, and once connected you will reach this page:
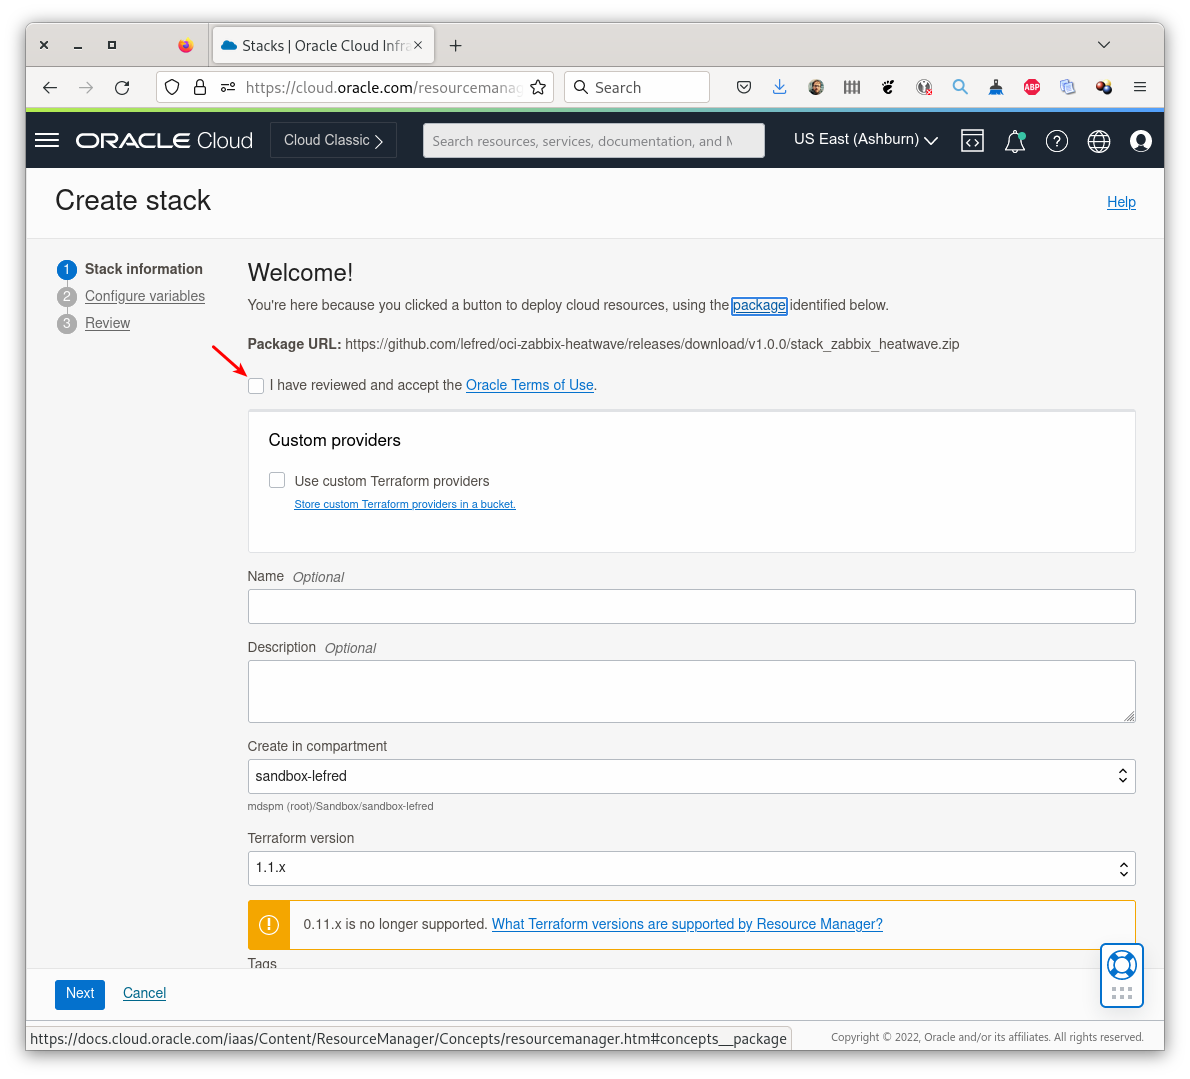
Click on the checkbox after having reviewed the Oracle Terms of Use to accept them, and the stack information will be loaded:
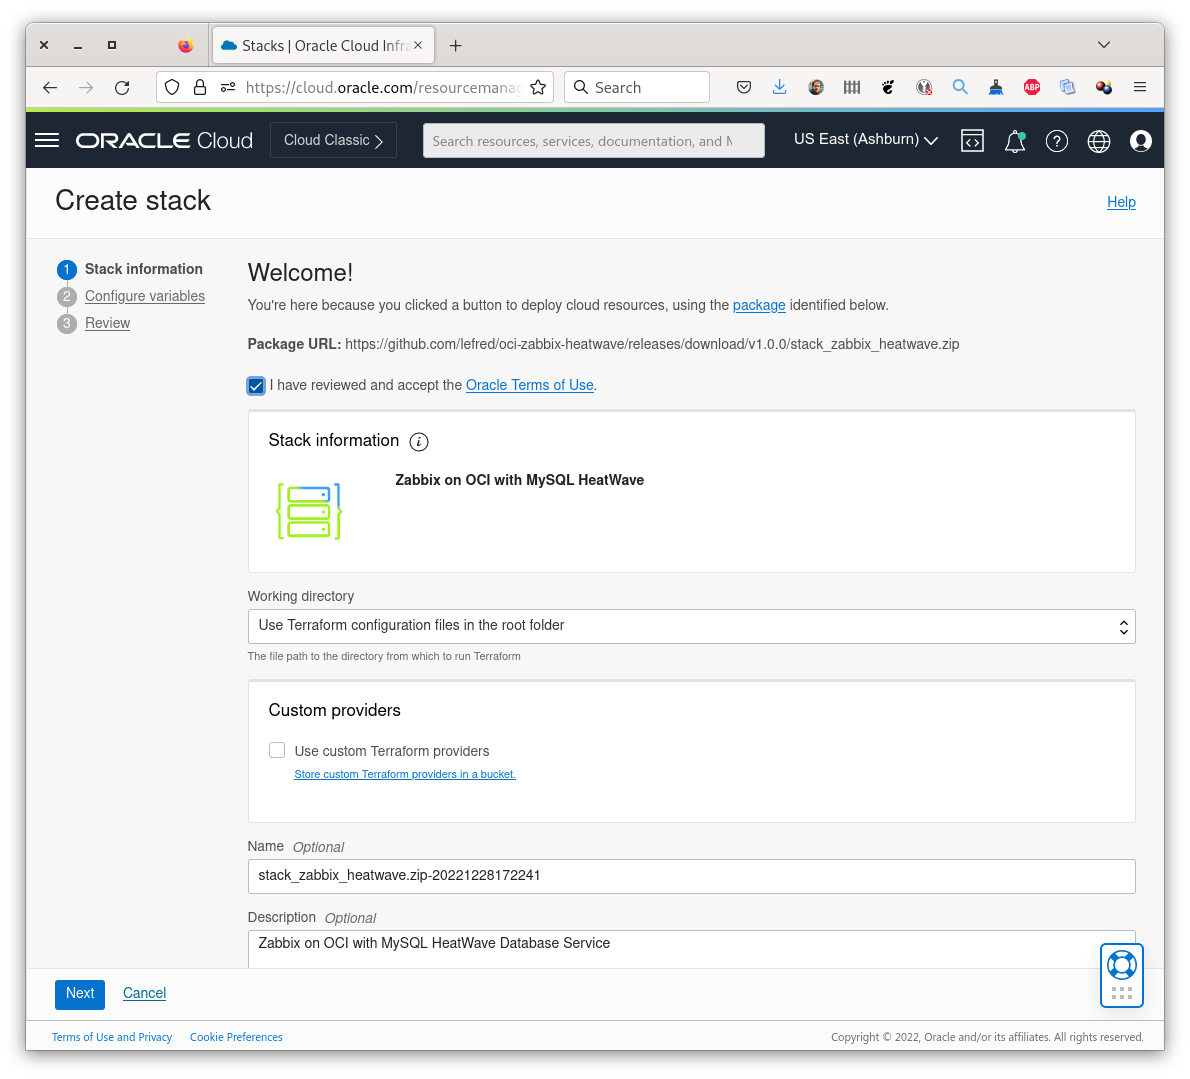
You can click on Next.
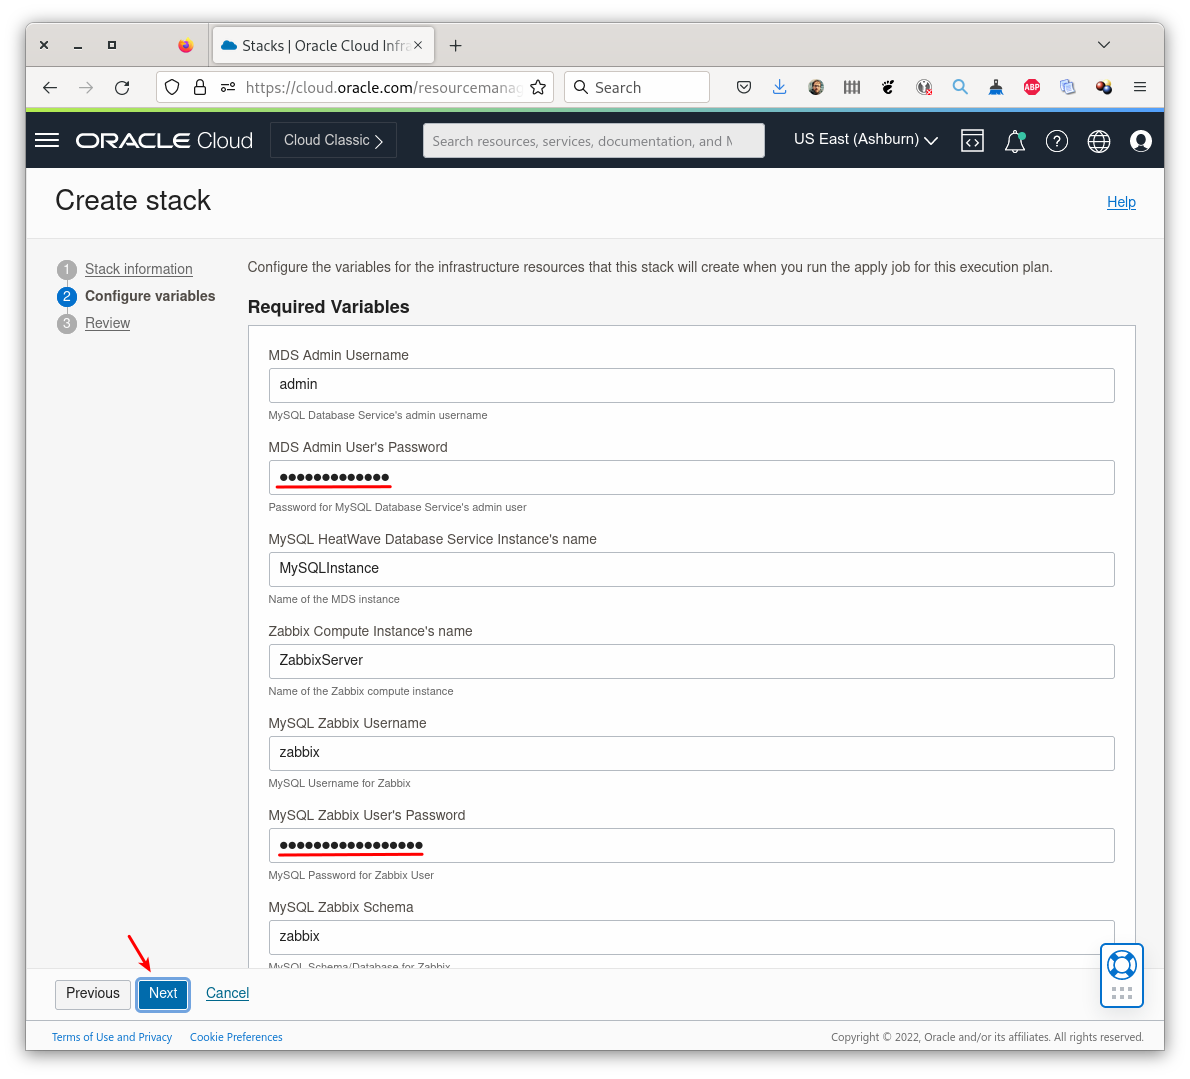
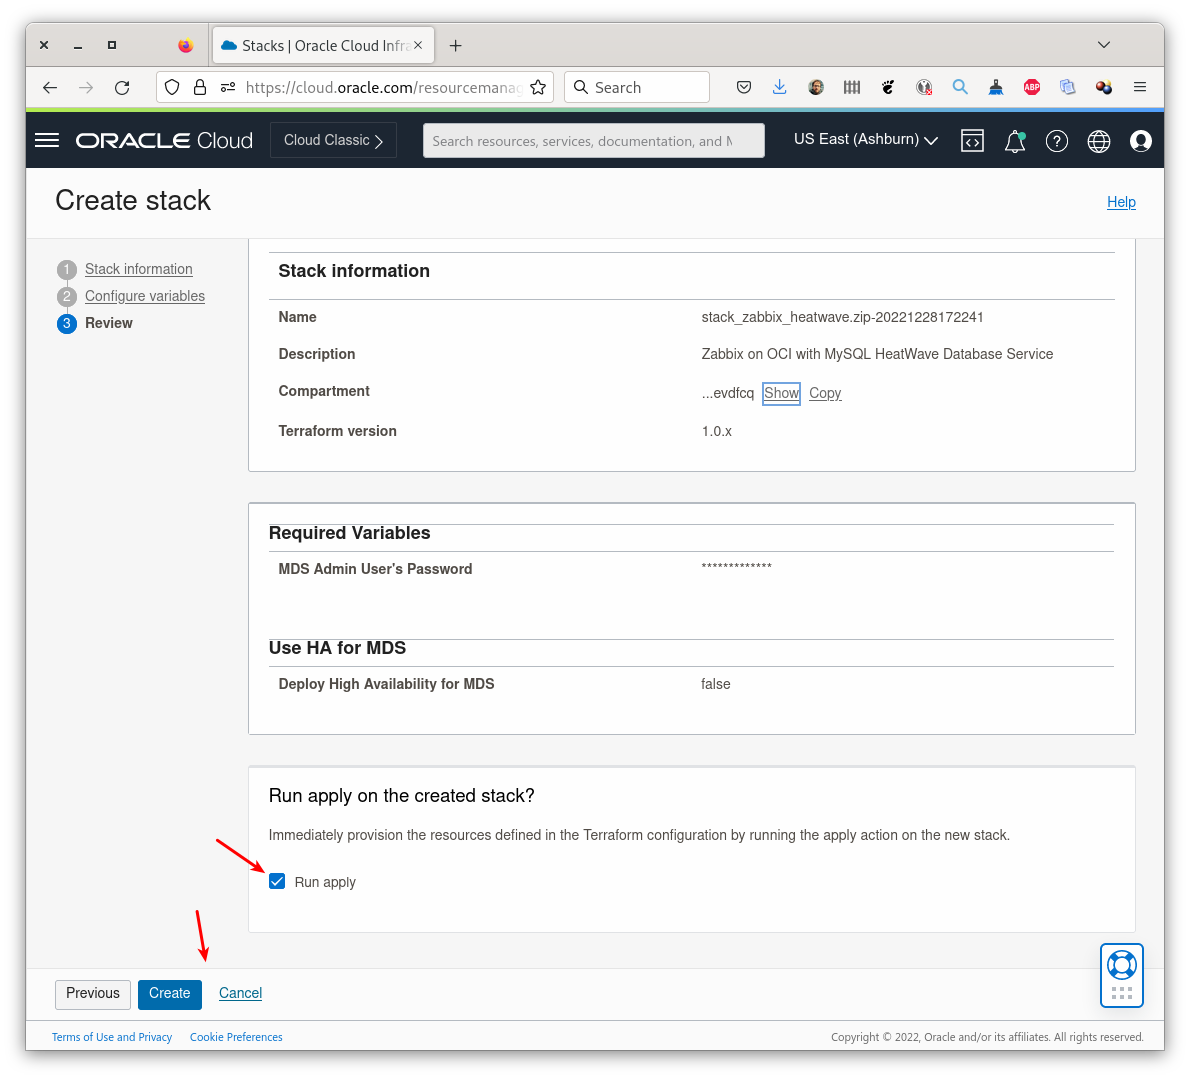
Some variables are already filled, don’t forget to use valid passwords:
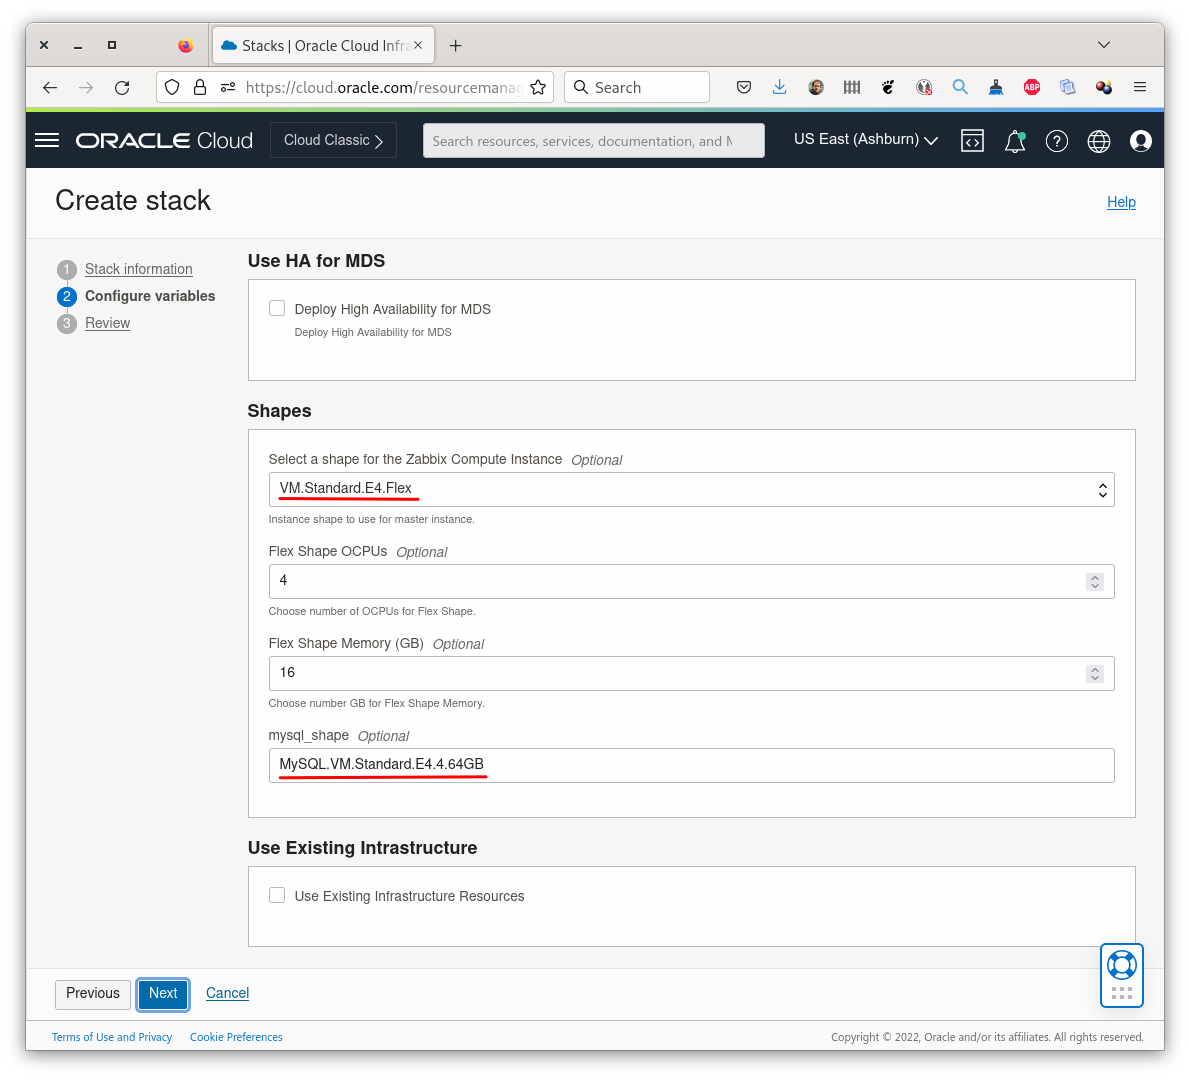
It’s also possible to directly enable HA and choose the Shapes for the Zabbix Server’s Compute Instance and the Shape of the MySQL HeatWave Instance:
When you have selected the required Shapes, you can click on Next, review the information and Apply the new Job:
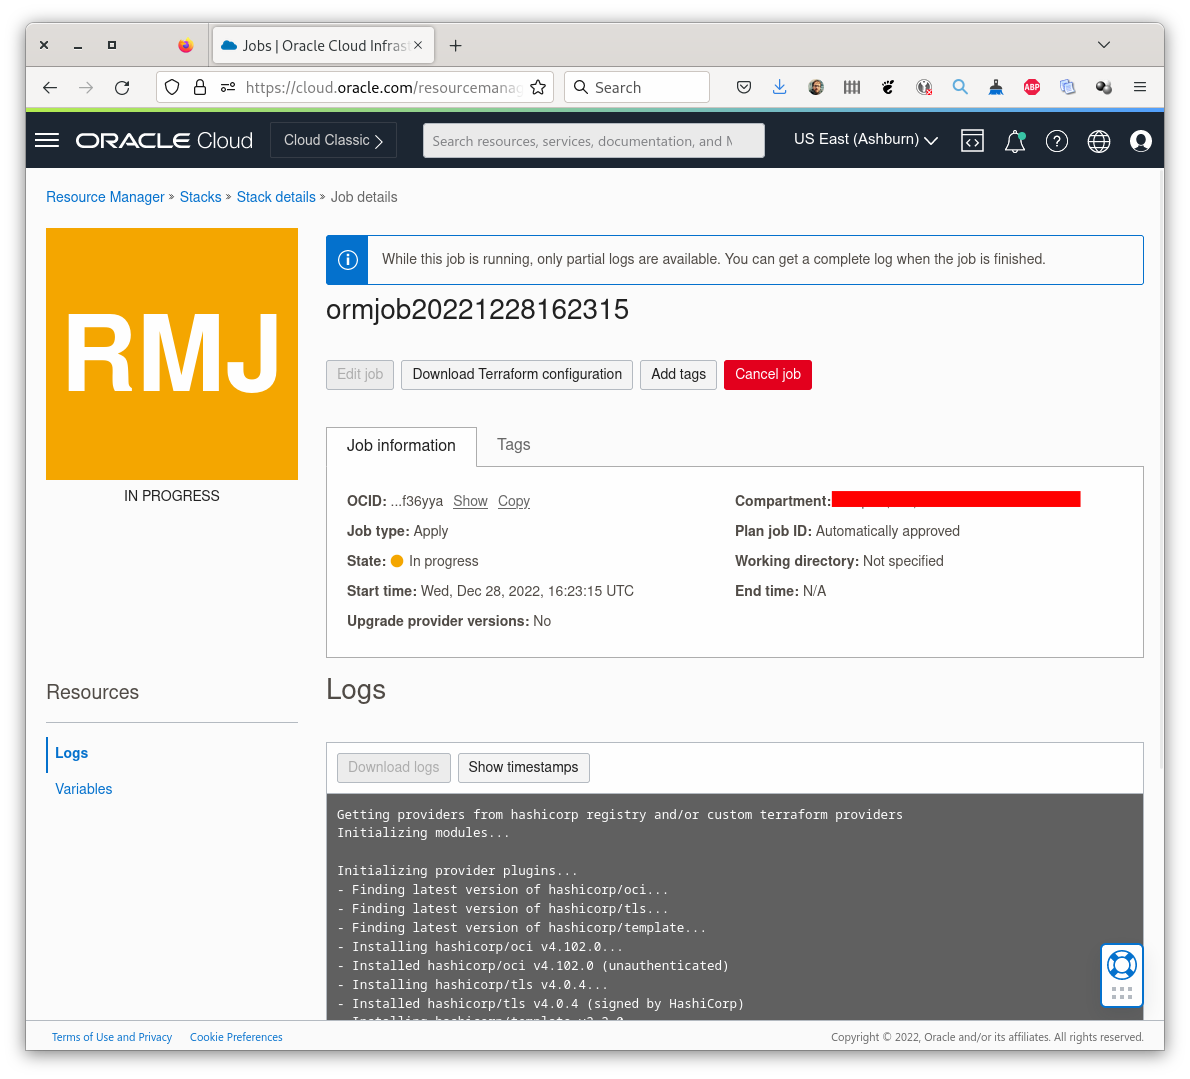
The Apply Job will start to deploy all necessary resources (VCN, Subnets, Gateways, Security Lists, Instances…):
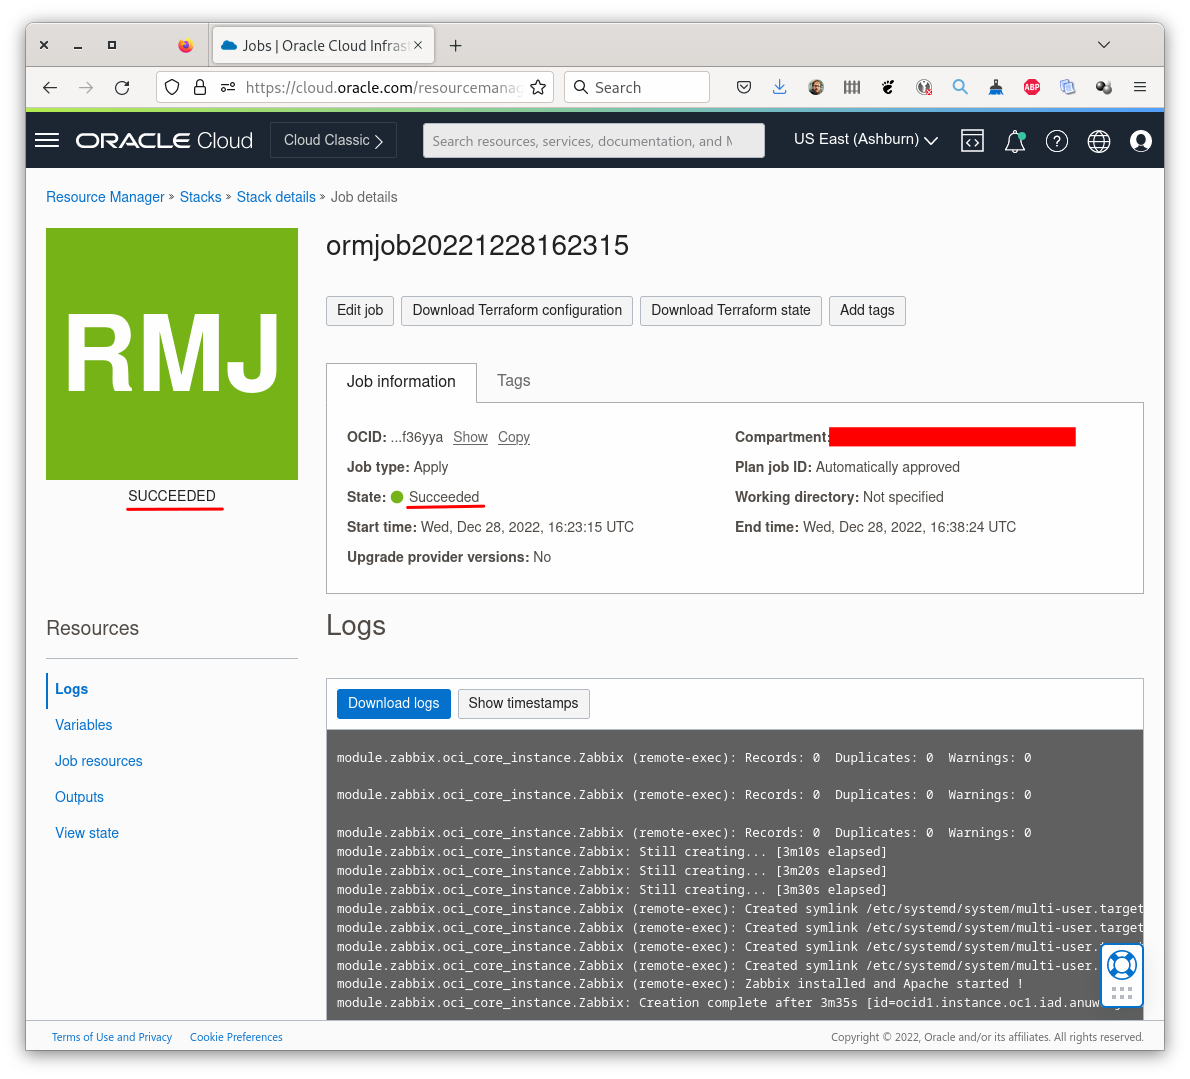
When finished, if there is no issue, the job will turn green:
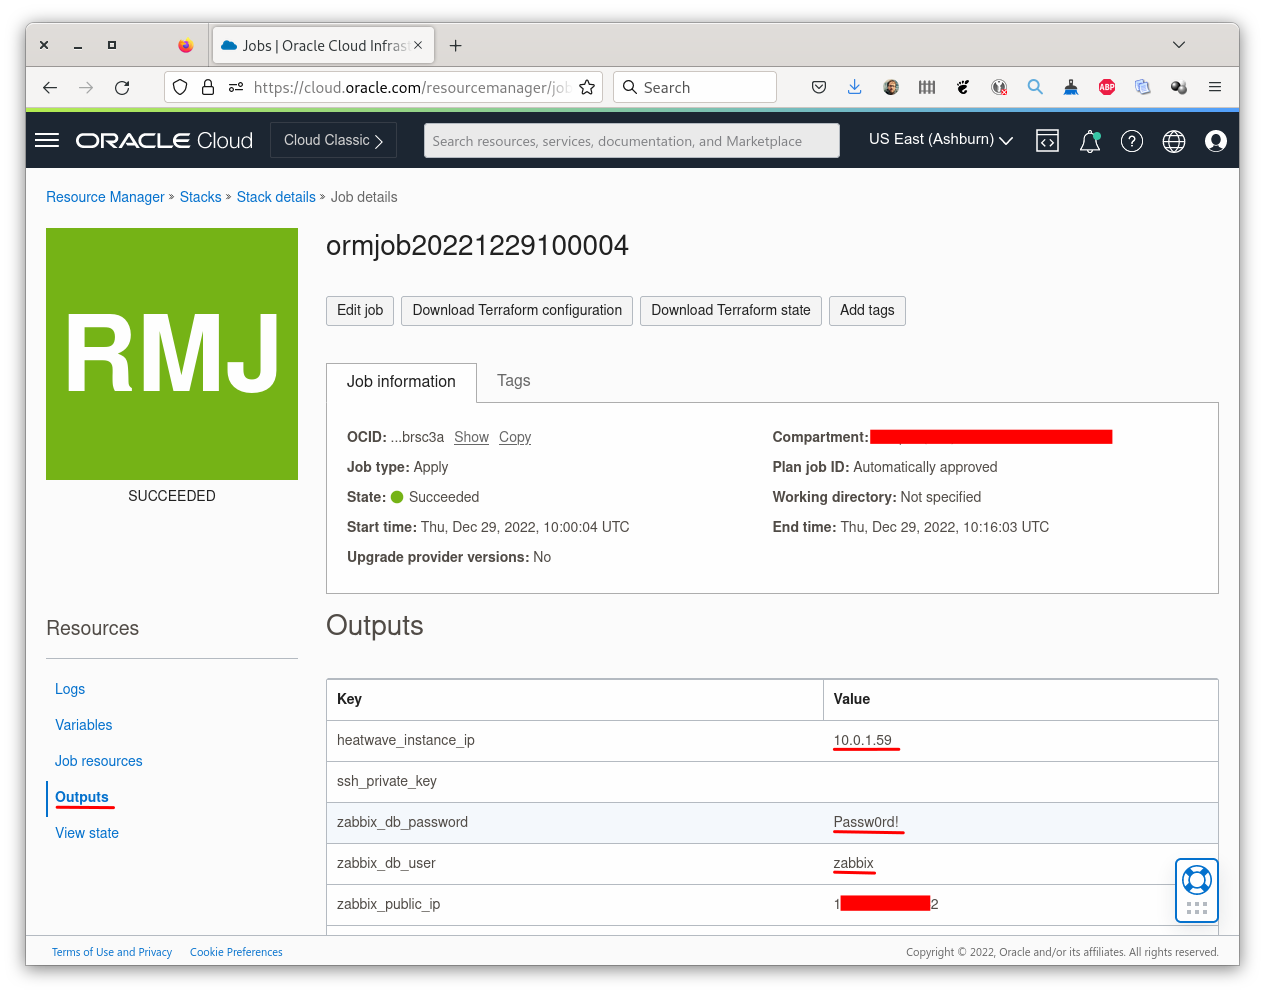
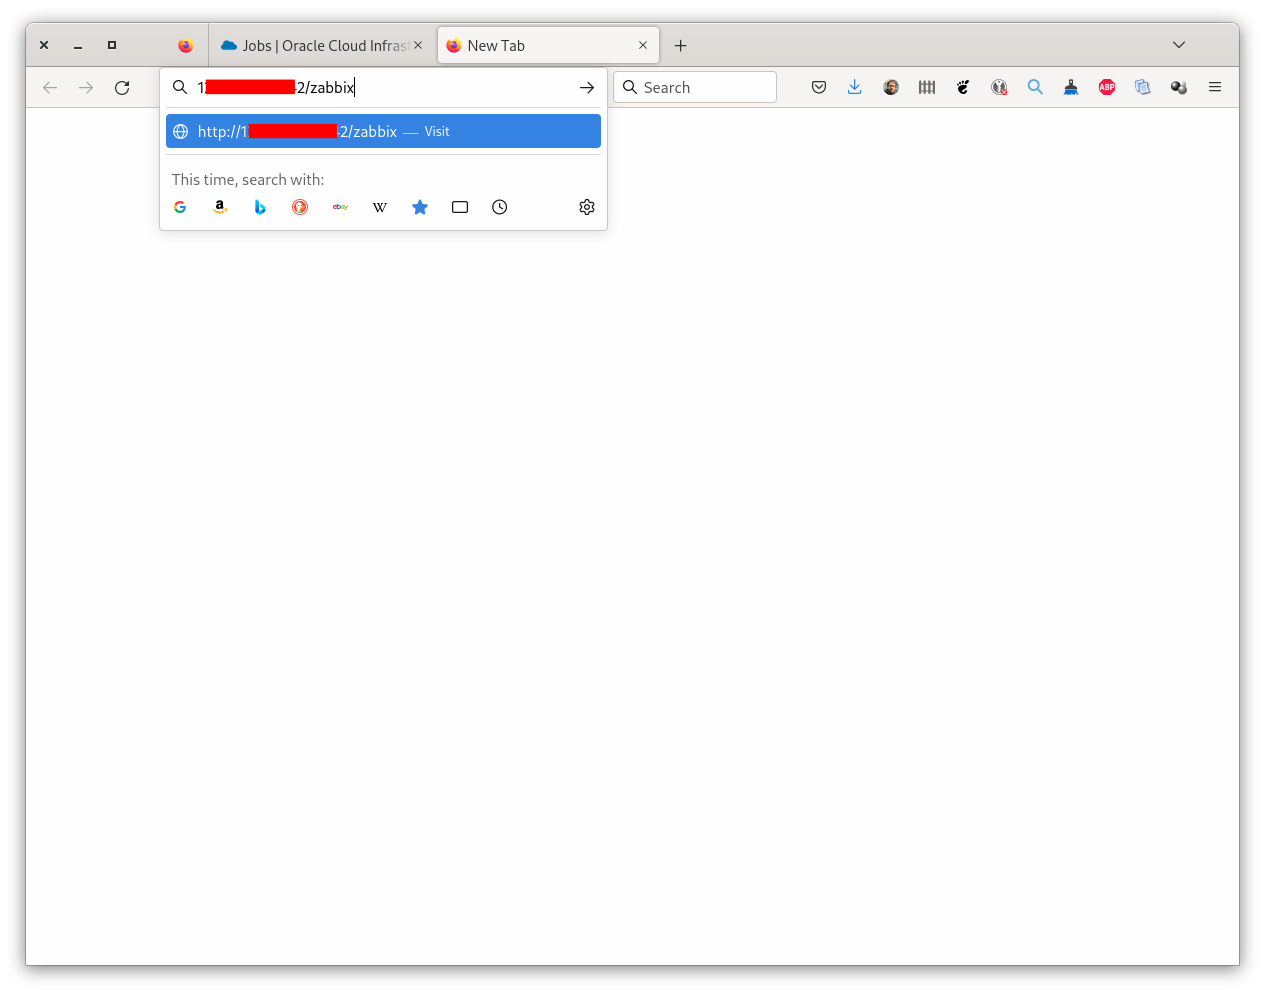
In the Outputs section you will find the public IP to use to connect to your Zabbix Server’s web console:
You can use that IP in your browser and add /zabbix:
You directly reach the login screen:
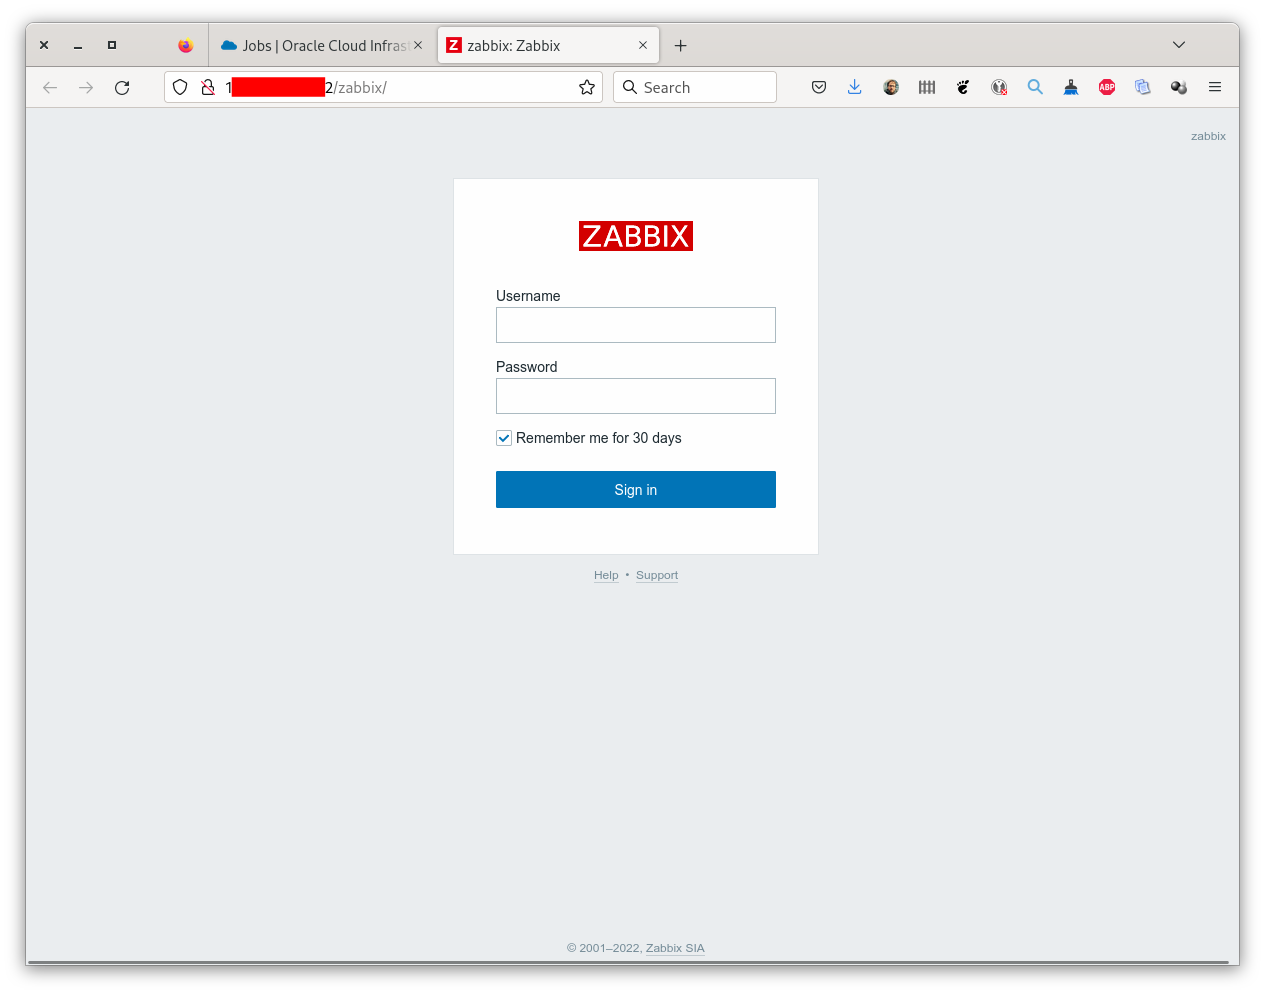
You need to use the default Zabbix credentials (and change the password after): Admin / zabbix.
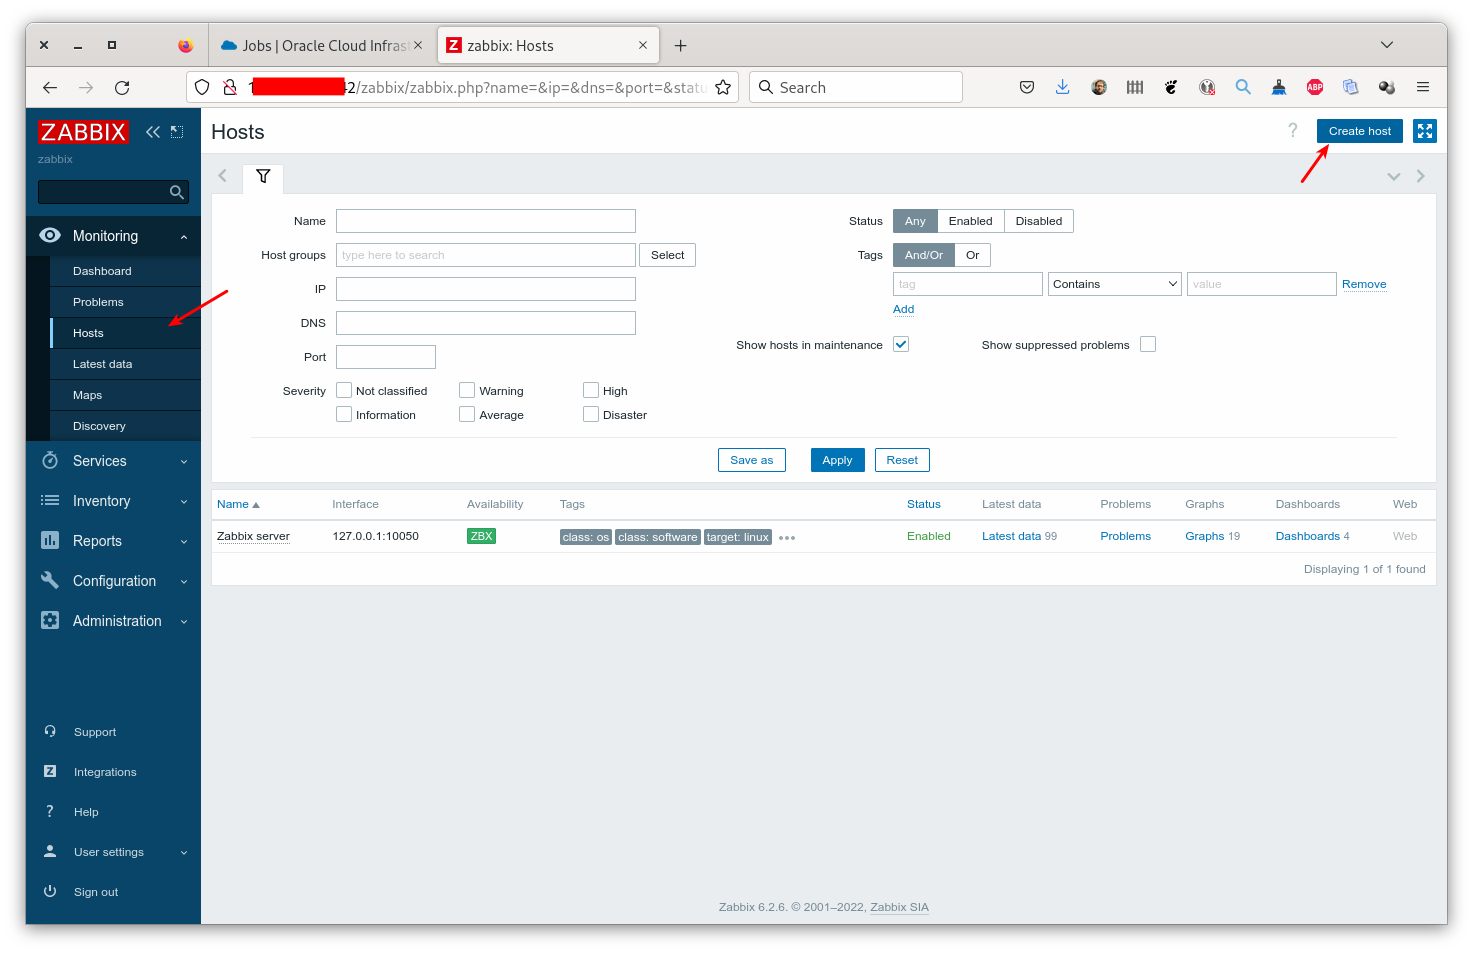
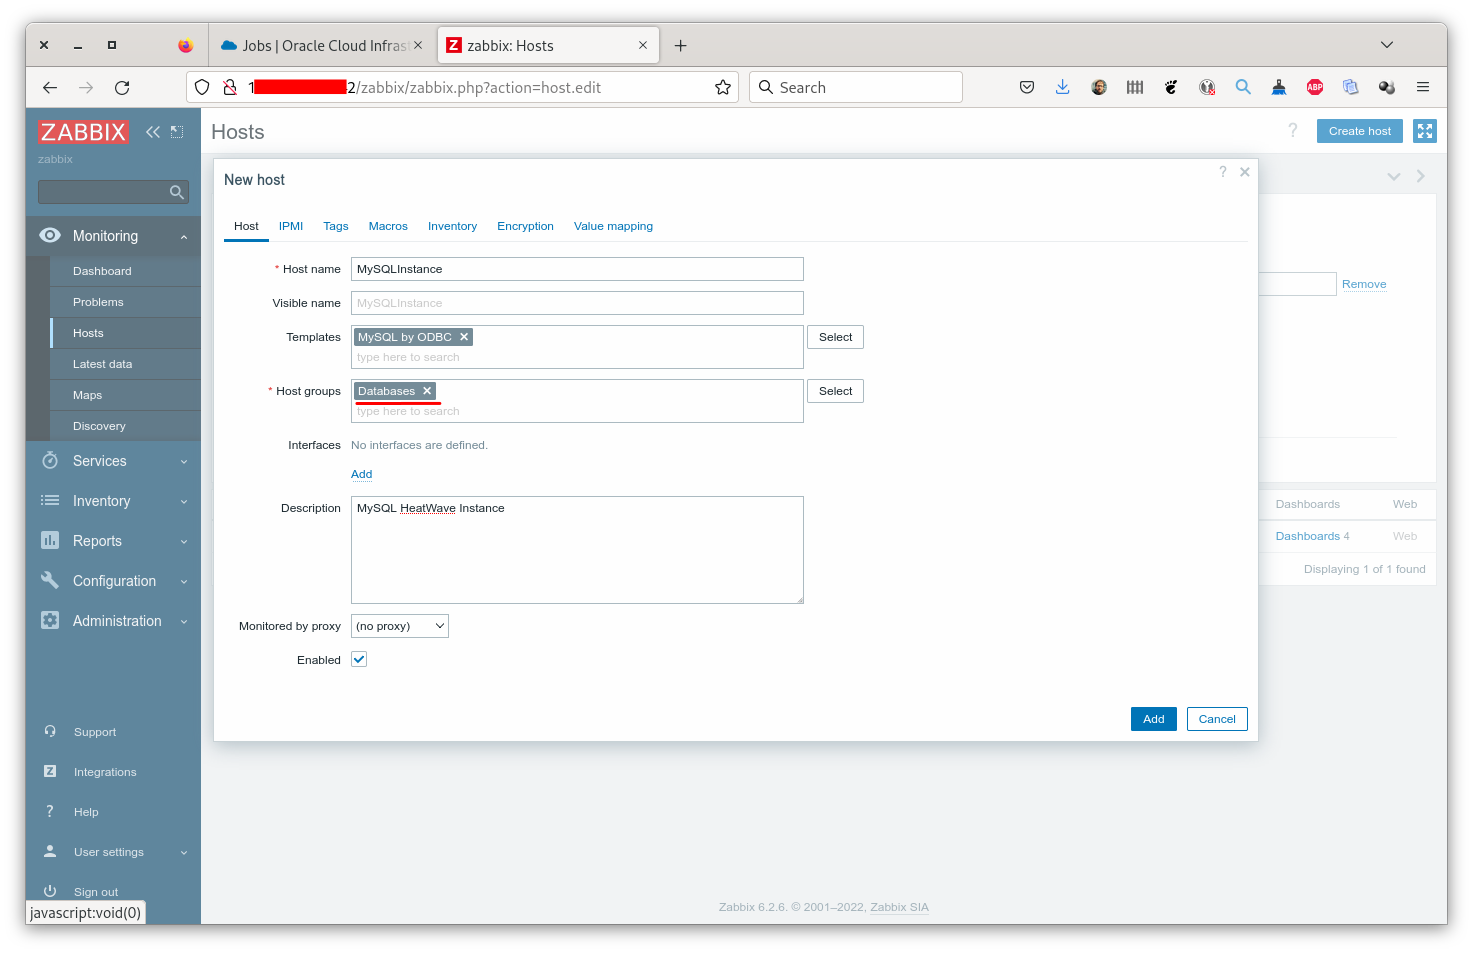
Then we will add the MySQL HeatWave Instance to the monitoring system:
We use the Templates/Databases template group and we select MySQL by ODBC:
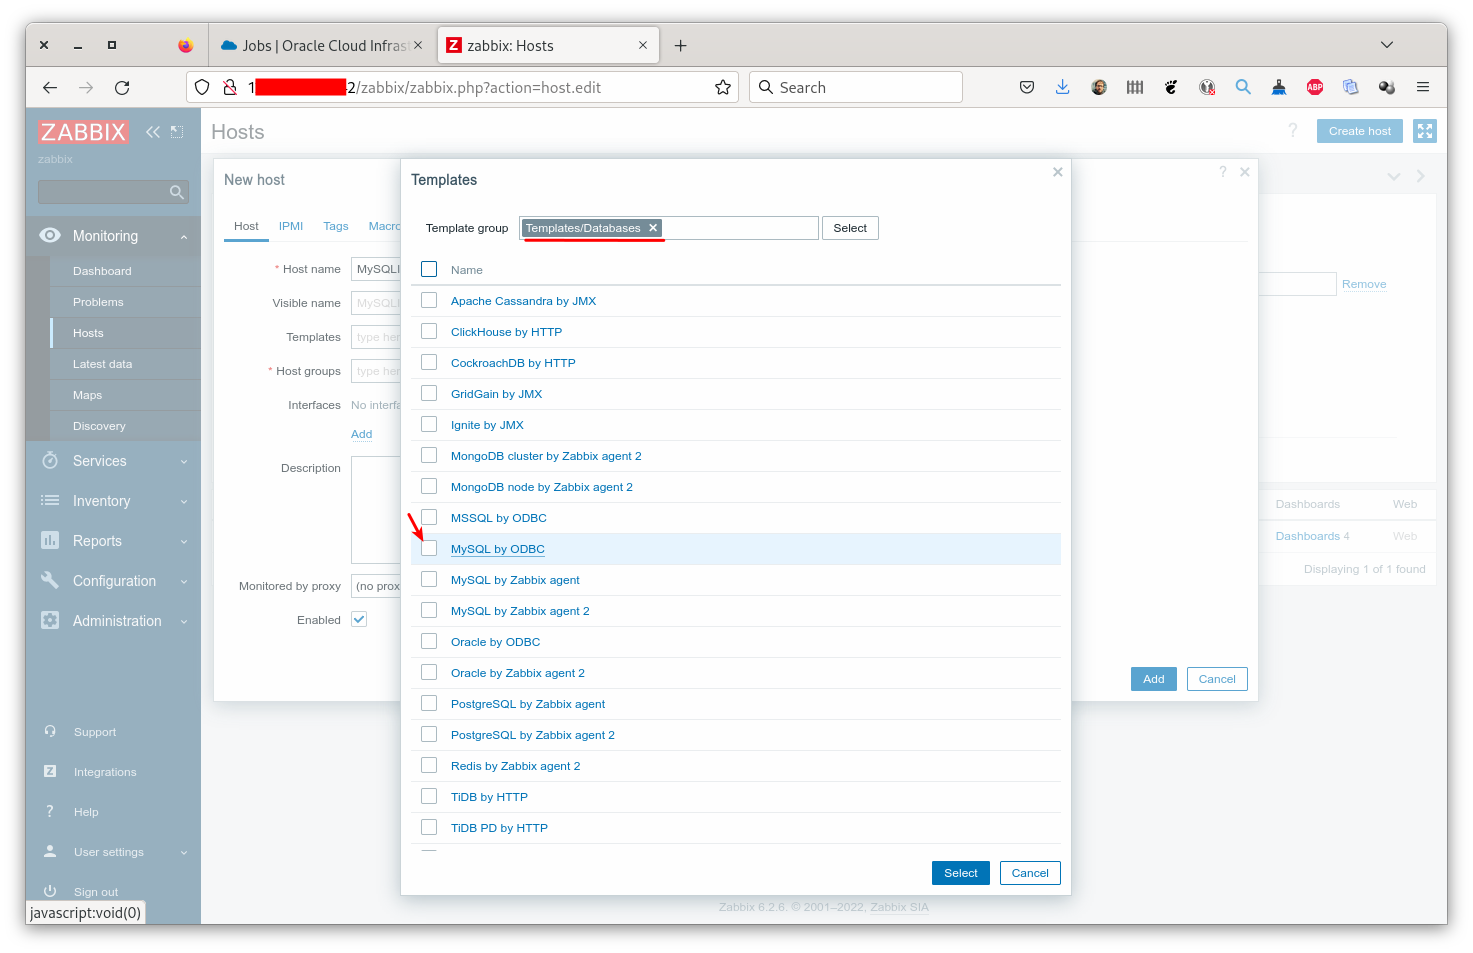
We add the Databases Host Group:
And finally we need to specify the macro we need to connect with the credentials:
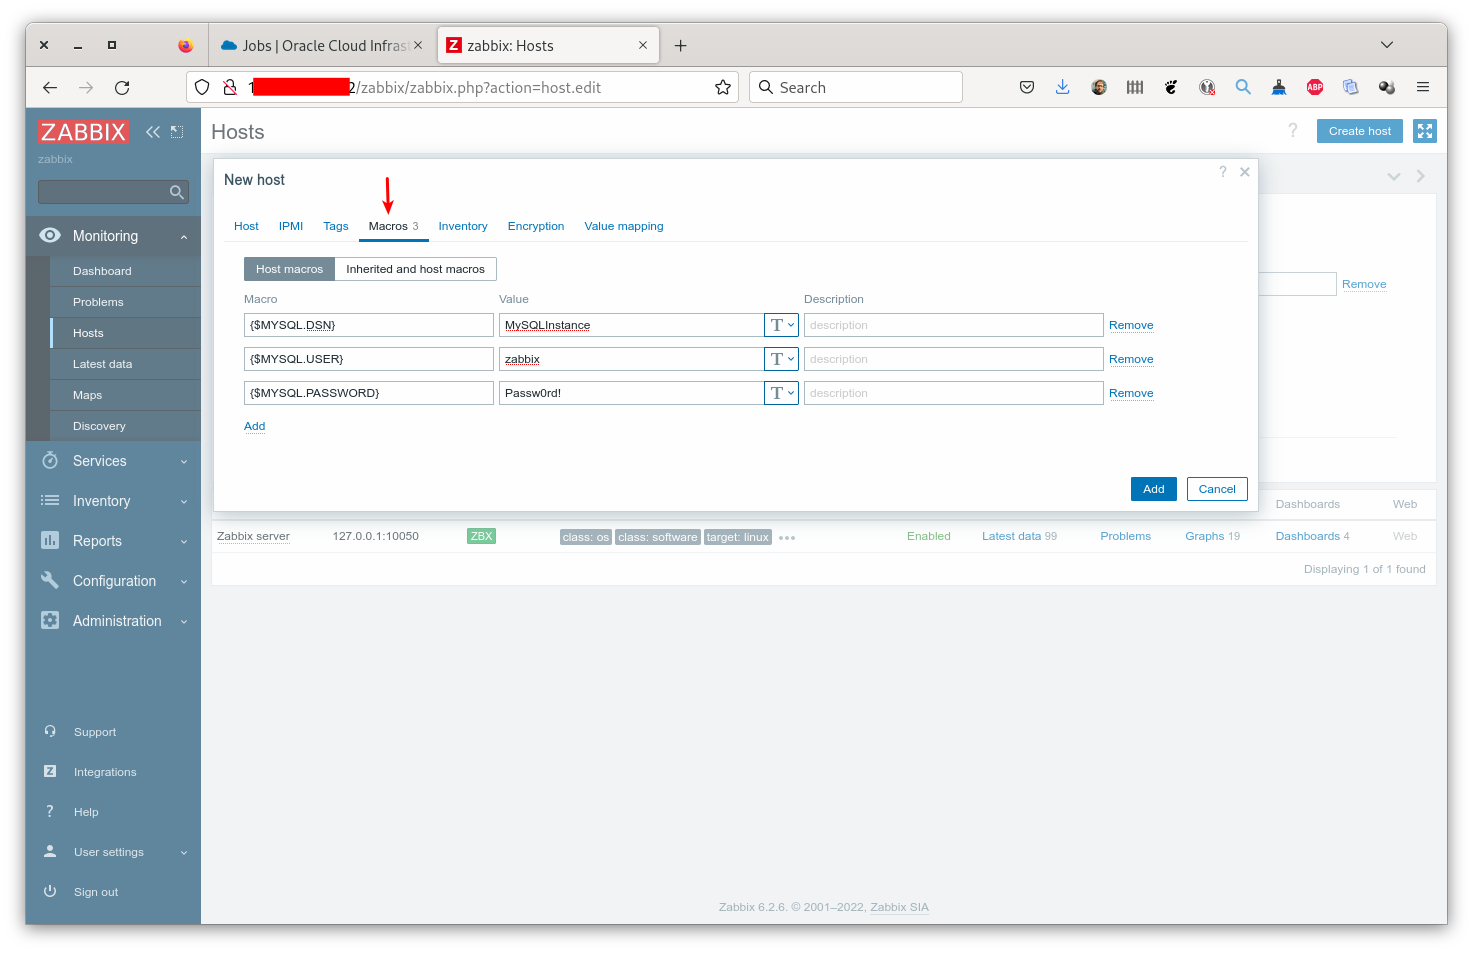
The MYSQL.DSN must be MySQLInstance, it has been configured with such name during the deployment process.
And we can Add the host. It’s now monitored by our Zabbix Server:
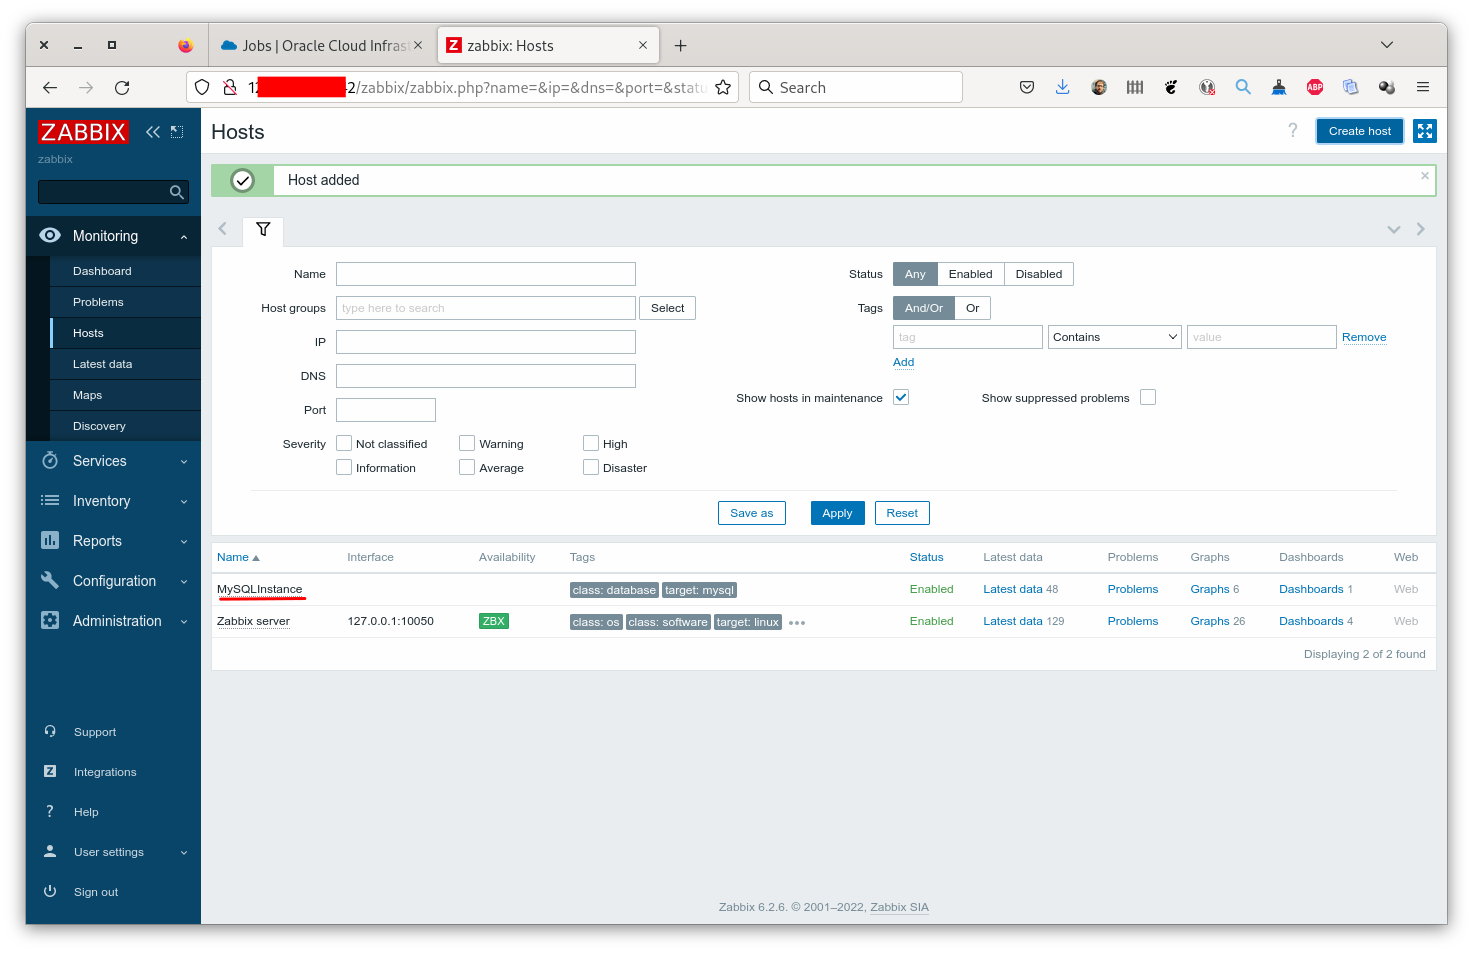
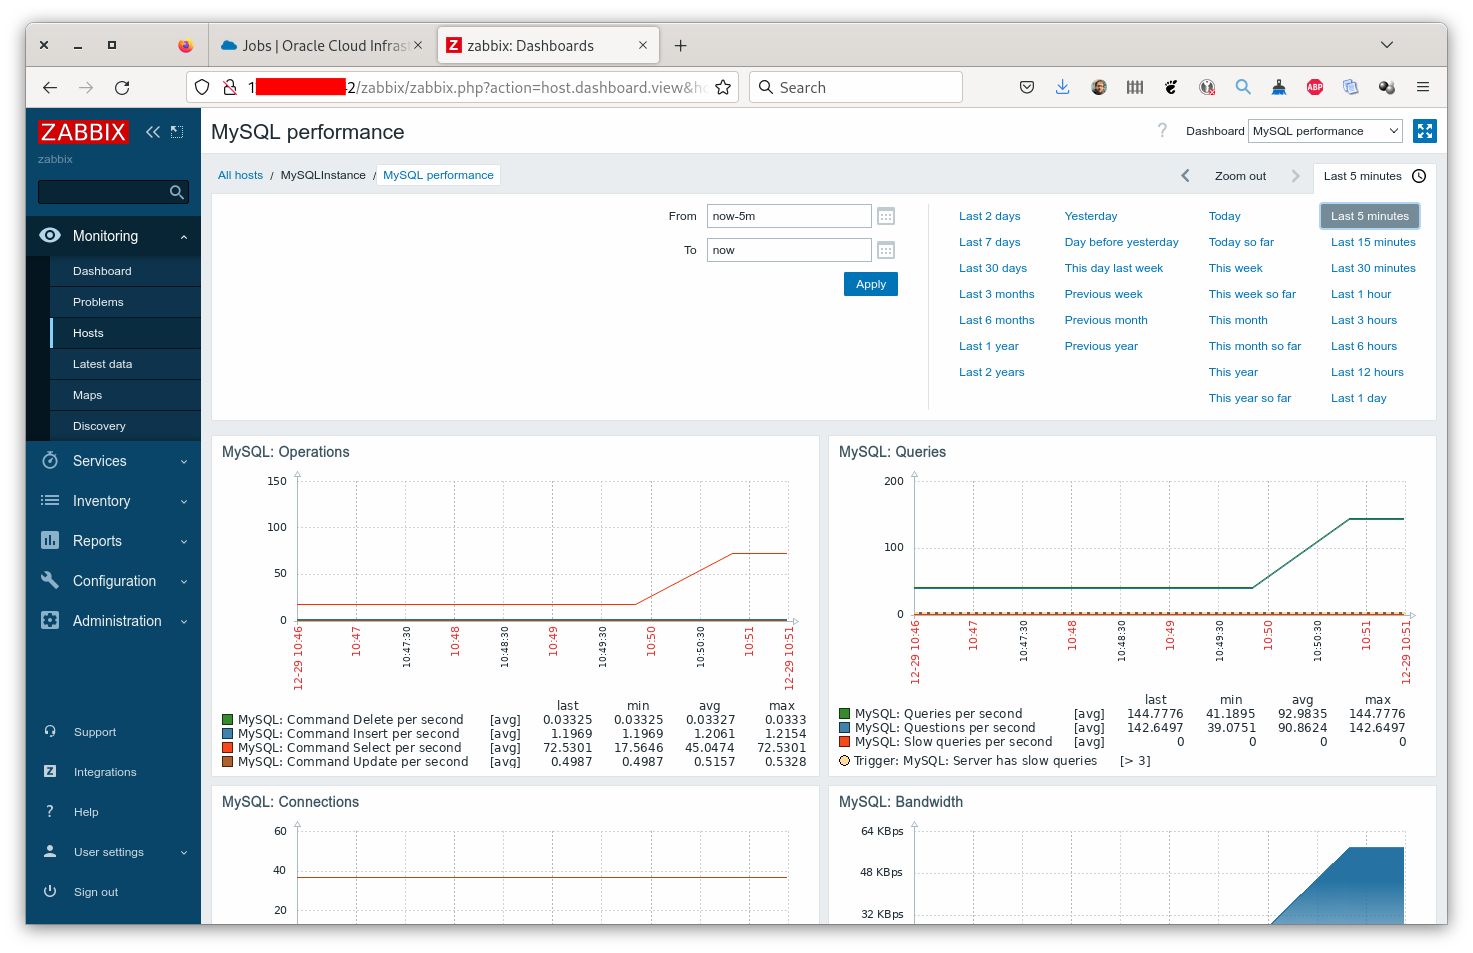
After a little moment, the data will be collected and available:
In conclusion, we have successfully demonstrated how to deploy and configure Zabbix on Oracle Cloud Infrastructure (OCI) with MySQL HeatWave Database Service using Resource Manager Stack.
You should now have a fully functional Zabbix monitoring system on OCI that is ready to monitor and alert on the health and performance of your infrastructure and applications.
Enjoy MySQL, MySQL HeatWave and… Zabbix !