In previous posts we already saw how to export data from PostgreSQL and AWS RedShift, and import it on MySQL Database Service in OCI using MySQL Shell importTable utility:
- How to import data from PostgreSQL to MySQL HeatWave Database Service
- How to import data from Amazon Redshift to MySQL HeatWave Database Service
Today, we will see how we can export some tables from AWS RDS Aurora PostgreSQL and import them on MySQL HeatWave Database Service.
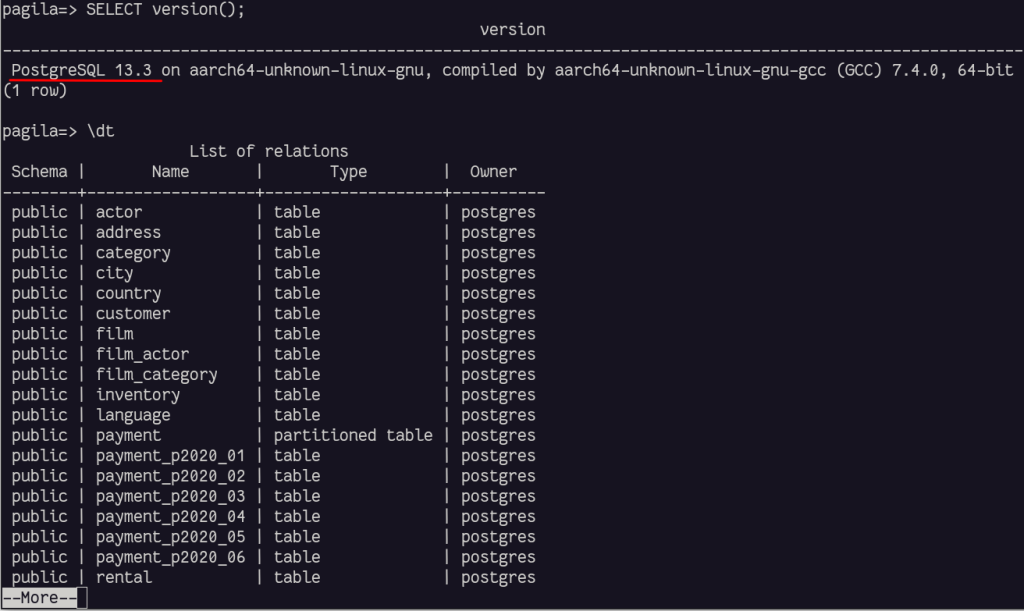
For this exercise, the data used is pagila, a port of the Sakila example database.
We will use S3 to export the data.
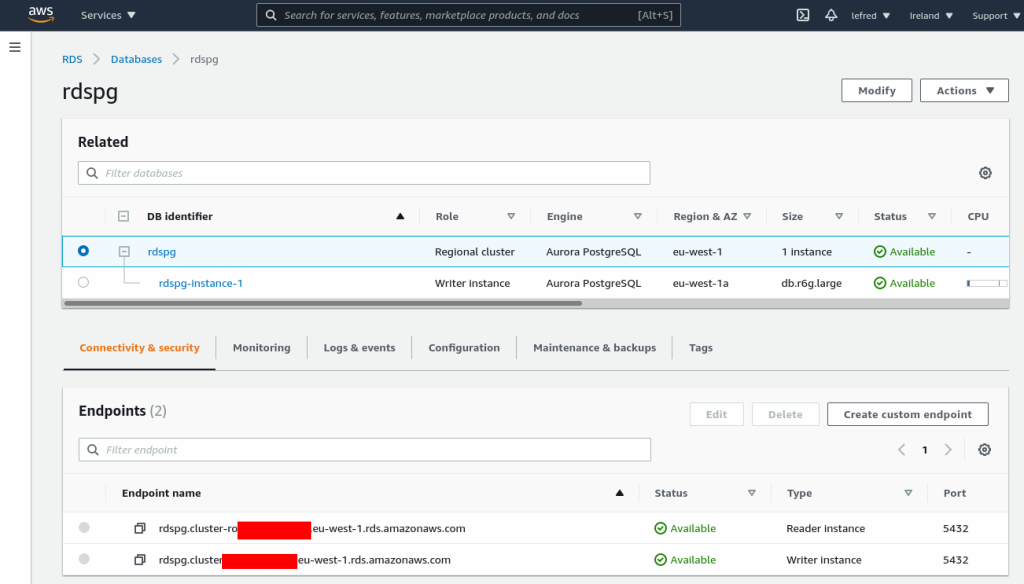
AWS Aurora PostgreSQL
The RDS Aurora PostgreSQL instance we are going to use is of course already running:
And the sample data is loaded:
Exporting to S3
RDS instances have the possibility to export directly to S3, a bit like RedShift, but it requires some manual steps.
The first on is to install an extension, aws_s3, in PostgreSQL:
pagila=> CREATE EXTENSION IF NOT EXISTS aws_s3 CASCADE;
NOTICE:  installing required extension "aws_commons"
CREATE EXTENSION
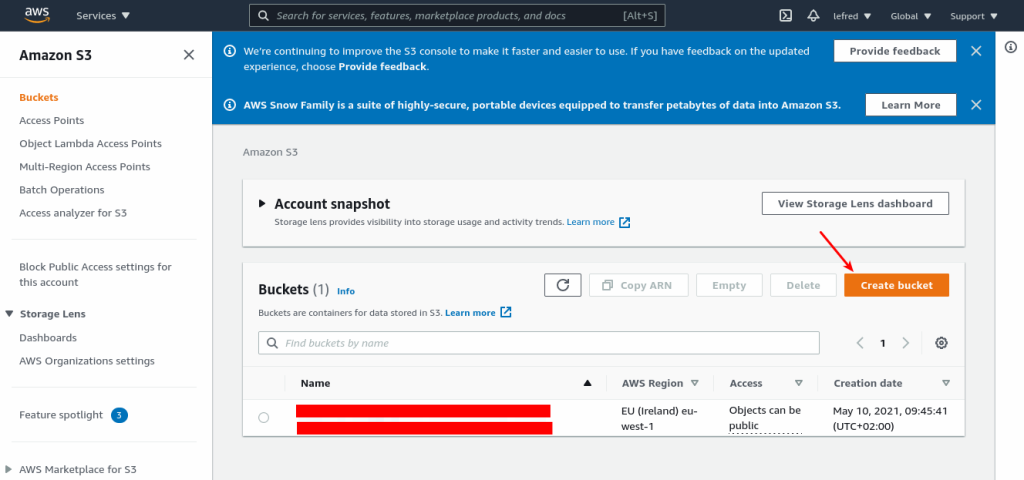
Then we need to create a S3 bucket in which we will store the data:

Permissions
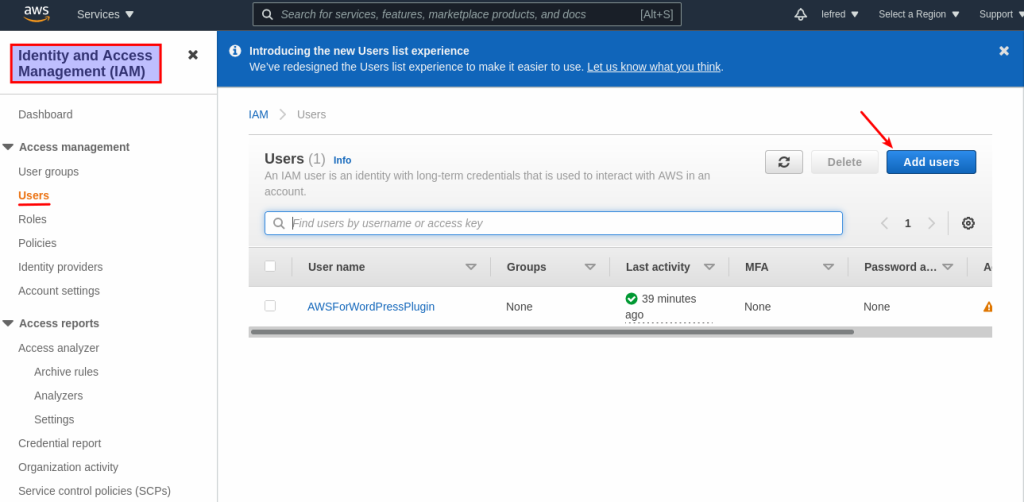
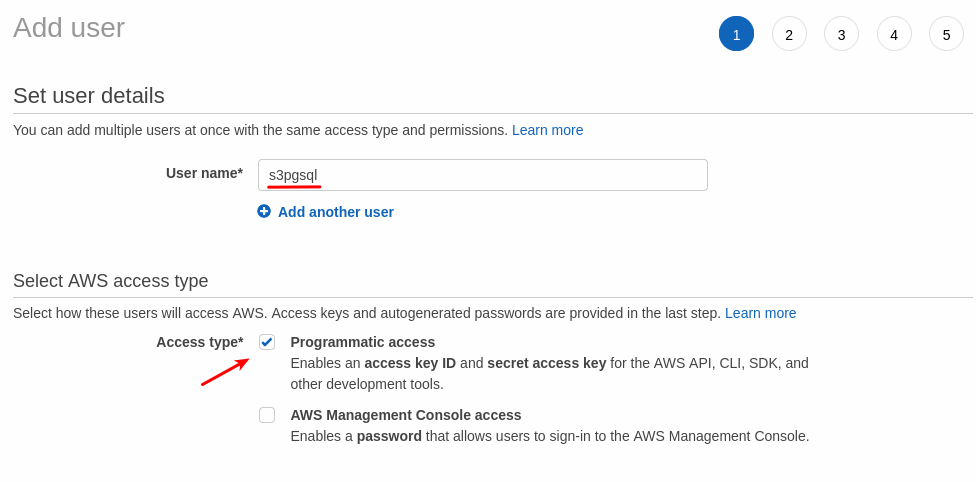
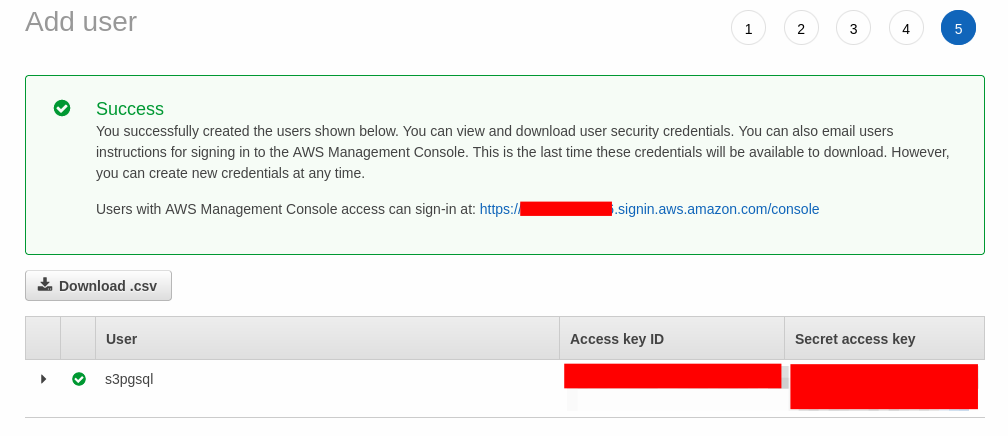
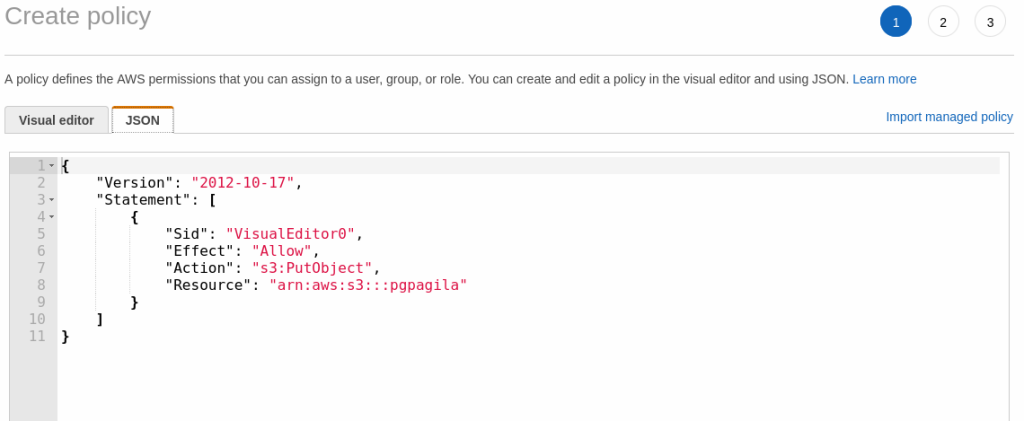
We also need to grant permissions to our PostgreSQL instance for writing to S3. To achieve that, we need to create a user and policy. This is maybe to most complicated part of this procedure:
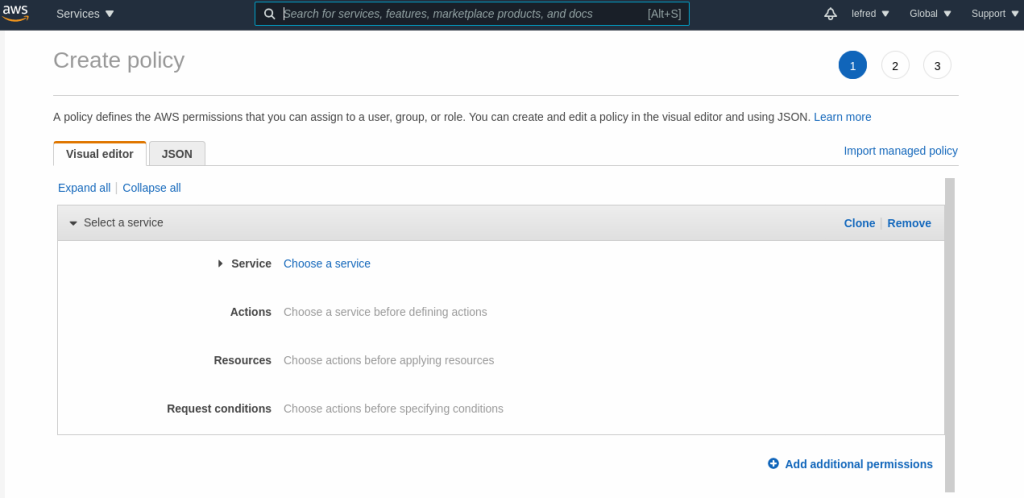
Now that the user is created, we can continue with the policy:
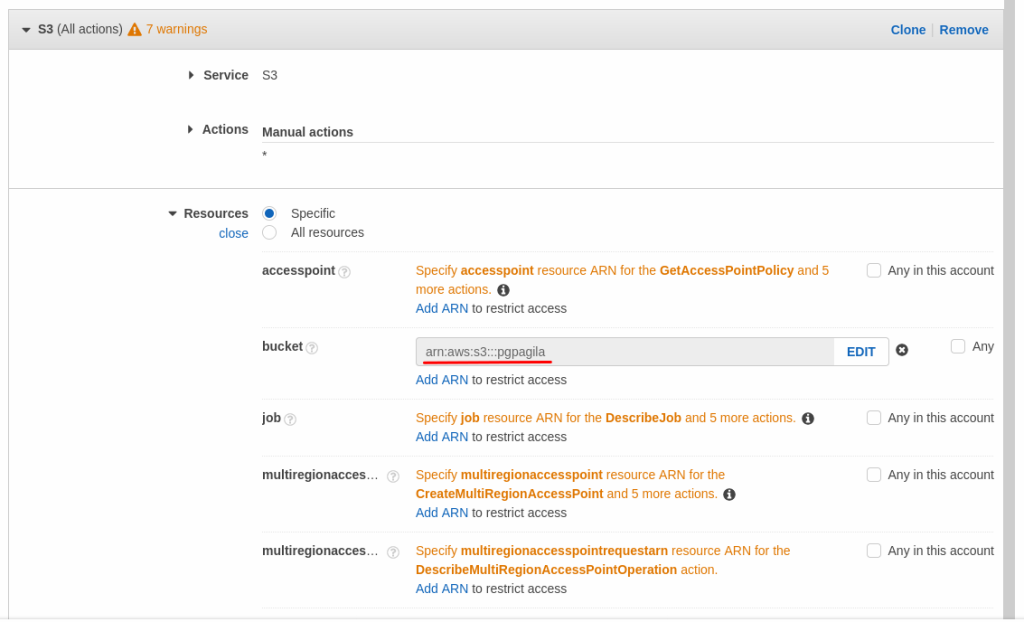
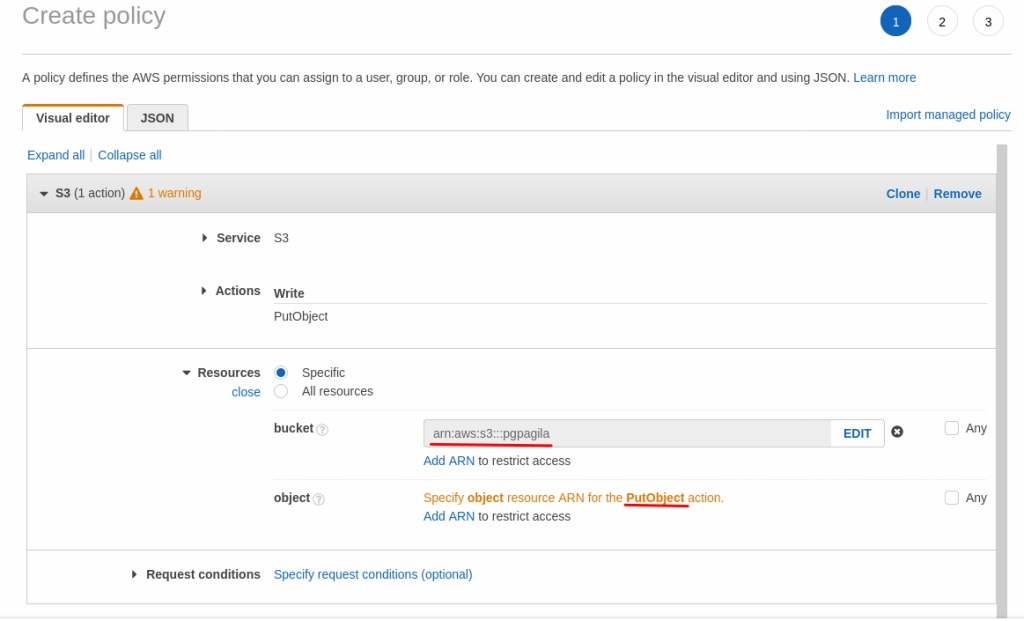
The JSON overview should be similar to this:
Finally, we need to create a role that we will assign later to the database instance:
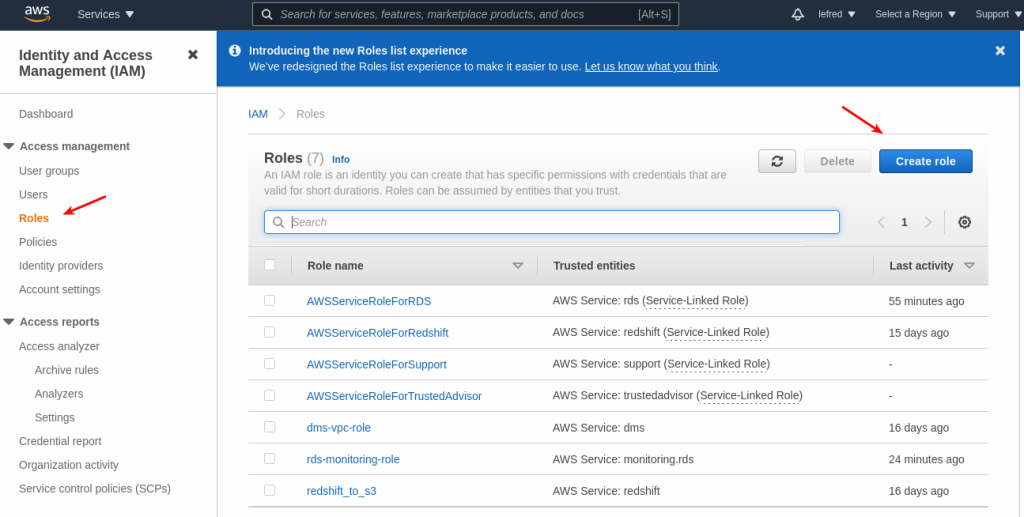
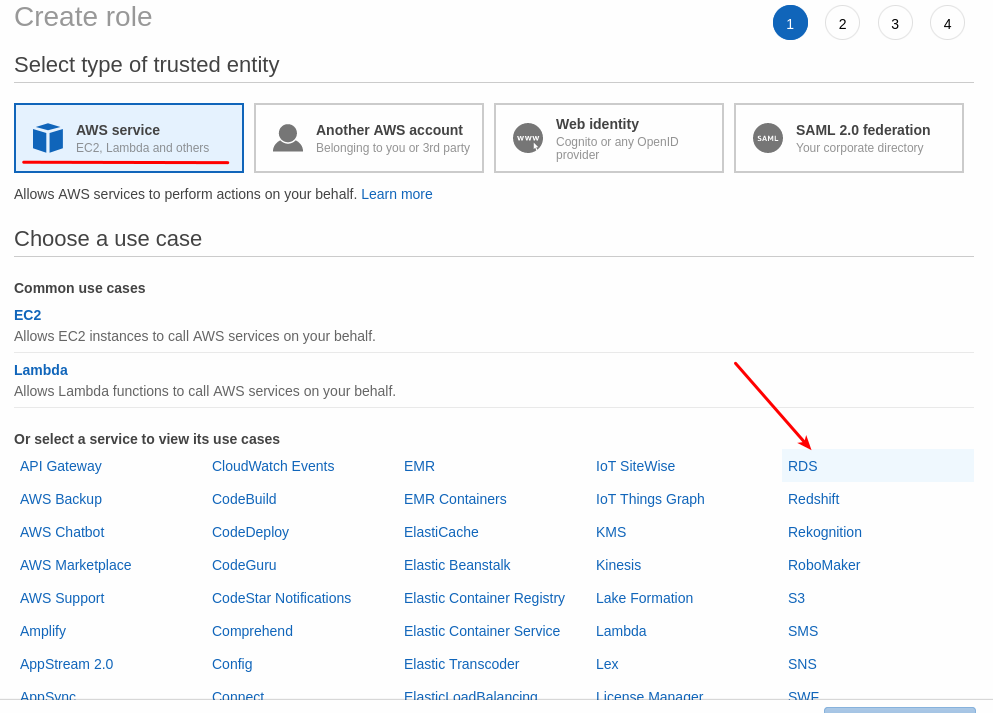
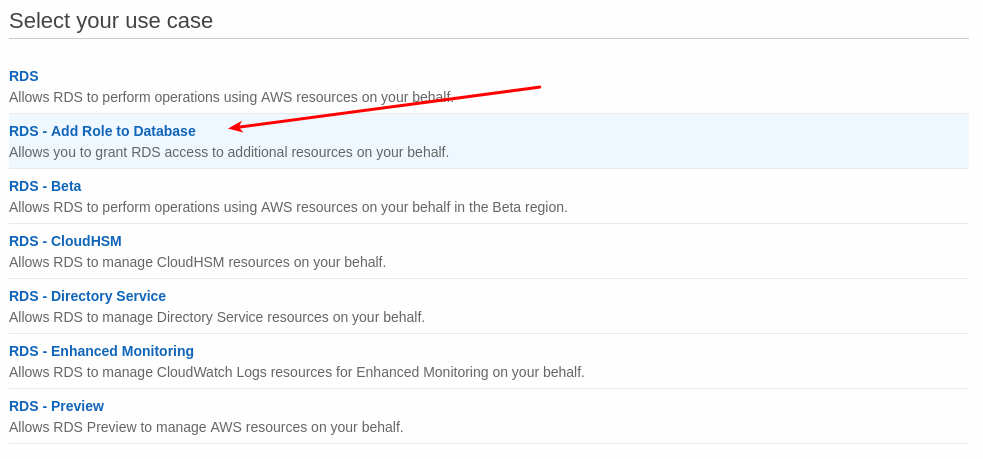
We assign the previously created policy:
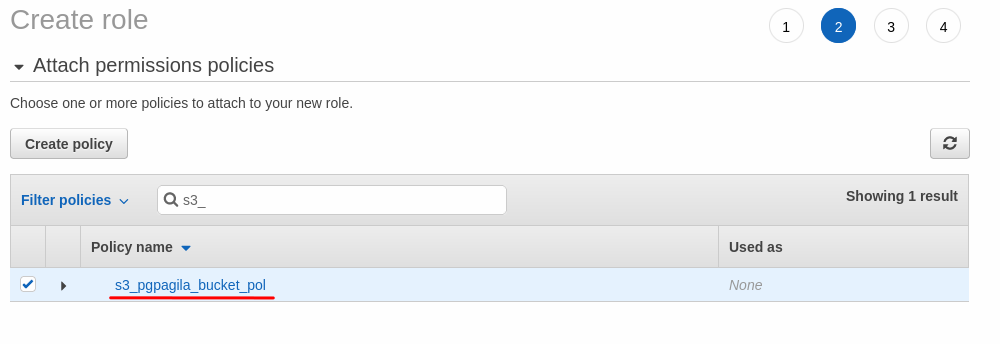
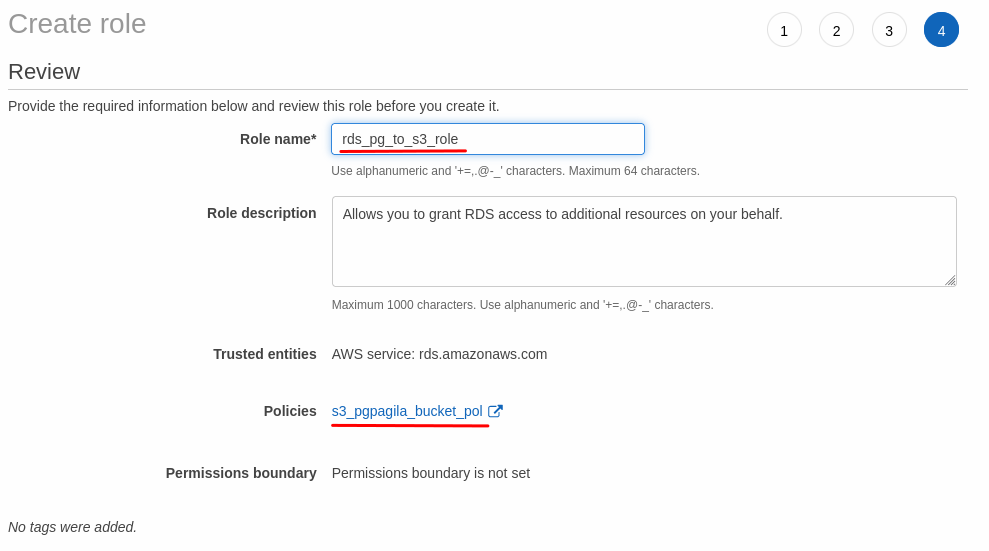
We should end-up with the following role:
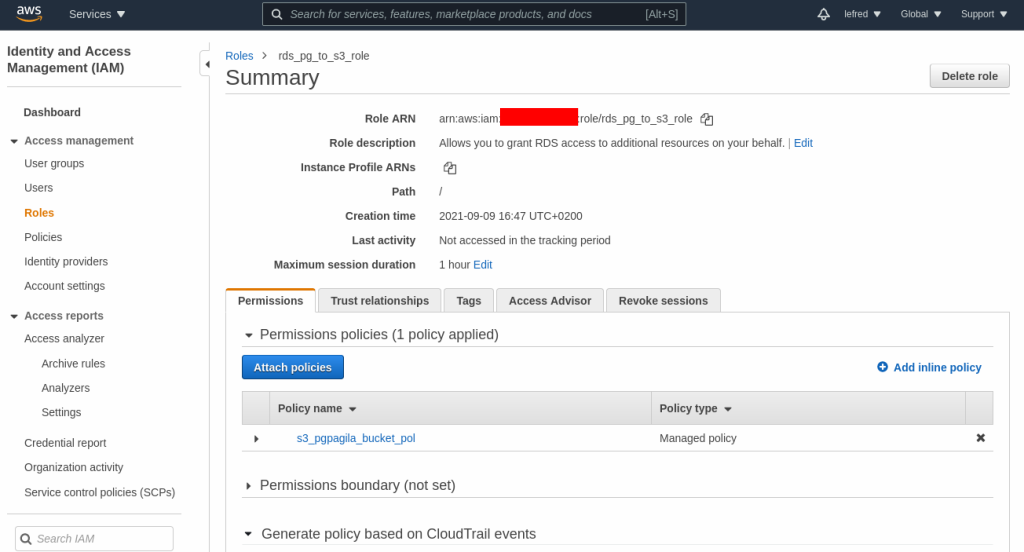
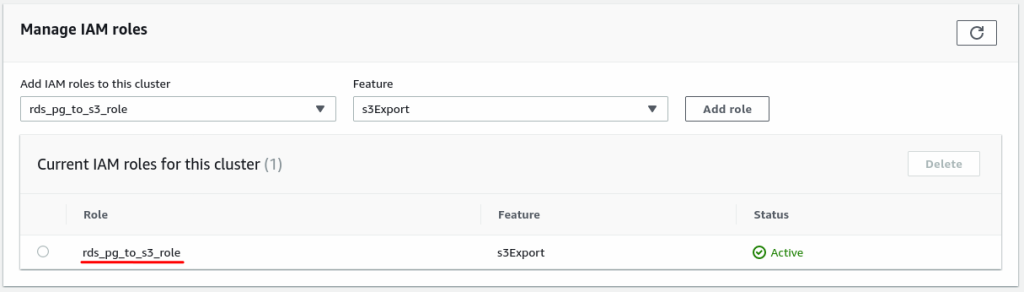
Let’s assign it to our Aurora PostgreSQL instance:
Export
We can now test the export, I don’t use a s3_uri as documented in AWS manual, as I will have to create one for each table (pgpagila is the bucket’s name):
pagila=> SELECT * FROM
         aws_s3.query_export_to_s3('select * from actor','pgpagila',
         'actor', 'eu-west-1', options :='format csv');
 rows_uploaded | files_uploaded | bytes_uploaded
---------------+----------------+----------------
           200 |              1 |           7999
(1 row)
pagila=> SELECT * from aws_s3.query_export_to_s3('select * from address',
         'pgpagila','address', 'eu-west-1', options :='format csv');
 rows_uploaded | files_uploaded | bytes_uploaded
---------------+----------------+----------------
           603 |              1 |          49798
(1 row)

pagila=> SELECT * from aws_s3.query_export_to_s3('select * from category',
         'pgpagila','category', 'eu-west-1', options :='format csv');
 rows_uploaded | files_uploaded | bytes_uploaded
---------------+----------------+----------------
            16 |              1 |            526
(1 row)
Let’s have a look in S3’s bucket:
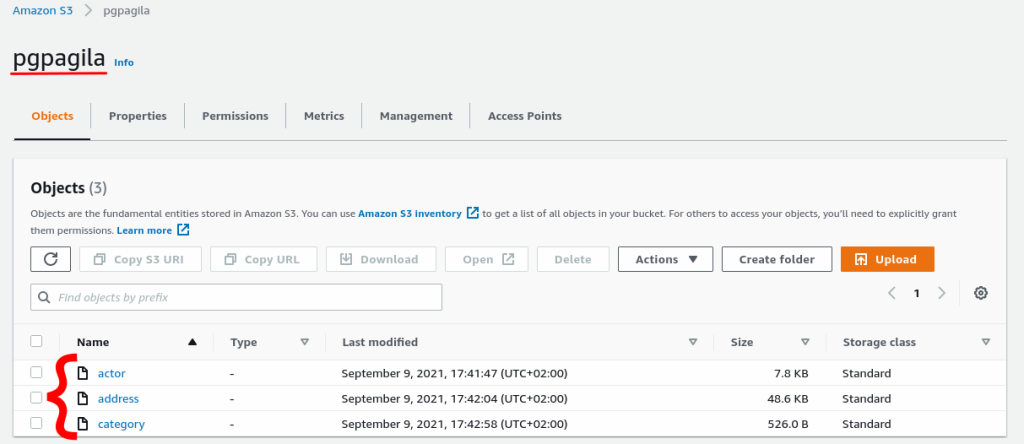
Perfect !
It’s possible to create a loop to export all the tables in a schema like this:
DO
$$
DECLARE
   rec   record;
BEGIN
   FOR rec IN
      SELECT tablename
      FROM   pg_tables
      WHERE  schemaname = 'public'
      ORDER  BY tablename
   LOOP
      EXECUTE format($sql$ SELECT * from  aws_s3.query_export_to_s3('select * from %I', 'pgpagila',  '%I'   , 'eu-west-1', options :='format csv') $sql$, rec.tablename, rec.tablename) ;
   END LOOP;
END
$$;
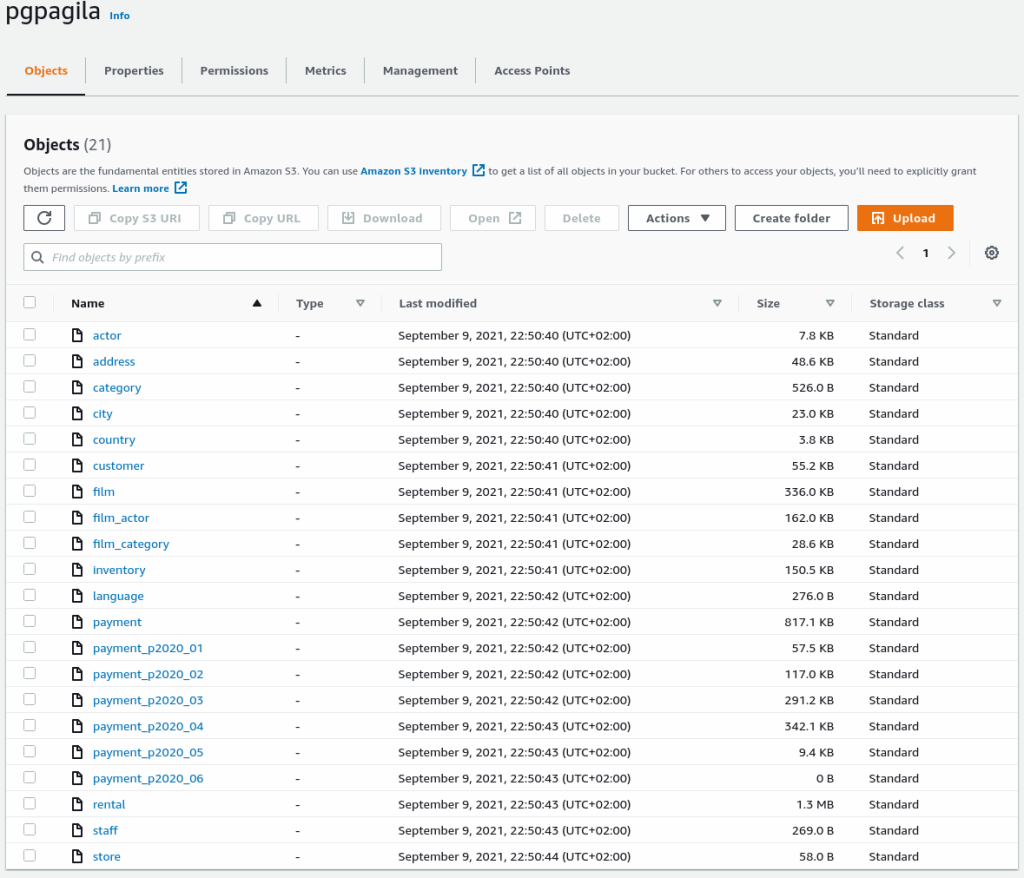
They are now all exported to S3:
Import to MySQL HeatWave Database Service
To import data to MySQL Database Service, the best option is to use a compute instance in the public subnet in OCI.
On that compute instance we need to install MySQL Shell and s3fs-fuse.
Now we need to mount the S3 bucket on the compute instance, the detailed procedure to install s3fs-fuse and the authentication keys is explained here.
[root@mysql-shell-lefred ~]# s3fs -d pgpagila /mnt/s3 \
                             -o passwd_file=~/.passwd-s3fs -o endpoint=eu-west-1
[root@mysql-shell-lefred ~]# ls -lh /mnt/s3/
total 3.7M
-rw-r-----. 1 root root 7.9K Sep  9 20:50 actor
-rw-r-----. 1 root root  49K Sep  9 20:50 address
-rw-r-----. 1 root root  526 Sep  9 20:50 category
-rw-r-----. 1 root root  24K Sep  9 20:50 city
-rw-r-----. 1 root root 3.9K Sep  9 20:50 country
-rw-r-----. 1 root root  56K Sep  9 20:50 customer
-rw-r-----. 1 root root 337K Sep  9 20:50 film
-rw-r-----. 1 root root 162K Sep  9 20:50 film_actor
-rw-r-----. 1 root root  29K Sep  9 20:50 film_category
-rw-r-----. 1 root root 151K Sep  9 20:50 inventory
-rw-r-----. 1 root root  276 Sep  9 20:50 language
-rw-r-----. 1 root root 818K Sep  9 20:50 payment
-rw-r-----. 1 root root  58K Sep  9 20:50 payment_p2020_01
-rw-r-----. 1 root root 117K Sep  9 20:50 payment_p2020_02
-rw-r-----. 1 root root 292K Sep  9 20:50 payment_p2020_03
-rw-r-----. 1 root root 343K Sep  9 20:50 payment_p2020_04
-rw-r-----. 1 root root 9.4K Sep  9 20:50 payment_p2020_05
-rw-r-----. 1 root root    0 Sep  9 20:50 payment_p2020_06
-rw-r-----. 1 root root 1.3M Sep  9 20:50 rental
-rw-r-----. 1 root root  269 Sep  9 20:50 staff
-rw-r-----. 1 root root   58 Sep  9 20:50 store
We now have access to all our exported tables.
Data Structure
We still need to create the schema (database) in MySQL and create all the tables we want to import.
The tables definition can be retrieved using pg_dump -st <table_name> schema.
Most of the time the definition must be modified to be compatible with MySQL, this is the work of the DBA to make this mapping. The PosrgreSQL Type Mapping from the manual can help.
I’ve also tried to use something like sqlines, online and in command line but the result was not conclusive:

For example the rental table can be rewritten like this:
-- ORIGINAL - POSTGRESQL
CREATE TABLE public.rental (
    rental_id integer DEFAULT nextval('public.rental_rental_id_seq'::regclass)
                      NOT NULL,
    rental_date timestamp with time zone NOT NULL,
    inventory_id integer NOT NULL,
    customer_id integer NOT NULL,
    return_date timestamp with time zone,
    staff_id integer NOT NULL,
    last_update timestamp with time zone DEFAULT now() NOT NULL
);

-- REWRITTEN - MySQL
CREATE TABLE rental (
    rental_id integer auto_increment NOT NULL primary key,
    rental_date timestamp  NOT NULL,
    inventory_id integer NOT NULL,
    customer_id integer NOT NULL,
    return_date timestamp ,
    staff_id integer NOT NULL,
    last_update timestamp DEFAULT now() NOT NULL
);
Once you have rewritten the create statements to be compatible with MySQL, it’s time to create the schema and the tables:
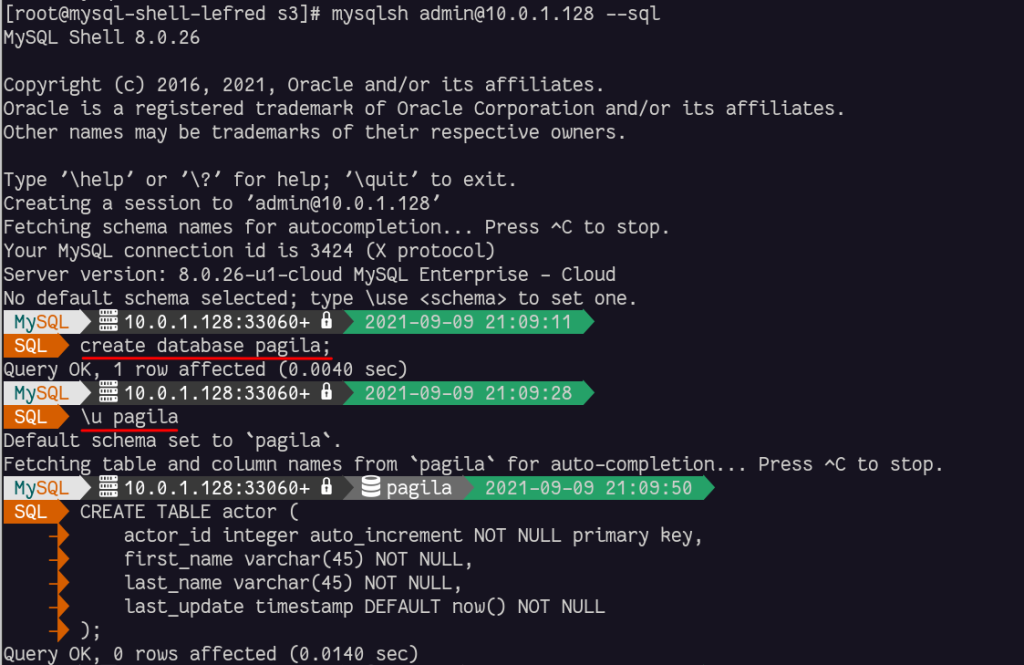
Let’s try to import the data in this table (MySQL Classic Protocol needs to be used, port 3306):

There are several warnings related to the timestamp column. If we verify in the imported table we will see that all records have 0000-00-00 00:00:00:
+----------+-------------+--------------+---------------------+
| actor_id | first_name  | last_name    | last_update         |
+----------+-------------+--------------+---------------------+
|        1 | PENELOPE    | GUINESS      | 0000-00-00 00:00:00 |
|        2 | NICK        | WAHLBERG     | 0000-00-00 00:00:00 |
|        3 | ED          | CHASE        | 0000-00-00 00:00:00 |
|        4 | JENNIFER    | DAVIS        | 0000-00-00 00:00:00 |
...
This is because the output date in PostgreSQL contains the timezone’s offset:
[root@mysql-shell-lefred s3]# head -n 5 actor
1,PENELOPE,GUINESS,2020-02-15 09:34:33+00
2,NICK,WAHLBERG,2020-02-15 09:34:33+00
3,ED,CHASE,2020-02-15 09:34:33+00
4,JENNIFER,DAVIS,2020-02-15 09:34:33+00
5,JOHNNY,LOLLOBRIGIDA,2020-02-15 09:34:33+00
Since 8.0.19, MySQL has the possibility to deal with the timezone offset, but the supported format is +00:00.
So we need to prepare the data to match that format too:
[root@mysql-shell-lefred s3]# sed -i 's/$/:00/' actor
[root@mysql-shell-lefred s3]# head -n1 actor
1,PENELOPE,GUINESS,2020-02-15 09:34:33+00:00
2,NICK,WAHLBERG,2020-02-15 09:34:33+00:00
We can try again:
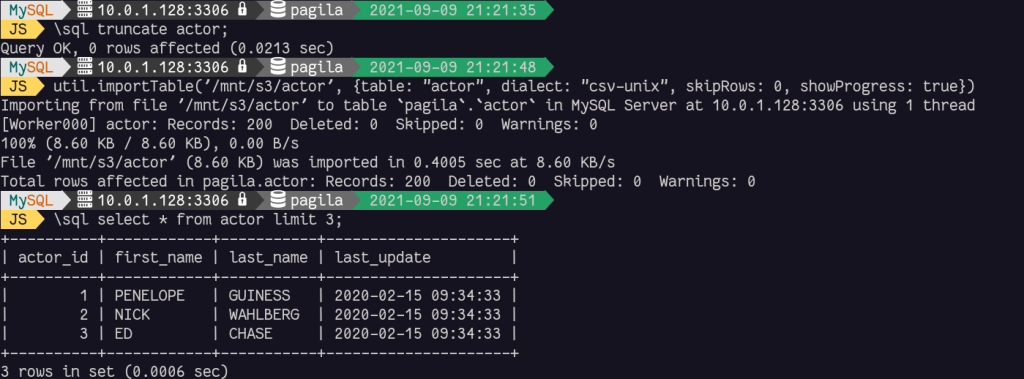
All good !
Conclusion
MySQL Shell importTable utility is the best tool to import tables in MySQL HeatWave Database Service but of course some preparation is required when you migrate from one RDBMS to another one.
For more migration resources, check out the step-by-step guides available for free through our MySQL HeatWave Migration Program.
Enjoy MySQL and MySQL HeatWave Database Service in OCI !