Drupal is a popular open-source content management system (CMS) that is used by businesses, governments, and organizations around the world to build and manage websites. It is known for its flexibility, scalability, and security features.
On 14th December, Drupal launched the latest upgrade to its popular software.
In this article, we will guide you through the process of deploying Drupal 10 on Oracle Cloud Infrastructure (OCI) using MySQL HeatWave Database Service. We will use Oracle Rescource Manager Stack (Terraform) to automate the process of creating and provisioning the necessary OCI resources, including a compute instance for the web server, a MySQL database and a public IP address.
By following this tutorial, you will learn how to easily and quickly set up a Drupal 10 website on OCI, taking advantage of the scalability and reliability of Oracle Cloud Infrastructure.
The first think to do it to click on the following button that will access the OCI console, and once connected, will automatically redirect you to Resource Manager and load the stack:
The source of the stack is available on GitHub.
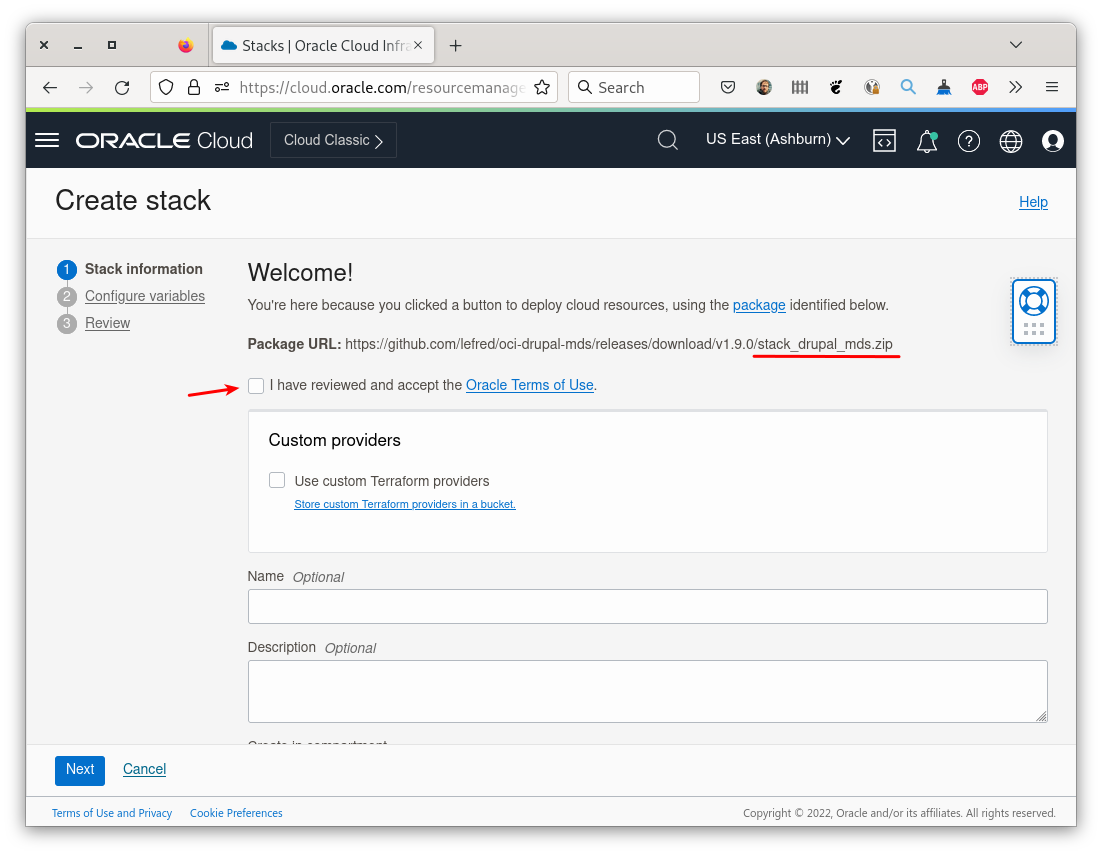
Once we review and accept the Oracle Terms of Use, the modules are loaded:
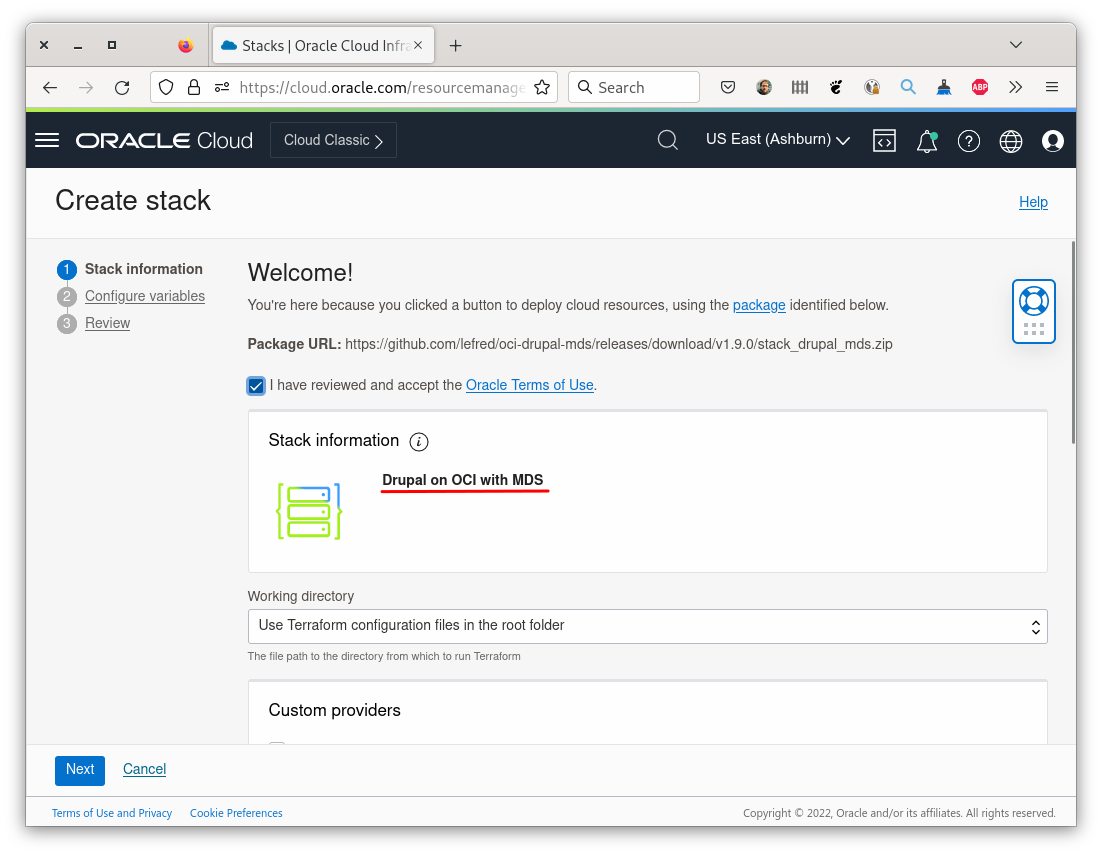
Then, we need to set the variables, like the passwords, name of the user, name of the instances… these are already pre-filled:

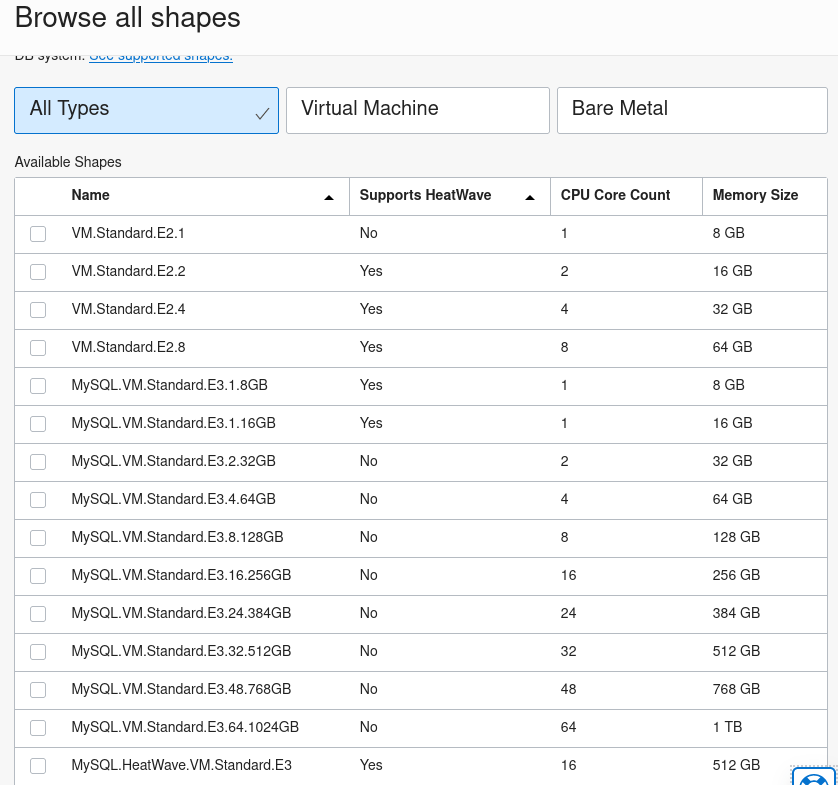
We also need to choose the shapes for the compute instance that is acting as web server and the MySQL HeatWave Instance:
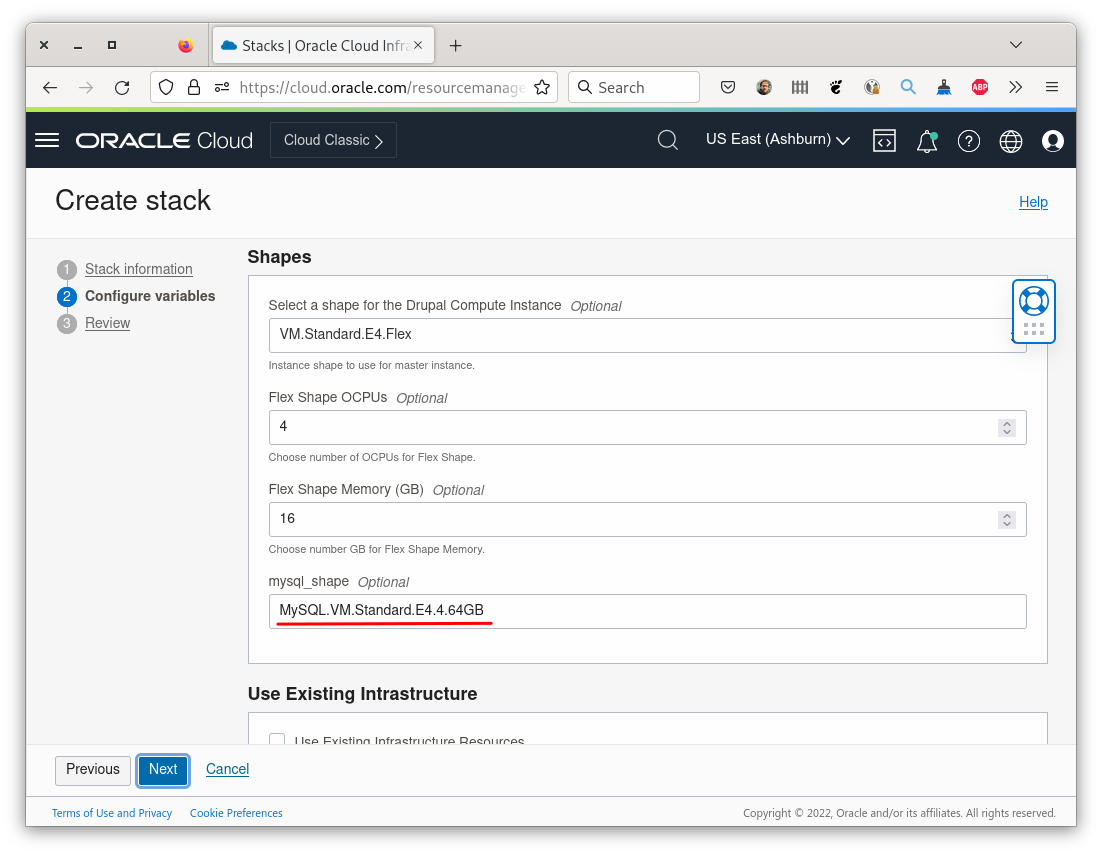
Pay attention that the MySQL Shape needs to be entered manually. You can get the list of the Shapes supported in your tenancy by creating manually an instance and browsing the shapes:
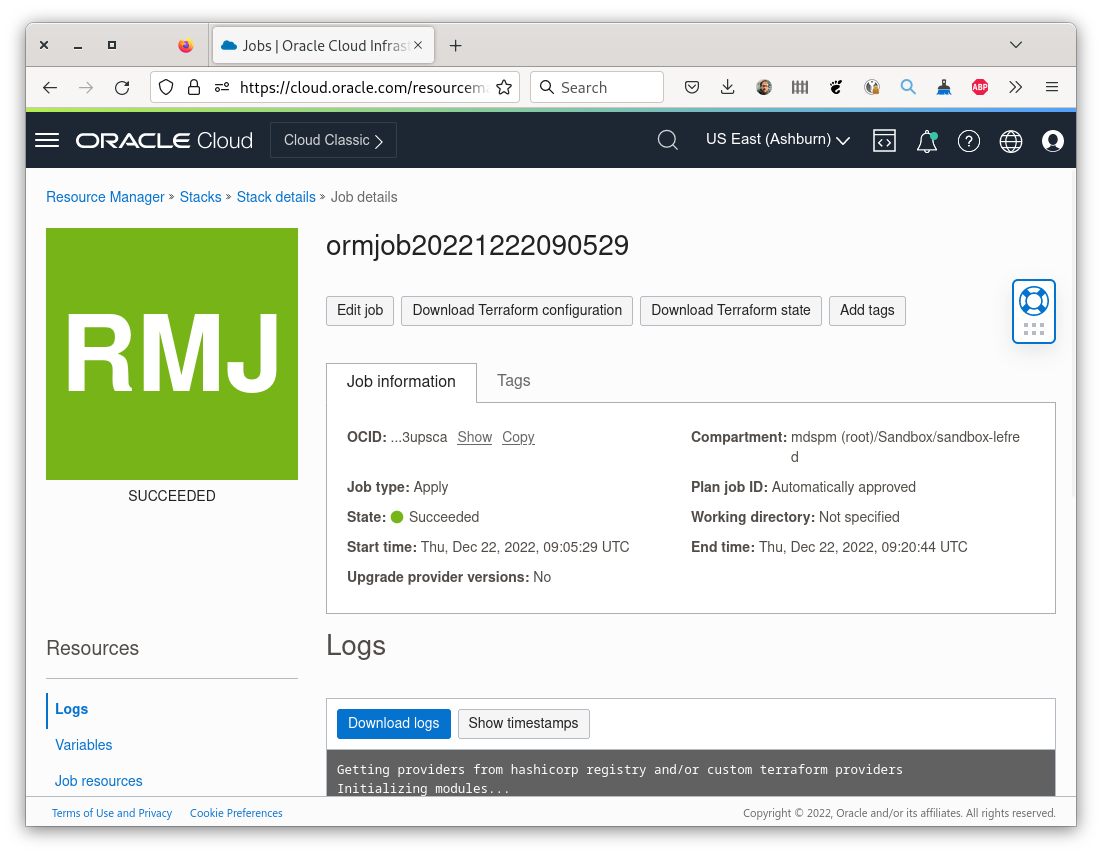
When ready, click next, check the apply box and create. The Stack Apply job will start…
As soon as it’s finished, you will get a succeeded or failed status. It could fail if you have selected an wrong shape for example.
In the Outputs section on the left, you will find the public IP to use to reach the Drupal instance and finish the installation:
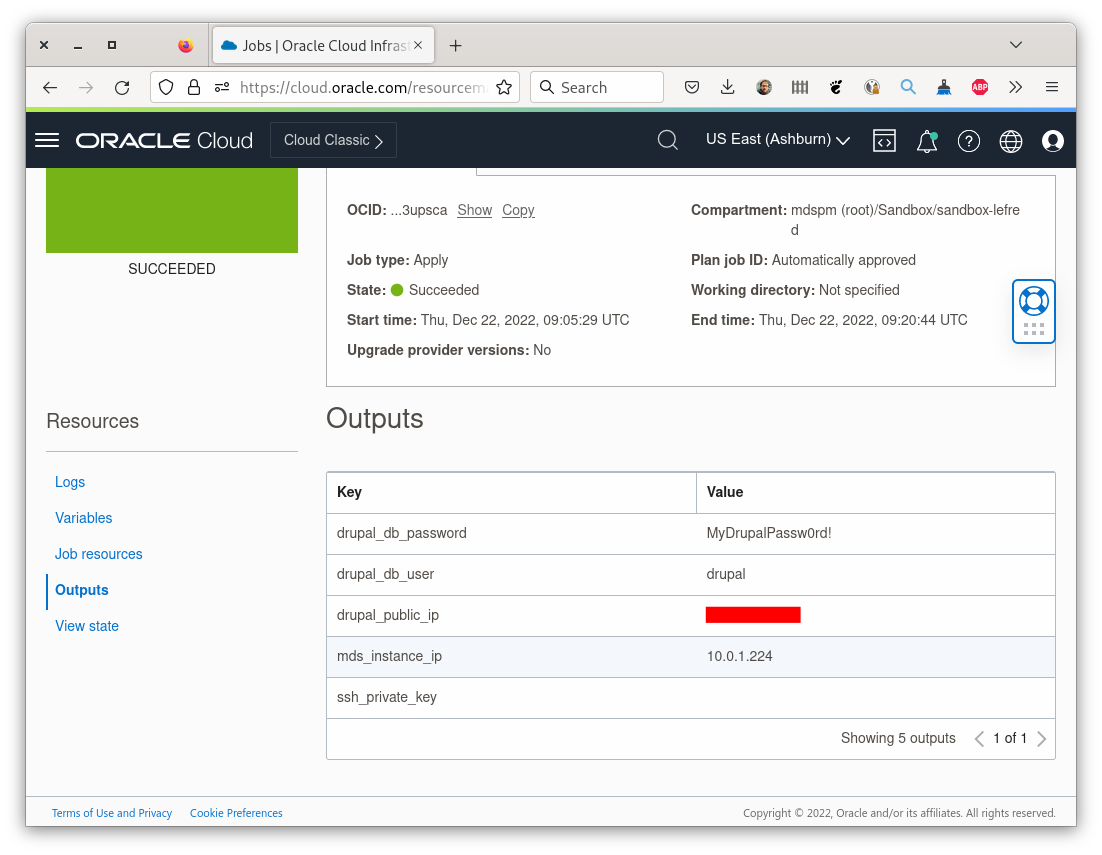
Copy the public IP (the value behind the red rectangle on the screenshot) and paste it in your browser:
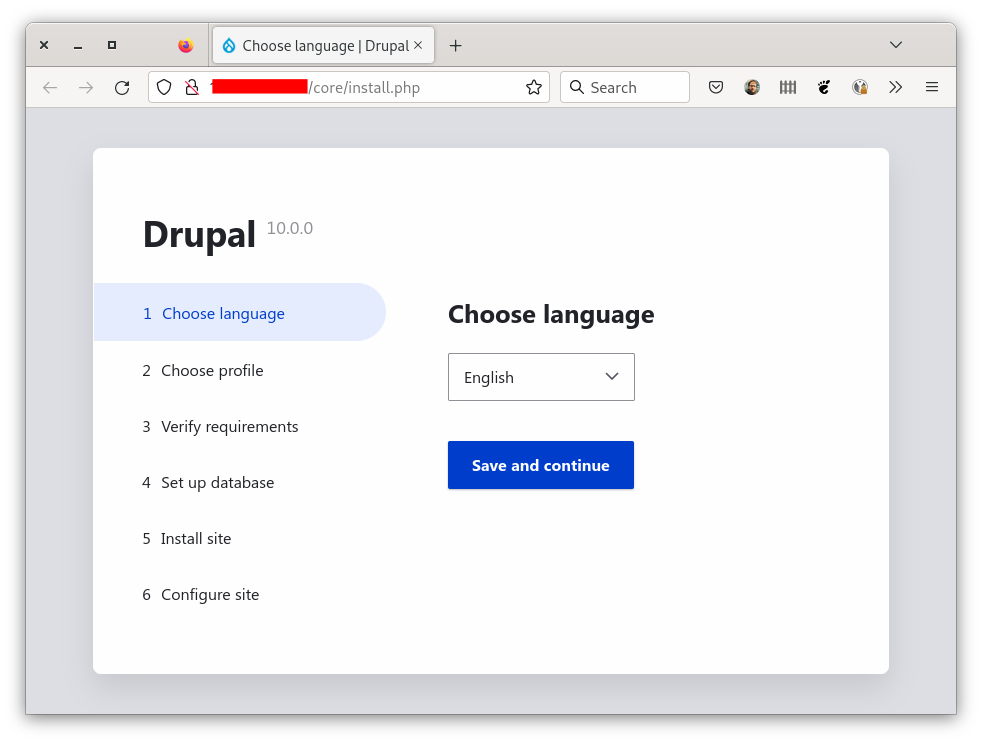
Then you just need to follow the steps on the wizard:

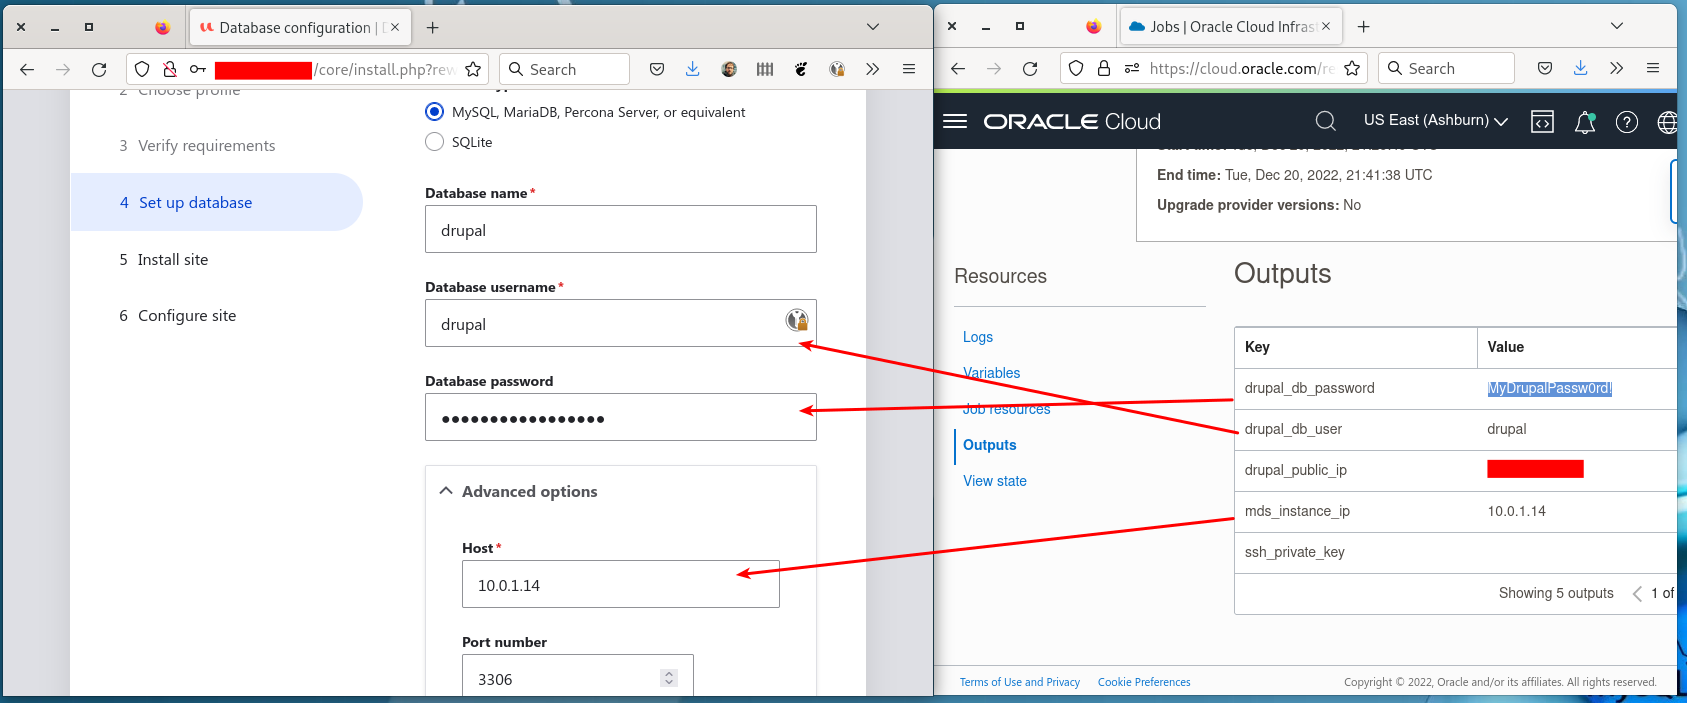
For Step 4, you need to use the information you entered as Required Variables for the Stack (the schema name) and the Stack Job Outputs:
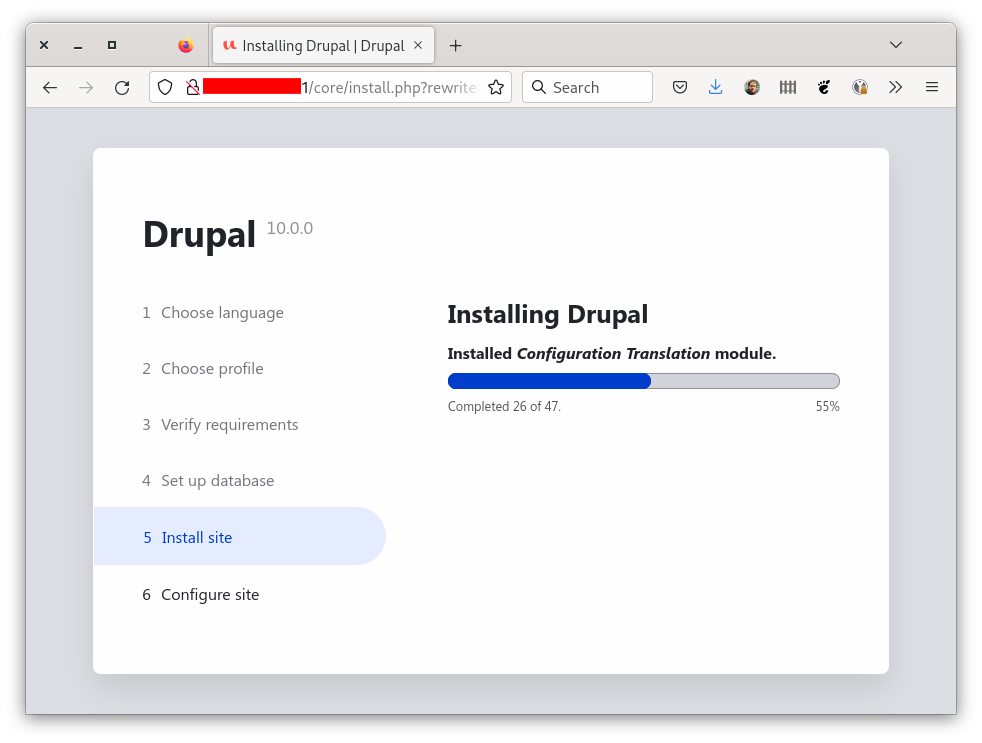
And finally, you can proceed with the rest of the installation process:
As I selected the Demo profile, I can directly see the new Drupal with its content when the installation is finished:

As you can see it was very easy and straightforward to install Drupal 10 on OCI using MySQL HeatWave Database Service.
It’s time to welcome Drupal 10 and deploy your new website on OCI !