What is MySQL Shell Utility:
MySQL Shell’s instance dump utility, schema dump utility, and table dump utility provide Oracle Cloud Infrastructure Object Storage streaming, MySQL HeatWave Service compatibility checks and modifications, parallel dumping with multiple threads, and file compression, which are not provided by mysqldump. Progress information is displayed during the dump. You can carry out a dry run with your chosen set of dump options to show information about what actions would be performed, what items would be dumped, and (for the instance dump utility and schema dump utility) what MySQL HeatWave Service compatibility issues would need to be fixed, when you run the utility for real with those options.
Prerequisites
There are a few things we need before we can get started with this blog migration.
- An OCI account. If you do not have one, you can sign up for an account here.
- The OCI Command Line Interface (CLI) and MySQL Shell configured on OCI Compute Instance from which you will run the commands.
- Google Cloud SQL for MySQL
- Required Network connectivity and ports are already opened as per the recommended method. We are using the public IP for GCP as we are more focused on the migration approach.
Main Steps, we are going to perform:
- GCP Source Databases:
- Begin by a comprehensive list of the source databases/Tables within Google Cloud Platform (GCP).
- Provision OCI Object Storage Bucket:
- Create an Object Storage Bucket within Oracle Cloud Infrastructure (OCI) to serve as the destination for the database dump.
- Dry Run Database Dump (Using MySQL Shell):
- Perform a dry run of the database dump process using MySQL Shell on an OCI Compute instance.
- This step allows you to validate the process without creating actual dumps.
- Execute Actual Database Dump (Using MySQL Shell):
- Once the dry run is successful, proceed to execute the actual database dump using MySQL Shell on an OCI Compute instance.
- Verify Dump File in Object Storage:
- Confirm that the database dump files have been successfully created and stored in the designated OCI Object Storage Bucket.
- Create MySQL HeatWave System on OCI:
- Set up a MySQL HeatWave system on Oracle Cloud Infrastructure (OCI) and Utilize the dumped database files to import the data into the MySQL HeatWave system on OCI.
- Database validation after migration:
- Access the OCI MySQL HeatWave environment
- Ensure that all data has been successfully imported and is accessible.
List all the databases in the source (GCP MySQL):
Login from your OCI Compute Instance where mysql shell is installed and connect to GCP MySQL:
MySQL xx.xx.xxx.125:3306 ssl SQL > show databases;
Output:
+——————–+
| Database |
+——————–+
| employees |
| guestbook |
| information_schema |
| mysql |
| performance_schema |
| sys |
+——————–+
Note: The information_schema, mysql, ndbinfo, performance_schema, and sys schemas are excluded from an instance dump.
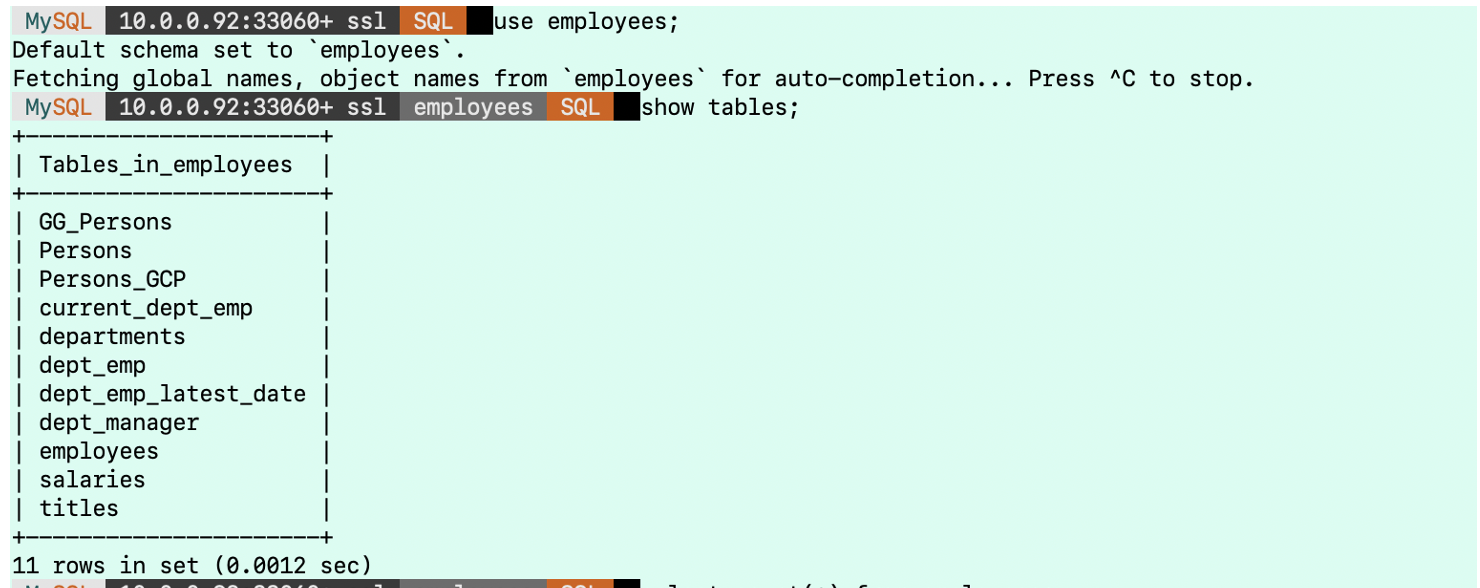
Now in employees database, check the tables:
Default schema set to `employees`
output:
+———————-+
| Tables_in_employees |
+———————-+
| GG_Persons |
| Persons |
| Persons_GCP |
| current_dept_emp |
| departments |
| dept_emp |
| dept_emp_latest_date |
| dept_manager |
| employees |
| salaries |
| titles |
+———————-+
11 rows in set (0.2155 sec)
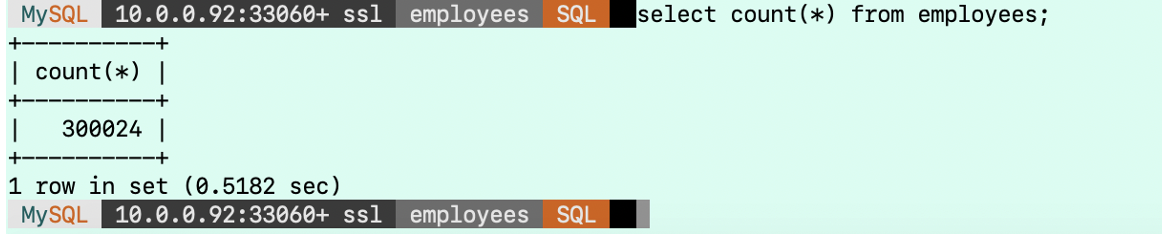
Count the rows of employees table, that we will match after the migration into OCI:
Output:
+———-+
| count(*) |
+———-+
| 300024 |
+———-+
1 row in set (0.2676 sec)
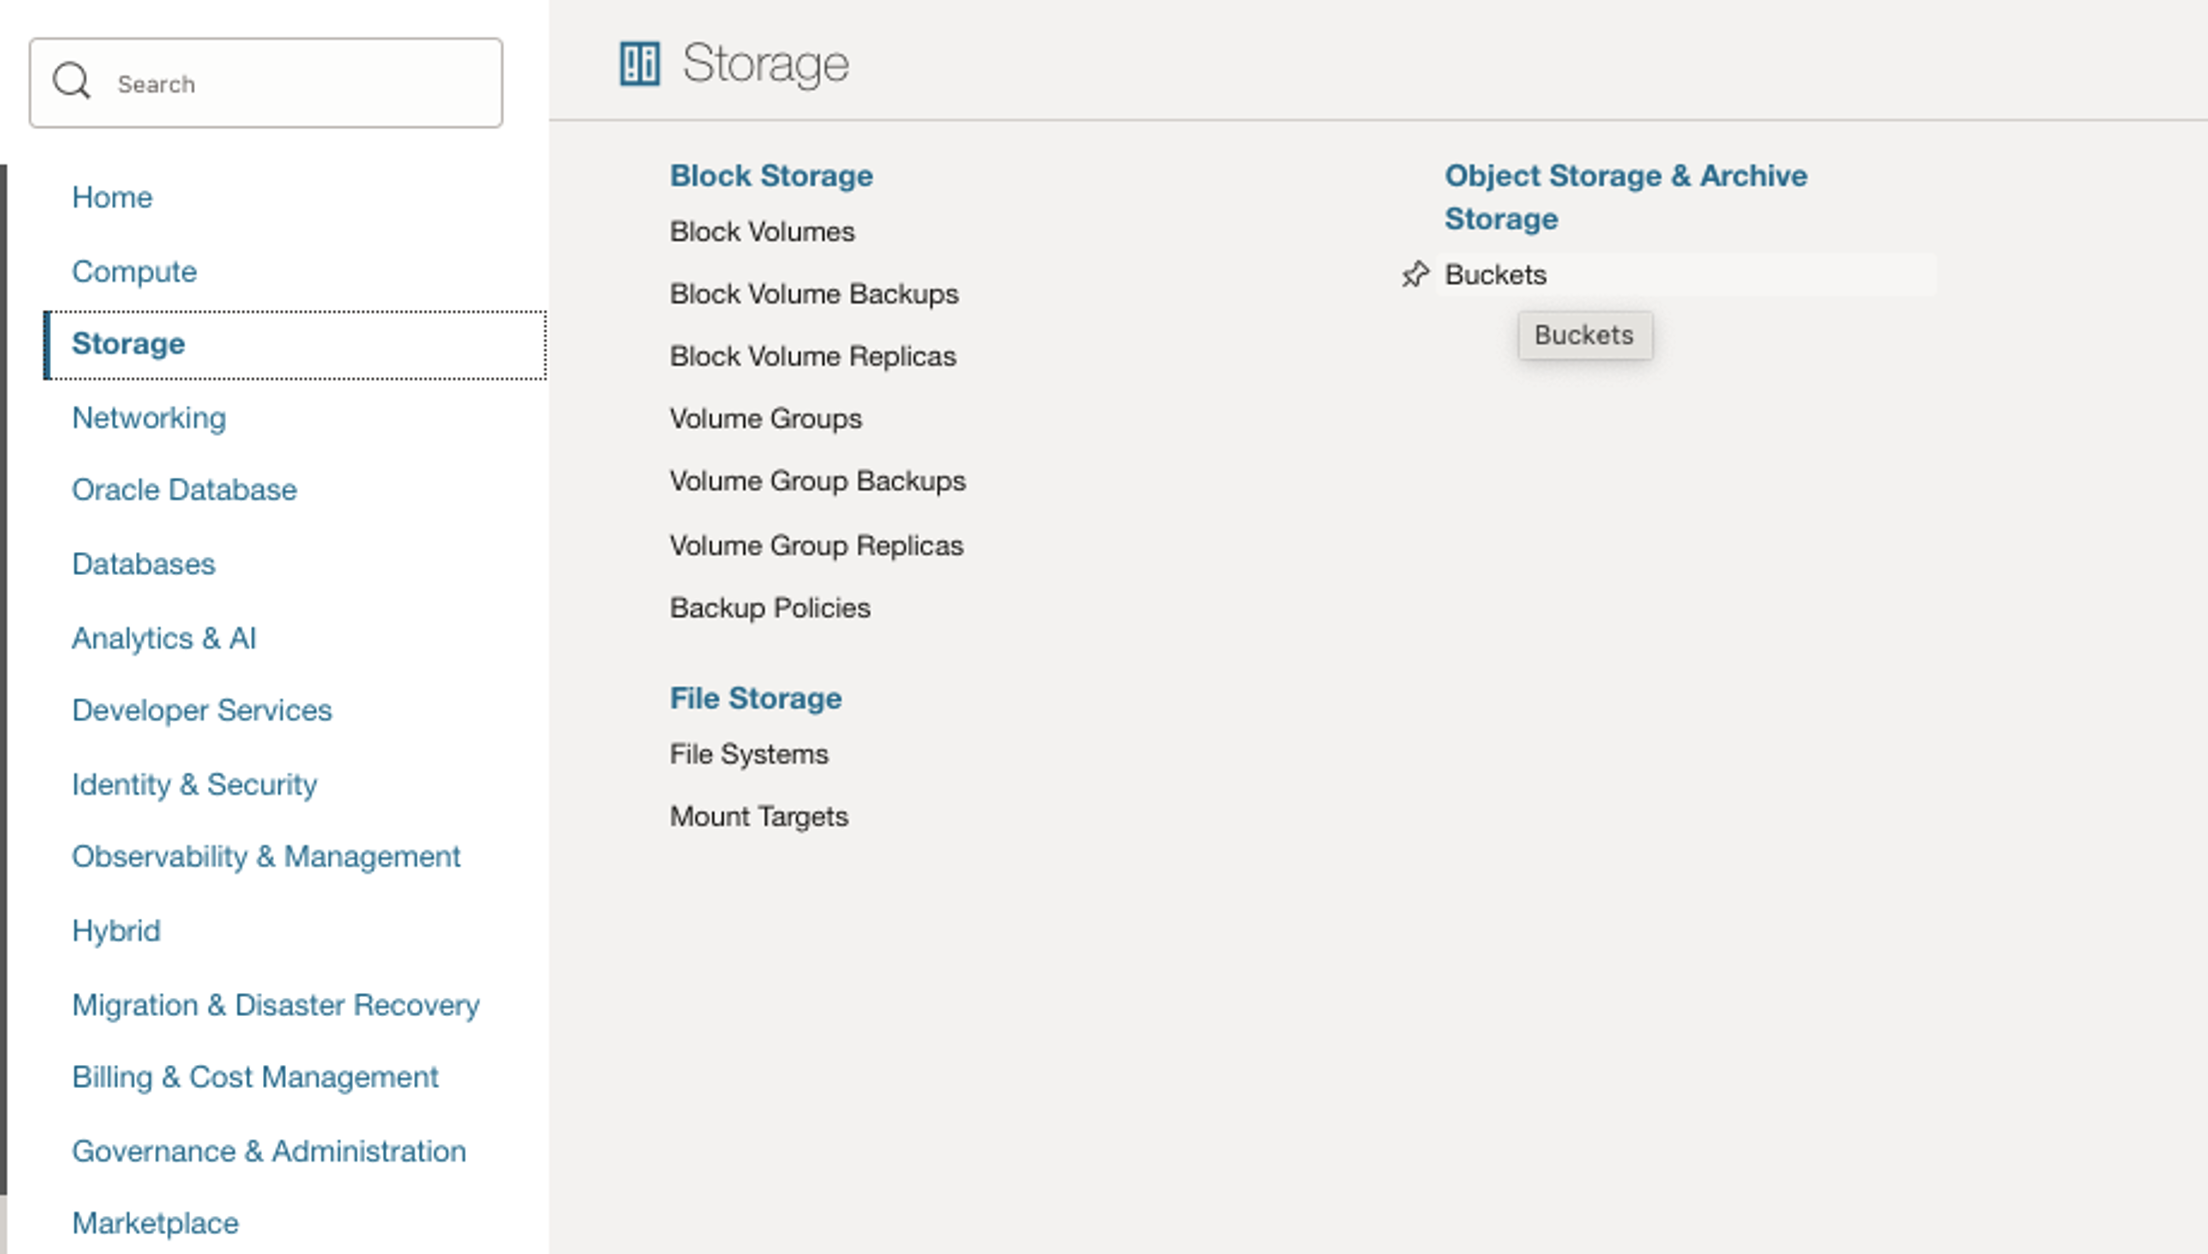
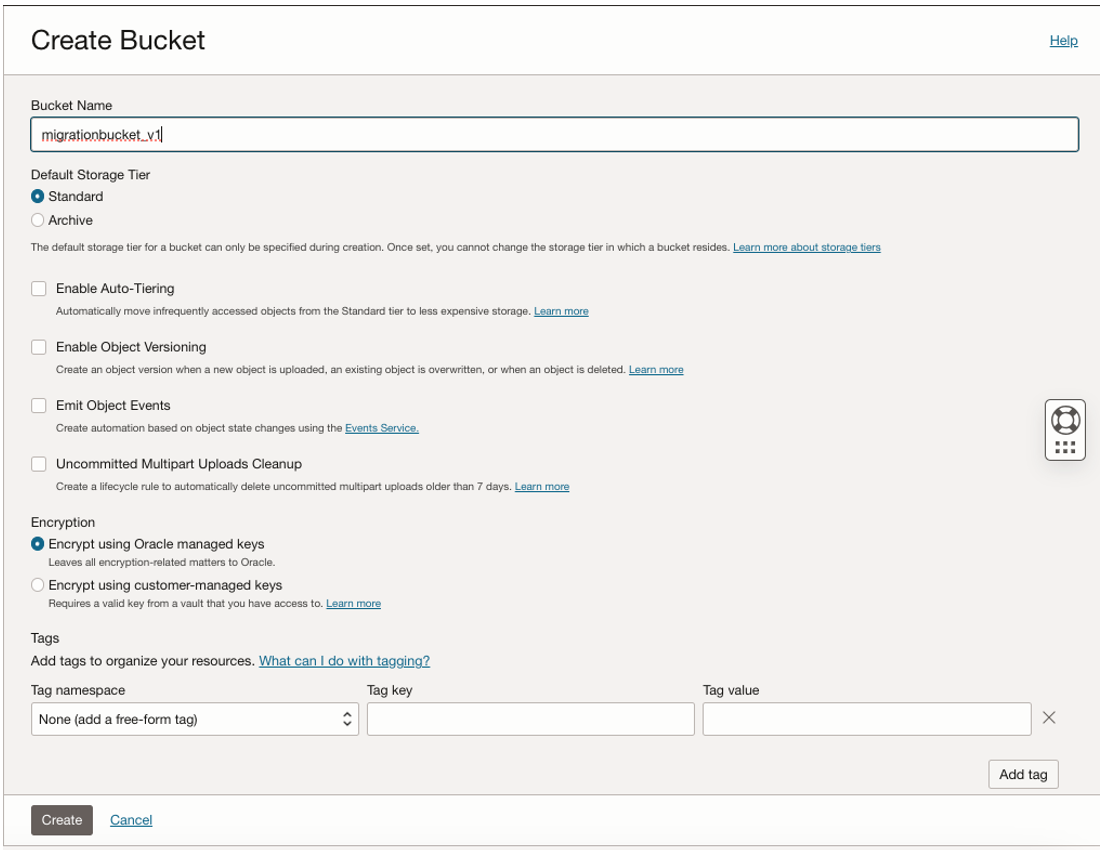
Create a Bucket in OCI Console “migrationbucket_v1” as in following steps:
Click on Hamburger menu -> Storage -> Object Storage -> Bucket
Now from OCI Compute instance run the following command to get the details of the bucket:

Now we will do dry run of MySQL Shell Dump on Source GCP, replace your values of Bucket/Namespace as per your environment :
Output:
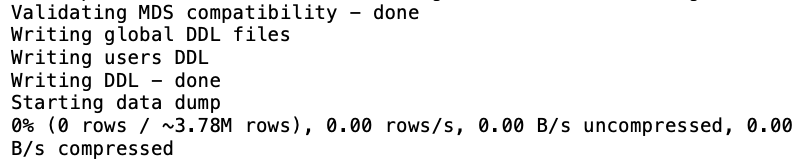
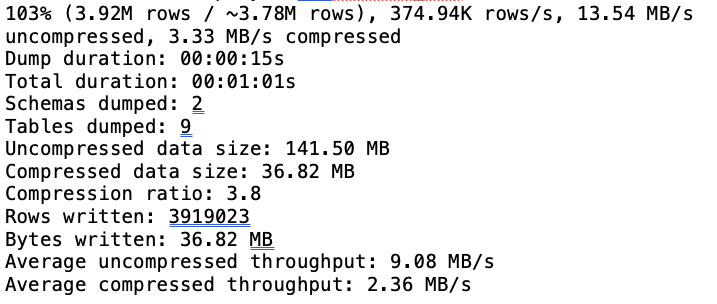
Now run actual MySQL Shell dump into object storage having dryRun value to false :
Output:
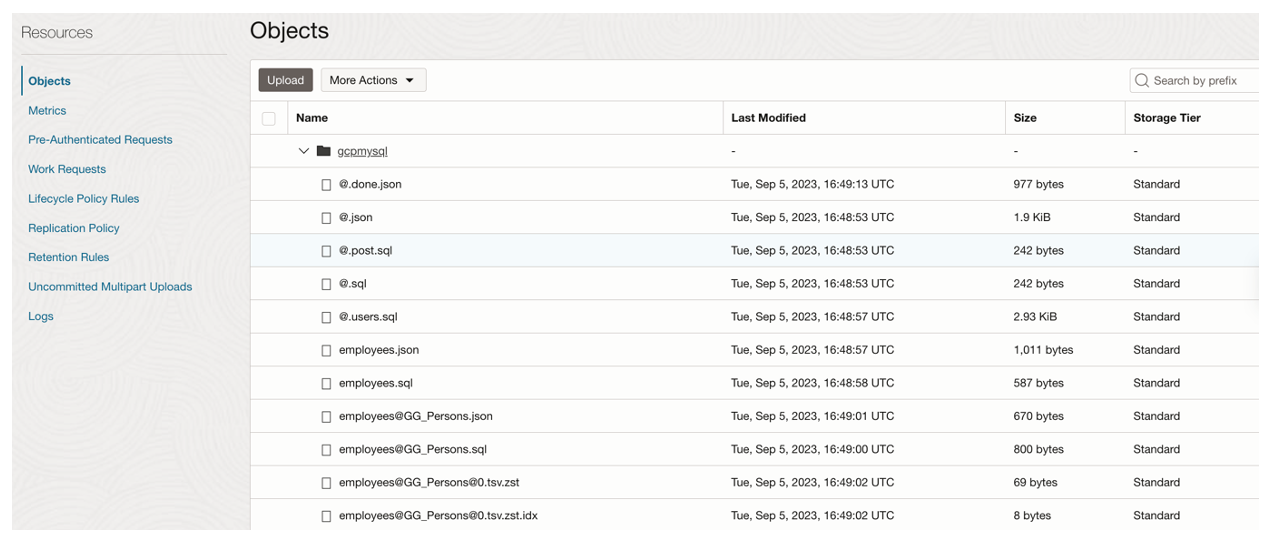
Now you can see the objects, would have been uploaded into the OCI object storage bucket “migrationbucket_v1” :
We will create a MySQL HeatWave System and import the dump data from object storage using PAR URL during the provisioning of MySQL HeatWave in OCI Console:
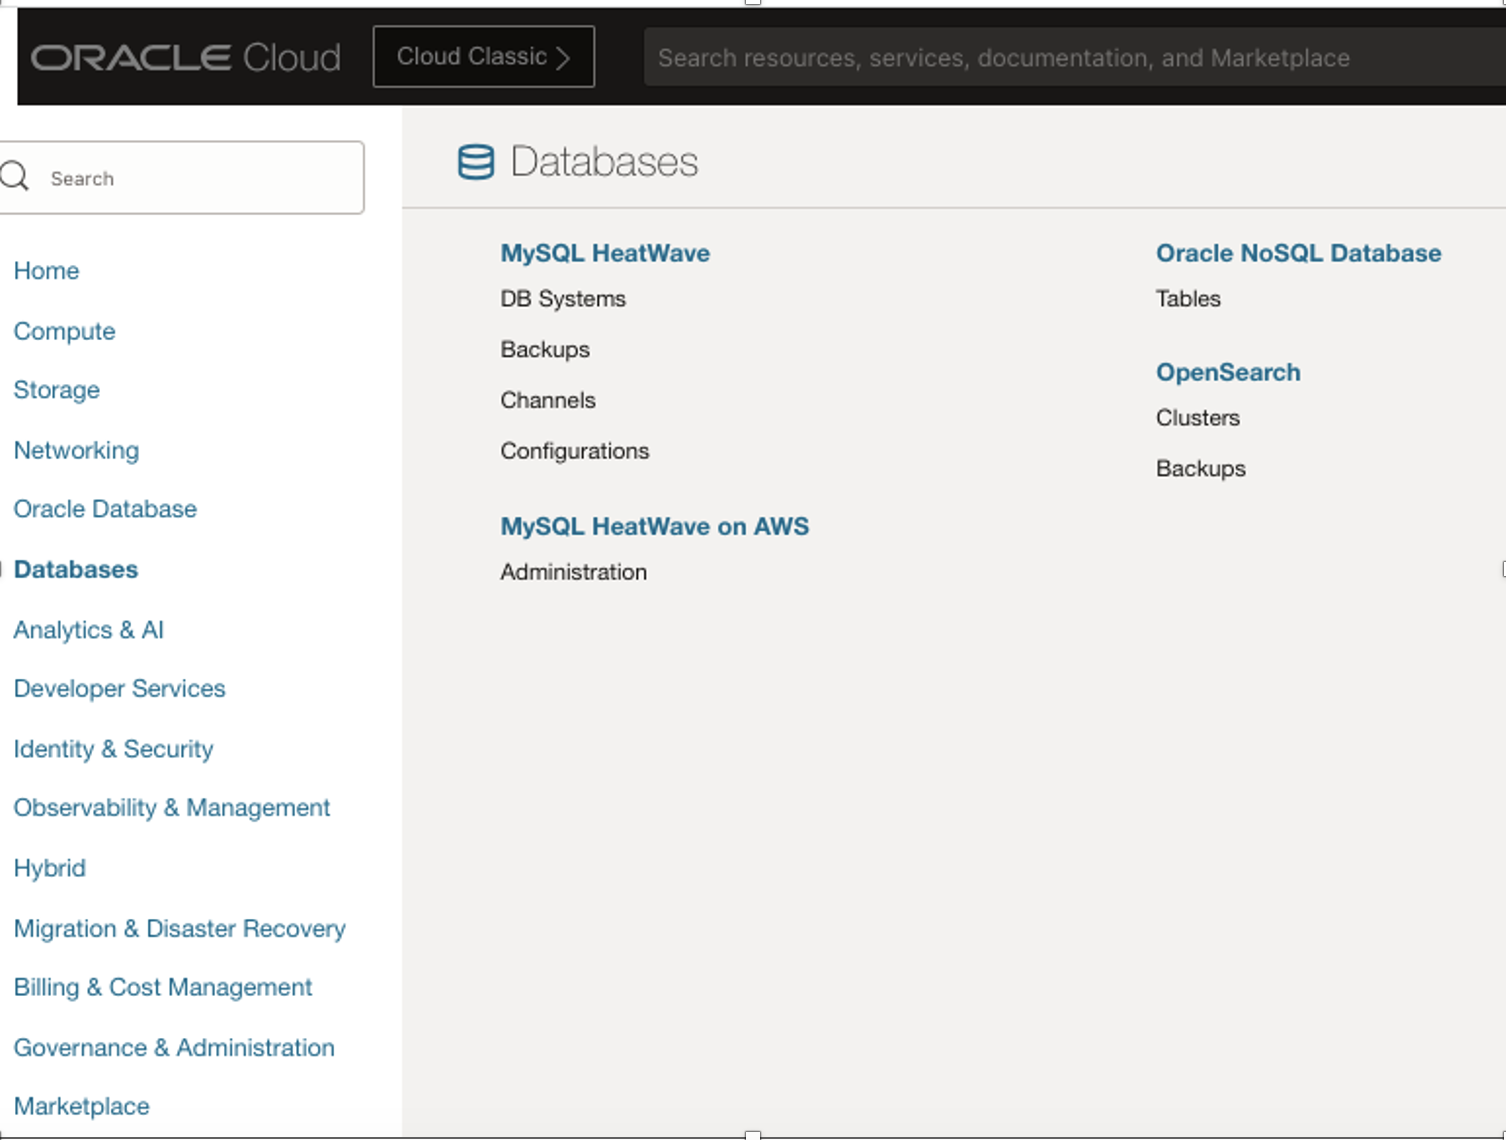
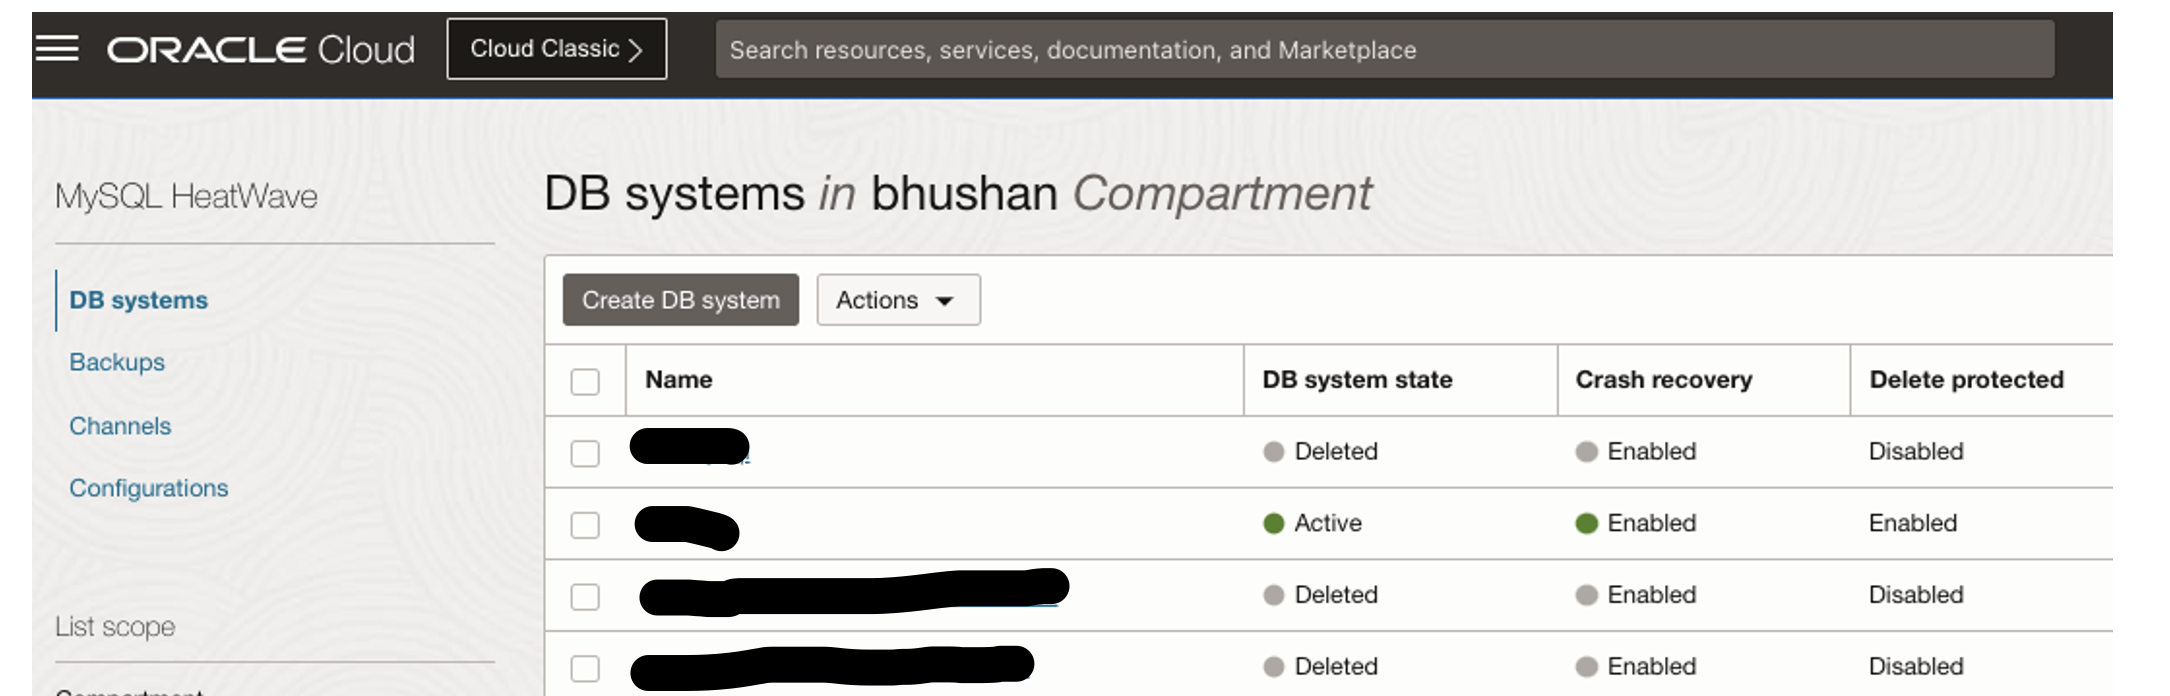
In OCI Console -> Hamburger Menu -> Databases -> DB Systems
Click on “Create DB System”:
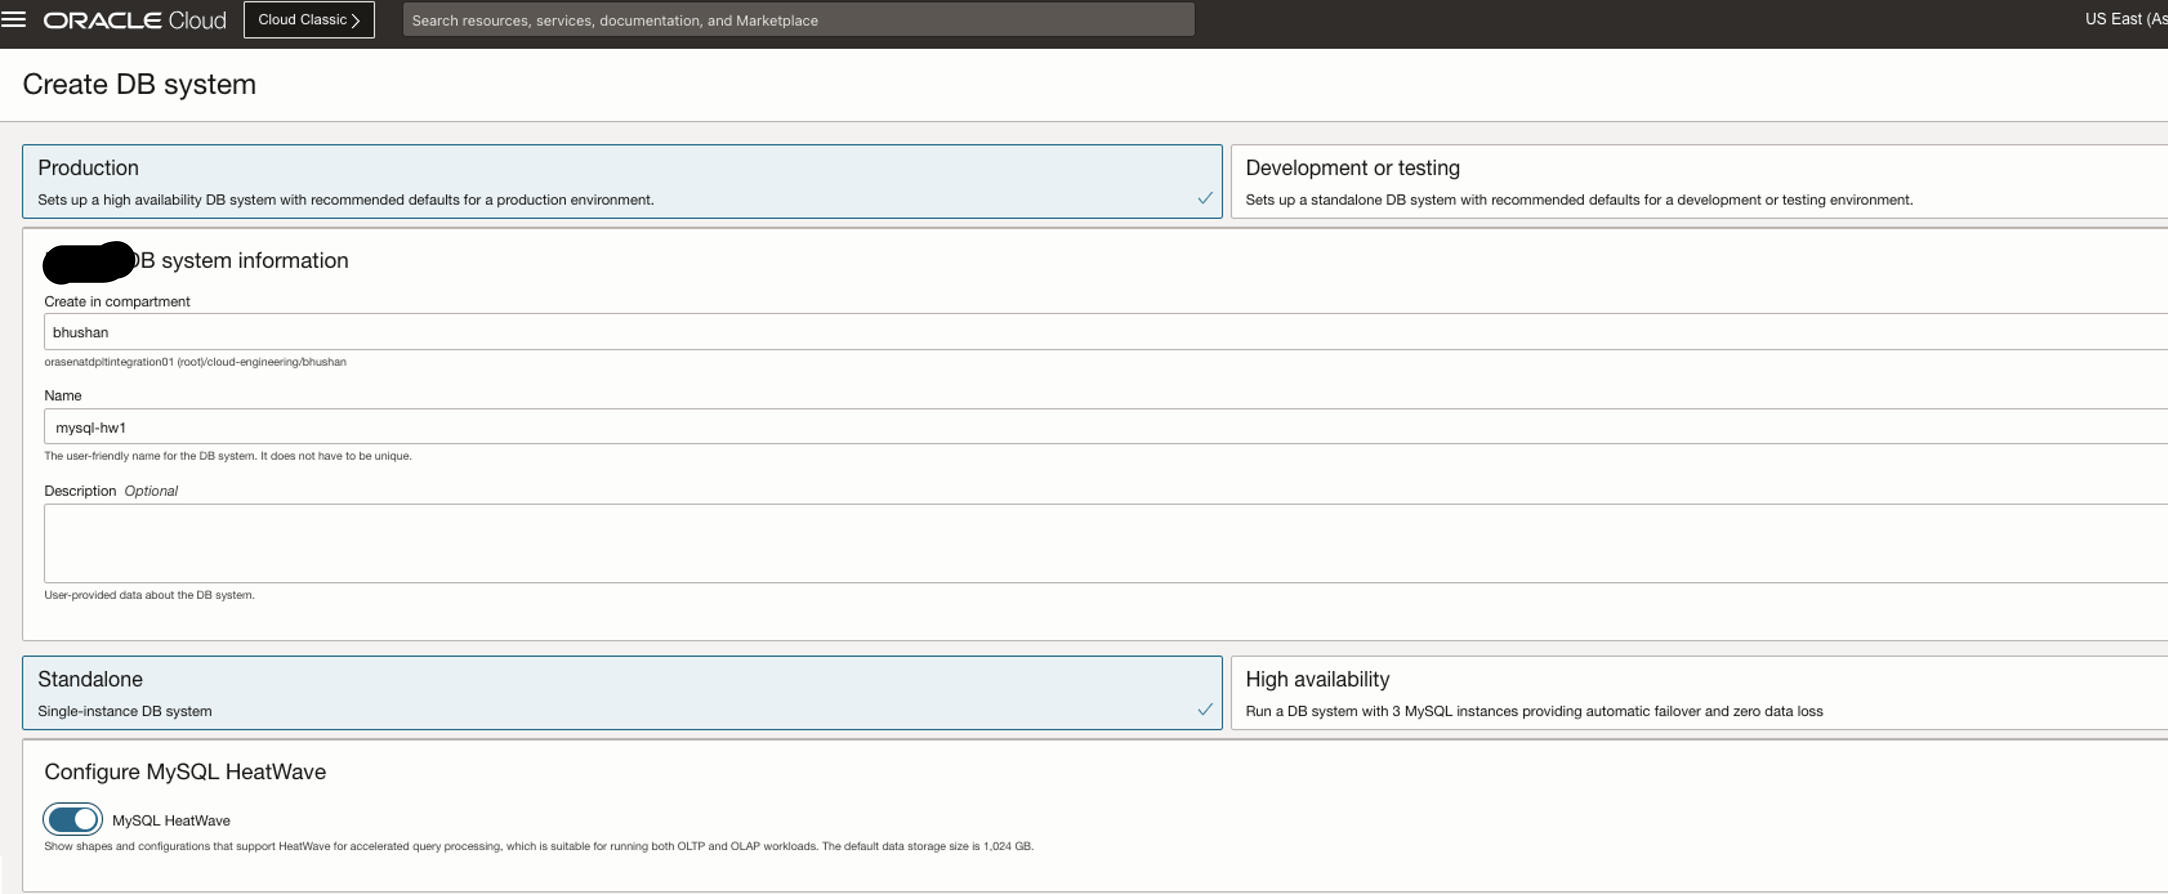
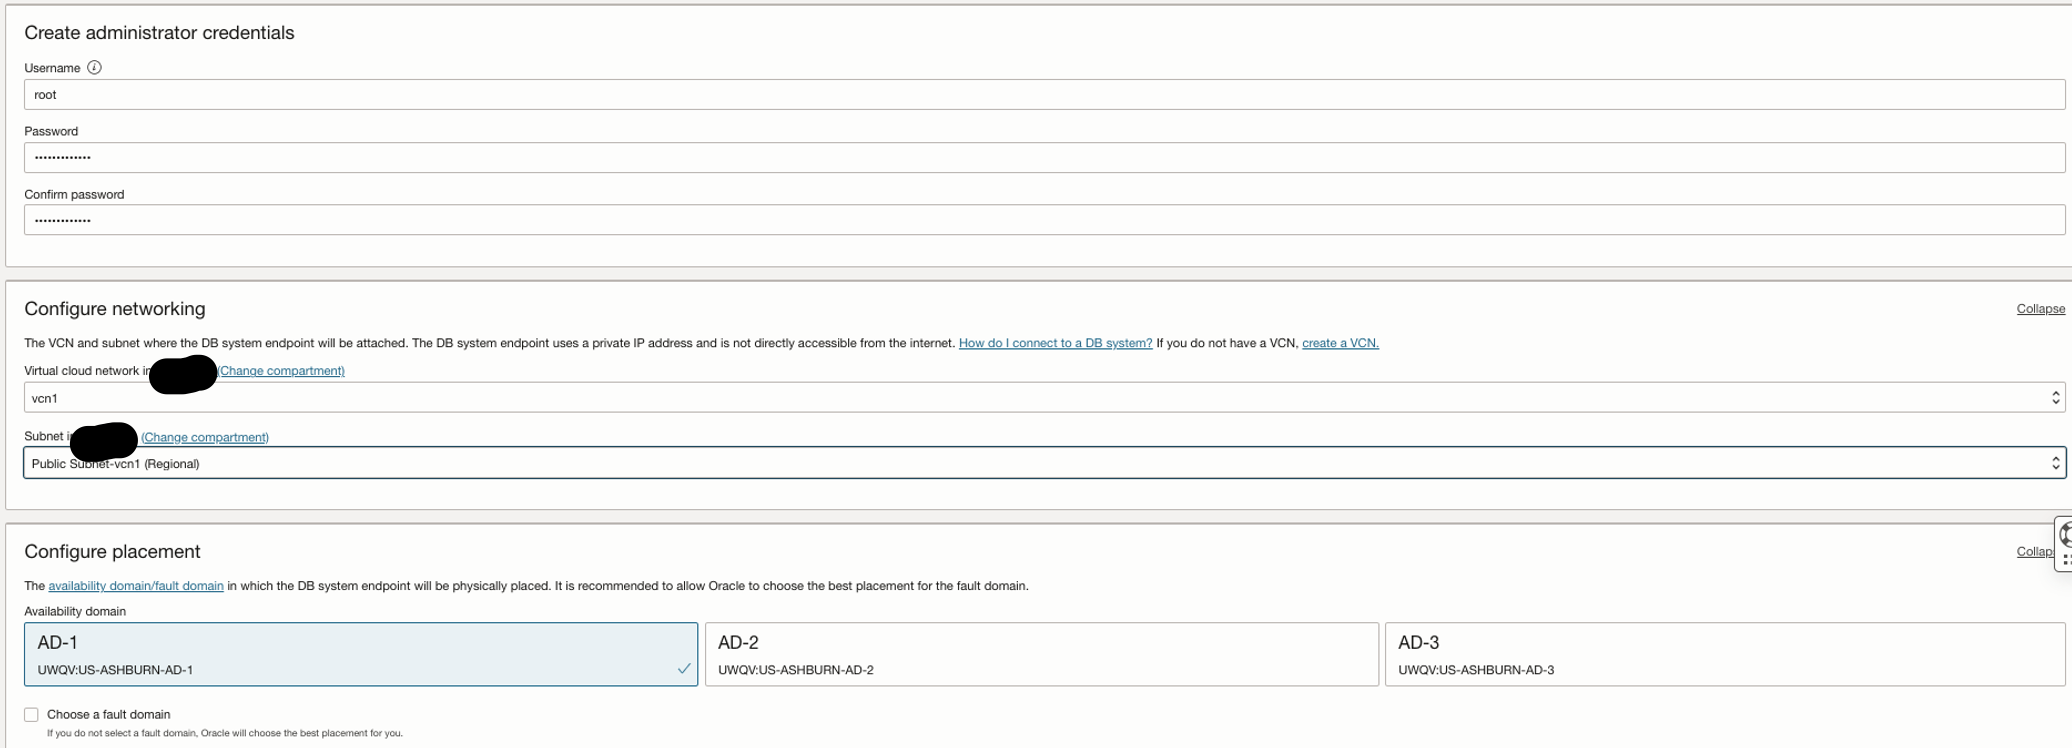
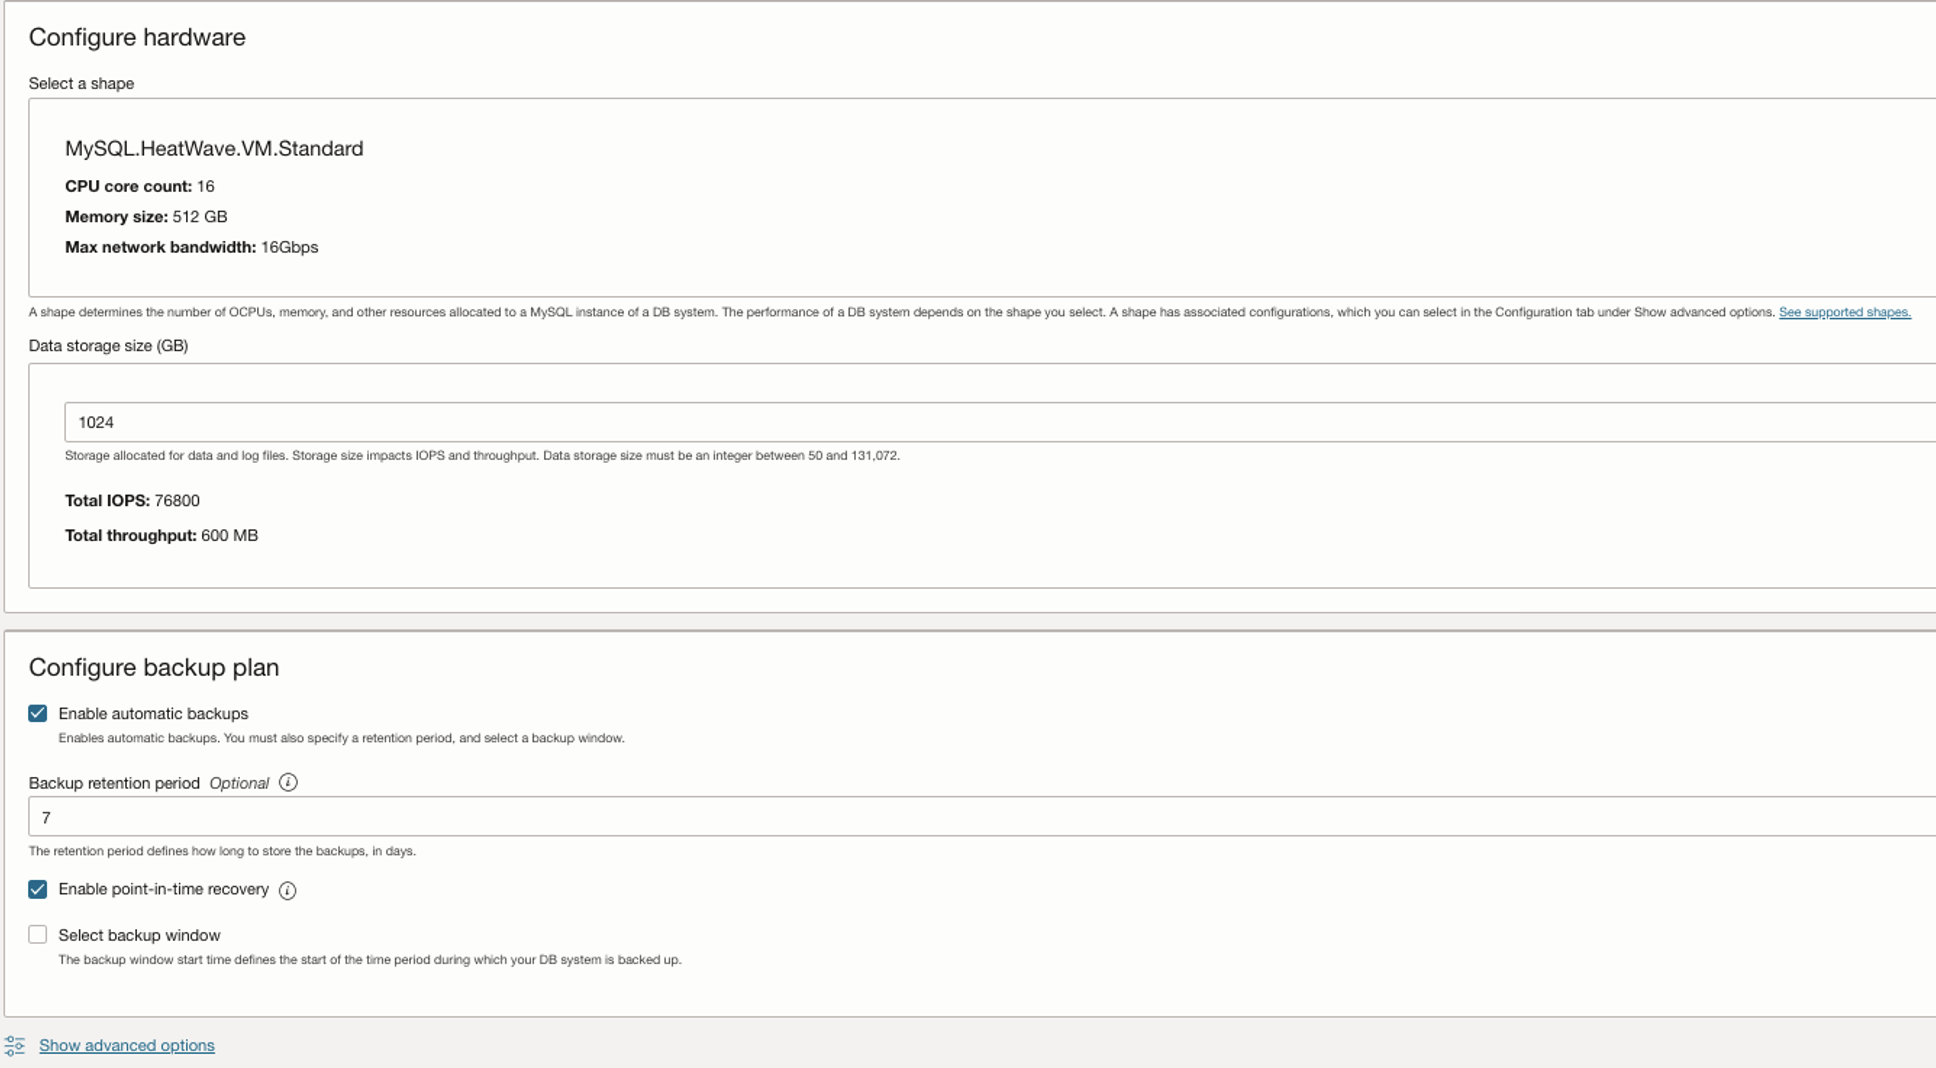
Choose the Require Shape and Click on “Show advanced options”
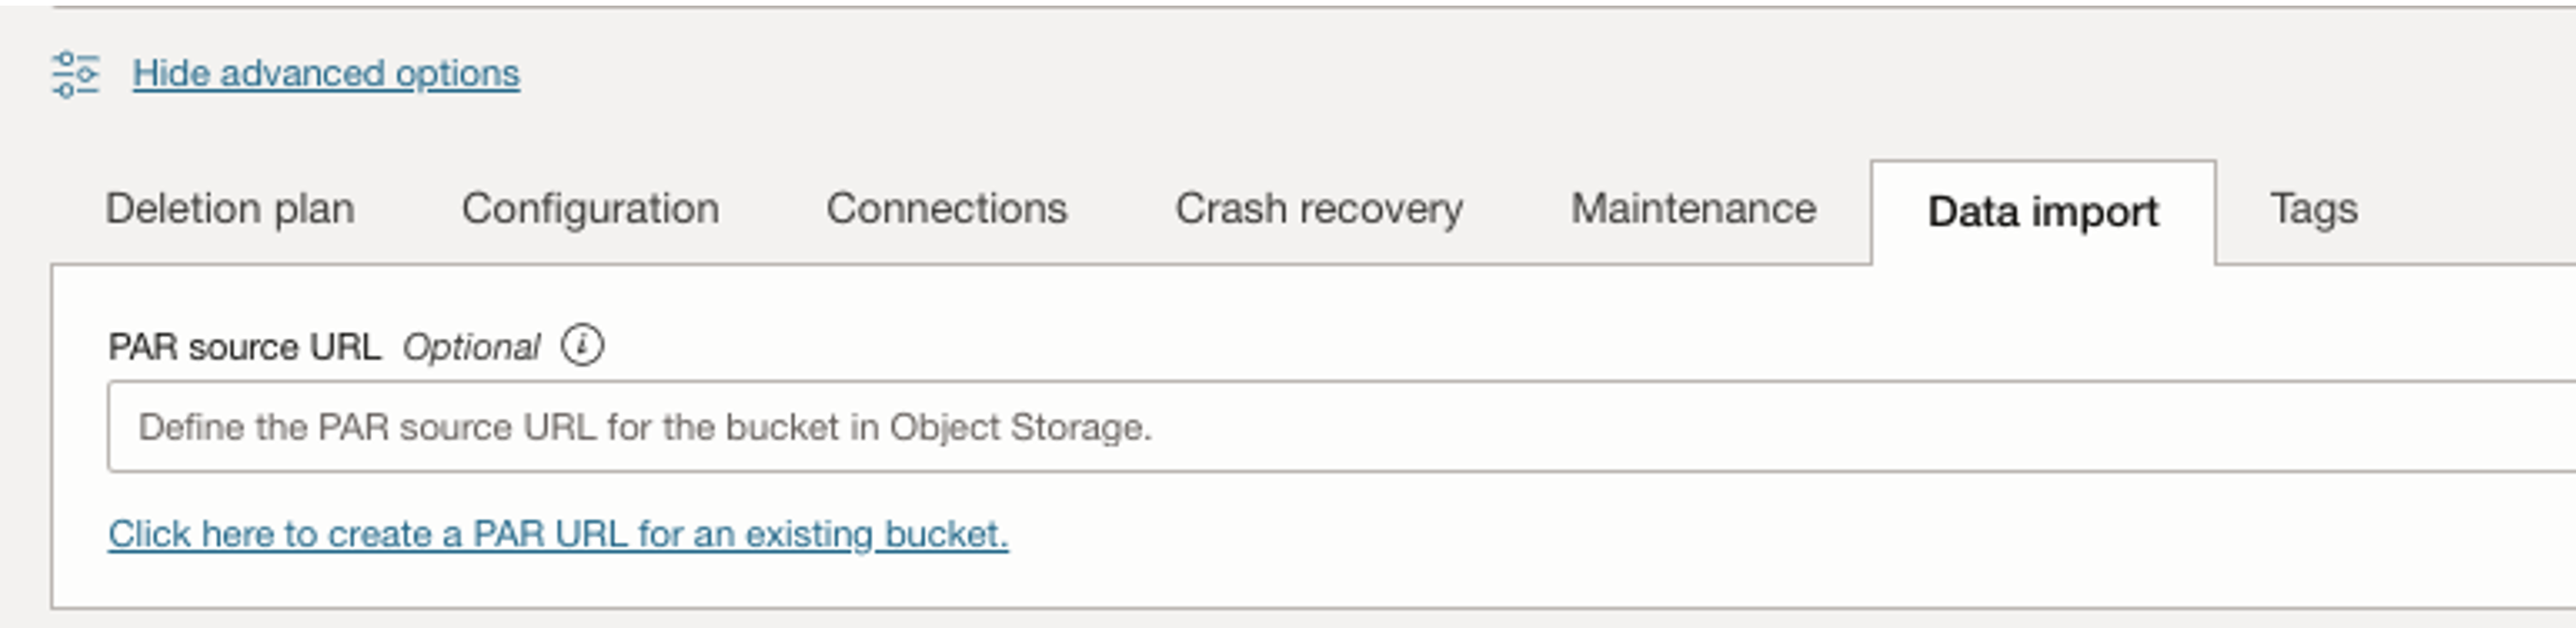
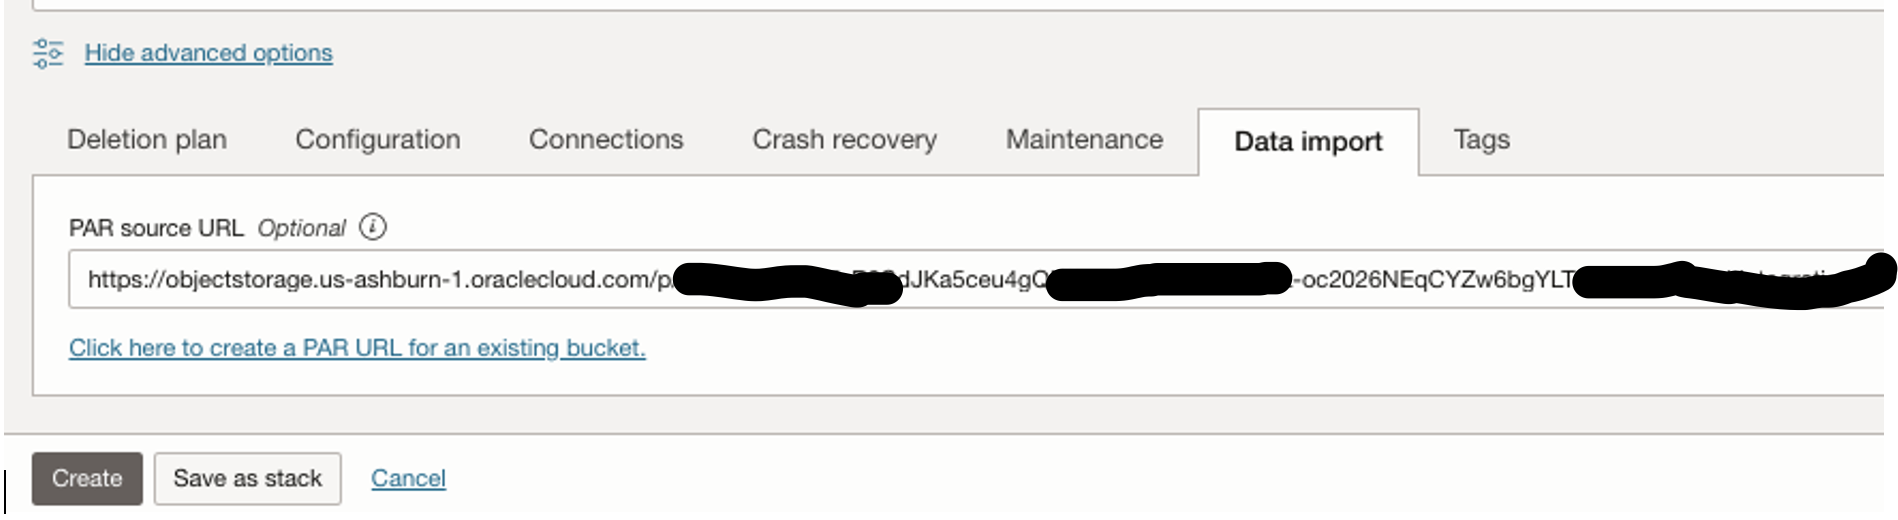
Click on the “Data import” tab and then “Click here to create a PAR URL for an existing bucket”
Choose the bucket which we created earlier, then click on “Create and set PAR URL”:
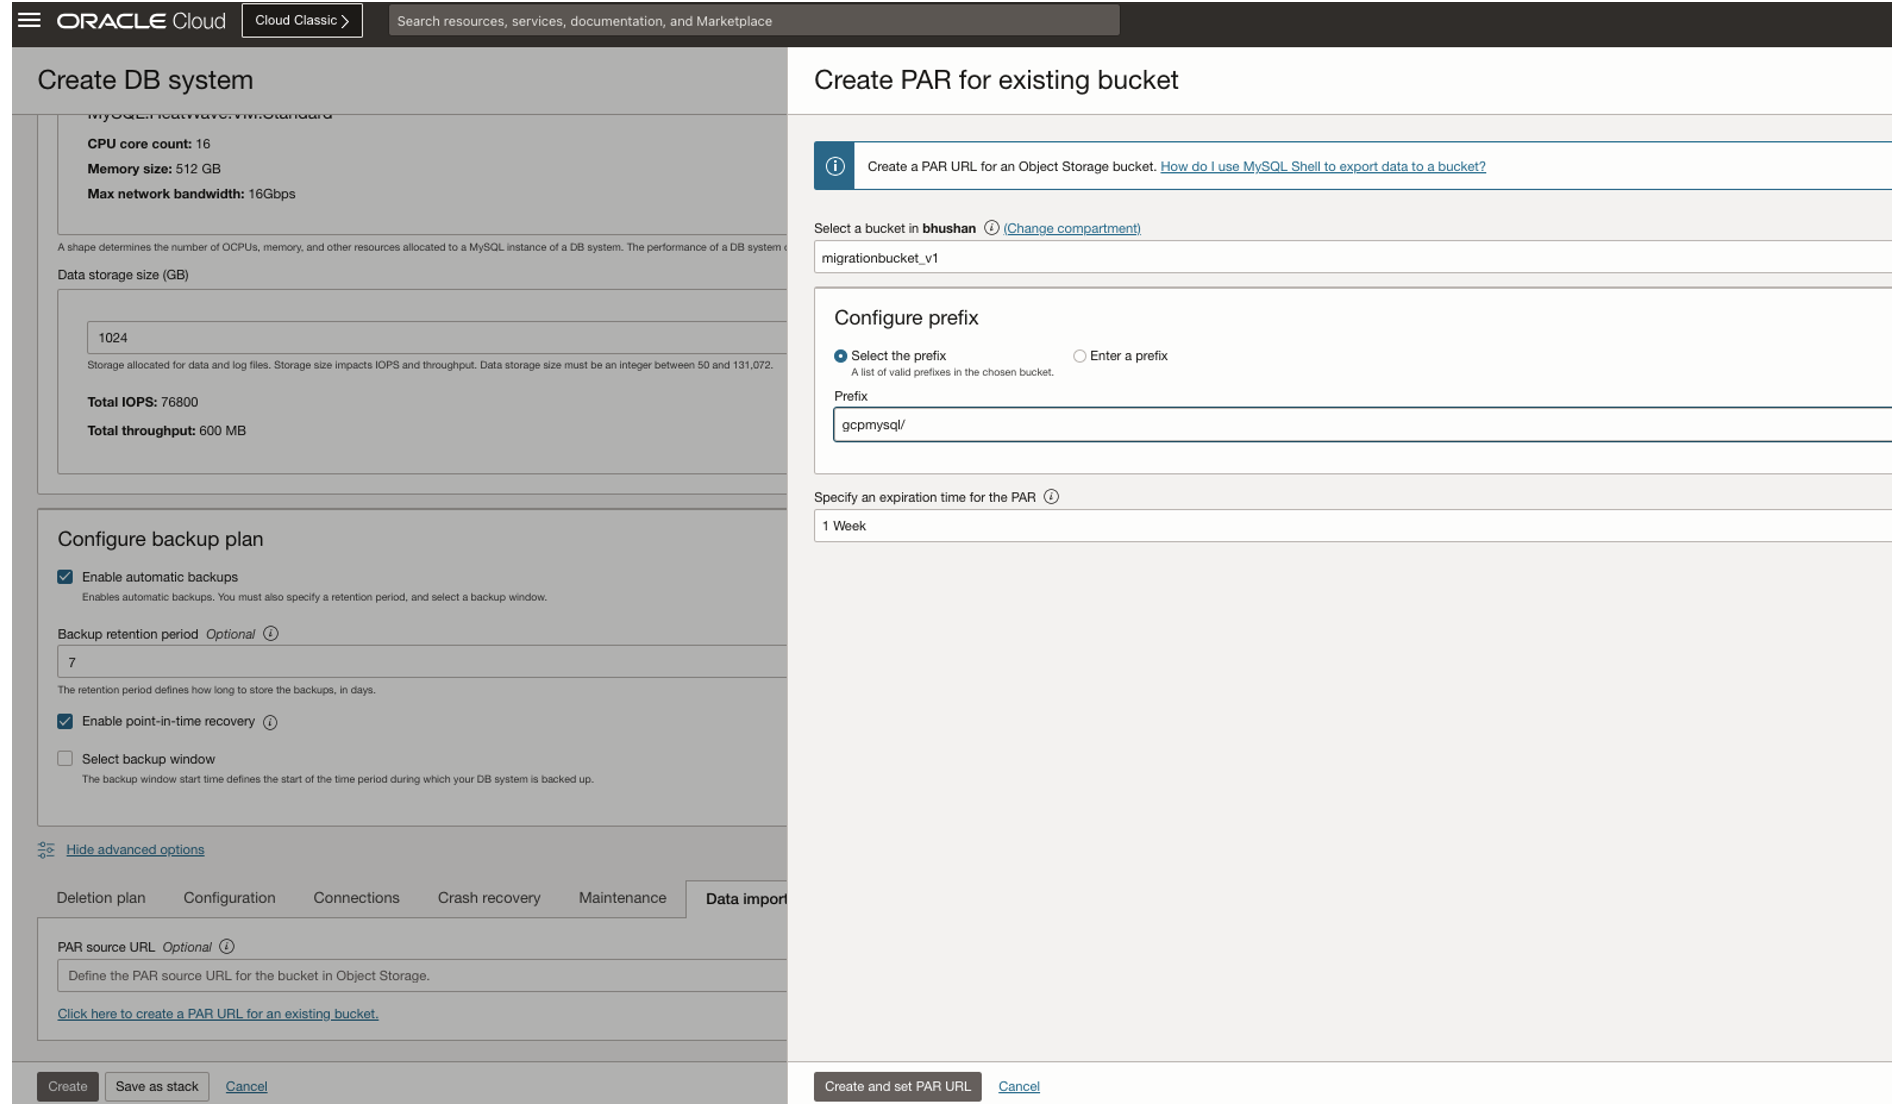
Now PAR Source URL would be auto populated and click on “Create” button:
MySQL DB System will be created(It took 19 minutes for this configuration,it may vary based on your configuration/data size):

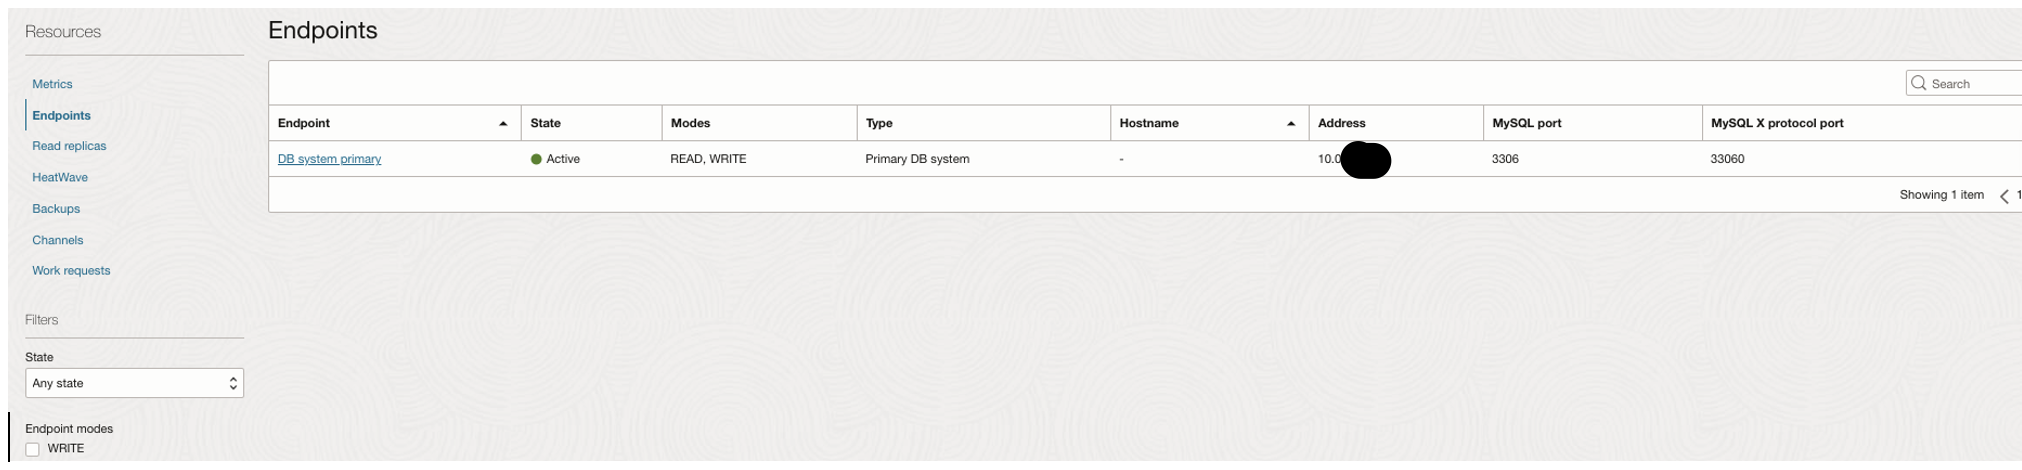
In the endpoints, there will be IP address of this DB System:
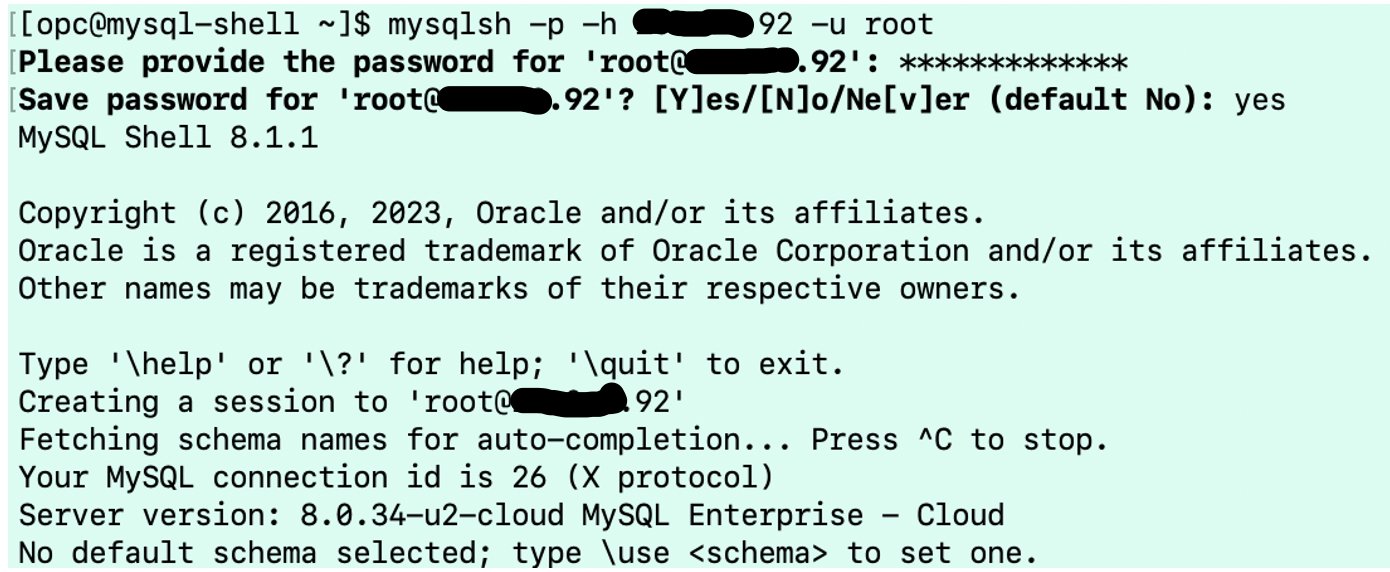
Now we will connect using the MySQL Shell to OCI MySQL HeatWave:
Verify the Non Default databases, which have been migrated from GCP to OCI:

Verify the number of rows of tables in OCI:
For more information see the following resources:
Instance Dump Utility, Schema Dump Utility, and Table Dump Utility
MySQL HeatWave: One Database for OLTP, OLAP, ML & Lakehouse
HeatWave—In-Memory Query Accelerator with Built-in ML