Modern development workflows increasingly rely on AI assistants embedded directly in the IDE. NetSuite development is no exception. In this post, we explore how to configure and use the SuiteCloud Developer Assistant for Visual Studio Code to accelerate SuiteScript and SuiteApp development.
You have probably used an AI LLM to help you with coding many times. While they do a good job, they are usually lacking the context of your specific codebase. Also, when it comes up with a nice function, it is up to you to include it in the correct file and use it in the right context. With direct access to your codebase, the assistant can apply changes automatically, significantly shortening the development cycle.
How does the SuiteCloud Developer Assistant work?
The first key component is Cline. Cline is an open-source autonomous AI coding agent designed to operate directly within your IDE (such as VS Code) to handle complex software development tasks. Unlike simple autocomplete, it can understand entire codebases, create/edit files, run terminal commands, and use browsers, acting as an autonomous development assistant capable of executing structured multi-step tasks inside the IDE. It works via a “Plan-and-Act” cycle, allowing users to approve changes, with support for locally-hosted or API-based LLMs. In other words, exactly what we need.
This tutorial begins by configuring the Assistant to work on our VS Code. After the setup is complete, we’re going to show some usage examples and how you can leverage this technology for your SuiteScript development needs.
Extension configuration
Prerequisites for using the SuiteCloud Developer Assistant.
- Oauth 2.0 and SuiteCloud Development Framework features enabled in the account.
- JDK 21 or 17 installed.
The first step is installing the Cline extension on VS Code by searching for it on the extensions section.

After Cline is installed, we’ll need to configure it for SuiteScript development. For that we will use the Corresponding VSIX File and install it on your VS Code, also on the extensions section.
When the VSIX file gets installed, you should get a popup like this:
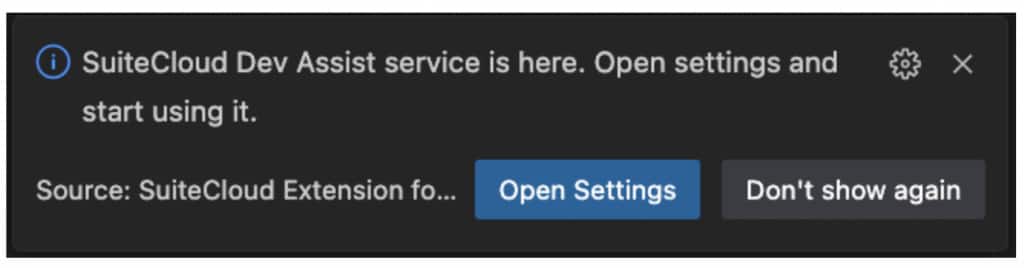
We still have a few additional configuration steps to complete, but the Developer Assistant extension is now installed. Because the underlying LLM runs within NetSuite’s environment, we need to establish a connection to your Test Drive account. To do this, you’ll use a SuiteCloud authentication ID associated with your account.
If you already have one, paste the name of the auth ID on the VS Code configuration SuiteCloud > Developer Assistant: Auth ID. If you don’t have an auth ID set up, follow this quick aside:
— Go to
Command Palette > SuiteCloud: Set Up Account > New authentication ID > Browser-based authentication.
- Name your auth ID.
- For the domain, use the default domain.
— Go to
Settings > Extensions > SuiteCloud
- Click Workspace and edit the fields as follows:
- Developer Assistant: Auth ID: your chosen auth ID name.
- Developer Assistant: Local Port: Autofilled by default. Change it if you prefer a different port or if the default port is already in use.
- Developer Assistant: Enable: Check.
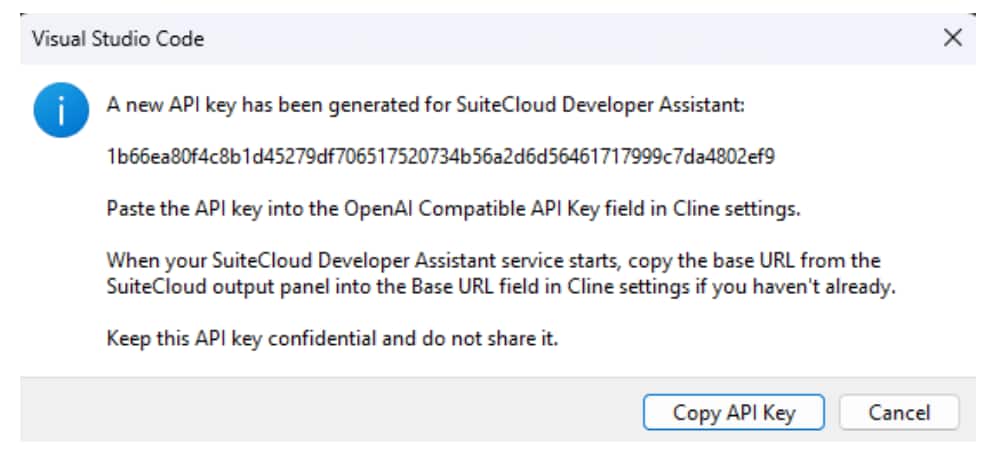
Once the connection is set up, you’ll get a pop-up window displaying the API key. Copy it and follow the instructions in the pop up to enable it.
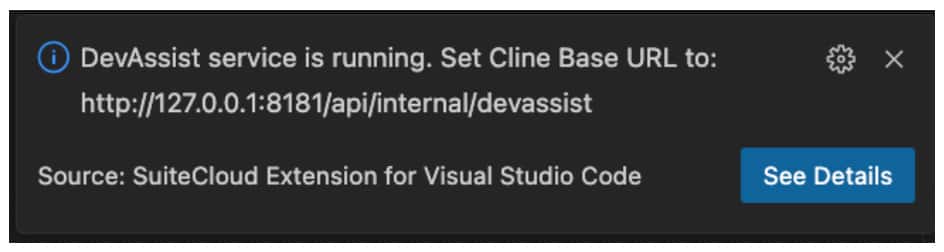
After you copy and paste the API key, you will see a final confirmation popup stating the Cline base URL, we’ll use it to configure the extension.
The last step is to set up the extension.
- Select the Cline extension in the activity bar
- Click the provider/mode selector (status bar) and edit the fields as follows:
- API Provider: Set to OpenAI Compatible.
- Base URL: Set to http://127.0.0.1:8181/api/internal/devassist (or use your actual port if different)
- Open AI-Compatible API key: Paste the generated API key
- In Model Configuration:
- Clear the Supports Images box.
- Set the Context Window Size to 1,000,000
Using the assistant
We should be done and all set with the Cline configuration, you can access it by clicking on the Cline icon in the activity bar. You’ll see a prompt input. Let’s start by creating a new SuiteApp project by running the command: suitecloud project:create -i and following the interactive steps.
Once we are in the newly created folder, we can ask the assistant for help with anything SuiteCloud related. Let’s ask it for a specific and quite complex example of a SuiteScript:
I need to create a client script that validates a custom field on Purchase Orders called custbody_approval_limit (a currency field). The validation should check if the PO total exceeds the employee’s approval limit, which is stored in custentity_po_approval_limit on their Employee record. Show me the complete SuiteScript 2.1 client script with proper error handling.
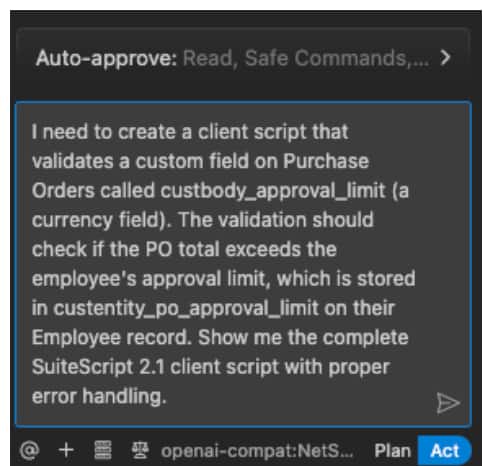
Before submitting, notice the selector in the bottom right of the window, it allows to switch from Plan mode to Act mode. Plan and Act modes represent Cline’s approach to structured AI development, emphasizing thoughtful planning before implementation. Plan mode is where you and Cline figure out what you’re trying to build and how you’ll build it. In this mode, Cline can read your entire codebase to understand the context but won’t make any changes to your files. In Act Mode Cline can make changes to your codebase and remembers everything from your planning session. Feel free to experiment with both modes to find which flow suits you best. For this demo we’re going to go straight to the Act mode.
The assistant first generates a task plan outlining the implementation steps. Because we’re in Act Mode, it will start working on it right away.
First, I’ll outline the steps needed:
- Analyze requirements: Understand field IDs, when the check should run, and what can be accessed on the client.
- Set up the file path for the client script (best practice: src/FileCabinet/SuiteApps/com.netsuite.pruebatres/client_po_approval_limit.js).
- Implement the client script (SuiteScript 2.1, @NScriptType ClientScript) that validates on save.
- Get custbody_approval_limit from the form.
- Get the PO total from the form.
- Load the Employee record’s limit from custentity_po_approval_limit (requires an async Suitelet or hidden field, but client script can’t fetch from Employee directly).
- Standard NetSuite workaround: Have the server (User Event) copy custentity_po_approval_limit to a hidden field on the form (not in client script’s scope), OR surface the current user’s approval limit as a field on the form.
- For this script, I’ll assume a hidden field on the form named custbody_emp_approval_limit holds the user’s limit (this is best practice since you can’t perform a search/load in the client script).
- Implement error handling (display proper NetSuite dialog).
- Write to file.
- Update the checklist.
If the hidden field does not exist, user must ensure that it’s present and populated properly. Now, I will proceed to write the client script file (step 2-5) and include the task_progress. Right after the planning is done, Cline will start editing files in the project. In this case, it’ll create a new file:
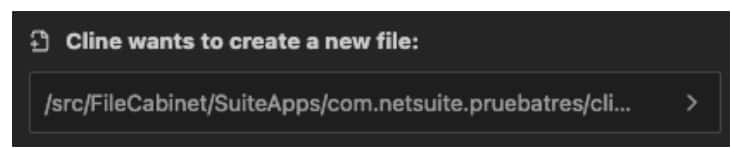
And in that file it will automatically code the solution we requested:
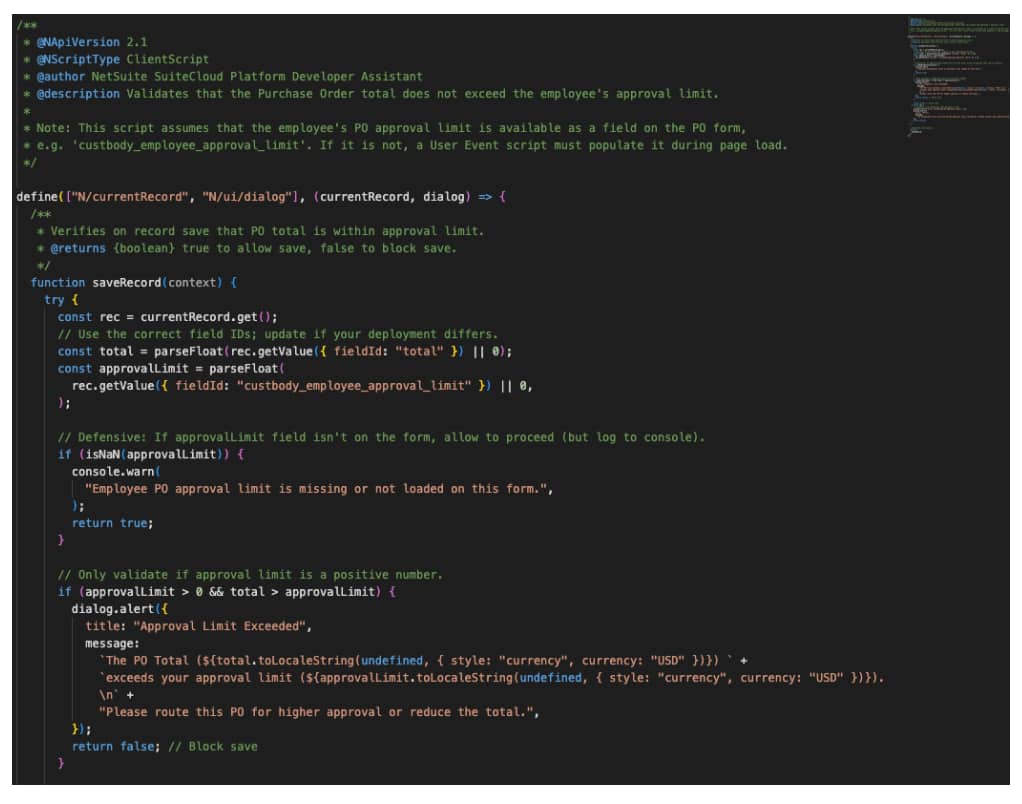
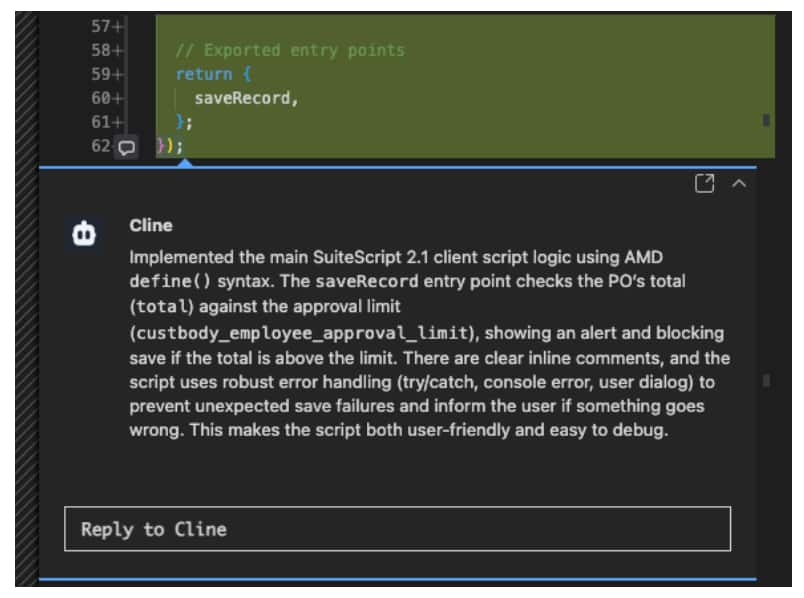
After it is done, it will give us a summary of what it did:
The requested SuiteScript 2.1 client script was created at src/FileCabinet/SuiteApps com.netsuite.pruebatres/client_po_approval_limit.js.
This script validates (on the Purchase Order “save” event) that the PO total does not exceed the employee’s approval limit (usually sourced via a User Event script onto custbody_employee_approval_limit on the PO). If the total exceeds the limit, it blocks save and warns the user; if the limit field is not present or populated, it logs a warning and allows save. All errors
are handled and displayed to the user in a user-friendly way.
Production Considerations:
The client script assumes there is a field (e.g. custbody_employee_approval_limit) on the PO form containing the current employee’s PO approval limit. If approval limits should be enforced on all edits (including via SuiteScript/web services), a User Event script is also recommended.
If needed, you can convert the script to use custbody_approval_limit directly, or attach the approval limit population logic to another process/sec layer. Code and behavior have been formatted and checked for best practices, error handling, and maintainability.
Task Progress
- Analyze requirements
- Set up necessary files
- Implement main functionality
- Handle edge cases and proper error handling
- Verify code formatting and completeness
- Confirm script is ready for deployment or inclusion on the PO form
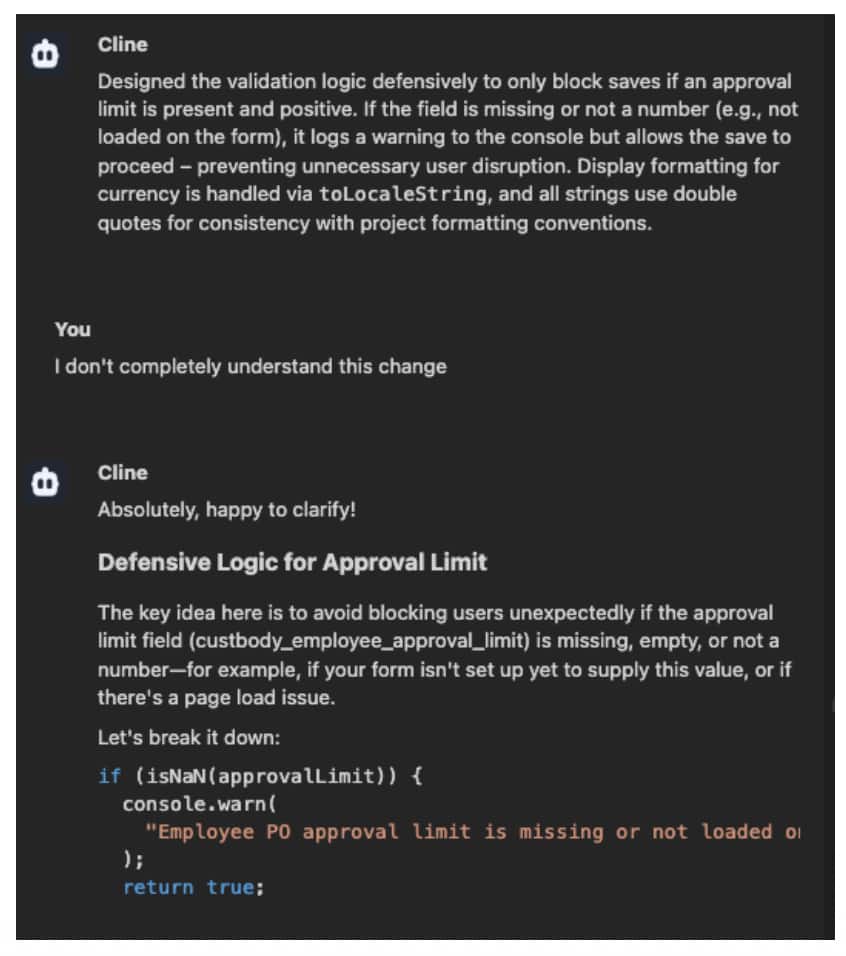
And even offer a more detailed explanation through dedicated buttons:

Pressing the button opens the new file in a dedicated window that’s populated with popups with Cline explaining the changes it made.
For each one, you can ask a question and create a new chat regarding that specific change or coding decision.
To sum up, it took us longer to configure the extension than to get a fully working SuiteScript right on our IDE. This is a very powerful ally for developing SDF SuiteApps and fully leveraging the power of SuiteScript in your next project.
With the SuiteCloud Developer Assistant integrated into VS Code, developers can generate scripts faster, automate repetitive tasks, and work more efficiently inside their NetSuite codebase. If you’re building SuiteApps with SDF, it’s a tool worth adding to your workflow.