Oracle B2C Service provides a rich set of REST APIs for inbound integrations to it from other applications. OAuth2 is one secure way of authenticating the REST API requests and we have some good documentation on configuring OAuth2 for REST APIs.. This article talks about how OAuth2 for REST APIs could be configured via Oracle’s own Identity and Access Management (IAM) tool, Oracle Cloud Infrastructure (OCI) Identity Domain service which is also called as Oracle Identity Cloud Service (IDCS). The required configurations could be done in 10 simple steps as described below.
Configuration Steps
1.1 Pre-requisites
Login as an user with admin privileges to B2C Service DotNet Console.
Login as an user with full privileges to an Identity Domain in OCI tenancy for OAuth2 authentication of B2C Service REST APIs.
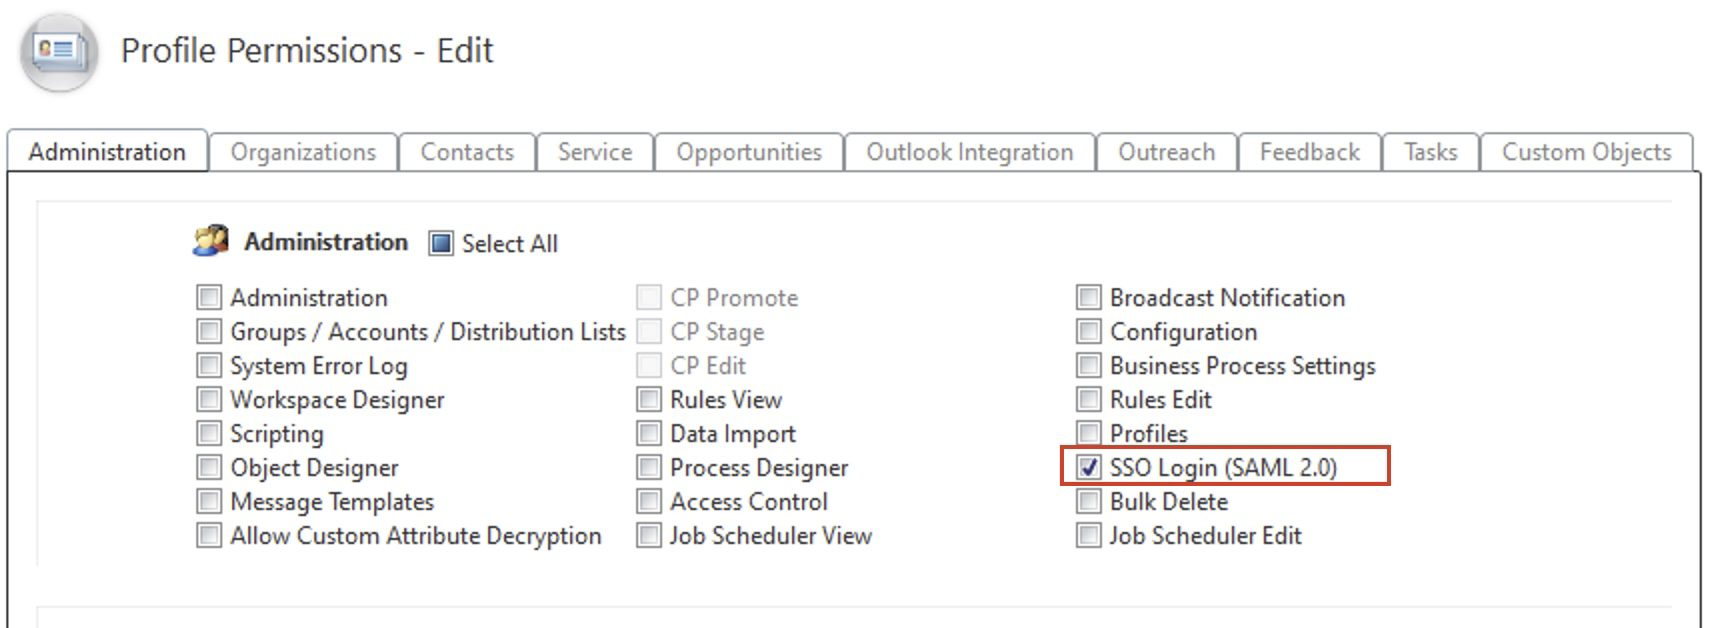
1.2. (B2C Service) Enable SSO
Enable SSO if not already enabled for the B2C Service instance – https://cx.rightnow.com/app/answers/detail/a_id/12510
1.3. (B2C Service) Create an SSO profile
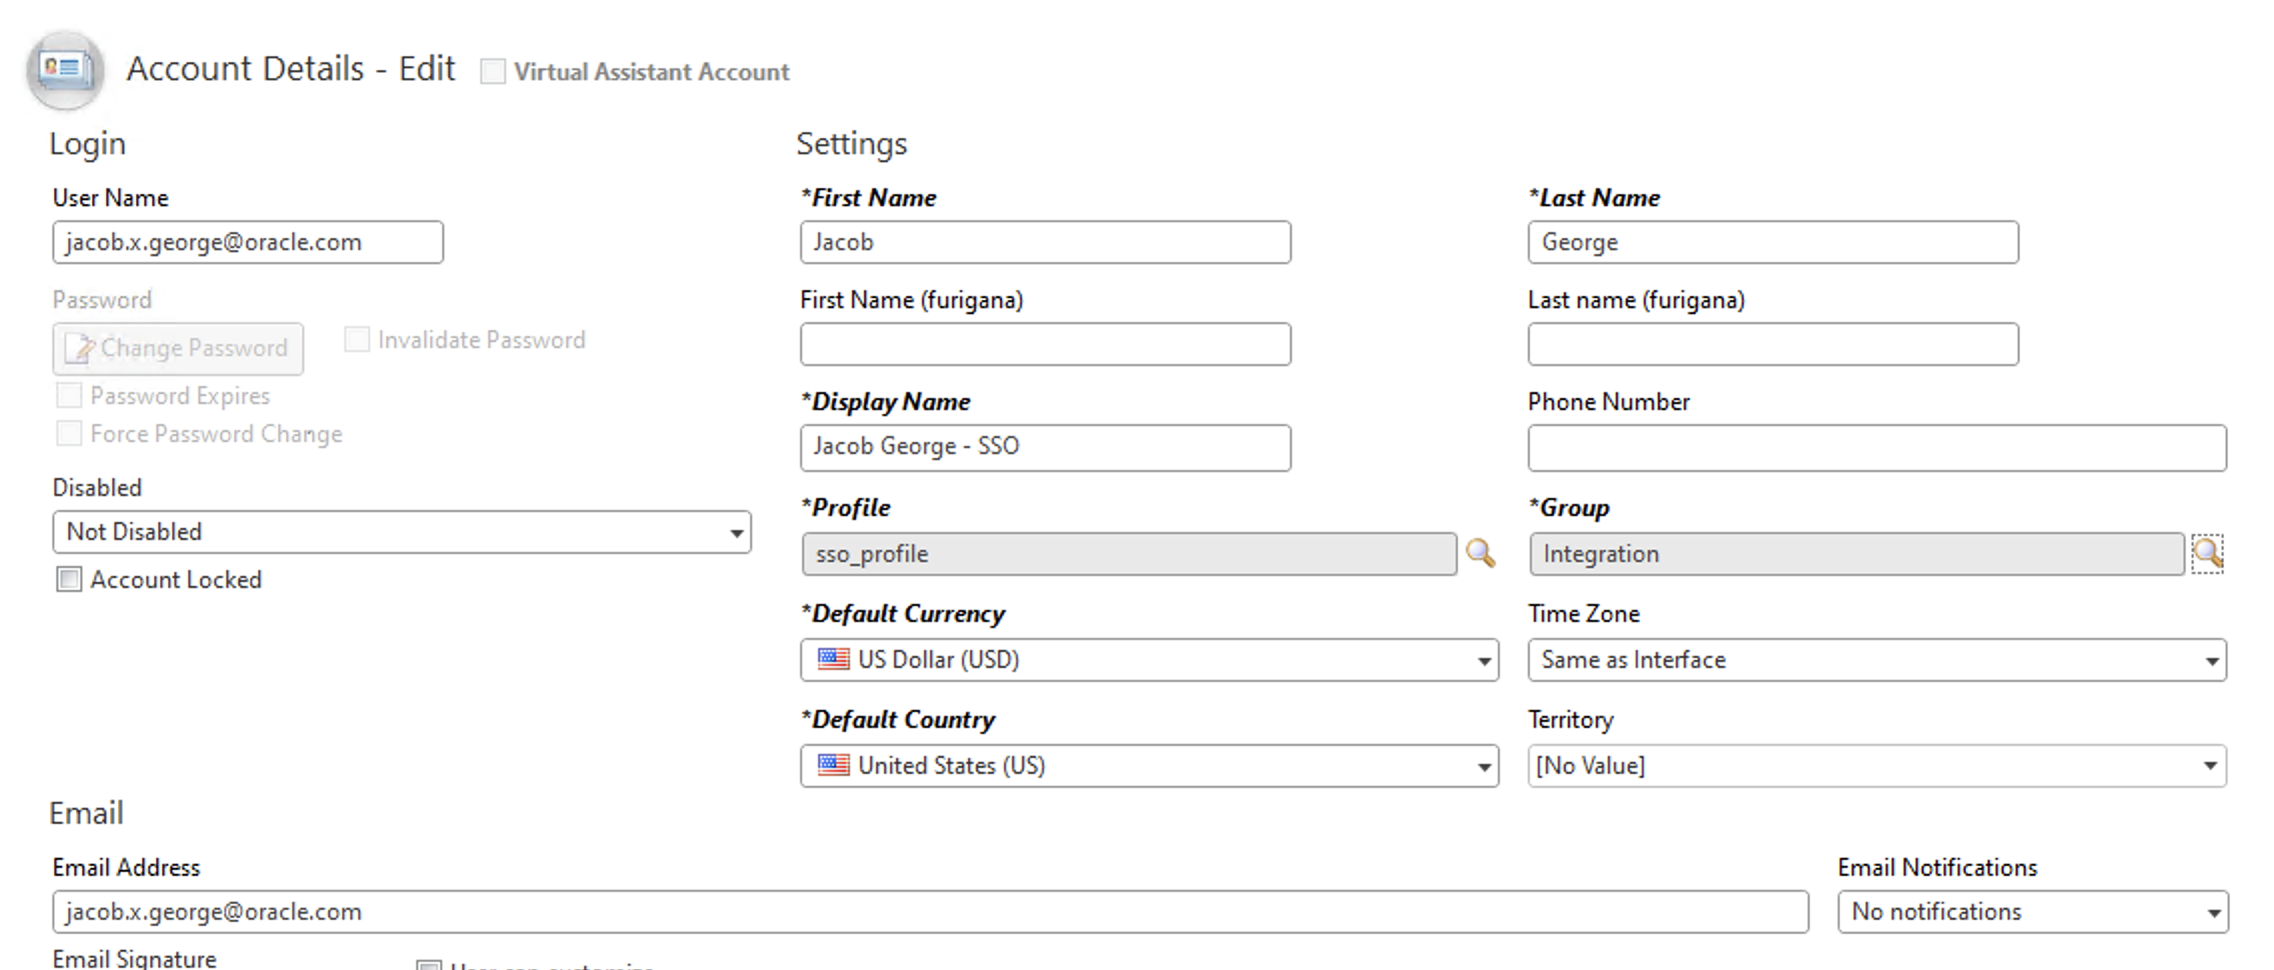
1.4. (B2C Service) Create an User Account against SSO profile
1.5. (IDCS) Export Identity Domain Metadata
Open the <Identity Domain URL>/fed/v1/metadata in a browser and save that as an xml file to the local folder.

Note: Make sure to turn on the “Access Signing Certificate” option under Default Settings in the Identity Cloud Service console as described in https://docs.oracle.com/en/cloud/paas/identity-cloud/uaids/access-saml-metadata.html in order for the metadata URL to work.
1.6. (B2C Service) Configure OAuth Identity Provider in B2C Service
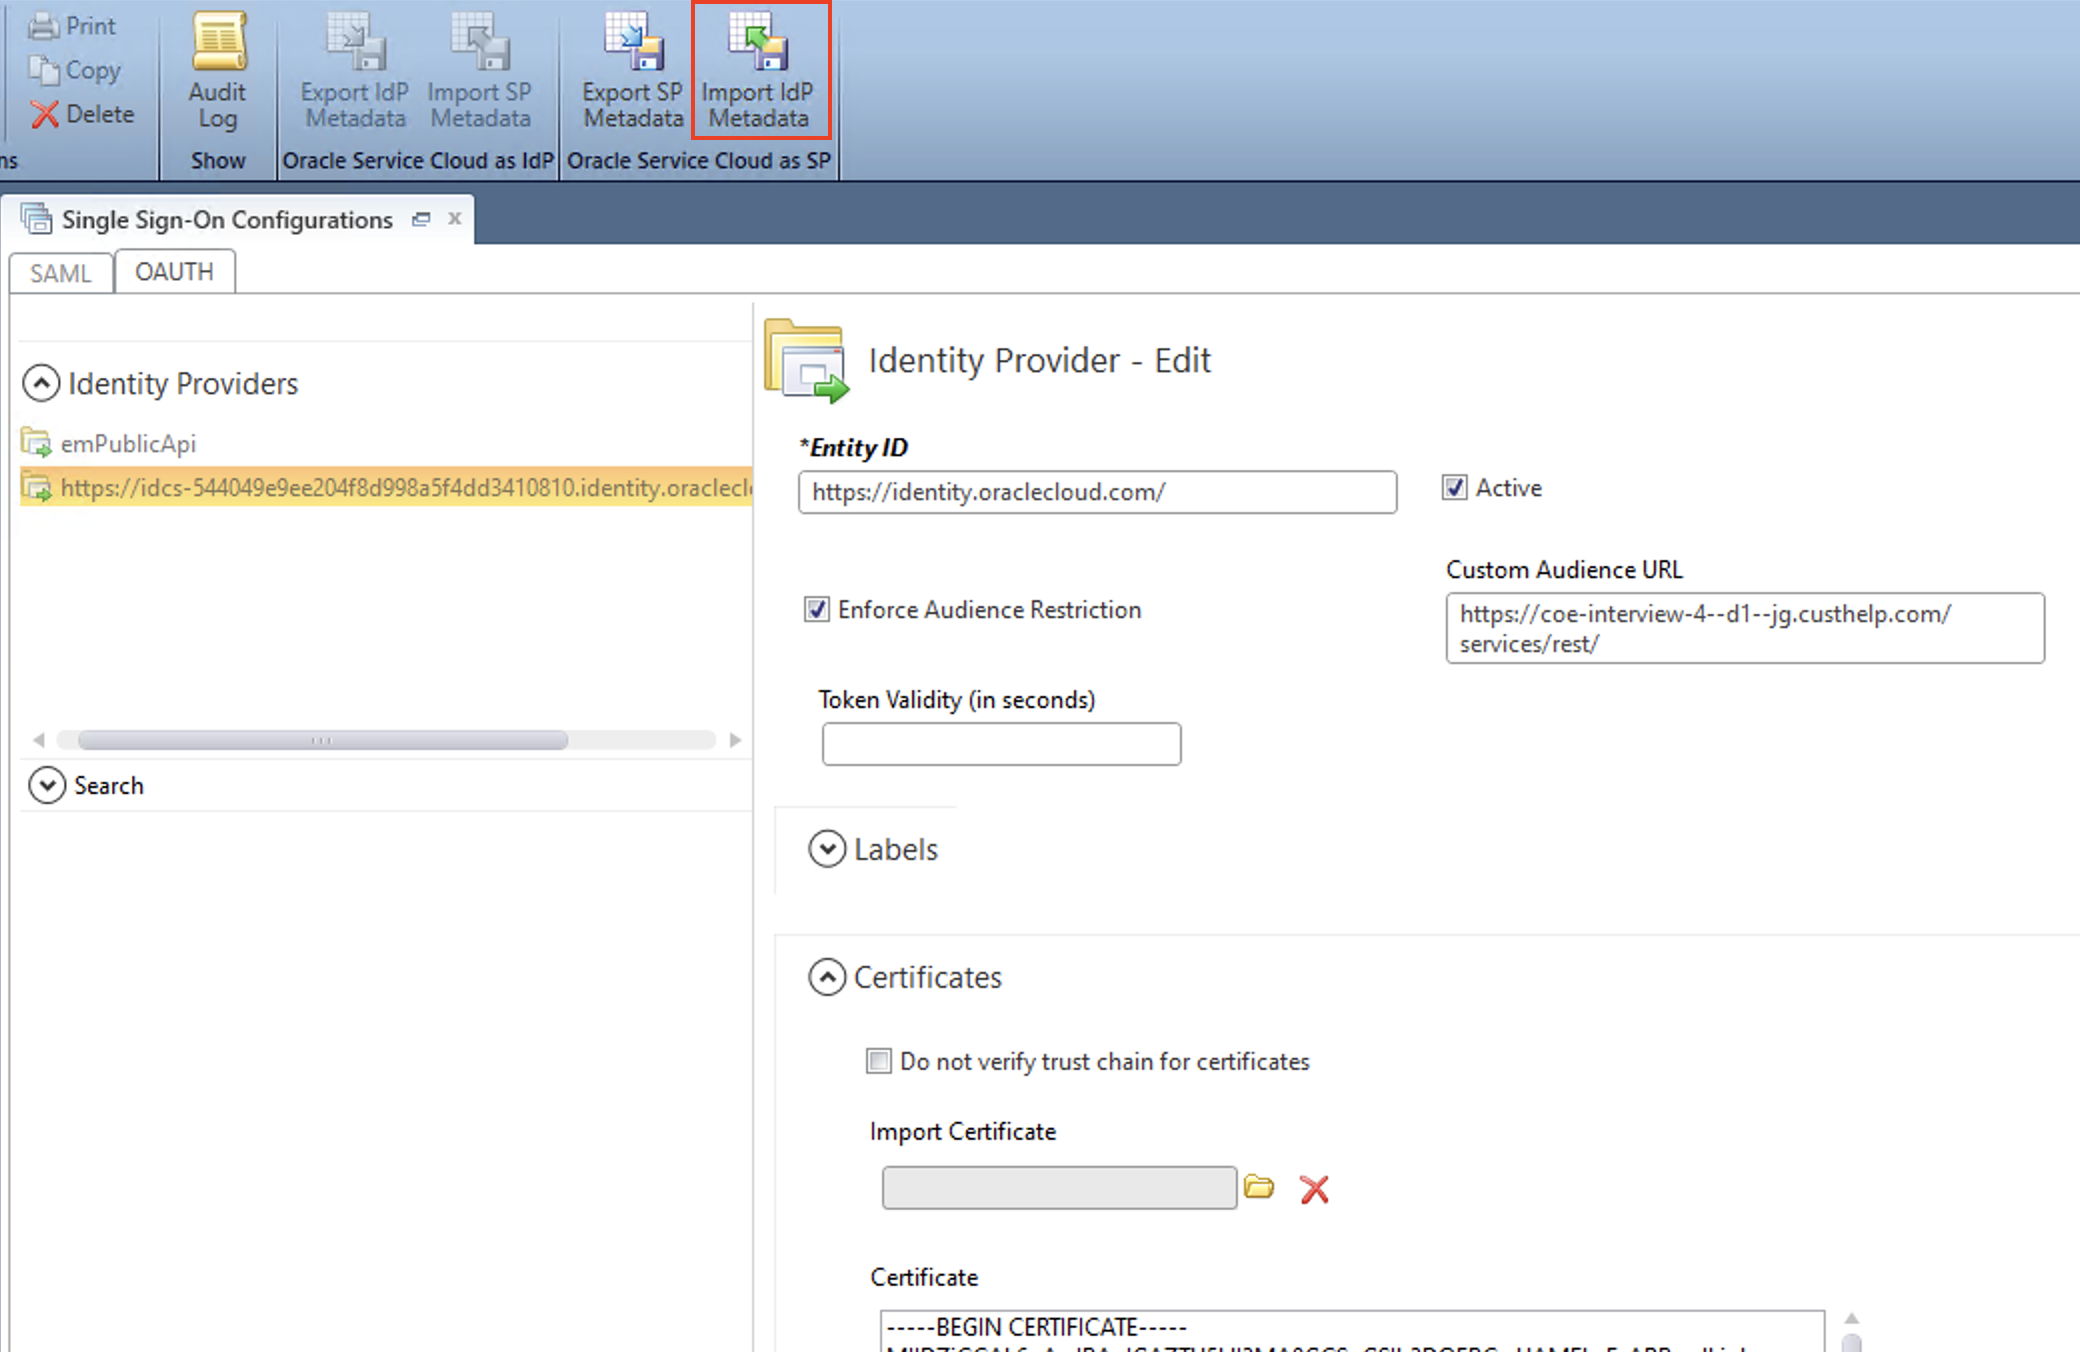
Navigate to Single Sign-On Configurations page > OAUTH tab in DotNet Console.
Create a new OAuth identity provider entry by clicking the “Import IdP Metadata” button to load the Identity Domain Metadata xml file got in the previous step.
Modify the Entity ID to “https://identity.oraclecloud.com/” and Custom Audience URL to the REST API service URL.
Check “Enforce Audience Restriction” and “Active” check-boxes before saving.
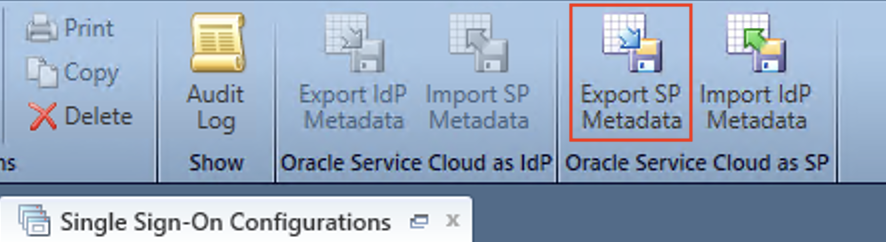
1.7. (B2C Service) Export SP Metadata for Configuring the Integrated Application in Identity Domain
In Single Sign-On Configurations page, click on the “Export SP Metadata” ribbon action to export the SP metadata as an xml file.
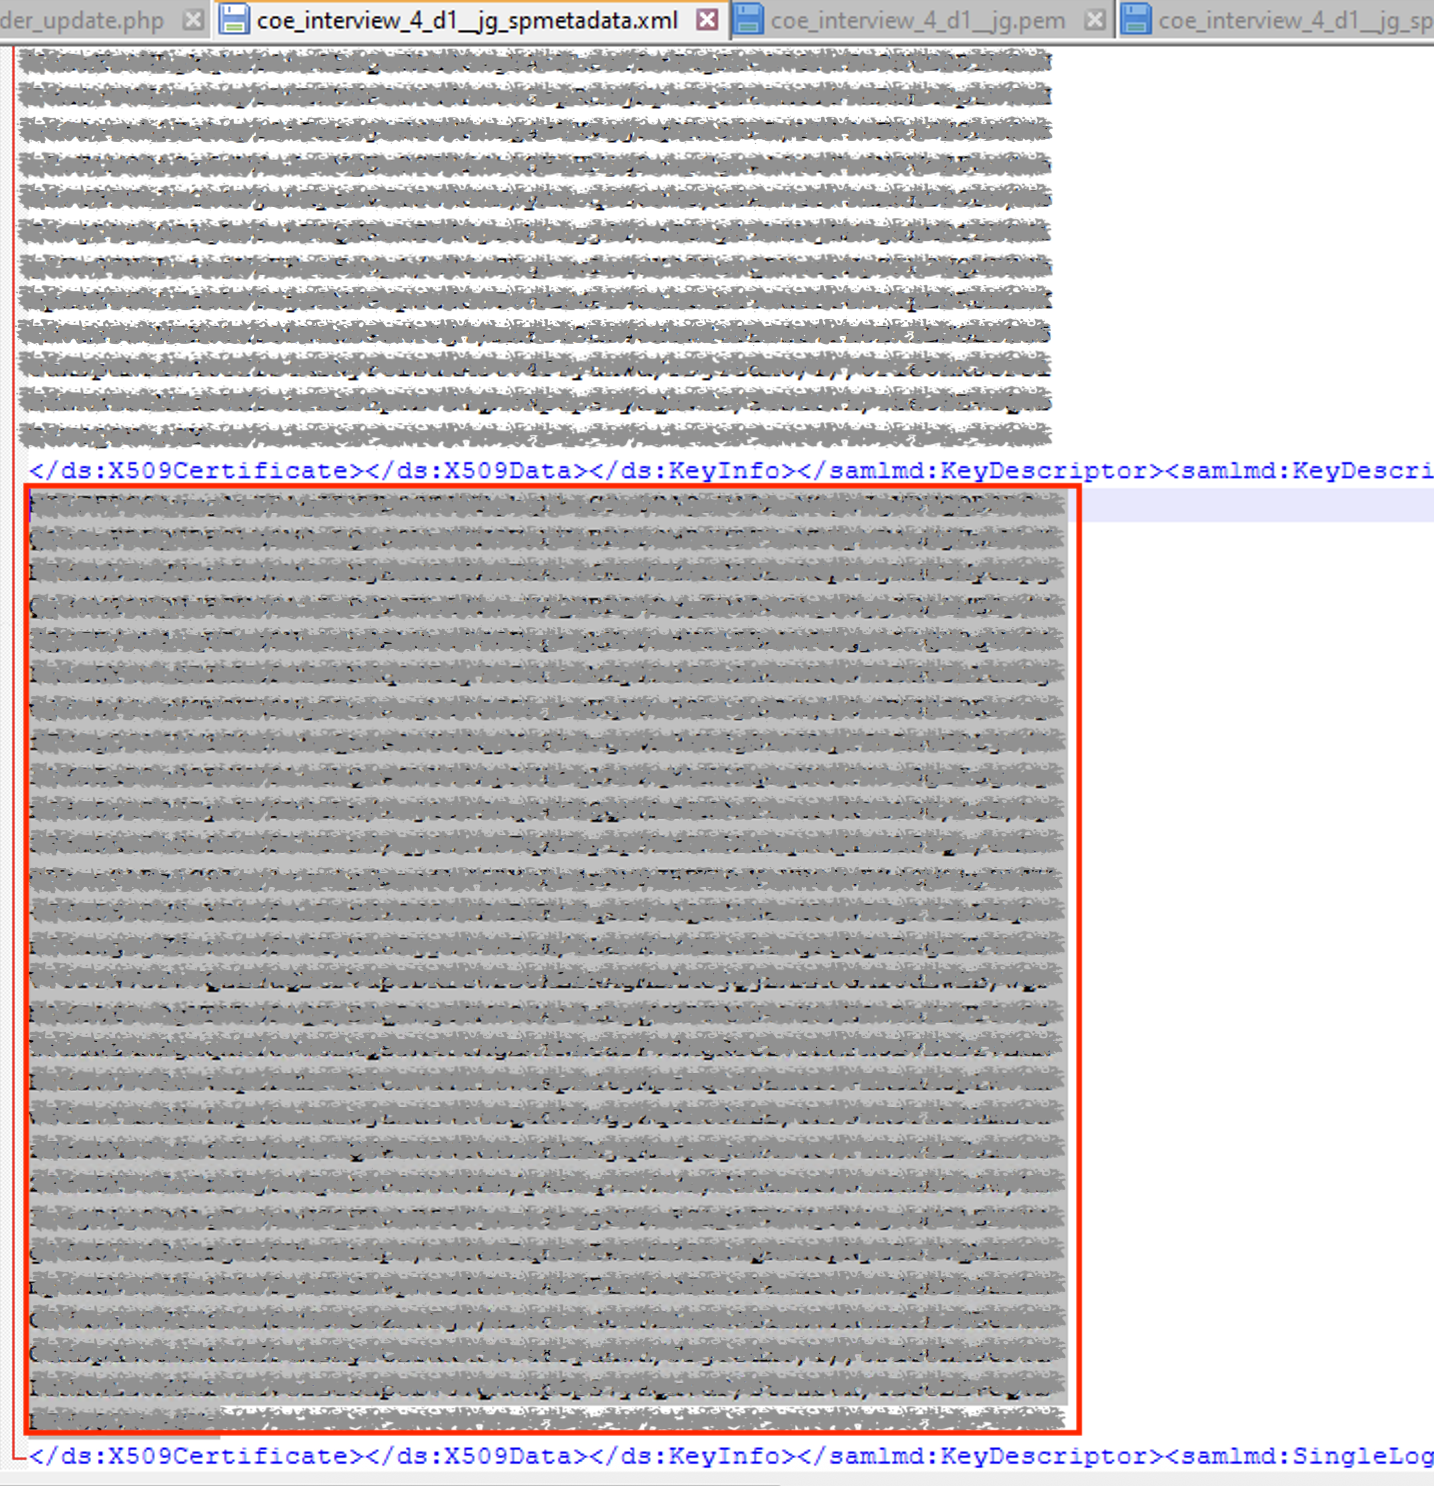
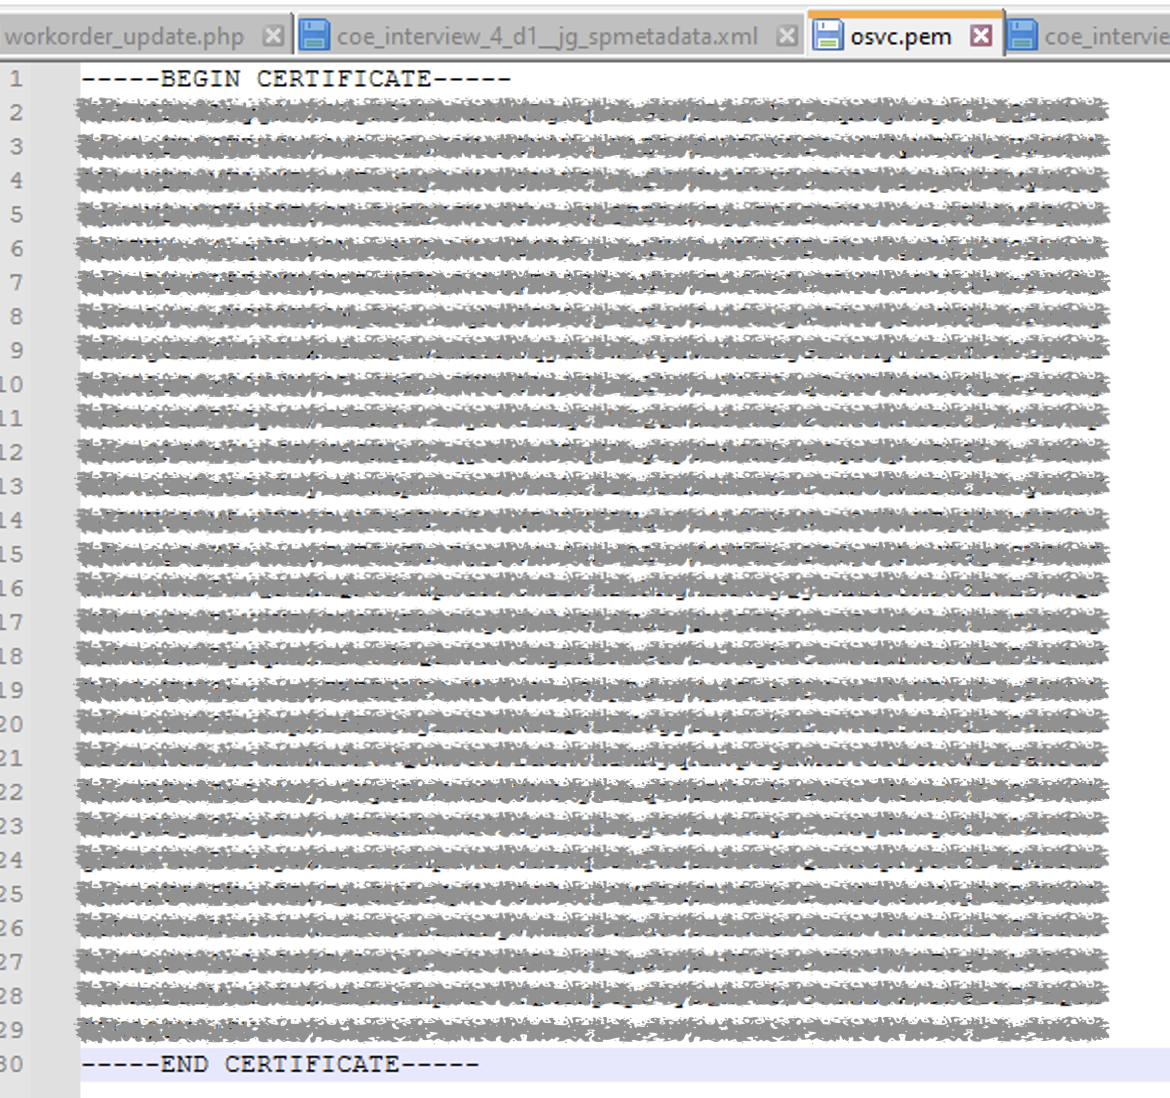
Open the SP metadata xml file in a code editor, and extract the selected hash code section to a new file with —–BEGIN CERTIFICATE—– line at the beginning and —–END CERTIFICATE—– line at the end. This file could be saved with “.pem” extension.
1.8. (IDCS) Create an Integrated Application in Identity Domain
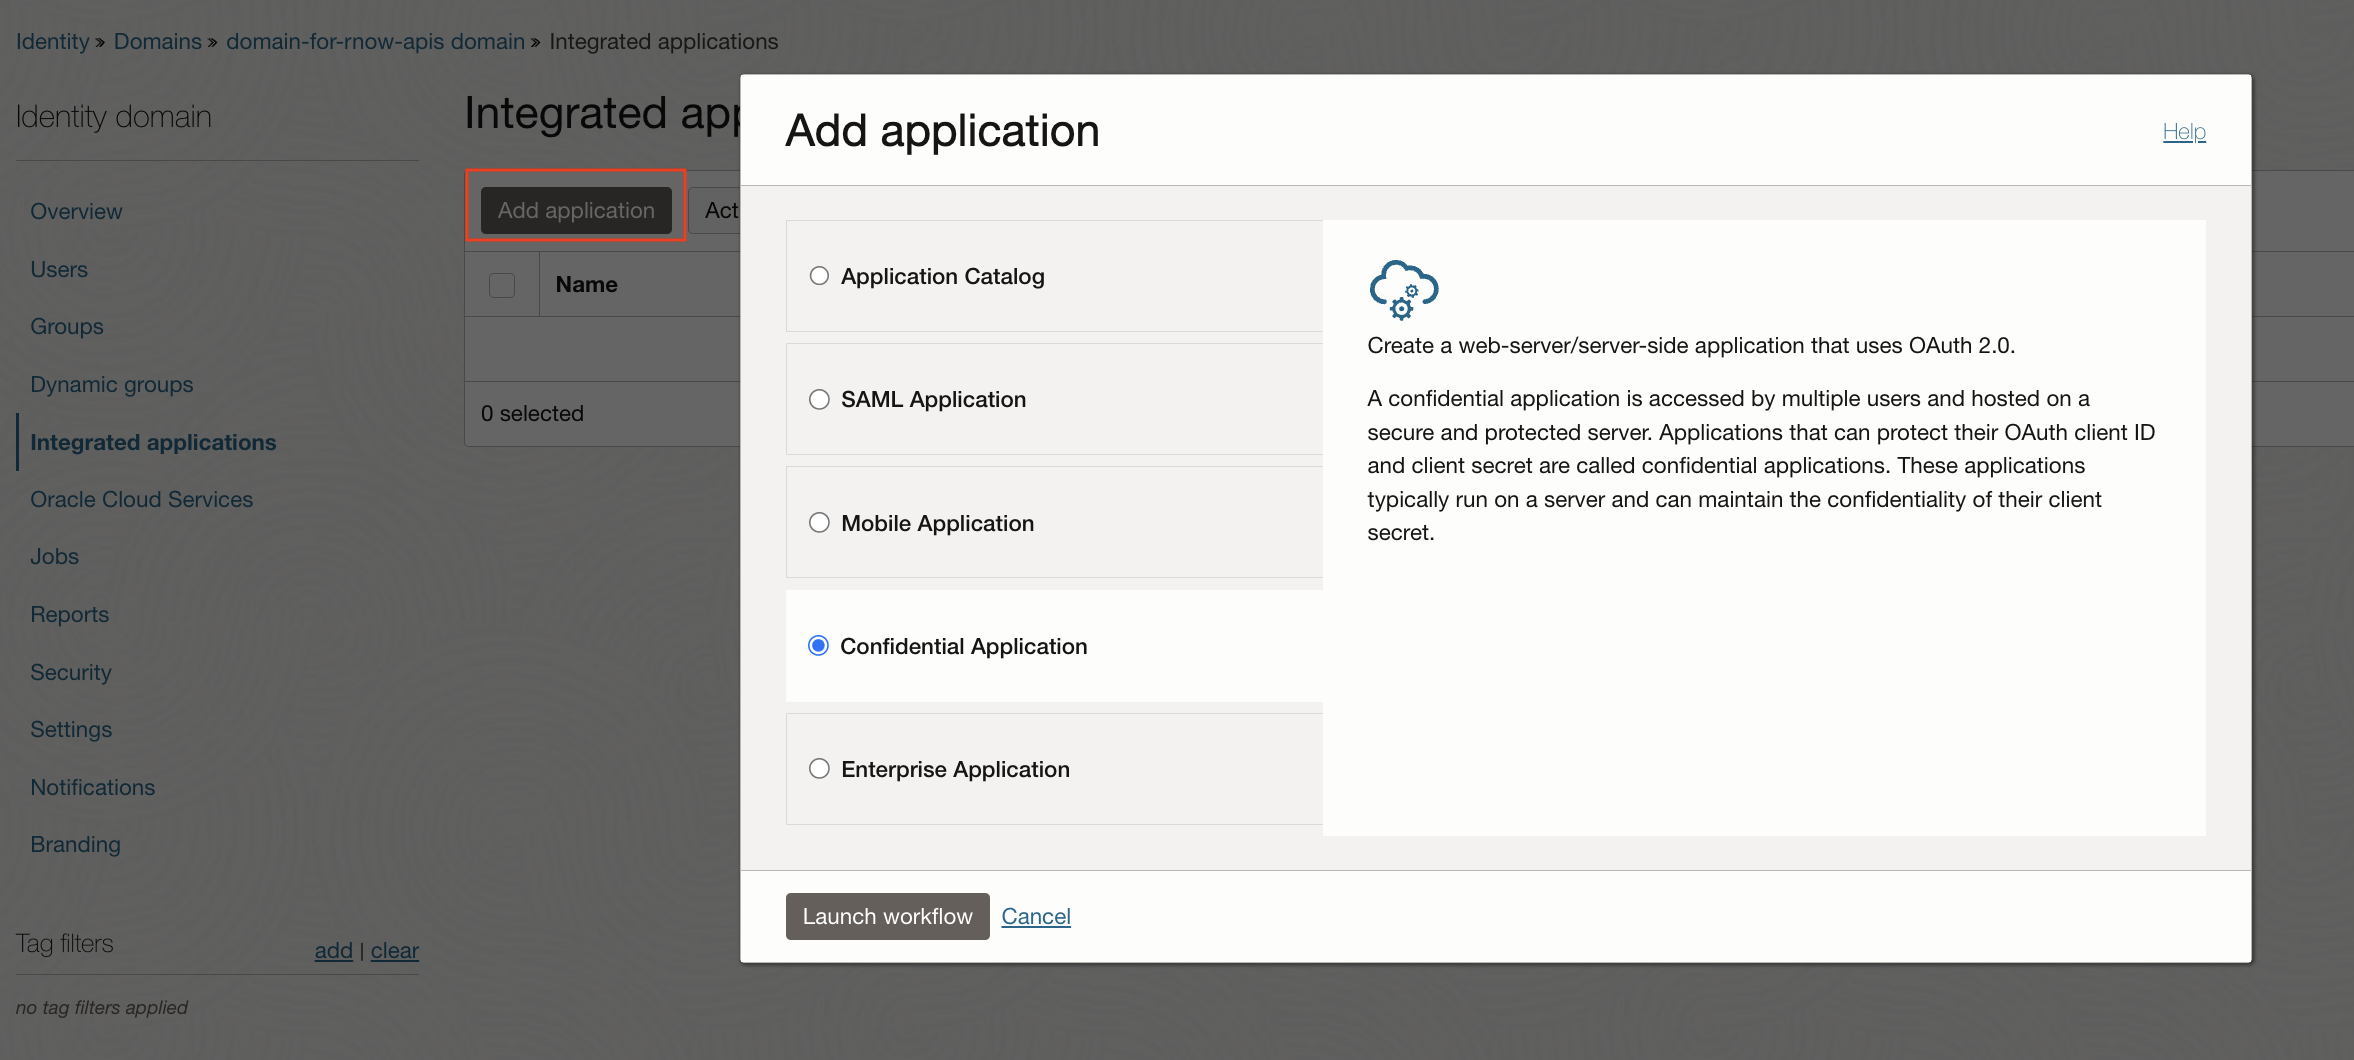
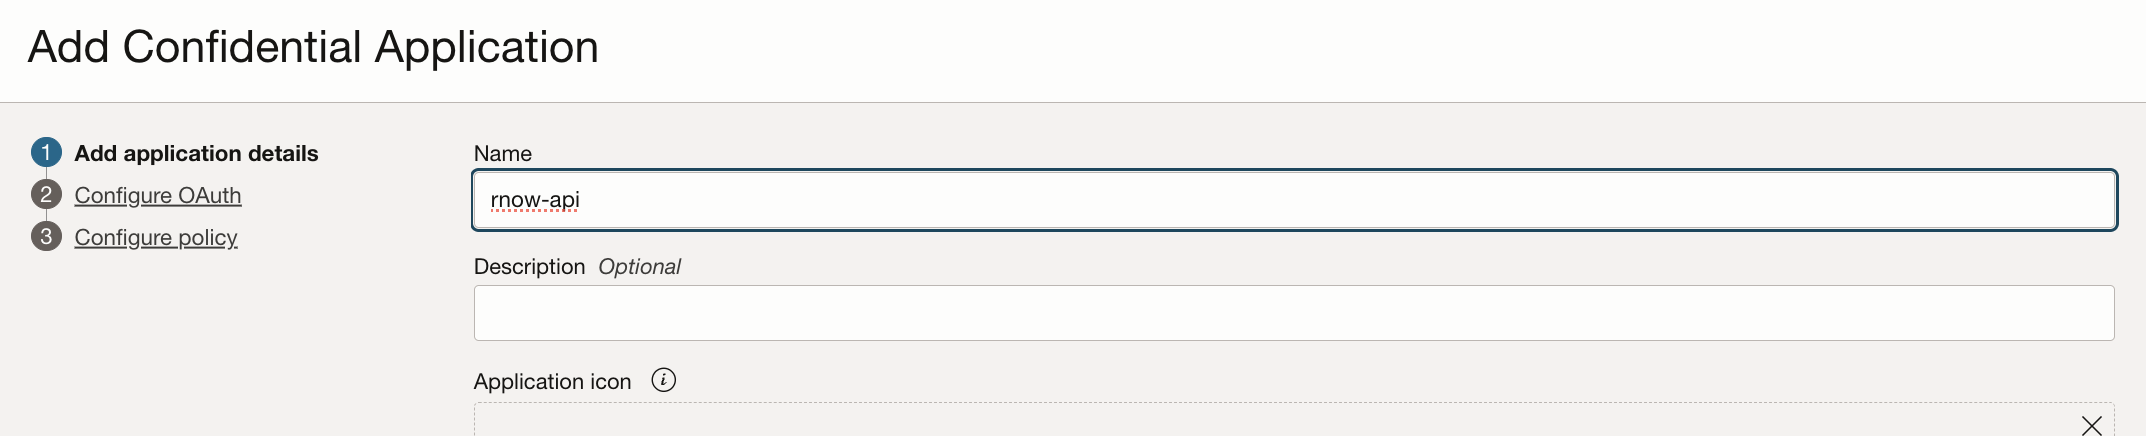
Create an integrated application of type “Confidential Application” by clicking the “Add application” button from the Integrated Applications section of the Identity Domain.
Do the OAuth Configuration of the newly created confidential application by clicking the “Edit OAuth configuration” button.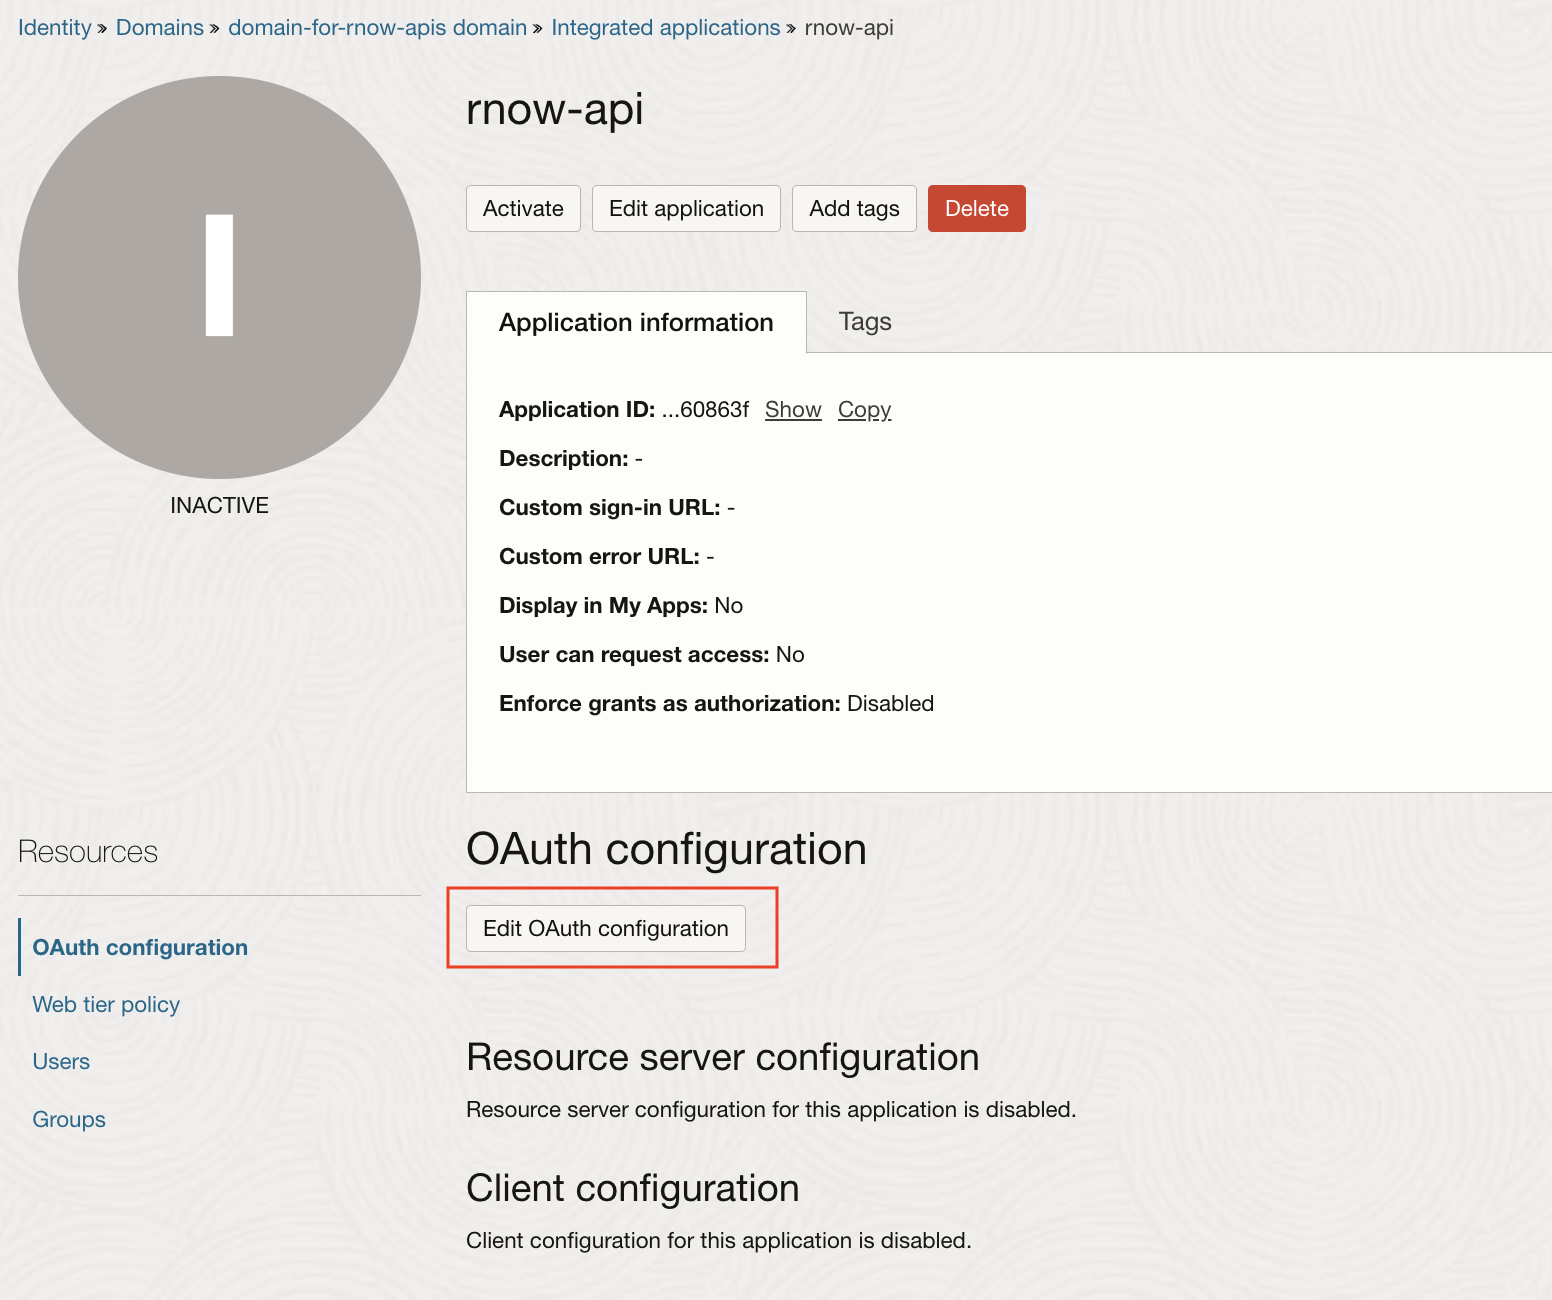
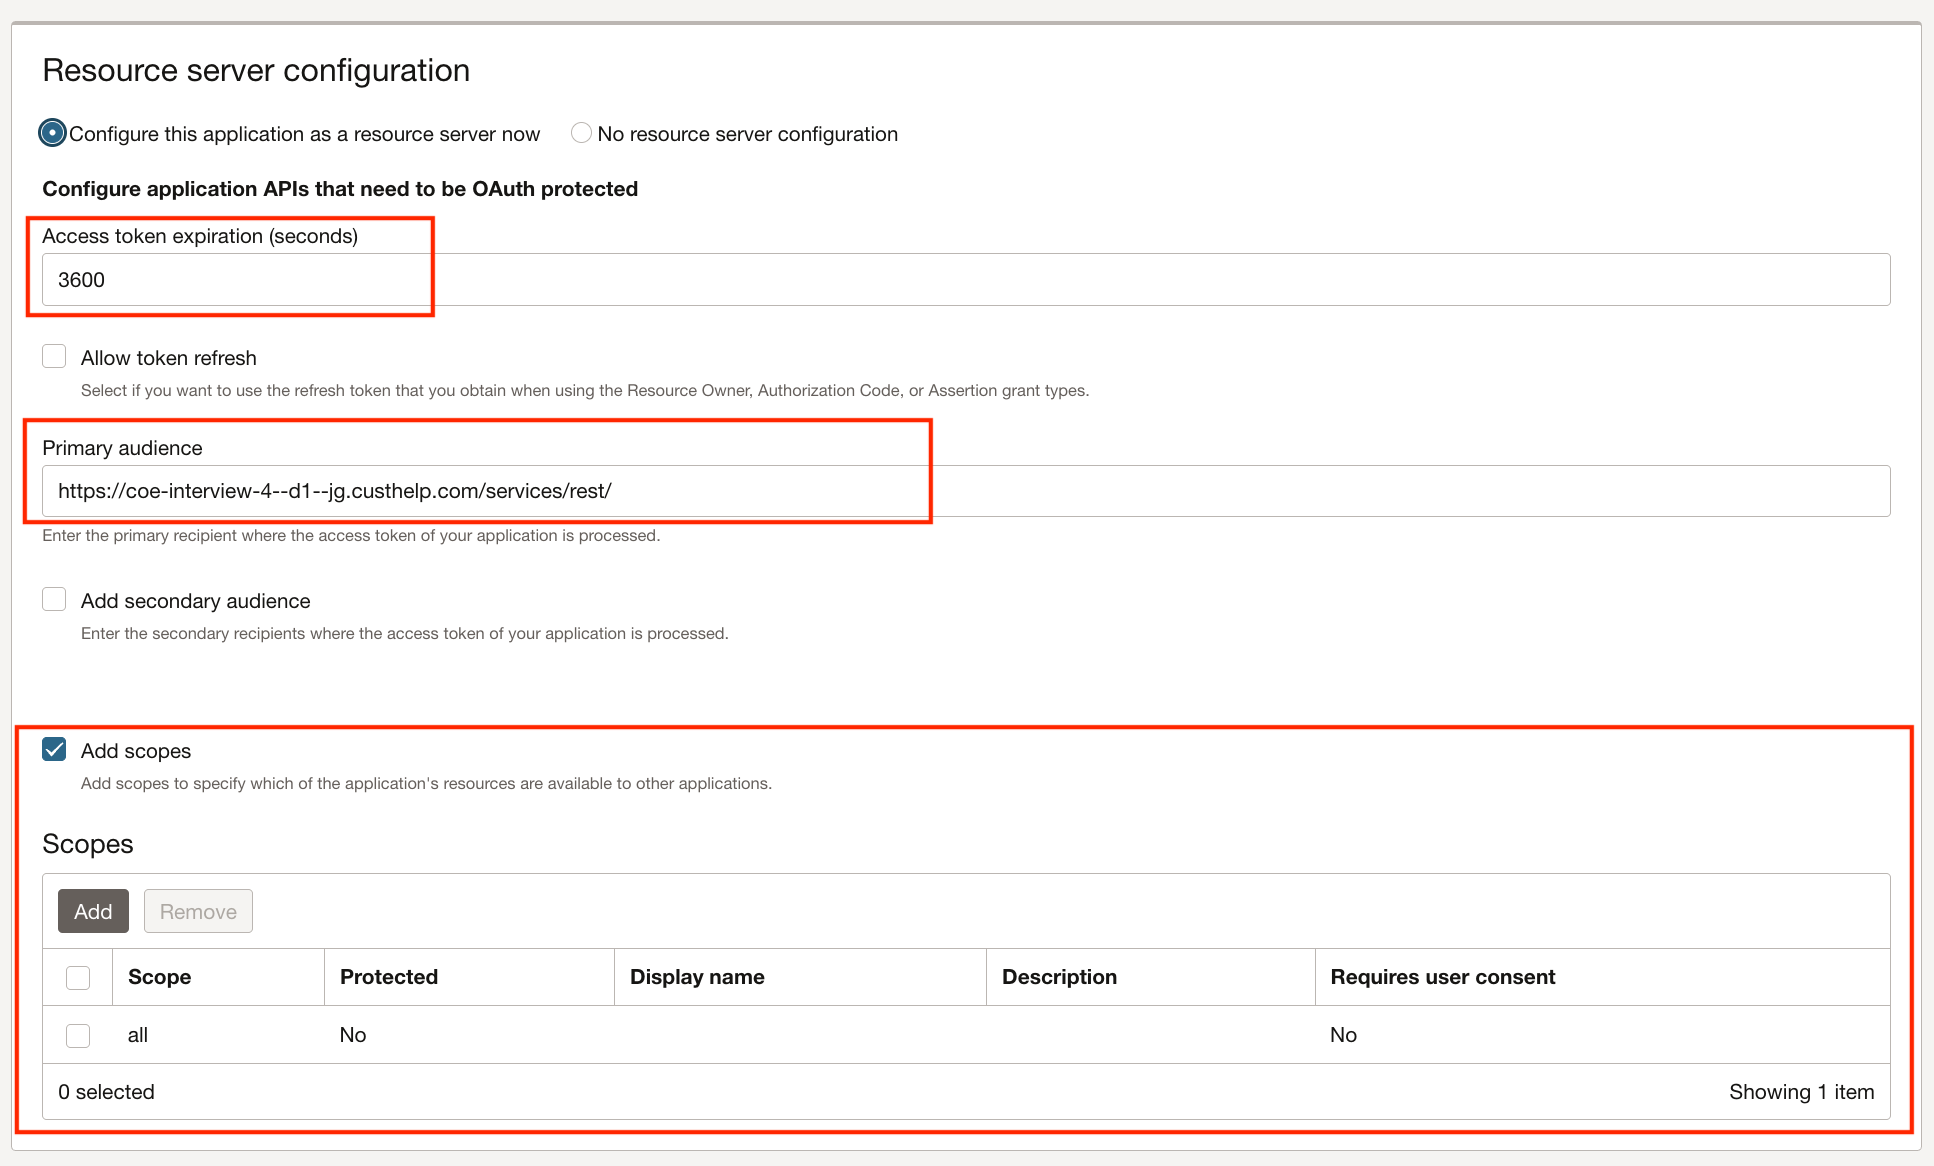
1.8.1. Resource Server Configurations
Modify Access token expiration (default 3600) if required.
Set “Primary audience” to the B2C Service REST service URL.
Add scope “all”
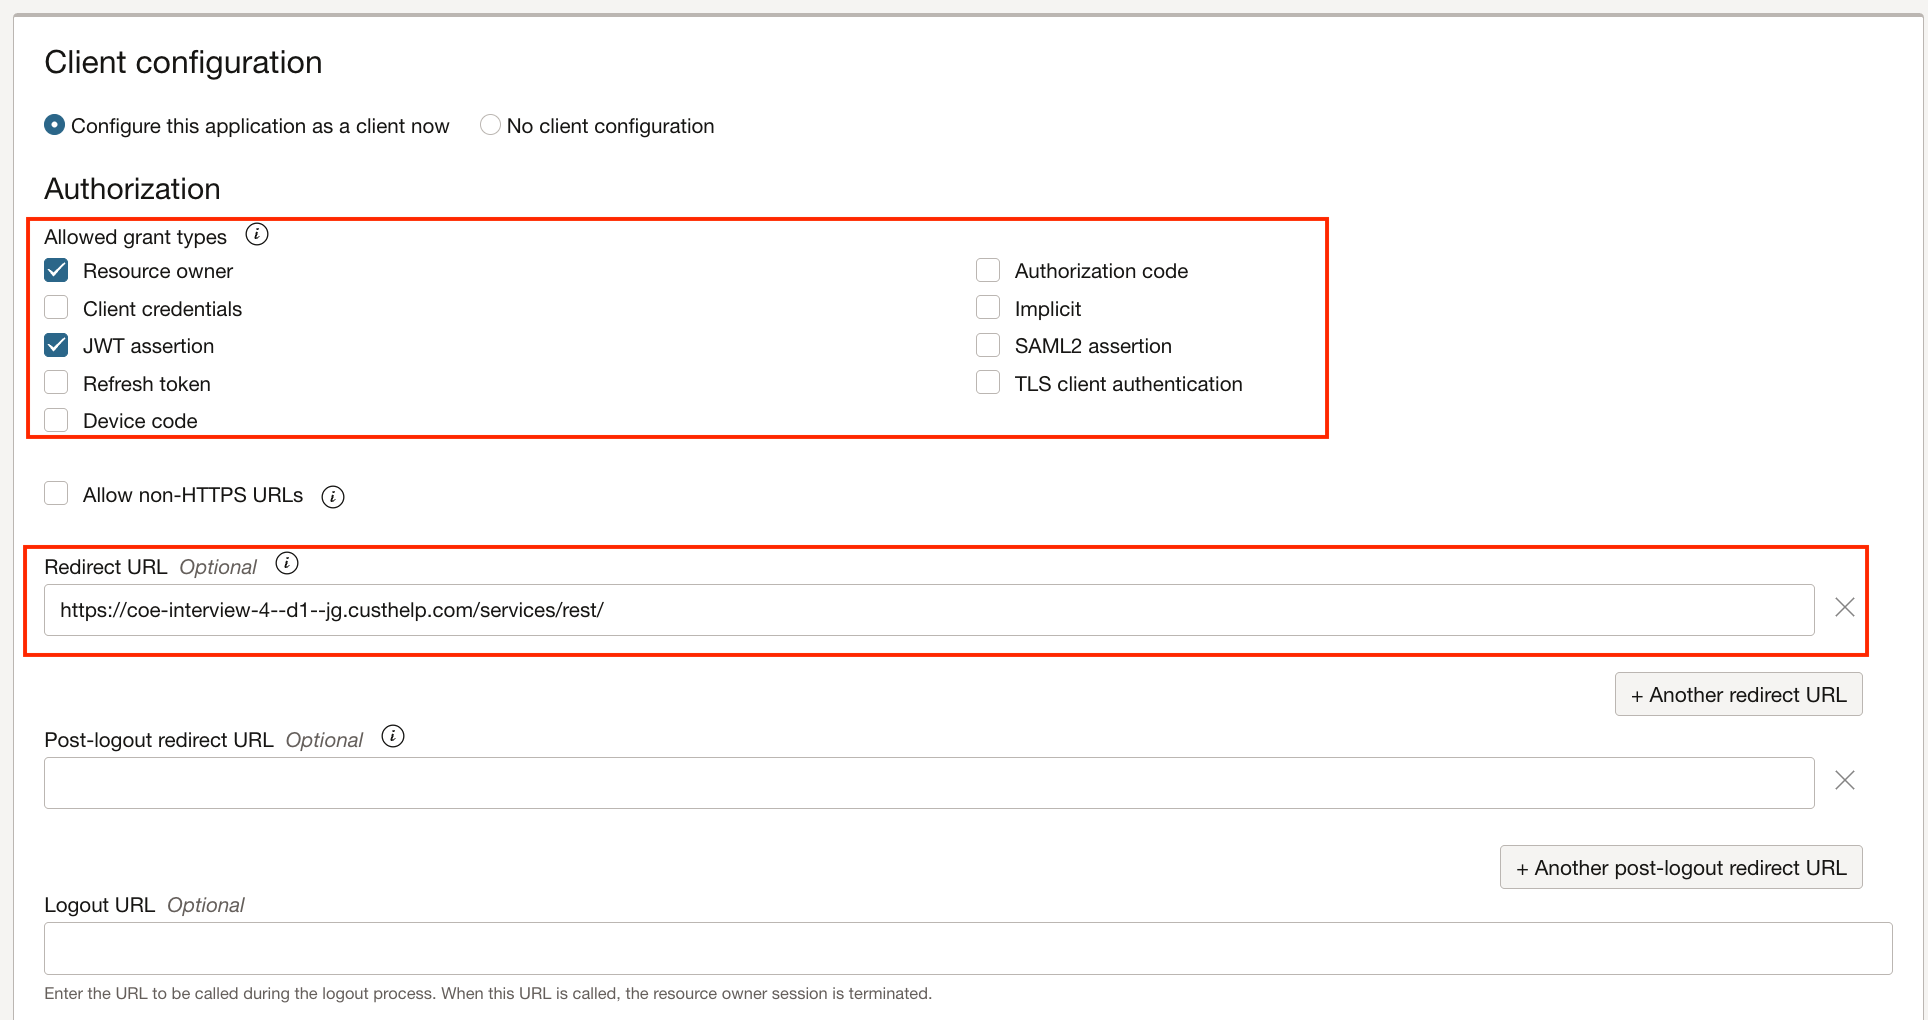
1.8.2. Client Configuration
Under Authorization
- Check “Resource owner” and “JWT assertion” grant types
- Set “Redirect URL” to the B2C Service REST service URL.
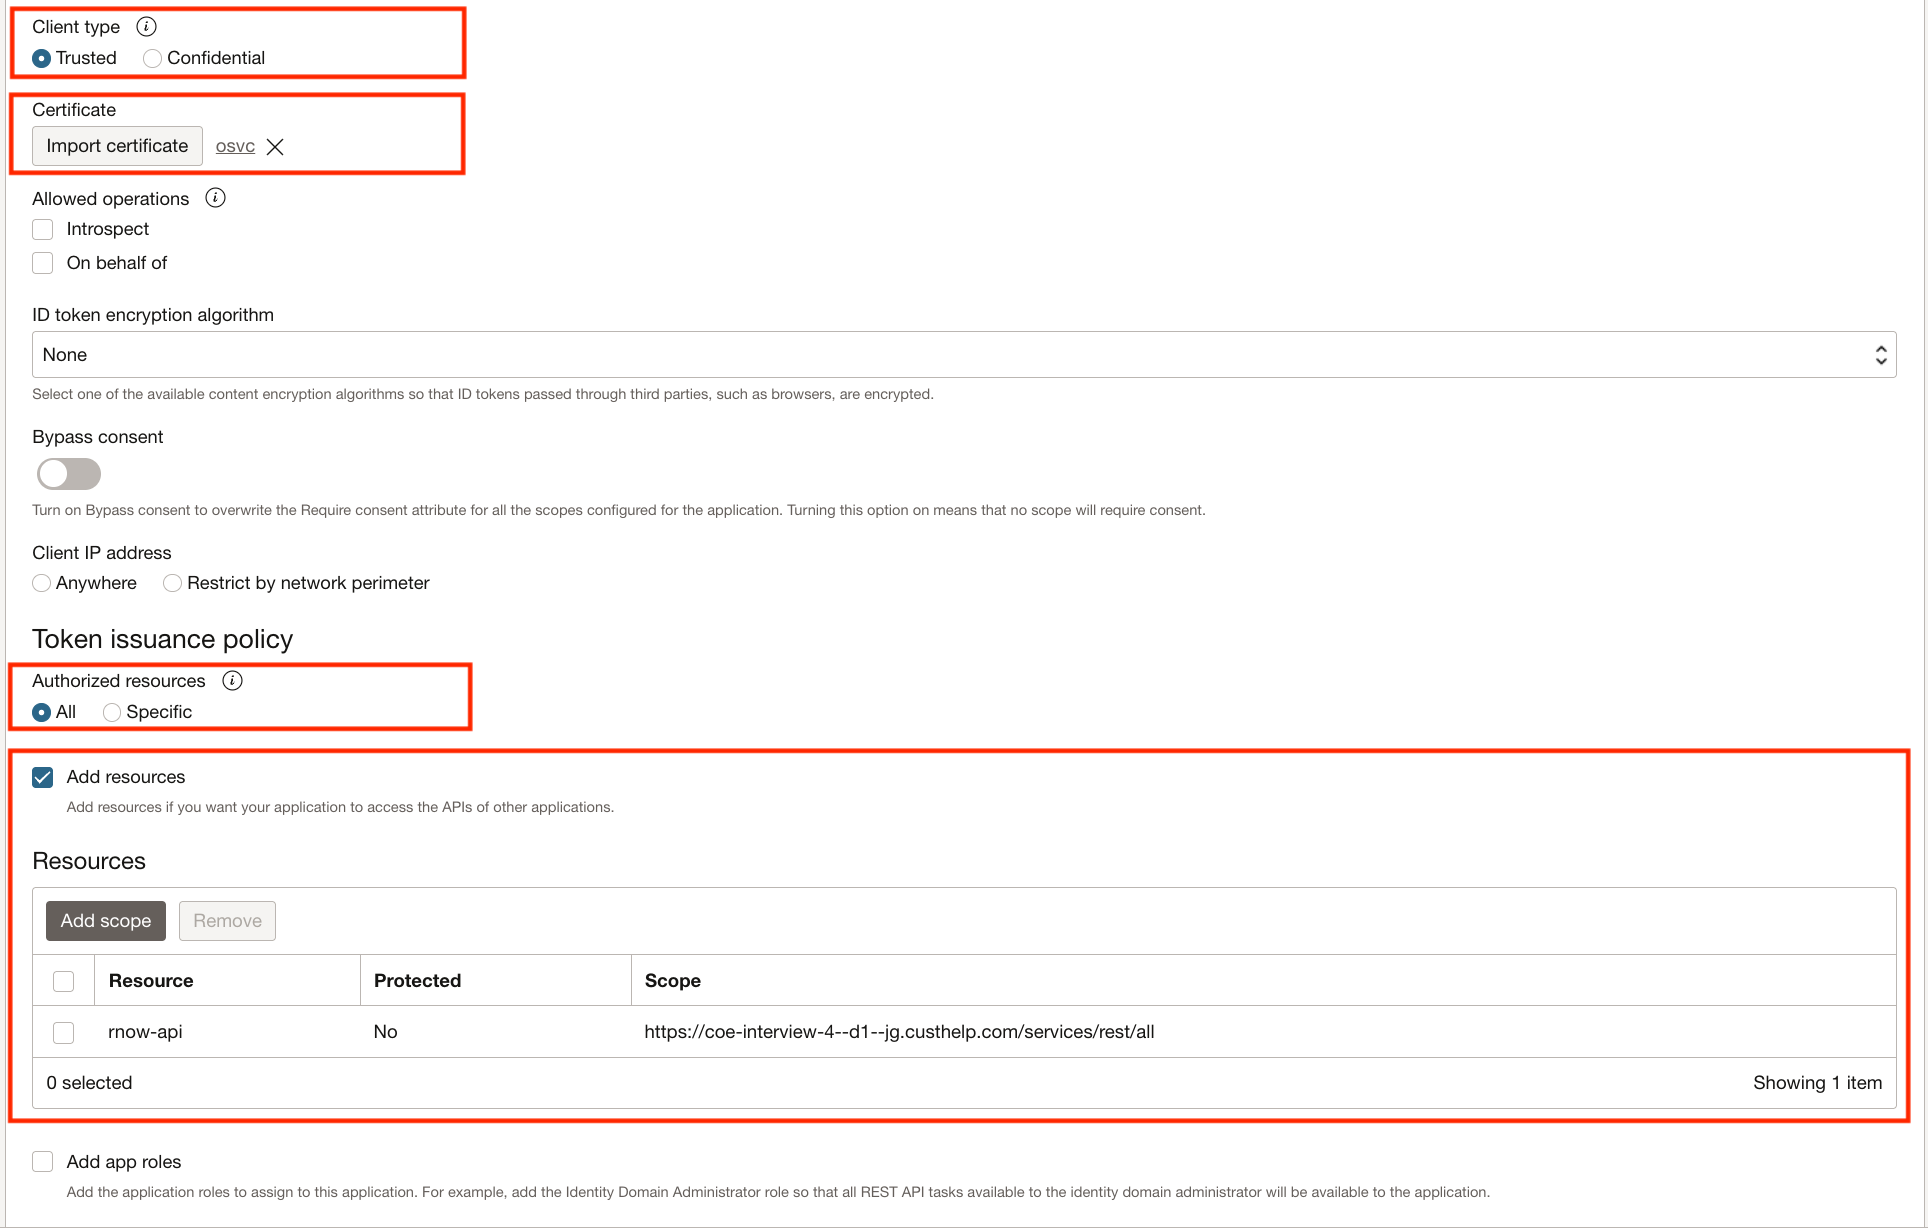
- Set Client type to “Trusted”
- Import the SP certificate pem file under Certificate.
Under Token Issuance Policy
- Select Authorized resources to “All”
- Check “Add resources” and add scope to the current integrated application (“rnow-api” here in the example).
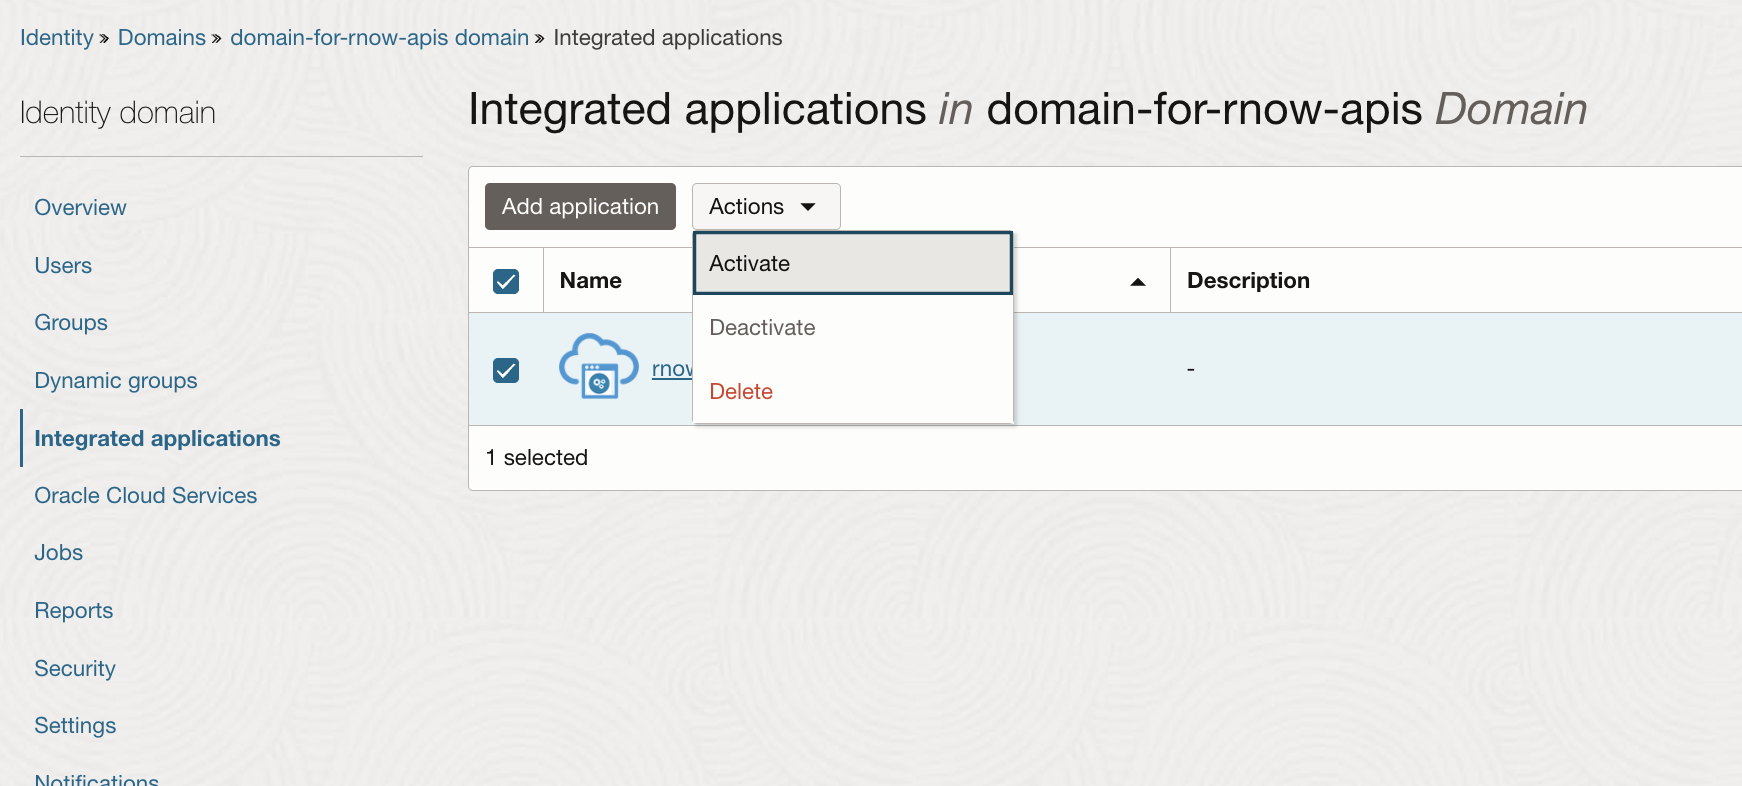
1.9. (IDCS) Activate the new Integrated Application
Activate the newly created integrated application by clicking the “Activate” action in the identity domain’s Integrated applications list.
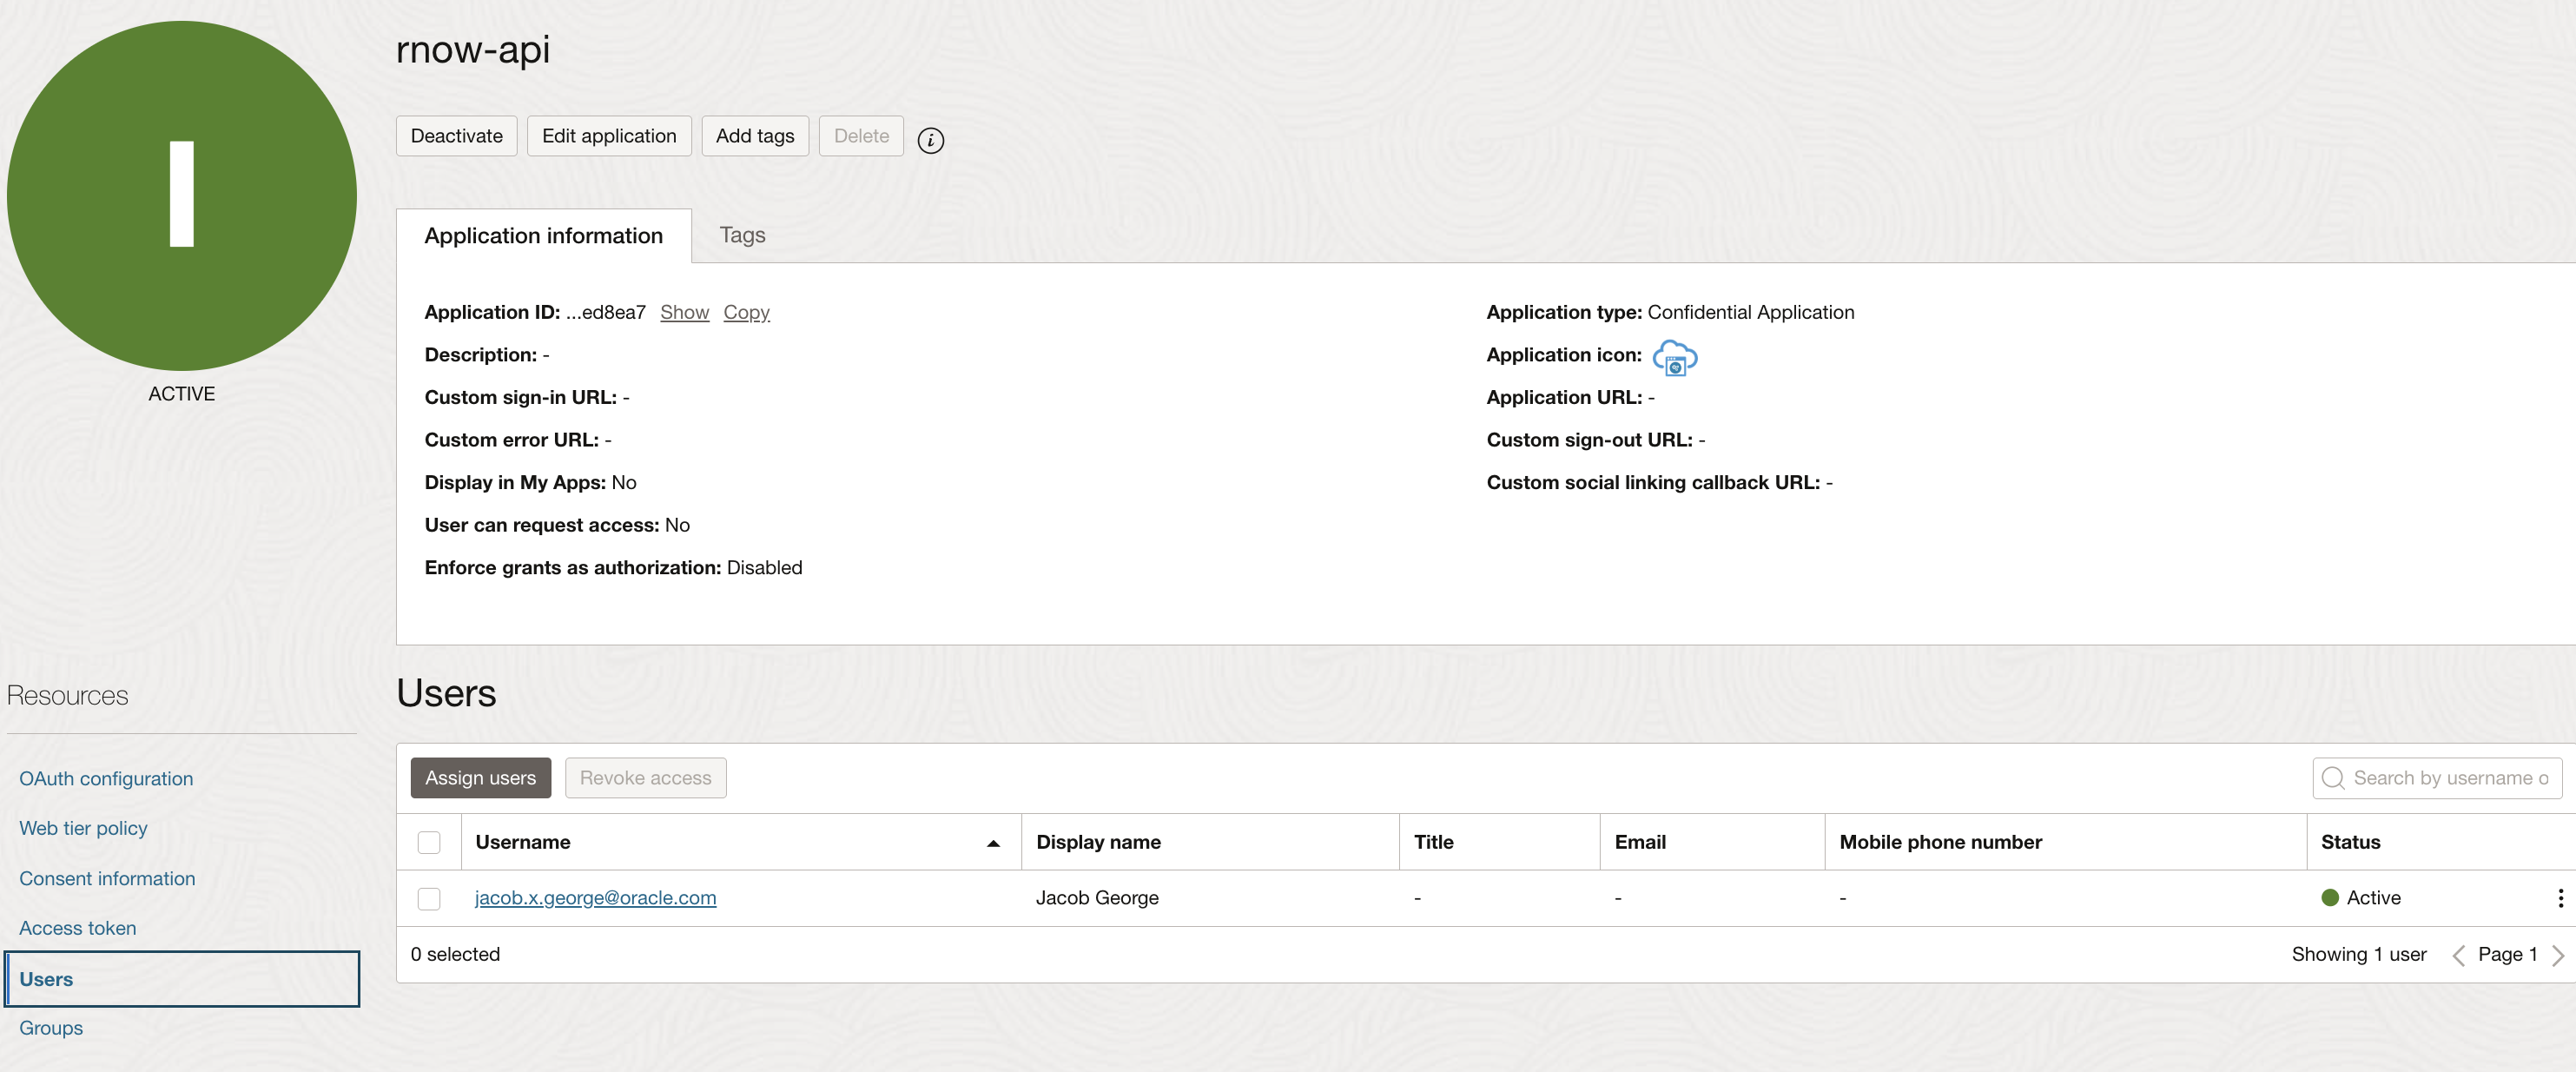
1.10. (IDCS) Associate User to the Integration Application
Create an user if not exist with username same as the login value of the SSO user account created in B2C Service, and assoicate that user to the integrated application.
2. Verification
2.1. Copy Client-Id & Client-Secret, User Credentials
Note down Client-Id and Client-Secret from the integrated application OAuth configuration section.
Also note down the user-name and password of the IDCS user associated to the integrated application.
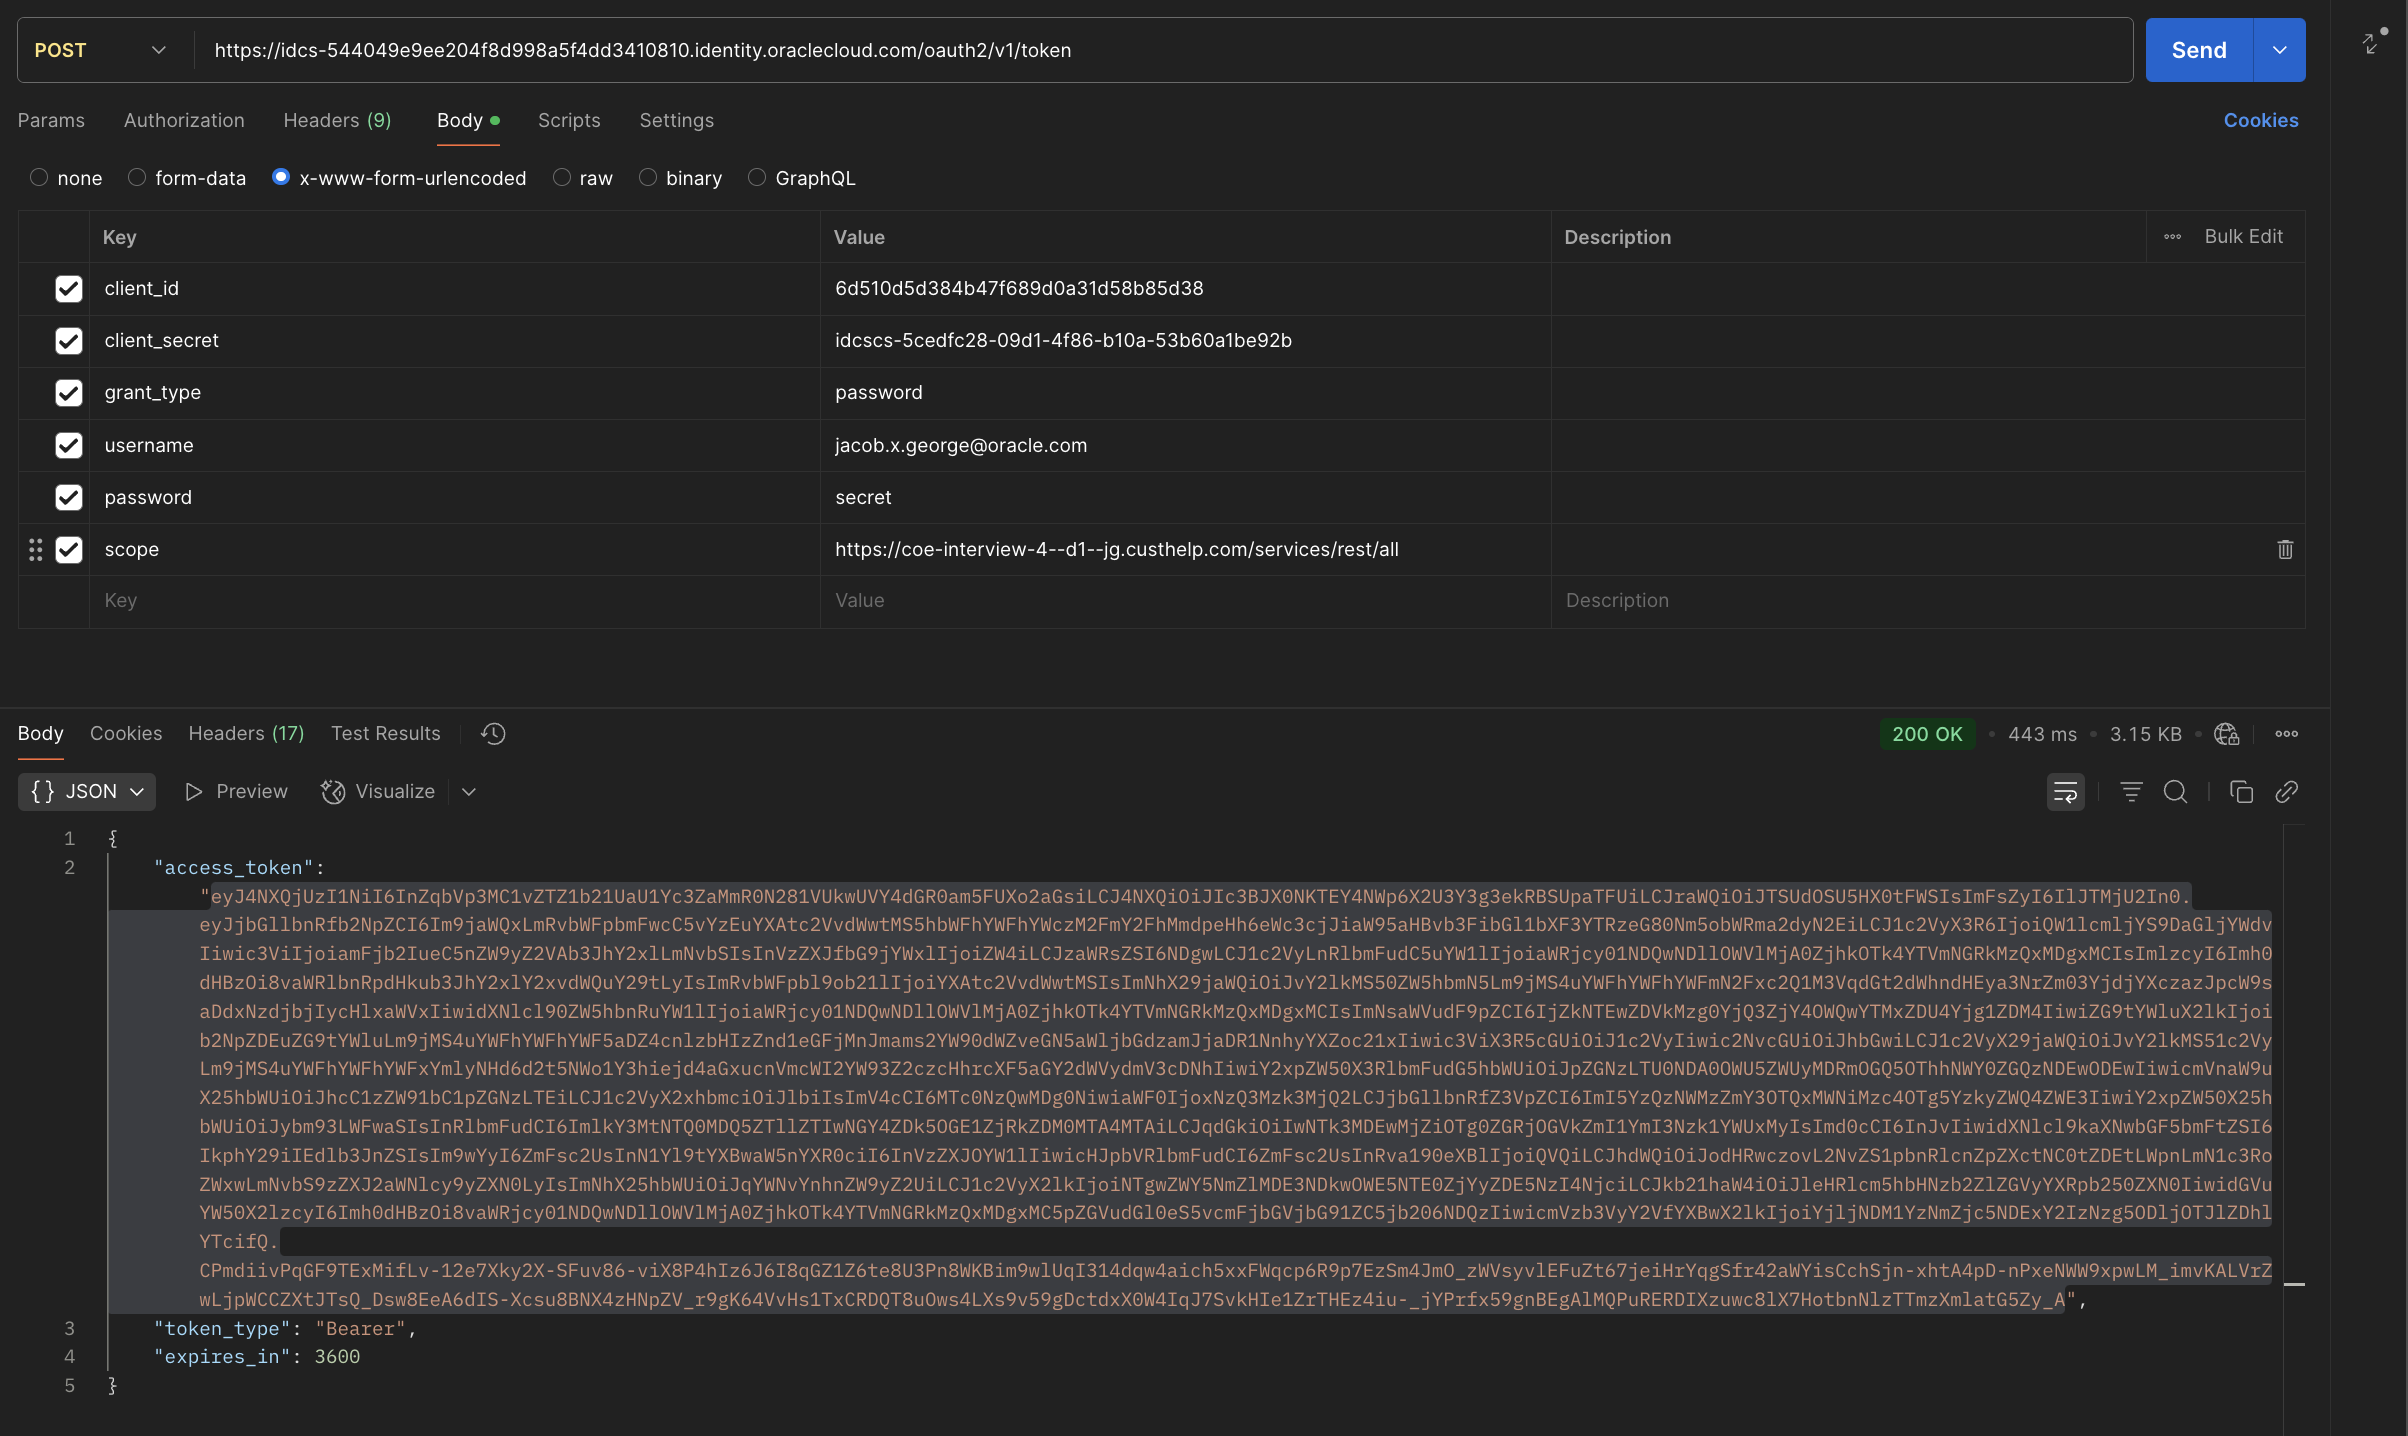
2.2. Generate OAuth runtime access token
Generate OAuth runtime access token using IDCS token end-point with the scope (value to be the REST service URL ending with “all”), clientIid, client_secret, grant_type,(value to be “password”), username (IDCS user-name) and its password (IDCS user-password) values passed in request body in x-www-form-urlencoded format.
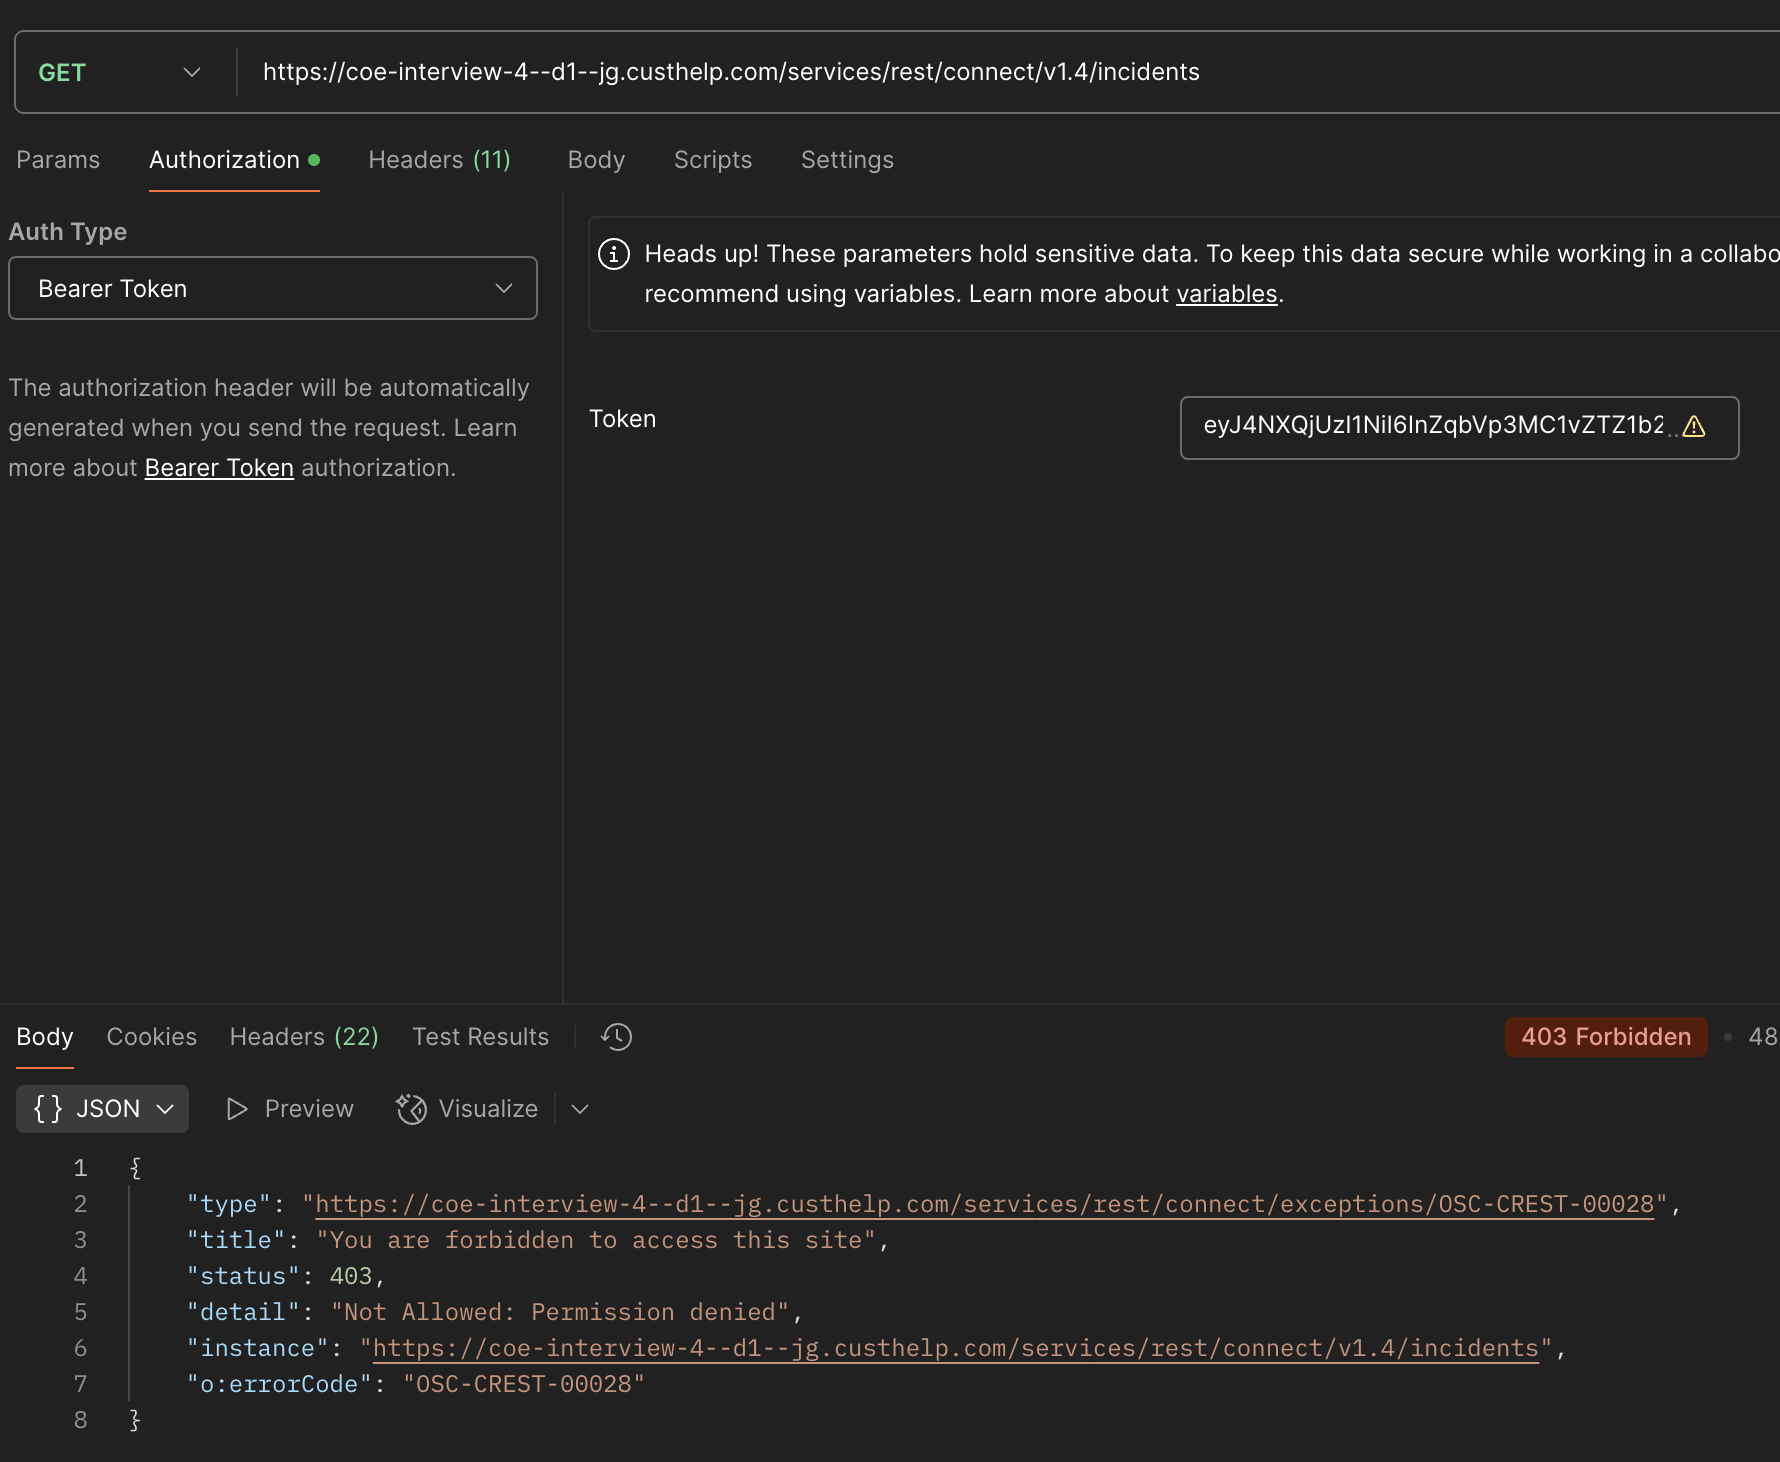
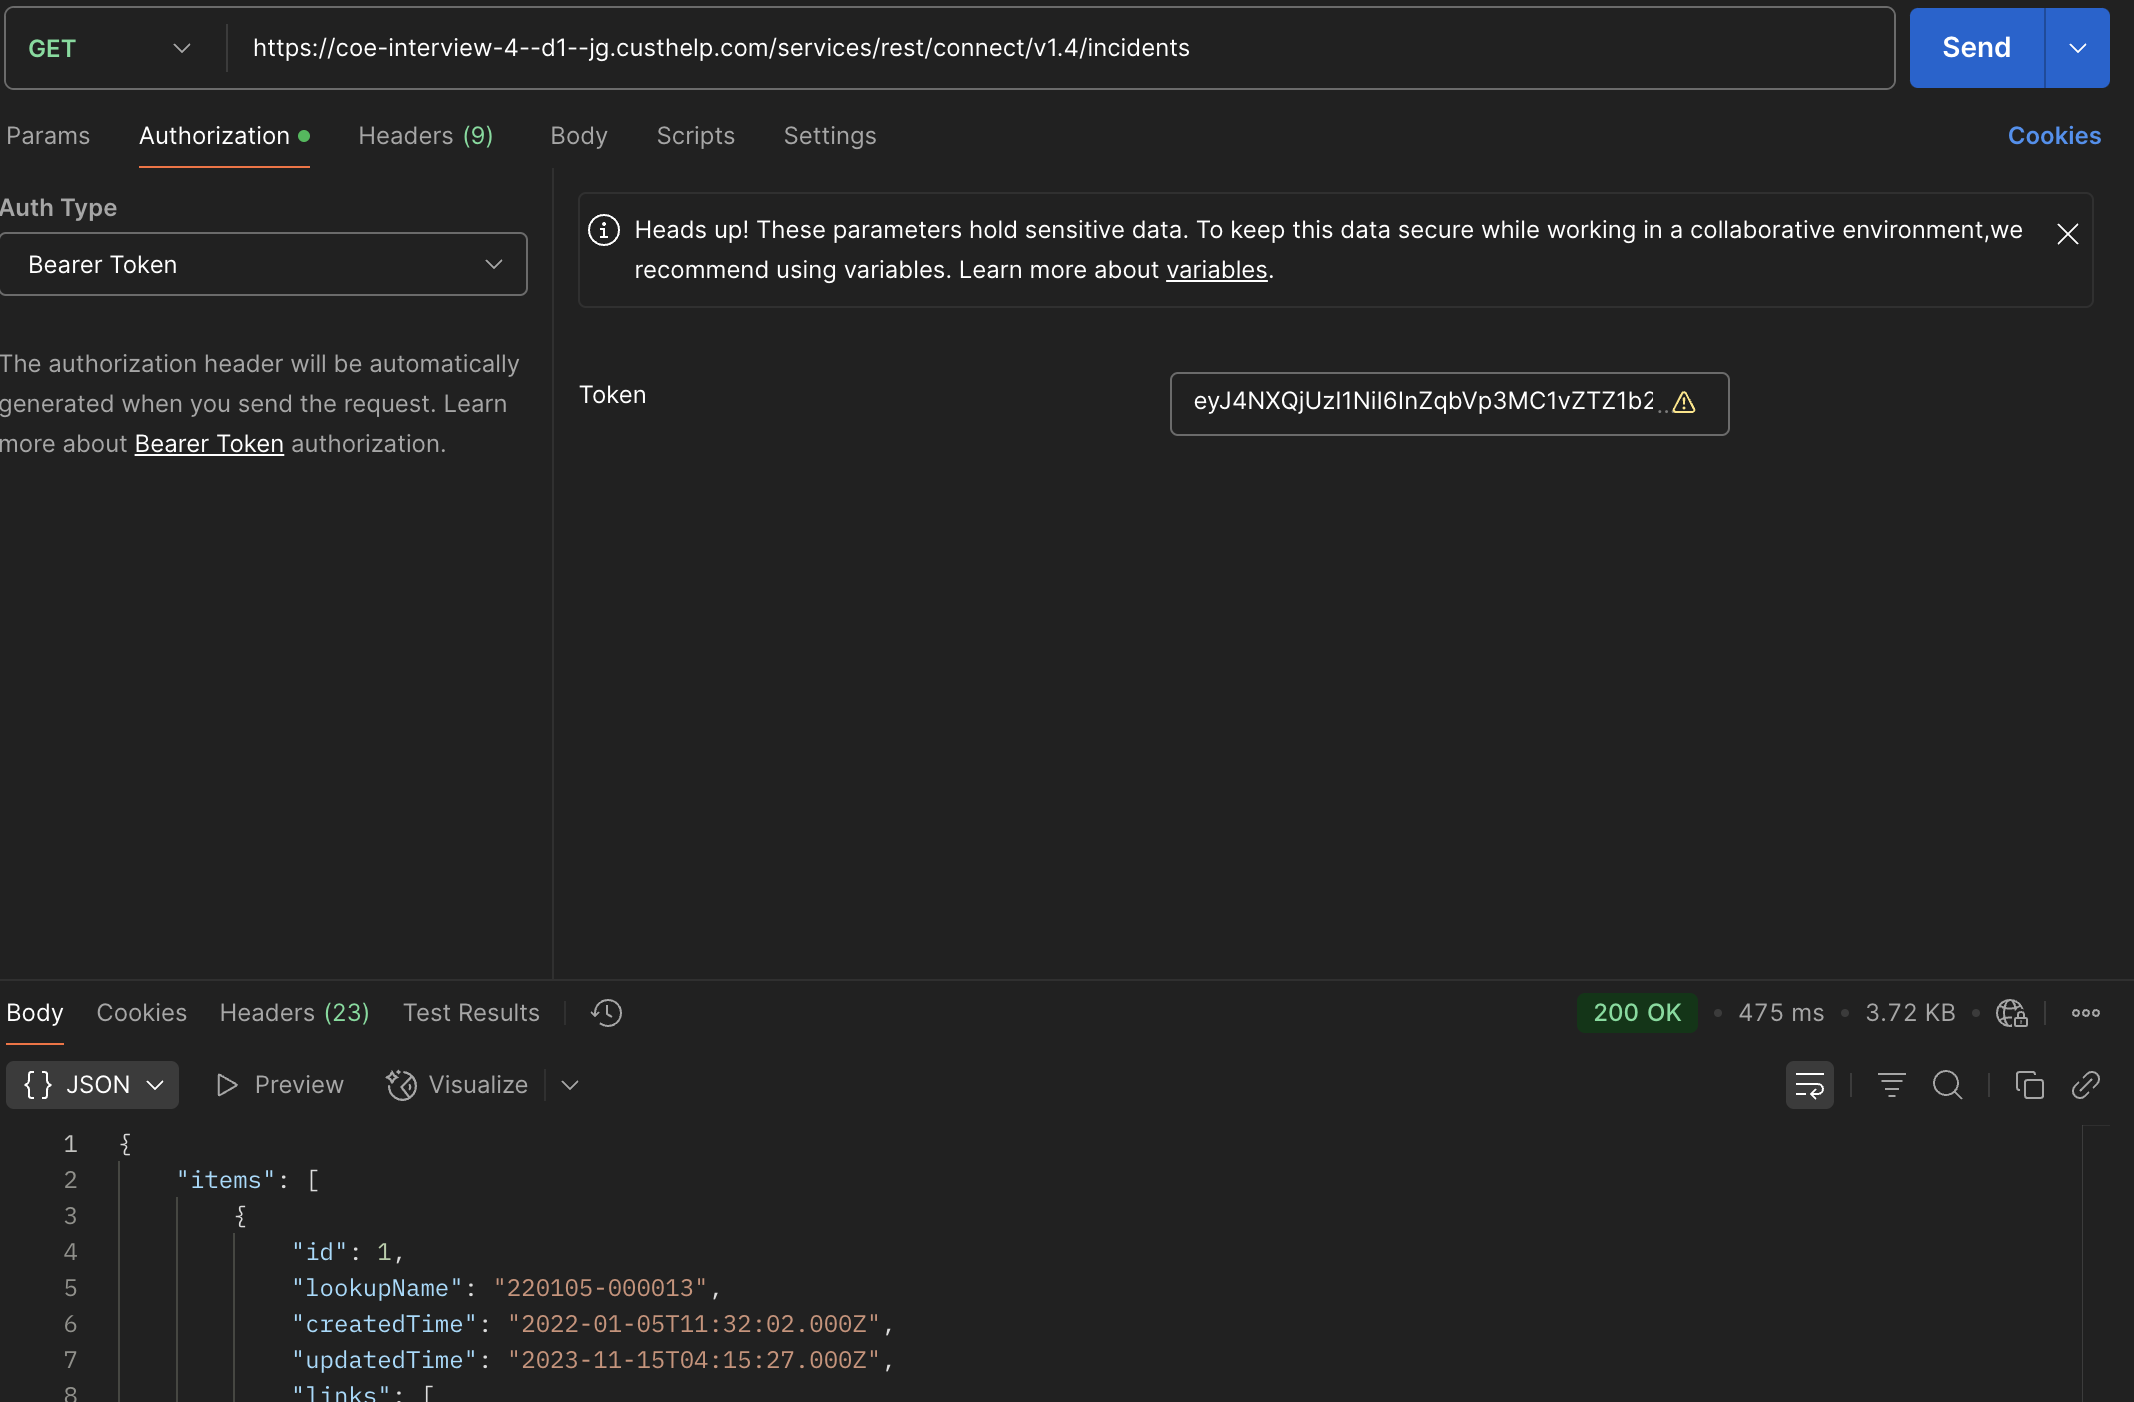
2.3. Test B2C Service API
Use the access_token value got from the token request as the Bearer token value of the B2C Service REST API request.
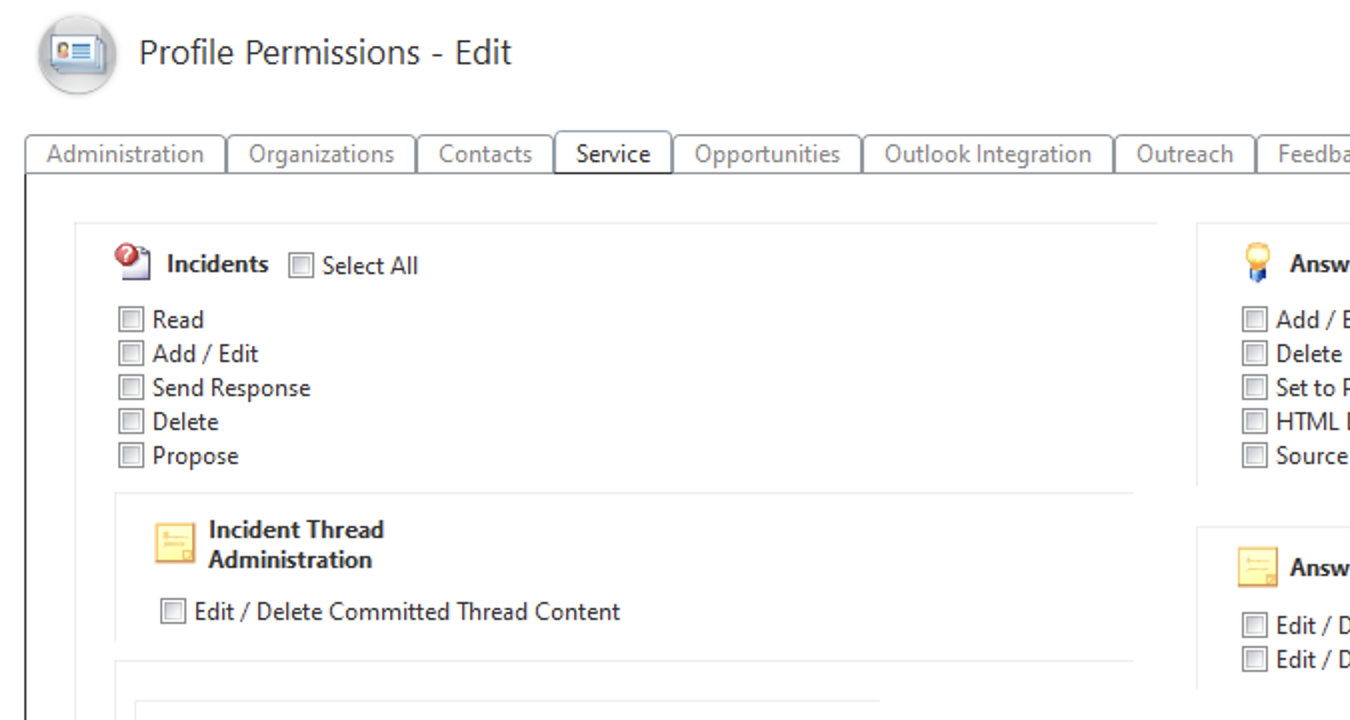
2.4. Permission Test
Remove the object permission in B2C Service for the SSO profile and verify whether the object access request is getting denied.