Oracle Cloud VMware Solution provides a native VMware-based cloud environment running on high performance hardware. VMware Solution can be easily integrated to other Oracle Cloud Infrastructure (OCI) services. In a real scenario, you can run your application on a VMWare virtual machine (VM) accessing OCI services. In this blog, we discuss how a VMware Solution virtual machine can access another OCI service, such as an Oracle autonomous database.
This blog covers connectivity of two types of autonomous databases access to VMware Solution virtual machines: Secure access from everywhere and private endpoint access only.
Overview
The following diagram depicts the design for a VMware Solution VM accessing OCI Autonomous Database service.
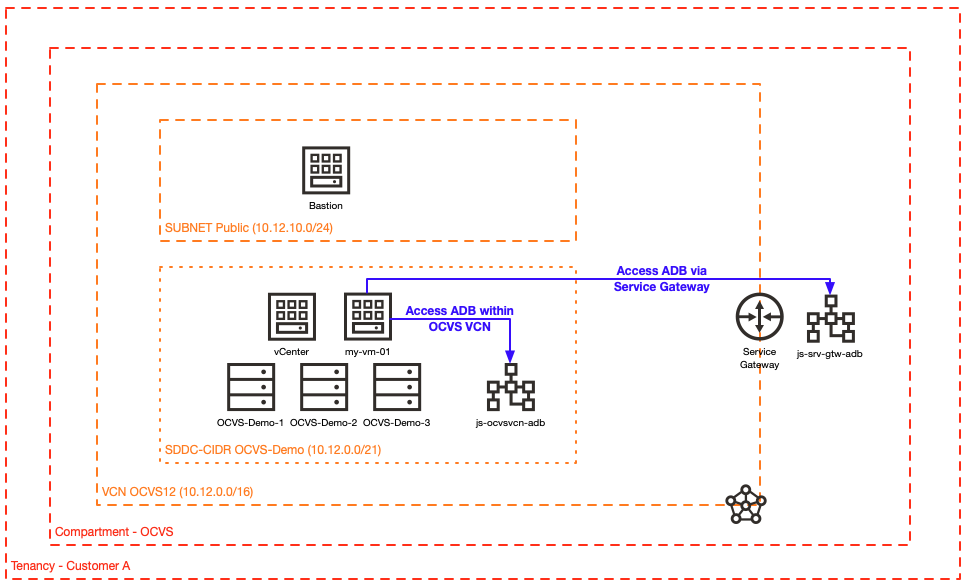
Figure 1: Architecture overview for VMware Solution VM accessing Oracle Autonomous Database
We cover the creation of all components from the beginning. Parts 1 and 2 of the blog cover the preparations steps, and in part 3, we establish the connectivity between the VMware Solution VM and the two access types of autonomous databases.
Part 1: Create a Linux VM on a VMware Solution cluster
-
Access VMware Solution cluster vCenter.
-
Upload the Oracle ISO into the VMWare datastore.
-
Create an Oracle Linux VM on a VMware Solution cluster.
Part 2: Create autonomous databases, copy autonomous database wallet, and install Oracle client on the VMware Solution virtual machine
-
Create an Oracle autonomous database (js-VMware Solutionvcn-Autonomous Database) with access to a private endpoint.
-
Create an Oracle autonomous database (js-srv-gtw-Autonomous Database) with secure access from everywhere using the service gateway.
-
Copy the Autonomous Database wallets and install the Oracle client on the VMware Solution VM.
Part 3: Establish connectivity between the VMware Solution VM and Autonomous Database
-
Enable DNS resolution for VMware Solution VMs for OCI services (in this case, Autonomous Database) using NSX.
-
Establish the network connectivity between the VMware Solution VM and the autonomous databases and test connectivity.
Prerequesites
-
A VMware Solution software-defined data center (SDDC) cluster provisioned in your tenancy
-
Compute instance running Windows 2016 created in the public subnet for a jump host
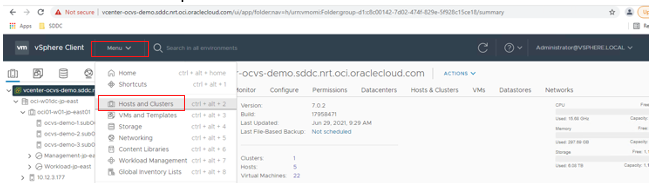
Step 1: Access VMware Solution vCenter
Log in to the OCI Console. Enter your cloud account name (tenant name). Enter your credential details and click Sign In.
Navigate to the region that the VMware Solution cluster has been created. In the menu under Hybrid, select VMWare Solution.
Navigate to the created compartment where the VMware Solution cluster resides and click the name of the SDDC cluster.

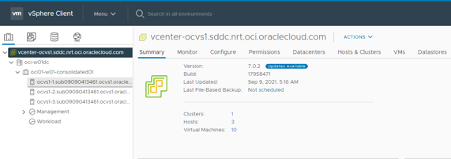
The SDDC page shows the vCenter information.

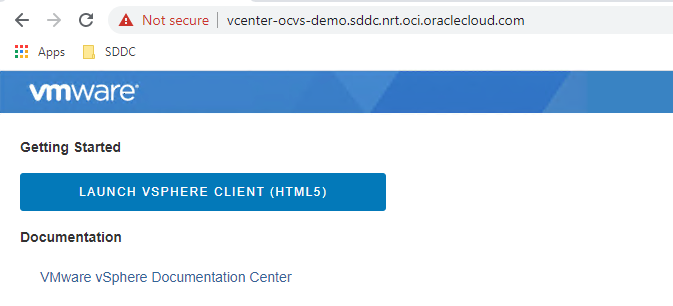
Copy the vCenter details (URL, username, and password). Log in to your JumpBox. Access the vCenter URL and click Launch vSphere Client.
Enter the vCenter username and password.
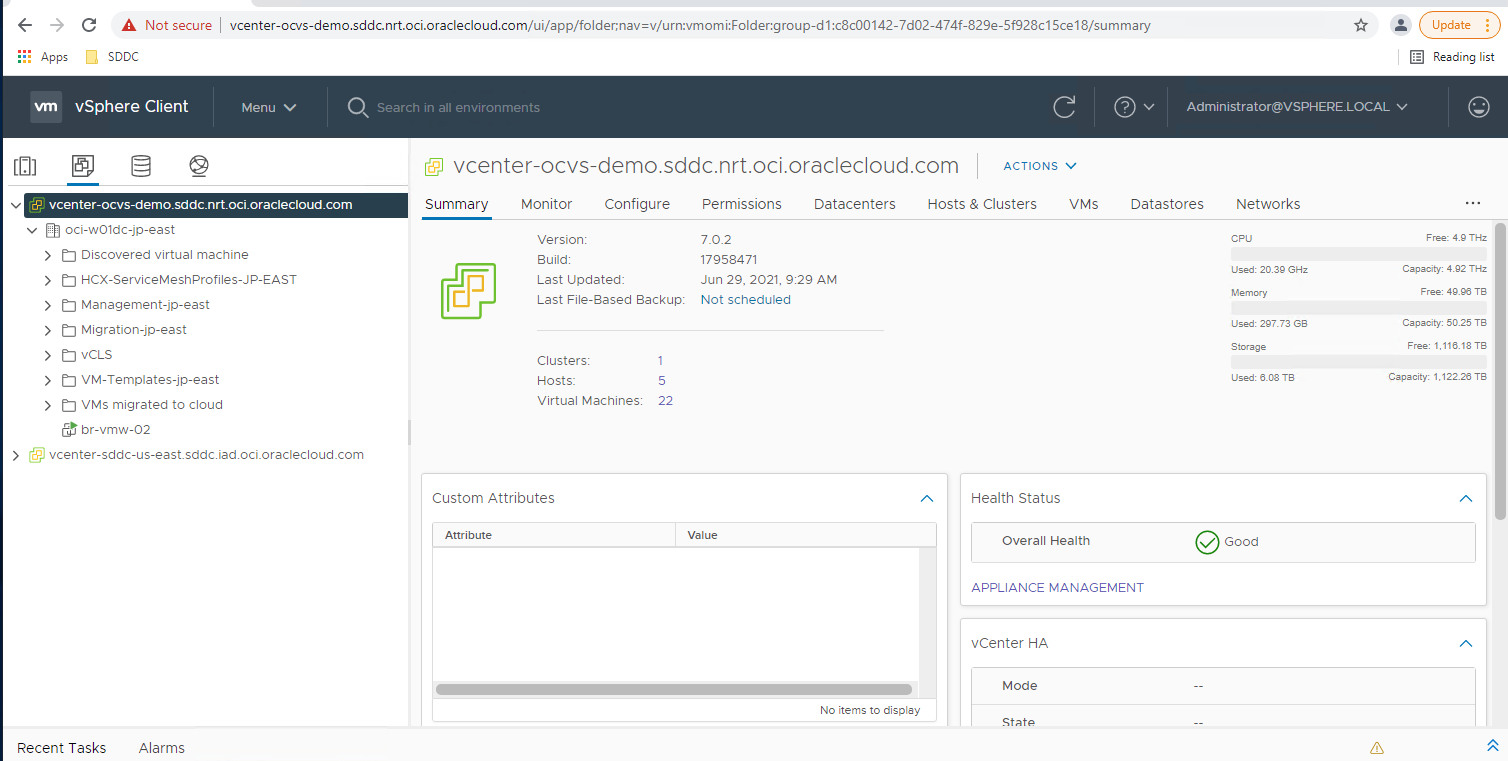
You have now reached the main page of the vCenter.
Step 2: Upload the ISO into the cluster
On the vCenter page, click the storage icon.
Navigate to the data store and click New Folder.
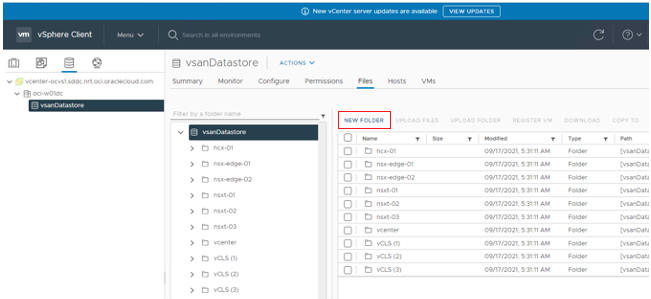
Enter the folder name “ISOs.”

Download the latest Oracle Linux 8 ISO file, or choose any other ISO file you want to upload. In this example, I downloaded the Oracle Linux 8 ISO file to my Downloads directory:

Navigate to the VMware Solution data store (vsanDatastore).

Navigate to the folder storing new ISO files and click Upload Files.

Navigate to the directory where the ISO file has been saved and click Open.

Click Upload.

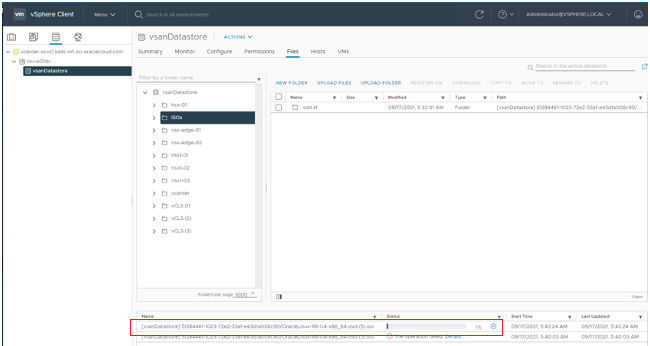
The following screen loads. Click the red status icon.

When the operation failure message appears, click the ESXi URL.

Go back to the vCenter and upload the ISO file again.
Repeat the steps from last file upload. This time, the upload works. Check the status bar for the percentage file upload and wait until the file has fully uploaded.
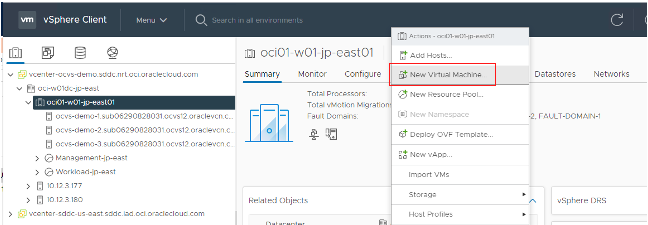
Step 3: Create the Oracle Linux VM
From the vCenter, click the menu and select Host and Clusters.
In the Actions menu, select New Virtual Machine.
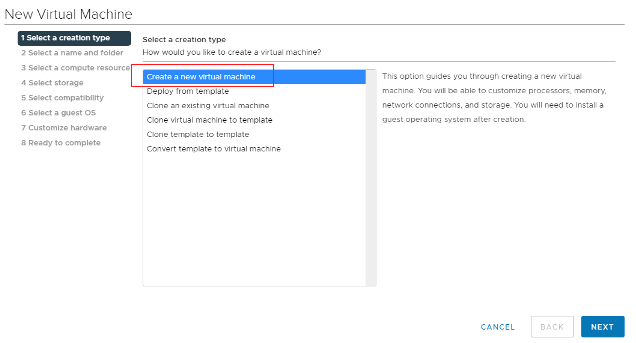
Choose Create a new virtual machine.
Enter the virtual machine name. Our example uses “my-vm-01.”
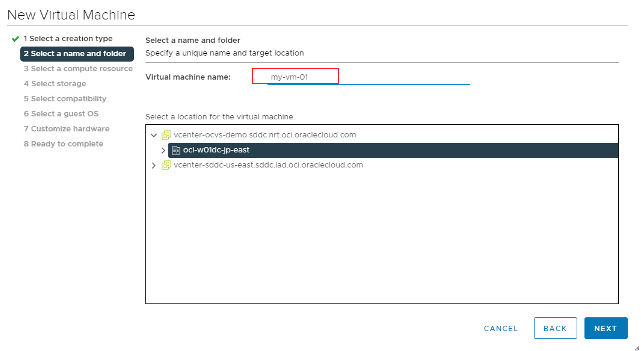
Select a Compute cluster.
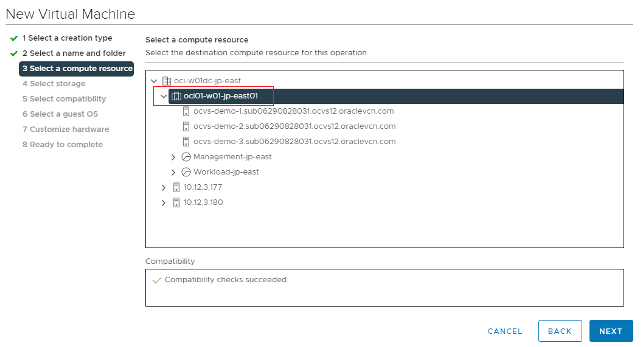
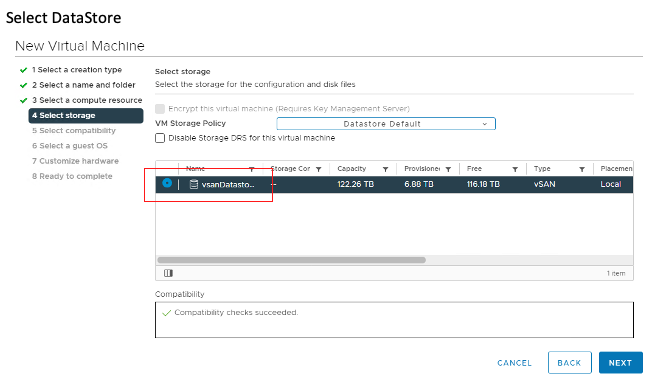
Select DataStore.
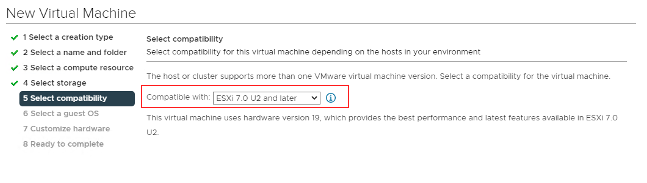
Select the ESXi node compatible with your new host.
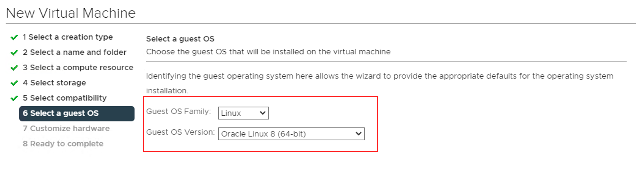
Choose your guest OS.
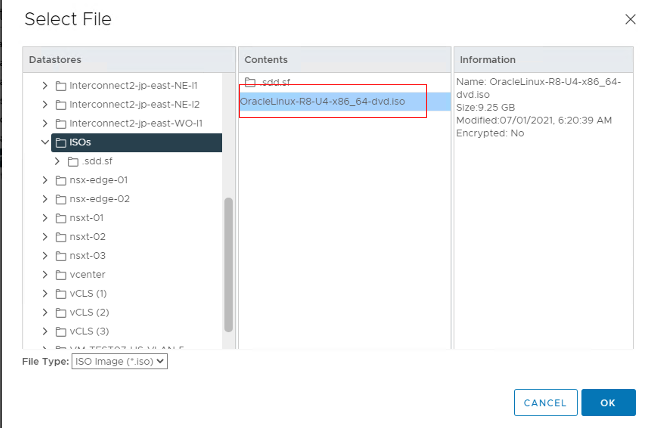
Under New CD/DVD Drive, select “Datastore ISO file.”
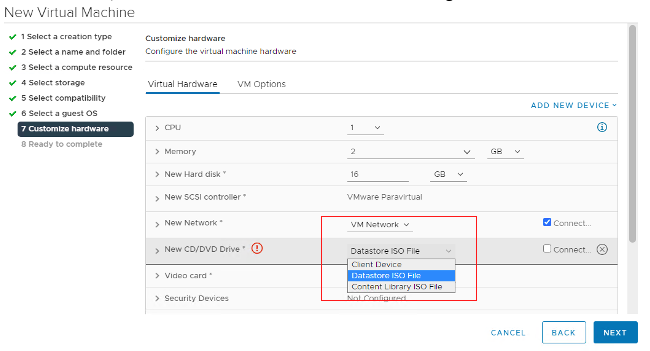
Navigate to the folder where the ISO file has been uploaded and click OK.
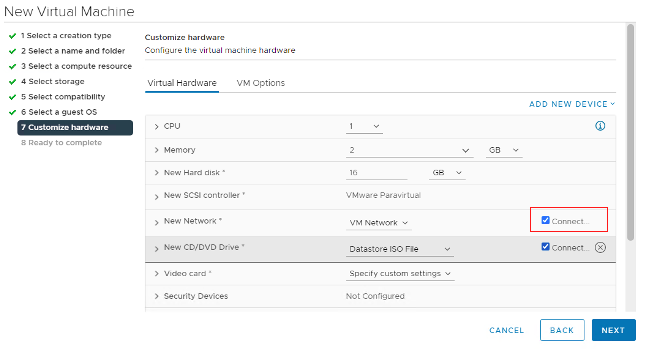
Click the Connect check box to ensure that the new virtual machine reboots with this ISO file. Then click Next.
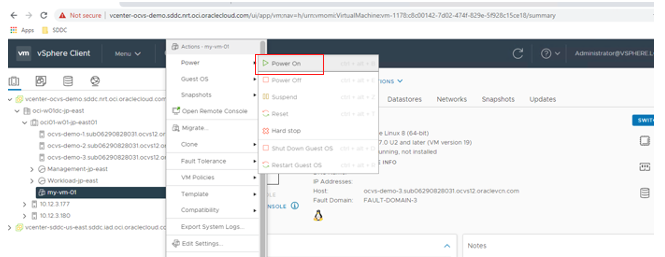
Navigate to the new VM. Right-click the virtual machine, select Power, and then select Power On.
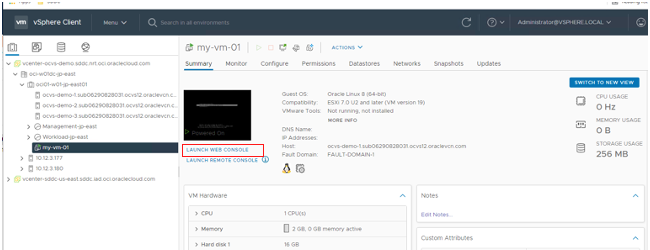
Connect to the new virtual machine by clicking Launch Web Console.
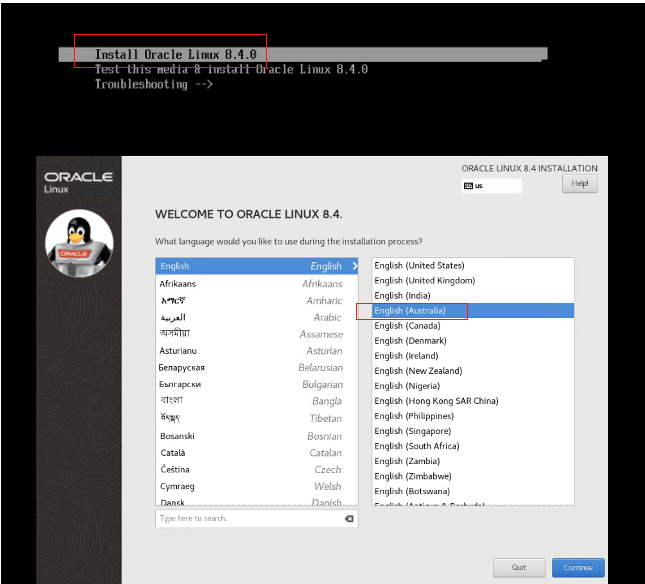
Click Install Oracle Linux 8.4.0 and select your language.
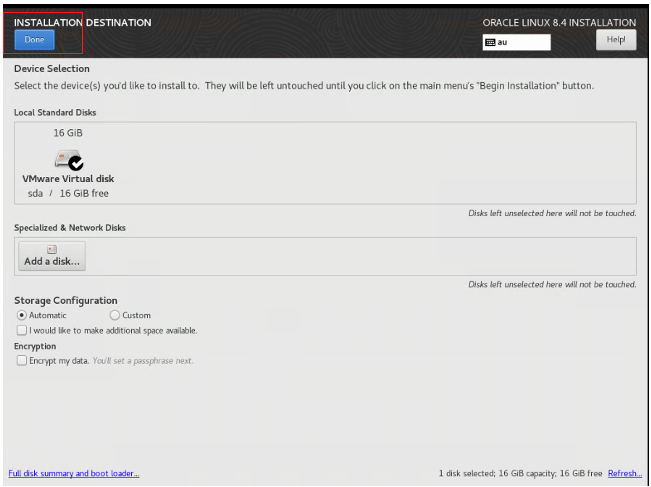
Update the installation destination.
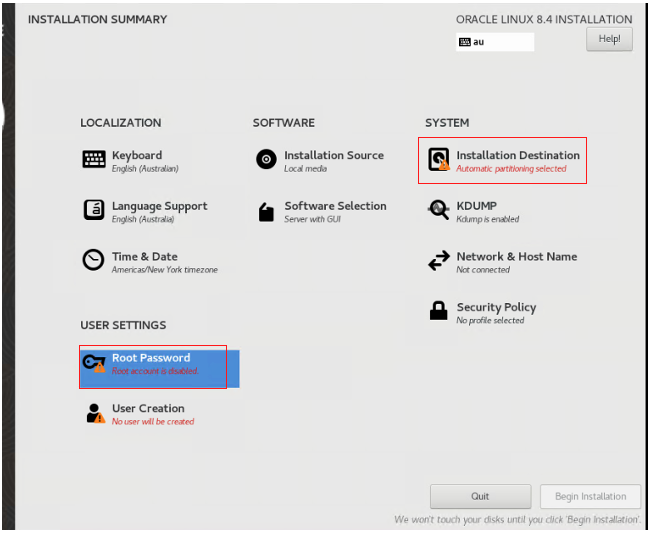
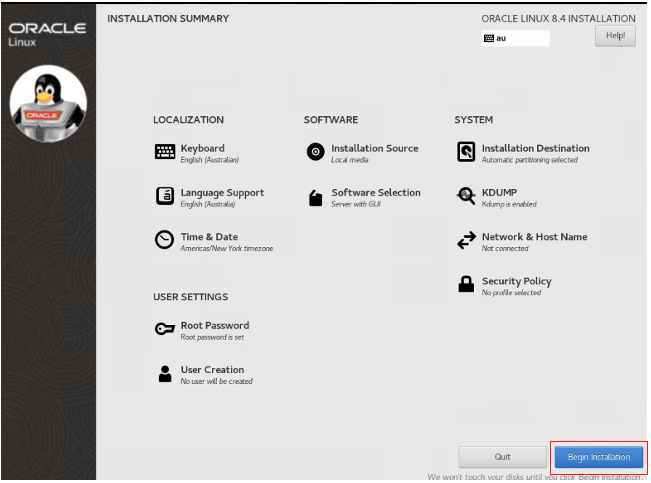
For this example, I chose the default of automatic storage configuration. Then click Done.
I also entered the root password. Click Done and then click Begin Installation.
When installation is complete, click Reboot System.

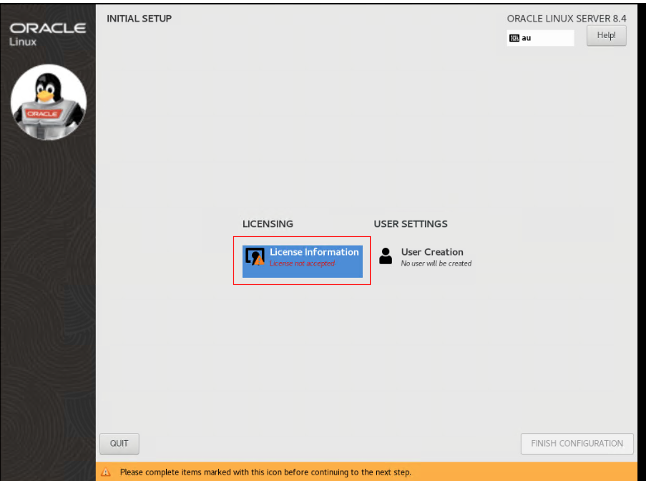
When the system has restarted, click Licensing Information.
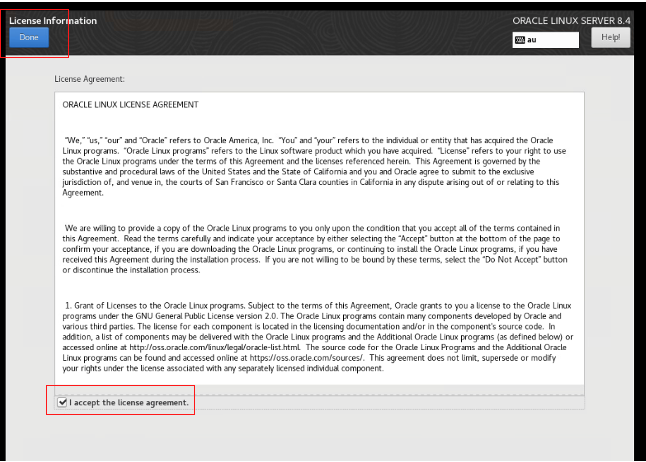
Select the accept checkbox and then click Done.
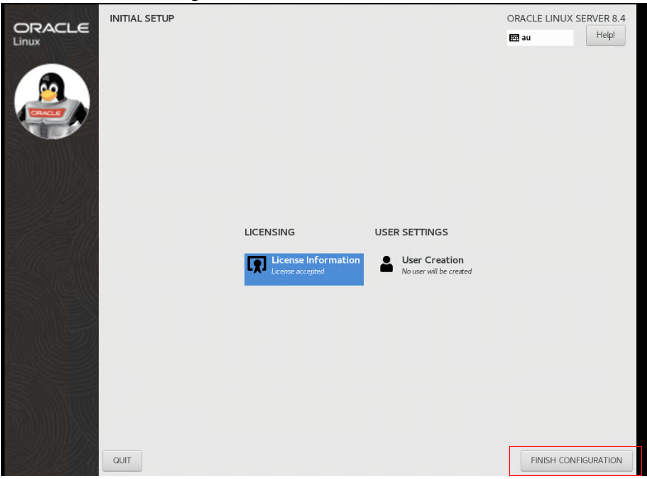
Click Finish Configuration.
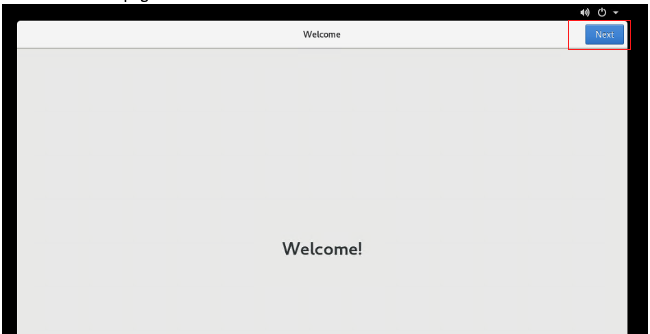
On the Welcome page, click Next.
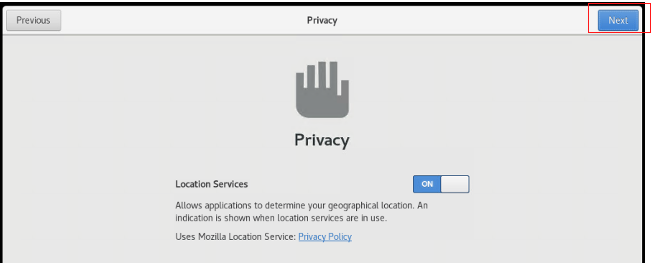
Choose the status for Location Services and click Next.
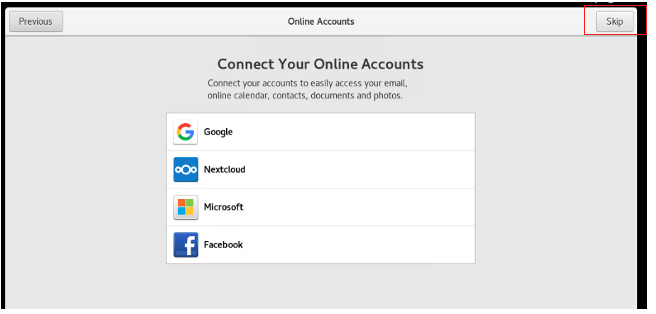
Select the online accounts to connect or click Skip.
Enter your user details and select Next.

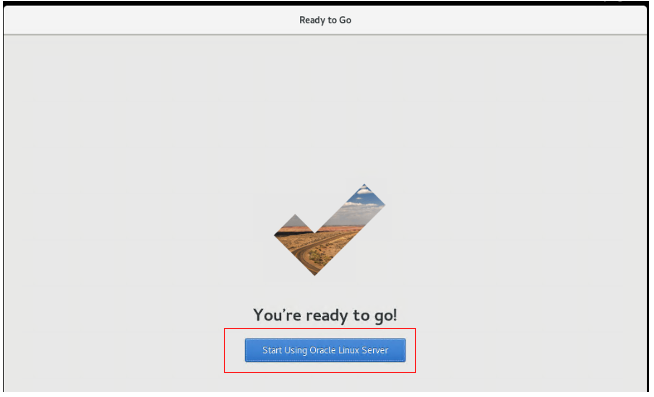
Then click Start Using Oracle Linux Server.
Go to the Activities menu and select the terminal icon.
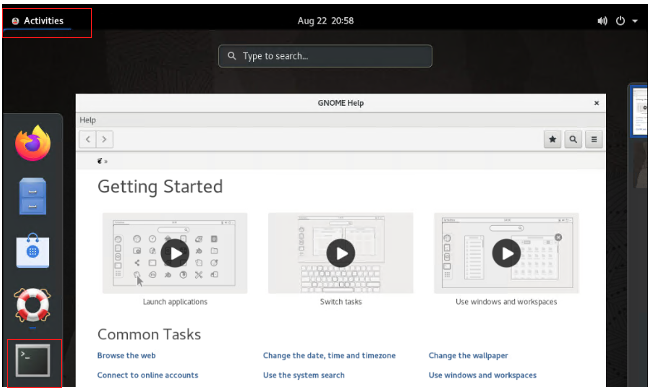
A terminal session is now open.

Conclusion
Now, we have created an Oracle Linux VM on VMware Solution. In the next part of this blog, we create two types Autonomous Database instances, copy the Autonomous Database wallets to the VMware Solution virtual machine, and install Oracle client on the virtual machine.
Want to learn more about VMware Solution and Autonomous Database? See the following resources: