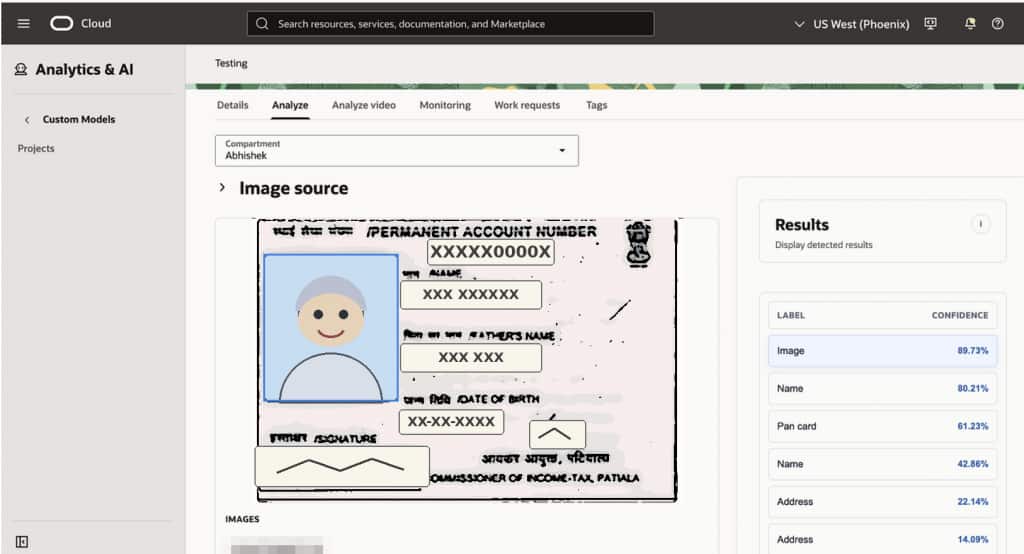
After deprication of data labeling service, OCI introduced the much awaited feature of supporting label studio for custom model training in AI-Vision. Here is the detailed process.
Step 1 : Installing Label Studio
Label studio is an open source software which you can install from various ways mentioned in there official documentation. Please refer to the same : https://labelstud.io/guide/install.html
I personally prefer brew way for my mac.
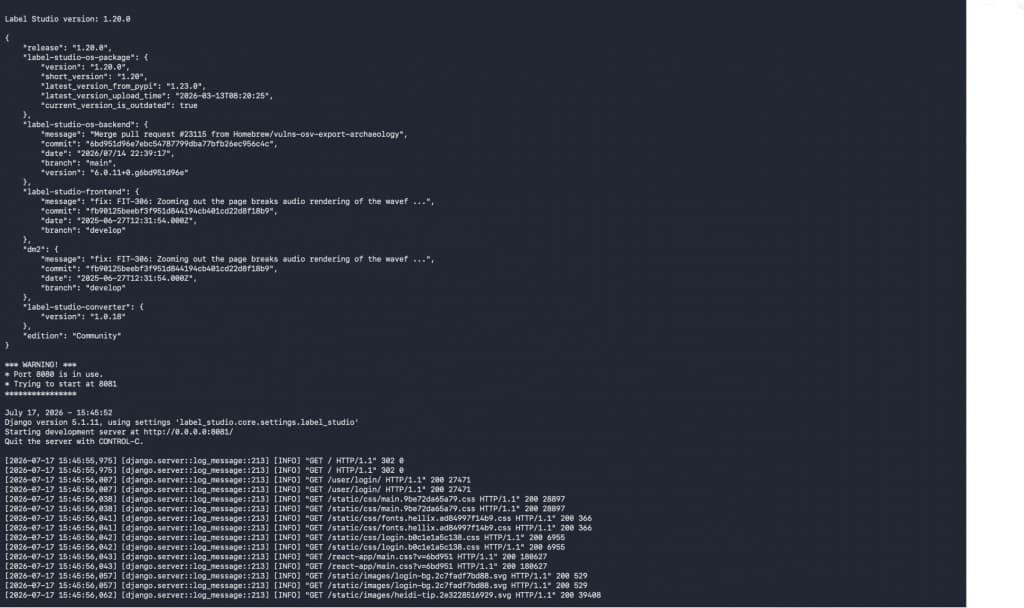
Step 2 : Running label studio on local host and creating project
Your application will start default on http://localhost:8081/
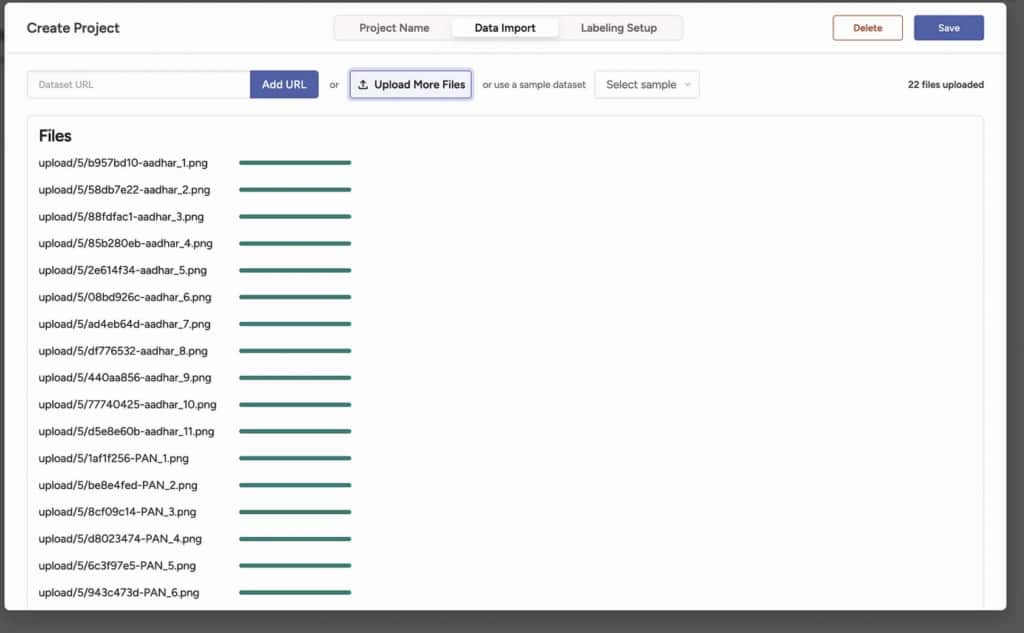
Click on Create Project to start creating the project and add project details
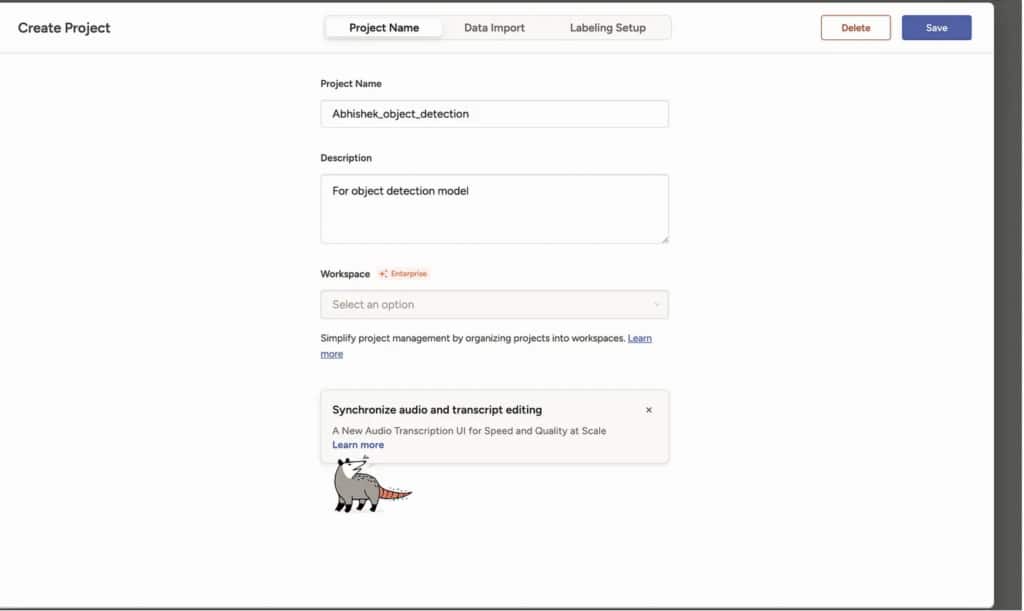
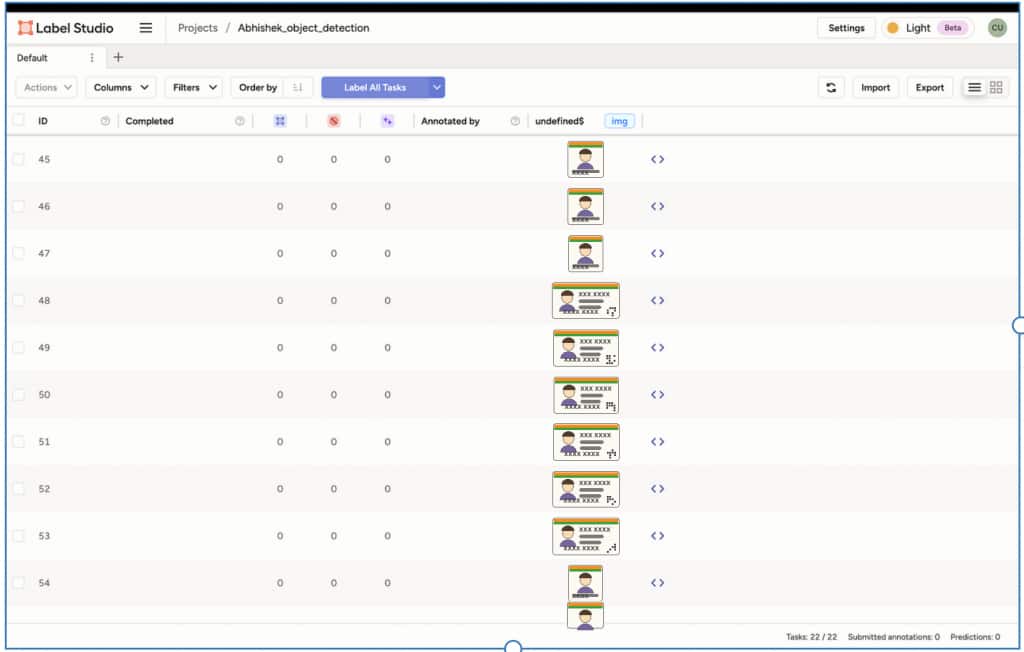
Go to data import and import all the images from your local or URL
Go to labeling setup and select object detection for bouding box
Note : Select image classification in case you want to train an image classification model.
Press enter or click to view image in full size
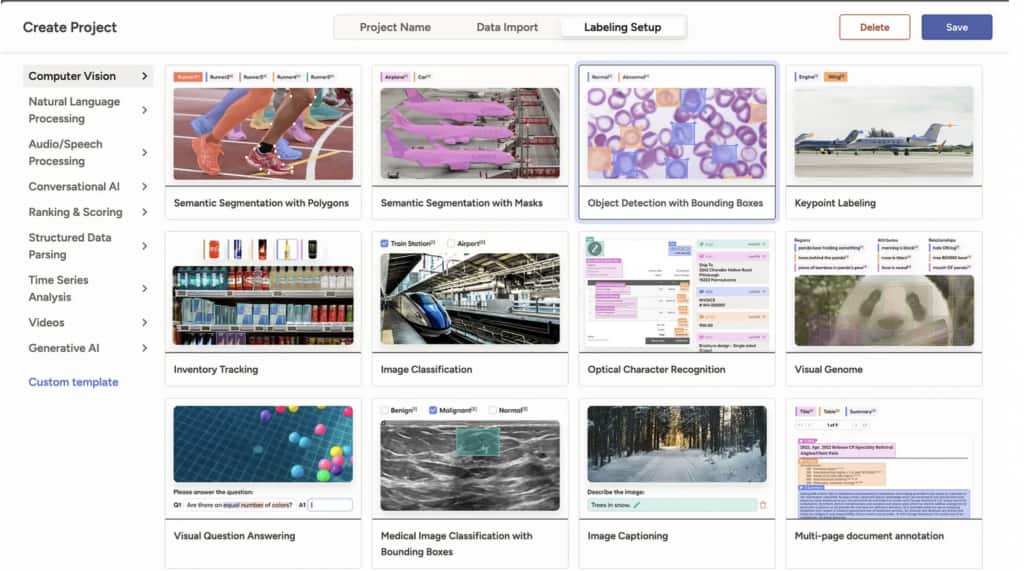
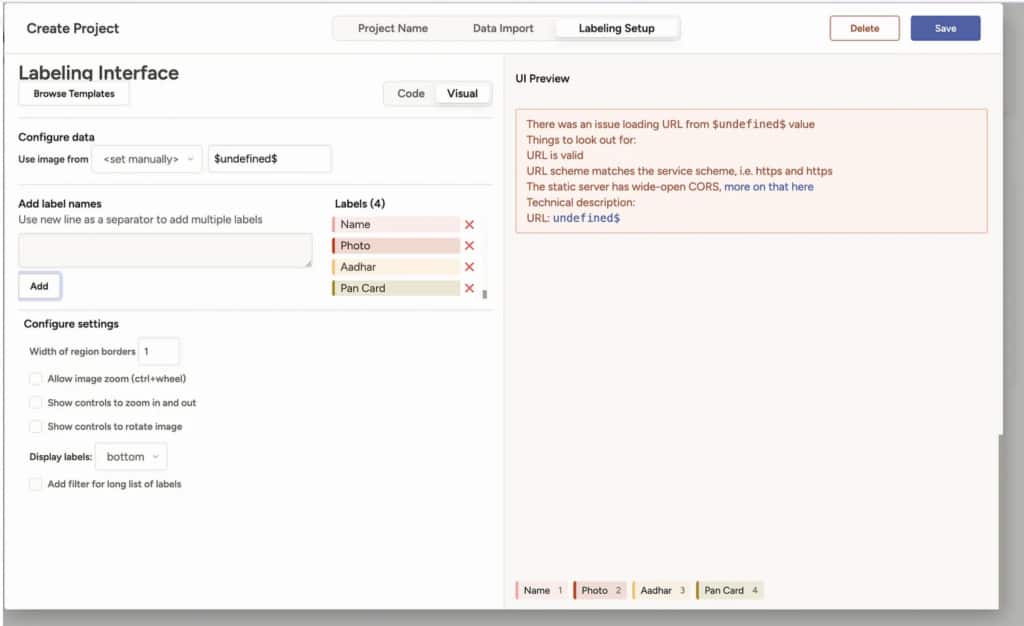
Provide your labelset you will use to annotate and click on save
Step 3: Click on label all task and start labeling
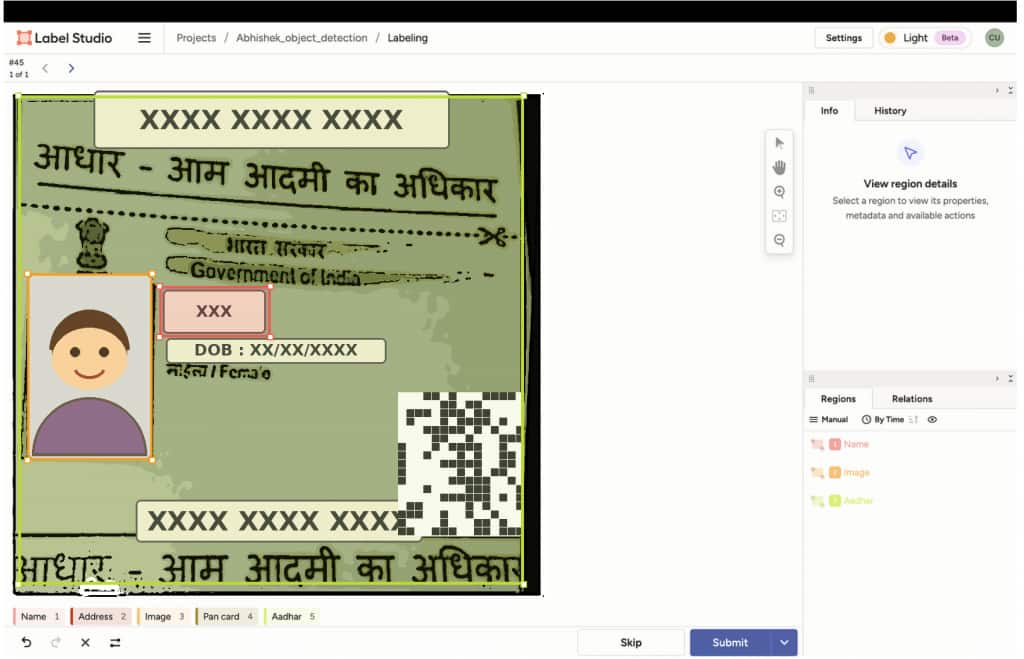
Start annotating each of the image (make sure each label will have atleast 10 images/ dataset minimum)
Once annotated, download the file as JSON

Step 4 : Open OCI console and Train Custom OD Model
Open OCI console and go to vision service. Click on Create Project to start creating the project

Fill all the required details.

Note : As a pre-requisite, make sure you have all the permission added. Below are the list of permission required :
Before you start creating a custom vision model, complete the following setup tasks. If you don’t have permission to create these policies, your tenancy administrator should create them for you.
1: Create a group
Create a group for your users.
Add users to the group.
2: Create policies
Create a policy in the root compartment with the following statements:
2.1 Policy to allow group access to AI Vision service
allow group <group_in_tenancy> to manage ai-service-vision-family in tenancy
2.2 Policy to allow group access to files in Object Storage
allow group <group_in_tenancy> to use object-family in tenancyOnce project is created, go inside the project and click on model tab.

Click on create dataset, and select model type, object storage where you want to store your annotated file + all the dataset.

Choose thw exported annotated file and data file and click on upload dataset. This will upload all your dataset to mentioned object storage and also convert label studio JSON data to JSONL and upload that to the same location.

Once uploaded you can check the same in object storage. After that, click on create model to start creating the model and fill all the required details.
Select the same converted JSONL (with name object-detection_dataset.jsonl

Provide model name and training type

Review and click on create to start creating the model.

Oncle model is active, click on infernce and start testing the model.