Below are the steps to configure SAML SSO (Single Sign-On) with Azure (as IDP) and IDCS Cloud Console (as SP)
IDCS Configuration:
Step I-1:
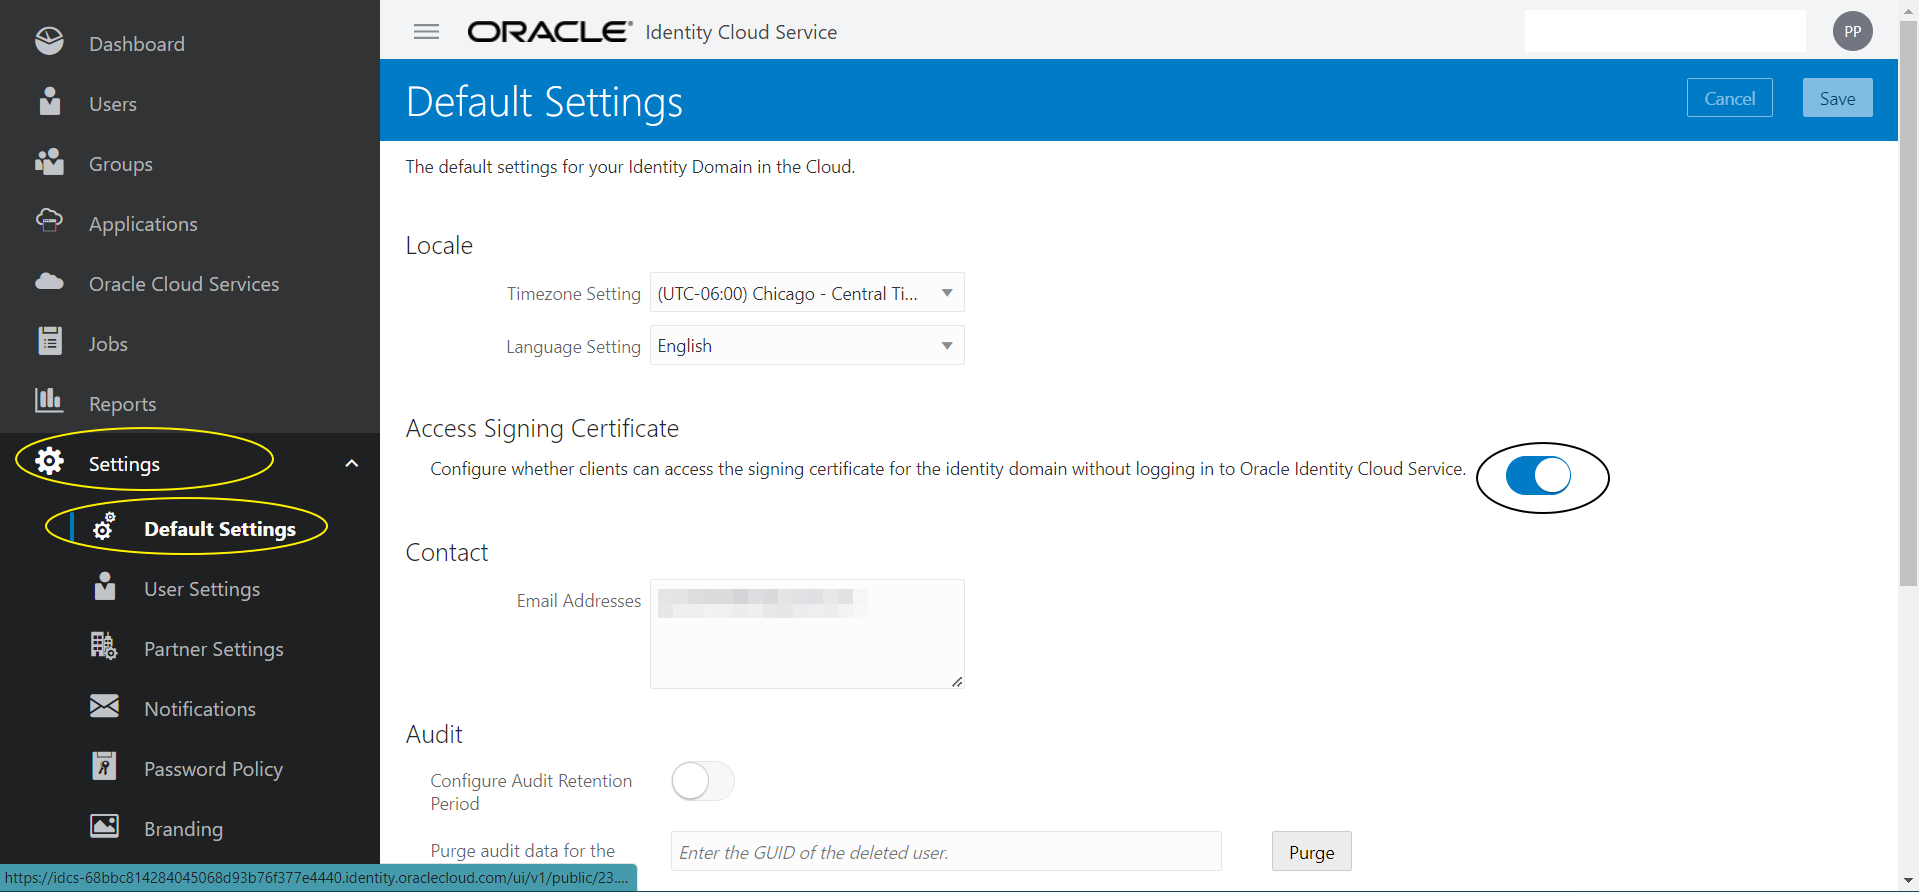
Login in to IDCS console (https://idcs-xxxx.identity.oraclecloud.com/ui/v1/adminconsole) -> Settings -> Default Settings -> and enable the following :
Access Signing Certificate
Configure whether clients can access the signing certificate for the identity domain without logging in to Oracle Identity Cloud Service.(Check)
Step I-2:
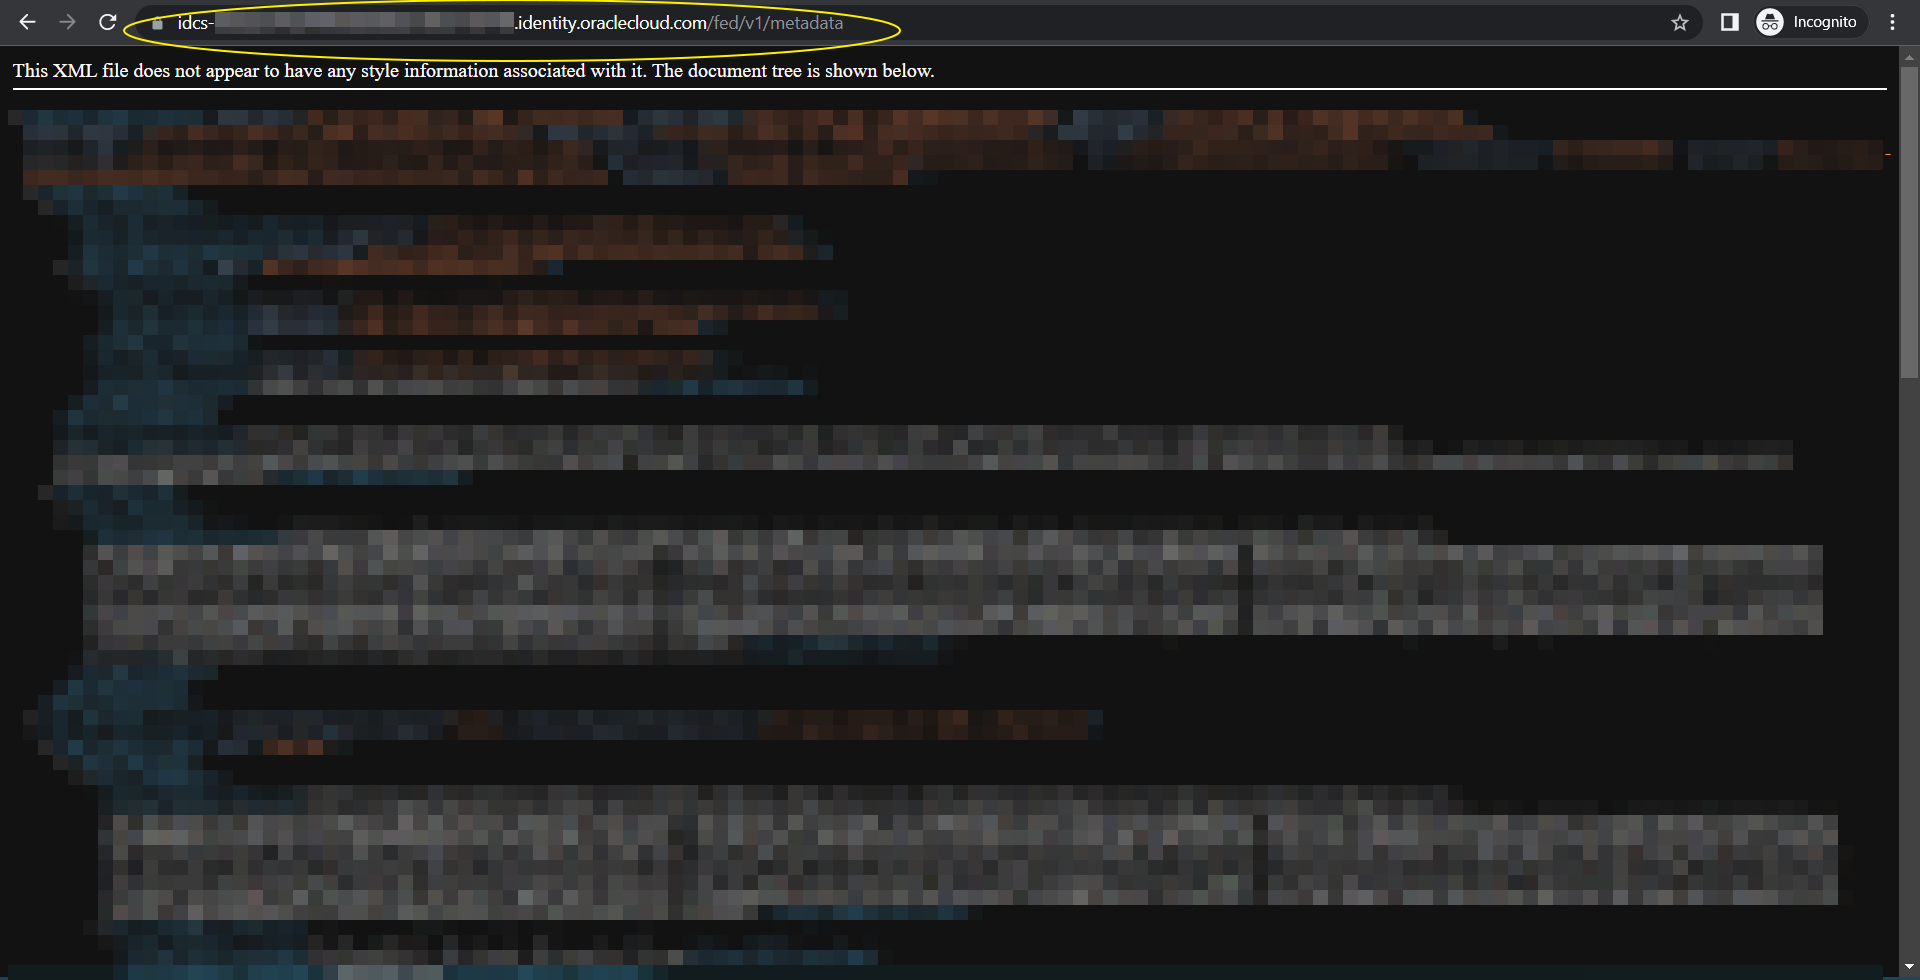
Download the IDCS SP metadata.xml file (say “IDCS-SP-Metadata.xml”) by accessing the following URL :
https://idcs-xxx.identity.oraclecloud.com/fed/v1/metadata
NOTE : There are several other ways to download IDCS metadata. You can find more information on the same in this doc :
Link : https://docs.oracle.com/en/cloud/paas/identity-cloud/uaids/access-saml-metadata.html
Azure Configuration :
Step A-1:
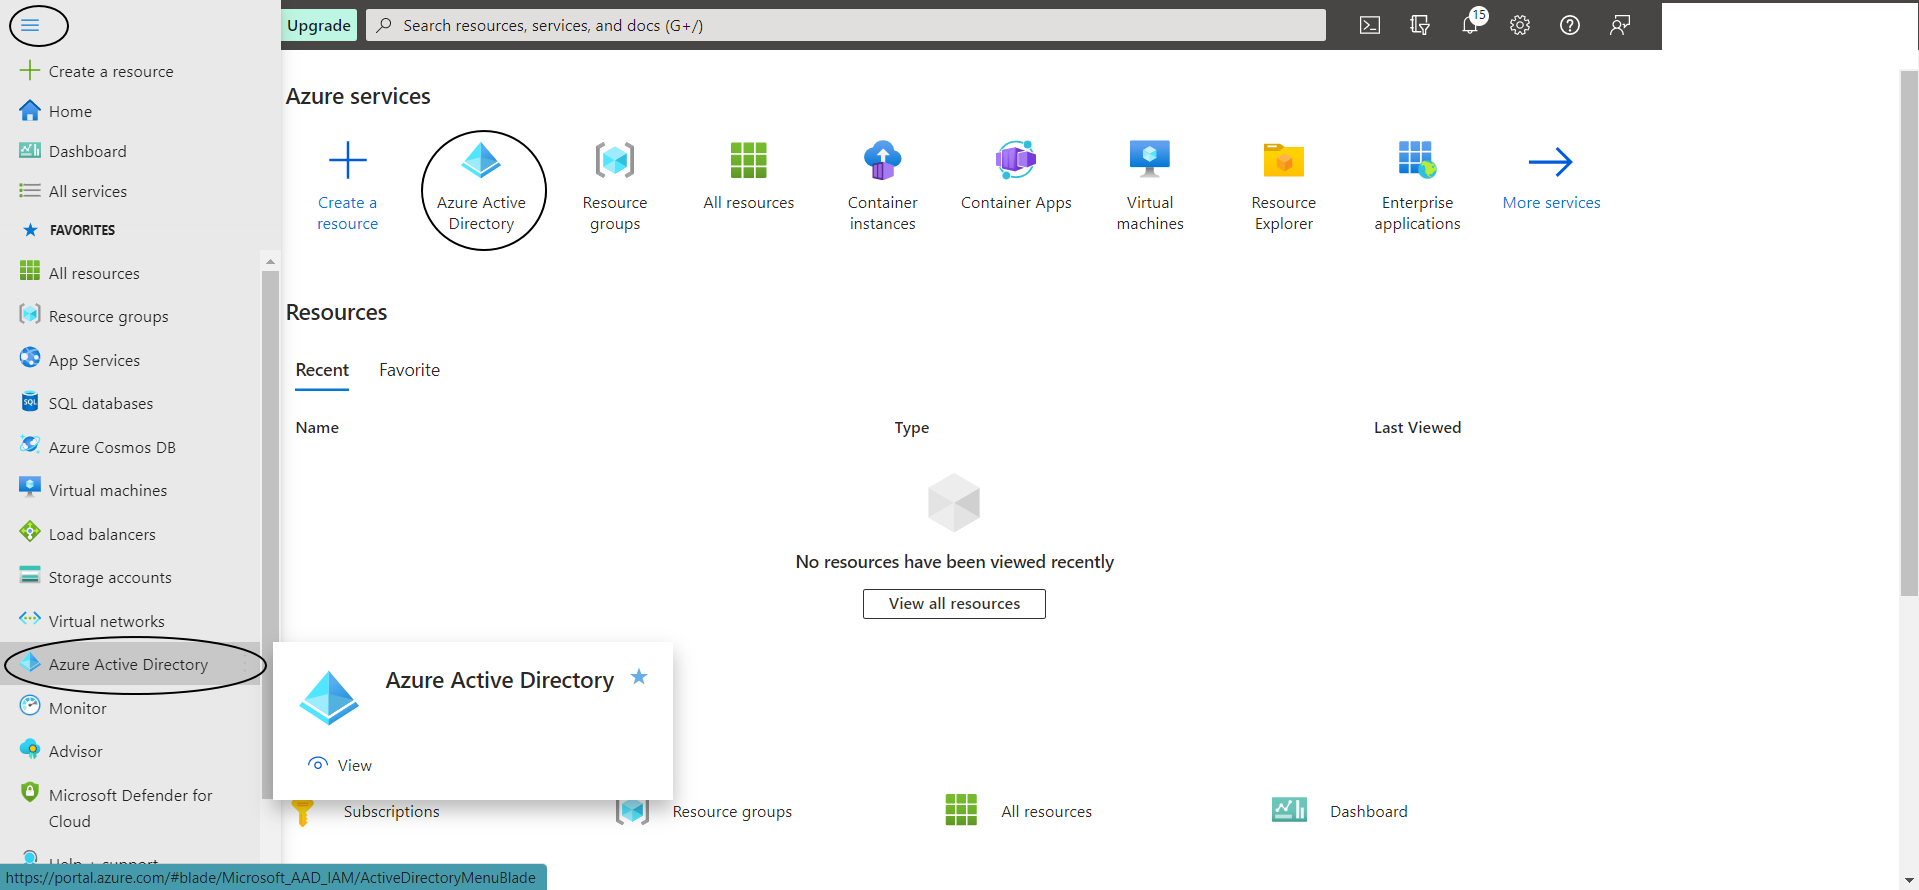
Login to Azure Cloud and select “Azure Active Directory”
Step A-2:
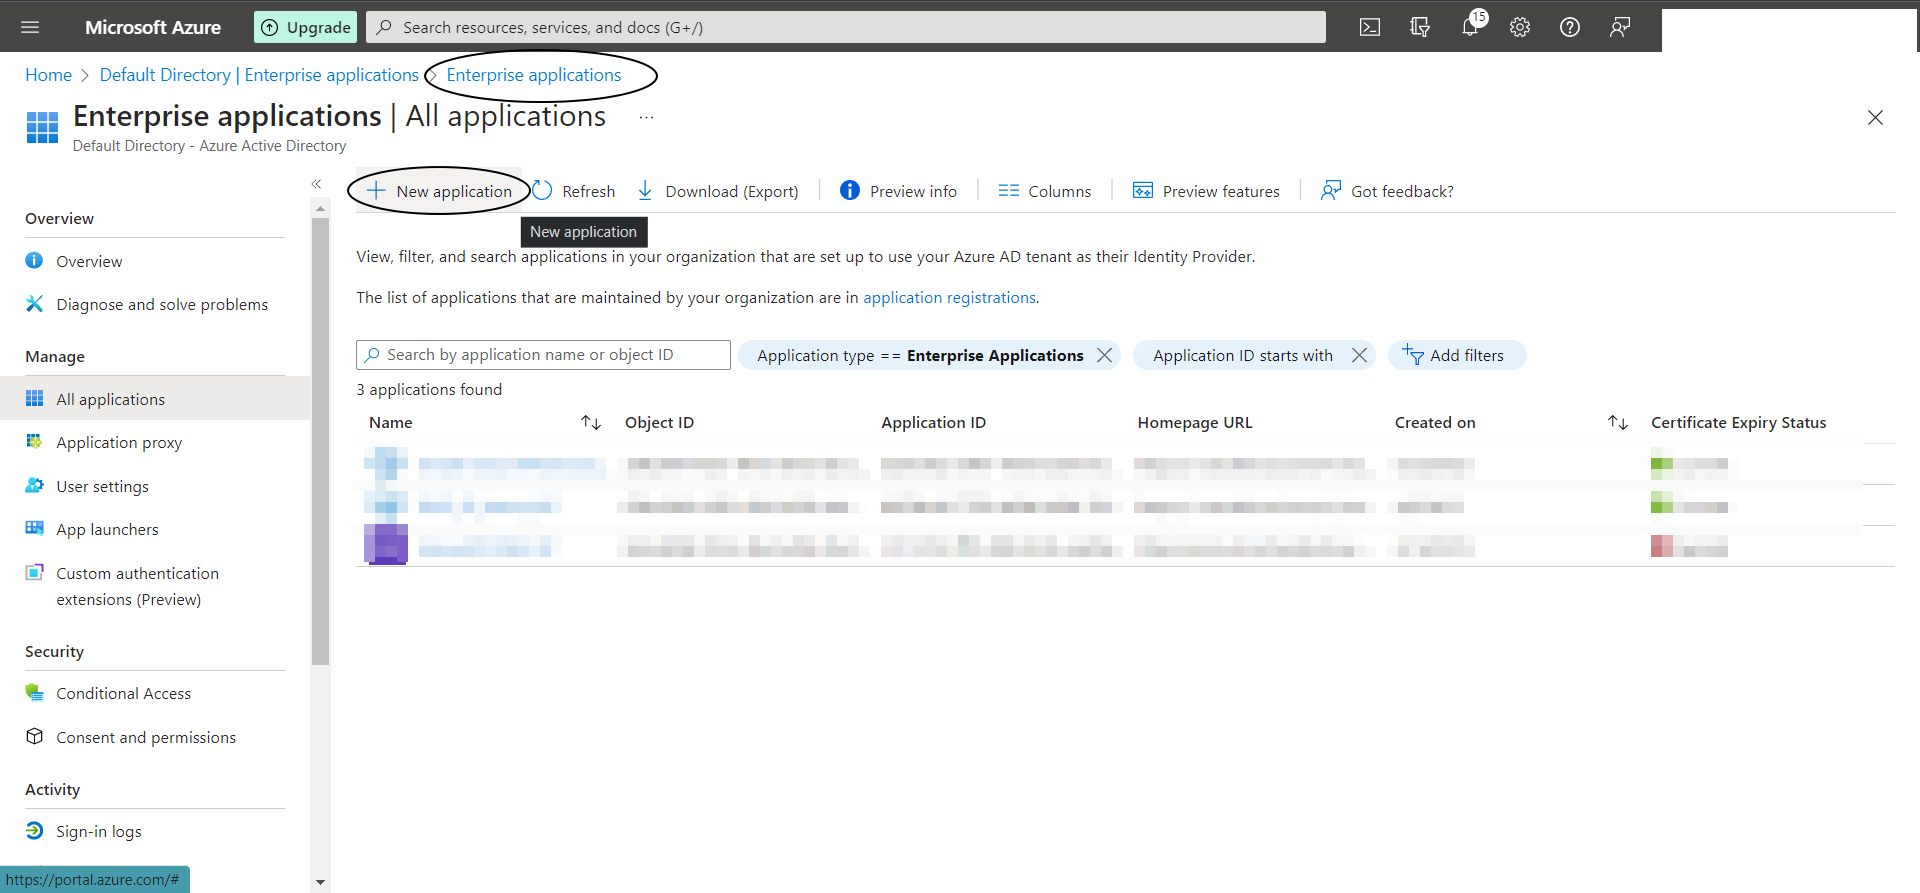
Now create an “Enterprise Application” as shown below :
Step A-3:
Select “Oracle Cloud Infrastructure Console” from Azure AD App Gallery -> Lets call this say “Azure-IDP_IDCS-SP”

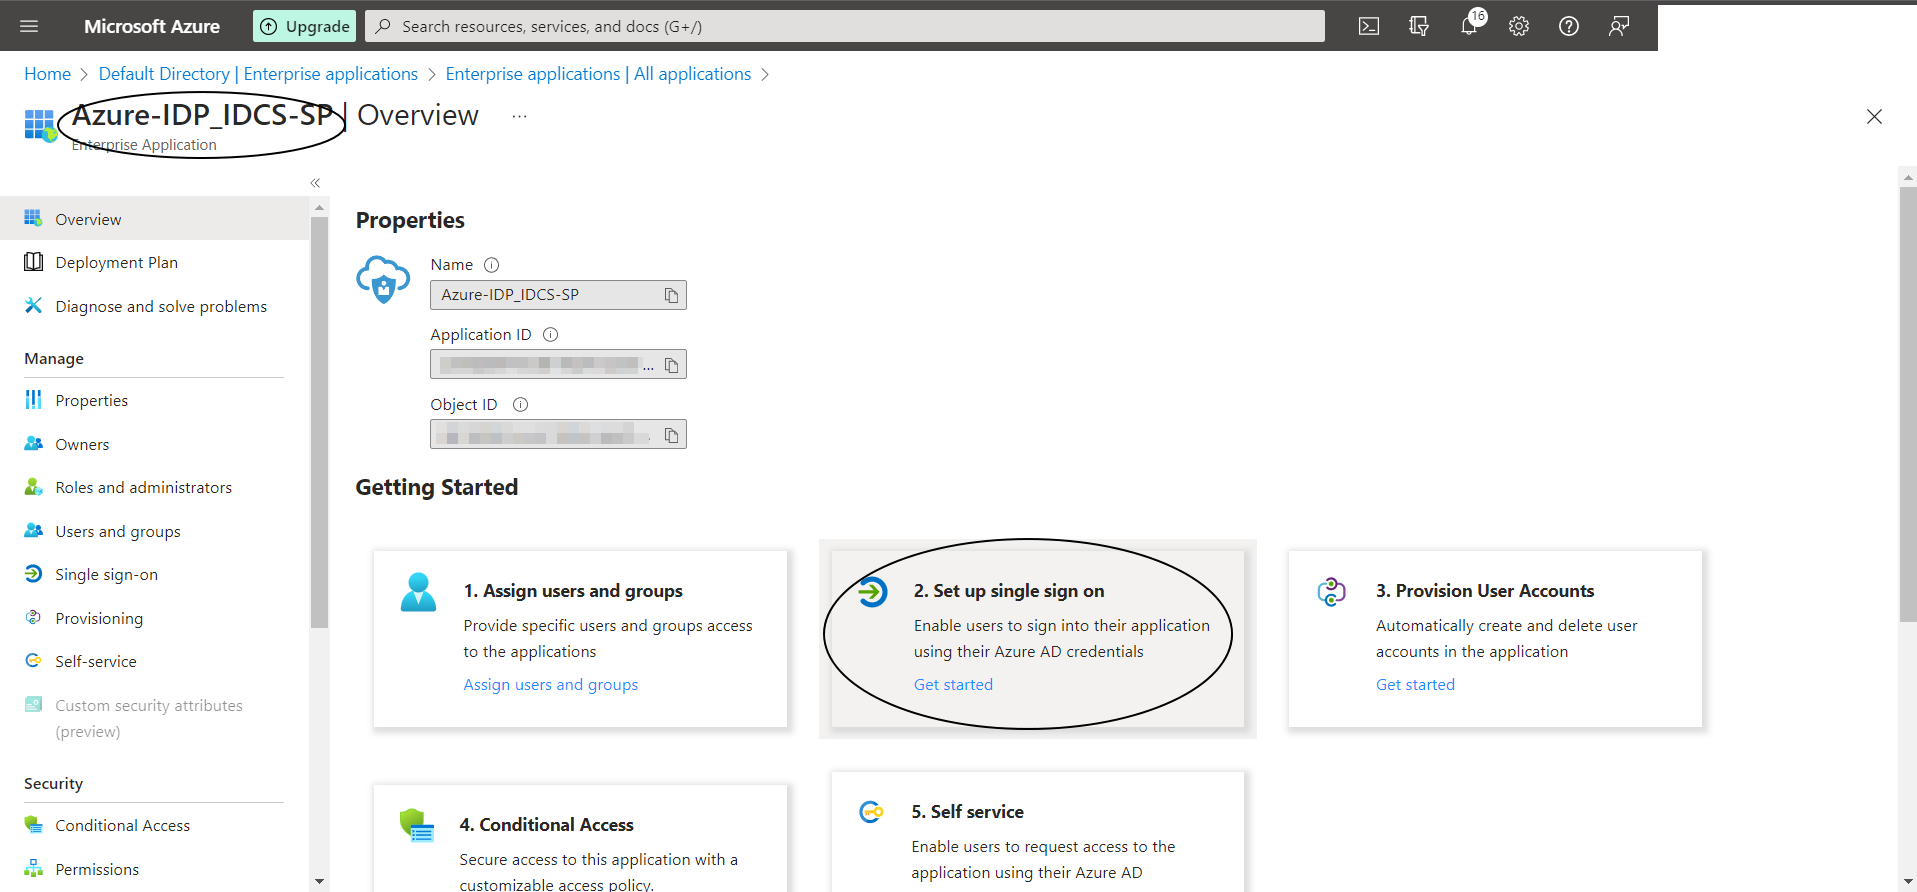
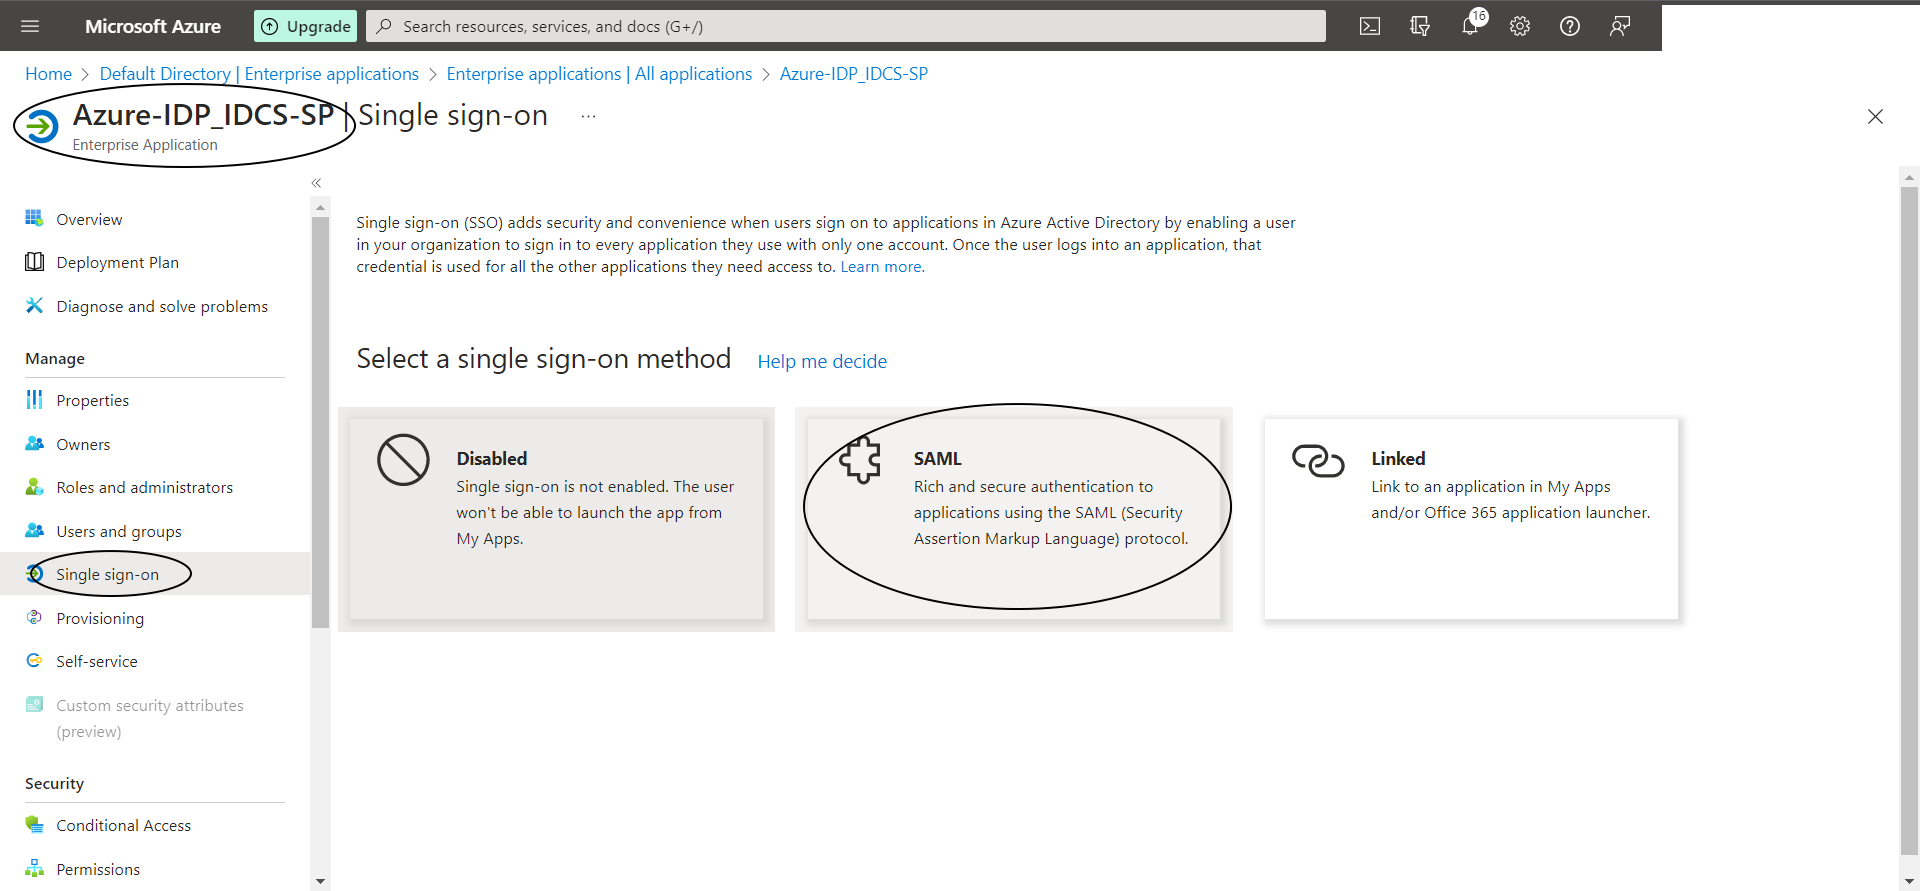
Step A-4:
Select “2. Setup single sign on” and then select “SAML”
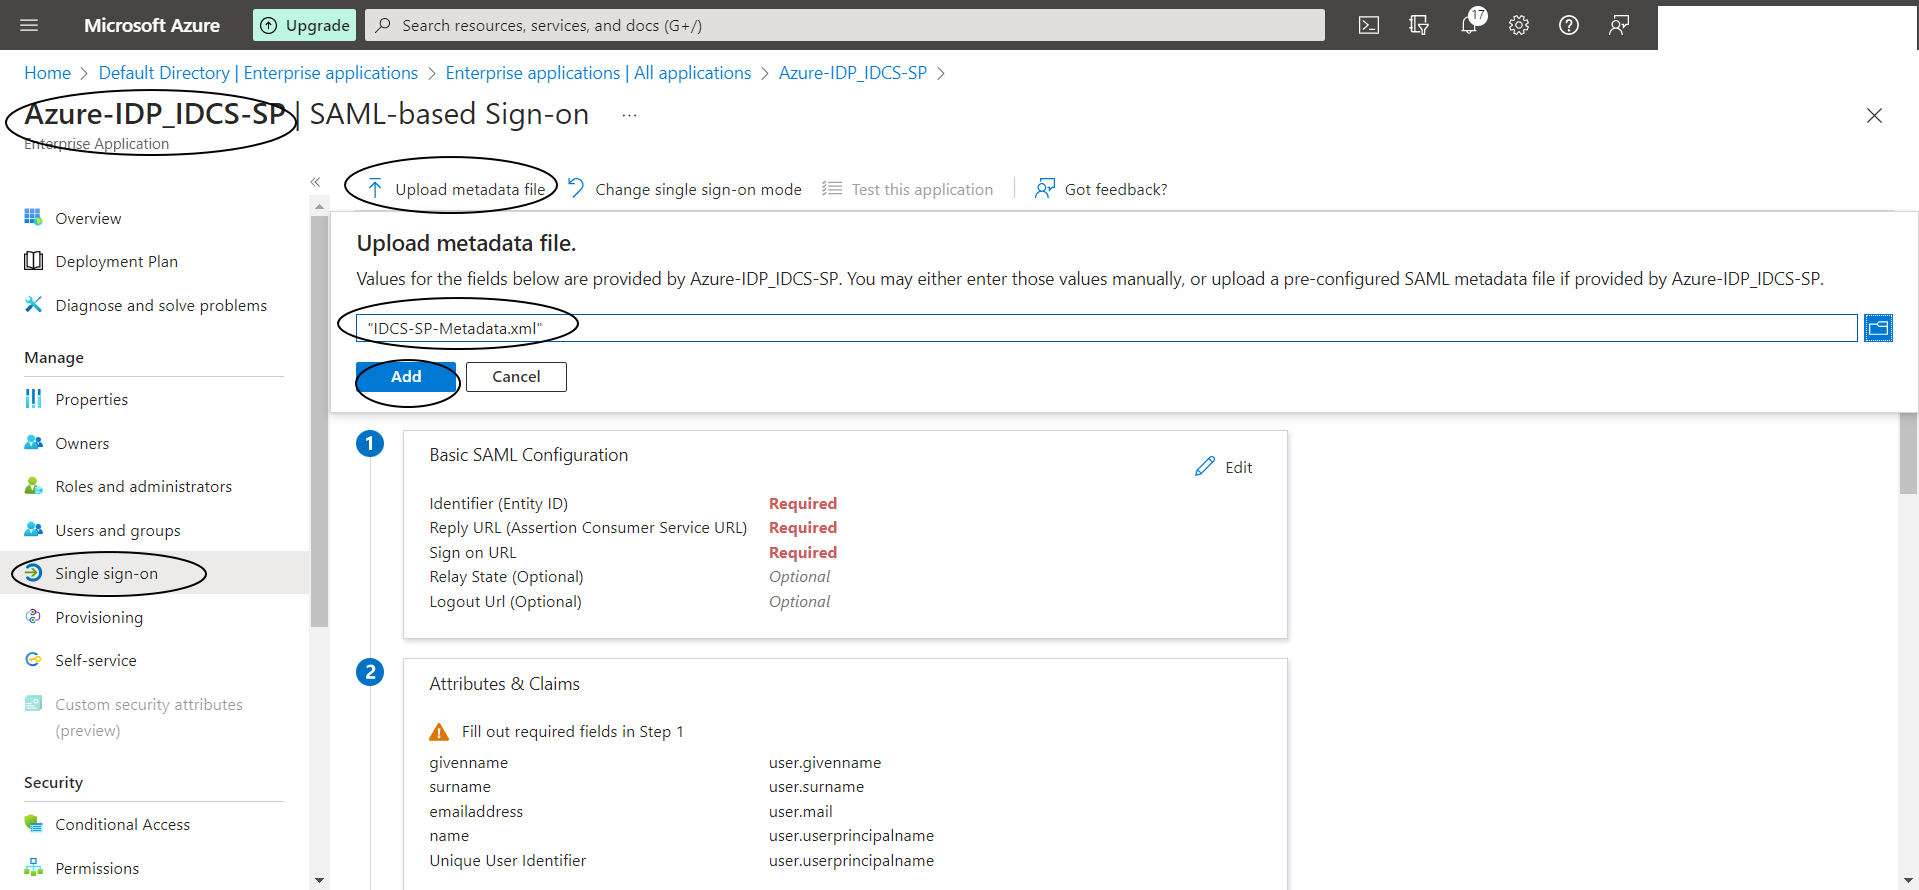
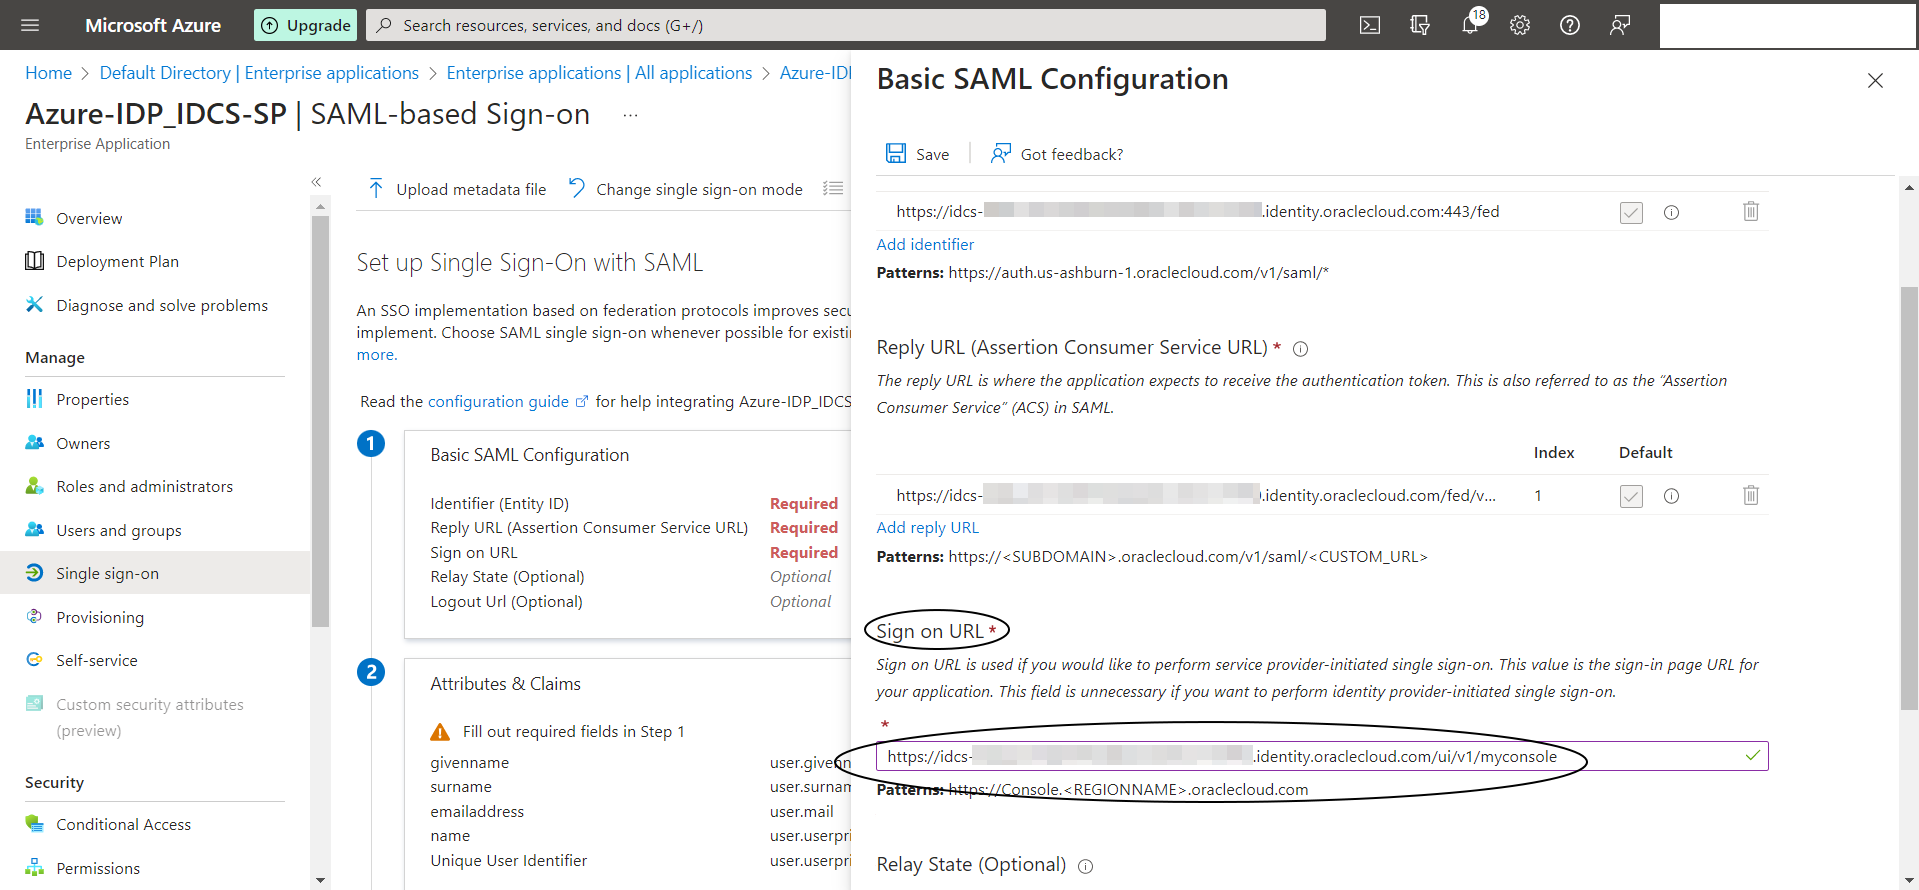
Step A-5:
Click on “Upload Metadata File” in Azure console and upload the “IDCS-SP-Metadata.xml” file and then update the Single Sign-On URL as follows :
https://idcs-xxxx.identity.oraclecloud.com/ui/v1/myconsole
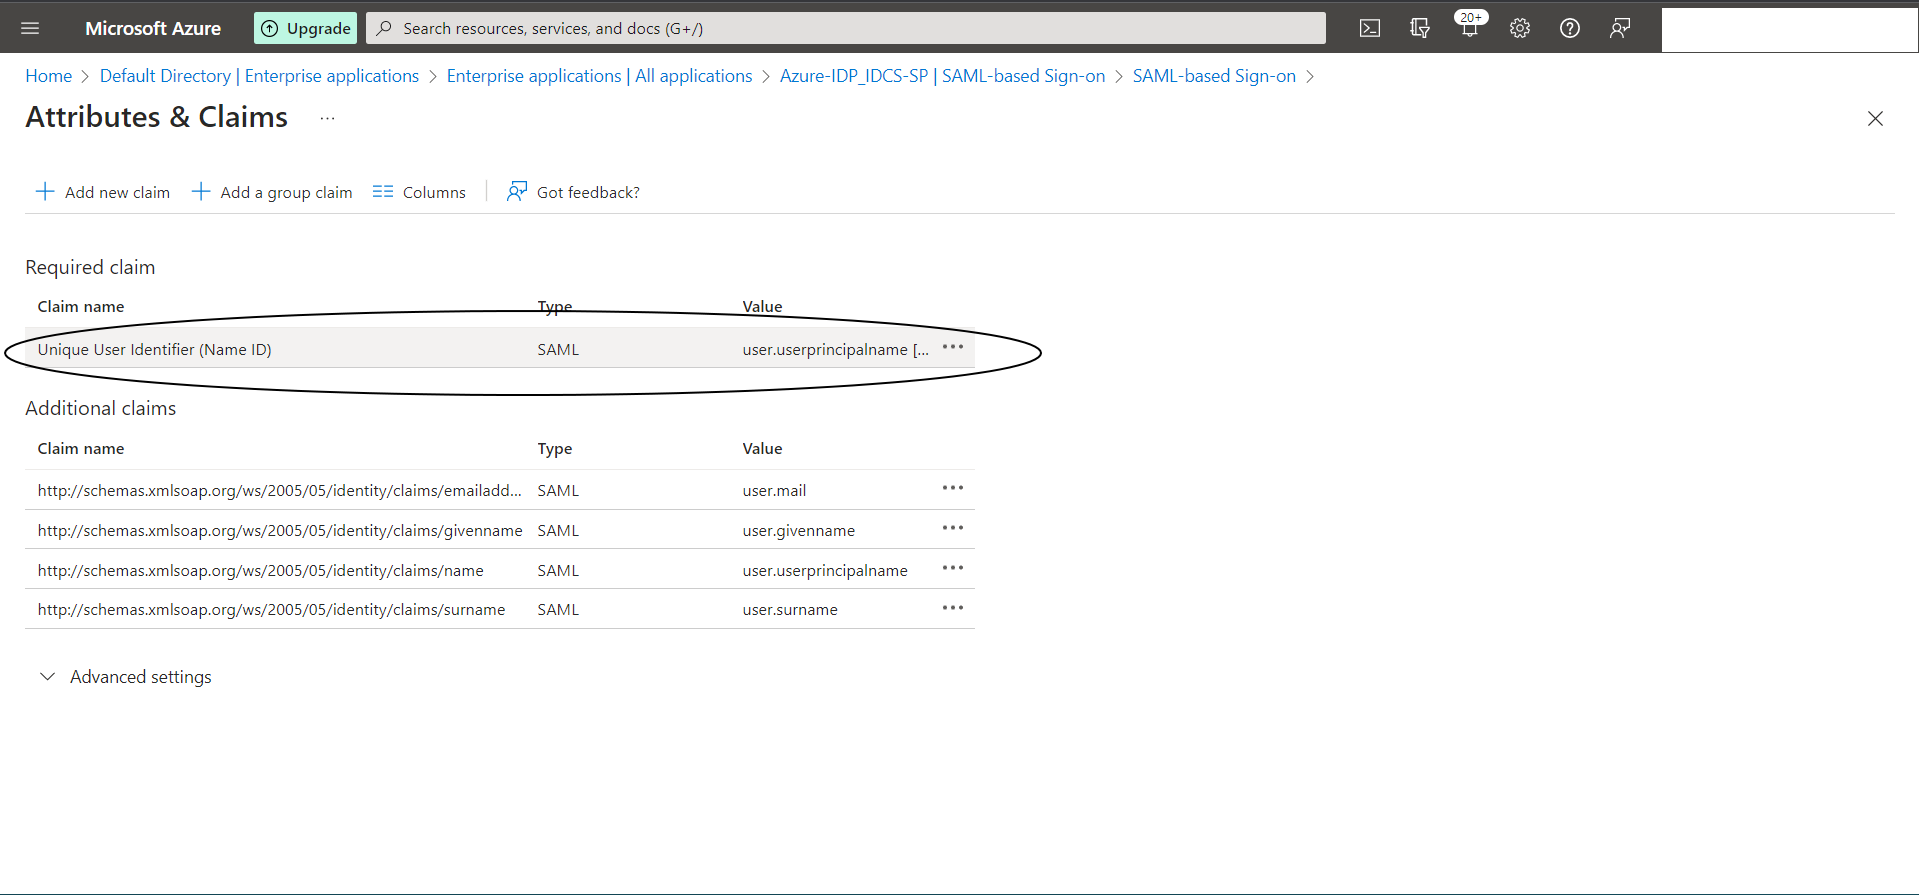
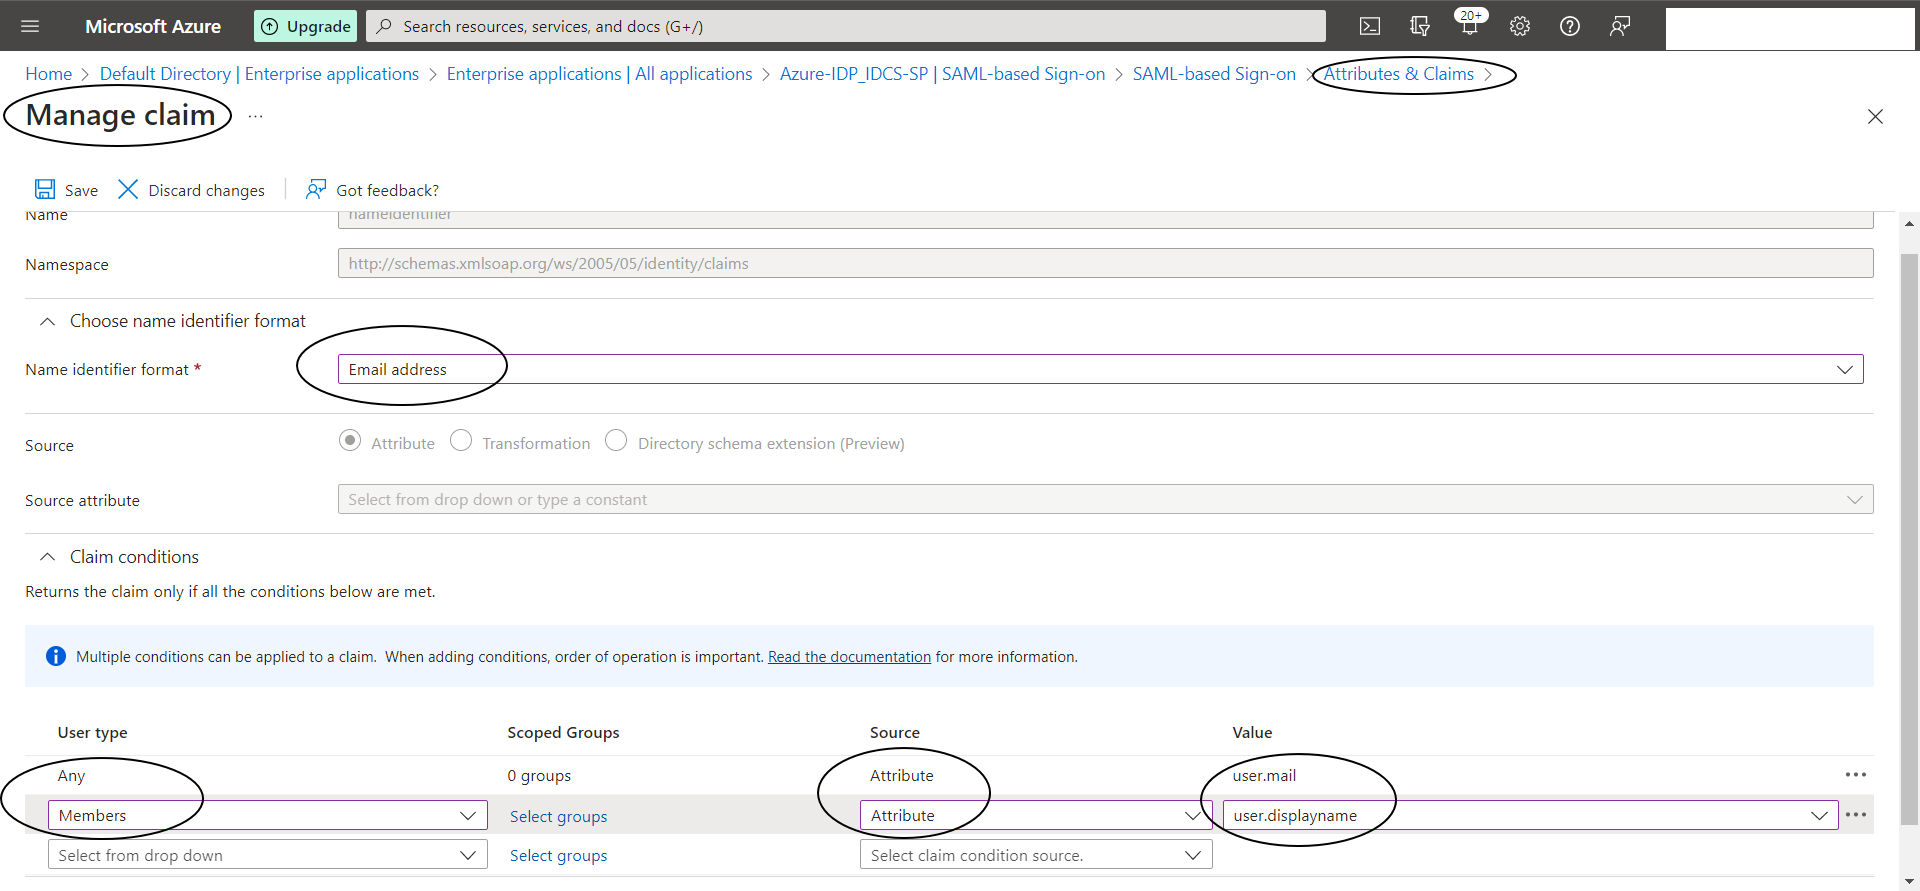
Step A-6:
Now edit “2. Attributed and Claims” as shown below :
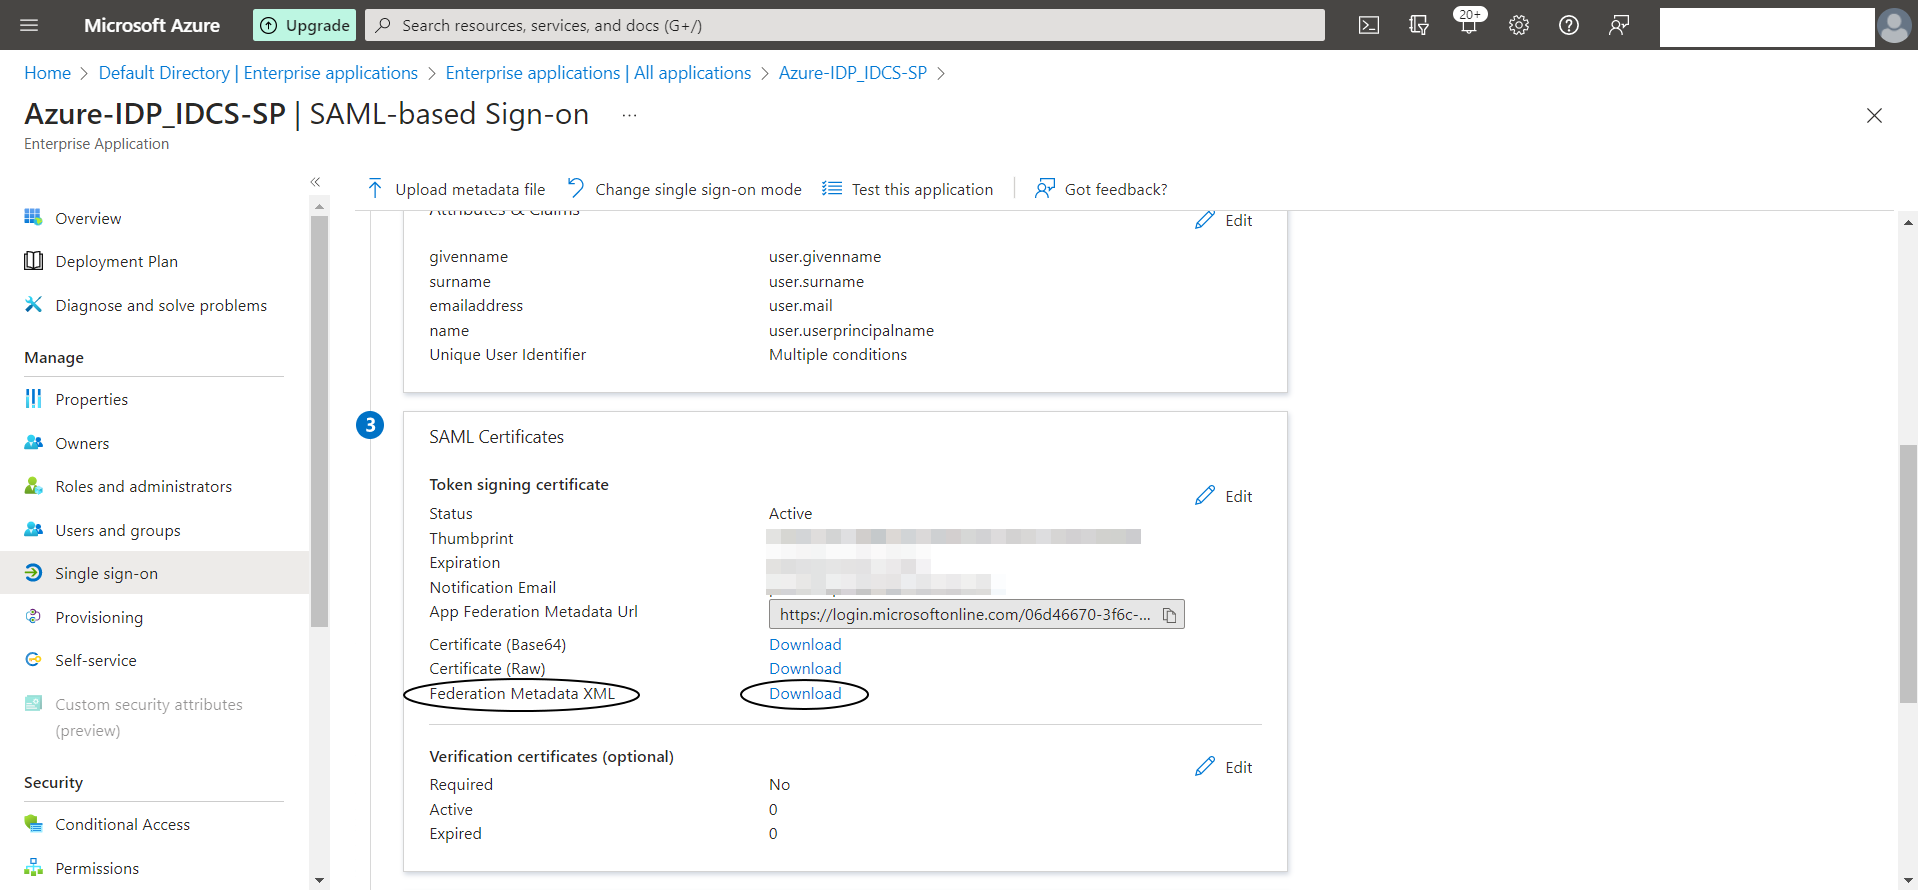
Step A-7:
Download the “Federation Metadata XML” file from “3. SAML Certificates” section
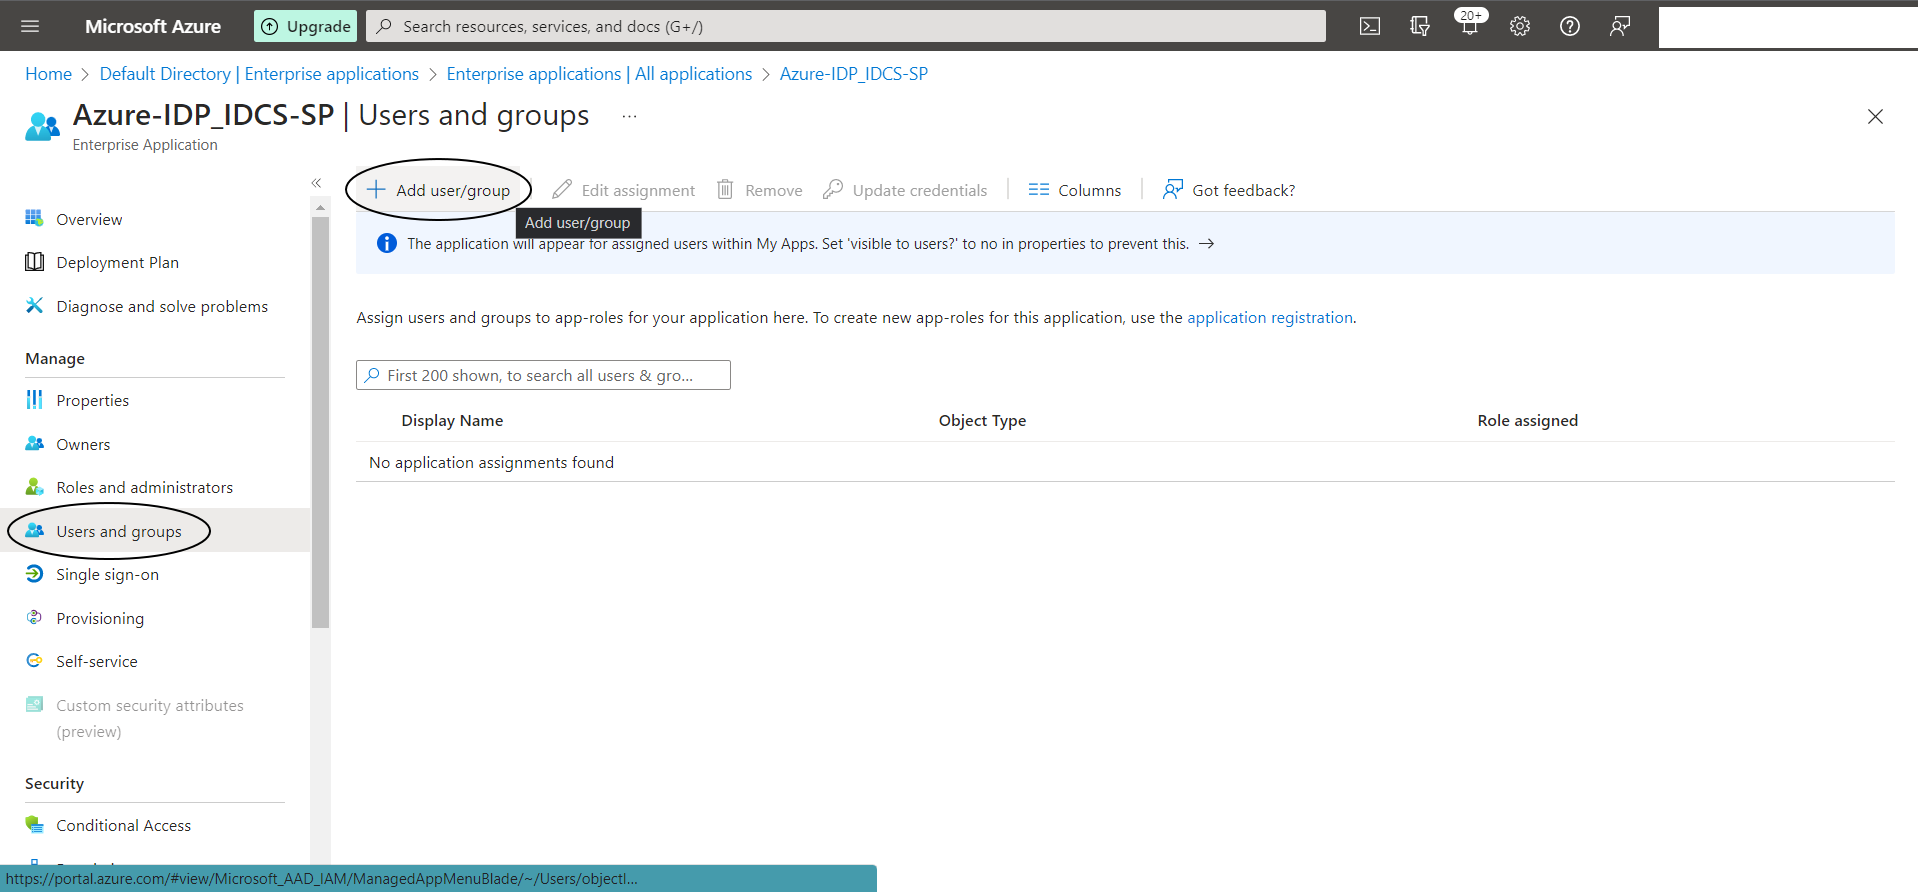
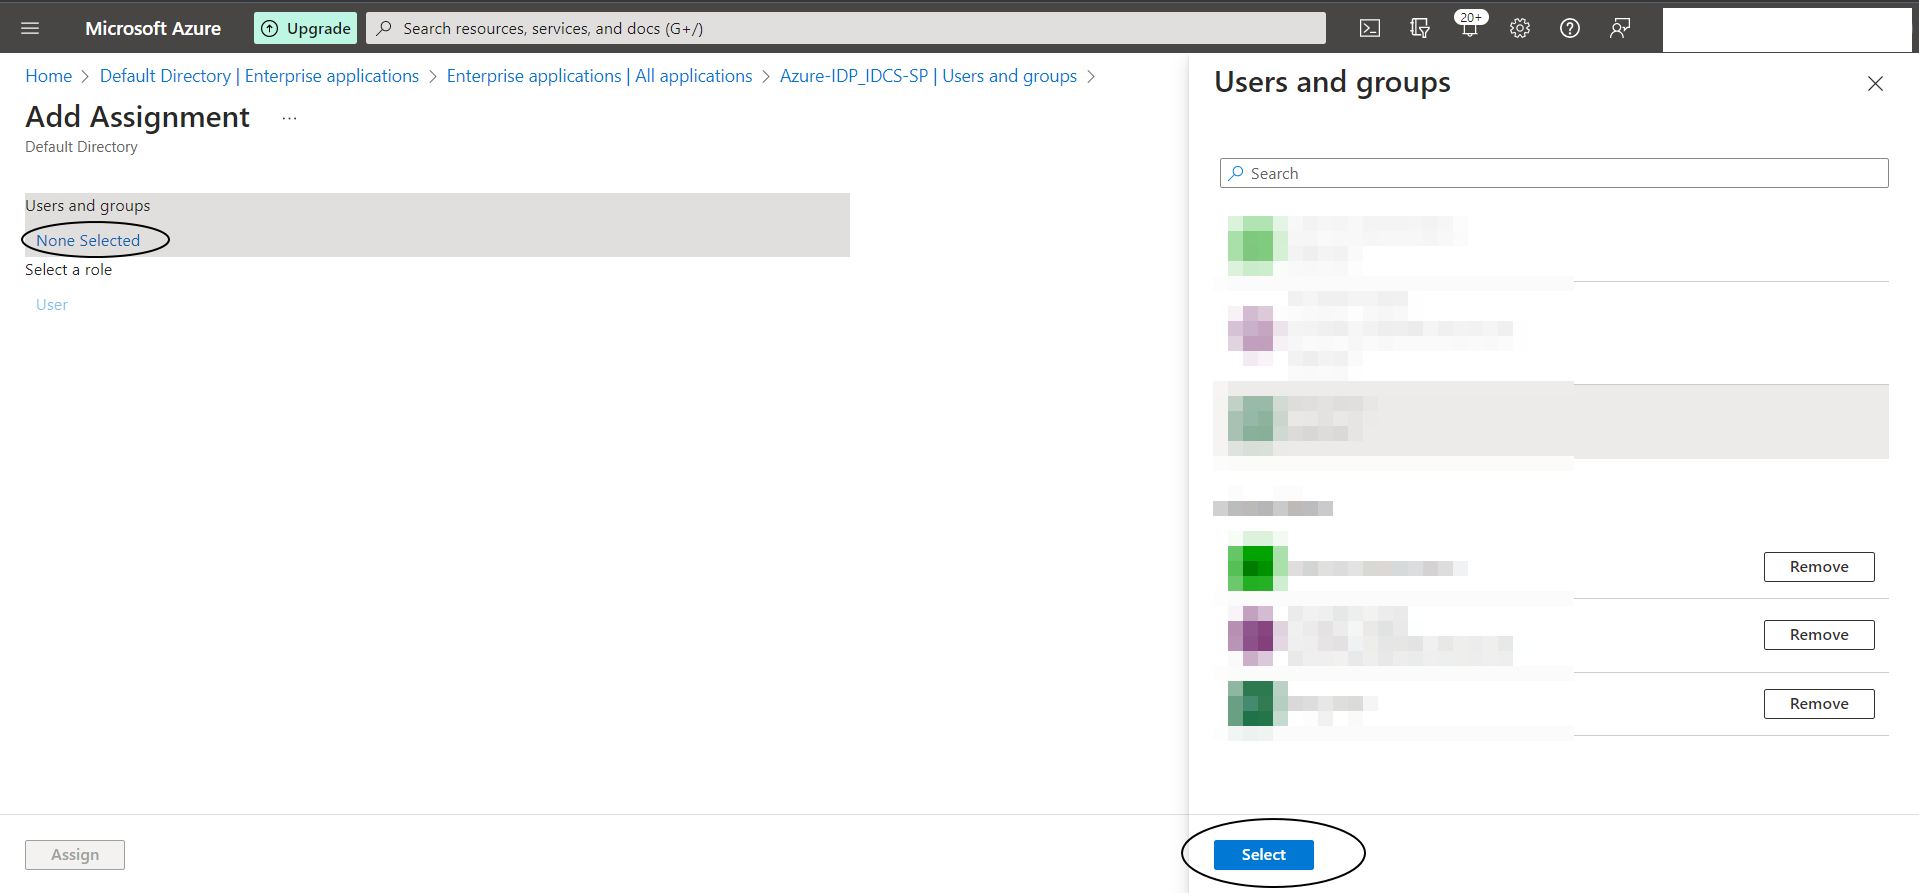
Step A-8:
Lets add “Users and Groups” to this application now
IDCS Confgiuration :
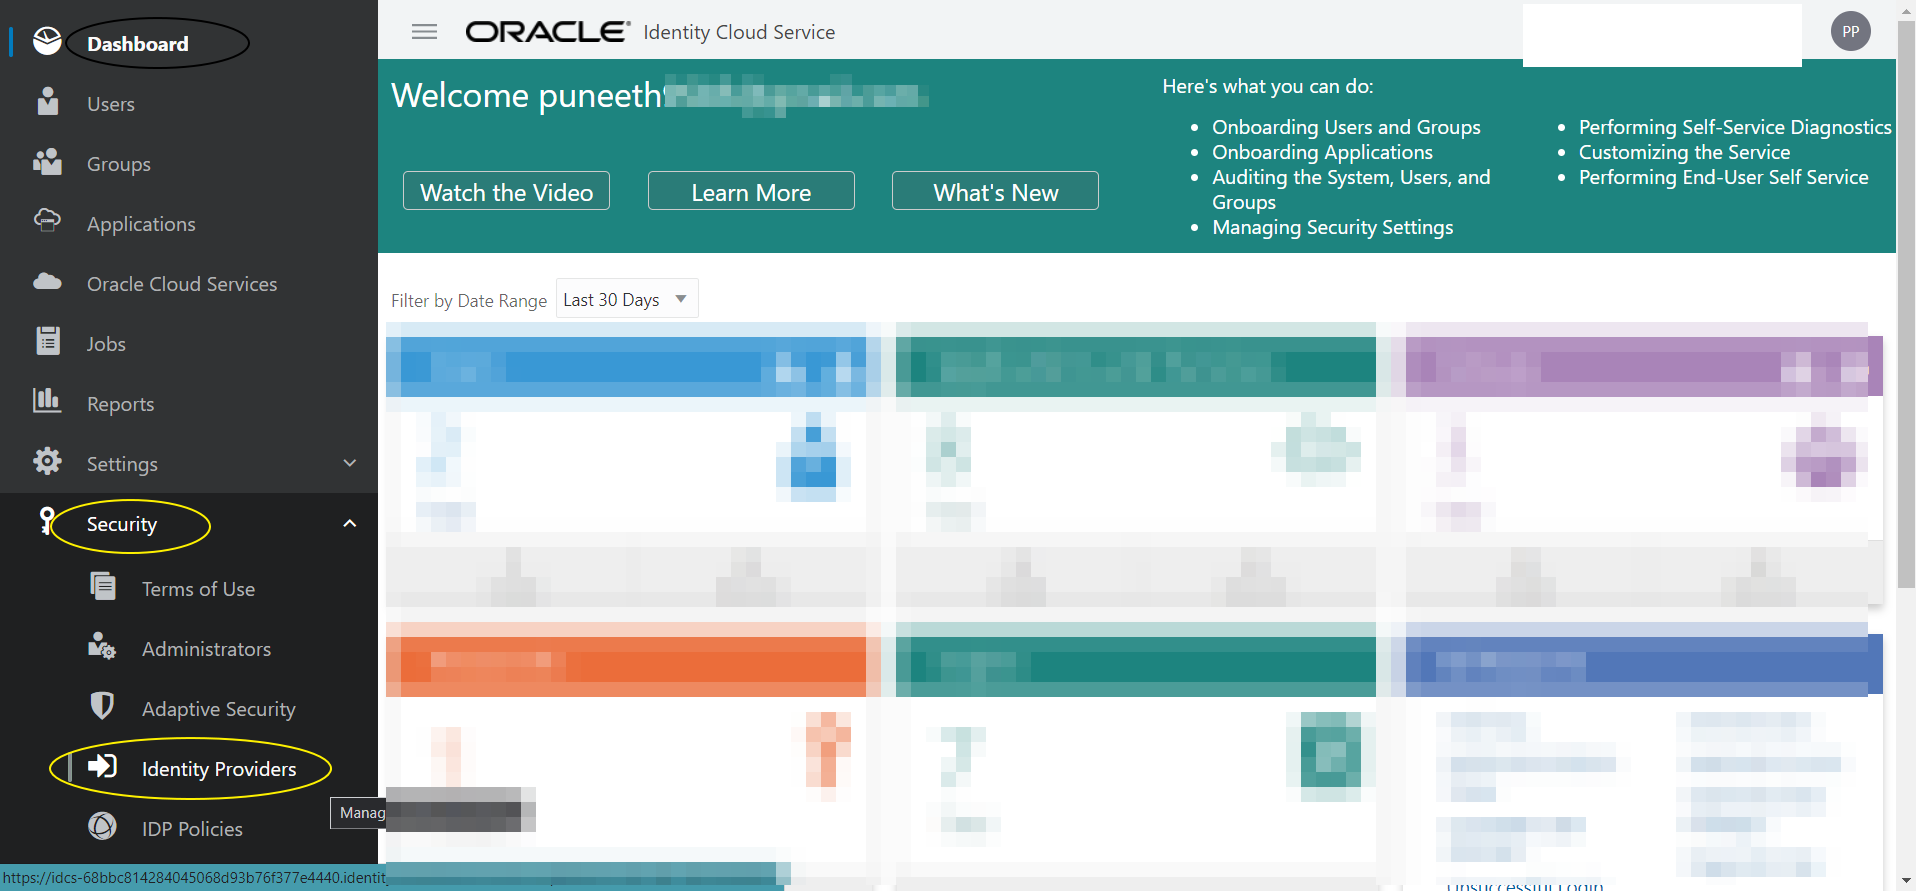
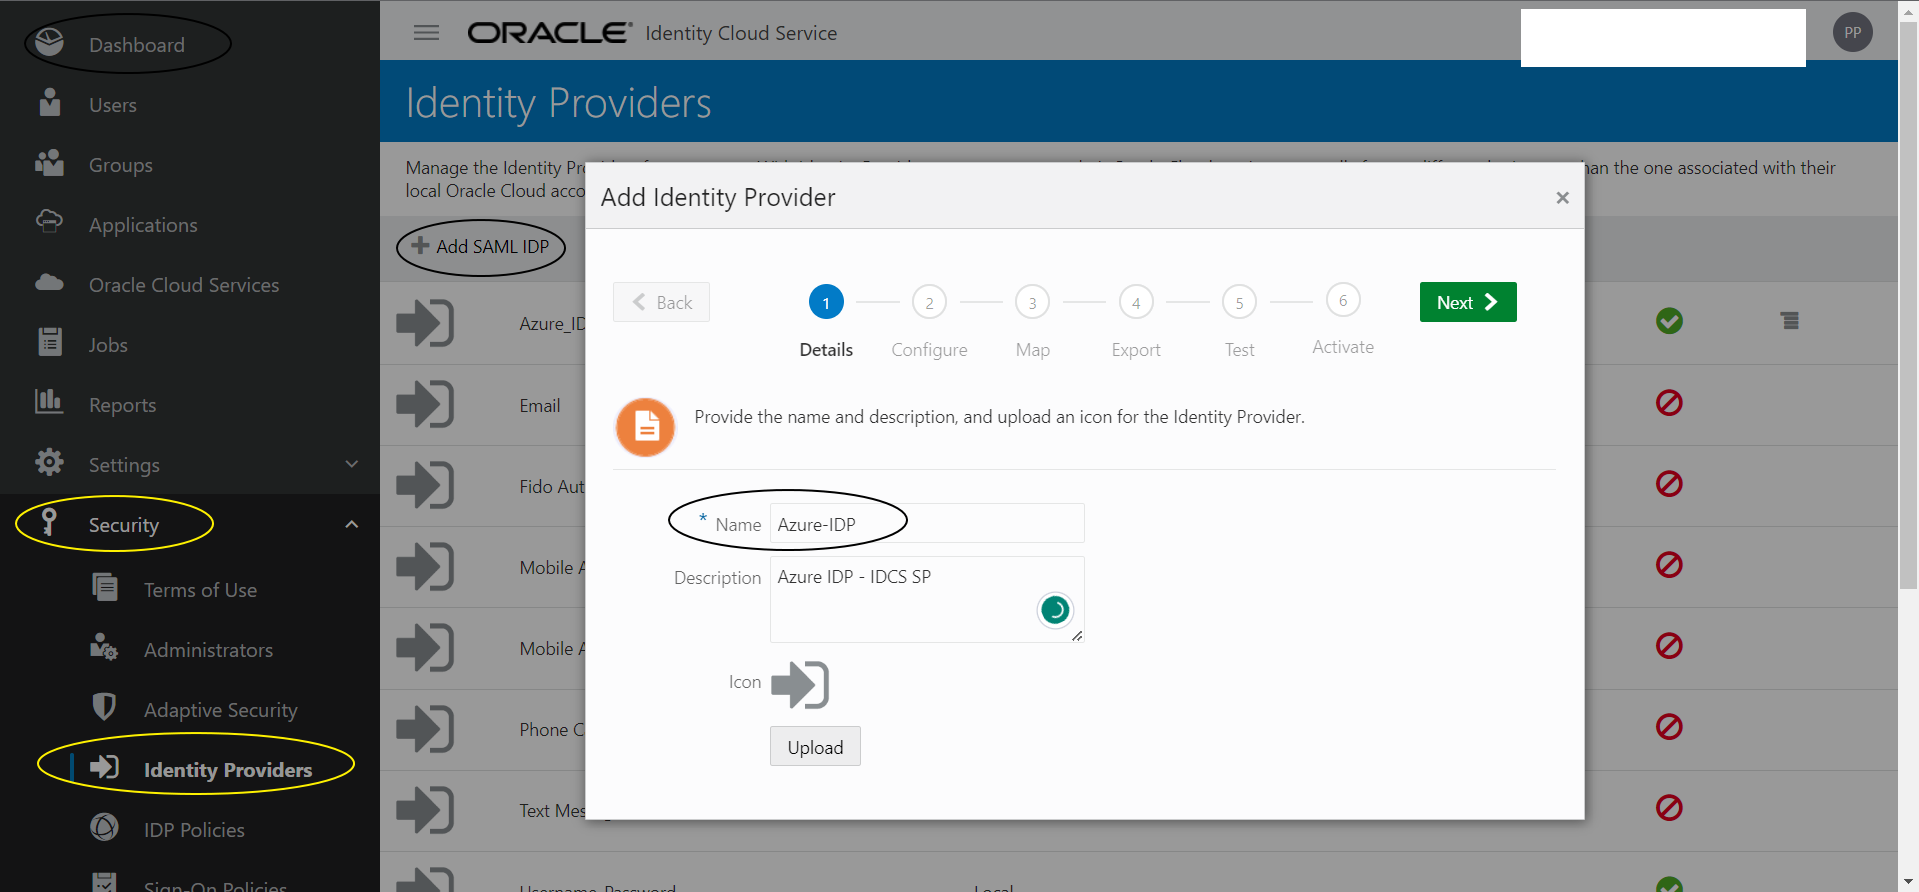
Step I-3:
Login to IDCS console (https://idcs-xxxxx.identity.oraclecloud.com/ui/v1/adminconsole) -> + Security -> Identity Providers -> Add SAML IDP -> any name say “Azure-IDP”
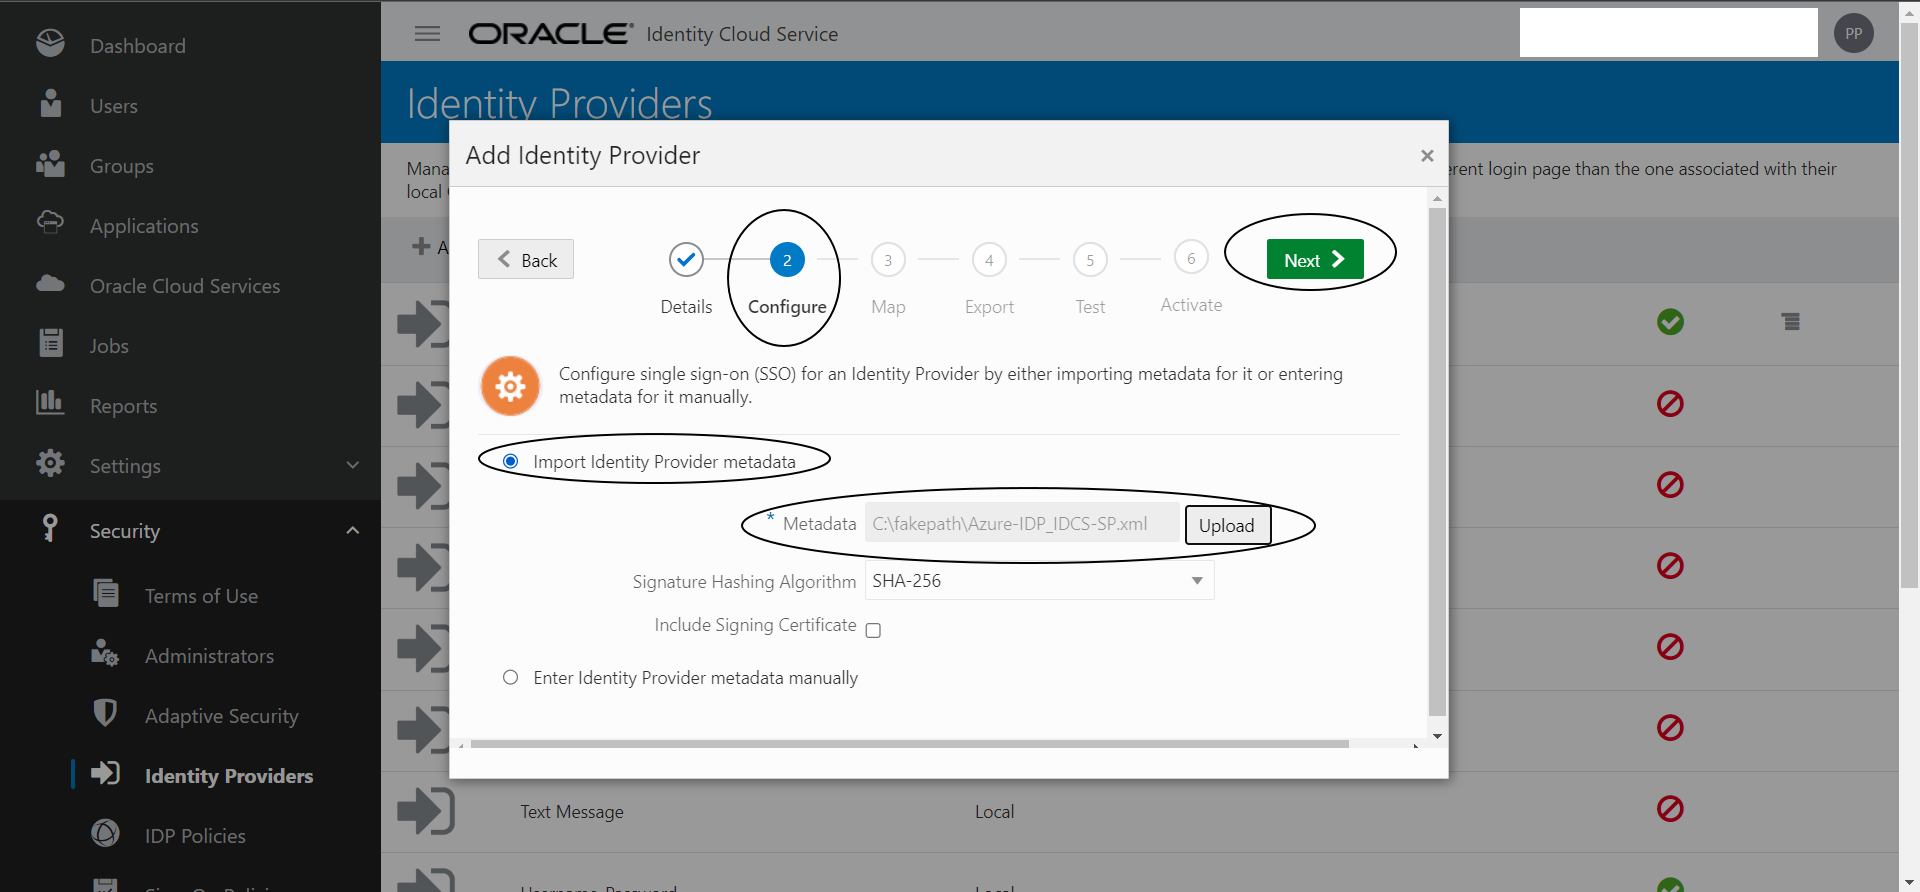
Step I-4:
Upload the IDP metadata that you downloaded from Azure in this screen and click “Next”
Step I-5:
Select the “Requested NameID Format” as “Email Address” from the drop down menu.

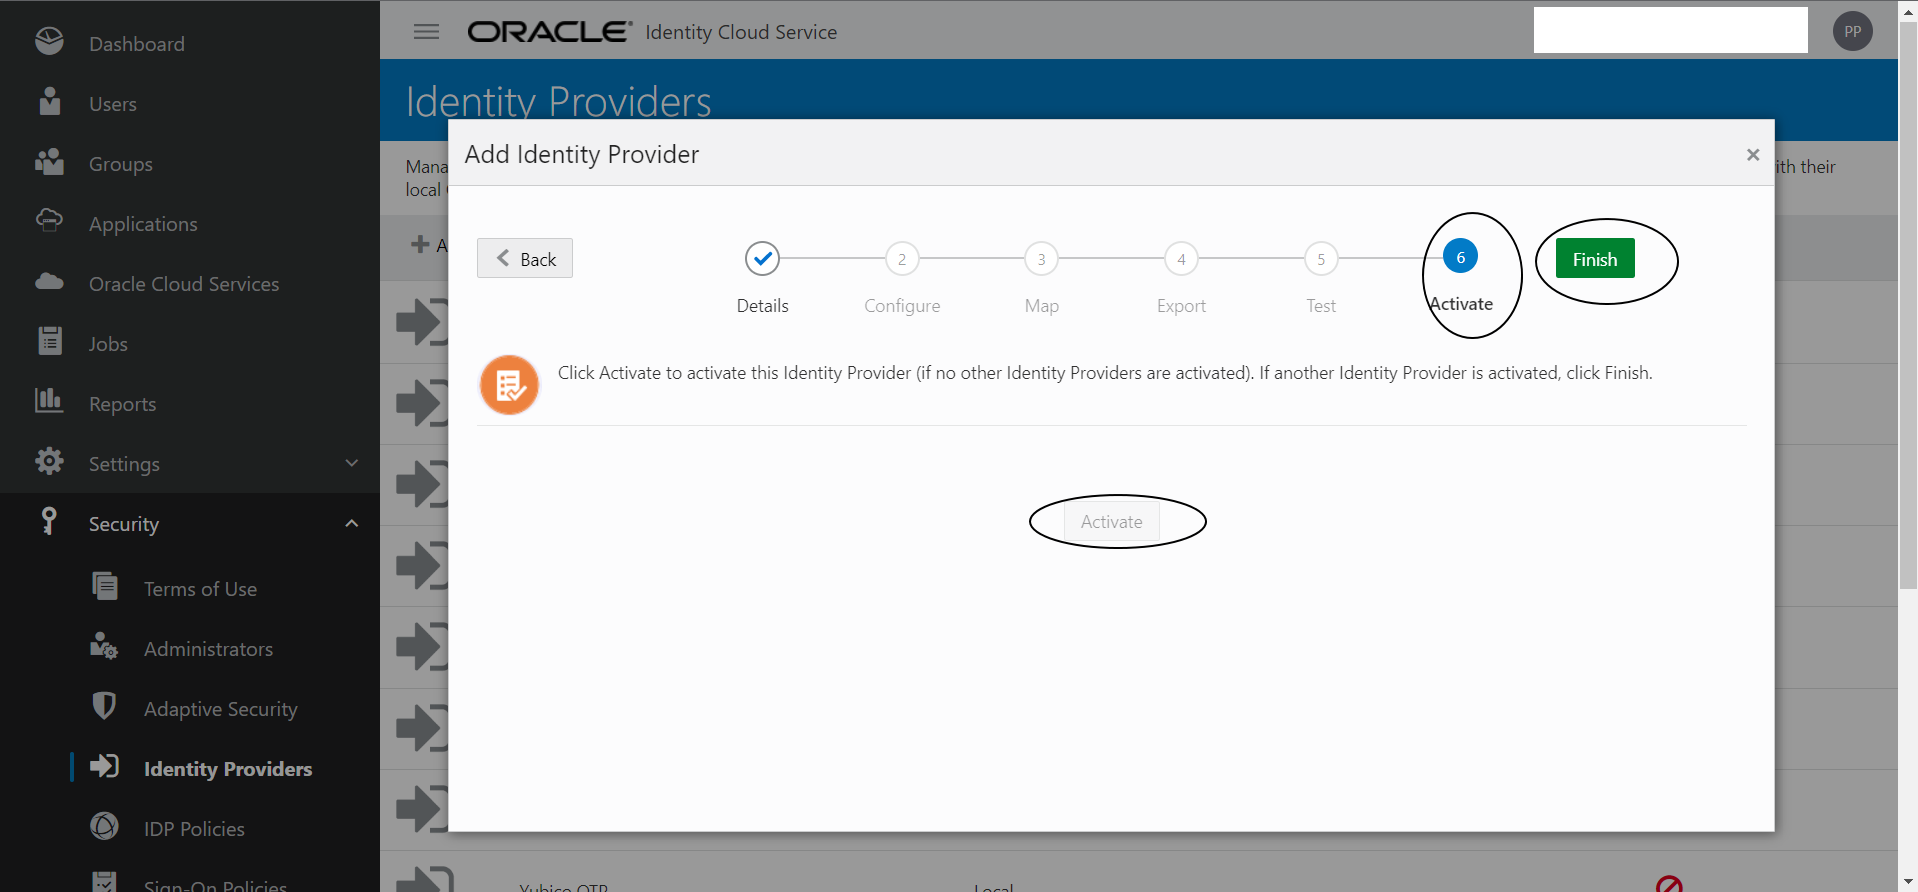
Step I-6:
Click Next -> Next -> Activate -> Finish
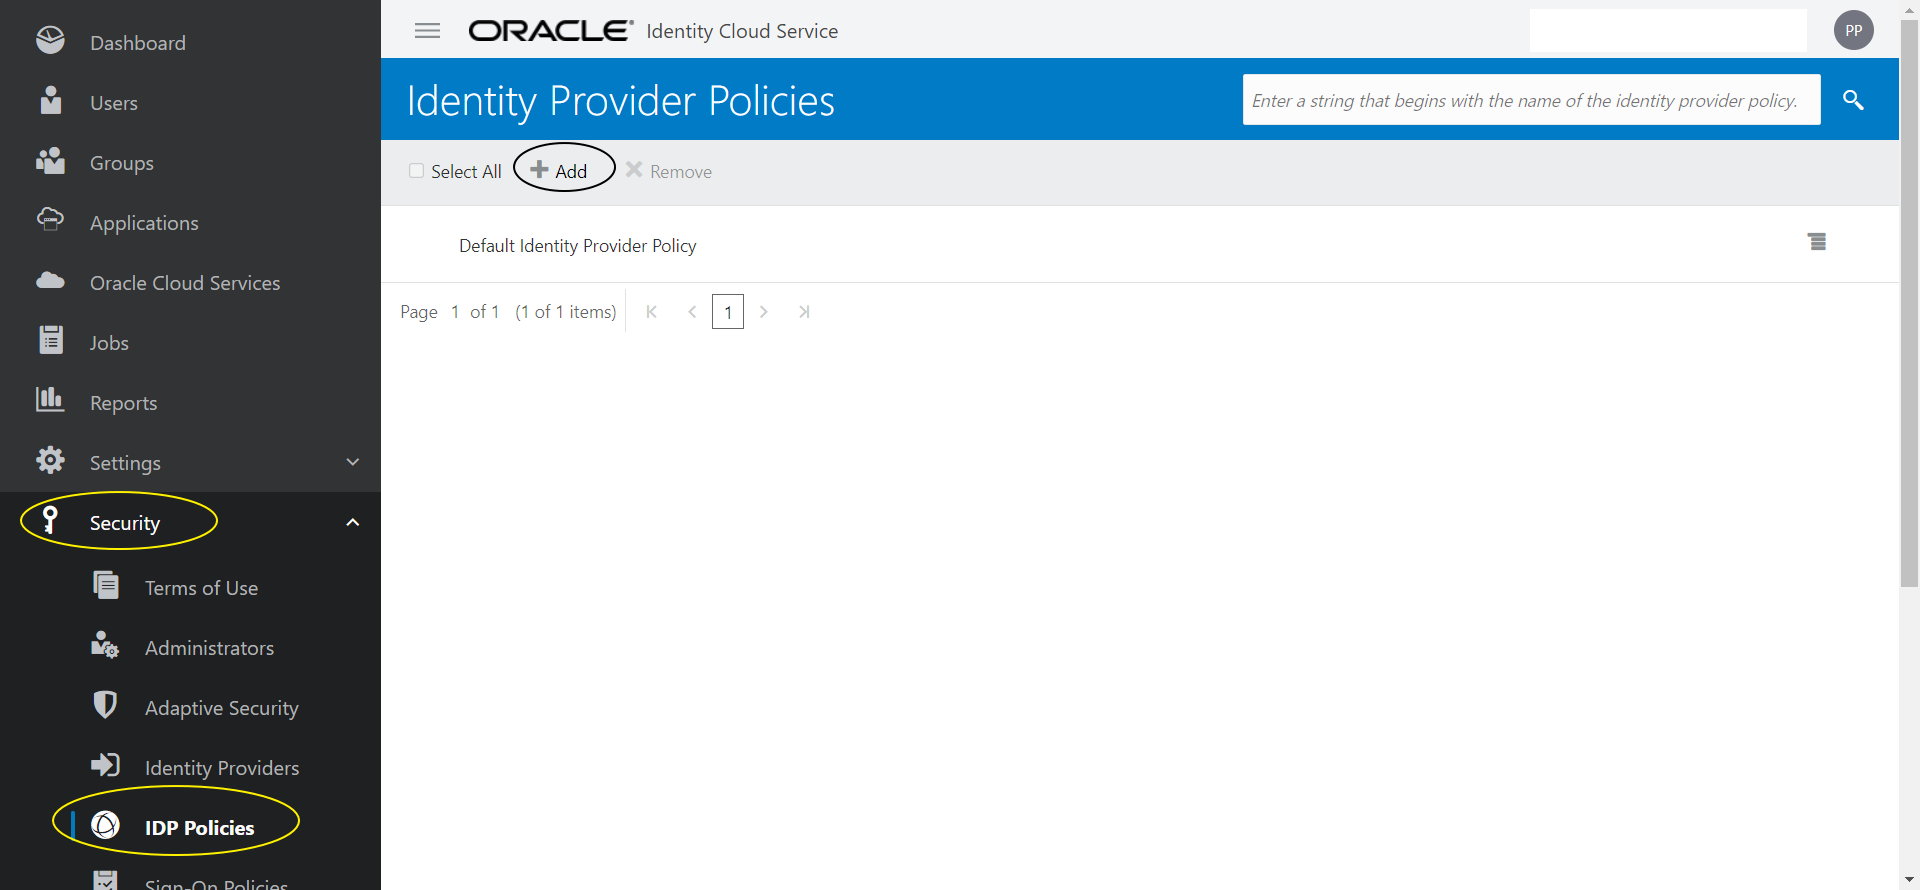
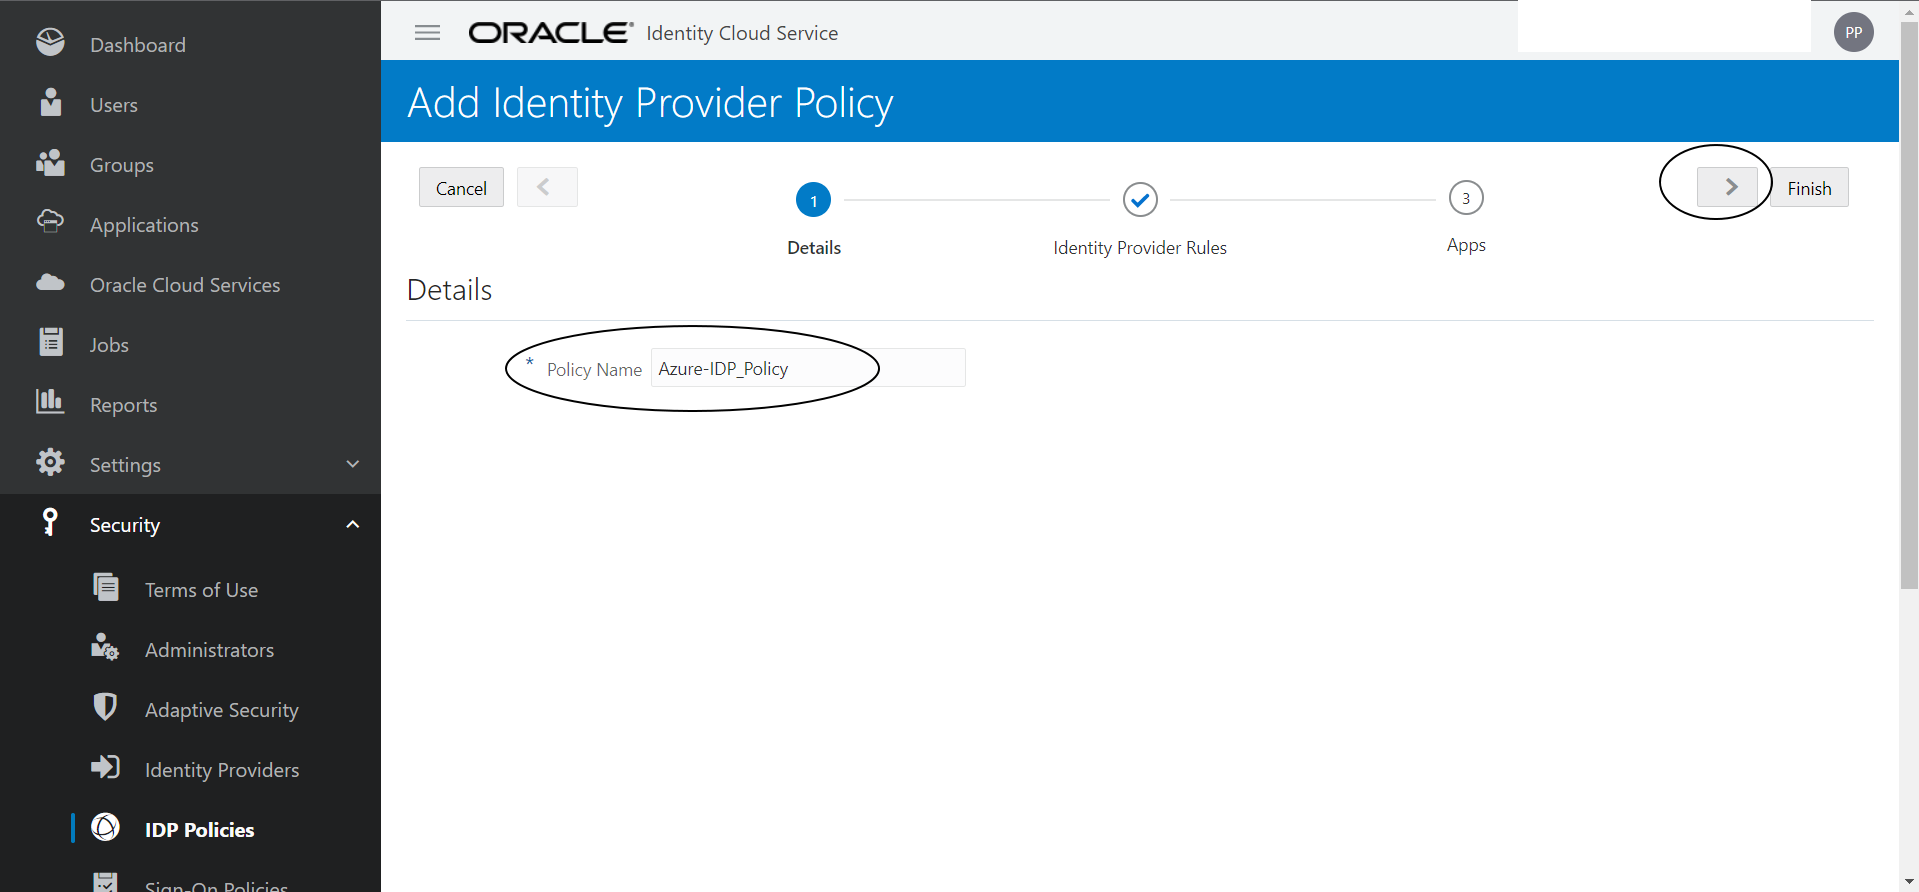
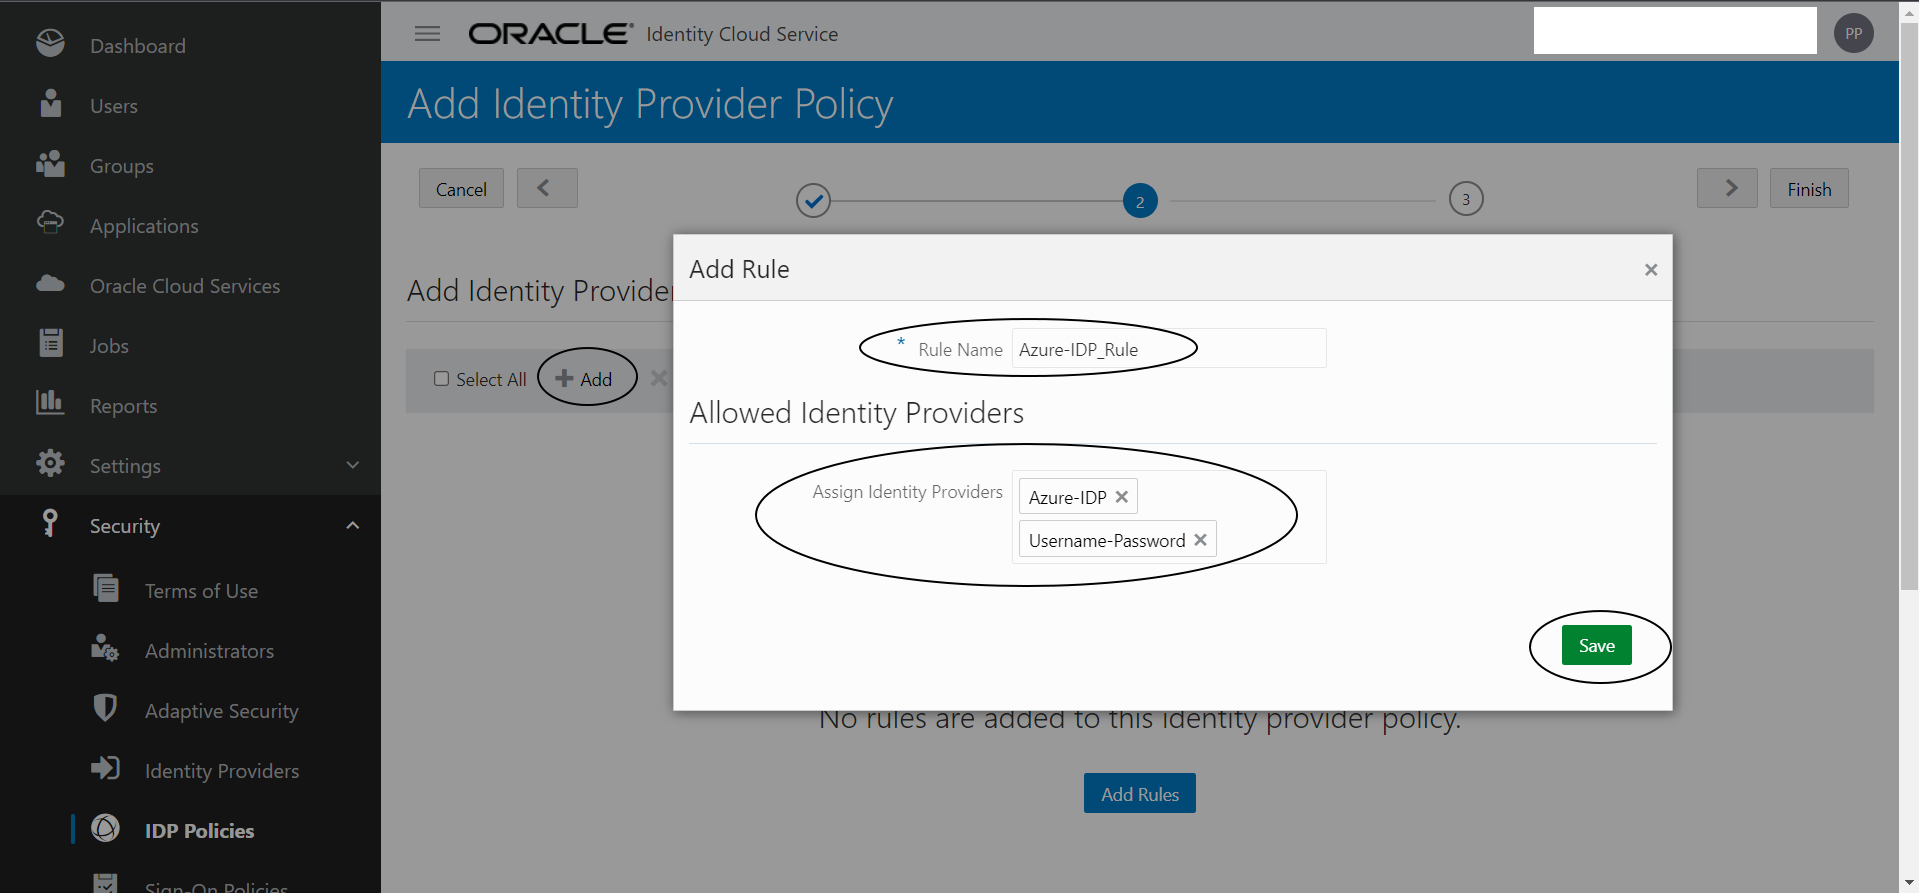
Step I-7:
Add a new IDP Provider Policy and IDP Provider Rule as shown below :
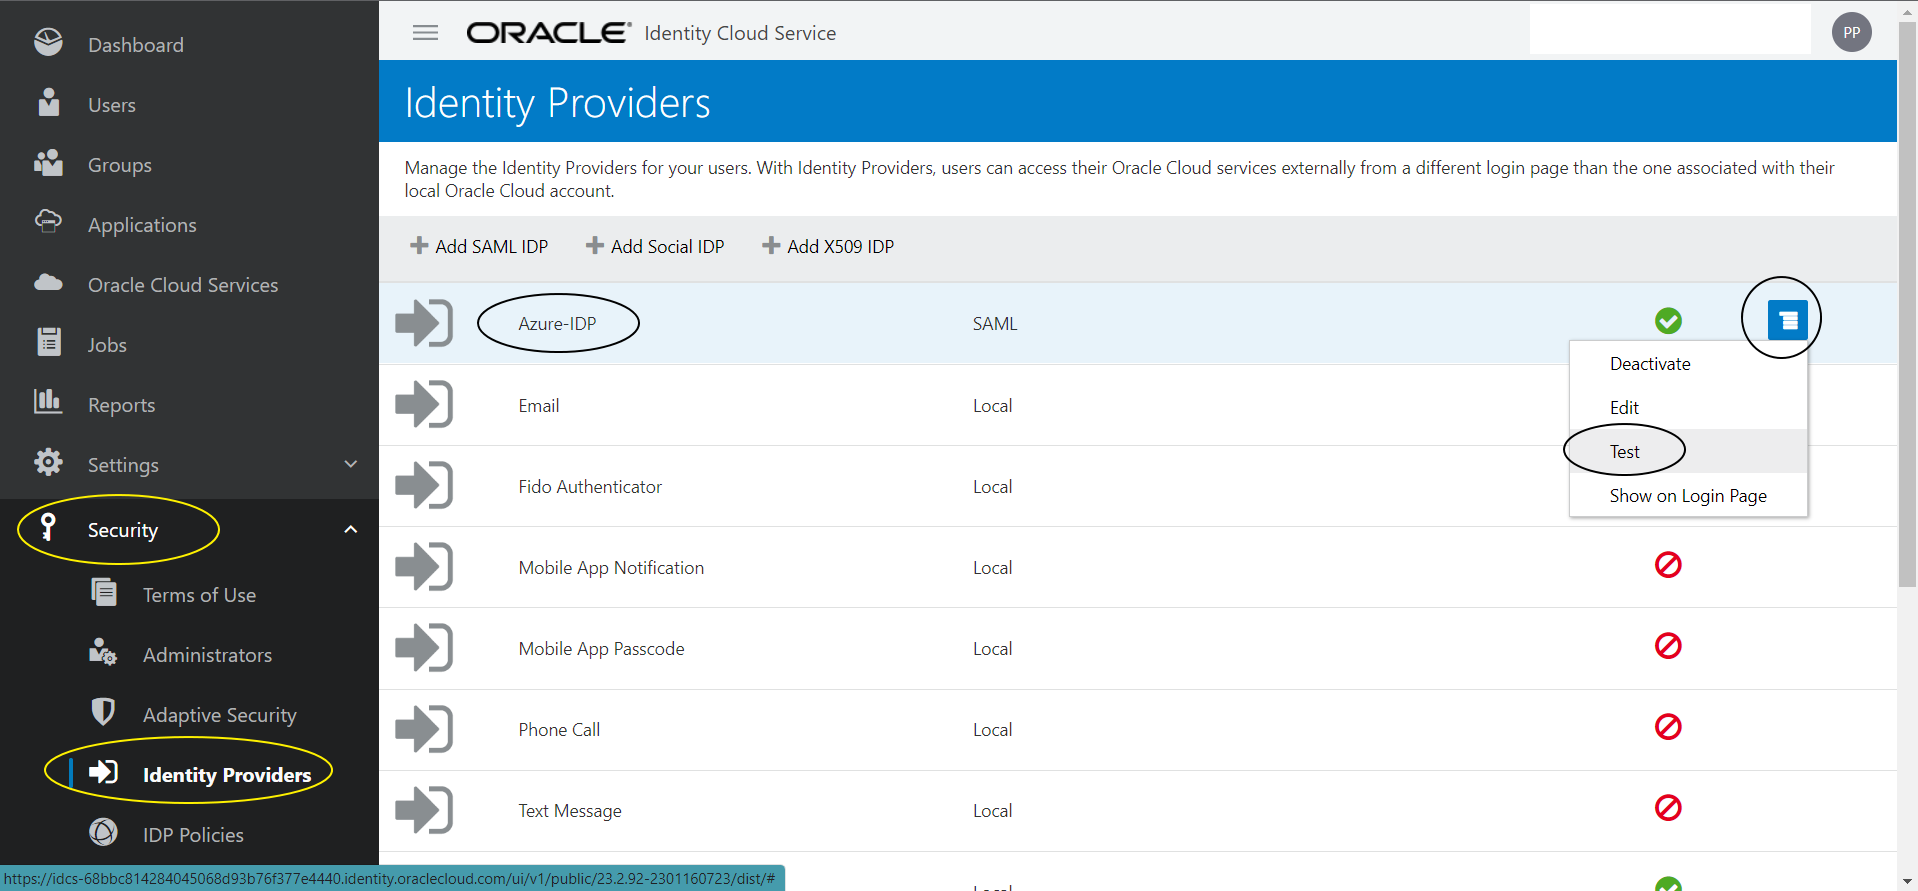
Now its time to Test the configuration:
Click on hamberger icon next to the “Azure-IDP” Identity Provider you created earlier and click on “Test”
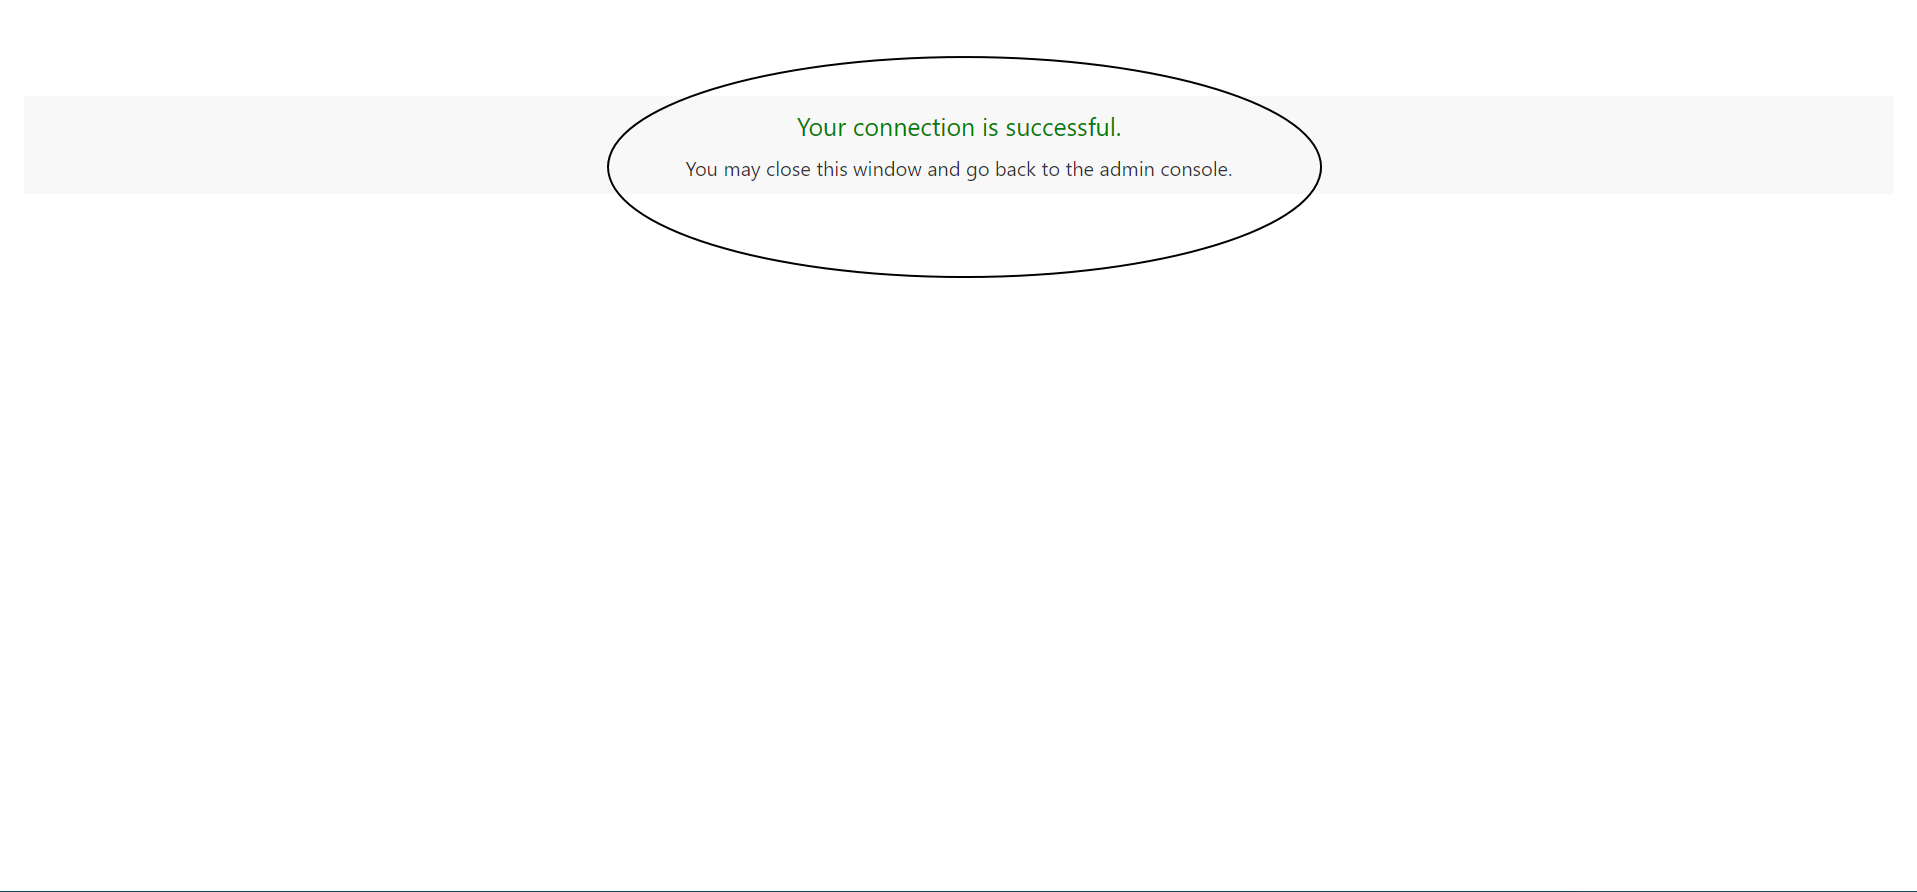
SAML SSO with IDCS as SP and Azure as IDP is successfully configured now!
