With inputs from Shubham Vipul Majmudar, Senior Member of Technical Staff
Introduction
Oracle Fusion Data Intelligence (FDI) is the next generation of Oracle Fusion Analytics Warehouse (FDI), designed specifically for Oracle Fusion Cloud Applications. It brings together business data, ready-to-use analytics and prebuilt AI, and machine learning (ML) models. This powerful combination delivers deeper insights and accelerates the decision-making process, turning data into actionable results and opening a world of possibilities for your business.
Data Build Tool (DBT) is an open-source tool that has been transforming the landscape of analytics by enabling data teams to implement transformations directly in their data warehouses. It allows analysts and engineers to collaboratively (via version control) use SQL and templating to define and execute data models, moving from a source paradigm to a business-oriented paradigm.
Git is an open-source DevOps tool used for source code version control. It tracks changes in the source code, enabling multiple developers to work together.
Actions Summary
This article covers four procedures you must execute to set up DBT:
1 – Generate an Auth Token
2 – Create a DevOps project and Code Repository
3 – Clone the Code Repository into your local machine using Git
4 – Set up a DBT connection on your FDI instance
Actions Steps
1 – Generate an Auth Token
As a preparation step, you need to generate an Auth Token, which is required for Git to be able to interact with your code repositories.
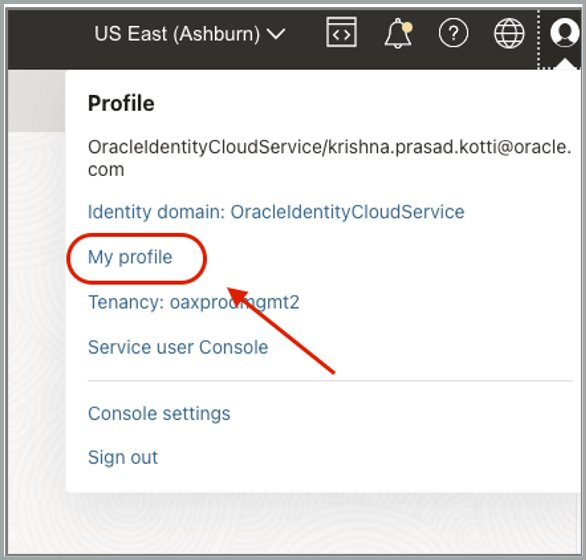
a. Log in to the Oracle Cloud Infrastructure (OCI) Console, click the Profile icon, and select My Profile.
b. From the Resources menu, select Auth Tokens and click Generate Token.

c. Provide a Description and click Generate token.
d. Once a token is created, click the Copy link.
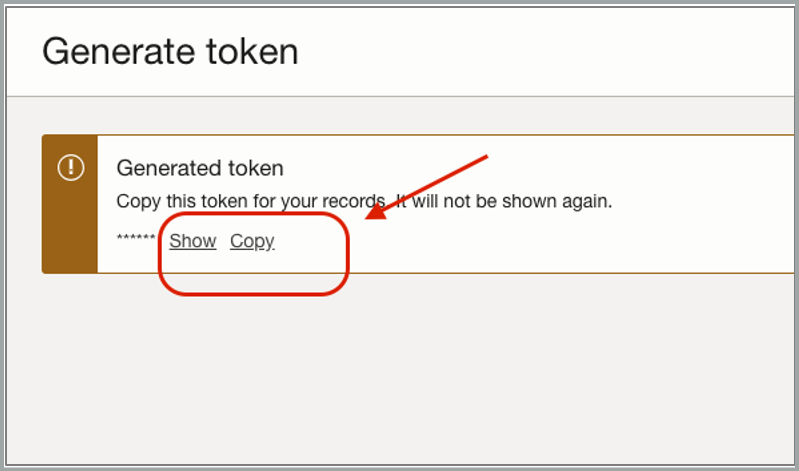
NOTE: Copy the auth token immediately to a secure location from which you can retrieve later, because you won’t see the auth token again in the Console.
e. Close the Generate token dialog. You’ll use the Auth Token in step 3b below.
2 – Create a DevOps project and Code Repository
The OCI DevOps service is an end-to-end CI/CD platform. The first step is to create a DevOps project and then create a code repository.
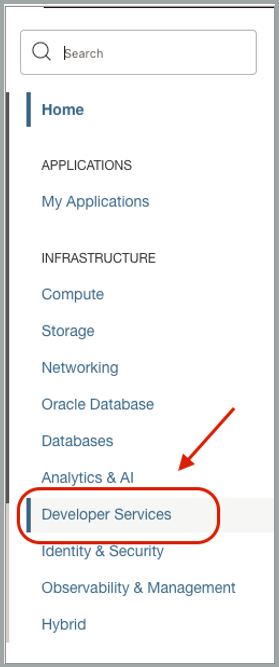
a. Log in to OCI Console, and from the Navigation menu, select Developer Services.
b. Under Developer Services, click Projects.
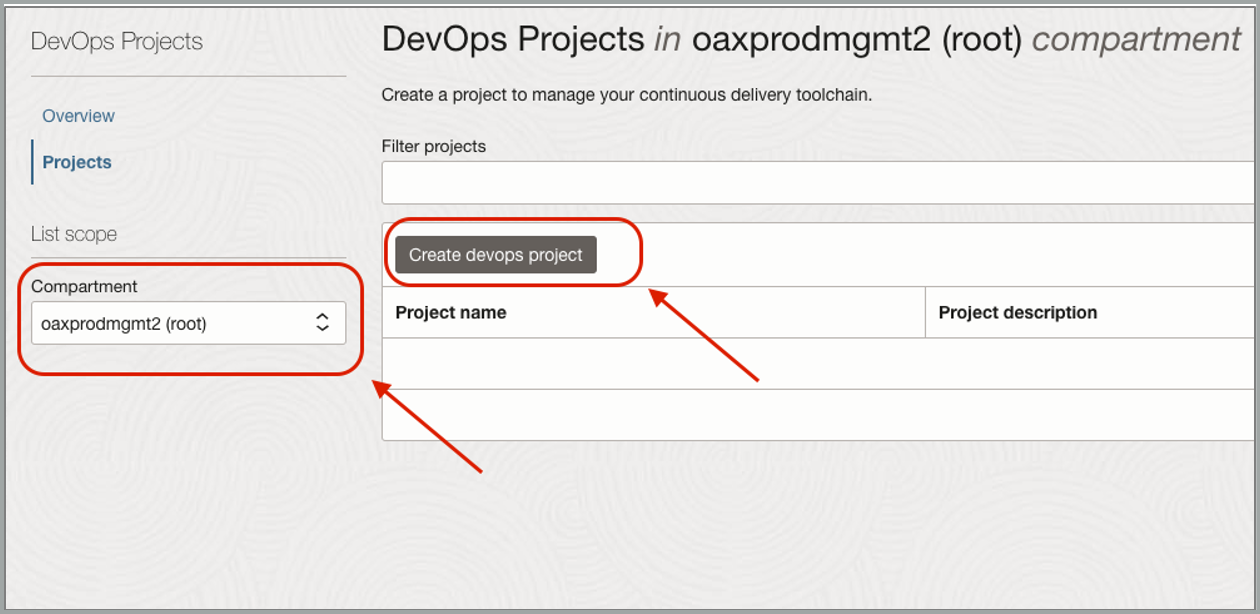
c. Choose a Compartment and click Create Devops project.
d. Provide a project name and description.
e. To set up project notifications, click Select Topic. Alternatively, create a new Topic.
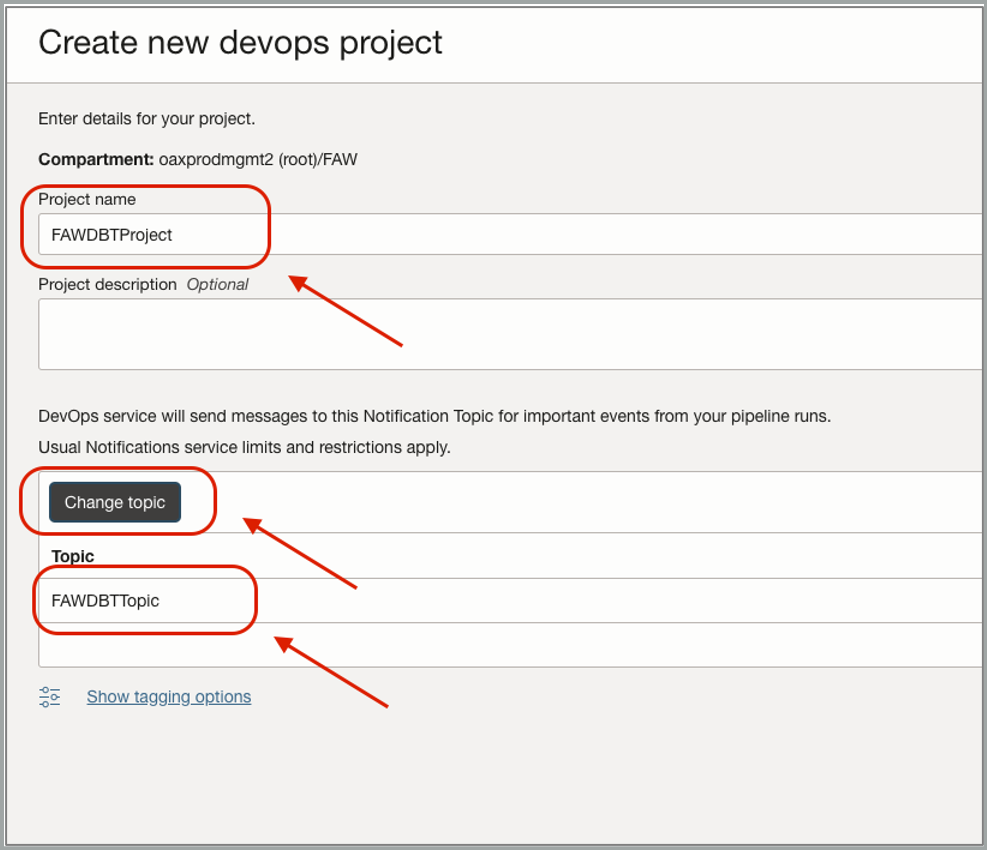
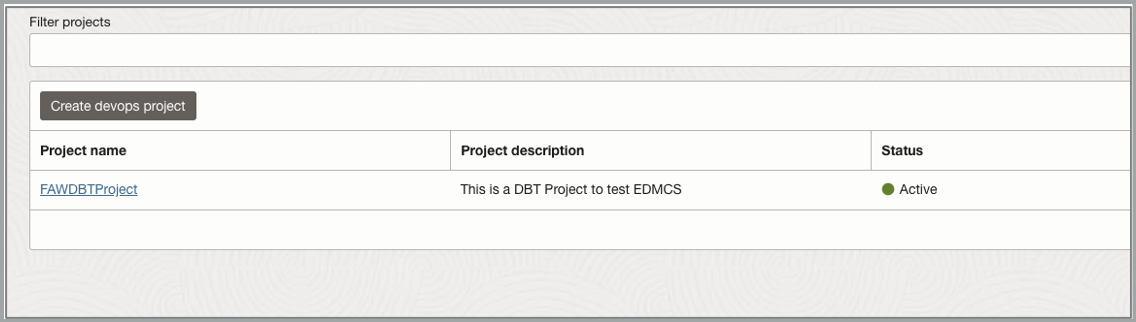
f. When ready, click Create devops project.
g. Once the project is created, click the Project name link to drill down to the project details.
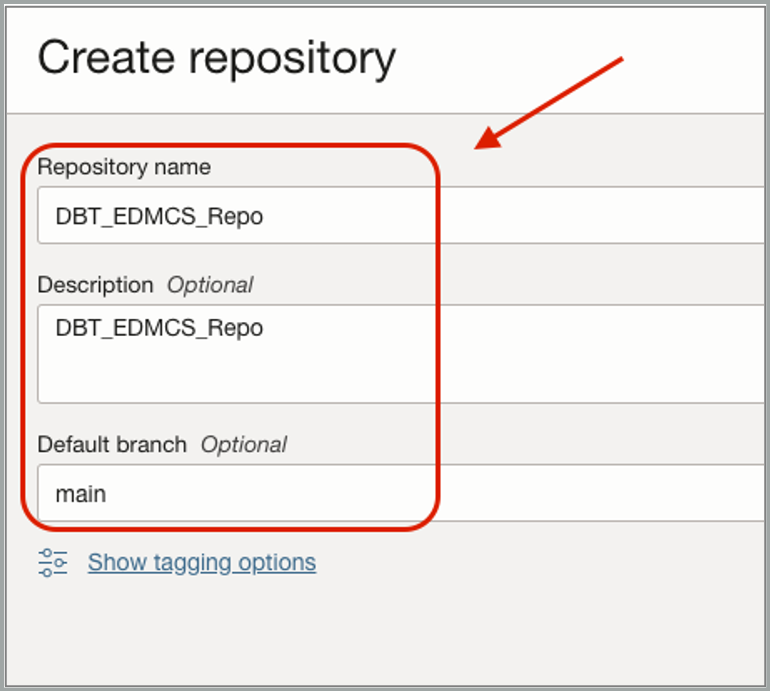
h. From the DevOps Project Resources menu, select Code Repositories and click Create Repository.
i. Provide values for Repository name, Description, and Default branch.
j. Once a Code Repository is created, click the Name link to drill down to the code repository details.
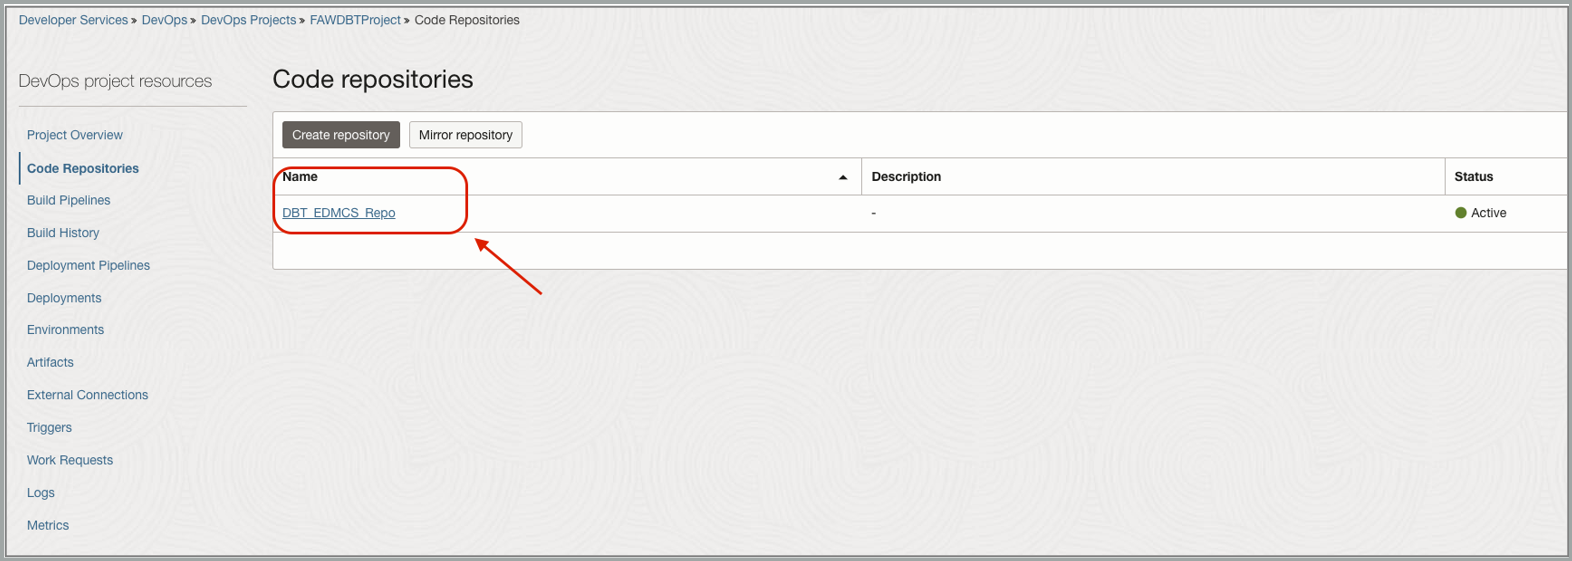
Continue working from the Code Repository details in step 3a below.
3 – Clone the Code Repository into your local machine using Git
Set up a Git clone of the repository in your local machine to use standard Git command line options to commit and push the models. You can find more information in the Cloning a Repository documentation.
a. In the Code Repositories’ detail (see step 2f above), select HTTPS.
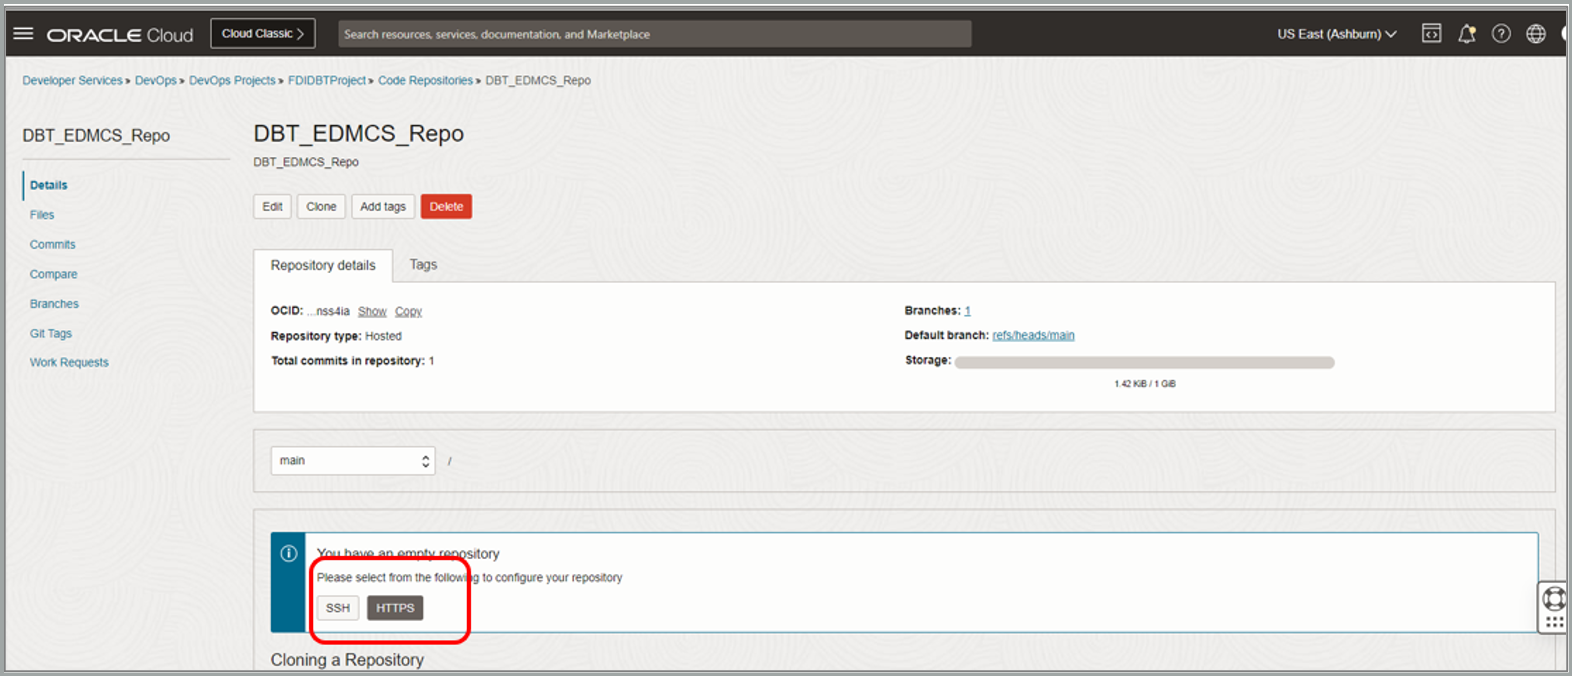
b. Using the local machine’s command line, change the working directory location to where you want to clone the repository, and run the Git clone command with the HTTPS URL you copied.
For example:
git clone https://devops.scmservice.us-ashburn-1.oci.oraclecloud.com/namespaces/<Namespace>/projects/<Project Name>/repositories/<Repository Name>
You must provide the username (with tenancy, optional federated identity and username) and password (auth token) when prompted. Check the HTTP Authorization documentation for more information.
4 – Set up a DBT connection on your FDI instance
As a preparation step, you need to create a policy to allow access to your repository.
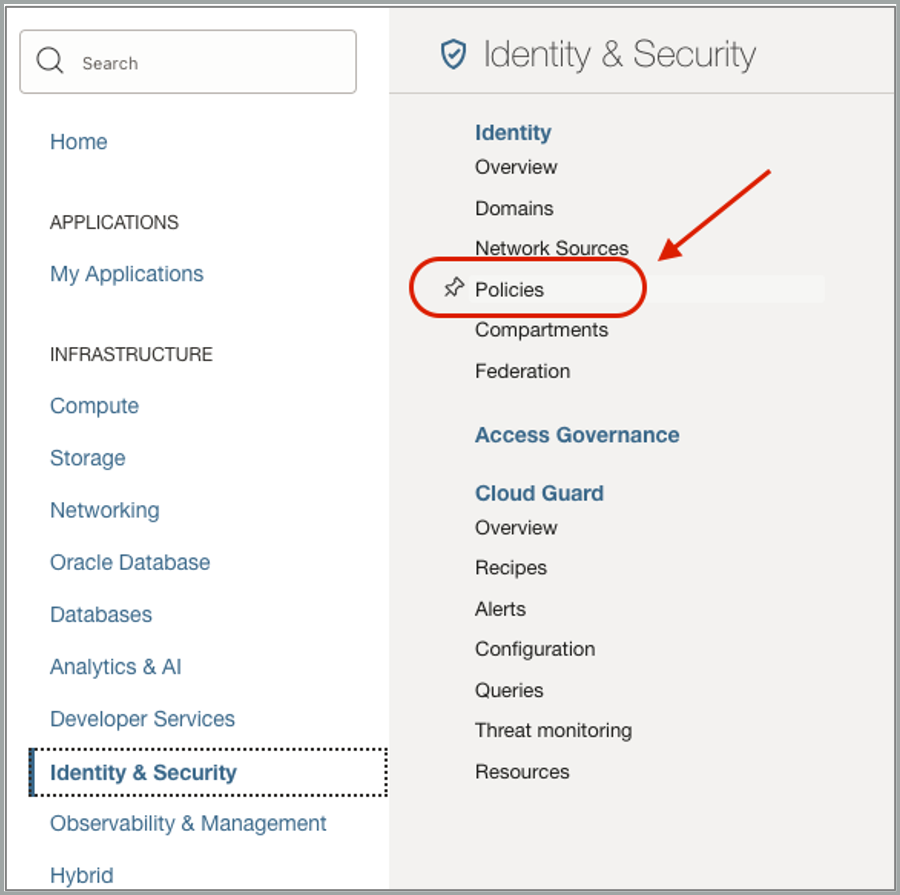
a. Log in to the OCI Console and navigate to Identity & Security.
b. Select Policies.
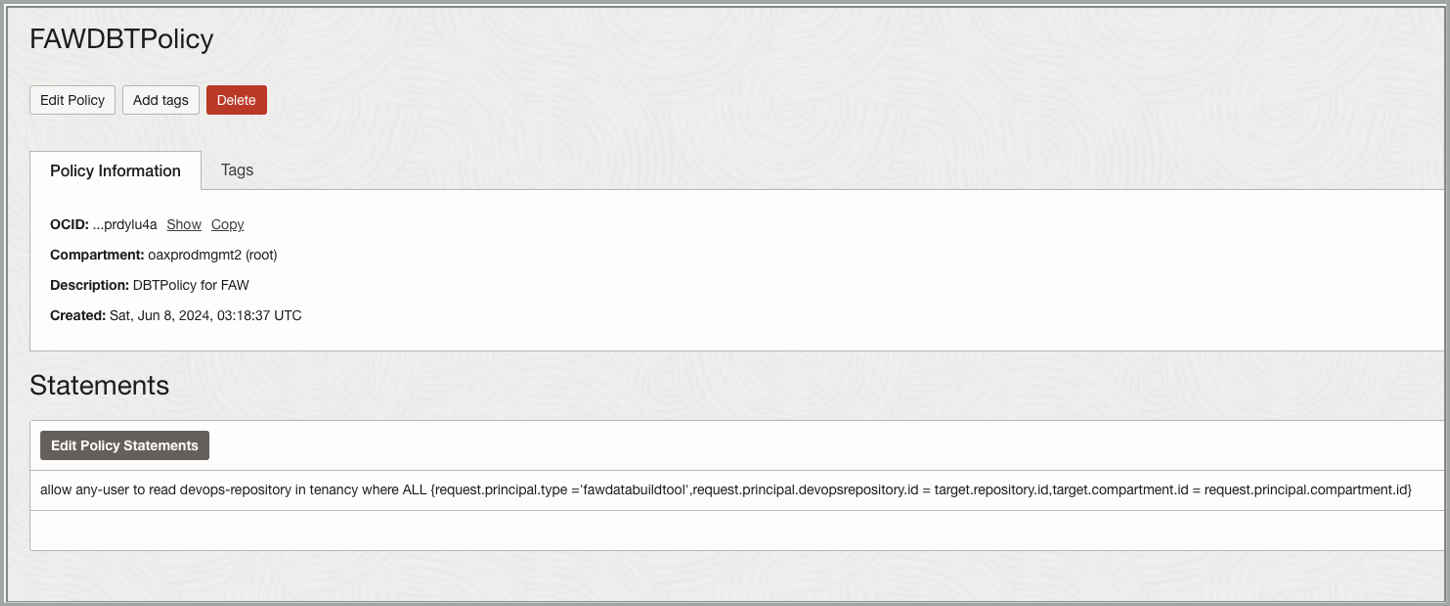
c. Click Create Policy.
d. Provide a name, description, and the following policy statement:
allow any-user to read devops-repository in tenancy where ALL {request.principal.type =’fawdatabuildtool’,request.principal.devopsrepository.id = target.repository.id,target.compartment.id = request.principal.compartment.id}
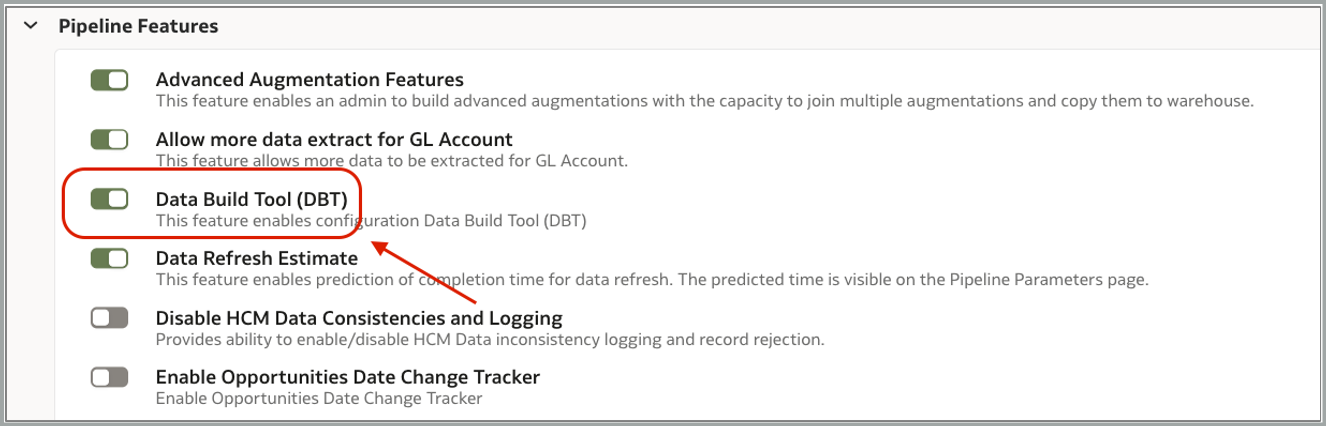
e. Log in to your FDI instance and click Enable Features.
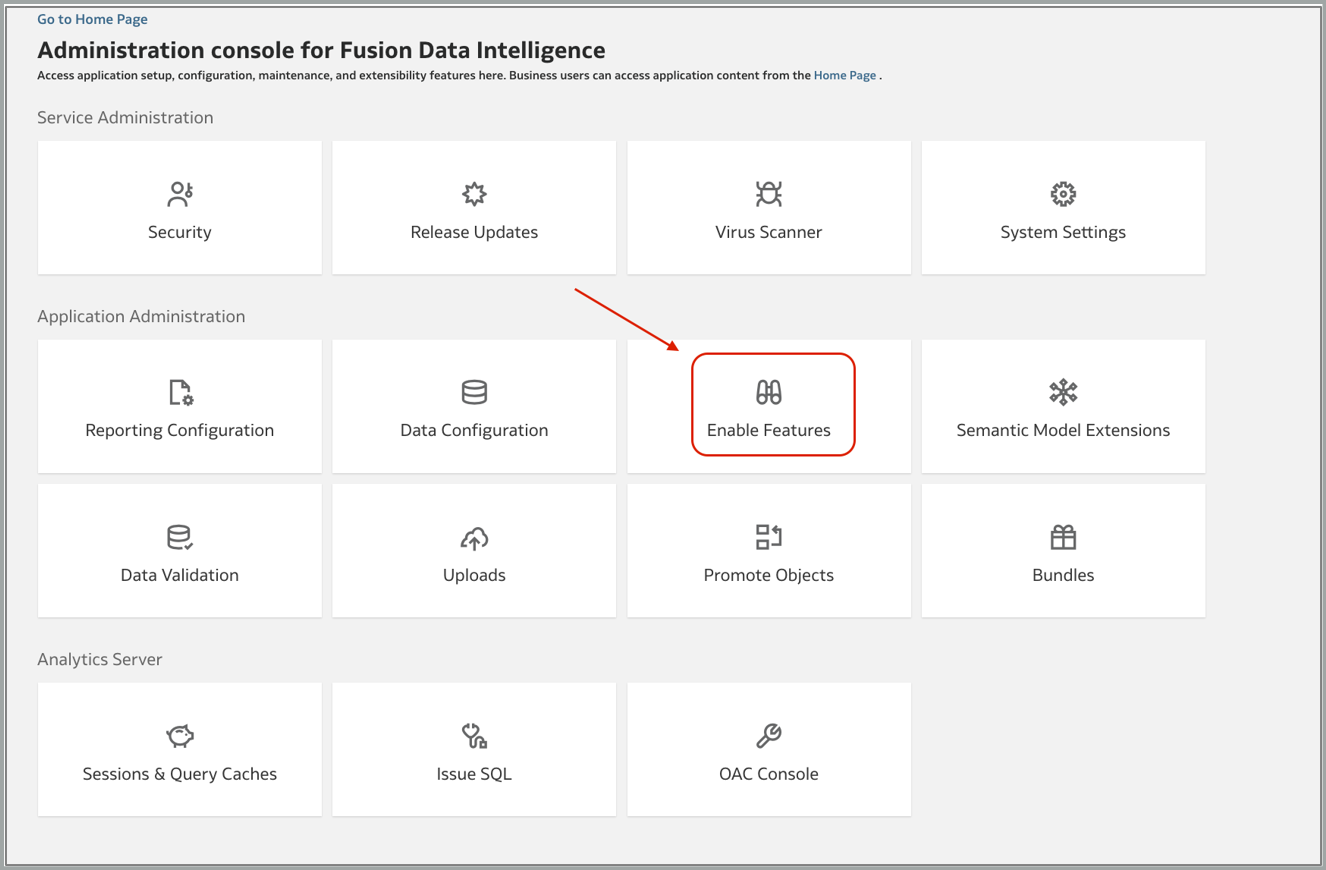
f. Under Pipeline Features, toggle the Data Build Tool (DBT) option to on.
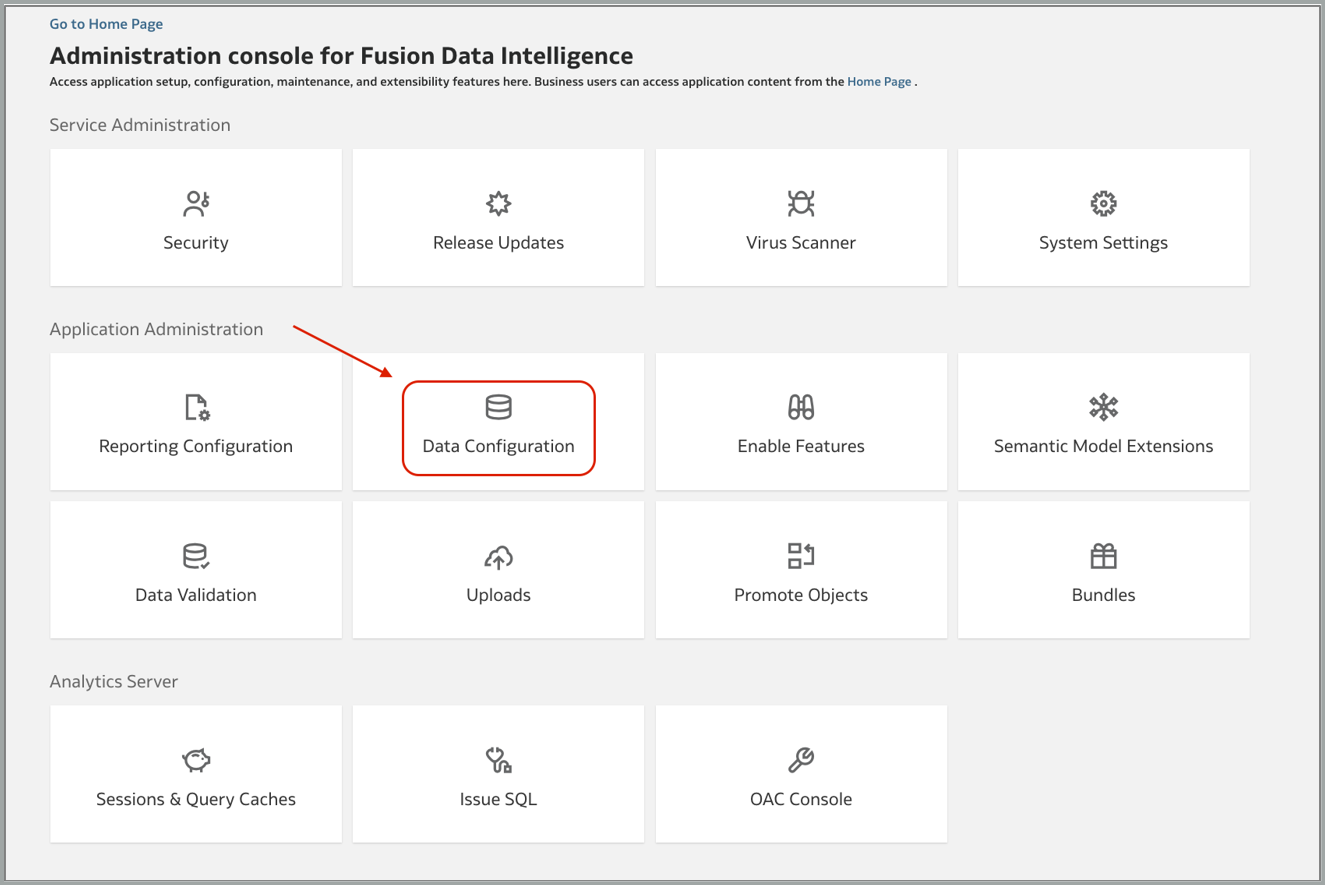
g. Navigate back to the Administration Console and click Data Configuration.
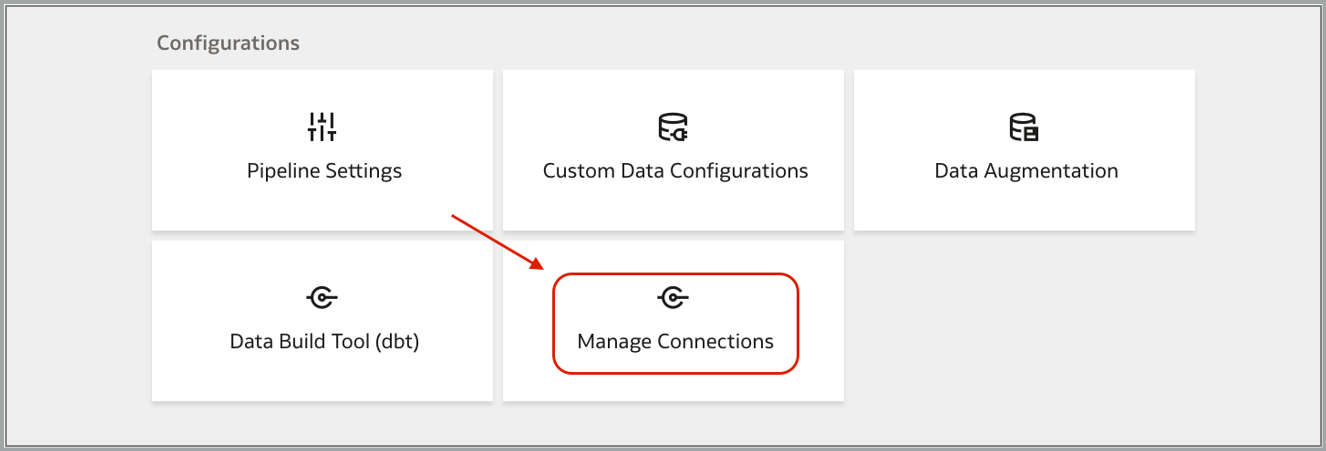
h. Click Manage Connections.
i. Click Create and select DBT Connection as the connection type.
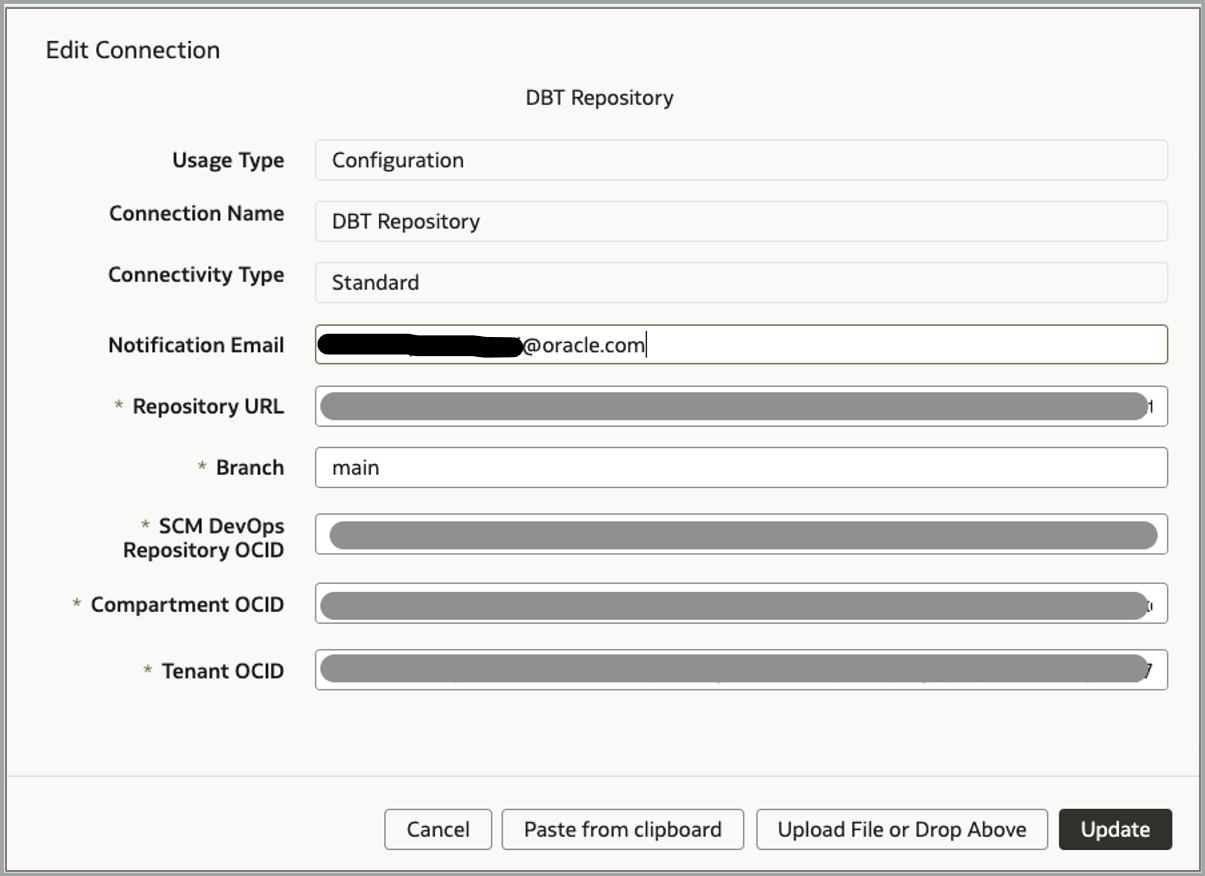
j. Provide all required details for your environment and click Save (or Update).
k. To test the connection, on the Manage Connections page, select the Actions menu for the DBT Repository connection and select Test Connection.
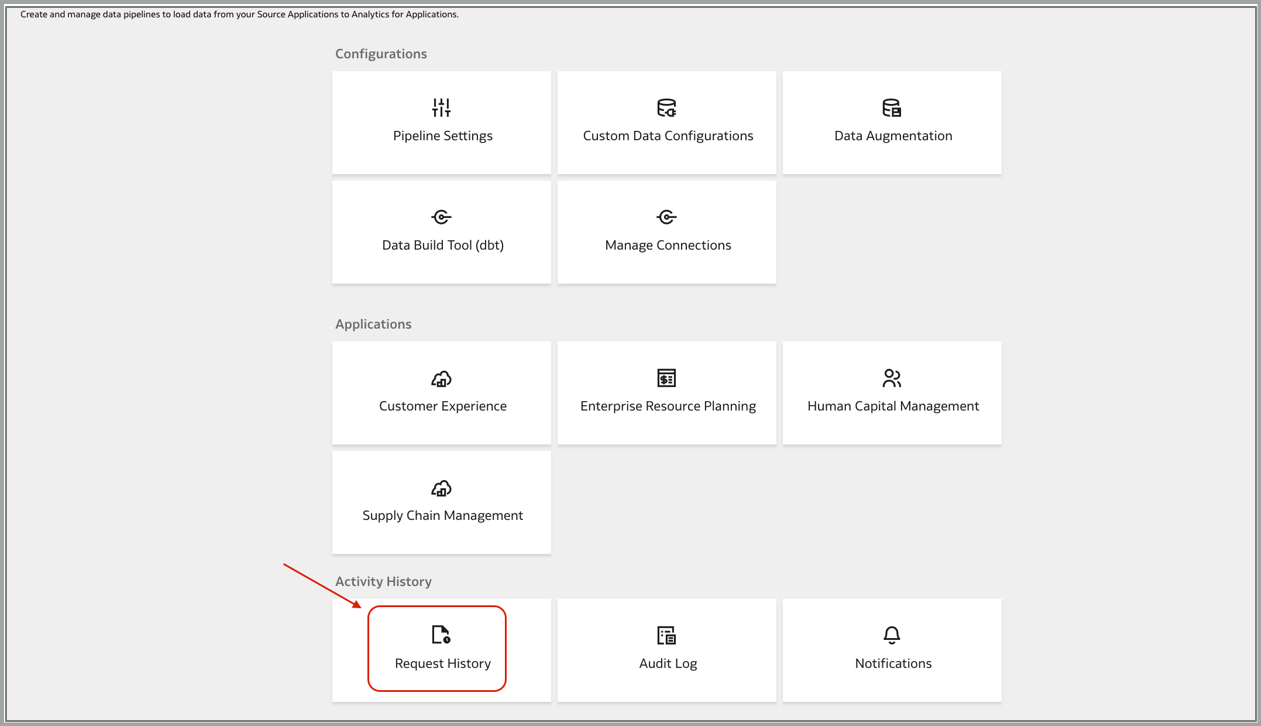
l. Check the Test Connection is successful in Request History.

Conclusion
Oracle solutions are designed to help you succeed. Now that you know more about them, visit the Oracle Analytics Community to share your feedback and also to let us know if you have questions or new ideas!