Acknowledgments
With inputs from:
Nupur Joshi, Senior Principal Product Manager.
Introduction
This article describes how to restrict access to data in a Human Capital Management (HCM) manager hierarchy using the security extensions in Oracle Fusion Analytics Warehouse (Fusion Analytics).
Use Case
Suppose that a user or a group of users must be restricted from accessing the data of a specific manager and anyone in the manager’s hierarchy. This use case has 2022 as the year and a manager with a headcount of 2,450 persons, who is assigned PERSON_NUMBER 279 in the Oracle Human Capital Management (HCM) application.
Unrestricted access scenario
Unrestricted users see a total headcount of 3,142.
Excluded access scenario
Users with restricted access must see a total headcount of 692. This count reflects the total minus the manager’s headcount.
Restrict access to the hierarchy
The following sections describe how to restrict access to the hierarchy.
Create the custom view in Oracle Autonomous Data Warehouse
Sign into the Oracle Autonomous Data Warehouse for Fusion Analytics. This example uses the SQL*Developer utility.
Refer here and here for guidance.
Create a custom view
Create a custom view named EXTEND_WORKER_DIM in the OAX_USER schema as shown in the following example:
CREATE VIEW OAX_USER.EXTENDED_WORKER_DIM AS
(
SELECT DISTINCT
A.PERSON_ID AS EXT_PERSON_ID
FROM
DW_PERSON_LEGISLATION_ALL_D A
WHERE
PERSON_ID NOT IN (
SELECT
EXT_PERSON_ID
FROM
(
SELECT DISTINCT
MDD.PERSON_ID AS EXT_PERSON_ID
FROM
DW_PERSON_LEGISLATION_ALL_D PLA, DW_MANAGER_DN_DH MDD
WHERE
SYSDATE BETWEEN MDD.EFFECTIVE_START_DATE AND MDD.EFFECTIVE_END_DATE
AND SYSDATE BETWEEN PLA.DATE_FROM AND PLA.DATE_TO
AND PLA.PERSON_NUMBER = ‘279’
AND ( MDD.PERSON_ID = PLA.PERSON_ID
OR MDD.MANAGER_ID = PLA.PERSON_ID)
)
)
AND SYSDATE BETWEEN A.DATE_FROM AND A.DATE_TO
AND A.PERSON_NUMBER <> ‘279’
);
Grant the Select privilege
Grant the SELECT privilege to the OAX$OAC schema as shown in the following example:
GRANT SELECT ON OAX_USER.EXTENDED_WORKER_DIM TO OAX$OAC;
Configure security in Fusion Analytics
Sign into Fusion Analytics.
Use the security features in the Console
From the home page, select Console, then Security.
Create an application role, group, and test user. Map the application role to the group and assign the group to the user.
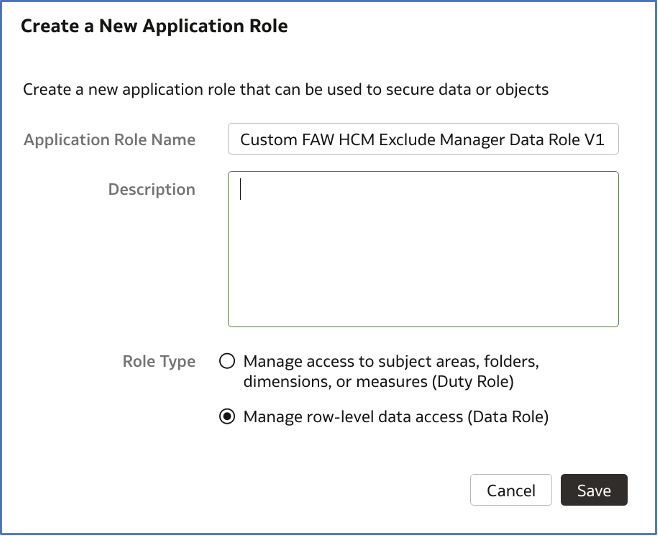
Create an application role
Refer here for guidance.
Specify an Application Role Name; for example: Custom FAW HCM Exclude Manager Data Role V1.
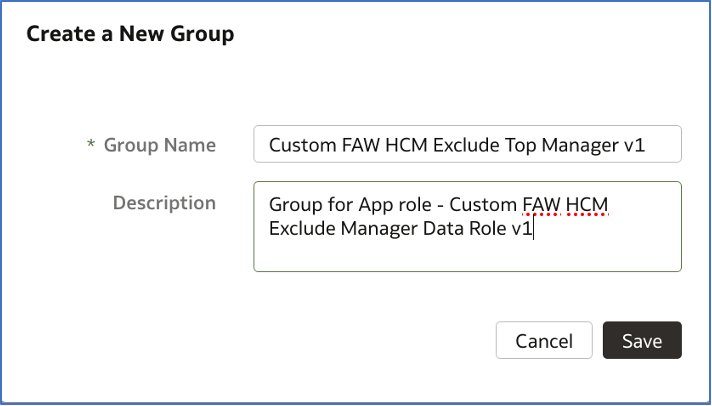
Create a group
Refer here for guidance.
Specify a Group Name; for example: Custom FAW HCM Exclude Top Manager v1.
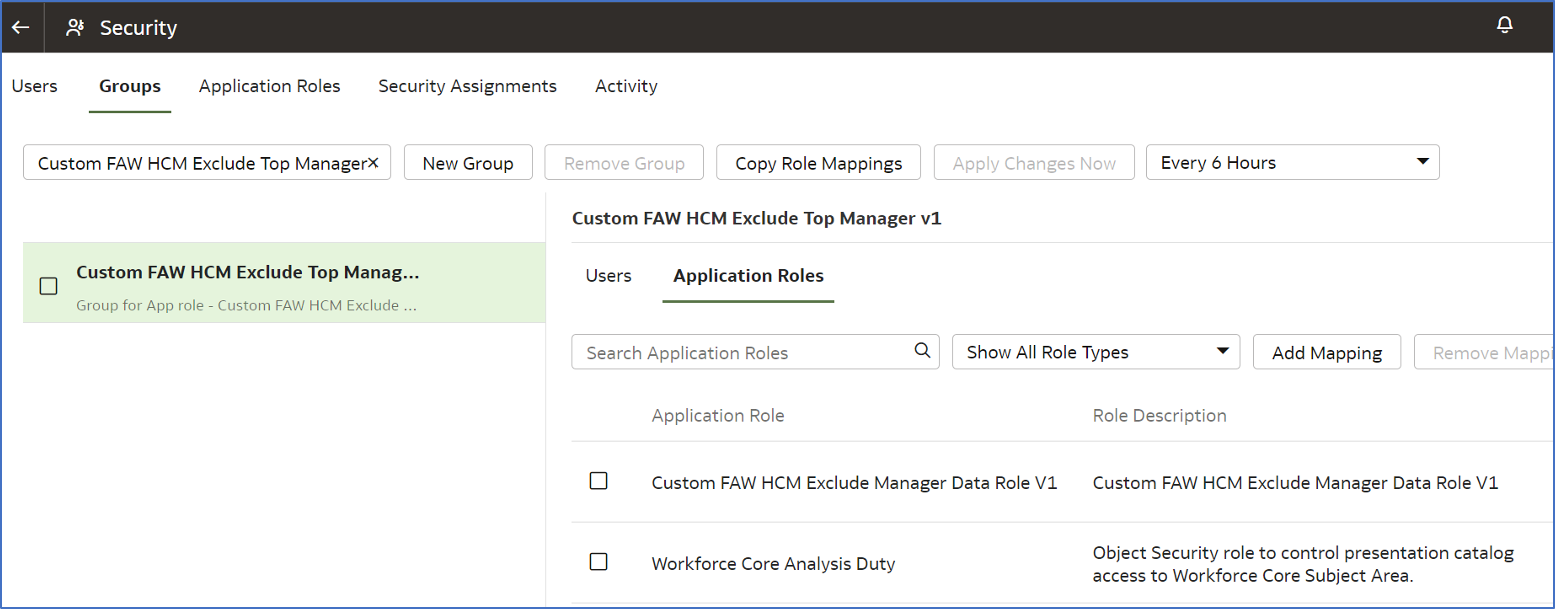
Create a role mapping for the group
Refer here for guidance.
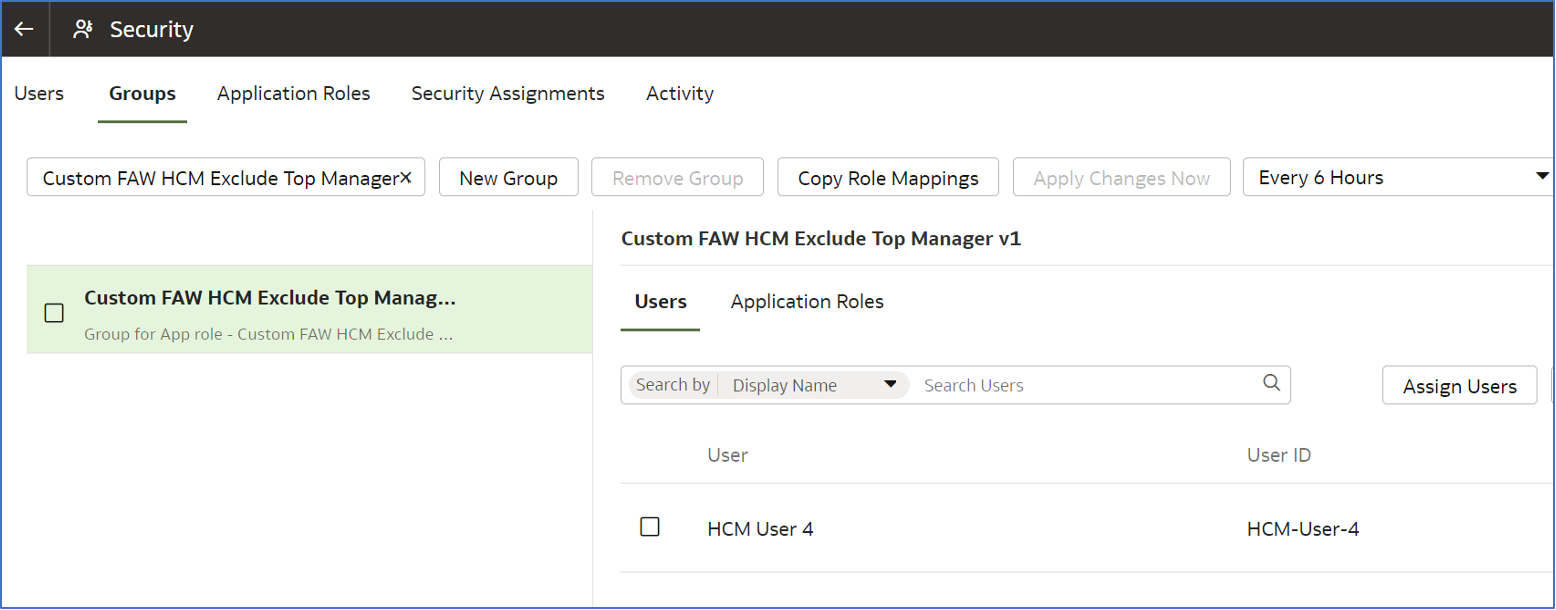
Create a test user
Specify a name for the user; for example: HCM User 4.
Refer here for guidance.
Assign the user to the group
Refer here for guidance.
Use semantic model extensions
Extend a dimension
Create a branch
Click the back arrow on the Security page to return to the Console.
Click Semantic Model Extensions.
Click User Extensions.
Click Create Branch.
Enter a Name; for example: HCM Exclusion Branch.
Click Done.
Create a branch step
Click Add Step.
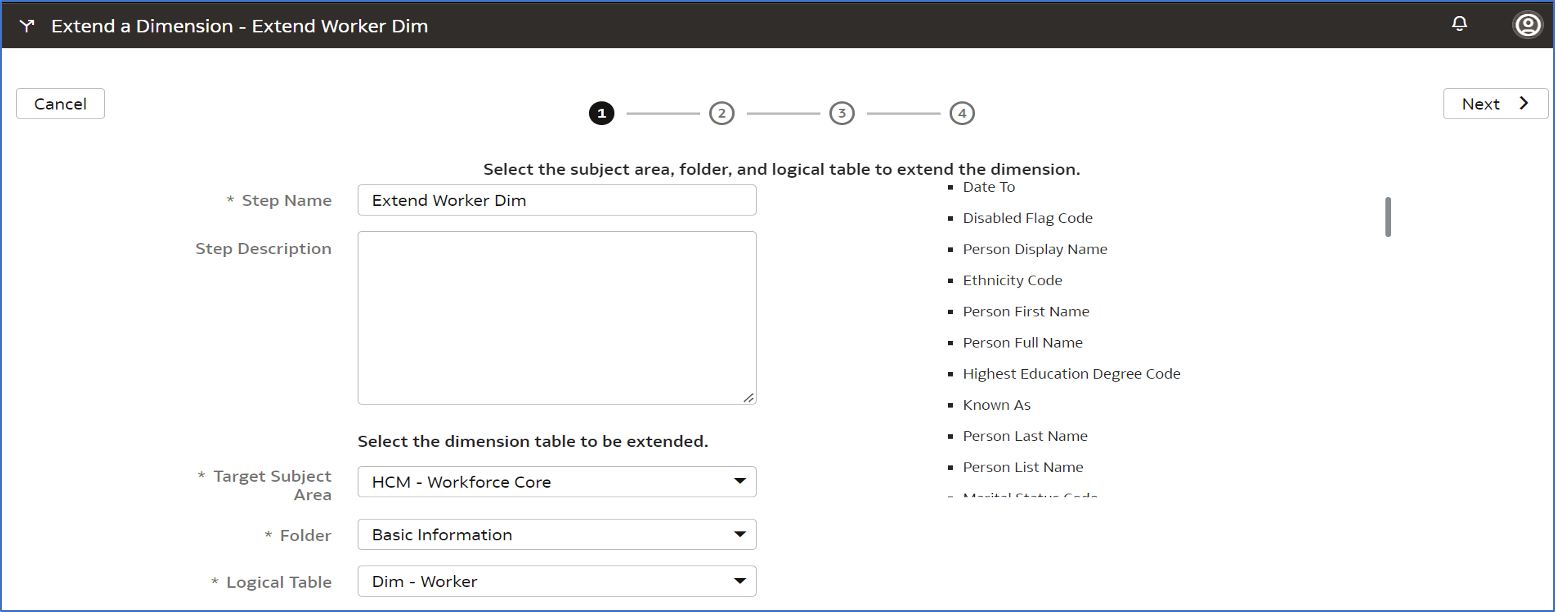
Click Extend a Dimension.
Enter Extend Worker Dimension as the Step Name.
Select HCM - Workforce Core as the Target Subject Area.
Select Basic Information as the Folder.
Select Dim - Worker as the Logical Table.
Click Next.
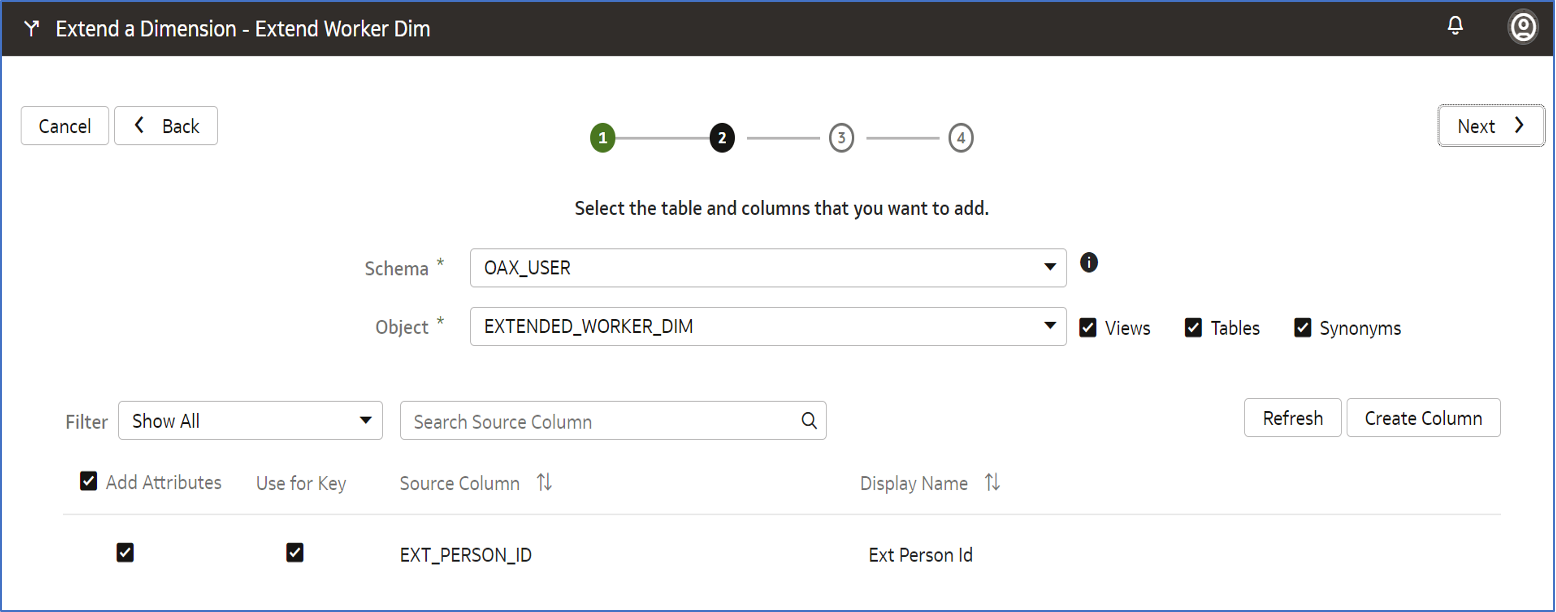
Select the OAX_USER user as the Schema.
Select the EXTENDED_WORKER_DIM custom view as the Object.
Click Add Attributes.
Select EXT_PERSON_ID as the Source Column.
Check the Add Attributes and Use for Key boxes.
Click Next.
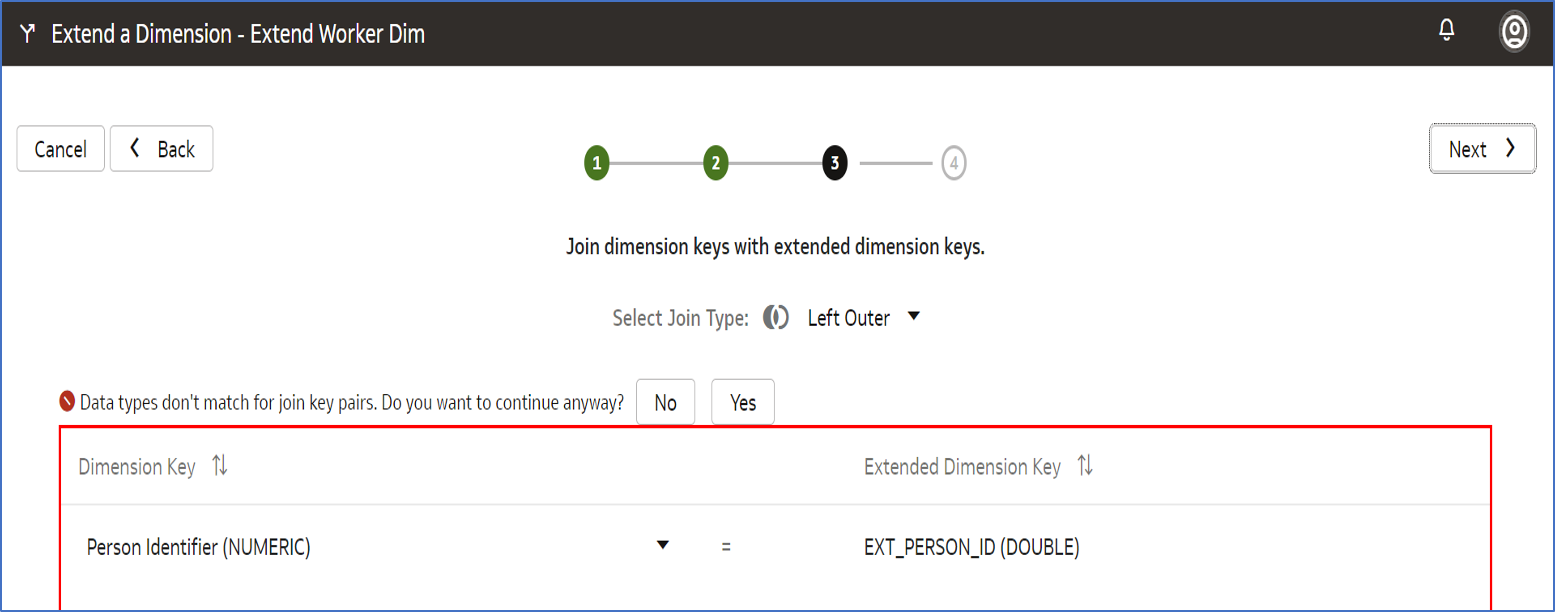
Select Person Identifier (NUMERIC) as the Dimension Key.
Select Left Outer as the Select Join Type.
Click Next.
Click Yes to acknowledge the different data types and continue.
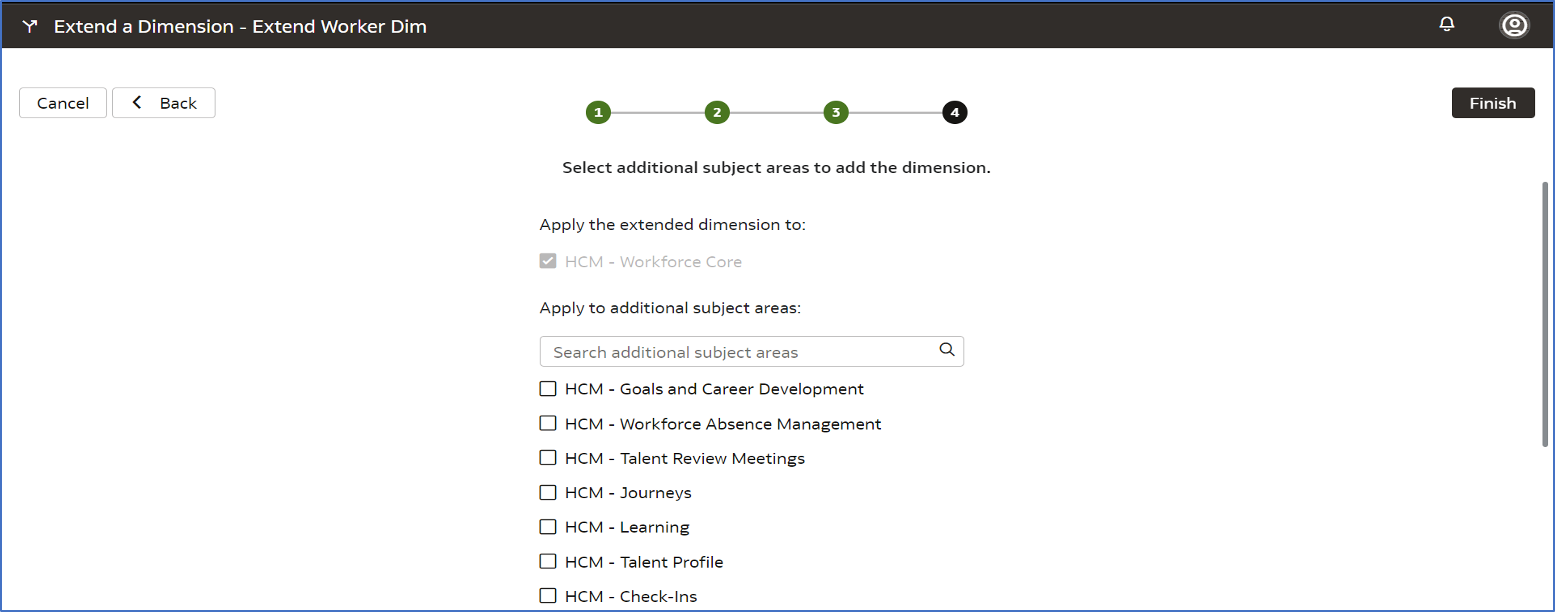
Click Next.
Click Finish.
Merge the branch
Wait for the branch state to show Applied.
Click the More (…) button on the top-right of the window, and click Merge to Main Branch.
Note: Don’t use the More button on the new step row.
Click Activity.
Wait for the Merge to Main activity State to show Done.
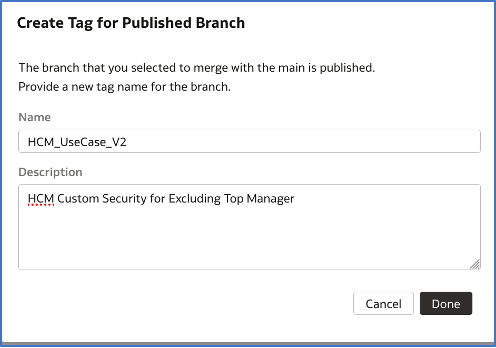
Create a branch tag
Click Semantic Model Components.
Click User Extensions.
Click the Main branch.
Enter Extend Worker Dimension into Search Steps.
Hover on the far right side of the row and click the More (…) button and select Tag.
Enter a Name; for example: HCM_UseCase_V2.
Click Done.
Publish the model
Click the back arrow and return to the Semantic Model Extensions screen.
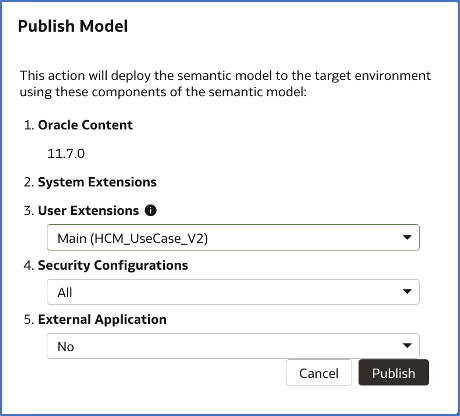
Click Publish Model.
Select the branch that has the new tag from the User Extensions list.
Accept the remaining defaults and click Publish.
Click Activity on the Semantic Model Extensions screen.
Wait for the Publish Customizations activity state to show Done.
Configure the data security
Create a Data Security step
Click Semantic Model Components.
Click Security Configurations.
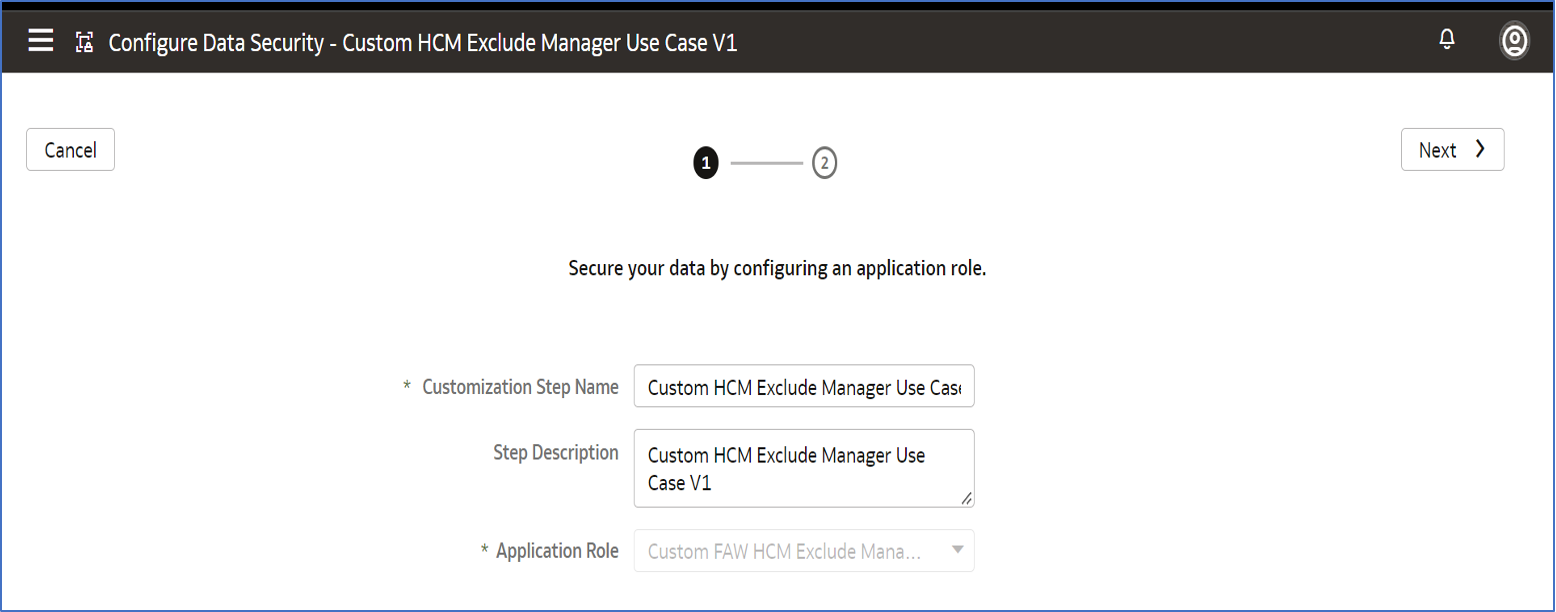
Click Data Security Step.
Enter the Custom Application Role name into the Customization Step Name; for example: Custom HCM exclude Manager Use Case.
Select the Custom Application Role from the Application Role drop-down list.
Click Next.
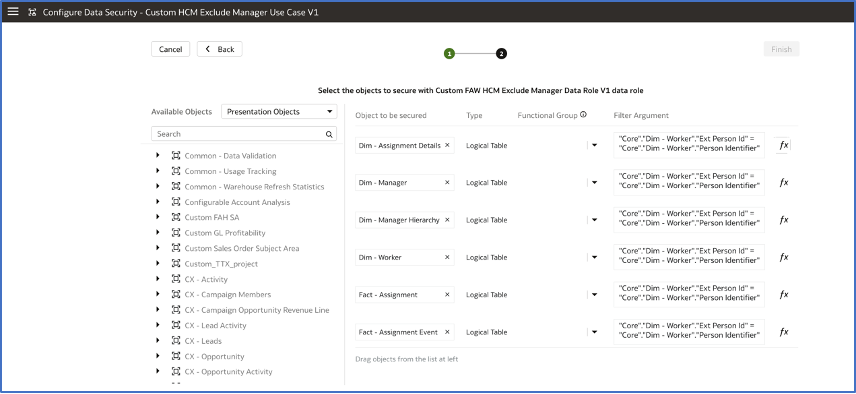
Select Presentation Objects from the Available Objects drop-down list.
Drag Dim-Manager, Dim-Worker, and Dim-Manager Hierarchy to Objects to be Secured.
For the Dim-Worker object:
Click the expression editor (fx).
Expand the Dim-Worker folder.
Double-click the Person Identifier column to place it in the expression.
Expand the Operators under Functions and double-click the equal (=) operator.
Double-click the Ext Person ID column to place it in the expression.
Click Validate.
Click Save.
Copy the Dim-Worker Filter Argument to your clipboard.
For the remaining objects:
Click the expression editor (fx).
Paste the Dim-Worker Filter Argument into the expression.
Click Save.
Click Finish and OK.
Click Activity.
Wait until the Add Data Security Step state shows Done.
Publish the model
Click Semantic Model Components.
Click Publish Model.
Select the branch that has the new tag from the User Extensions list.
Accept the remaining defaults and click Publish.
Click Activity.
Wait until the Publish Customizations state shows Done.
Confirm restricted access
From the home page, navigate to Projects to open Oracle Analytics Cloud in a new window or tab.
Click the User icon and click Sign Out. Sign in as the test user created above.
Create a workbook
Create a workbook.
Refer here for guidance.
Select the HCM - Workforce Core subject area, then search for and add the Headcount measure.
Verify the headcount
Confirm the restricted headcount, e.g., 692.
Call to action
This article provides a use case for restricting access to data in a Human Content Management (HCM) manager hierarchy using the security extensions available in Fusion Analytics. Apply this use case for the data in your Fusion Analytics instance.
For more information, see Administering Oracle Fusion Analytics Warehouse.
To learn more about Fusion Analytics Warehouse, visit oracle.com/analytics, follow us on twitter@OracleAnalytics, and connect with us on LinkedIn.