Time and Labor customers have been asking for the ability to configure the page headers for a long time. This will now be possible as of Image 46.
The Employee Header Configuration framework came out in Image 45 with the ability to configure two rows. In Image 46 the framework was enhanced to include three rows, the first row can contain name and pronoun(s), and the second and third rows can contain up to three fields. Time and Labor and Absence Management have enabled the Employee Header Configuration framework on their fluid pages in Image 46.
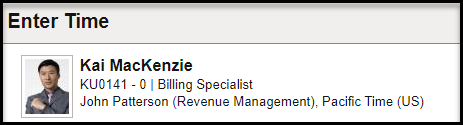
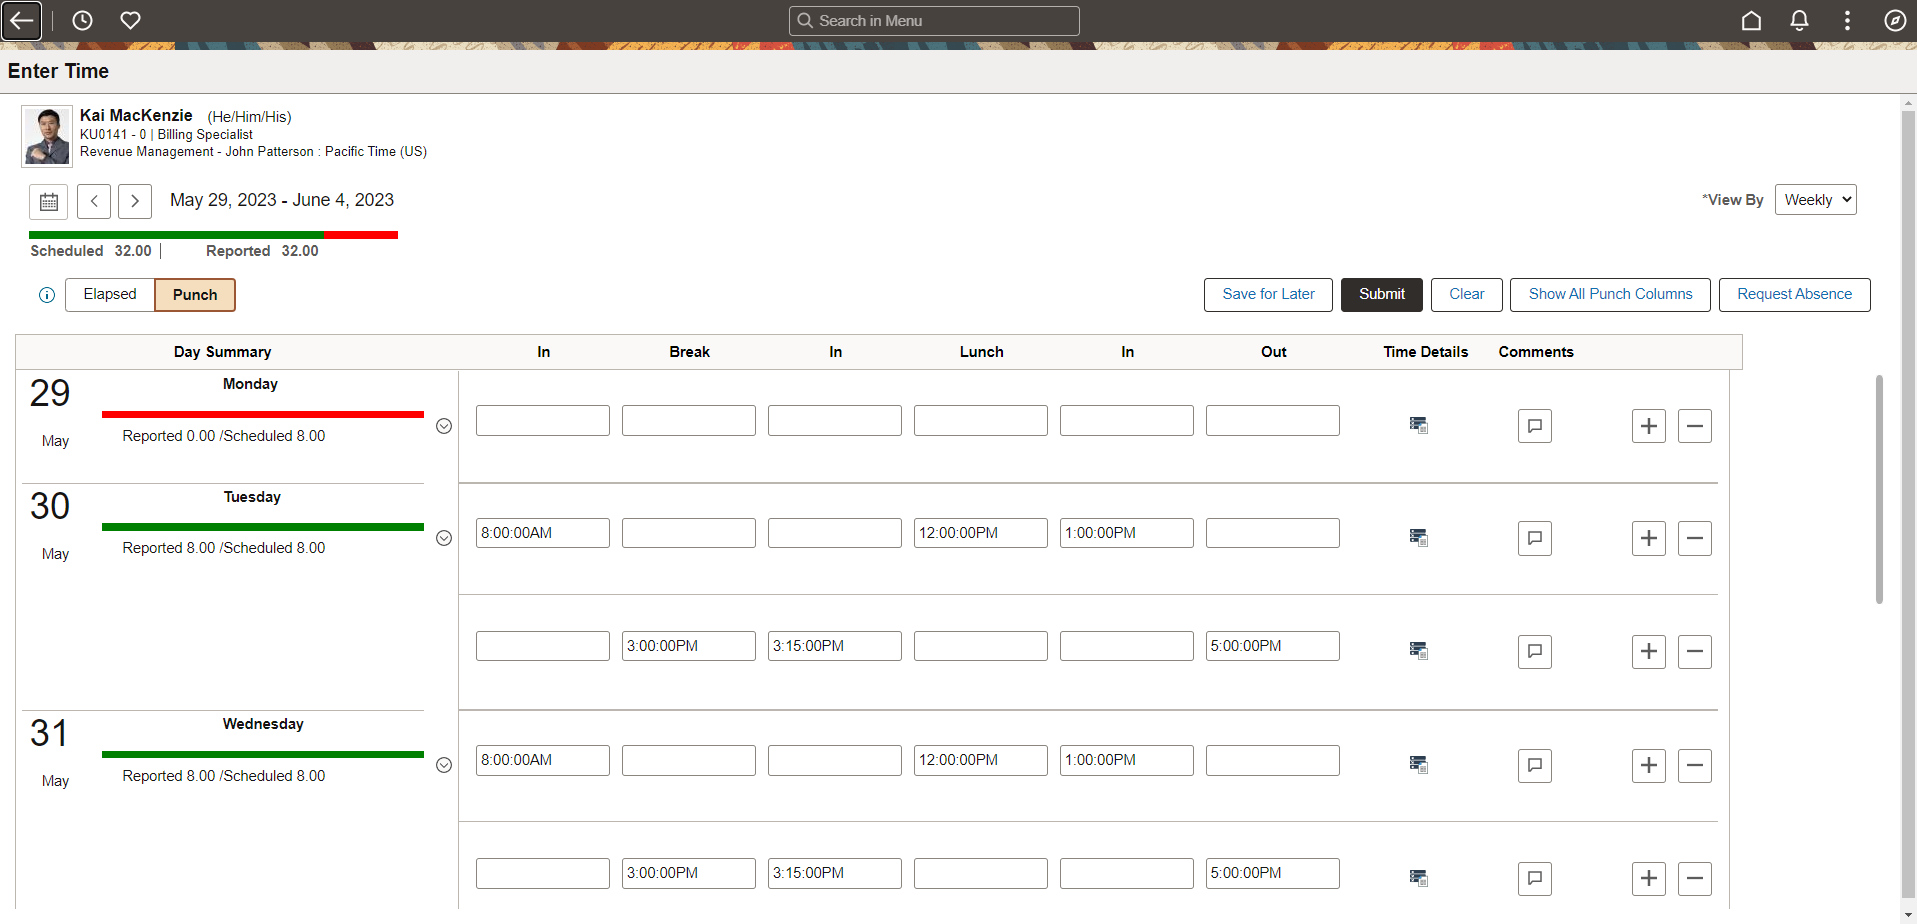
This is an example of a header that’s been configured for the Enter Time component:
Let me take you through the steps to configure the header. The first step is to set up the fields that you will want to use in your header using the Header Field Definition page. PeopleSoft has delivered 27 fields, which includes:
- business title
- business unit
- company
- department
- person ID (emplid)
- employee record
- payroll status
- establishment ID
- full/part time status
- grade
- HR status
- job title
- location
- manager
- employee name
- pay group
- person type
- phone
- position number
- position title
- regulatory region
- remote worker status
- salary plan
- standard hours
- salary step
- time zone
In addition, customers can add their own fields by creating the appropriate source information.
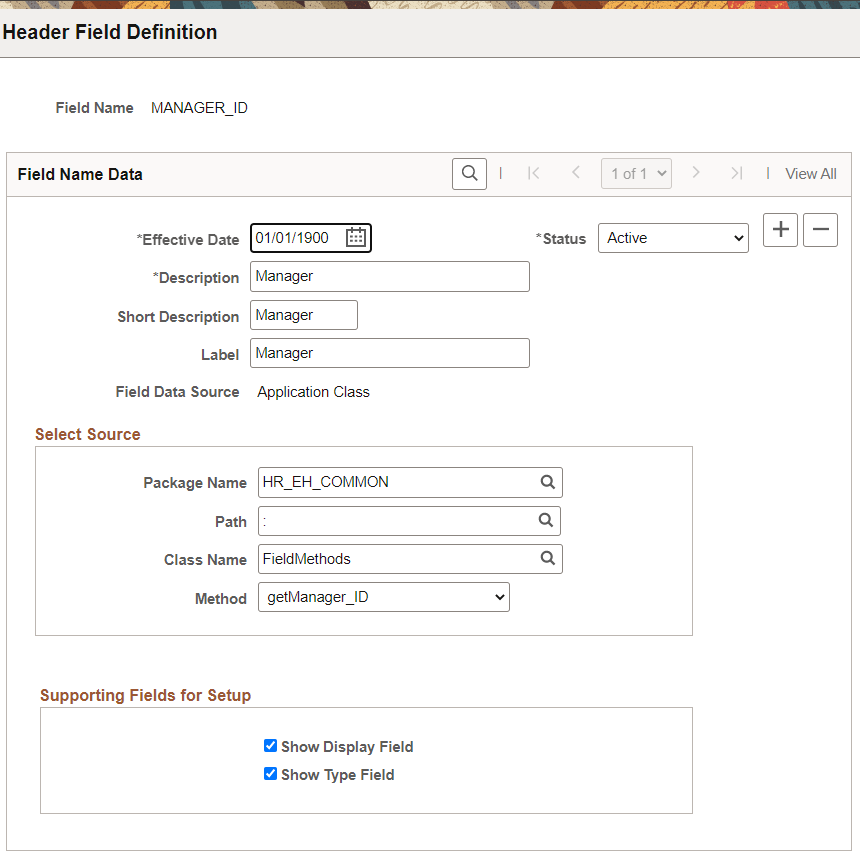
Select the Show Display Field if you want to give the option of what associated information is shown, such as the code, the description, or both.
Select the Show Type Field if you want to give the option of what information is retrieved. For instance, for a job title you can show the job title, the position then job title if partial position management is used or show the position title if full position management is used.
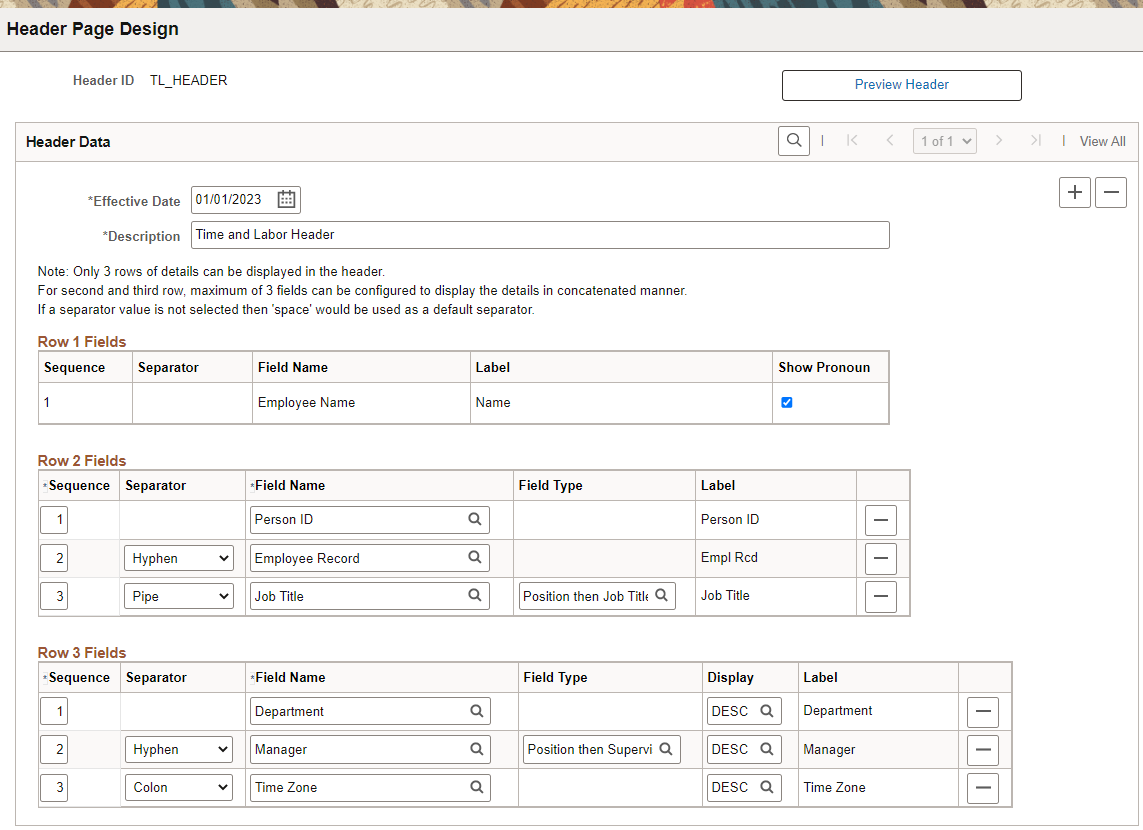
Once the fields are set up you can move on to configuring the header. The Header Page Design page allows you to select which fields you want on which line, the order of the fields, and the separator between the fields. The only options on the first line are to have the employee’s name and pronoun (optional). You must enable Gender Identity on the Installation, HCM Options page to be able to select it on the Header Page Design page. The following is an example of how a header could be set up:
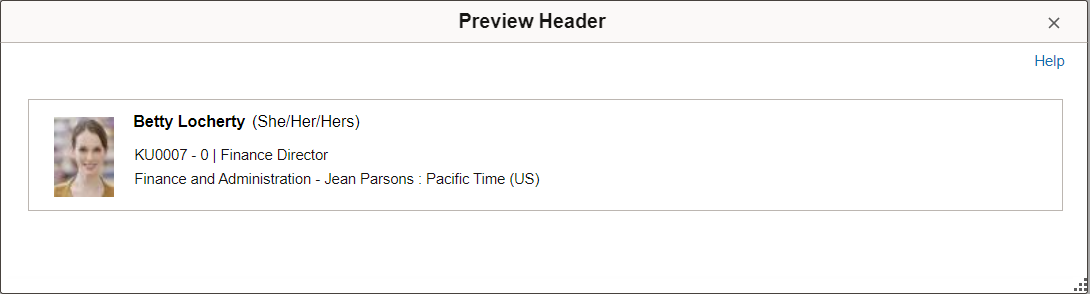
Once you save the header you can preview it using the Preview Header button:
The last step is to indicate which component you want to use this header on using the Header Component Setup page. PeopleSoft delivers a Default_Header (which you can view and modify in the Header Page Design) which will be used on a page/component unless you specify a different header. You simply add the component and the header that you want to appear on all the pages within the component.
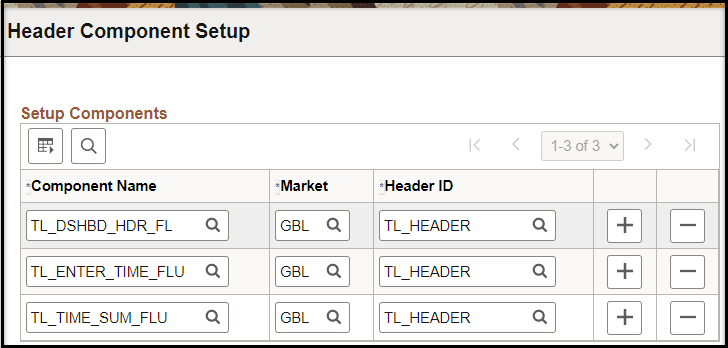
Here the TL_Header has been added to the Time Dashboard Header, the Enter Time component, and the Time Summary component.
This is how it appears on the Enter Time page:
I know that you are now all excited about this feature, but there are two things you need to remember if you decide to selectively adopt it:
- You will need to do selective adoption of the Employee Header Configuration framework.
- Configurable Employee Header Feature from Image 45: Bug# 34768345
- Configurable Employee Header Feature Additional Changes from Image 46: Bug# 35211883
- You will also need to do selective adoption of the Time and Labor and Absence Management header feature in Image 46.
- Configurable ESS Header – Absence: Bug# 35201649
- Configurable ESS Header – T&L: Bug# 35201629
Once you have pulled in the features the hardest part will be deciding what you want on the header.