The first Fluid PeopleSoft image was PUM 9 and came out in 2014. Wow! I don’t know about you, but that seems like an awfully long time ago to me. One of the first pages to be made Fluid was the Absence Request page for both employees and managers. Our Fluid design and tools have changed over the past 9 years, and we felt that it was about time for the page to get an update.
Let’s look at the enhancements made to Absence Requests. We delivered a new tile and page called Manage Absences where we consolidated the functionality of 3 different pages into one page, the ability to request leave, the ability to see your past absence requests, and the ability to view your absence balances. In addition, we added the ability to view your holiday calendar.

This enhancement enables employees to have the information they most want right on the page.
Let’s look at the functionality in more detail. The first area is at the top of the page and is the view request section. By default it shows the last 3 Absence requests that were made, but you can view all of your requests using the View all requests link. Each request card shows the type of leave, the start date, duration, and the approval status. In addition, organizations can configure related actions, such as being able to view or cancel the request.
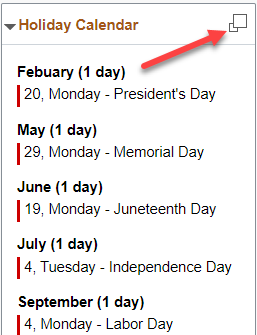
On the right hand side is the related content pane. There are two pagelets available, Balances, and the Holiday Calendar. Balances shows the leave type and the balance amount. Use the Display Balances in Modal Window icon to get to the new Balance Details page.
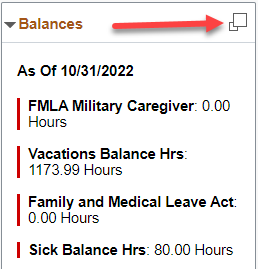

Select one of the Balances to see more detail.

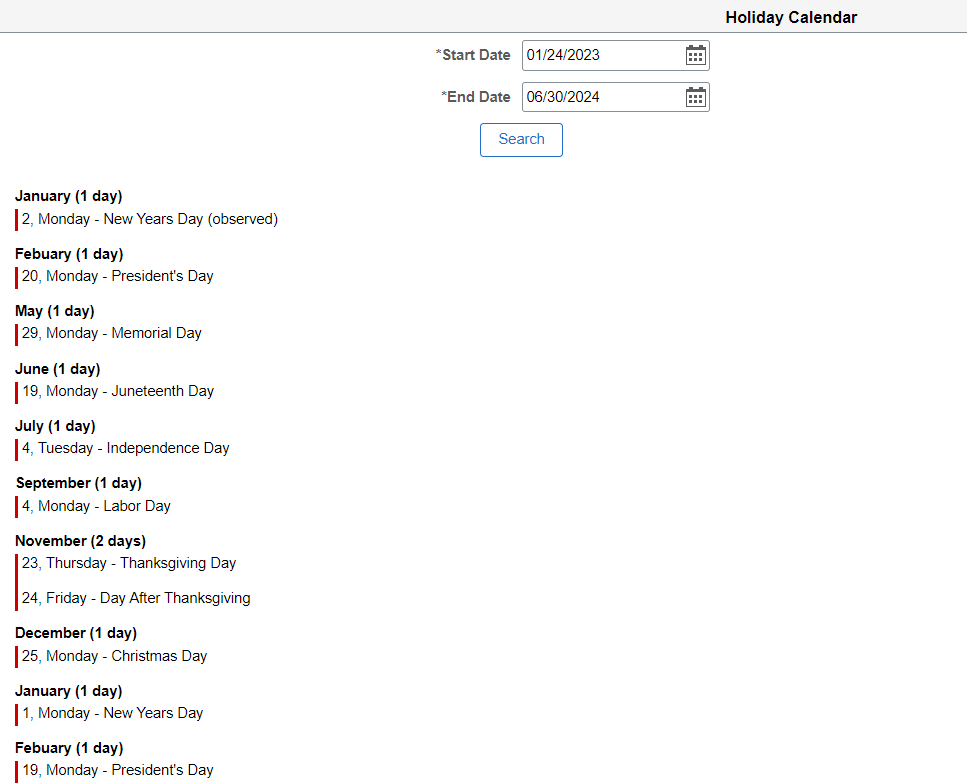
Use the Display Holiday Calendar in Modal Window icon to open the Holiday Calendar page where you can specify a time range and view the associated holidays.
The middle section is where Absence Requests can be entered. Here you will see a couple of changes. The Start and End dates are now the first fields in this section. This is because the absence types that you are qualified to take may differ based on the timeframe of the absence. You are also able to advance the end date of an absence one day at a time using the +1 Day button.
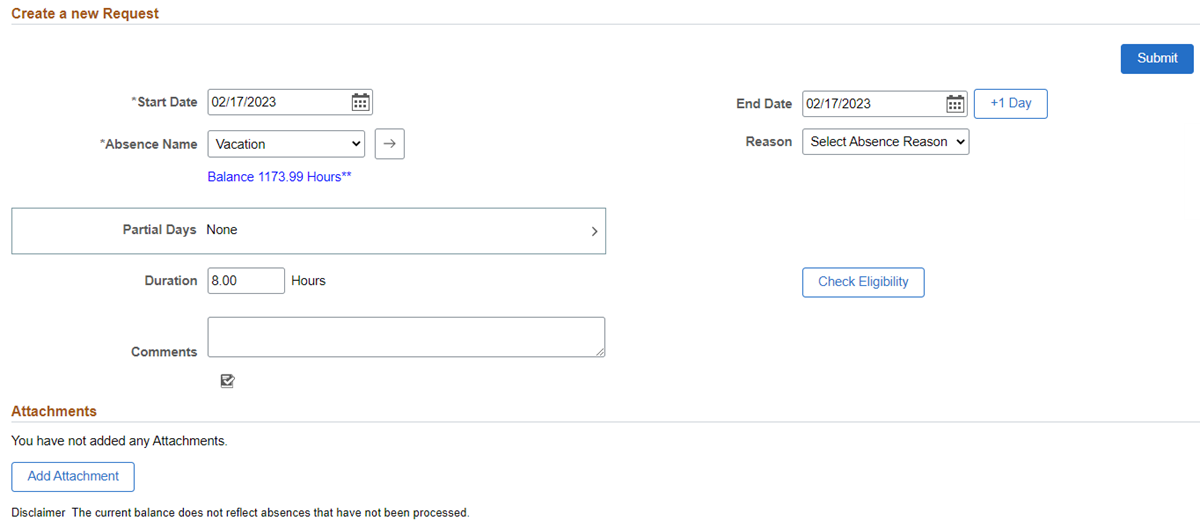
The next change is the addition of the Apply Absence Name button next to the Absence Name field. This will take the Absence Name that is selected and display the fields that have been configured for it. This change was prompted by accessibility needs.
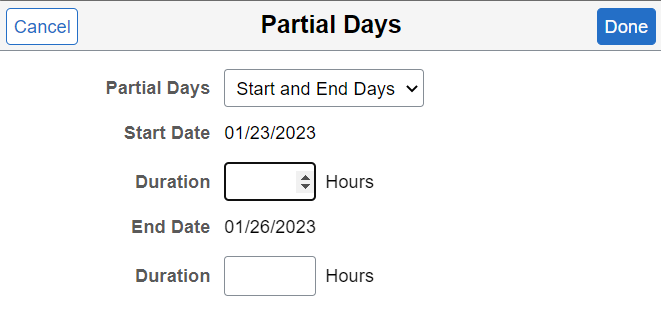
The last area that was changed was the partial days specification.
All these changes are available for both Employee Self-Service and Manager Self-Service.
The changes make the page easier to use, provide more relevant information, and make the absence request more accurate. You can also replace four of the tiles (Request Absences, View Requests, Cancel Absences, and Absence Balances) in the Time Dashboard with the Manage Absences tile. A similar replacement can be made in the Team Time navigation collection for managers. This makes navigation for employees and managers much more streamlined.
For more information on this feature you can either view the Image Highlights, PeopleSoft HCM Update Image 45 video, or the video feature overview, PeopleSoft Manage Absences Self Service Page