In this blog, we will cover why deploying Oracle Enterprise Manager from the Oracle Cloud Marketplace could be a valid use case for your situation. The rest of the post will explain in detail how to automate the processes to provision a single node deployment of Enterprise Manager in less than an hour and a multi-node deployment in just a few hours of time using Oracle Cloud.
Why Deploy From the Cloud?
Manual deployment of Enterprise Manager on-premises is time consuming and could require significant resources. To simplify and automate the process, Oracle also offers another choice of deployment via the Oracle Cloud Marketplace offering multiple deployment types and sizes for customers’ requirements on Oracle Cloud Infrastructure (OCI).
Companies shifting from reactive to proactive IT operations start with real-time performance backed by automation in patching, provisioning, and compliance. Automation is essential to reduce the risk to production environments that comes from ineffeciencies, truncated deployments, and manual efforts. By enabling system and database administrators to consistently and rapidly deploy, you achieve the following benefits:
- Eliminate human error, design complexities, and implement repeatable processes and practices
- Decrease time spent on provisioning, configuration, etc
- Increase database administrators productivity along with systems and storage productivity
- Scale with ease
Automate the Enterprise Manager deployment
By automating the processes to deploy Oracle Enterprise Manager using the Oracle Cloud Markeplace options, a single node deployment of Enterprise Manager will be provisioned in less than an hour and a multi-node deployment will be provisioned in just a few hours of time.
Pre-requisites for rapid deployment of Enterprise Manager on OCI includes:
- A valid Oracle Cloud subscription
- OCI Compute Instance quota
- OCI Block Storage / NFS
- Database Instance Quota (applicable only for multi-node deployments)
- Load Balancer Service Quota (applicable only for multi-node deployments)
Instance provision – General
- To provision a marketplace image, sign into your OCI account and from the OCI hamberger menu and navigate to Marketplace. Search and click on Oracle Enterprise Manager, for easier access you can filter by Type: Stack.
- Review the Oracle Enterprise Manager overview, select the compartment where the stack will be located. Click Launch Stack.
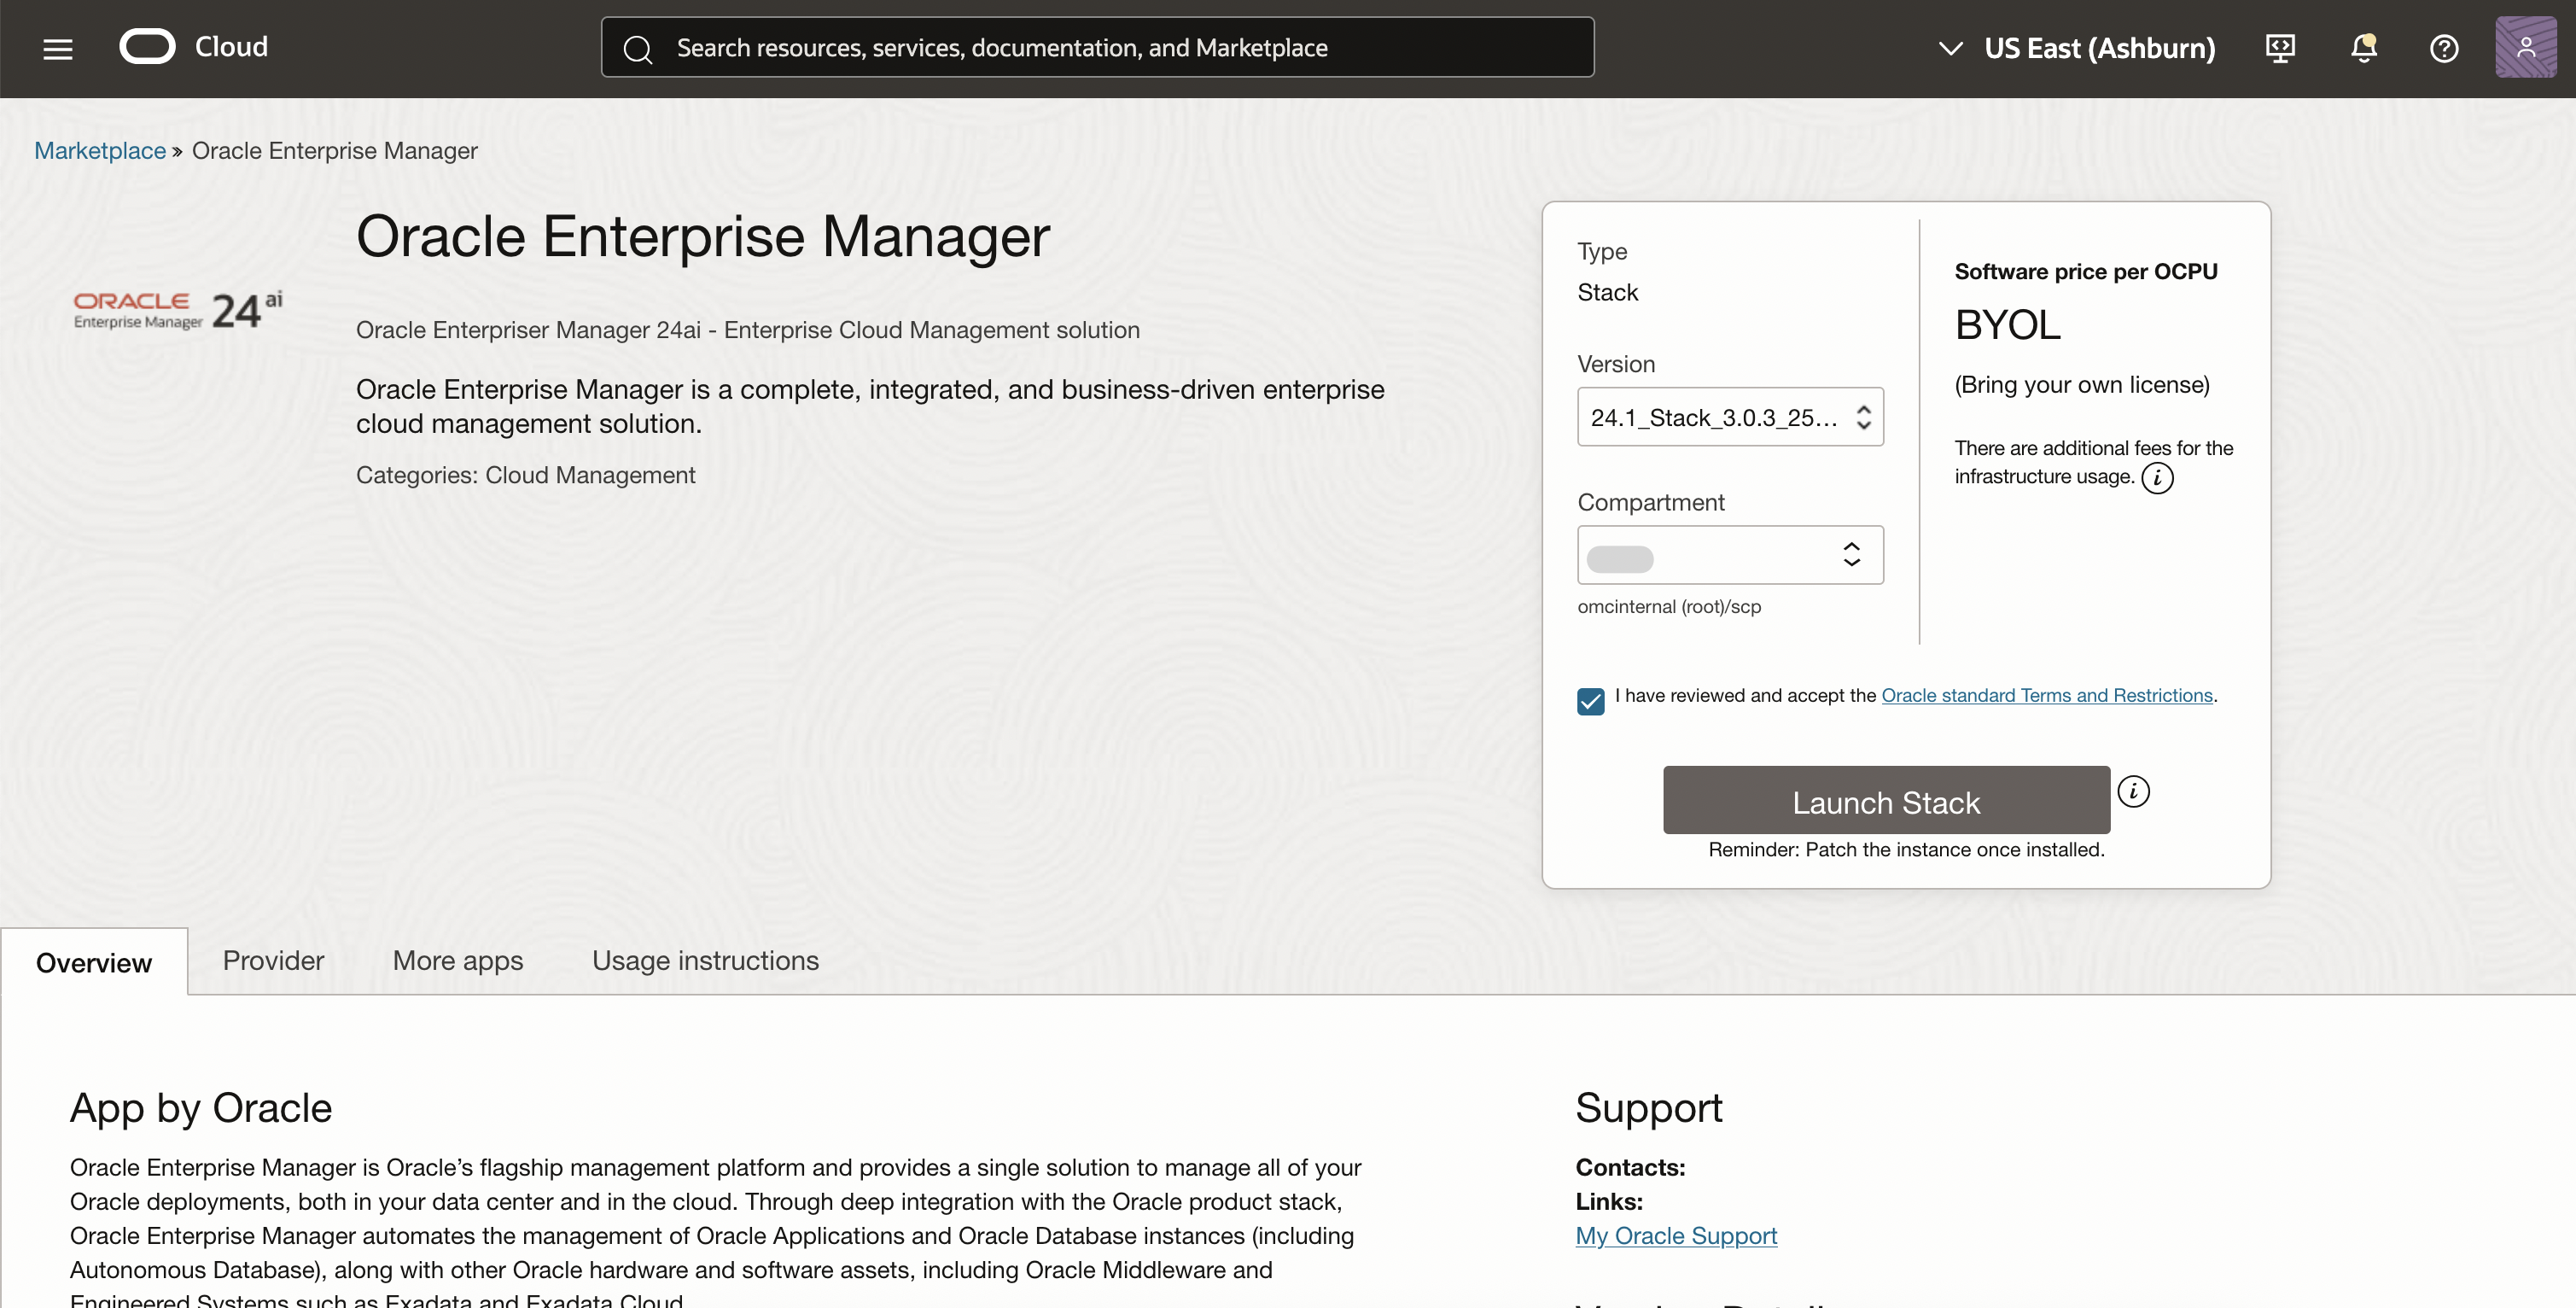
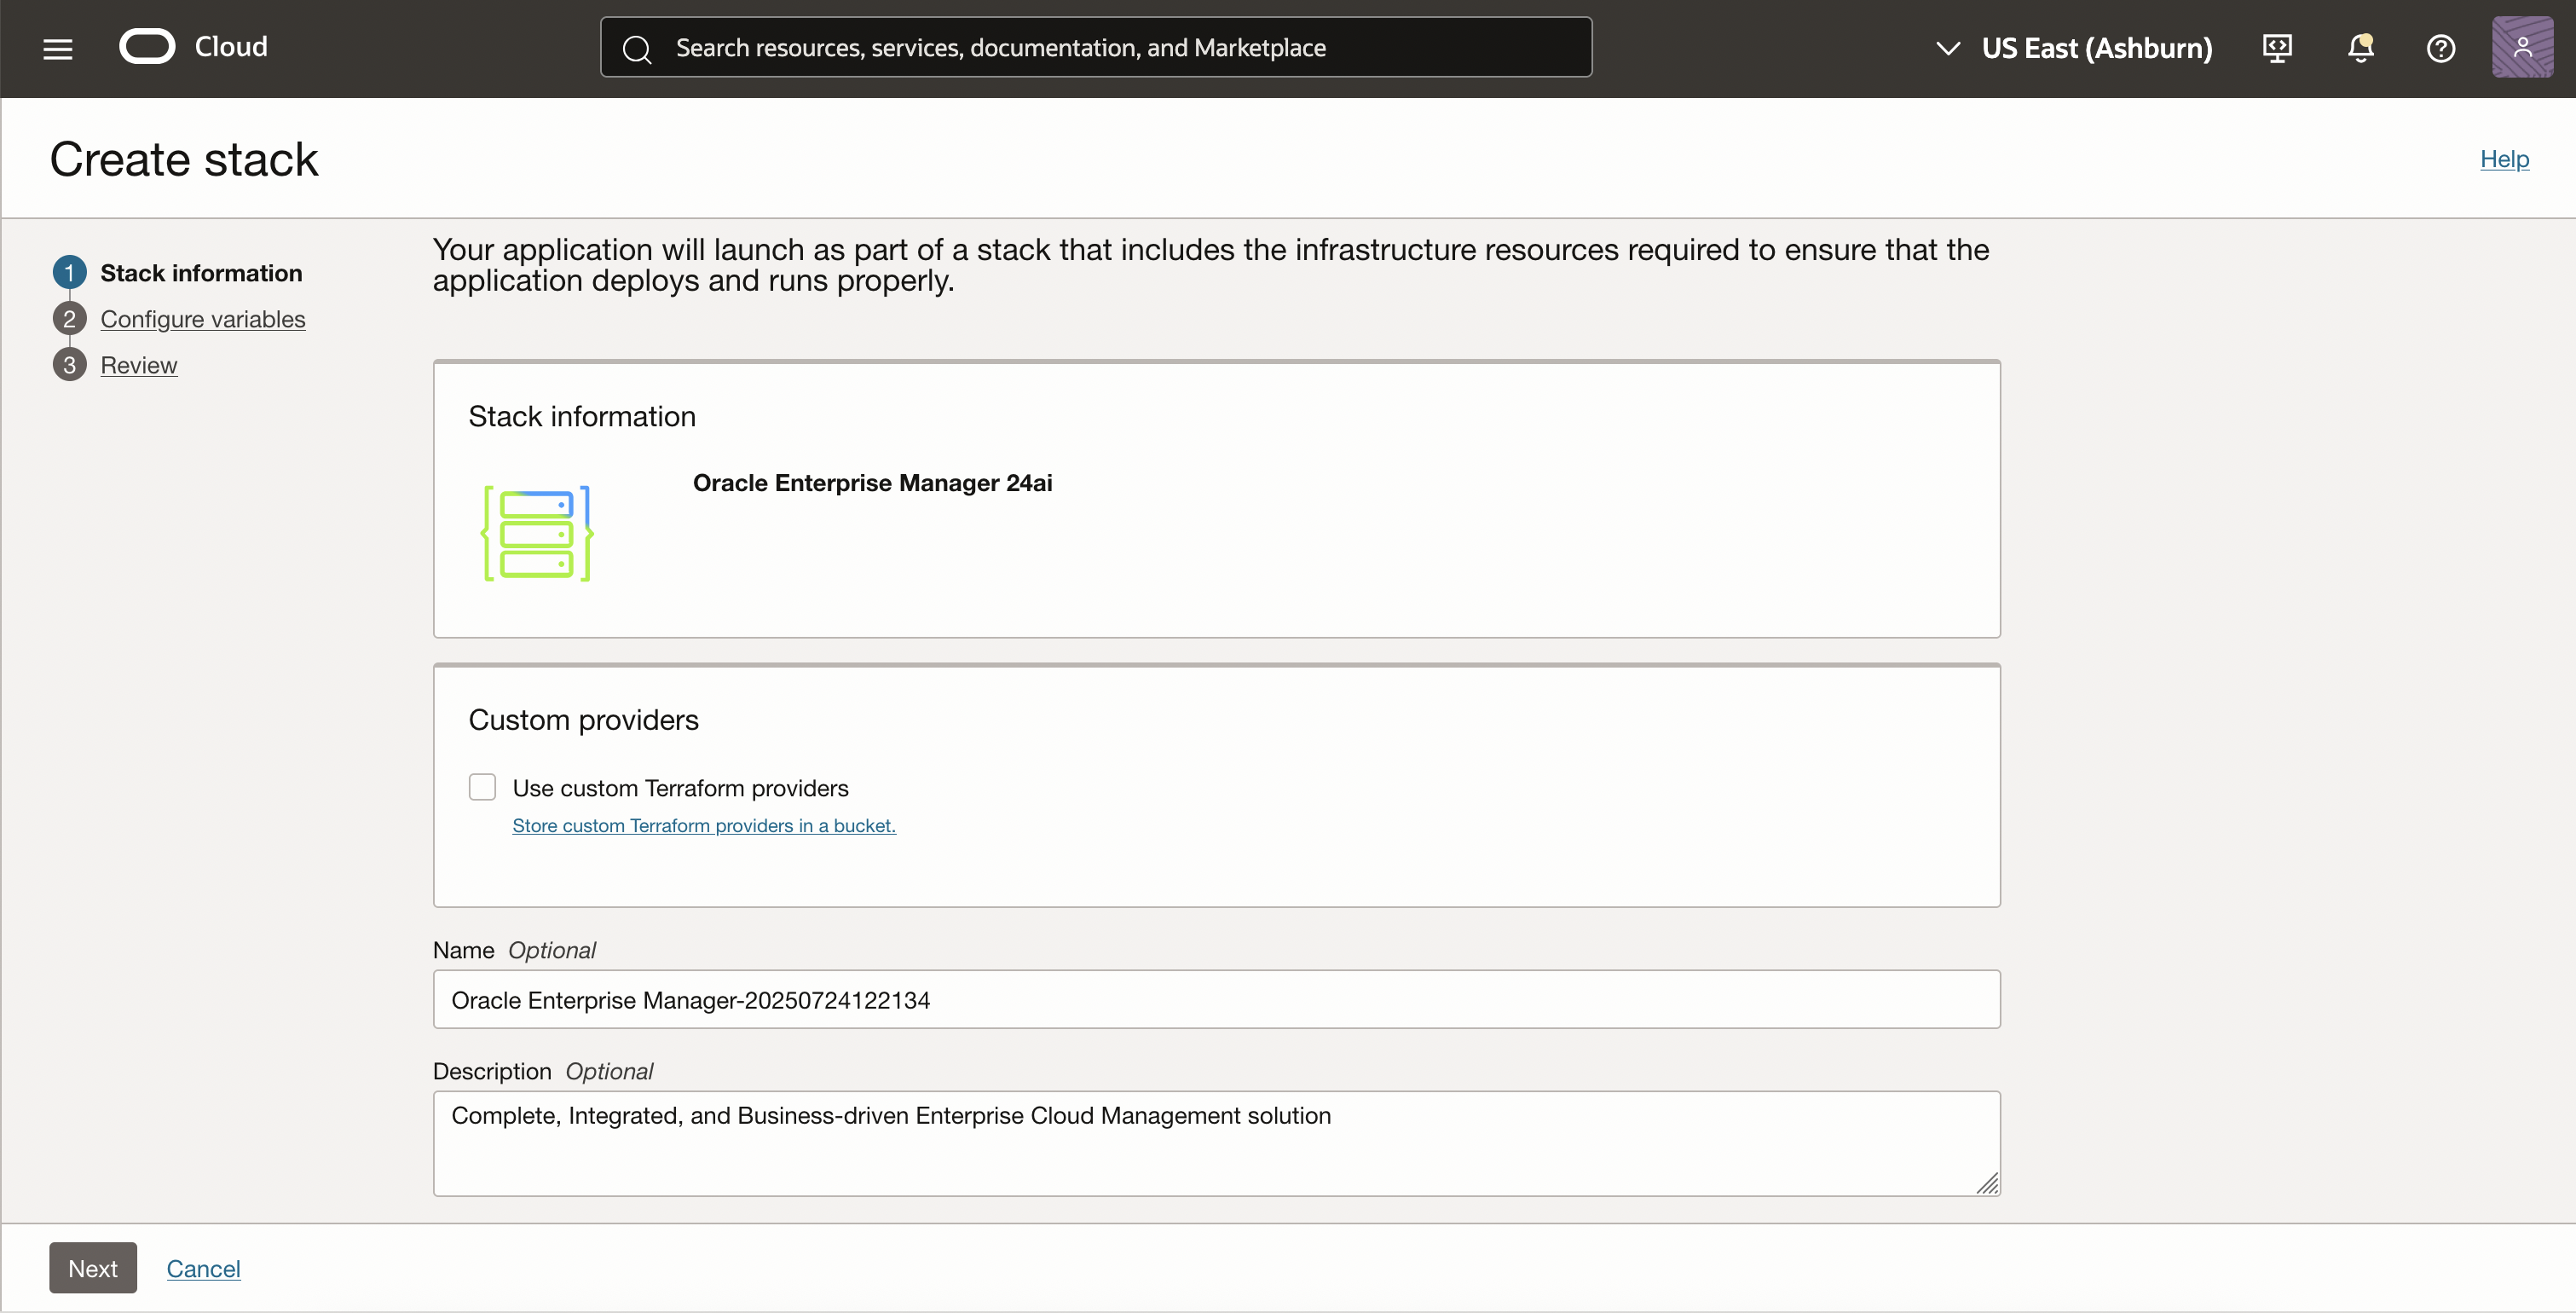
- Under Stack Information enter the Name and Description for your stack (optional). The predetermined deployment name is: EnterpriseManager_<Deploydate>. Click Next.
The above step is common for both Single node and Multi node deployments.
Single node provisioning
Single node setup is supported with two options.
- Instance (EM & Database) placed in Public Subnet
- Instance (EM & Database) placed in Private Subnet. (This deploys an additional bastion host for connectivity and management purpose)
Instance Configuration
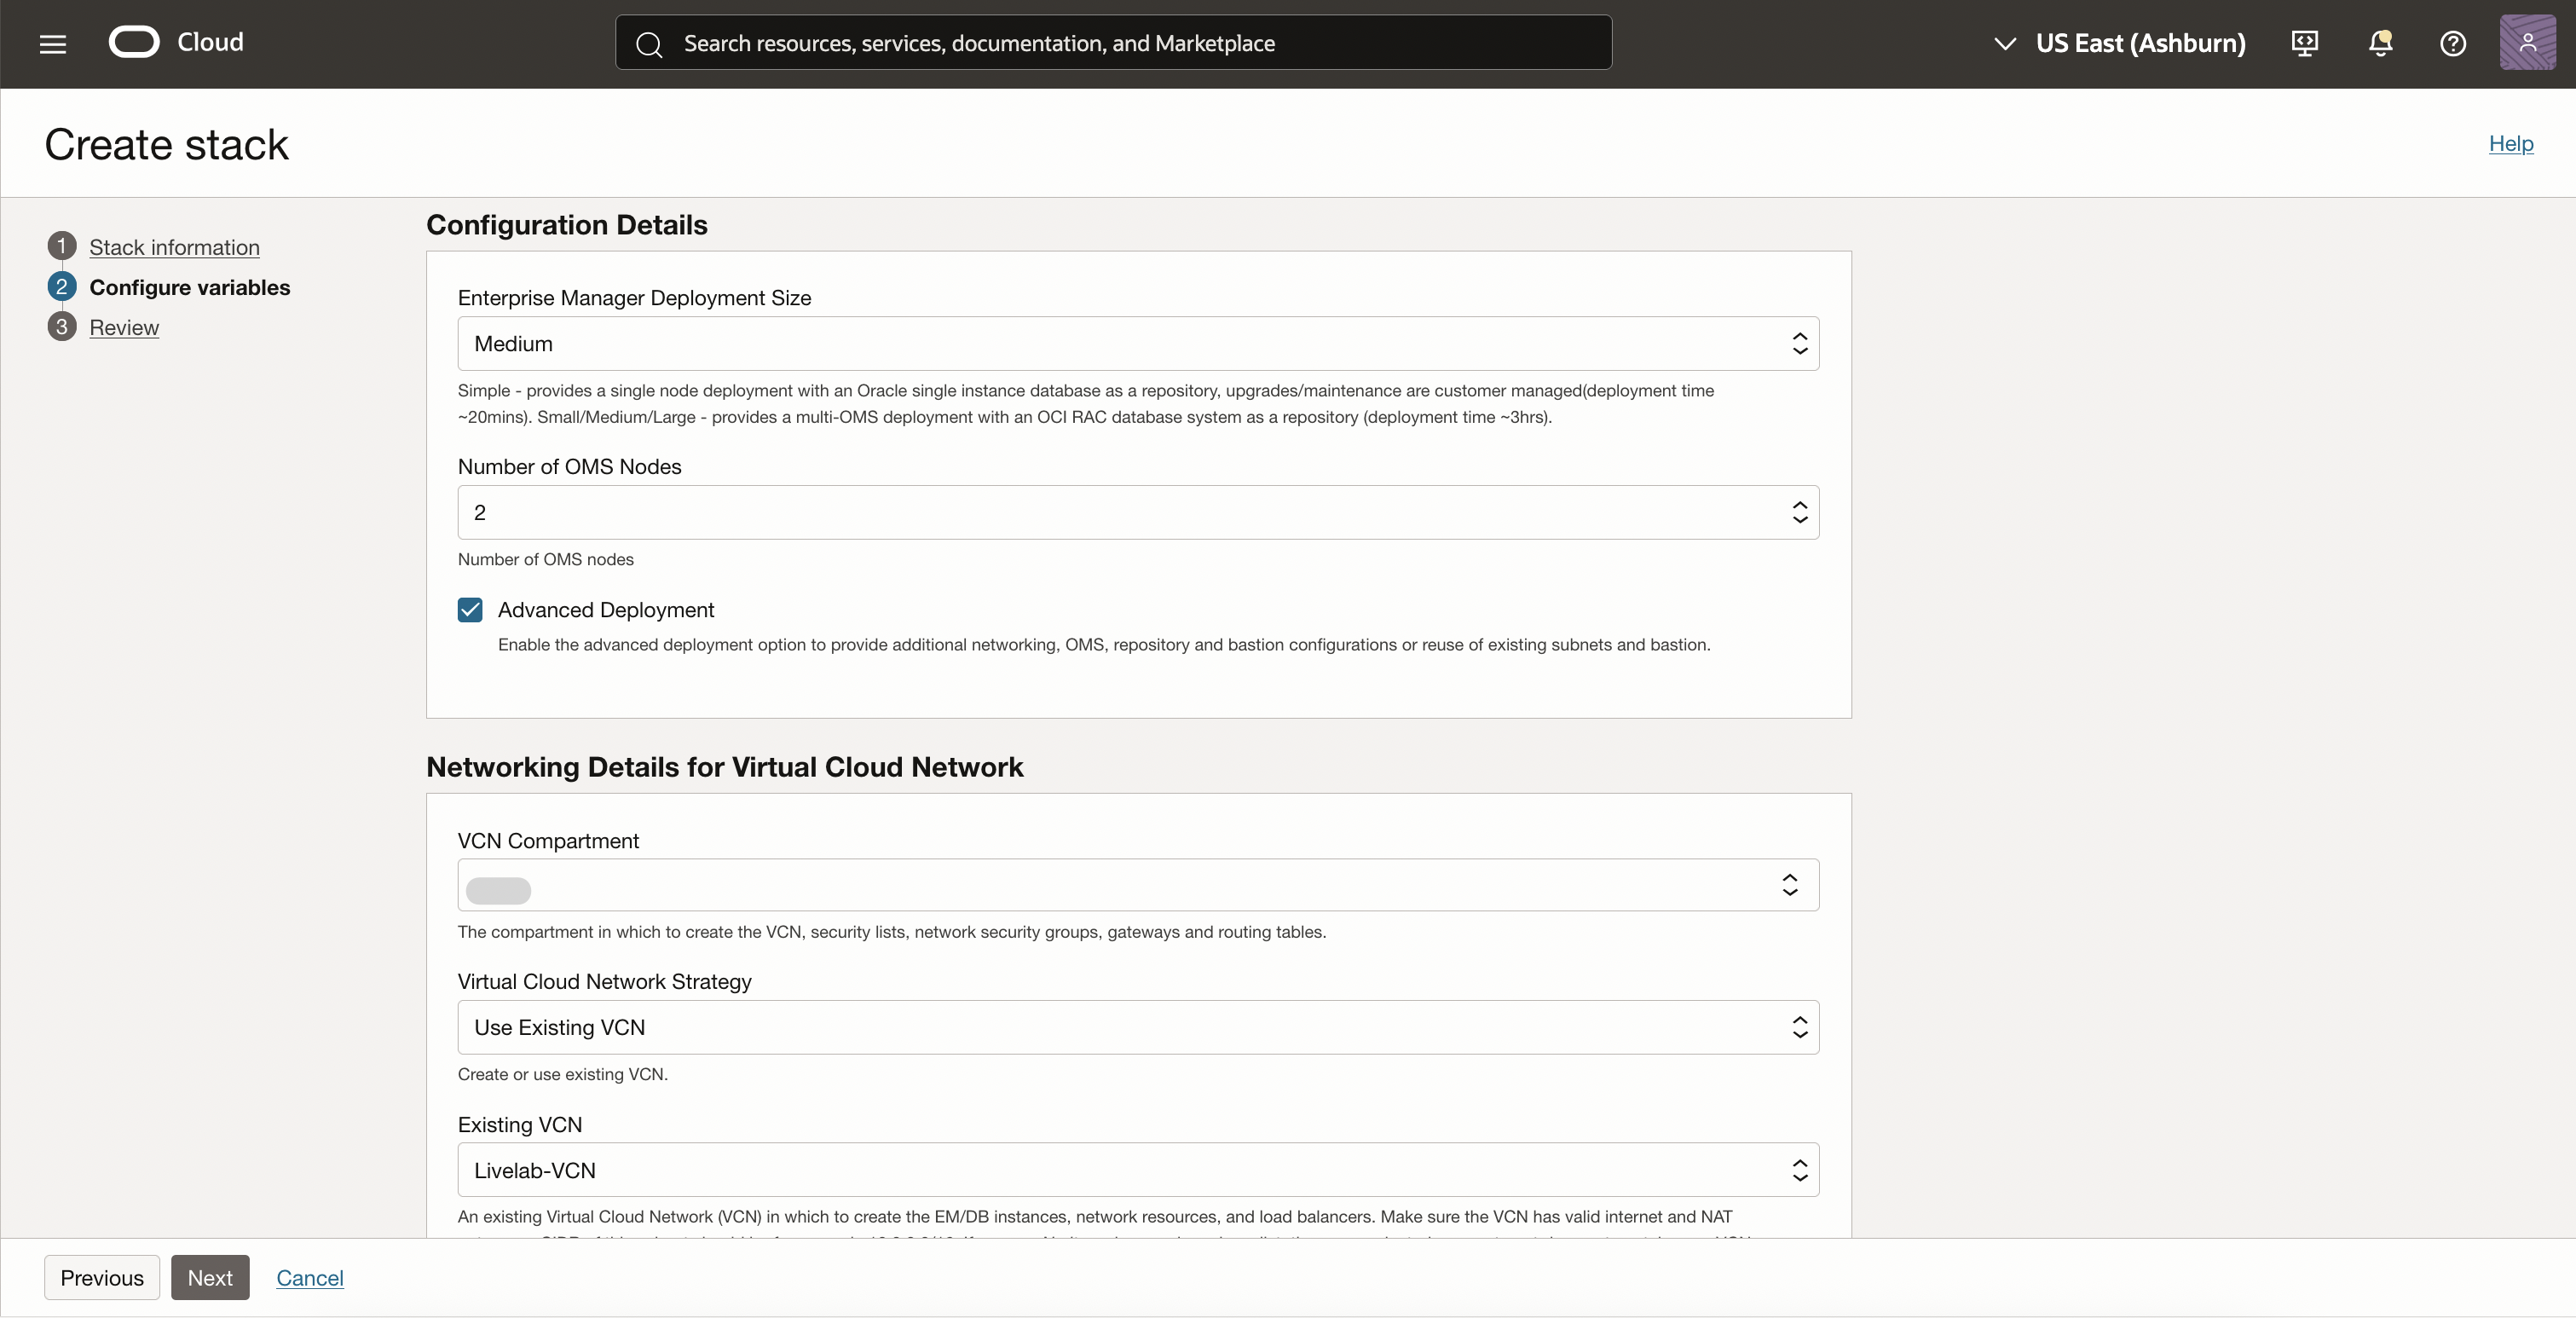
- On the Configure Variables section, select the Deployment Size as Simple. Fill in all the variables as per your infrastructure design and requirement .
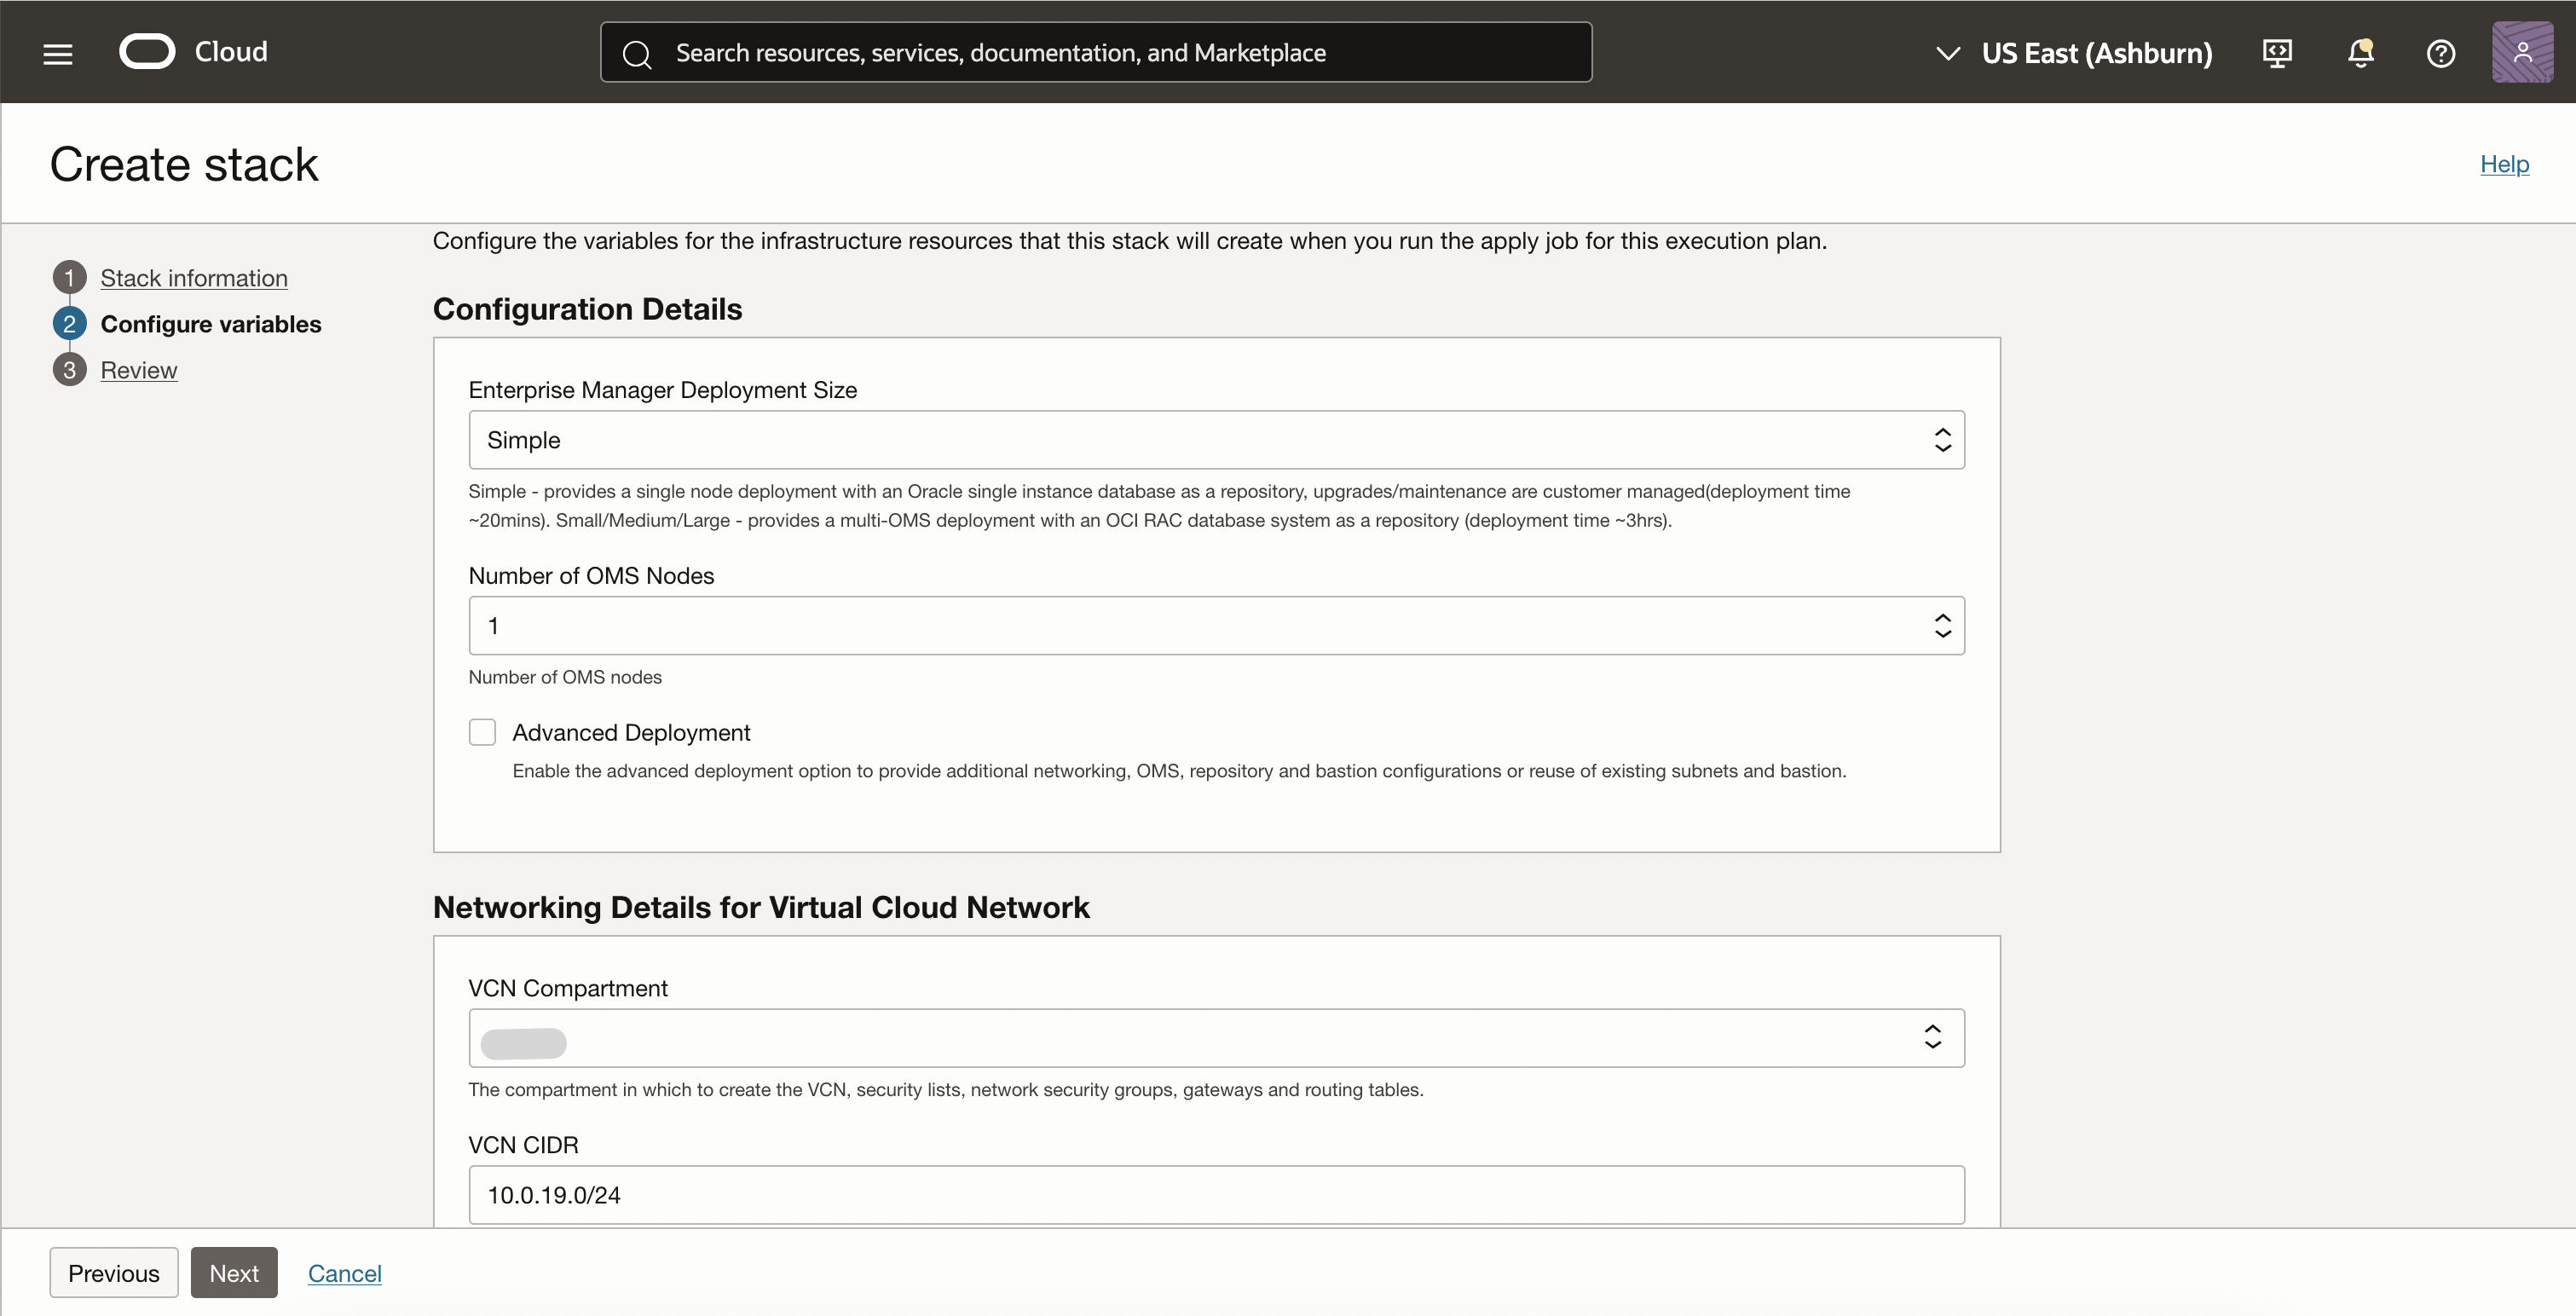
- Choose the Subnet type as Public / Private to switch between the setup options. Check the Advanced deployment oprion to customize the VCN and subnets. This will enable to choose the existing VCN and subnets for instance provisioning.
- Fill in the Bastion Host details in case if you choose option private subnet.
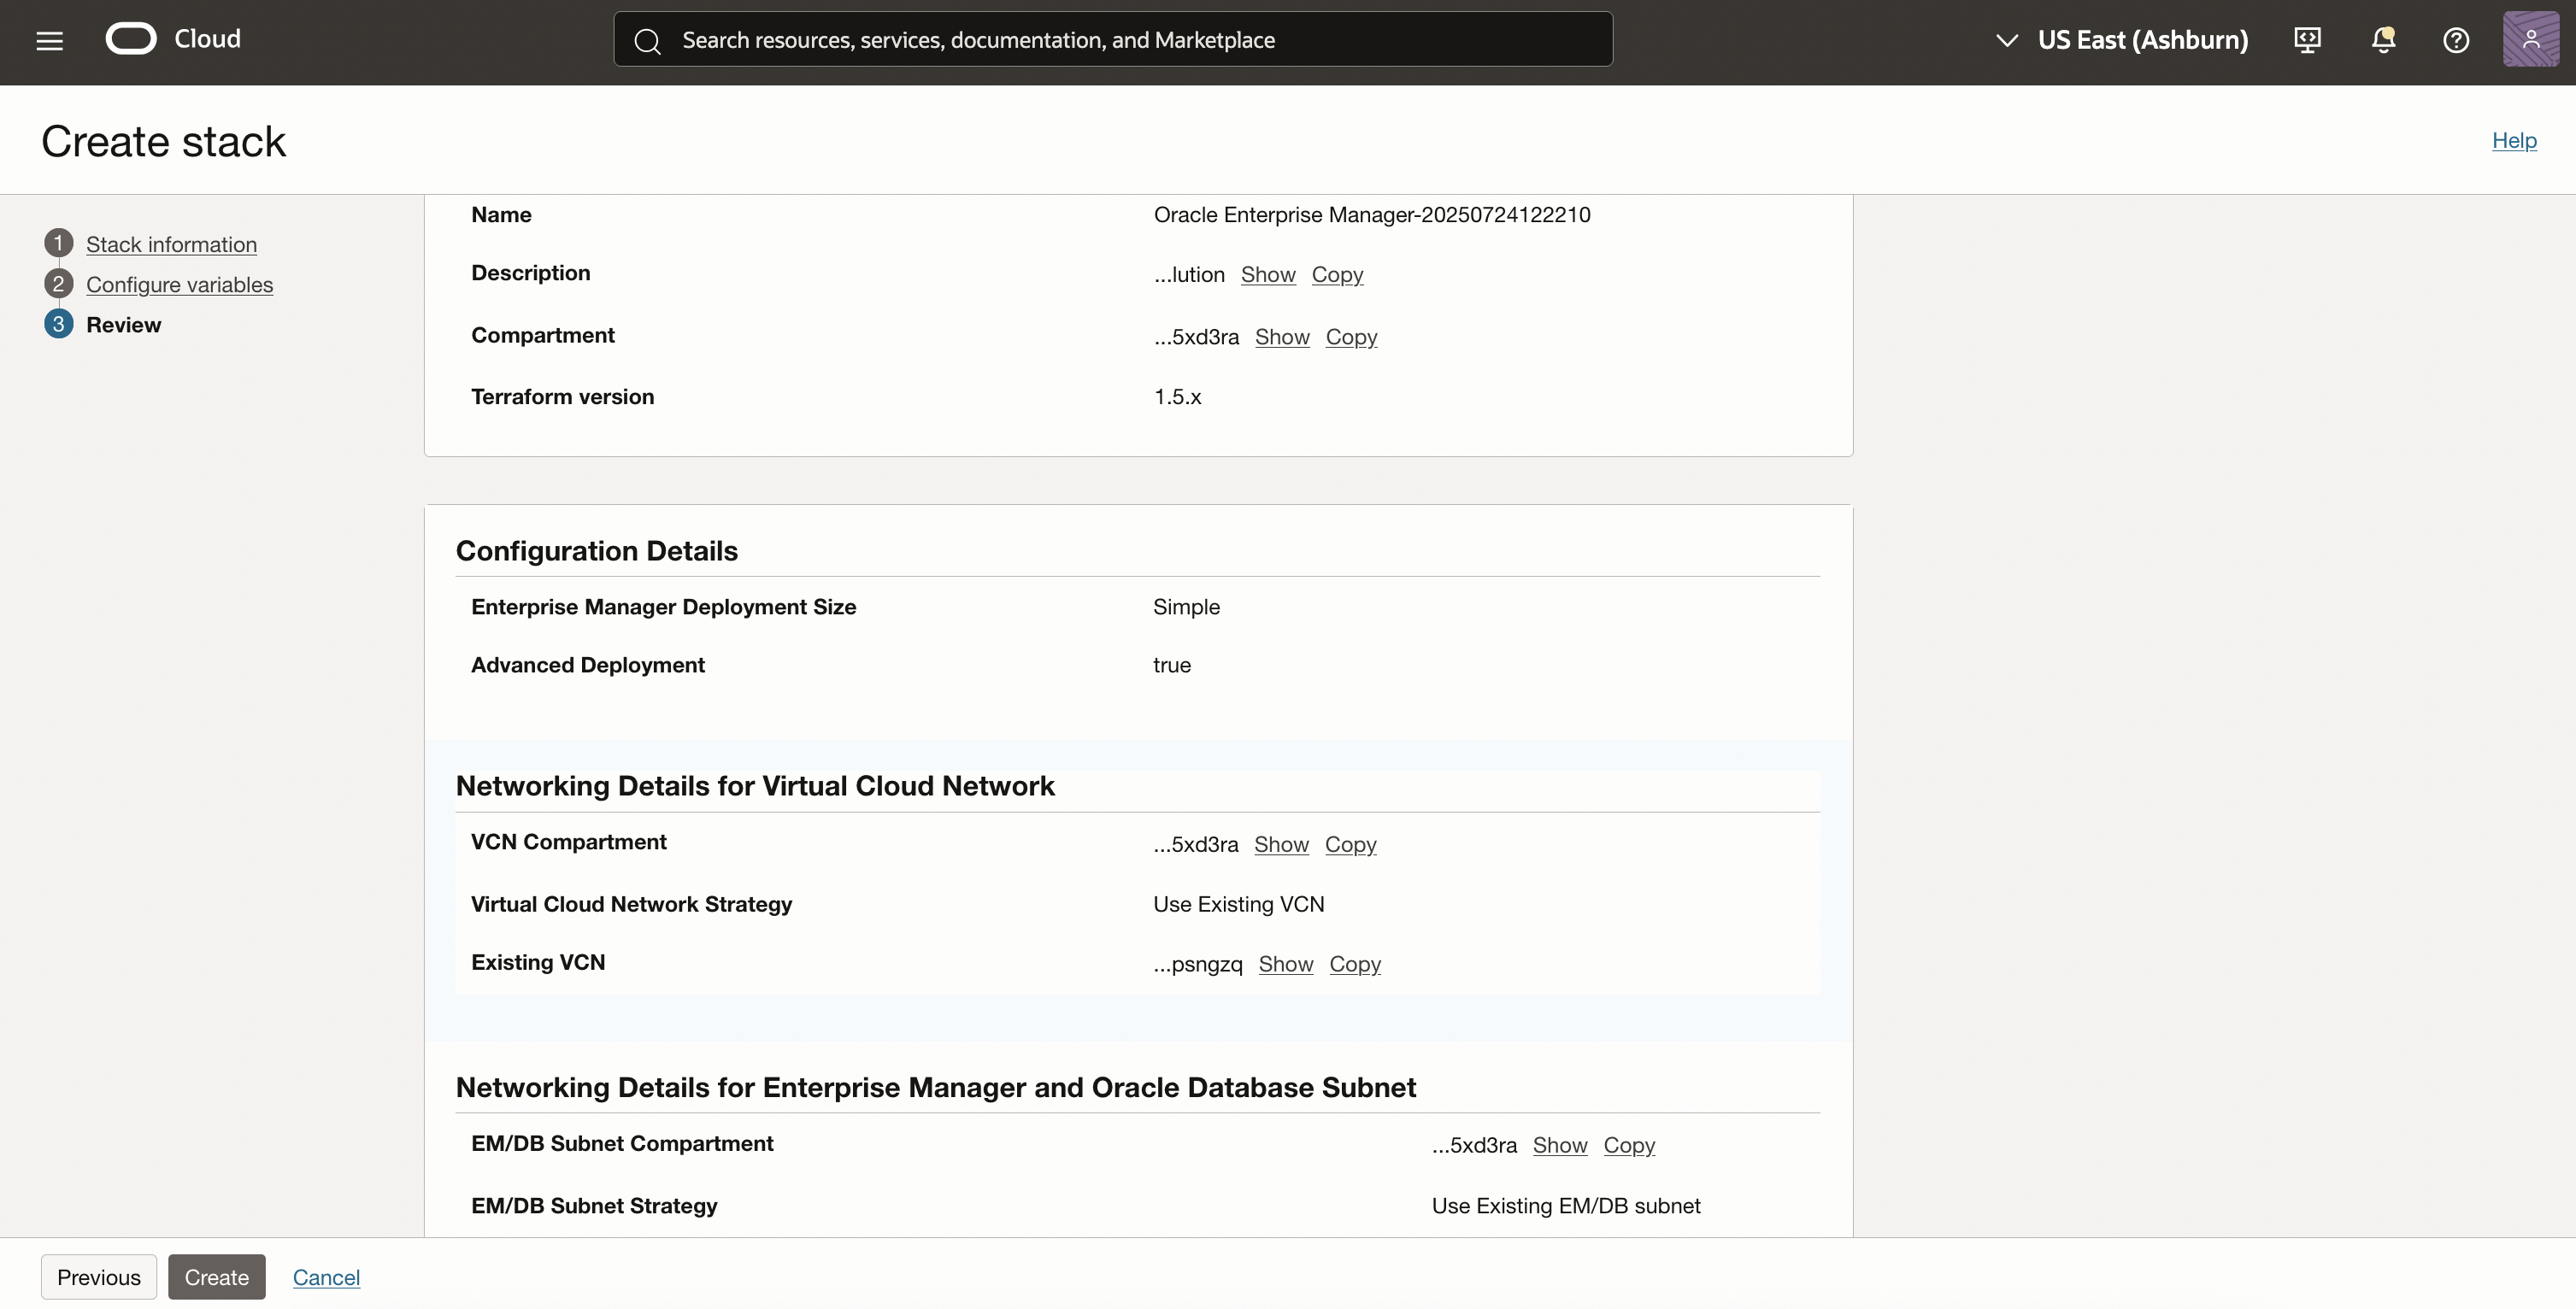
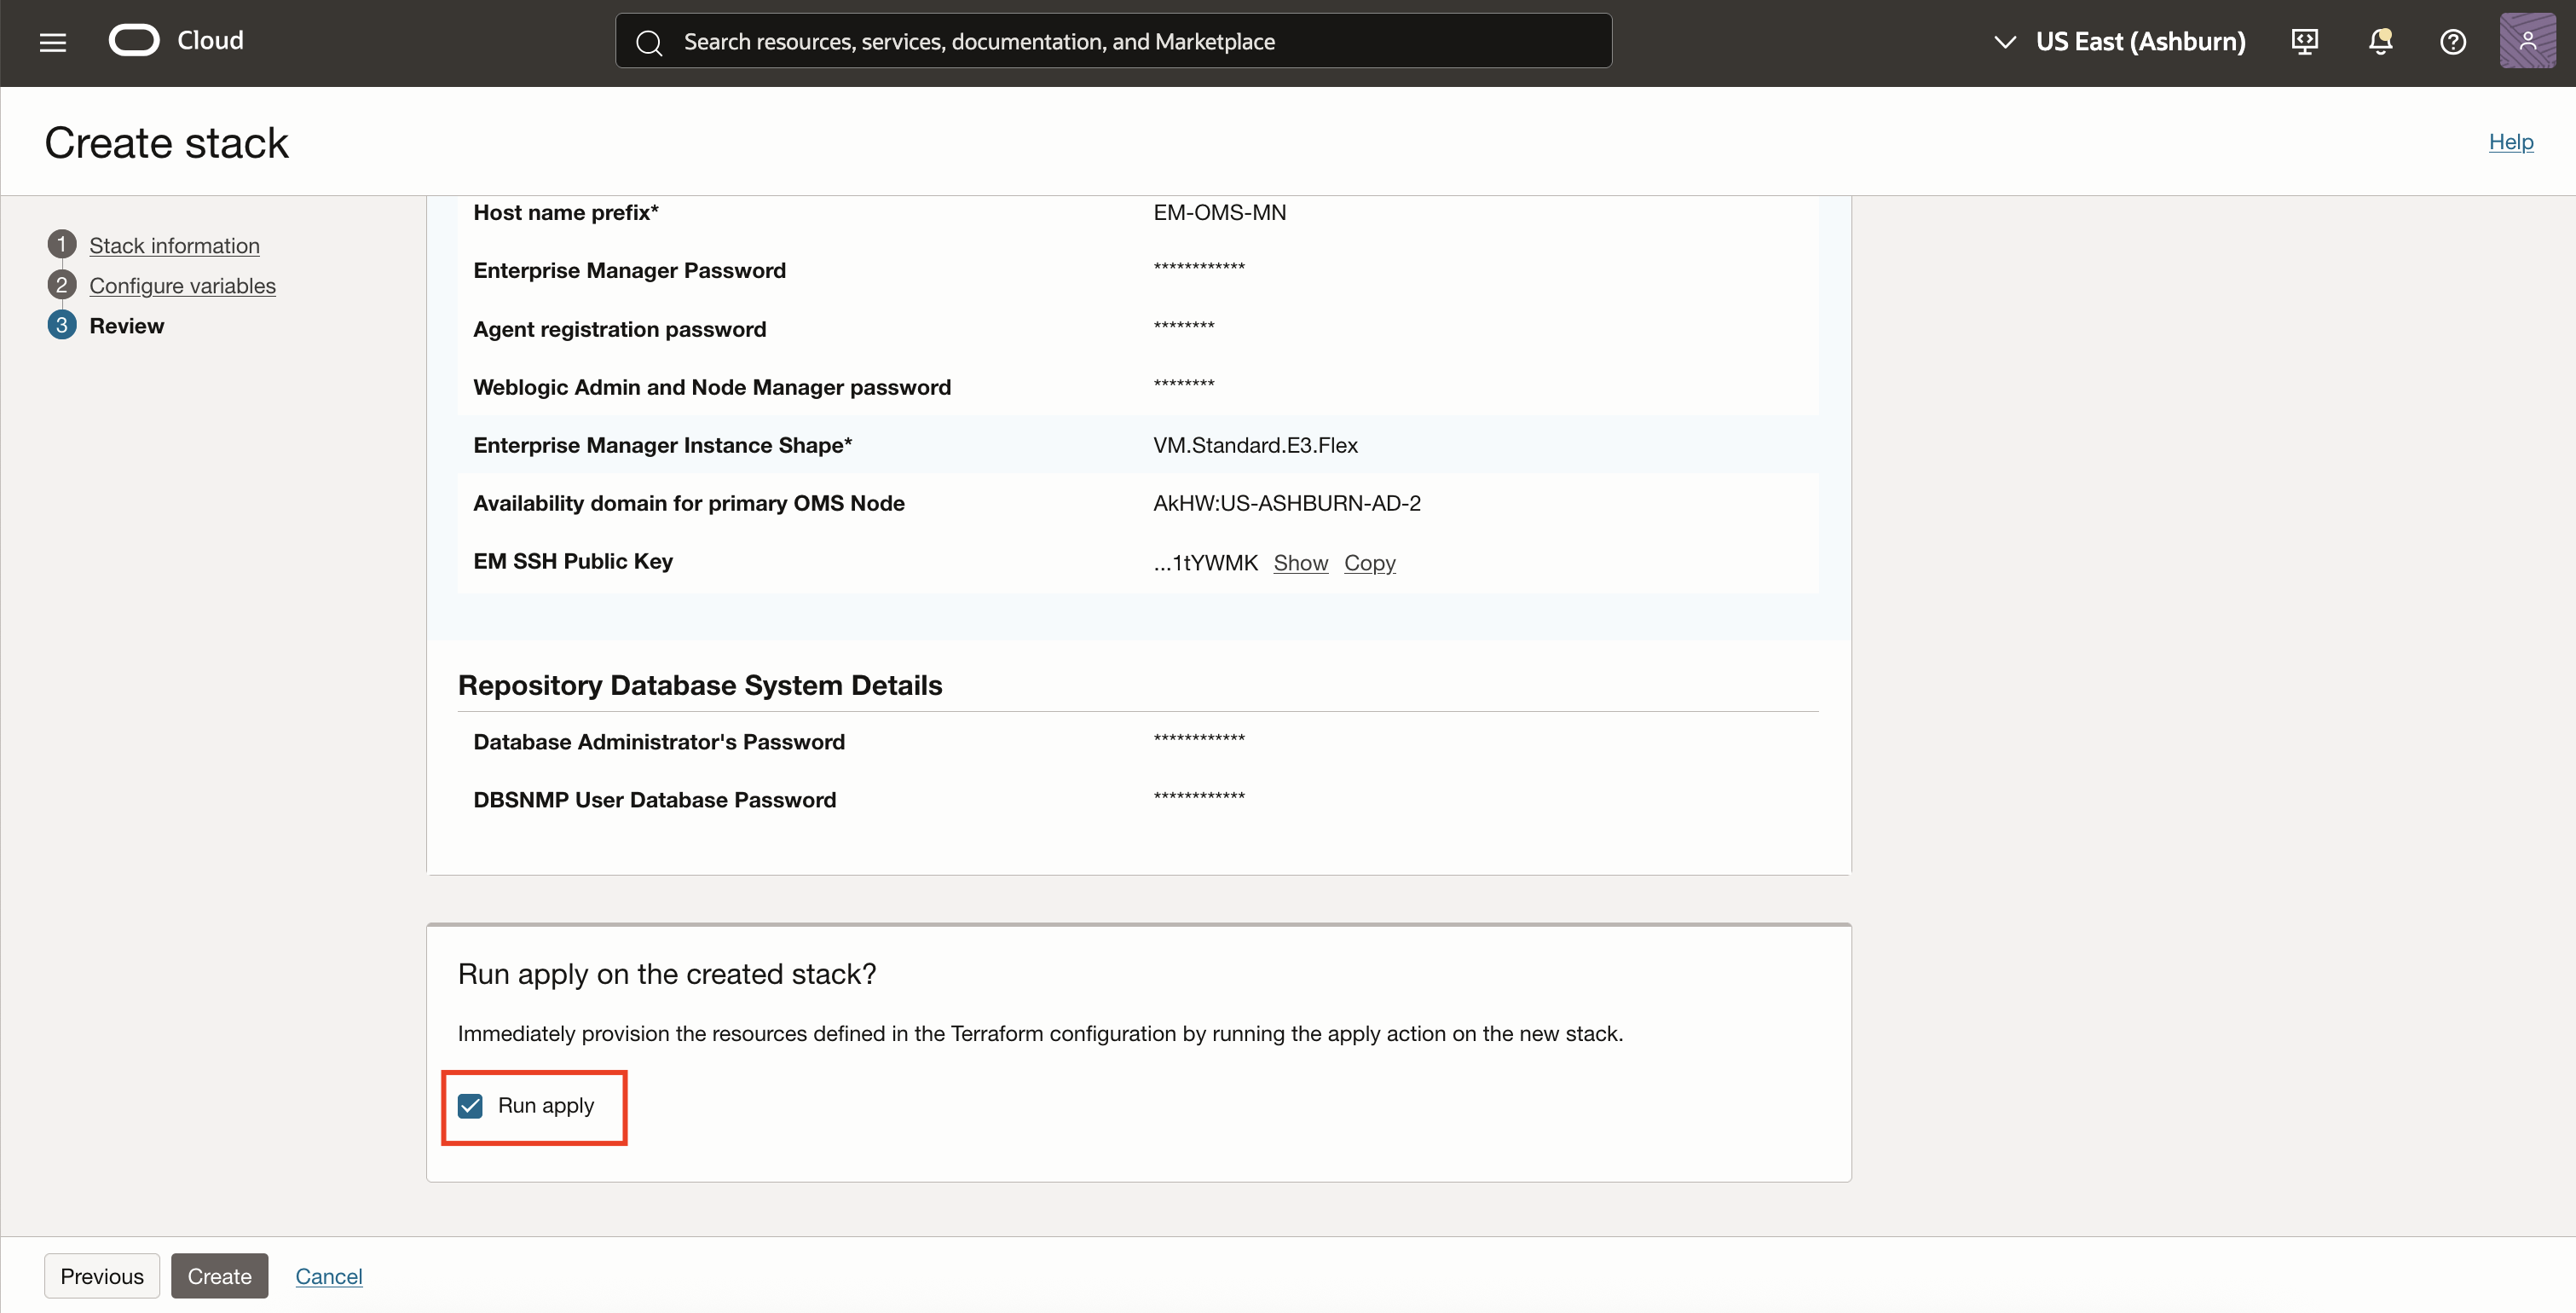
- Proceed to the Review page. Review the inputs and variables, then select Create. Make sure Run Apply is checked for direct deployment.
-
If you want to just plan the deployment, uncheck Run Apply and run plan on the stack window. After the plan is successful, proceed with stack Apply at the moment of your choice.
Multi-node provisioning
If you are planning to manage a large infrastructure, it is advised to configure a larger Enterprise Manager deployment with multiple Oracle Management Service (OMS) nodes and Oracle Real Application Cluster (RAC) Database as the Object Management Repository (OMR) provisioned from OCI DB System on VM.
Multi-node setup supports these setup options. (EM and Database will be placed on the private subnets for all the cases).
- Loadbalancer (LBaaS) placed in Public Subnet
- Loadbalancer (LBaaS) placed in Private Subnet. (This deploys an additional bastion host for connectivity and management purpose)
- With Dataguard enabled (applicable on both of the above cases) Note that another RAC will be deployed as the part of setup which incur additional billing.
- Without Data Guard enabled (applicable on both of the above cases)
- On the Configure Variables section, select the Deployment Size as Small or Medium or Large based on the size of the infrastructure you are going to manage. Fill in the variables per your infrastructure design. The Enterprise Manager / Database parameters will be tuned automatically based on the deployment size.
- Check the “Enable Data Guard for Management Repository” if you need to have a backup for the OMR. Note that this will utilize one more RAC setup incurring additional billing.
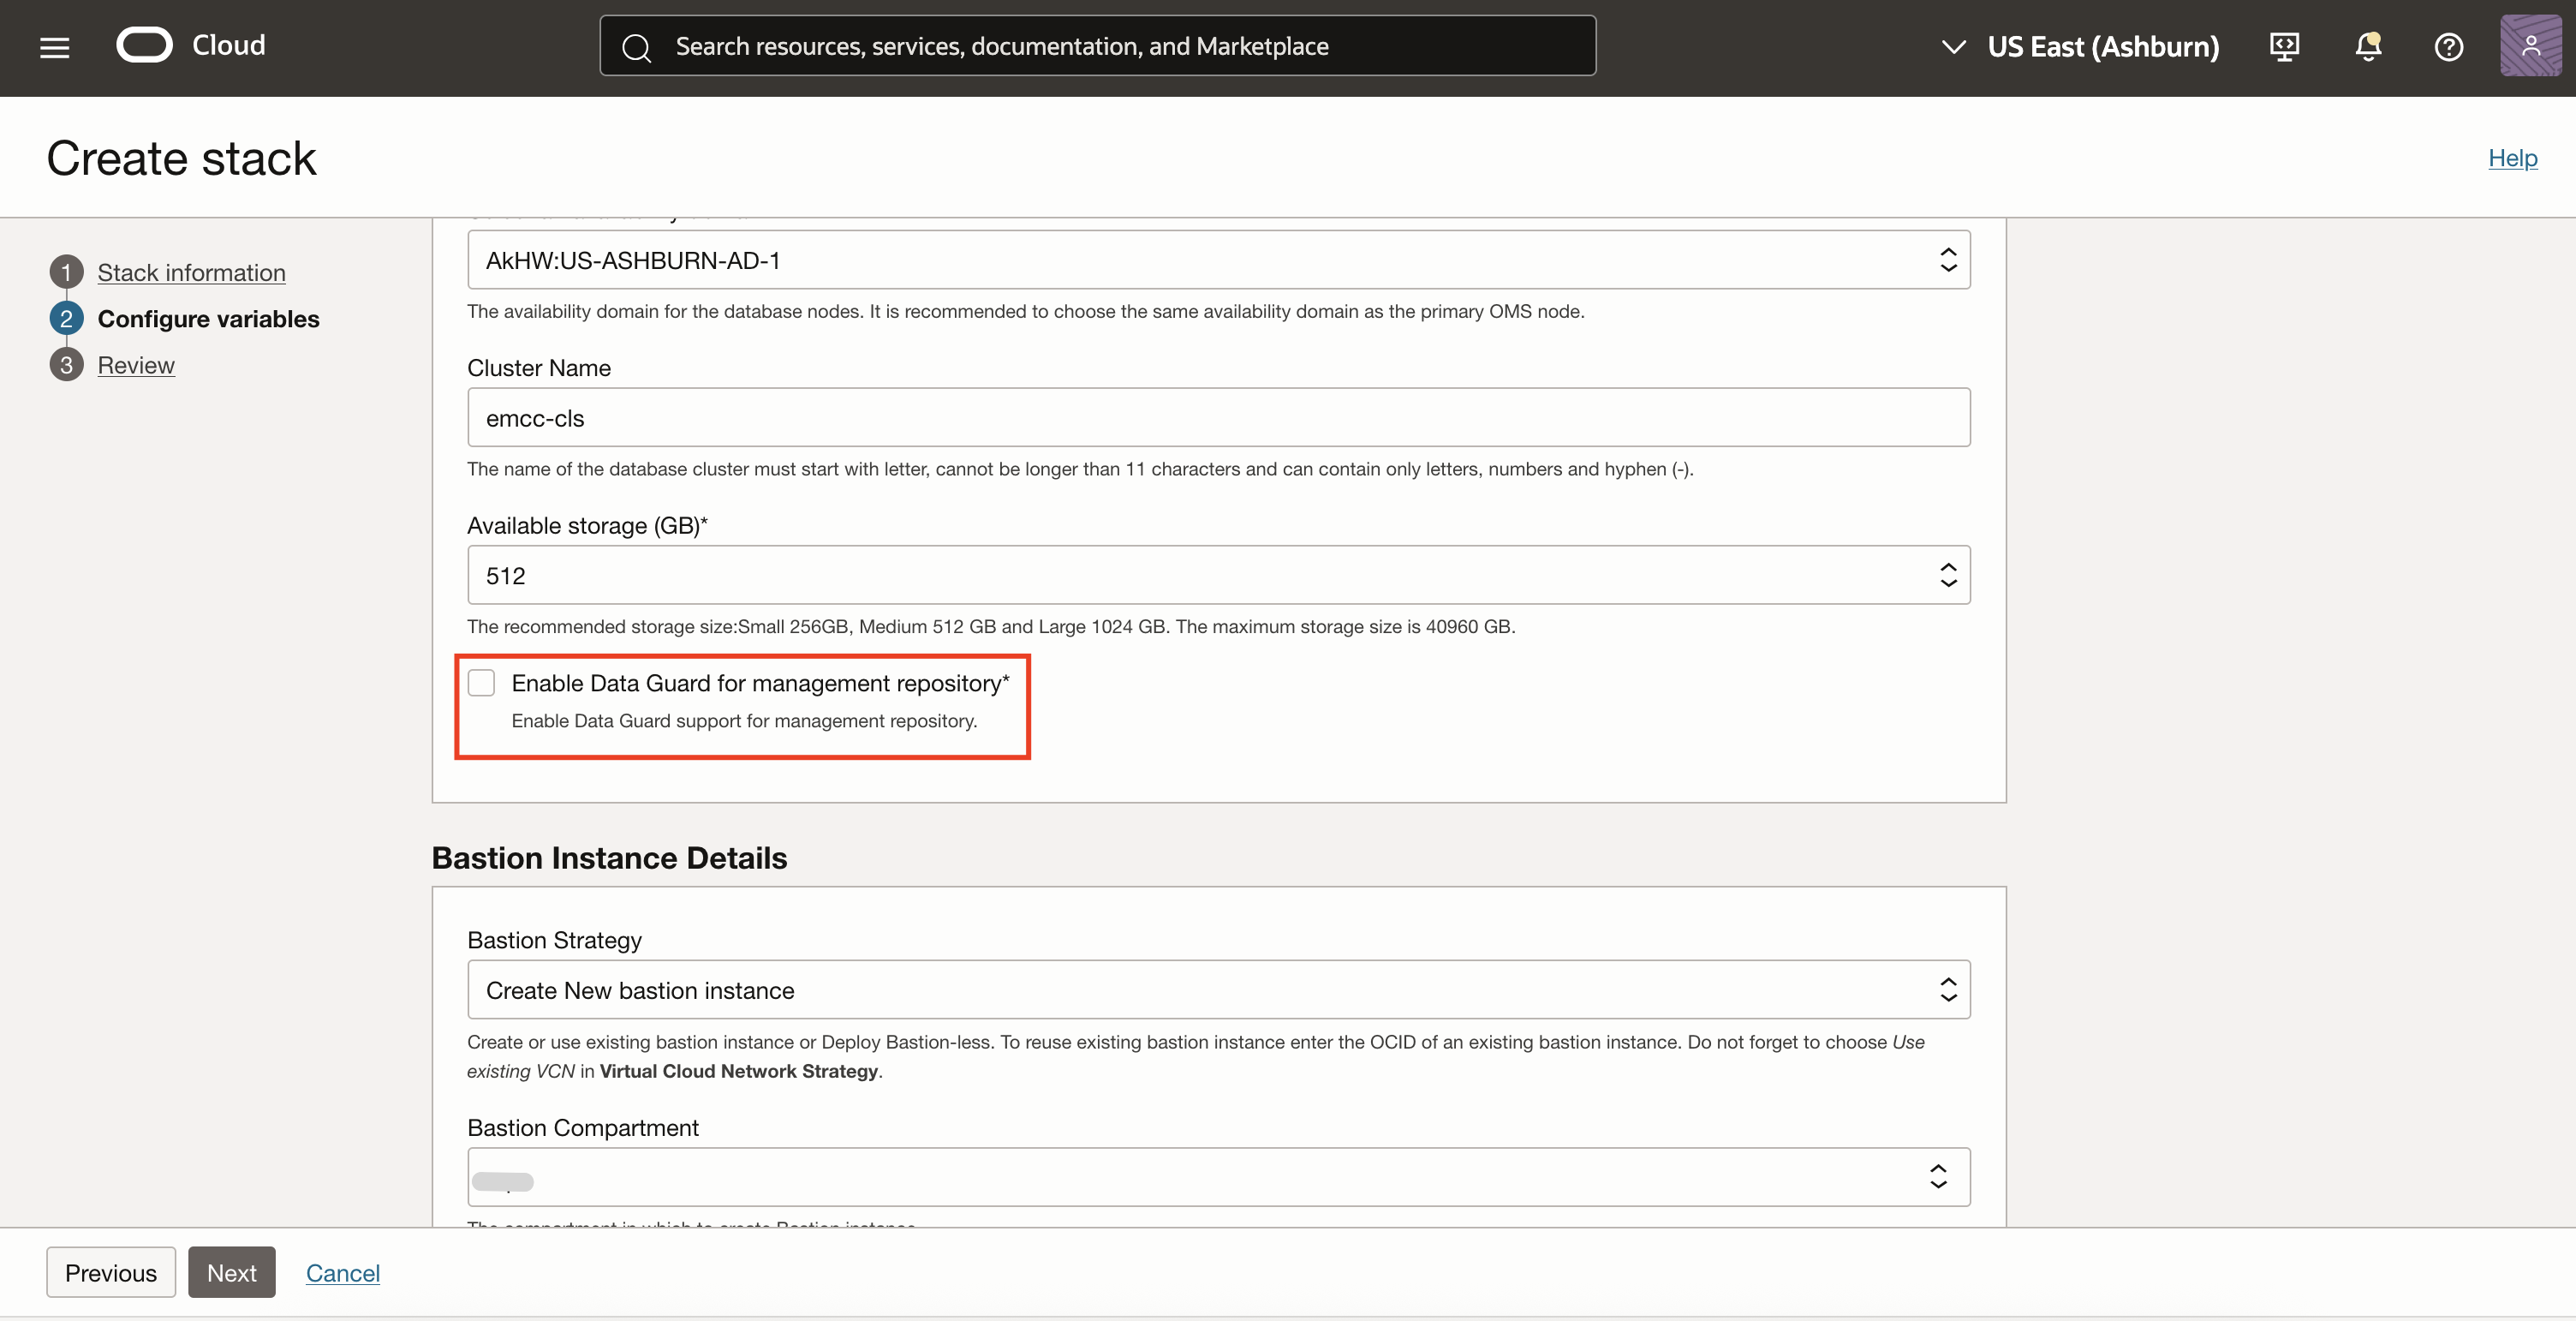
- If you selected the private load balancer option, fill in the Bastion Host details.
- Proceed to the Review page. Review the inputs and variables, then select Create.
Validate your Enterprise Manager deployment
- Check the status of the deployment by navigating to the stack details page. Under Jobs section, the status will be shown.
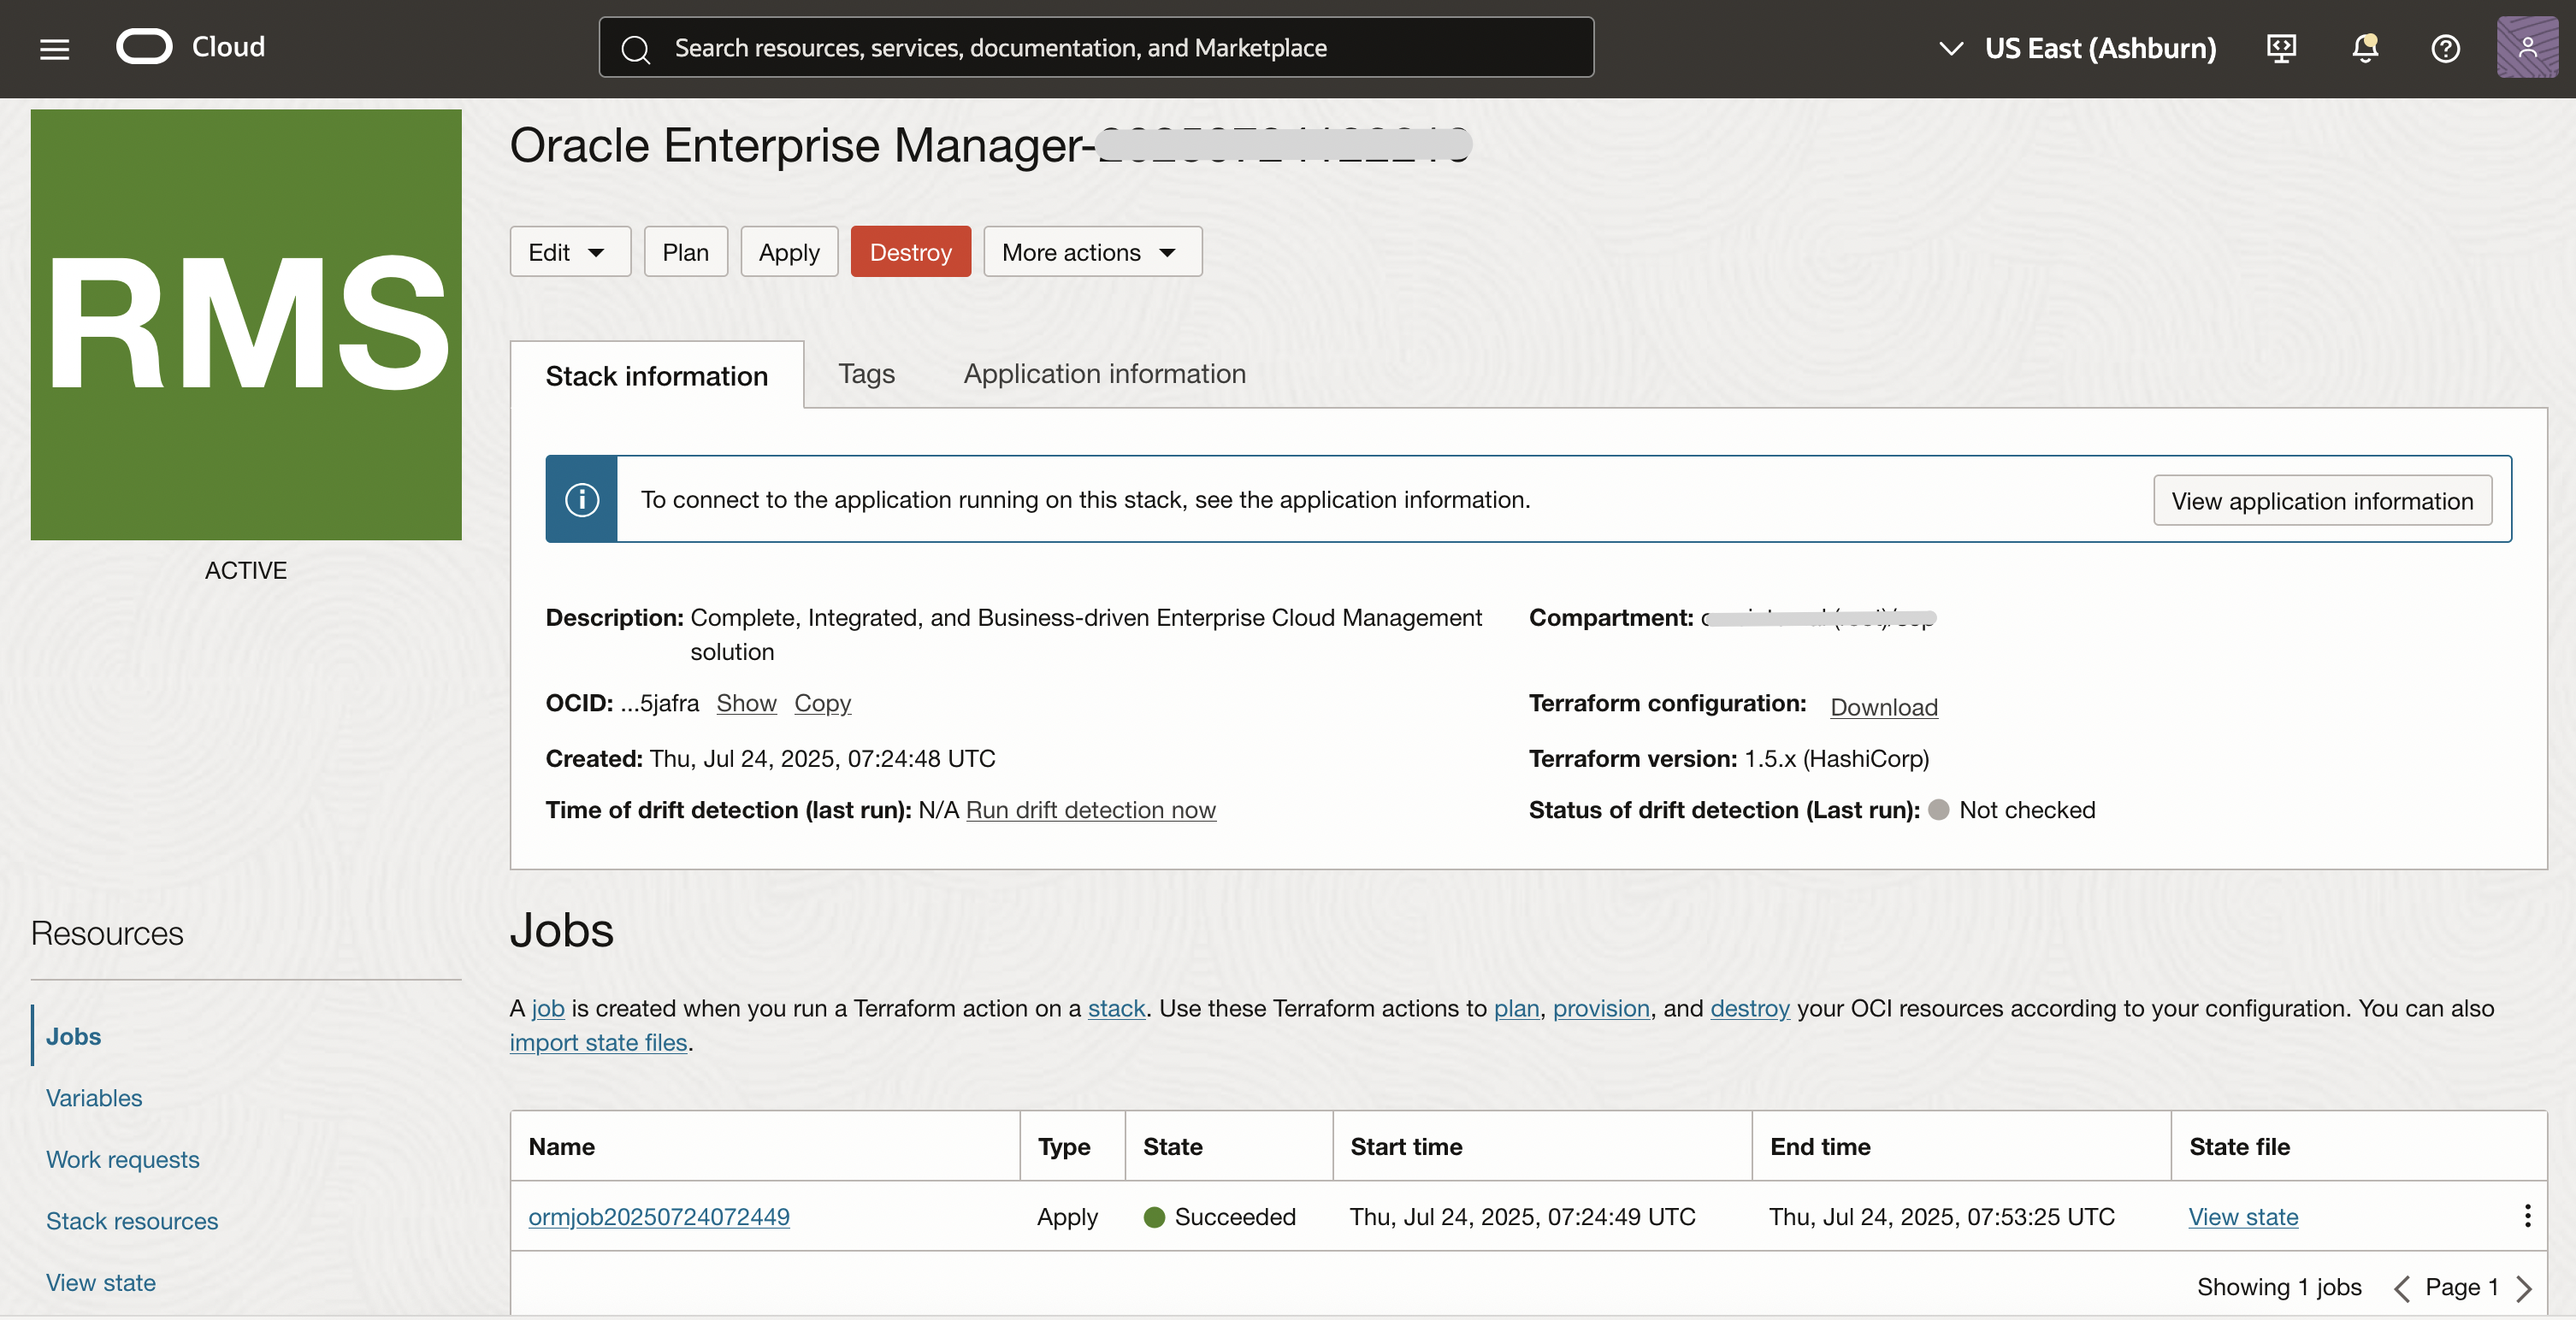
- Click on the apply-job to check the logs and status of the deployment.
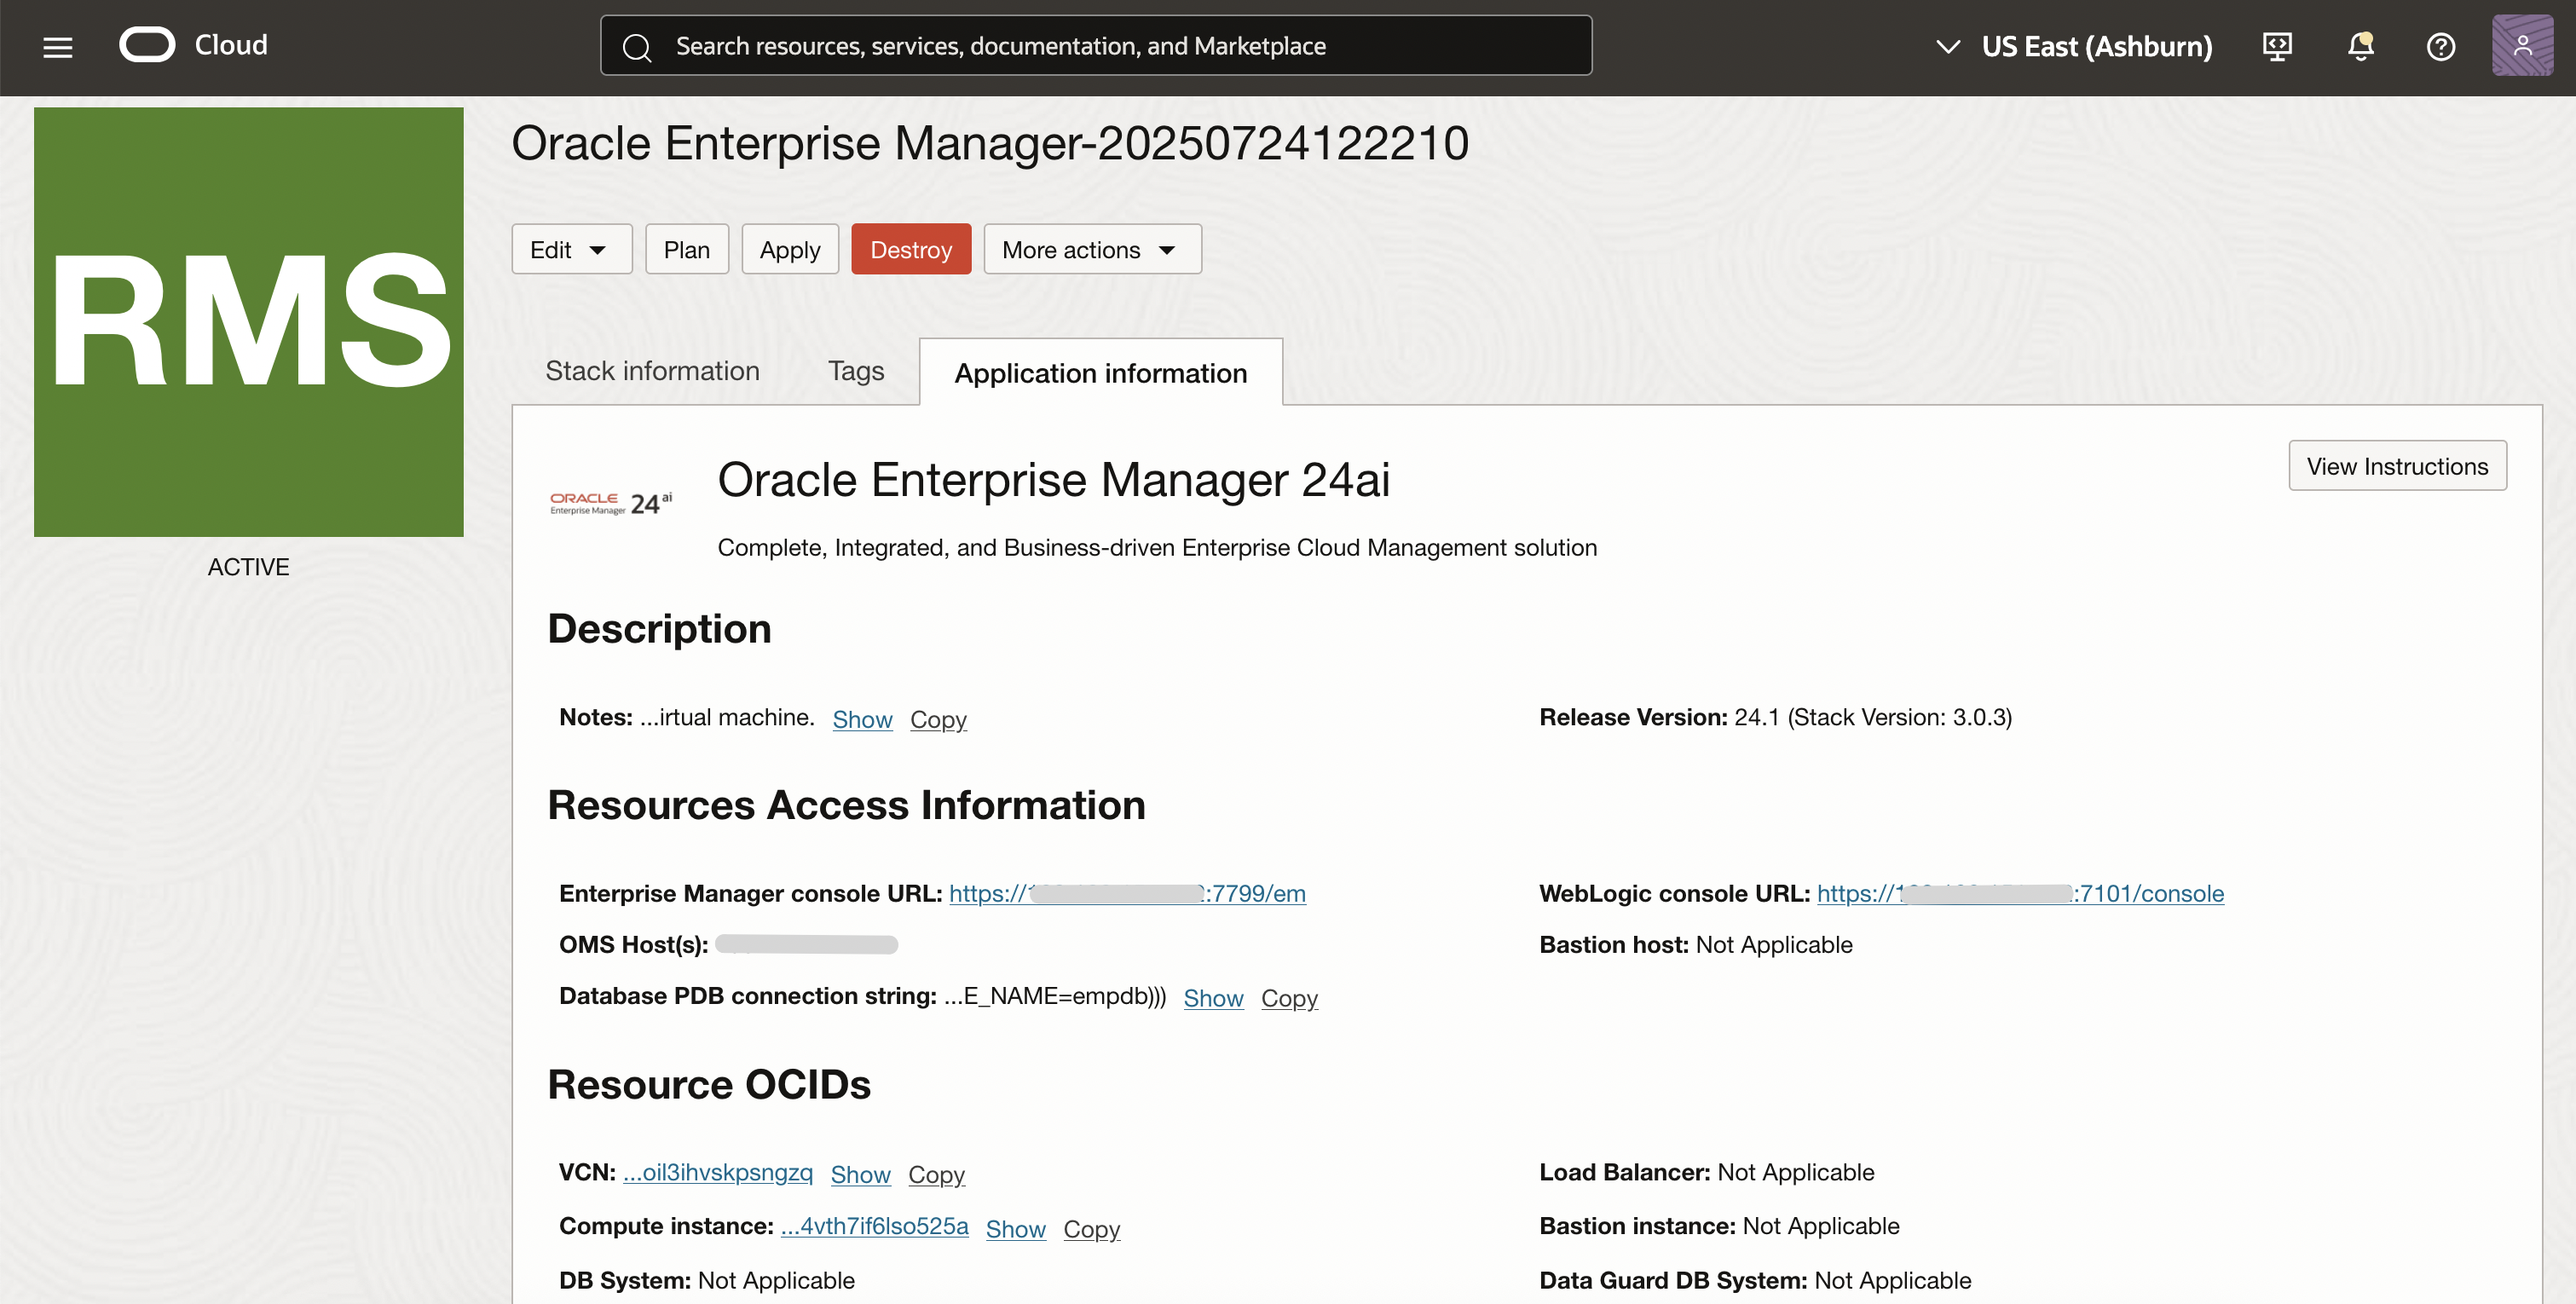
- Click on the Application information to get the EM URL, OMS host details, Database connection details, etc ..
- Establish an SSH session to the OMS nodes directly in case of single OMS public setups, and to the Bastion host in rest of the setup options. From Bastion host, login to the OMS / Database nodes directly.
- The default login username will be opc and perform a sudo su – oracle to login as the oracle user, where the EM is deployed. The details of the deployment will be presented on the screen when you login / swich to oracle user.
In this blog we have demonstrated how you can provision Oracle Enterprise Manager on Oracle Cloud with minimal deployment and zero installation steps. Provisioning Oracle Enterprise Manager on Oracle Cloud makes your environment more efficient and helps to improve service levels.
If you don’t have an Oracle Cloud account checkout https://www.oracle.com/cloud/free
Resources
- We’ve documented steps a comprehensive installation and configuration guide. View Setting Up Oracle Enterprise Manager 24ai (24.1.0.0) on Oracle Cloud Infrastructure and get started with another way to perform EM deployment and start monitoring today!!
- Visit https://blogs.oracle.com/observability for more details.