A few years later and we’re still finding it useful to be able to quickly spin up an Oracle Linux VM on MacOS. Fortunately the steps have gotten even simpler, with pre-configured images for UTM now available from yum.oracle.com
These virtual machines use UTM as the control plane, and Apple’s Hypervisor framework from macos to get interactive-level performance from these virtual machines. These aren’t emulated environments, they are running directly on the underlying hardware.
If you want to install images from scratch rather than using our pre-configured images, check out the original blog post for using qemu and installing from isos. You can also run Oracle Linux in a container on macOS. These instructions are for creating a full fledged Oracle Linux virtual machine.
Running an Oracle Linux VM on MacOS
Following these instructions will give you a VM running the minimal server install with no GUI; the download size is just under a gigabyte. For a full featured experience, scroll down for additional configuration options.
- Install UTM from https://mac.getutm.app/ or from the App Store
- Download and extract the appropriate Oracle Linux UTM image.
- Oracle Linux 10 UTM image
- Oracle Linux 9 UTM image
- UTM images are only available for aarch64 images
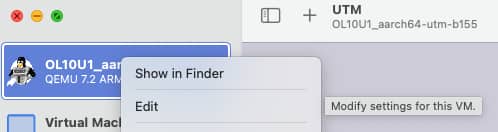
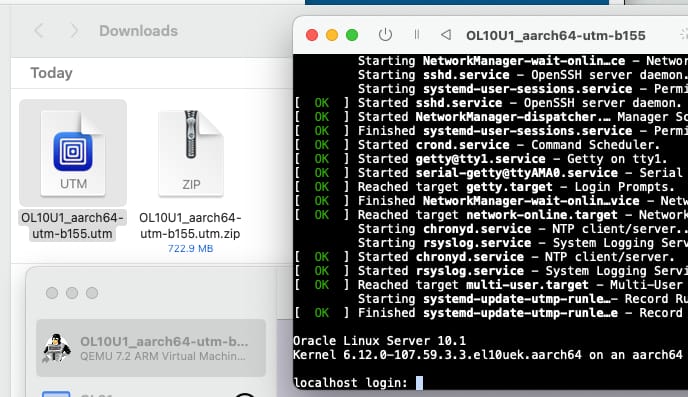
- Double-click the UTM file
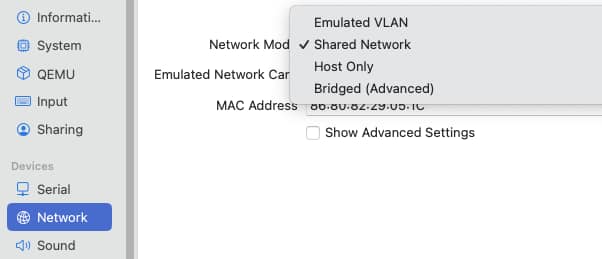
- Edit the new VM: Ensure Network is set to Shared Network and not Emulated VLAN. See below.
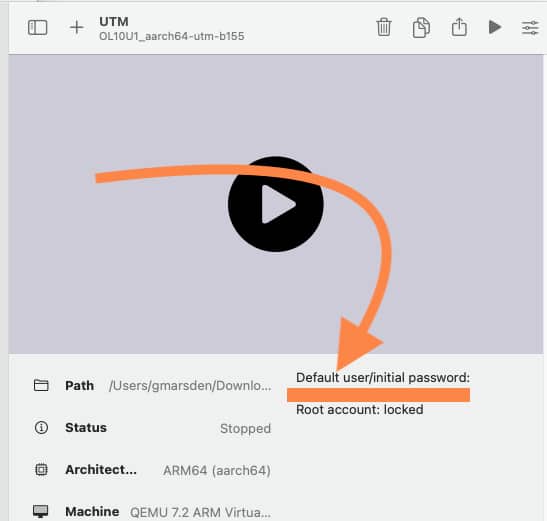
- Click the Play icon. Your password will be on the UTM home screen.
A Quick Fix for Networking (Step 4)
Graphical illustrations of instructions for ensuring that networking is set up correctly in your VM. These instructions are indicated above, and can work around issues with the default Emulated VLAN setting.
Adding a GUI
For a full featured experience, run these commands to add a full GUI. It’s two steps, first to install the software (around 2GB additional downloads required), and second to set this as the default for the system.
$ sudo dnf group install "Server with GUI" -y
$ sudo systemctl set-default graphical.target
... and reboot
Installing the Oracle Database
Want to install the full Oracle Database 23ai and later in your VM? Follow these instructions, adapted from this blog: Oracle Database Images for Apple Macbook Computers
$ sudo dnf install -y podman
$ docker run -p 1521:1521 -e ORACLE_PWD=my_password_here container-registry.oracle.com/database/free:latest-lite
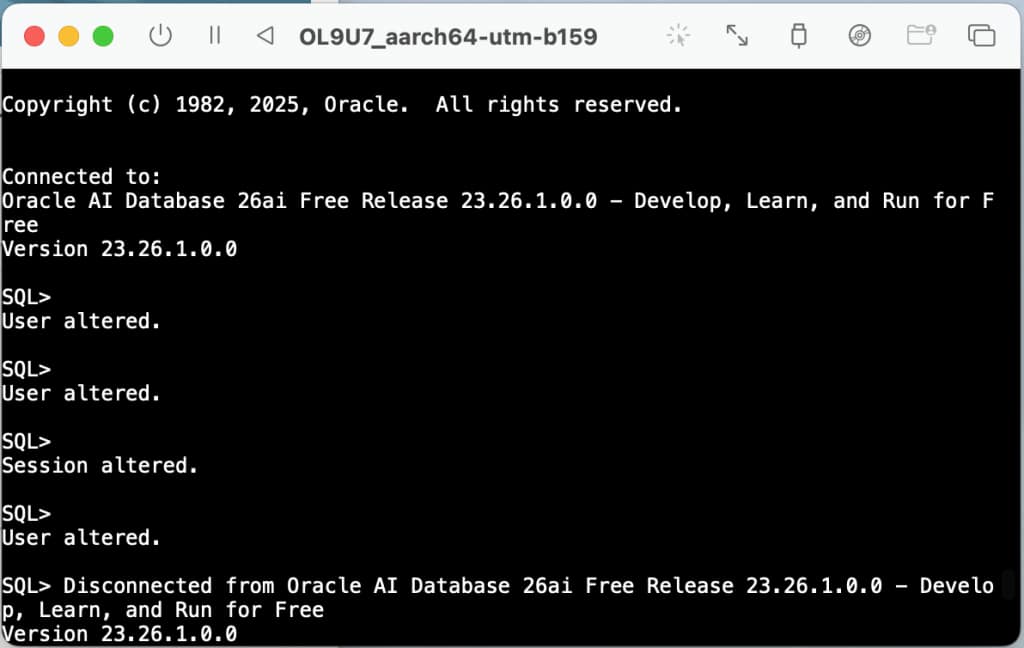
And you’re done!