1 – Introduction
In the previous post, we detailed the process of creating prerequisites for migrating VMs using OCM. Now, we will detail how to configure OCM, connect to the vCenter Server that will be the source of our migrations and run the VM discovery process.
2 – Connecting to the source vCenter
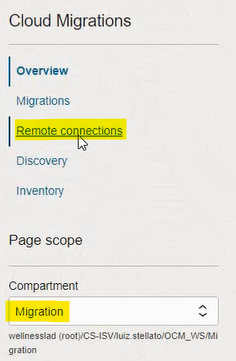
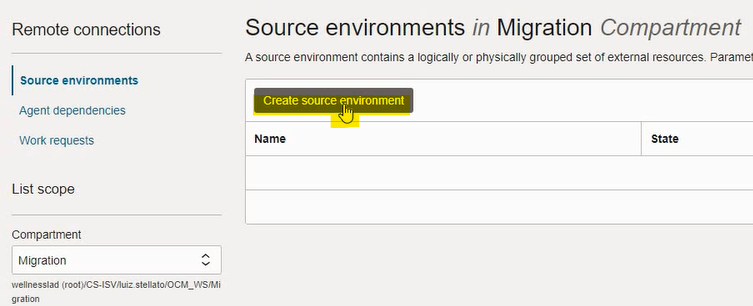
A Remote Connection is a connection to the source environment (in this case, a vCenter). Select the Migration compartment, Remote Connections, Create Source Environment:

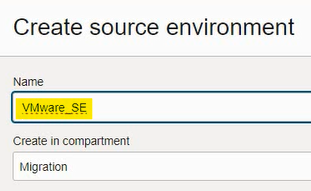
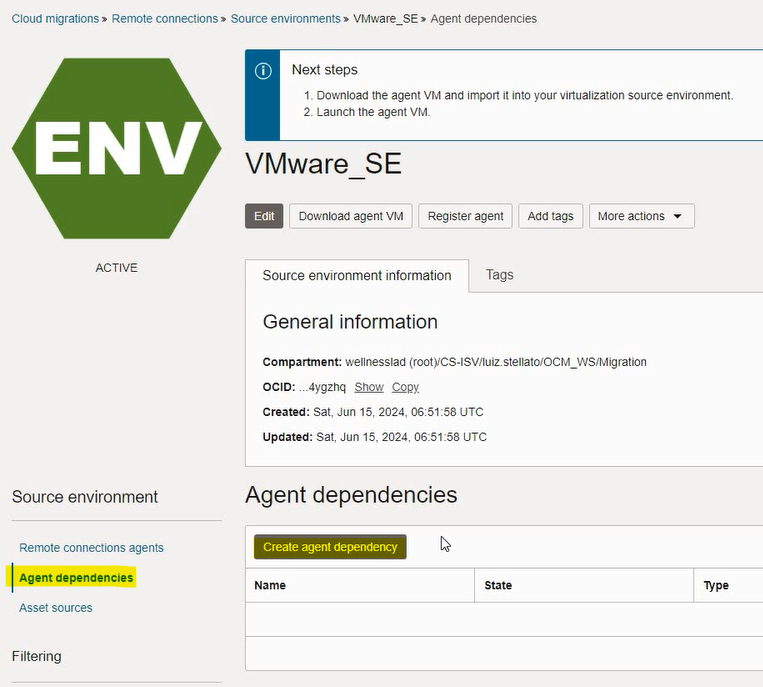
Name the Source Environment (SE) and click Create. Automatically, we will enter the new SE created. Click on Agent Dependencies, Create Agent Dependency:
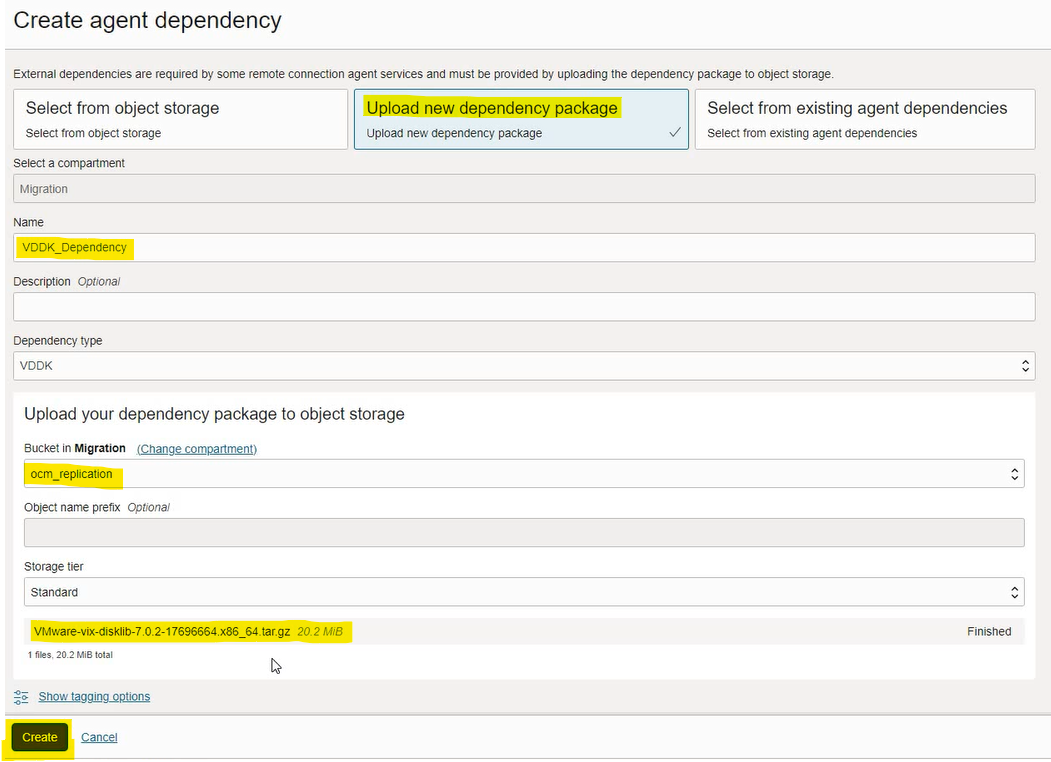
Select “Upload new dependency package”, and upload the file Virtual Disk Development Kit (VDDK) – 7.0U2, available on the Broadcom website, to our Storage Bucket previously created. Once the upload is finished, click Create:

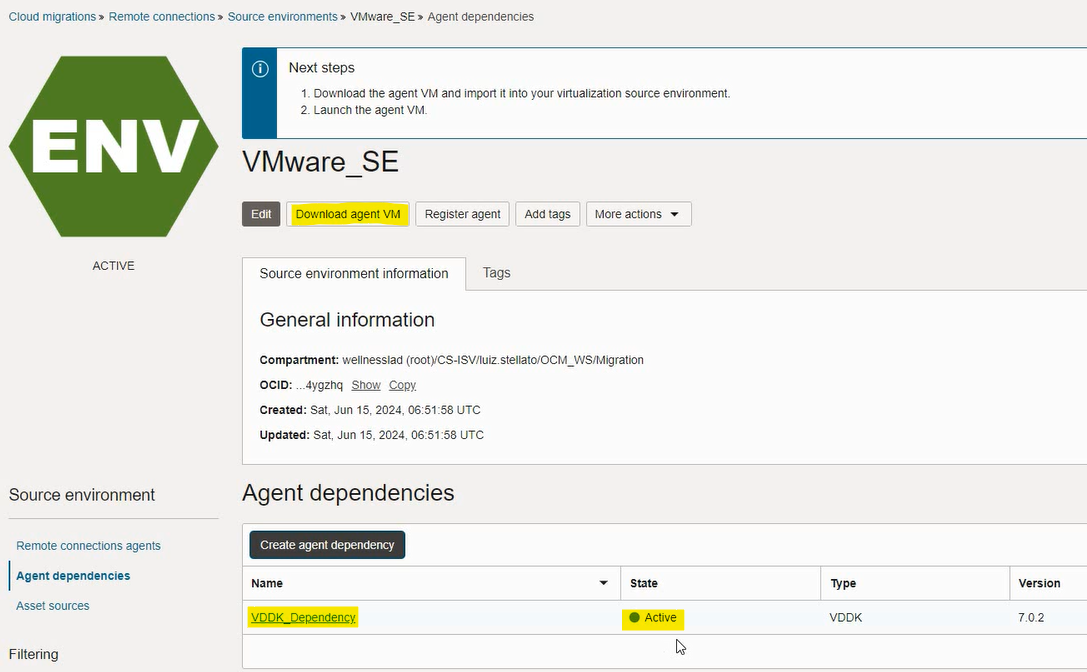
Wait for the Agent Dependency to be created, click Download agent VM, then Download:
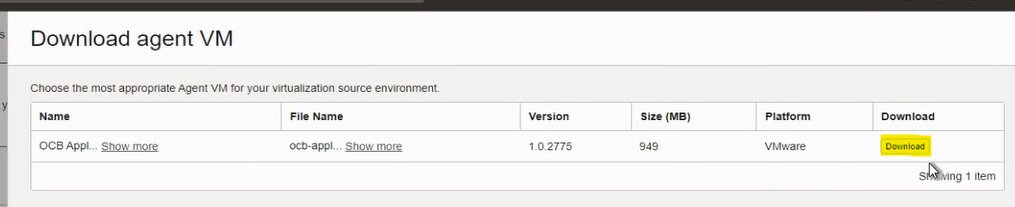
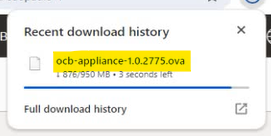
The OCB Appliance file will be downloaded, which must be imported into the source vCenter:
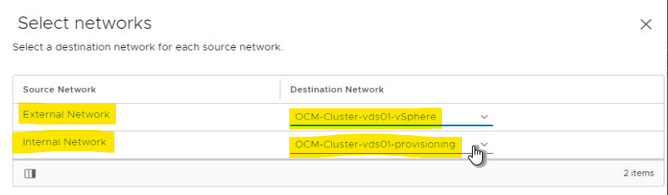
The deployment of this appliance will require two networks: External Network, which must have access to the Internet for communication with OCI, and Internal Network, which must have access to the vCenter and ESXi hosts:
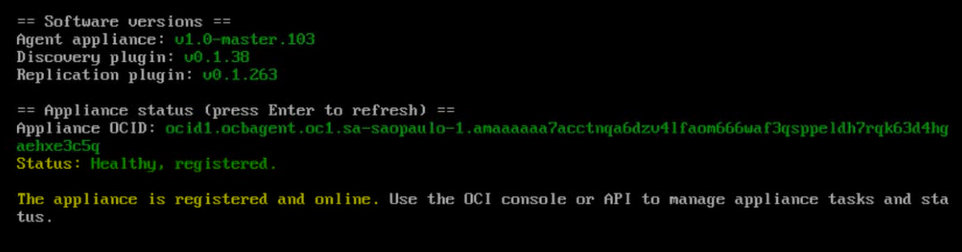
Once the appliance has been deployed, turn it on and wait until you see the message below in the VM console:
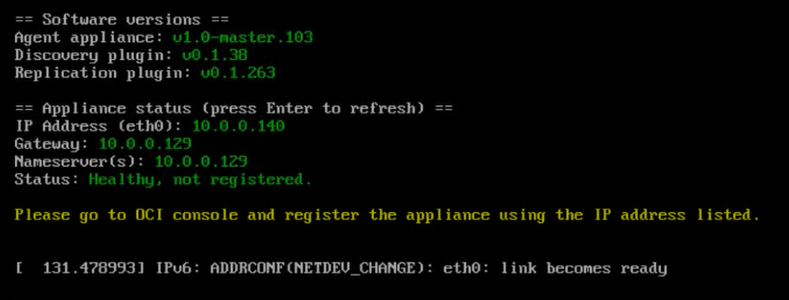
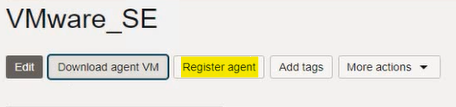
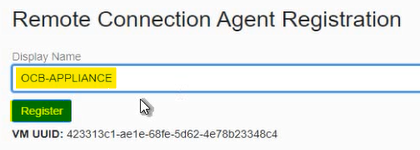
Return to the OCI portal, click on Register agent, fill in the IP presented on the appliance and click on Register agent:
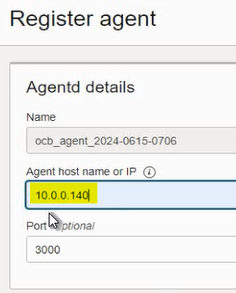
Give the agent a name, click Register and confirm on the next screen:
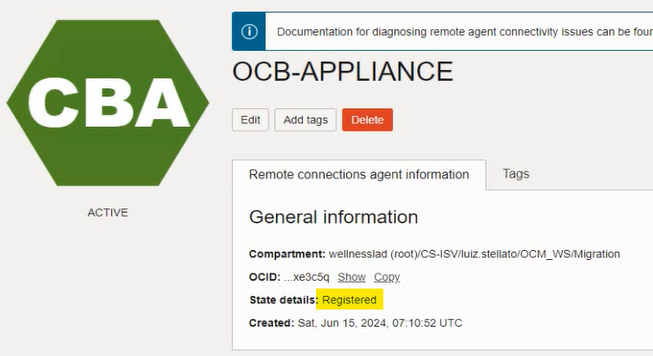
Once registered, the agent will appear in the OCI portal, and the information that the appliance is registered can be updated in the appliance console by pressing Enter:
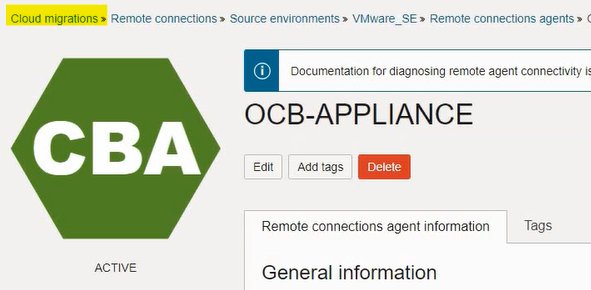
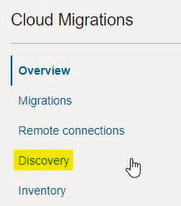
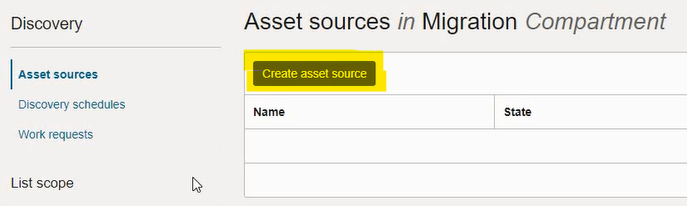
In the OCI portal, go back to Cloud Migrations, Discovery, Create Asset Source:
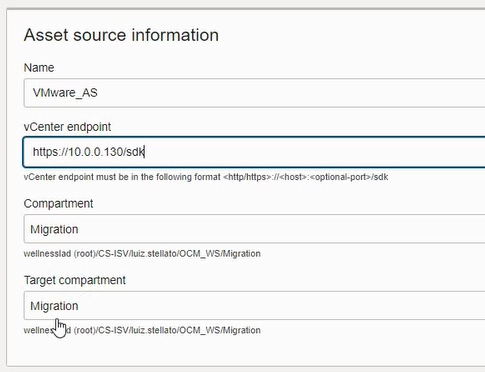
Fill in the Asset Source (vCenter) data. Pay attention to the endpoint format. This is the vCenter’s IP, not the OCB Appliance’s:
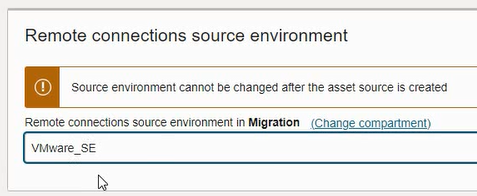
Select the Source Environment created previously:
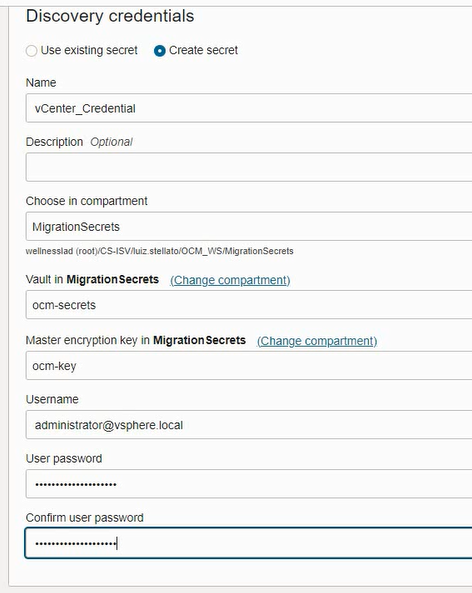
In Discovery Credentials, fill in the credentials that have access to vCenter to discover the VMs. Note that the Vault for the credentials was created with the prerequisites, in the MigrationSecrets sub-compartment:
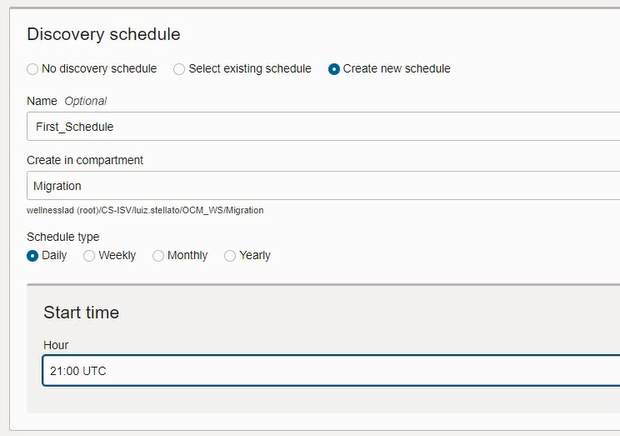
A schedule can be created to discover new VMs in vCenter:
Finally, click on Create asset source:

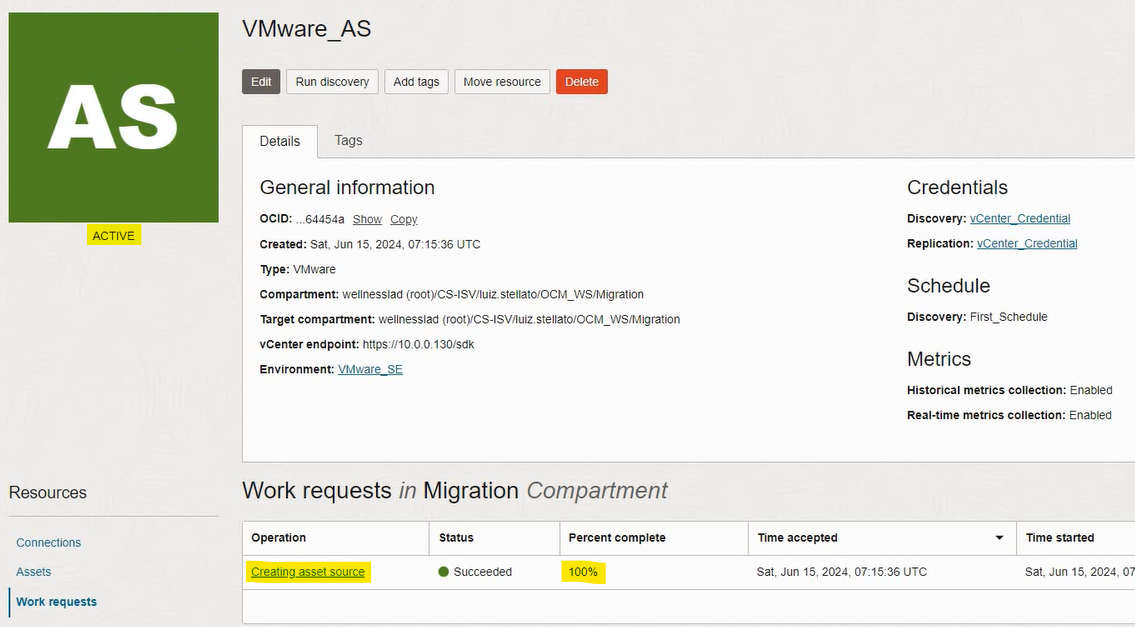
In Connections, two items will be created, Discovery and Replication:

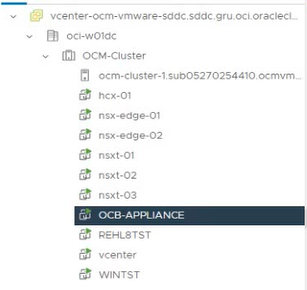
Click on Run discovery. VM discovery will begin, and they will appear in Assets:
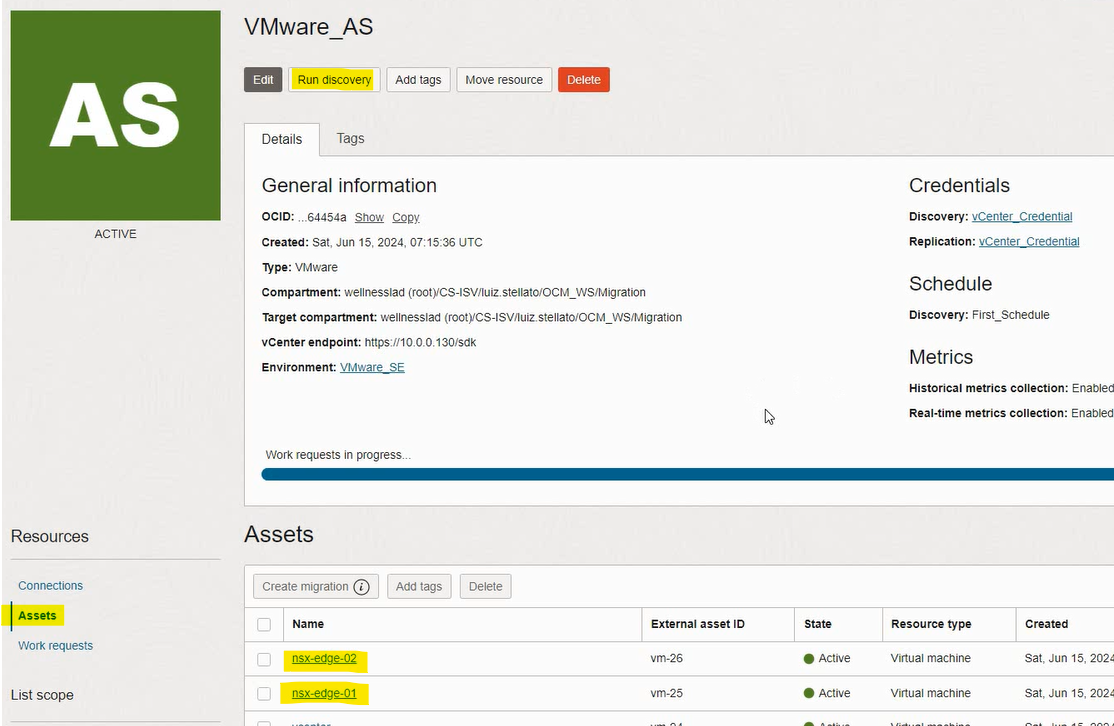
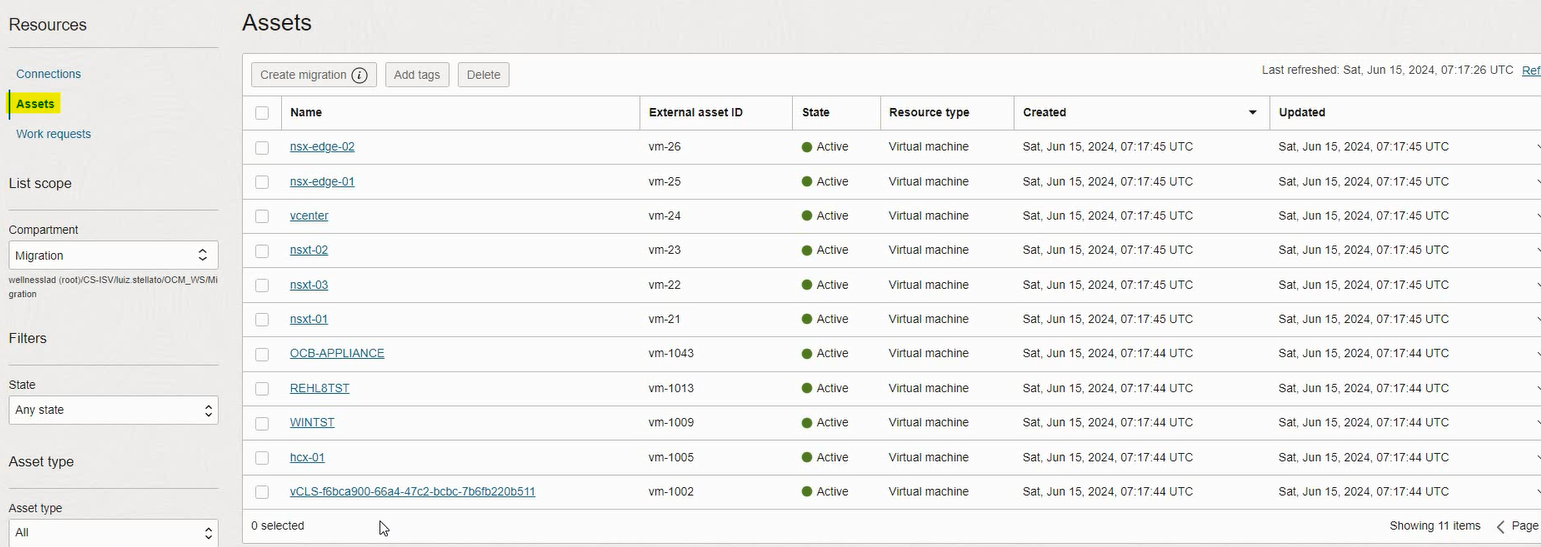
Compliant with the source vCenter’s VMs:
3 – Next Steps
Prepare for migration: https://blogs.oracle.com/lad-cloud-experts-pt/post/migrating-vms-with-oracle-cloud-migrations-part-3-prepare-for-migration