In this article, we will look at how a simple Oracle JET application can be hosted on a Compute instance on Oracle Cloud and make it available to public use with the help of Tomcat server.
Prerequisites
- Nodejs
- ojet CLI
- any IDE like Visual Studio Code
- Oracle Cloud Account (Always free oracle cloud services should be enough)
Steps
1. First, let’s create a very basic template JET application:
ojet create JETSampleDemo --template=navbar –typescript
2. And then run this sample application:
ojet serve
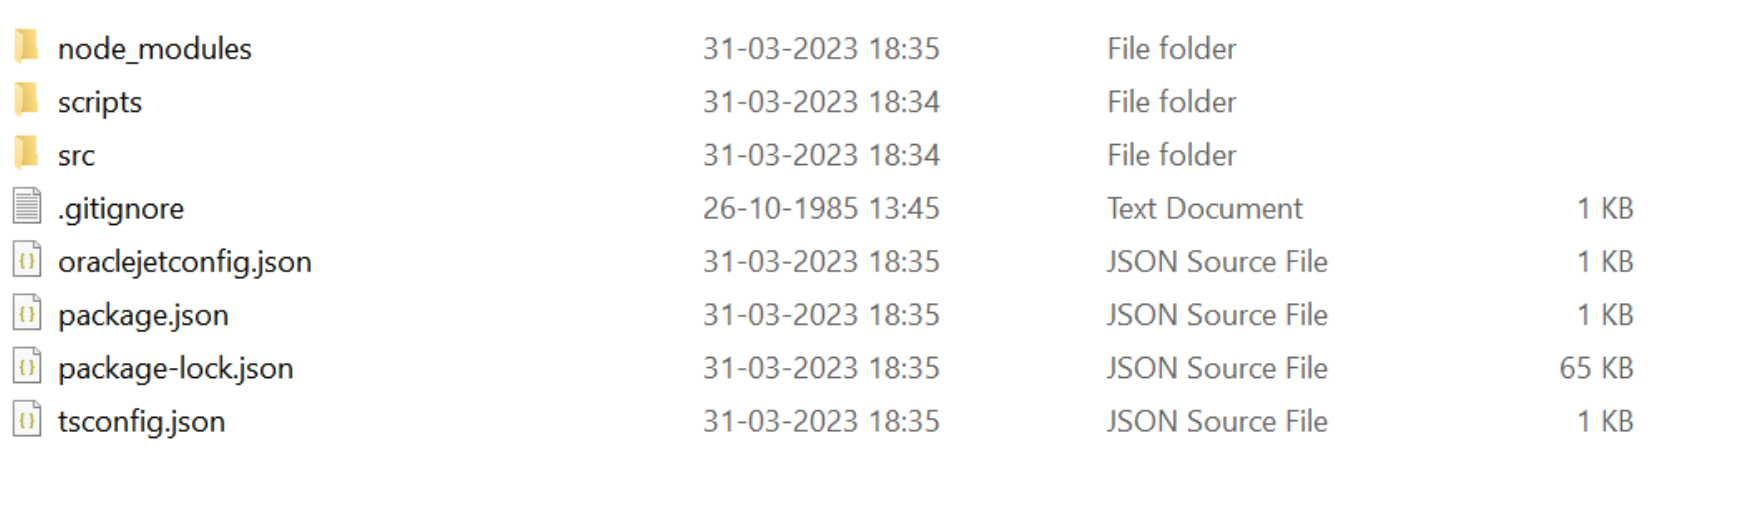
3. Now, navigate to scripts/hooks folder and open afterbuild.js:
"use strict";
const fs = require("fs");
const archiver = require("archiver");

module.exports = function (configObj) {
  return new Promise((resolve, reject) => {
    console.log("Running after_build hook.");
    //change the extension of the my-archive.xxx file from .war to .zip as needed
    const output = fs.createWriteStream("samplejet.war");
    //leave unchanged, compression is the same for WAR or Zip file
    const archive = archiver("zip");

    output.on("close", () => {
      console.log("Files were successfully archived.");
      resolve();
    });

    archive.on("warning", (error) => {
      console.warn(error);
    });

    archive.on("error", (error) => {
      reject(error);
    });

    archive.pipe(output);
    archive.directory("web", false);
    archive.finalize();

    resolve(configObj);
  });
};
Now, let us try to generate the WAR file. Execute the below command
ojet build web –release
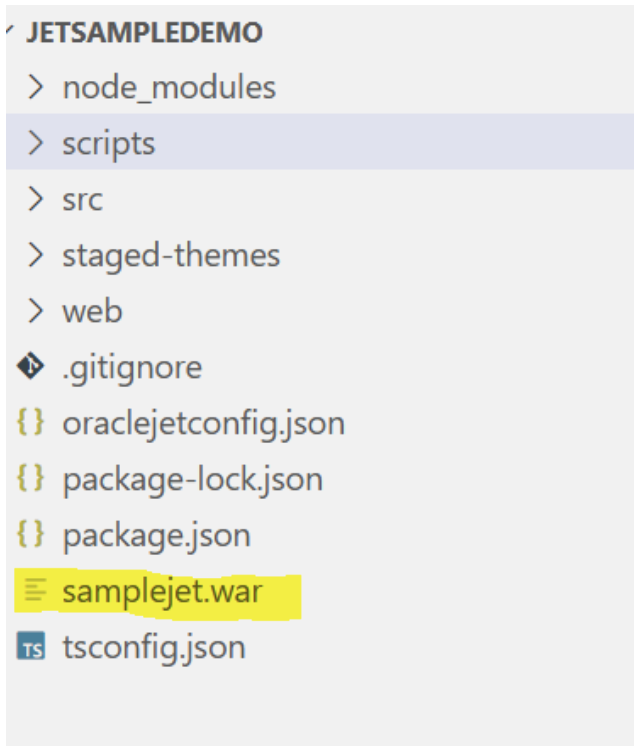
5. You can now see the WAR file generated
6. Login to Oracle cloud account. If you do not have one, you can signup for one at cloud.oracle.com.
7. Create a compute instance with default settings in root compartment.
8. Make sure to save the keys if you choose the generate option.
9. Connect to the compute instance using ssh using the public IP of the instance which can be found on the instance details page (I’m using windows powershell for this example):
ssh -i <path to key>.key opc@<public-ip-of-instance>
10. Let us install Java:
sudo yum install java-1.8.0-openjdk
11. Let us also install tomcat, you can get the URL of the download for the version preferred on their website
wget https://downloads.apache.org/tomcat/tomcat-9/v9.0.73/bin/apache-tomcat-9.0.73.tar.gz
12. Extract the same:
tar -xvf apache-tomcat-9.0.73.tar.gz
13. Start the tomcat server.
14. Check if tomcat is available on public url <public-ip-address>:8080
8080 is default port for tomcat unless explicitly configured separately.
Note that the tomcat server is still not available, this is because 8080 port is not opened yet on the cloud
15. Navigate to the subnet of compute instance on Oracle Cloud and click on security lists
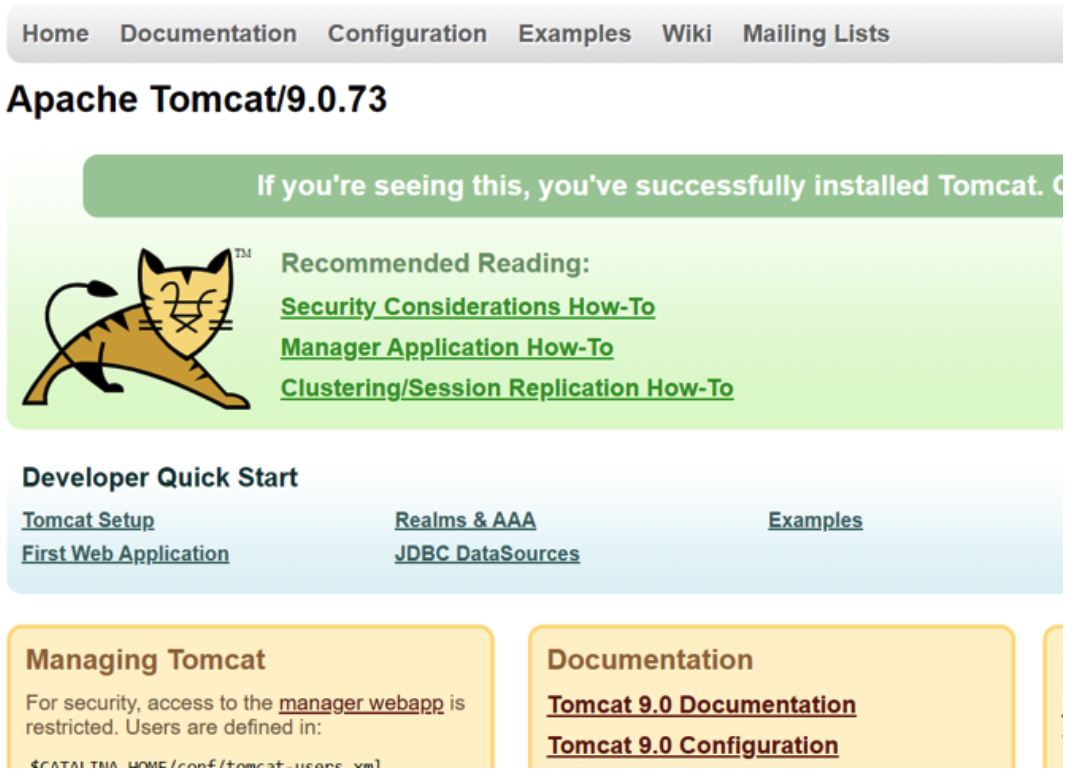
16. Open the security list and add and ingress rule.
17. Reboot the instance if needed and open the <public-ip>:8080 url and you should see the following:
18. If you are not able to see this page, check for any firewall. Also, Just do a grep and check:
sudo netstat -tuln | grep 8080

firewall-cmd --zone=public --add-port=8080/tcp --permanent
19. Now let us take the WAR generated in step 5 and place it in the cloud. I have used winscp here for the file transfer. You can use any FTP mode or upload to GIT and pull from git or use docker etc.
Navigate to the tomcat installed folder inside webapps folder place the WAR file
20. Now use the <public-ip>:8080/<your-war-name> and you will be able to see the simple JET application you built available on the internet.