Overview
The Data Studio Tools provide a set of tools within the autonomous database to work with data and draw insights from that data. The Data Studio Tools enable you to load data from the cloud and other diverse sources, analyze it, and gain insights from it. You can share the result of the analysis with other users. It is a one-stop application of your analytics tool from multiple data sources.
The Data Studio has tools such as Data Load (Ingest) that allow you to either load data into the autonomous database or link to the data at the source system so that you can directly query data from the autonomous database. The Data Load is a very intuitive user interface that allows users to set up these ingest steps.
Why Python API?
However, there has been a requirement for users to automate these ingest processes due to the following reasons:
- Data Engineers who want to perform the same action repeatedly.
- Users want to schedule the actions from an external script for automation.
- Data Scientists want to use these datasets in their ML notebooks on OCI.
Considering these requirements, we have introduced a Python package to address them. This Python package can be directly used in ML notebooks within the autonomous database or downloaded from PyPI and run independently in a python environment. In this blog we will focus on the second use case.
Here is the outline of the steps:
- Install/setup the Python SDK
- Connect to Autonomous Database
- Create a cloud storage link to an object store bucket
- List the objects in the bucket
- Link to a file in object Store (Create External table)
- Load data into a table from object store
- Run a query on the loaded table
Step 1: Install and Set Up the Python SDK
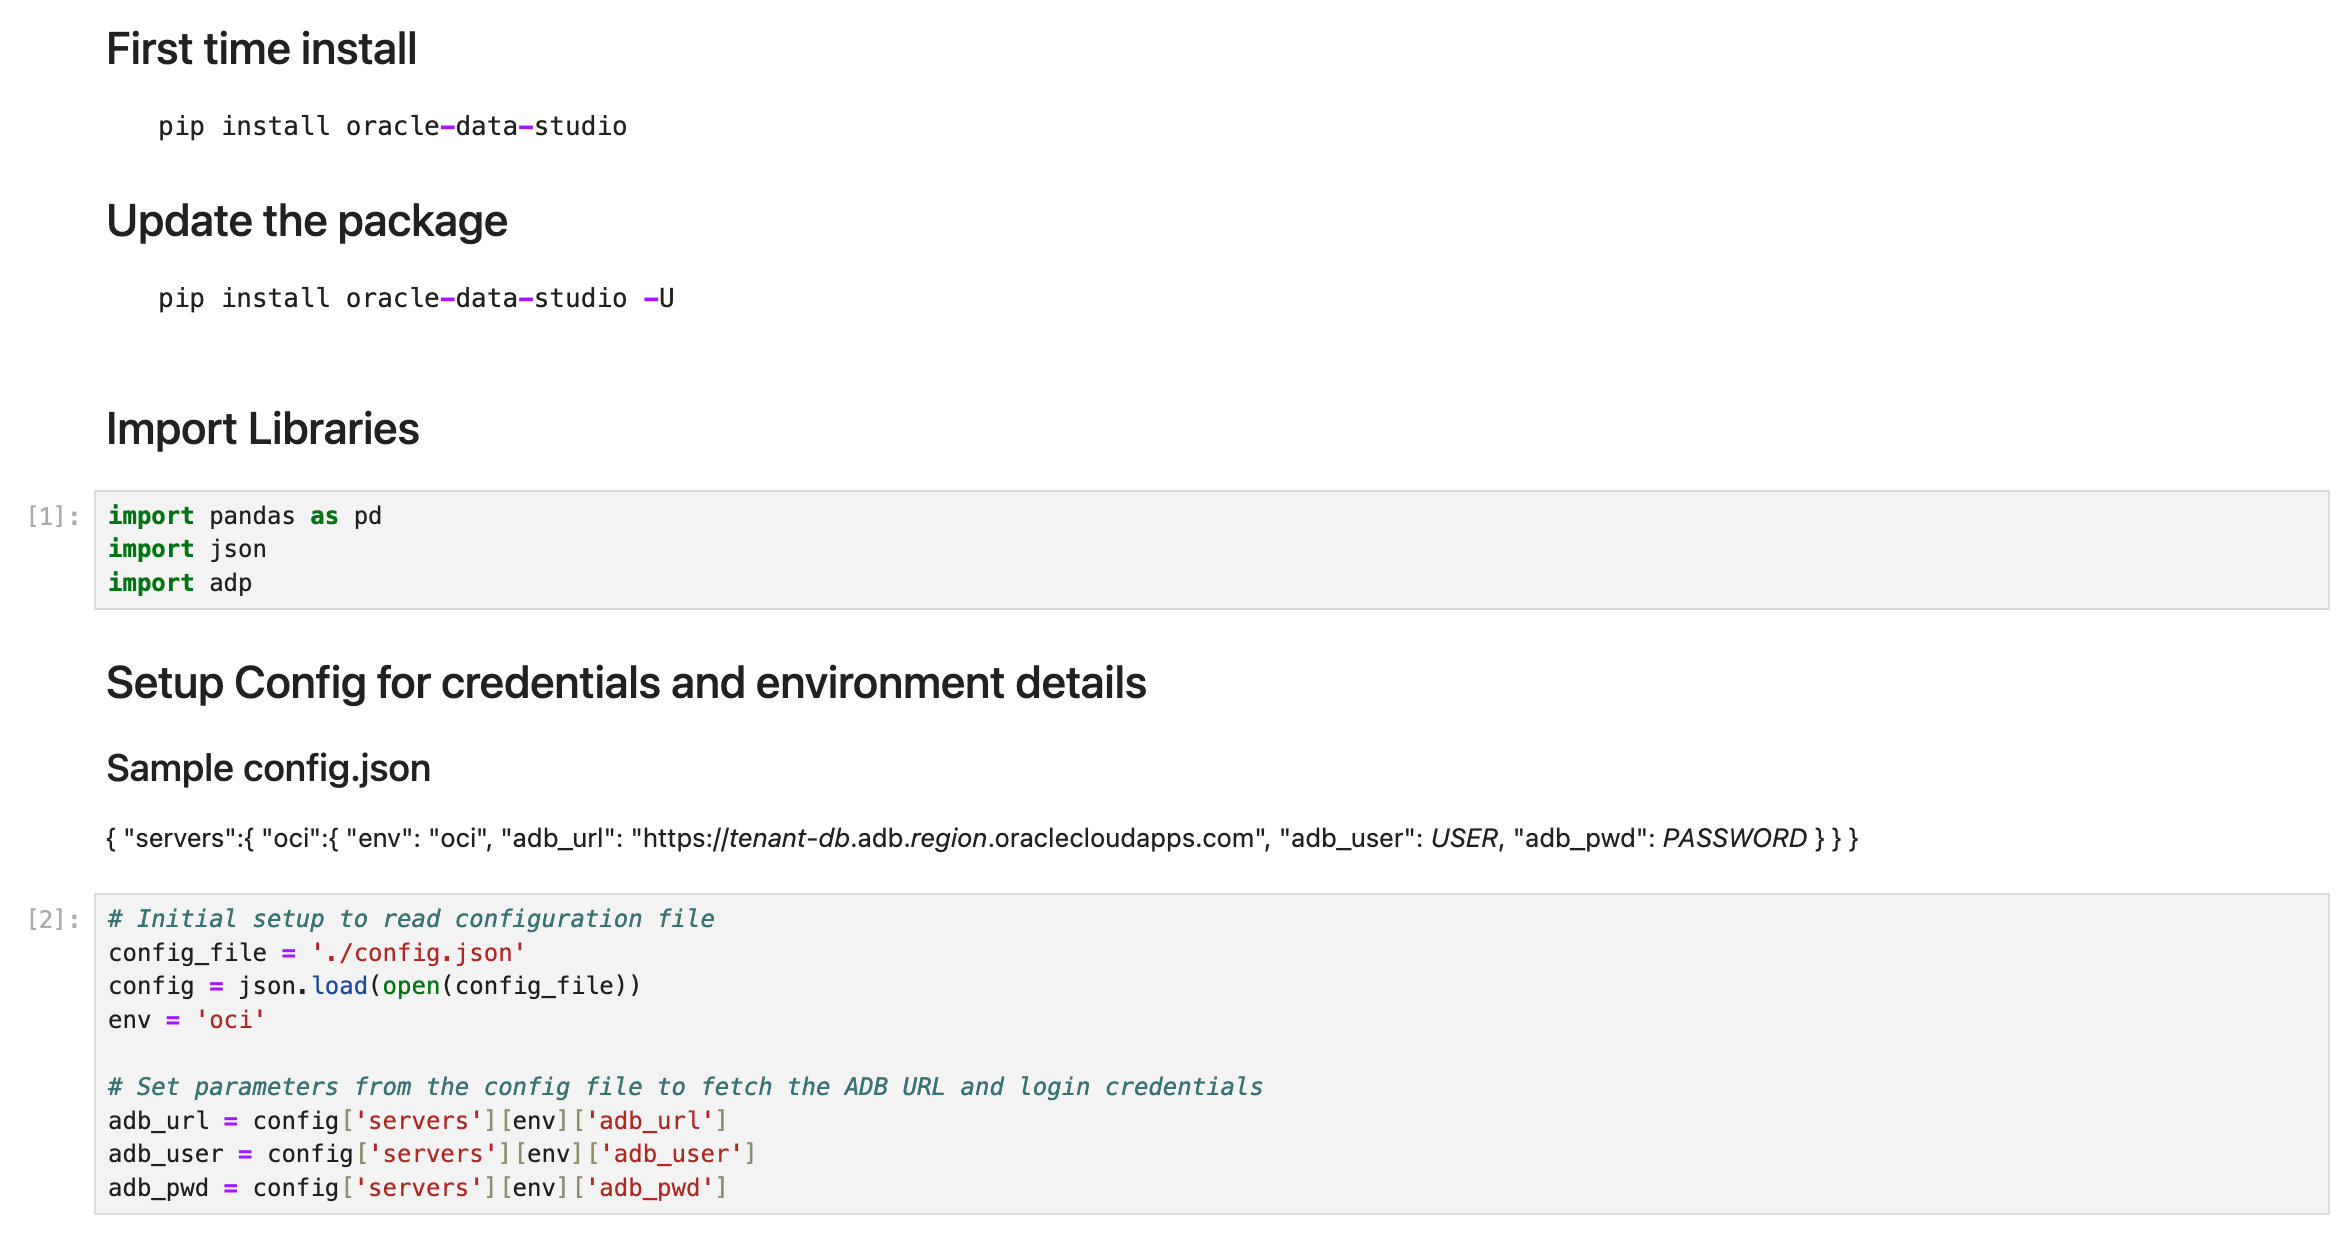
Begin by ensuring your environment is ready for development. This involves installing the necessary Python SDK—typically using pip—and verifying all dependencies are met. A best practice is to set up a virtual environment to isolate your project’s packages and prevent conflicts with other Python projects. The below code shows the install/update steps. We import the required libraries to handle responses from the API. Additionally, we use a config file to store the Autonomous Database URL and login credentials.
# First time install
pip install oracle-data-studio
# Update the package
#pip install oracle-data-studio -U

# import libraries
import pandas as pd
import json
import adp

# Initial setup to read configuration file
# Sample config.json
# { "servers":{ "oci":{ "env": "oci", "adb_url": "https://<tenant>-<db>.adb.region.oraclecloudapps.com", "adb_user": <USER>, "adb_pwd": <PASSWORD> } } }

config_file = './config.json'
config = json.load(open(config_file))
env = 'oci'

# Set parameters from the config file to fetch the ADB URL and login credentials

adb_url = config['servers'][env]['adb_url']
adb_user = config['servers'][env]['adb_user']
adb_pwd = config['servers'][env]['adb_pwd']
Step 2: Connect to Autonomous Database
Next, establish a secure connection to your Autonomous Database. This is simply done by usig the login function that includes the URL of the Autonomous Database instance you are connecting to along with the schema user and the password. Ensure that the user has DW_ROLE granted in order to use the Data Studio capabilties.
# Login to the Autonomous instance
ords = adp.login(adb_url, adb_user, adb_pwd)

Step 3: Create a Cloud Storage Link to an Object Store Bucket
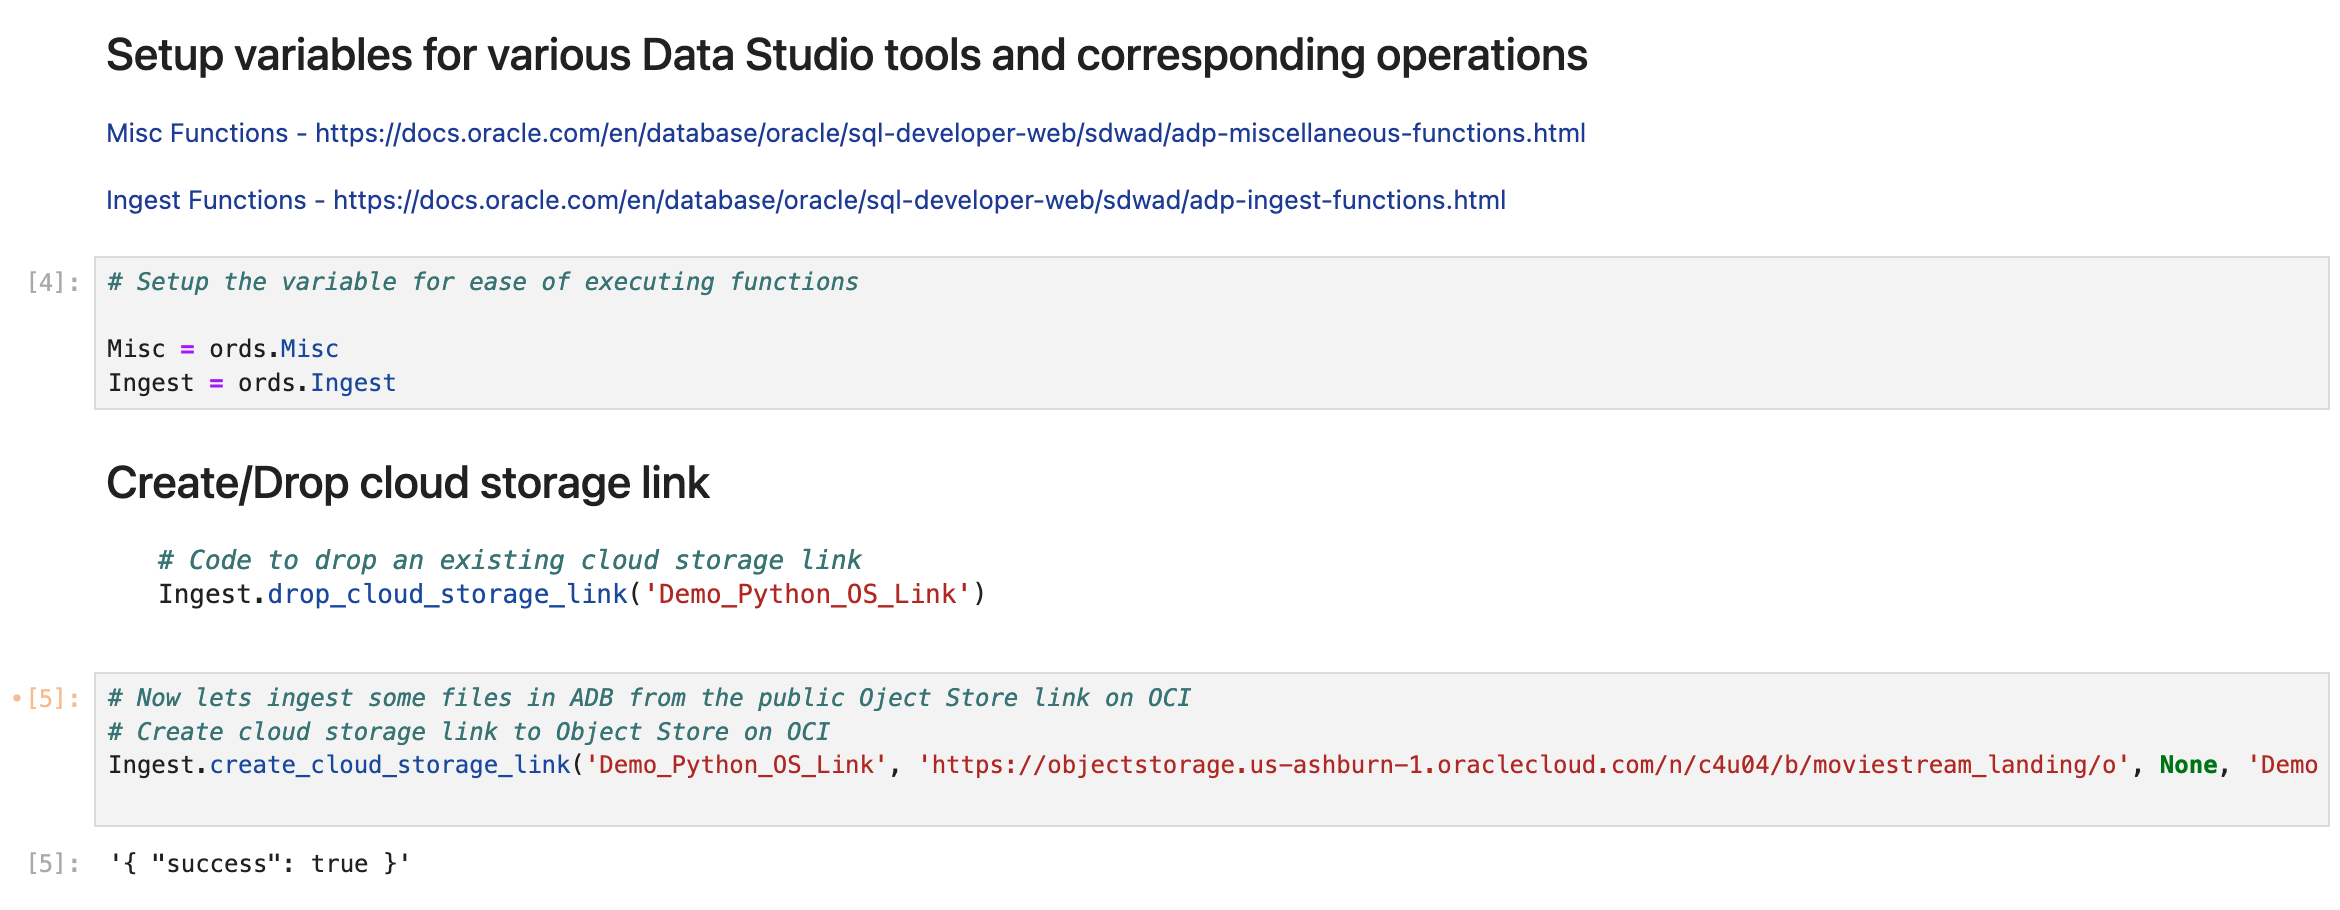
Now, configure access to your cloud object storage service. This typically involves generating access credentials and setting up a storage link within your database or data access layer that points to the relevant bucket. Ensure the correct permissions are in place for the database to access your storage. Here, we setup two python instances of the Misc and Ingest packages that we plan to use. Ingest allows you to perform Data Load functionality that is available in the Web UI. Misc package allows you to run a SQL query on the database for example. We also create a cloud storage link here. The one that we are using doesn’t require any credentials as it is a public bucket. You can refer to documentation on how to create a credential to connect to the object store bucket that is not public.
# Setup the variable for ease of executing functions
Misc = ords.Misc
Ingest = ords.Ingest

# Now lets ingest some files in ADB from the public Oject Store link on OCI
# Create cloud storage link to Object Store on OCI
Ingest.create_cloud_storage_link('Demo_Python_OS_Link', 'https://objectstorage.us-ashburn-1.oraclecloud.com/n/c4u04/b/moviestream_landing/o', None, 'Demo Livelab OS link')
Step 4: List the Objects in the Bucket
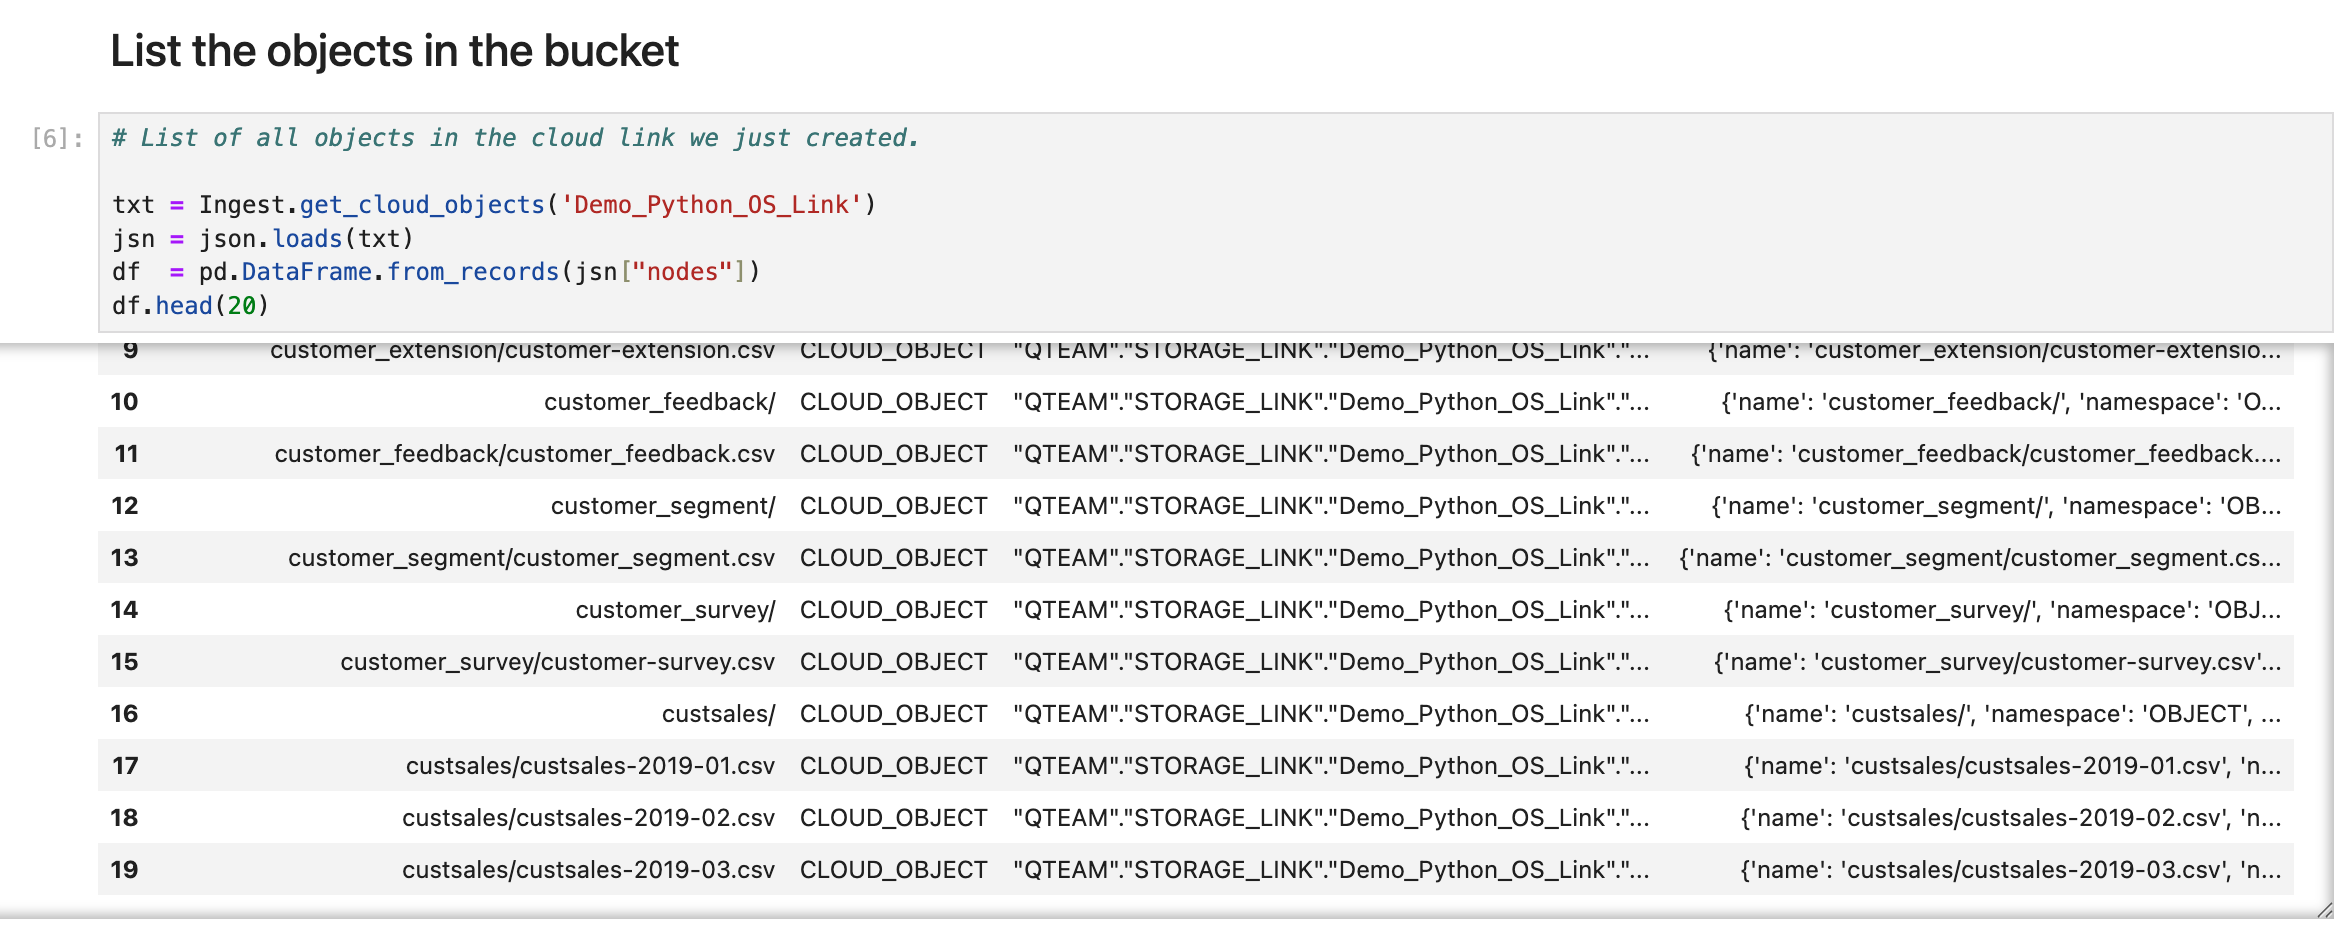
With the storage link established, retrieve and display the list of objects (files) in your bucket. Use the SDK’s API methods to enumerate available data assets, which helps verify both connectivity and the presence of your target files.
# List of all objects in the cloud link we just created.

txt = Ingest.get_cloud_objects('Demo_Python_OS_Link')
jsn = json.loads(txt)
df = pd.DataFrame.from_records(jsn["nodes"])
df.head(20)
Step 5: Link to a File in Object Store (Create External Table)
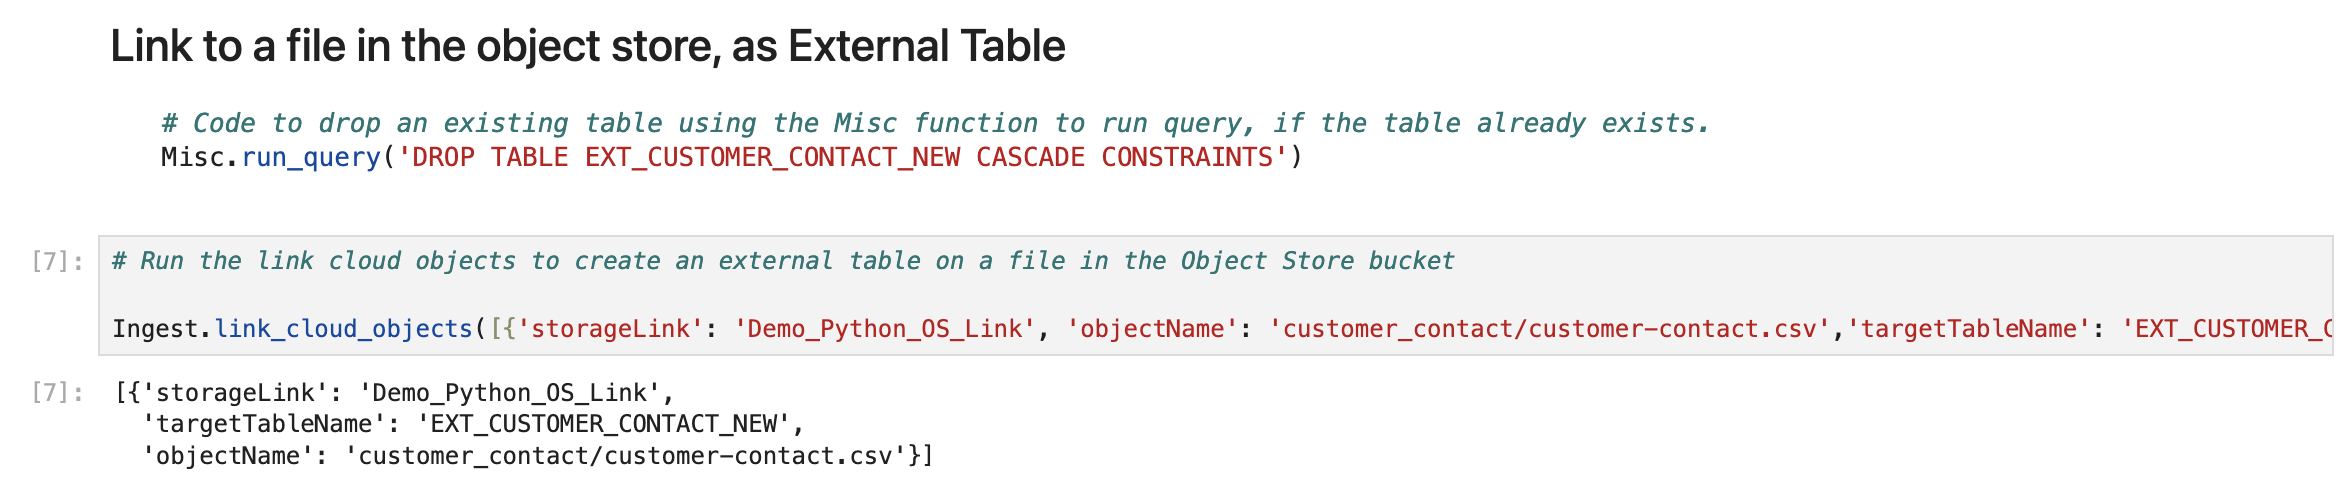
From the Data Load tool, users can either link or load a file from the Object Store bucket. Here, we link to a file in the bucket. The link option creates an external table on the file in the storage link provided.
# Run the link cloud objects to create an external table on a file in the Object Store bucket
Ingest.link_cloud_objects([{'storageLink': 'Demo_Python_OS_Link', 'objectName': 'customer_contact/customer-contact.csv','targetTableName': 'EXT_CUSTOMER_CONTACT_NEW'}], 'LOW')
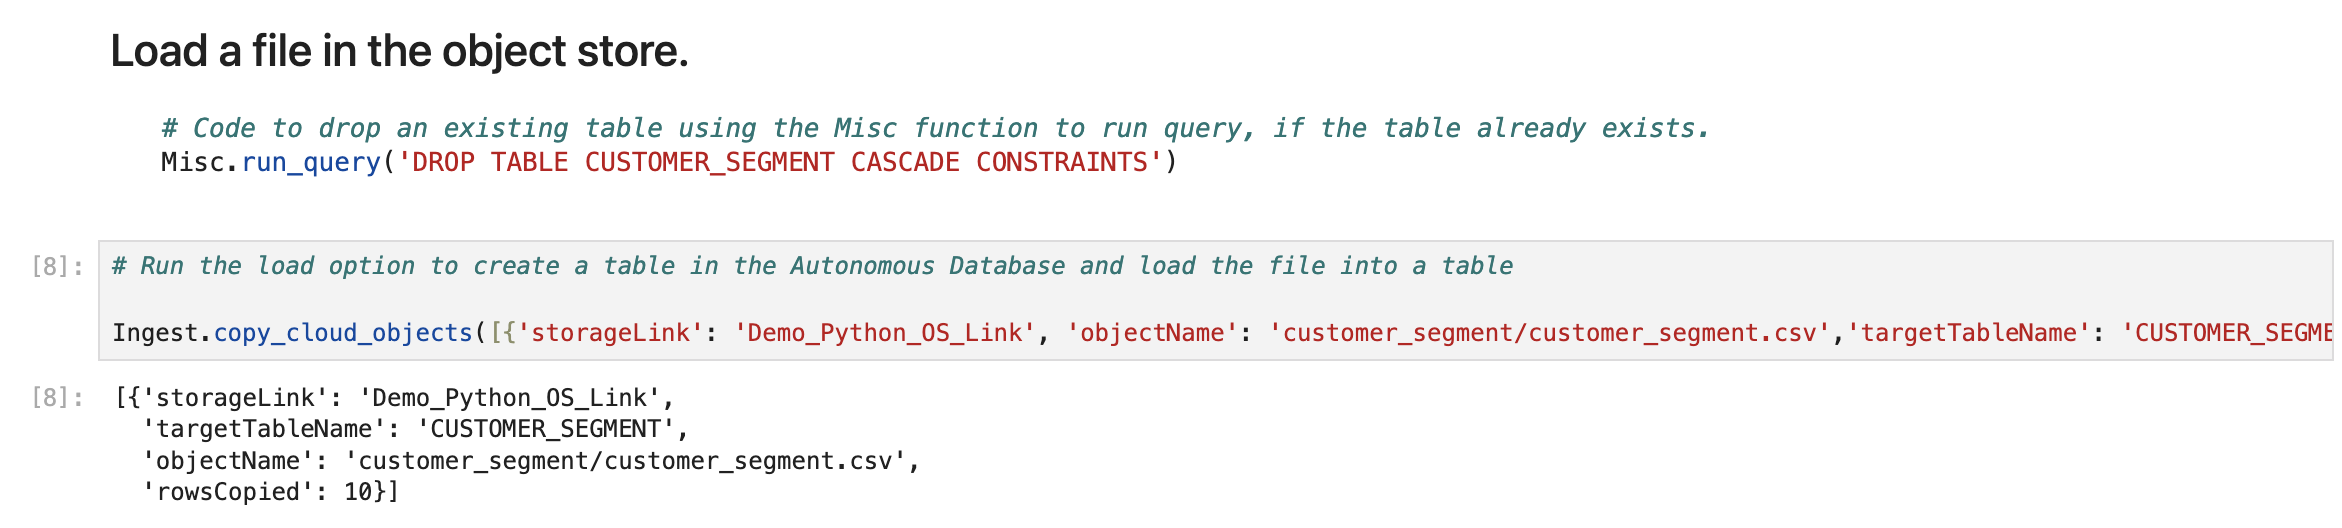
Step 6: Load Data into a Table from Object Store
You can also load data into a table within your database. Here we use the copy_cloud_objects function to copy the content of the files to a table in the Autonomous Database.
# Run the load option to create a table in the Autonomous Database and load the file into a table
Ingest.copy_cloud_objects([{'storageLink': 'Demo_Python_OS_Link', 'objectName': 'customer_segment/customer_segment.csv','targetTableName': 'CUSTOMER_SEGMENT'}], 'LOW')
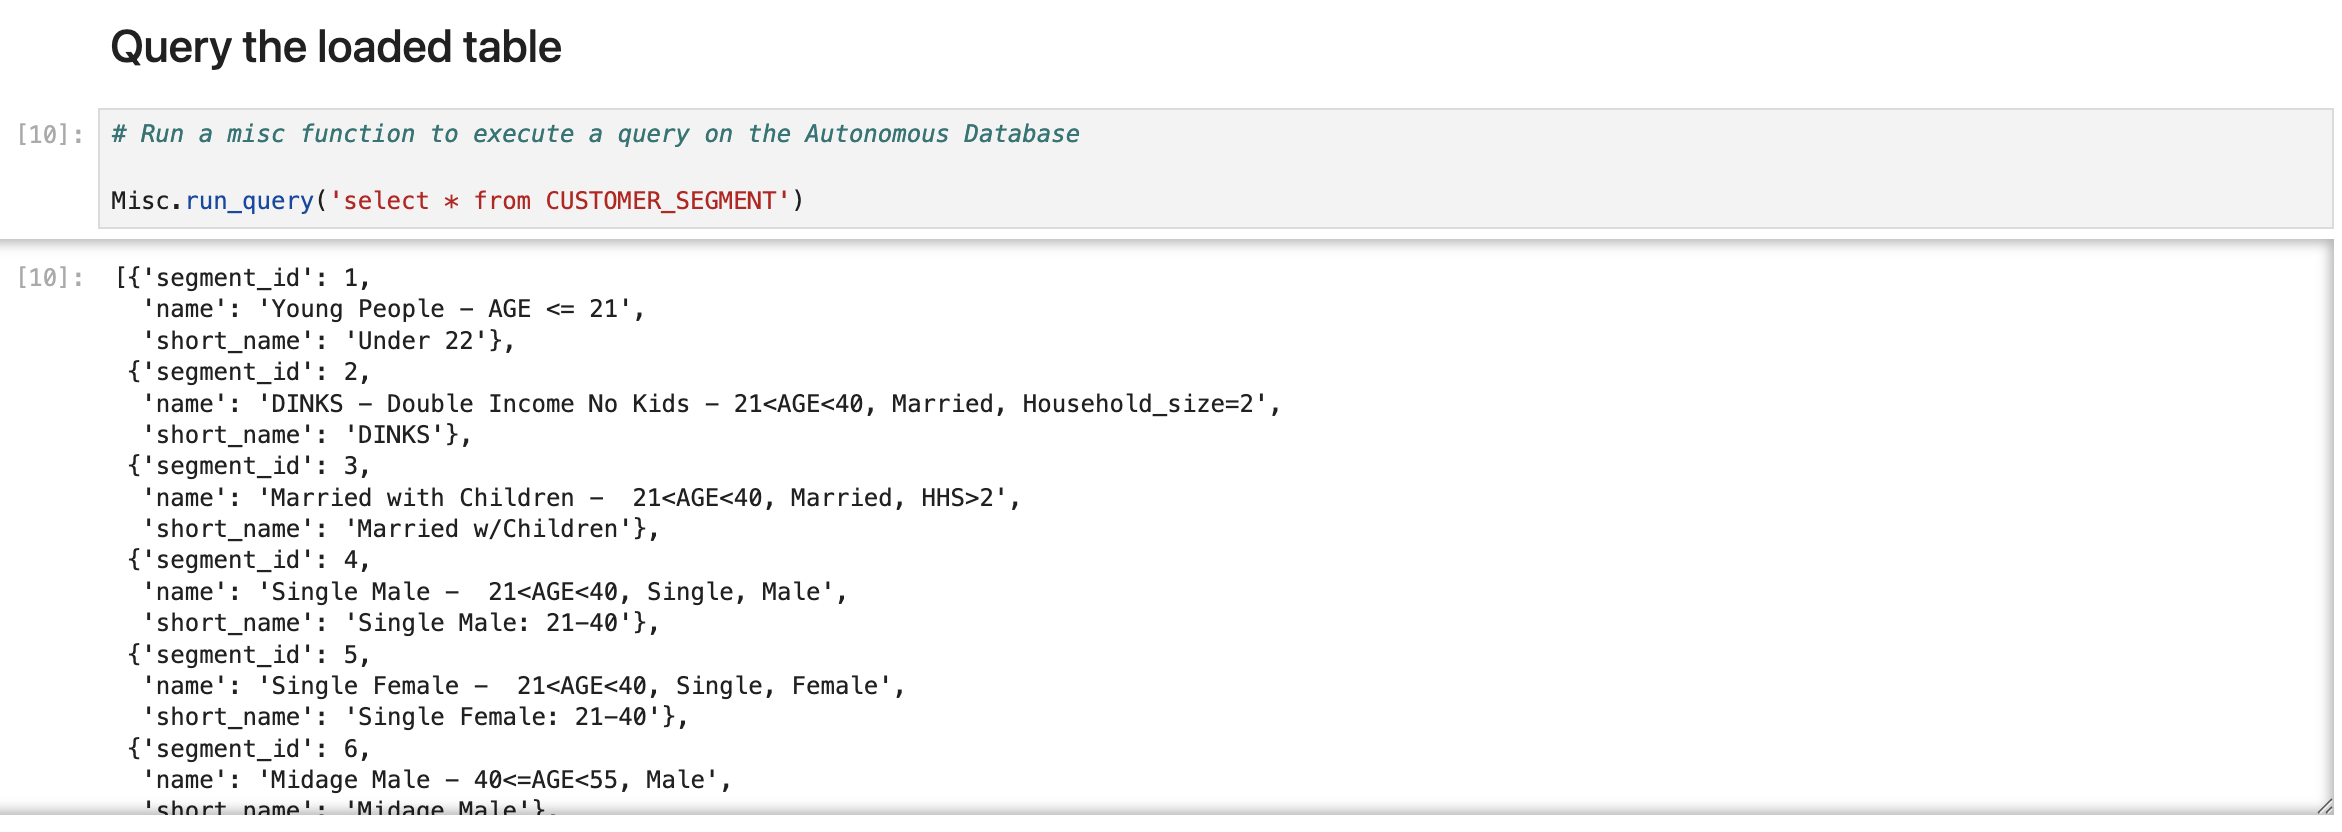
Step 7: Run a Query on the Loaded Table
Finally, with your data securely loaded, run analytic or operational queries as needed. Here, we use the Misc package to run a SQL query on the database. This results in a JSON response of the data in the table, which can then be used to perform further processing in the notebook.
# Run a misc function to execute a query on the Autonomous Database
Misc.run_query('select * from CUSTOMER_SEGMENT')
Summary and References
Here we saw how you can use the Python API to easily browse data in an Object Store Bucket and load/link to that data into the Autonomous Database. In a future blog we will look at how users can use the Python packages in a ML notebook within the Autonmous Database. For details refer to the following links:
- Data Studio Overview: https://docs.oracle.com/en/database/oracle/sql-developer-web/sdwad/adp-data-studio-overview-page.html
- Data Load Overview: https://docs.oracle.com/en/database/oracle/sql-developer-web/sdwad/data-load.html
- Python API: https://docs.oracle.com/en/database/oracle/sql-developer-web/sdwad/python-ords-api-oml-1.html
- pypi Project: https://pypi.org/project/oracle-data-studio/