We recently released a new deployment type in OCI GoldenGate called Data Transforms. This new deployment type adds batch ETL/ELT processing capabilities to the OCI GoldenGate unified data fabric platform.
In this first technical article in the Get Started with OCI GoldenGate Data Transforms series, we will focus on creating the Data Transforms deployment and its various options. A deployment is a container for your OCI GoldenGate resources and must be created before you start working with any OCI GoldenGate features.
Deployment creation
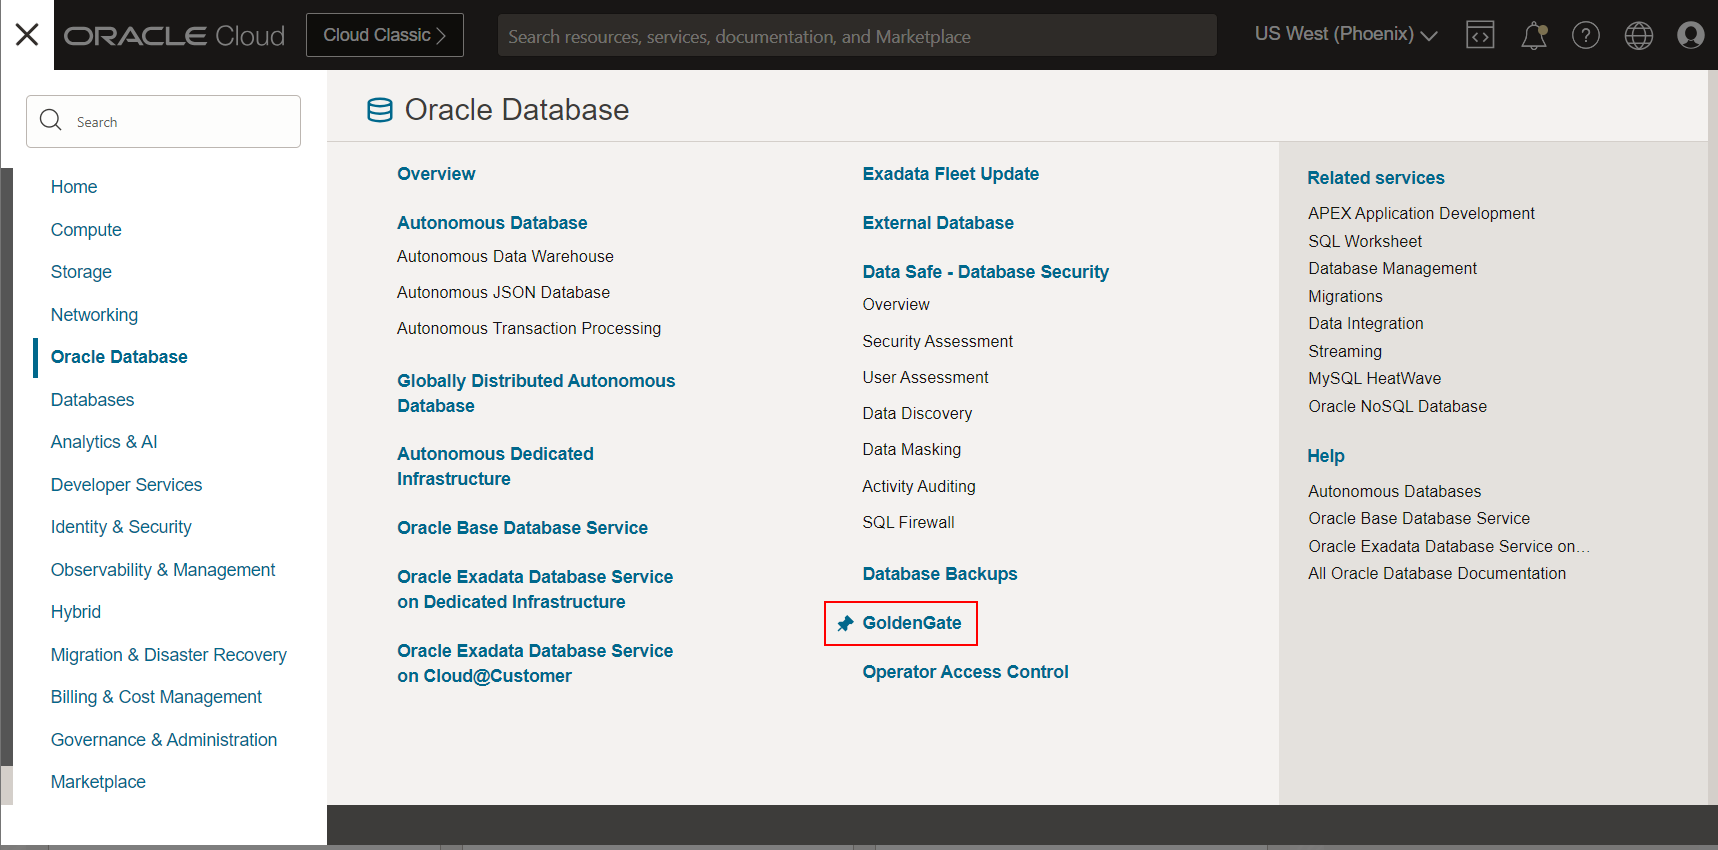
The first step is to log into OCI Console and click on GoldenGate in the Oracle Database category.
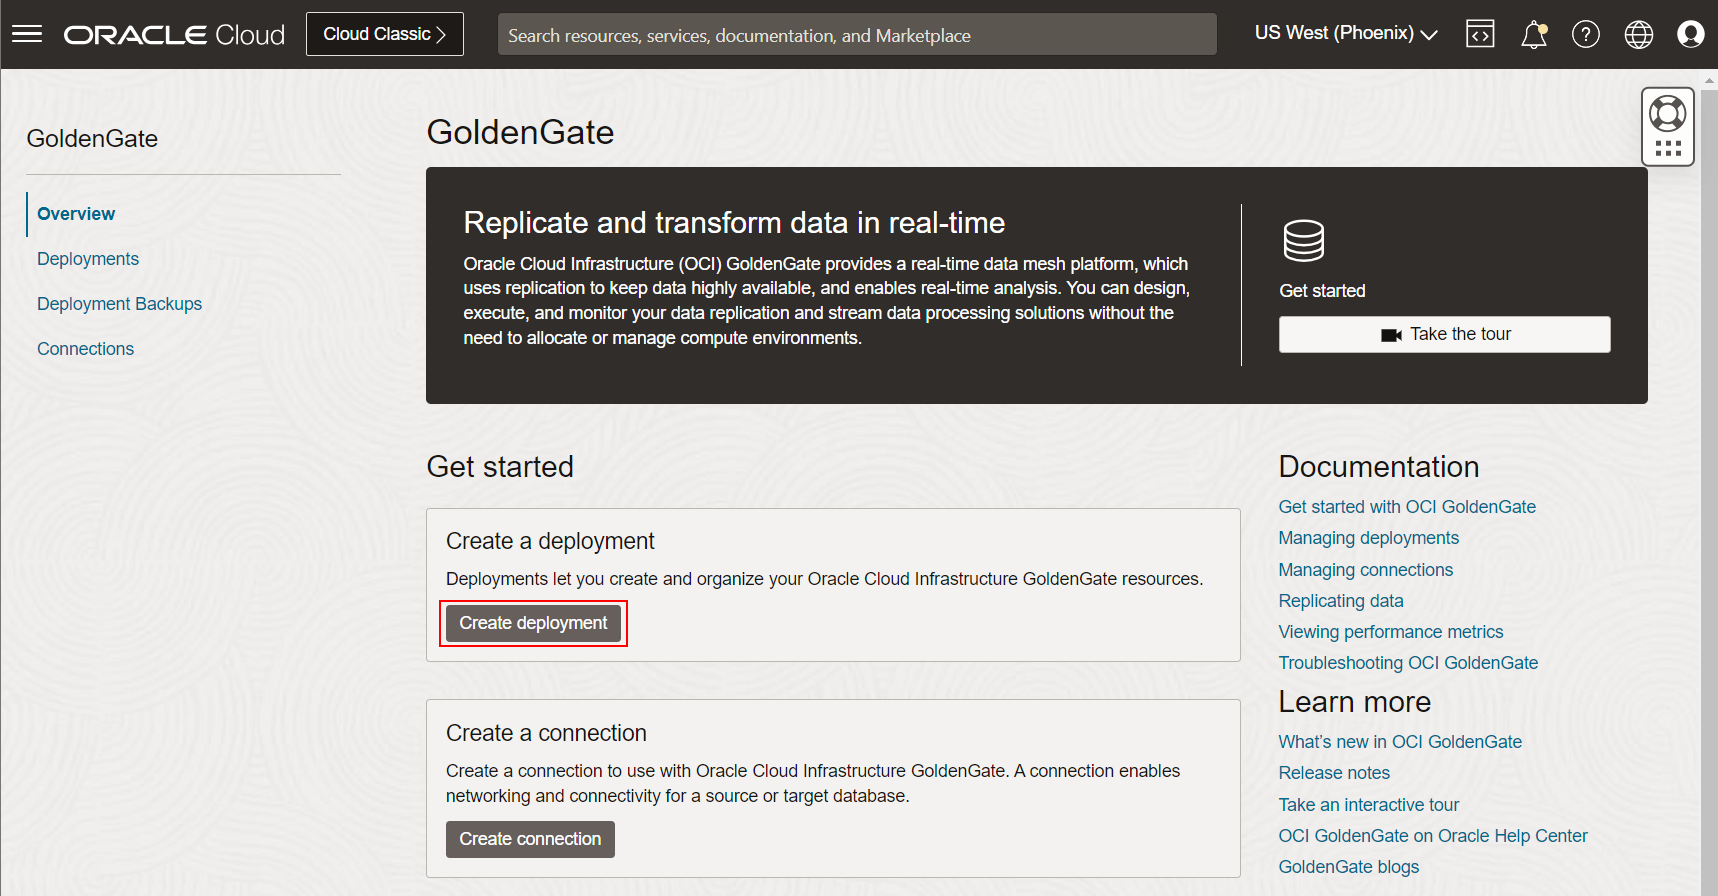
Click Create deployment in the Overview or Deployments page.
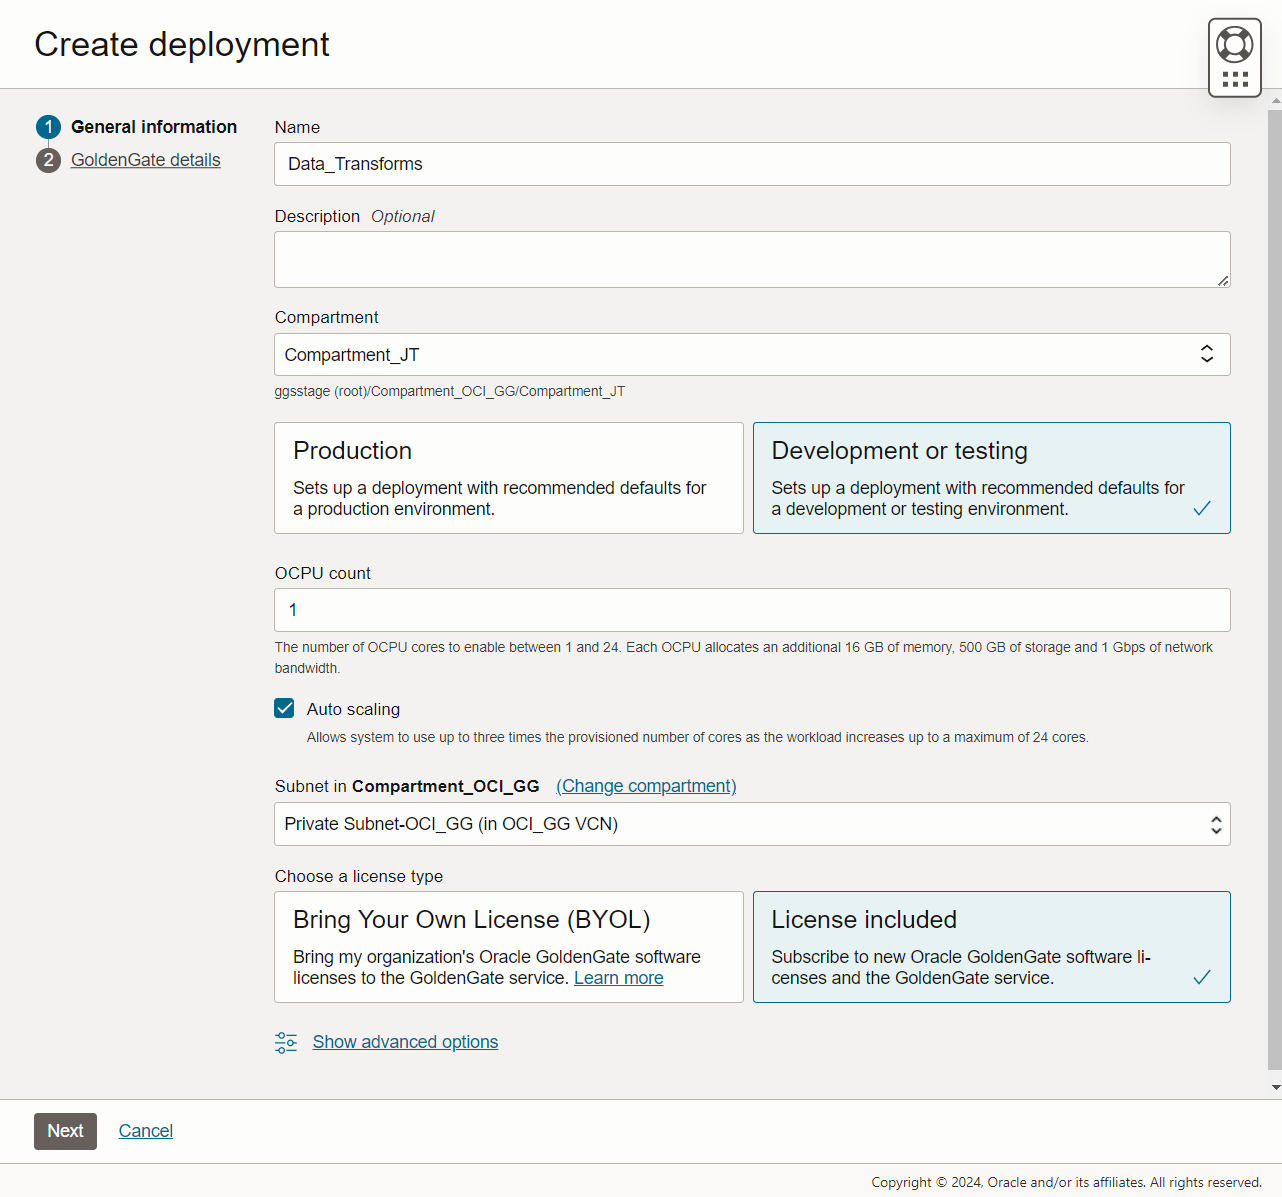
Enter the following information on the 1st page of the Create deployment panel:
- Name
- Compartment in which the deployment will be created
- Configuration: Pick between ‘Production’ and ‘Development or testing’
- This setting is only used as metadata to guide users towards selecting the correct number of OCPUs depending on their workloads. It does not have any impact on the deployment SLA or support.
- OCPU count
- Select a number of OCPUs to assign to the deployment. Refer to Sizing considerations for Data transforms deployments for more information.
- Auto scaling
- Enabling auto scaling provides your deployment with up to 3 times the number of OCPUs you previously selected (up to 3 OCPUs if you picked 1 OCPU, up to 6 if you chose 2, etc., and up to 24 OCPUs max). Auto scaling gives you some flexibility to accommodate bigger than anticipated workloads.
- You can monitor the OCPU usage in the OCI Console and scale the deployment up or down later on if needed. You are only billed for the number of OCPUs your deployment is using.
- Subnet
- Deployments are private resources accessible using a private endpoint created in the private subnet you select.
- This private endpoint is only used to access the GoldenGate console and doesn’t provide access to other resources in that subnet.
- OCI GoldenGate deployments require a VCN with at least a private subnet, and this subnet needs a NAT Gateway.
- Optionally, you can enable access over the public internet using ‘Enable GoldenGate console public access’ in Advanced options.
- License type: Pick between ‘Bring Your Own License (BYOL)’ and ‘License included’
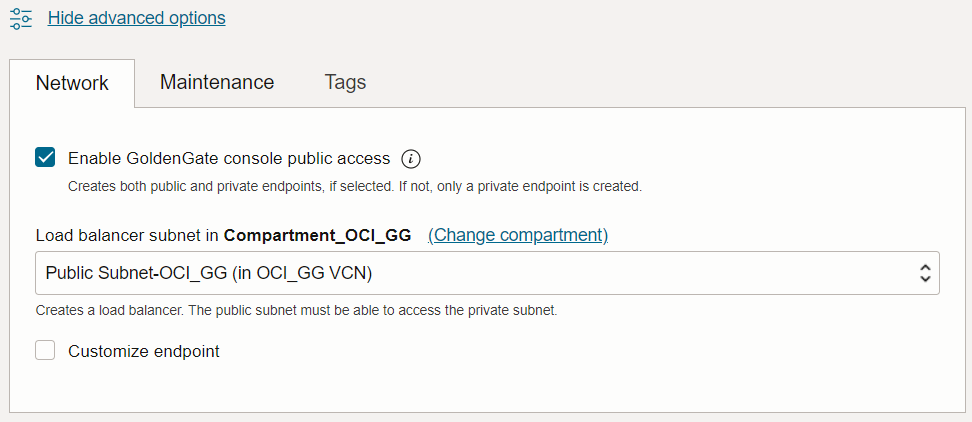
Click Show advanced options to enable public access to the deployment console using ‘Enable GoldenGate console public access’. Then, pick a public subnet in which OCI GoldenGate will create a Load Balancer and a public endpoint.
Click Next to get to the 2nd page of the Create deployment panel and configure the deployment type and credentials.
Select Data transforms as the deployment type, and enter the GoldenGate instance name. Then, pick GoldenGate as the Credential store, and select or create a Secret in OCI Vault. This Secret contains the password for the Administrator account (SUPERVISOR).
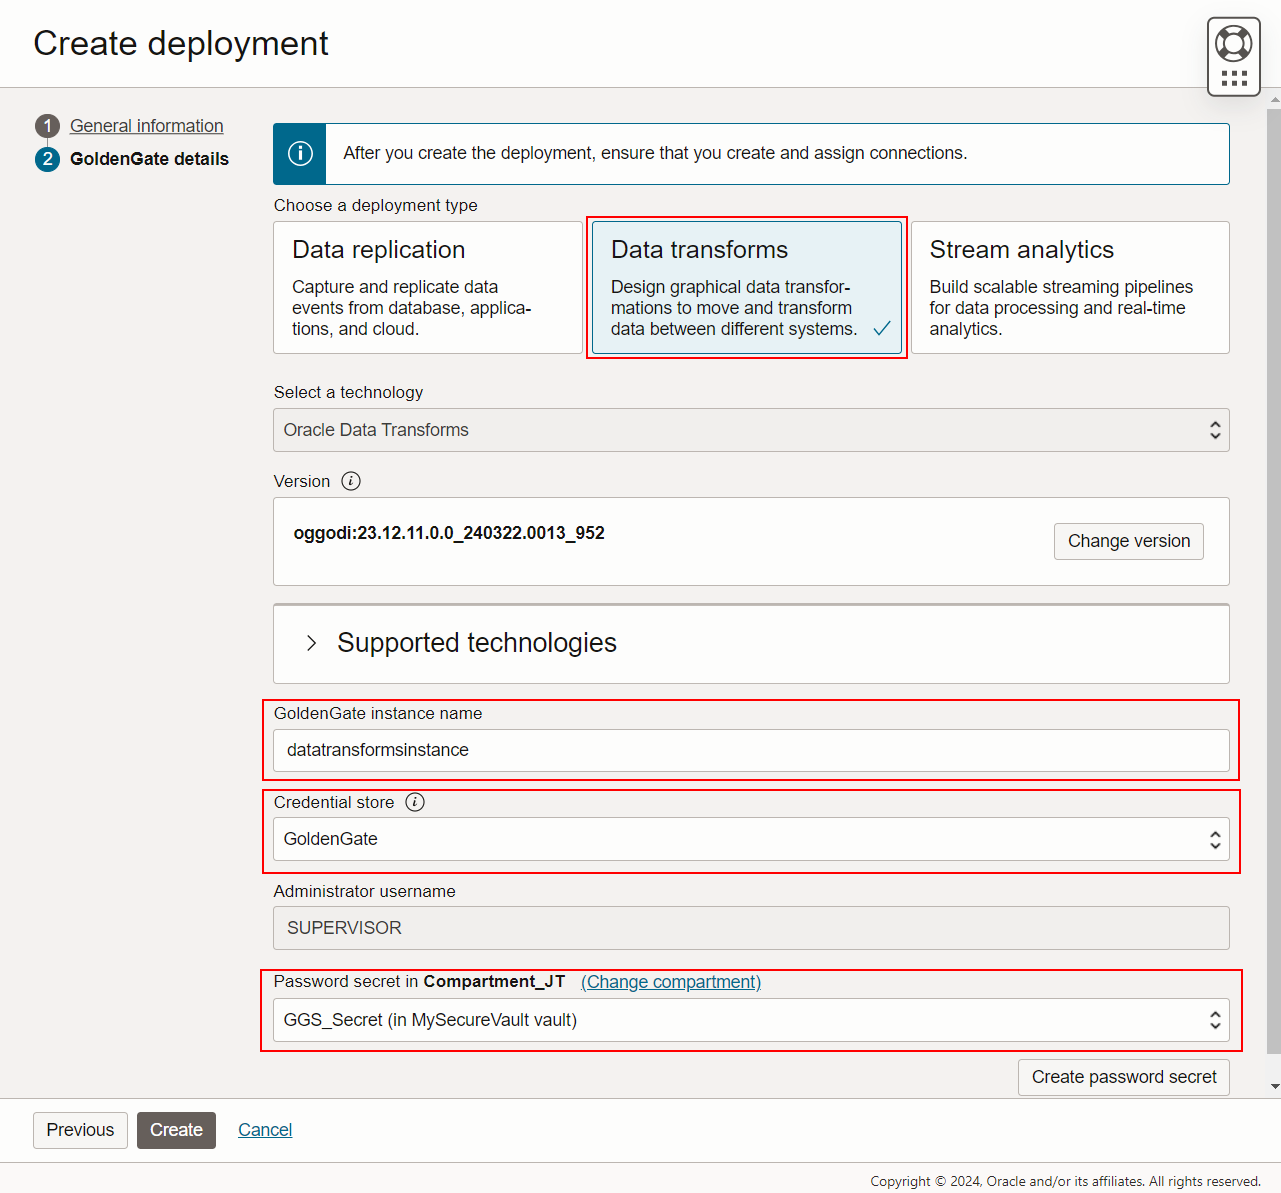
Finally, click Create to start the Deployment creation.
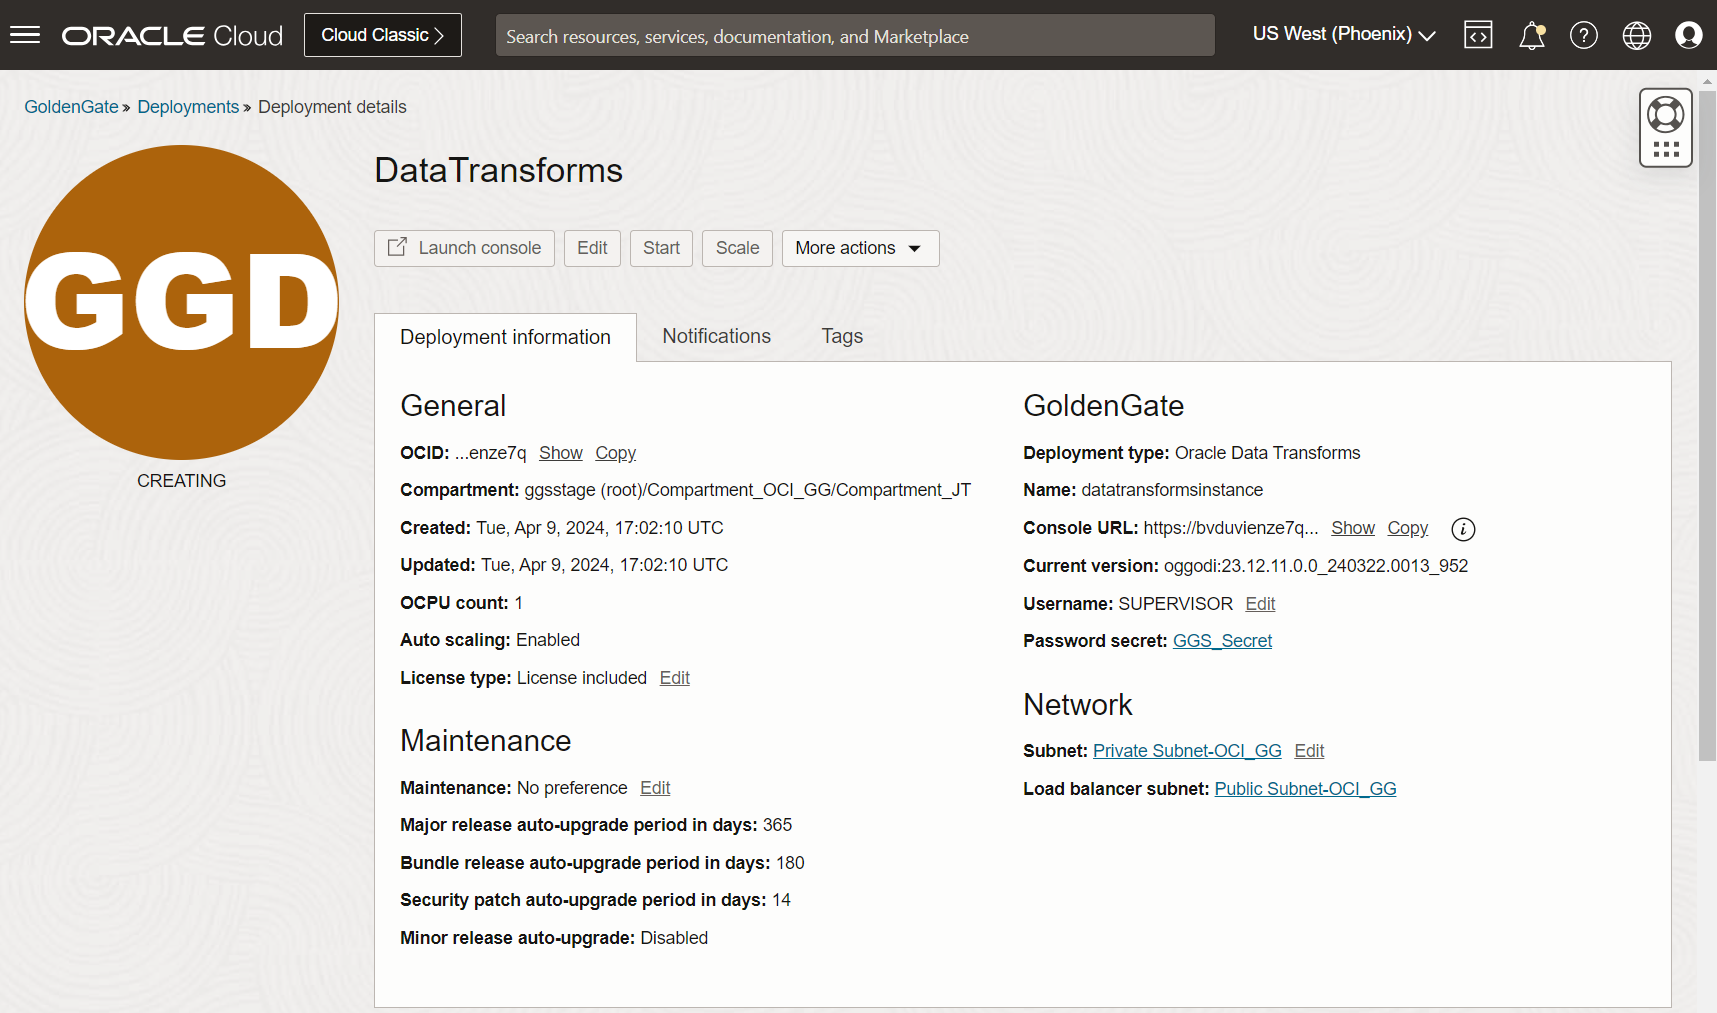
After a few seconds, you will be redirected to the Deployment details page, and the deployment status will be set to Creating.
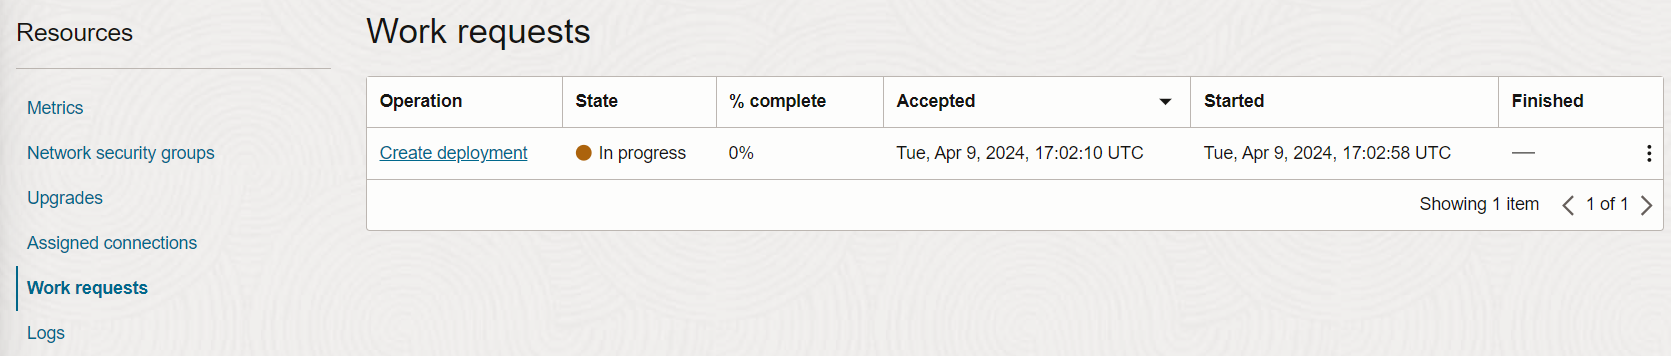
You can monitor the deployment creation process from the Work requests page.
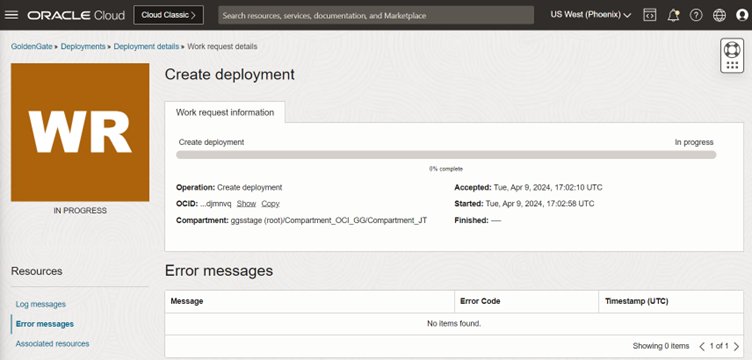
Any error message will appear on the Work request details page.
Deployments can be managed from the OCI Console: Start, Stop, Scale up/down, and more. Refer to Manage deployments for more information.
You can now create Generic Connections to access your data sources. We will cover this in the next blog in the Get Started with OCI GoldenGate Data Transforms series.
Next steps
Try it out! OCI GoldenGate Data Transforms is available today. Read the documentation to explore more features and benefits. You can also go through the OCI GoldenGate Data Transforms quickstart to familiarize yourself with the service capabilities.
More resources:
- Oracle.com GoldenGate product page
- OCI GoldenGate documentation
- Data Transforms documentation
- GoldenGate YouTube channel