Introduction
In the first article, we covered the CLI-driven workflow of Terraform Cloud, what was used to establish the most basic connection between a workstation, Terraform Cloud, and Oracle Cloud Infrastructure. Variables, Variable Sets, and the Terraform command line tools were also covered. Now it is time to see how Terraform Cloud might be used to build out an infrastructure on OCI, based on something that has already been built as a working Terraform configuration. Even though a good amount of the work is already done, the remaining part around managing varaibles, keeping a fork up to date, and managing change remains difficult. We’ll show here how Terraform Cloud can be used to make this easier.
Specifically, this post covers using Version Control (Github) workflows. The idea being that most pre-existing Terraform packages you will find are maintained either in existing repositories, or as Terraform modules. I’ll cover some of both, and combine it with some of what was introduced in part 1.
Preparation
At this point, if you followed the previous post, you may still have your terraform configuration and your object bucket in OCI intact. It is ok if you don’t have it, we’ll start fresh. If you do still have the terraform workspace accessible and bucket created, simply follow the end of the post where we show how to queue a delete plan and execute it. If not, delete it manually and confirm that the object bucket is no longer in your OCI tenancy.
Also, in order to proceed, if you didn’t follow the first blog post, go back and set up a Terraform Cloud account, and within it set up a Variable Set called “oci-provider” with the 5 required variables mentioned. This will be re-used with a new workspace we’ll create.
For Github, you will need an account and to link that account with Terraform Cloud. Your Github account need not have any repositories in it yet, as we will fork an existing repo in order to allow you to make changes that only apply to you. Whether you start from unmanaged source code (a la the previous blog), or fork an existing repo, the starting point from Terraform’s perspective is the same – you simply need the URL of that repository.
You can take 1 of 2 paths here:
- You can take the terraform code generated in the first post, and simply add that to a new Git Repo. Follow the steps here to create a repo online, then commit and push your code to it. This Git Repo can then be added to Terraform Cloud.
- Fork my repository HERE. Your fork of my code is free for you to make changes to, such as what we may do later on.
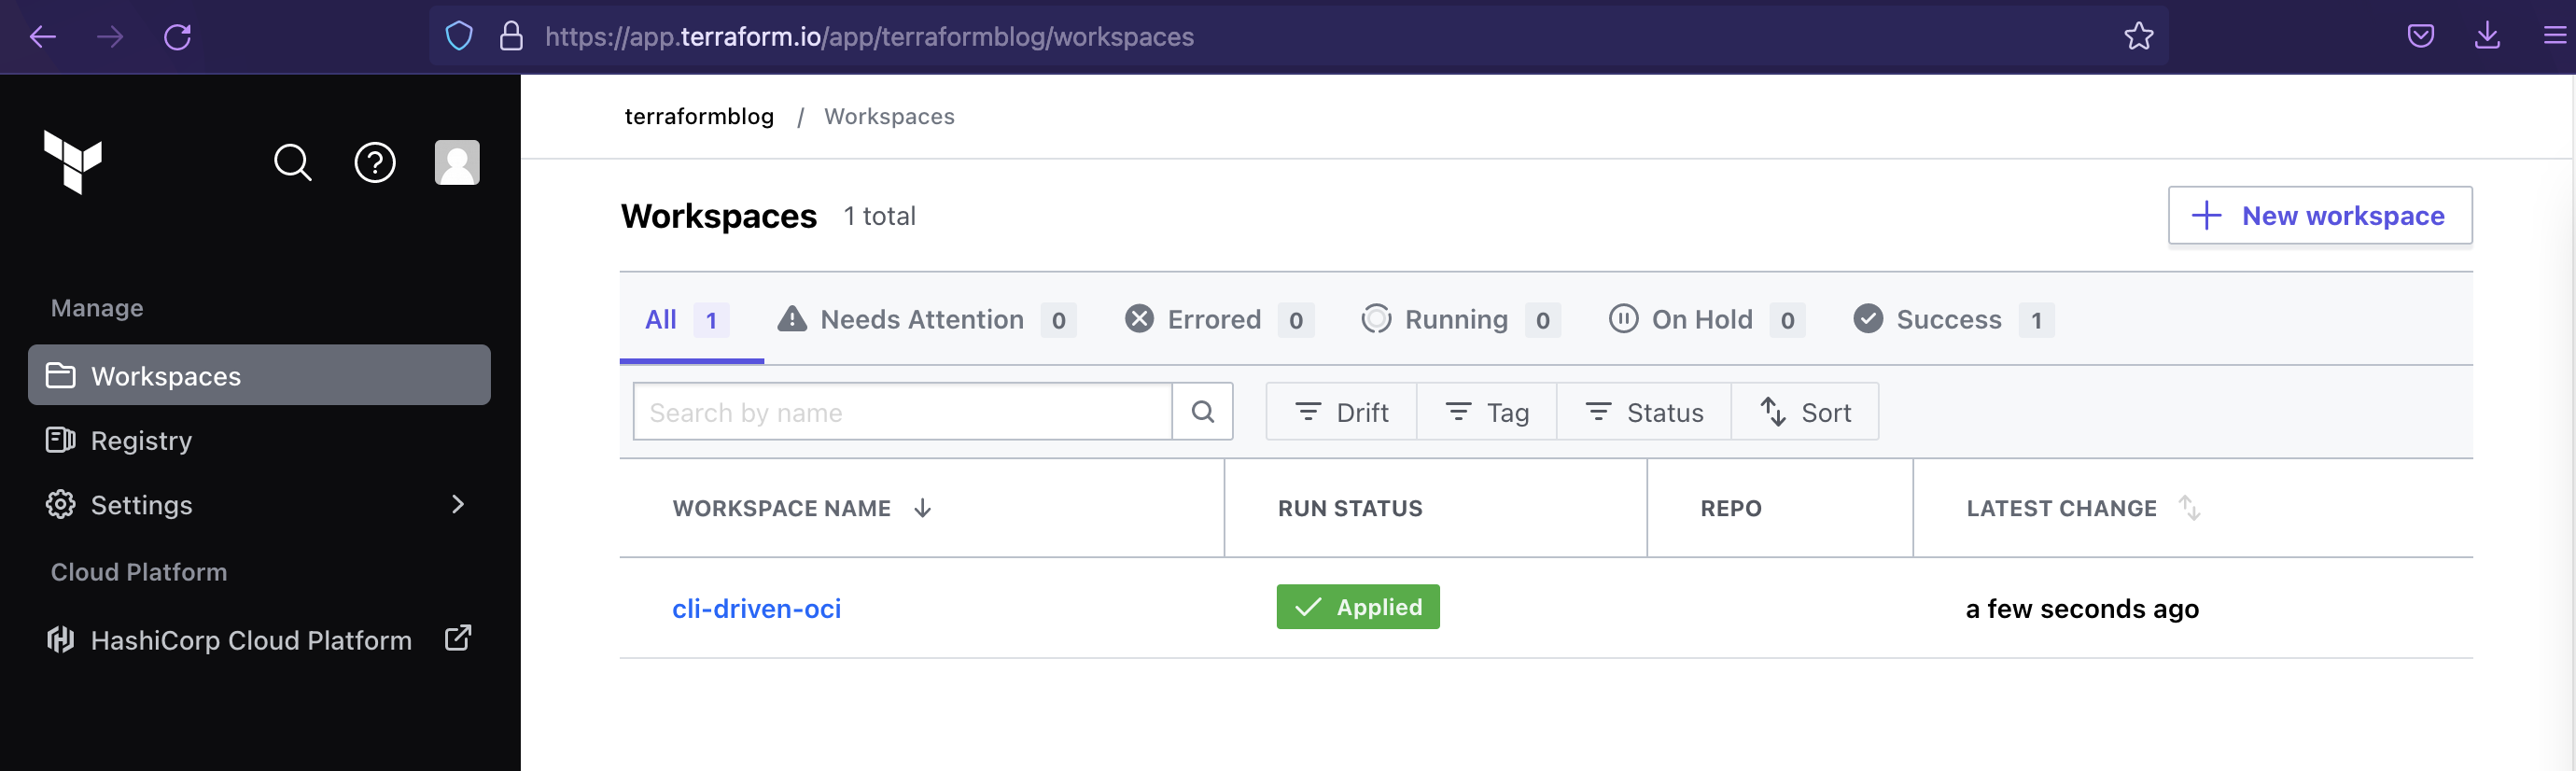
Creating a New Workspace
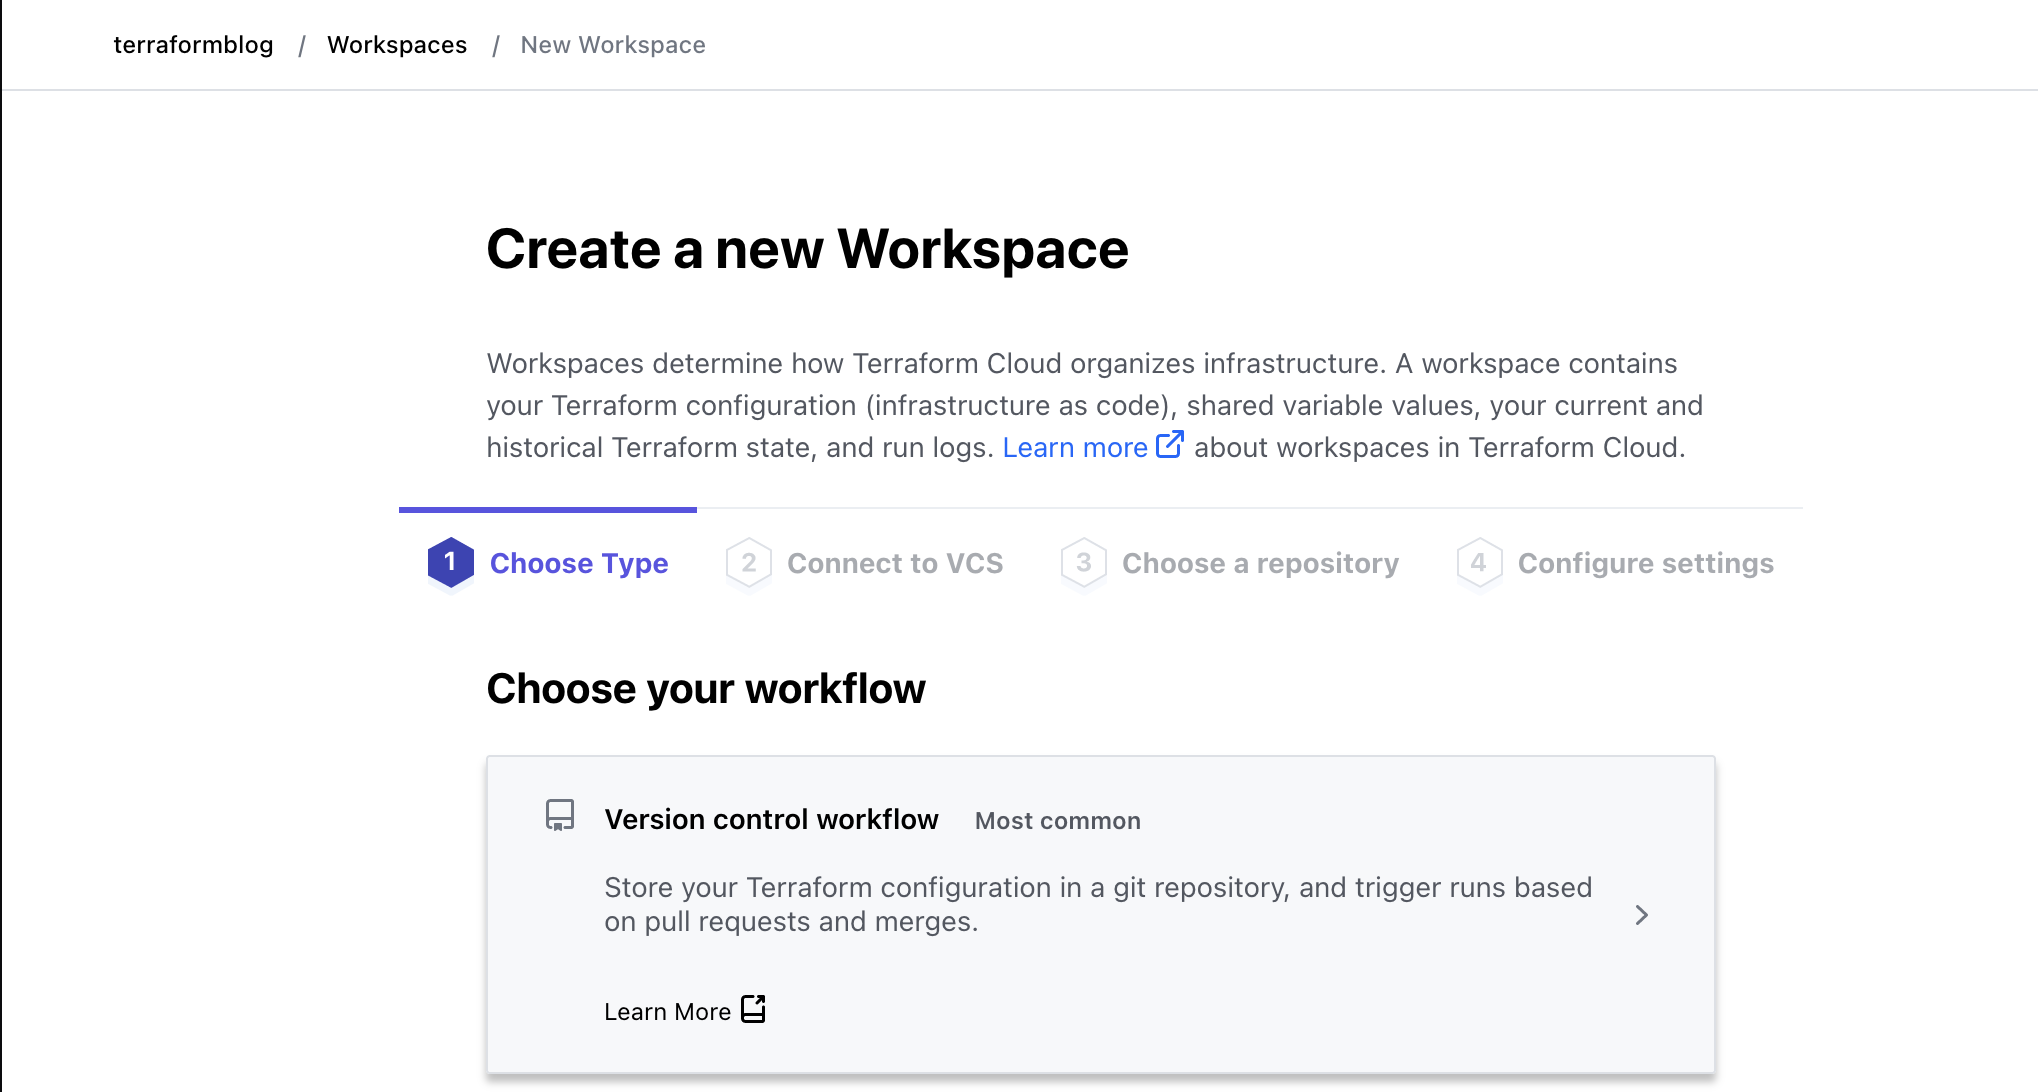
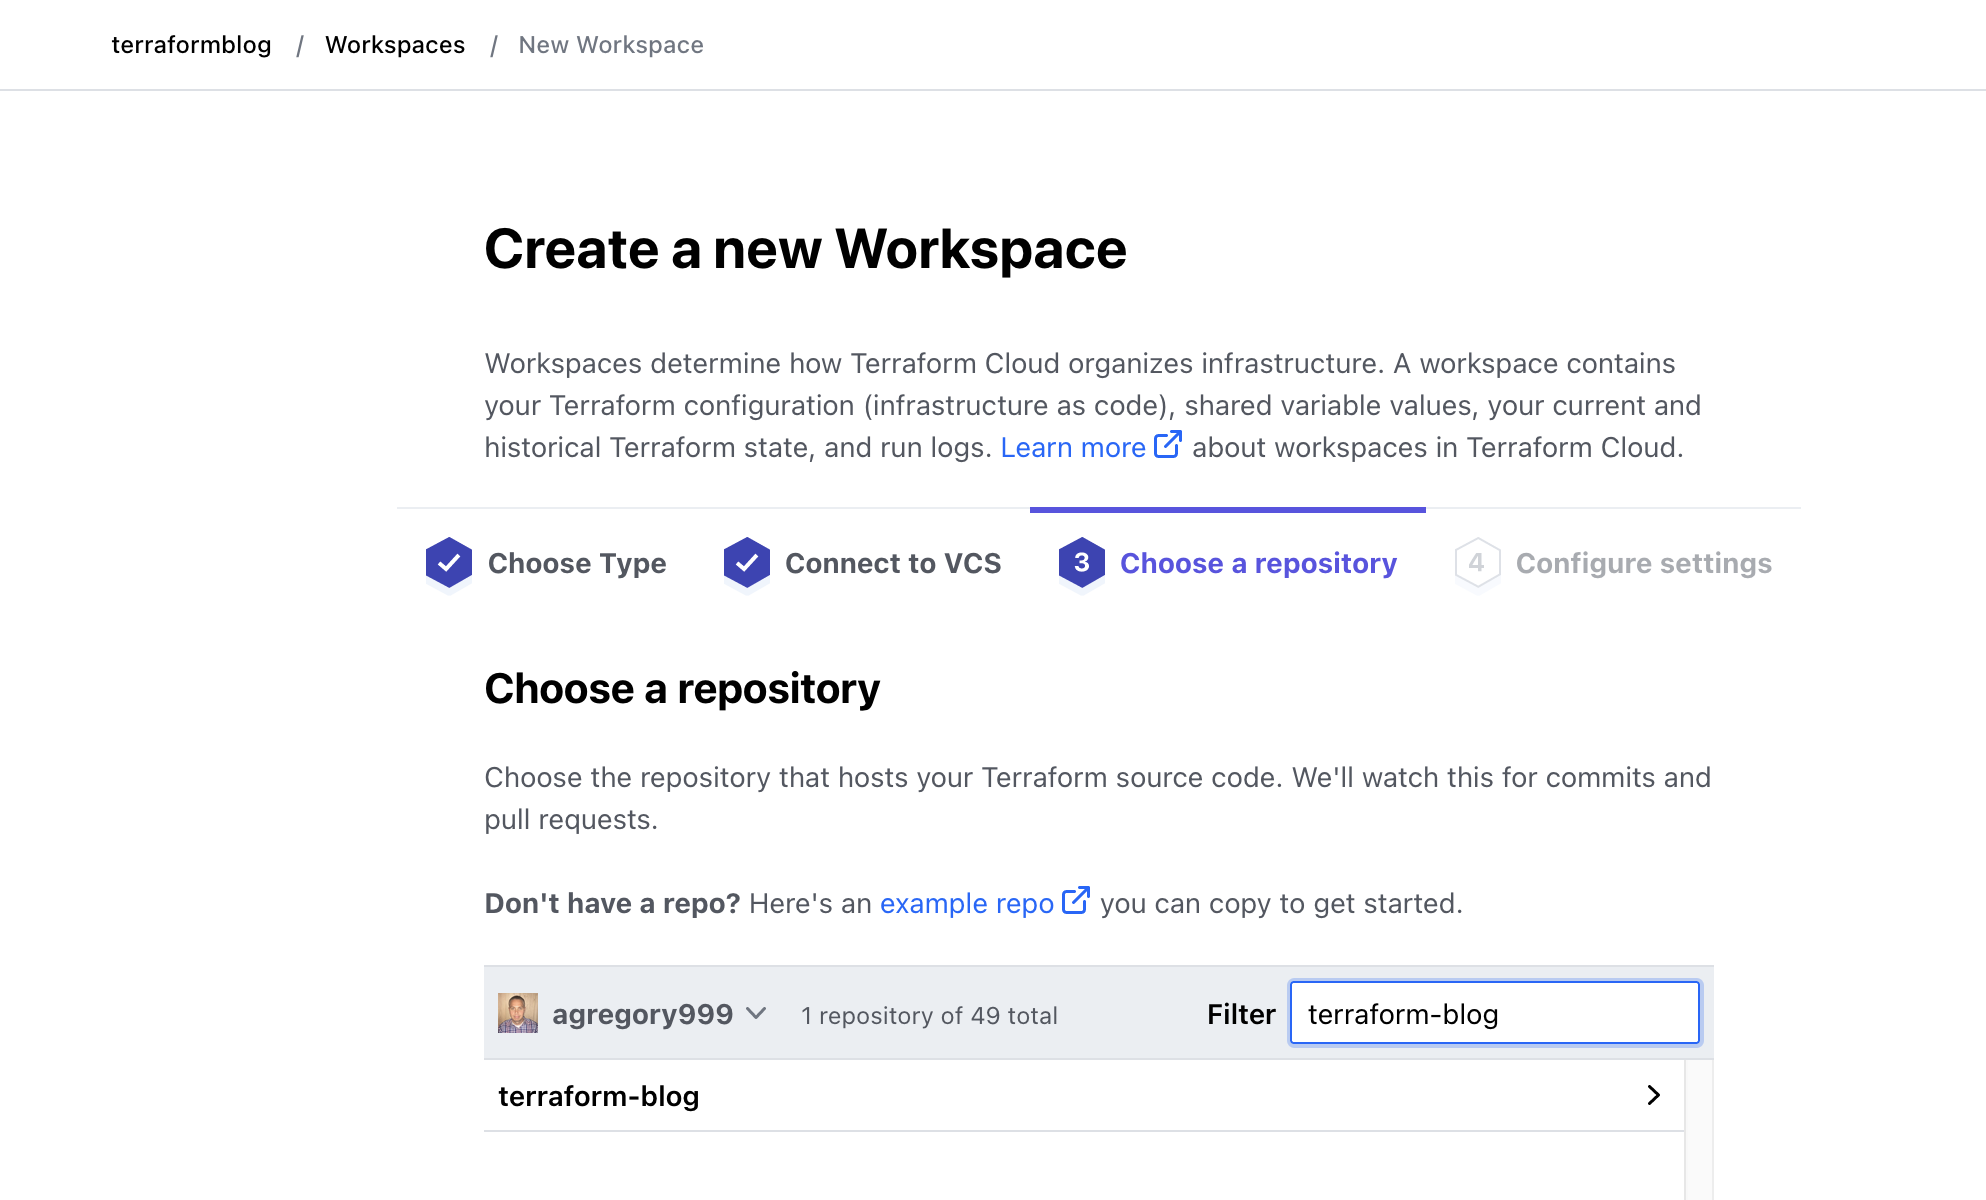
We’ll create a new workspace within Terraform Cloud. The difference is that this time it will be of the VCS-driven variety, where it must be linked to a specific Git (or other) repo. In the previous step that was created. Following the wizard for a new workspace, create a VCS-based workspace and link it to the repository that was forked. In my case I am using the original repository, but your fork will behave the same.
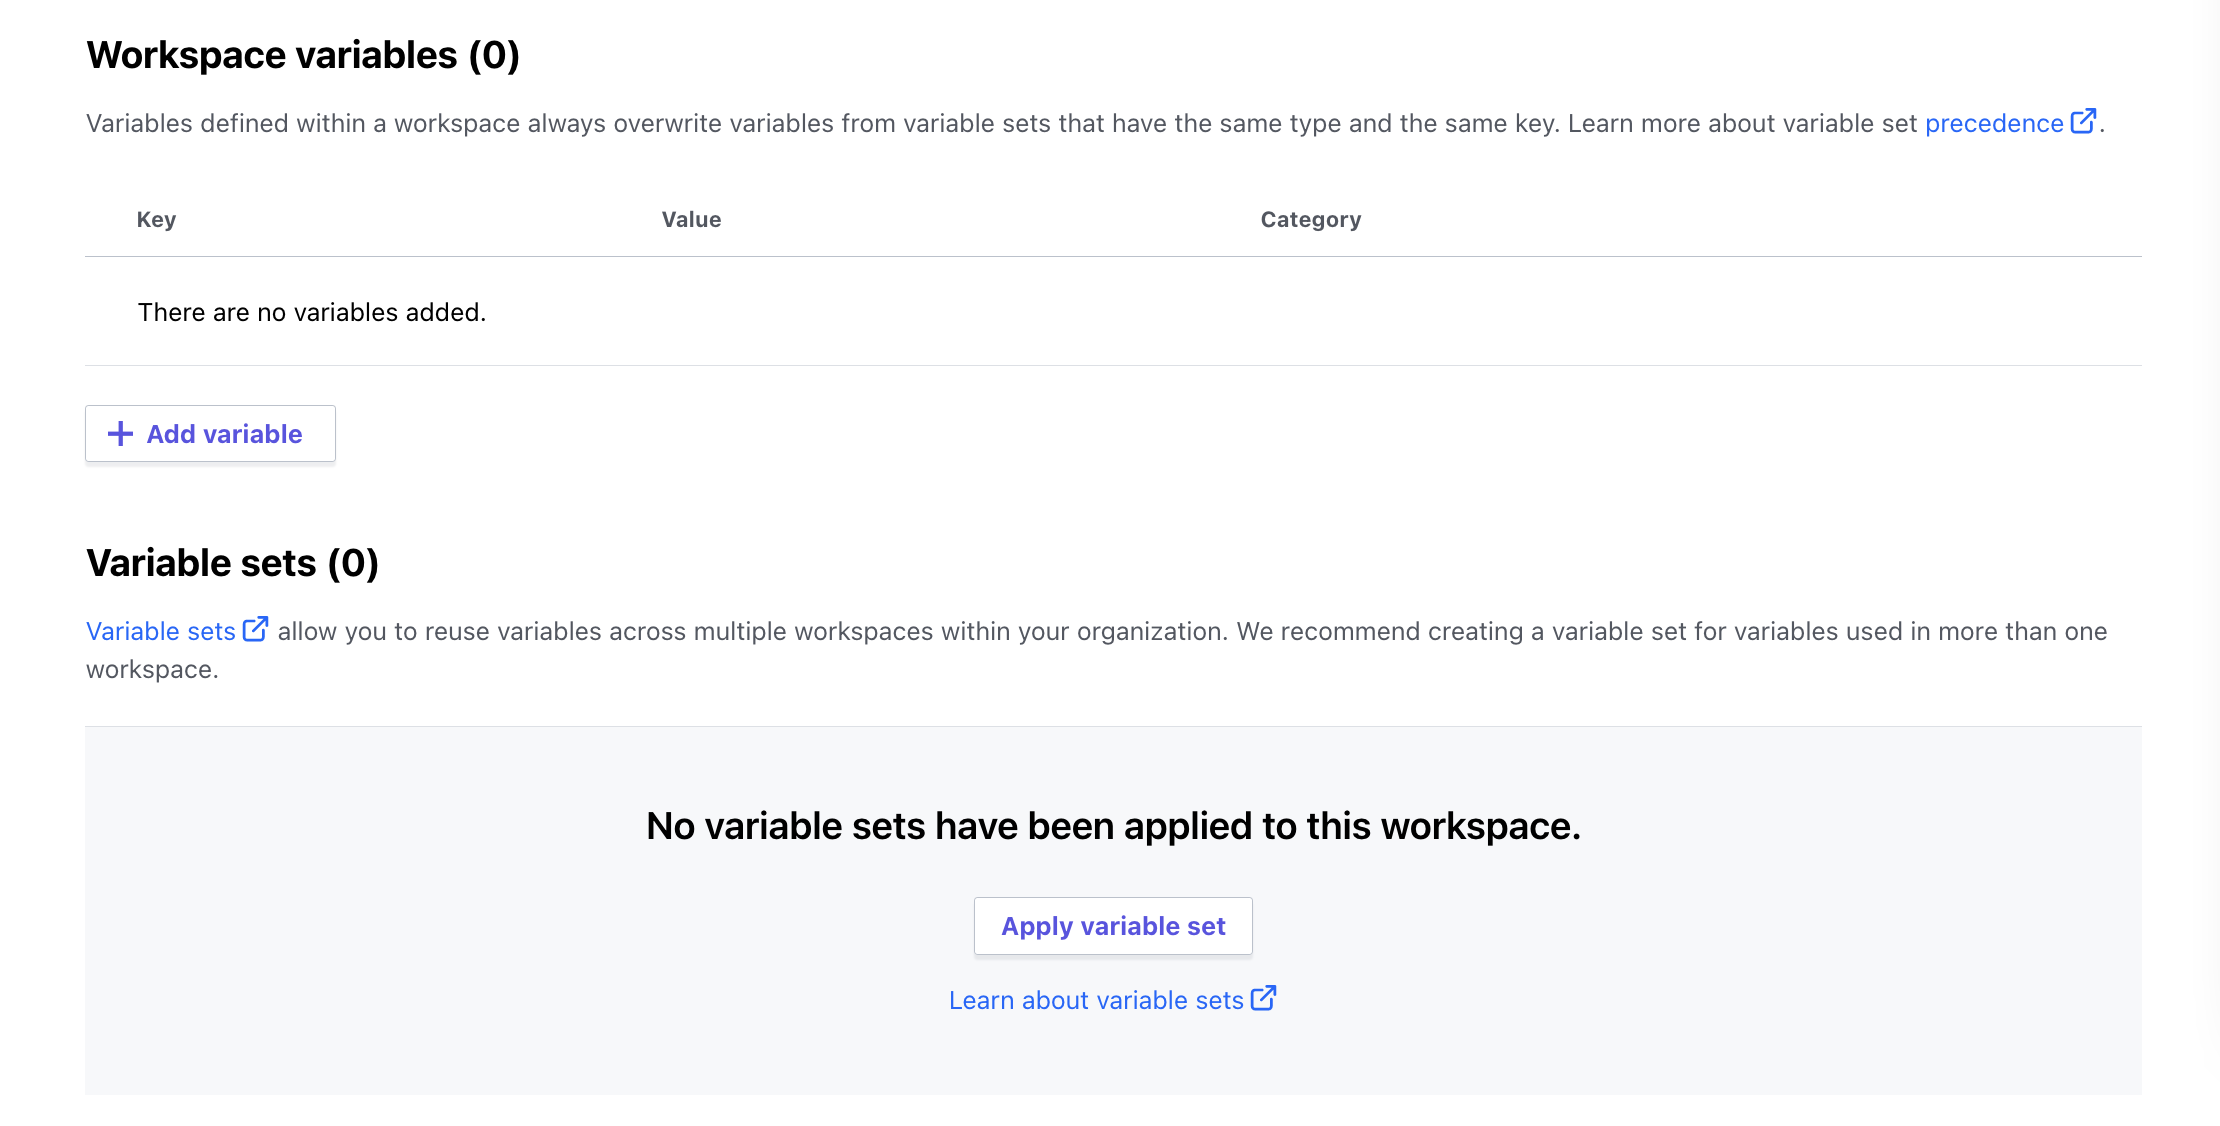
Stop when you get to the following screen, and observe that Terraform detected required variables for this project. Do not fill this out, as we’ll re-use the Variable Set for some of these. The others we will get and fill in from the variables page.
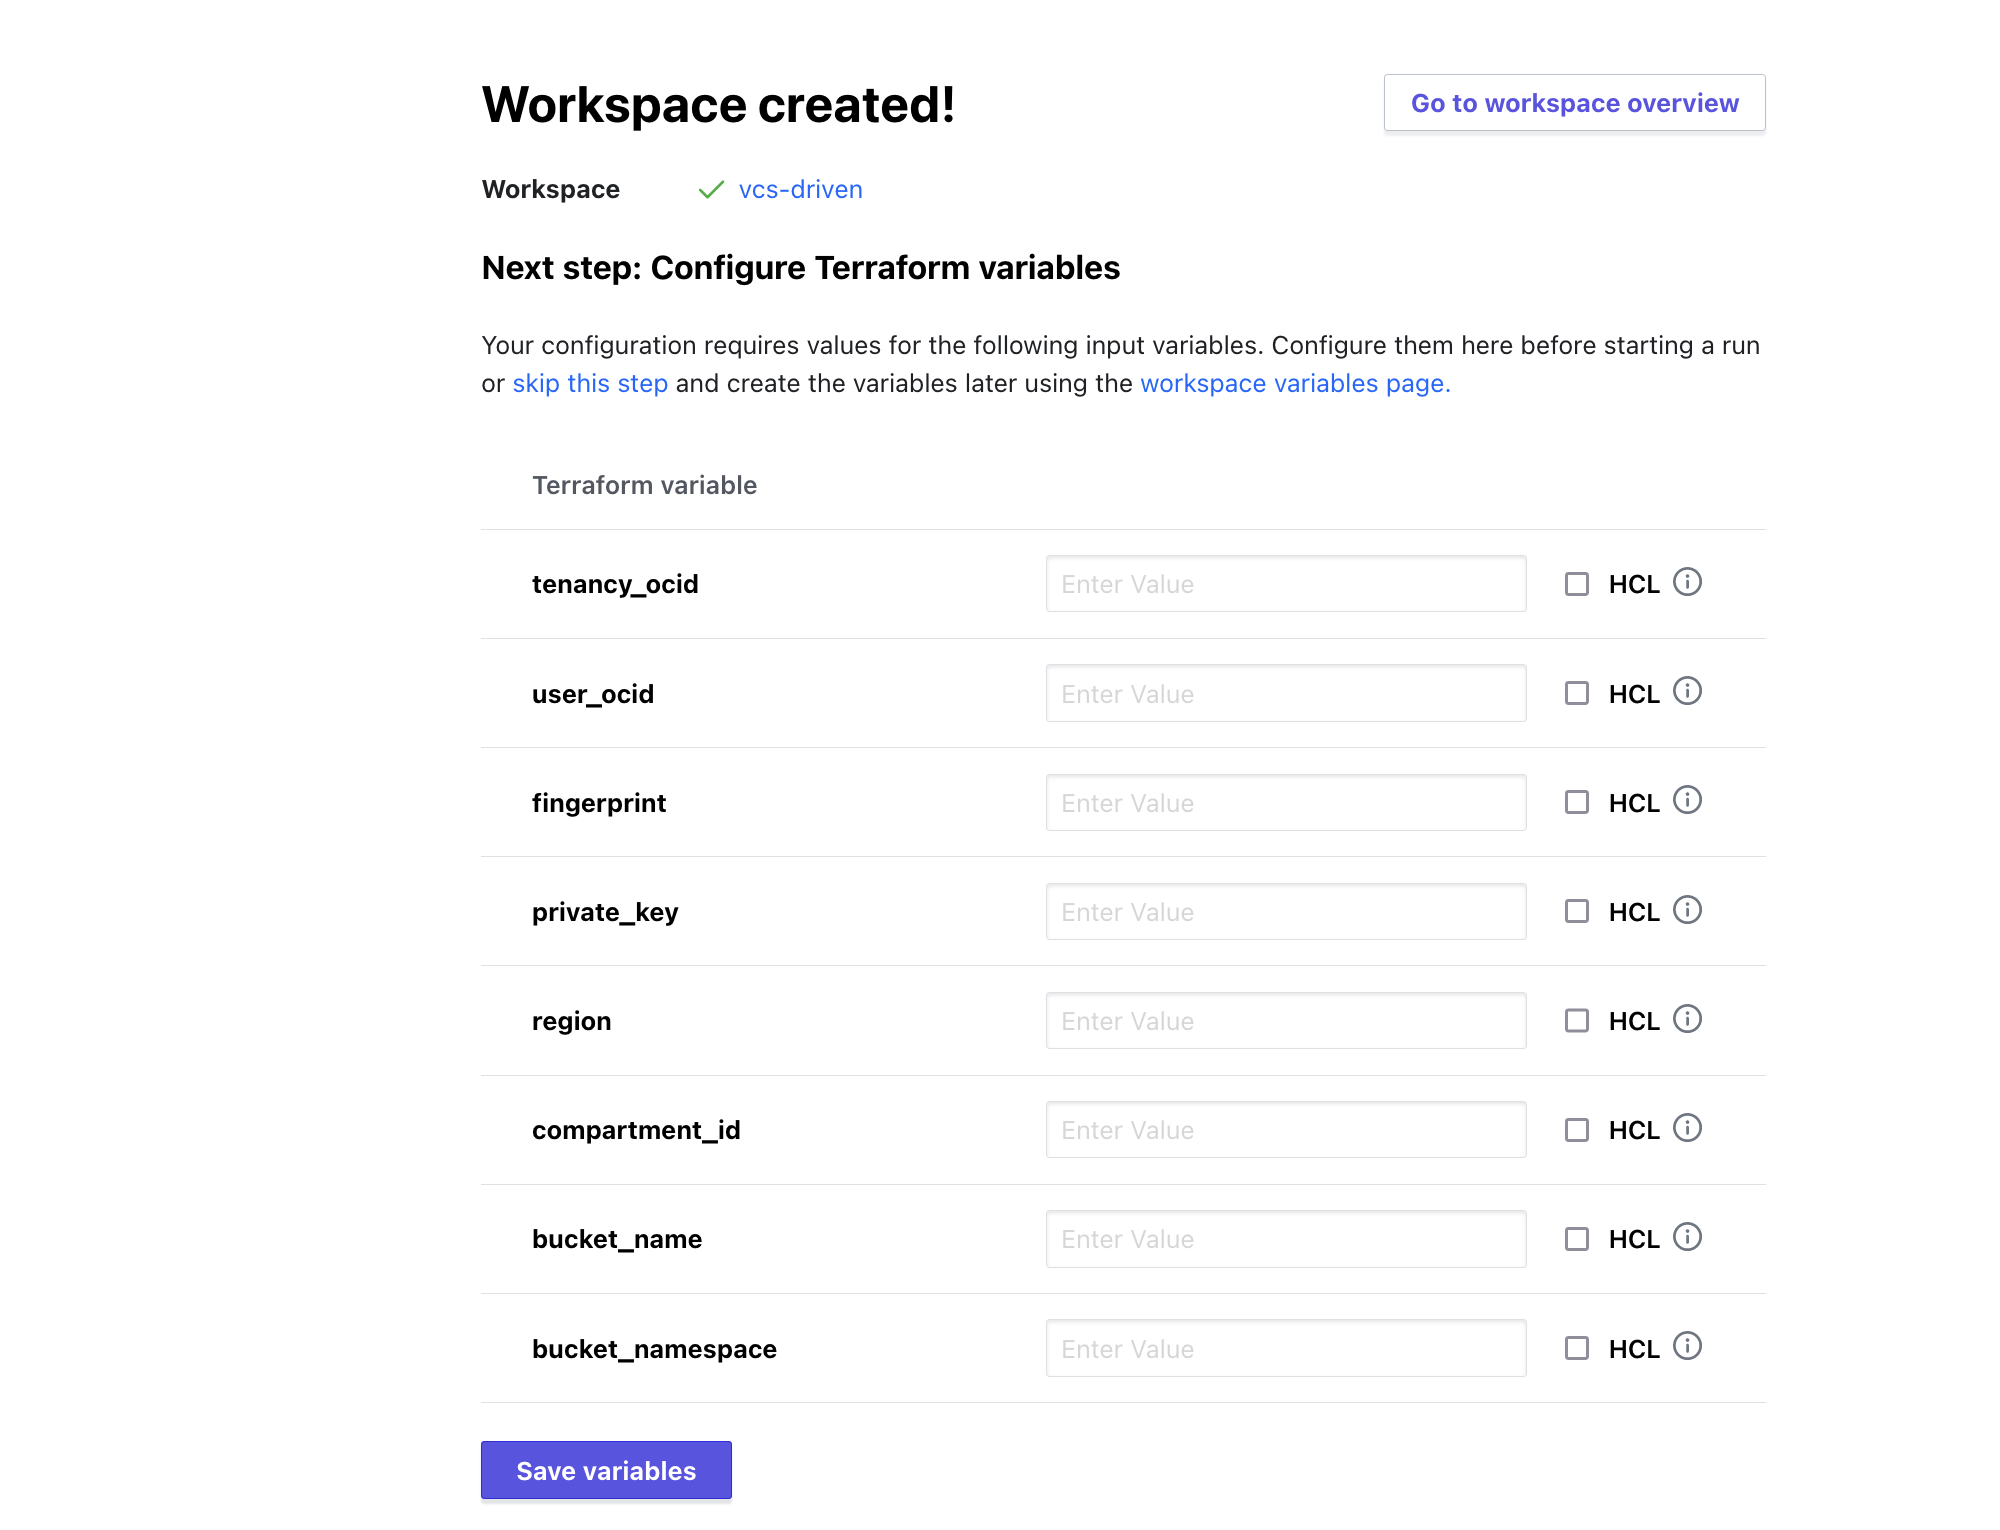
From the Workspace Overview, navigate to the Variables screen and then apply our existing Variable Set. Then add the other required variables (compartment_id, bucket_namespace, and bucket_name).
When complete, the variables screen will look like this (Variable Set has 5 variables):
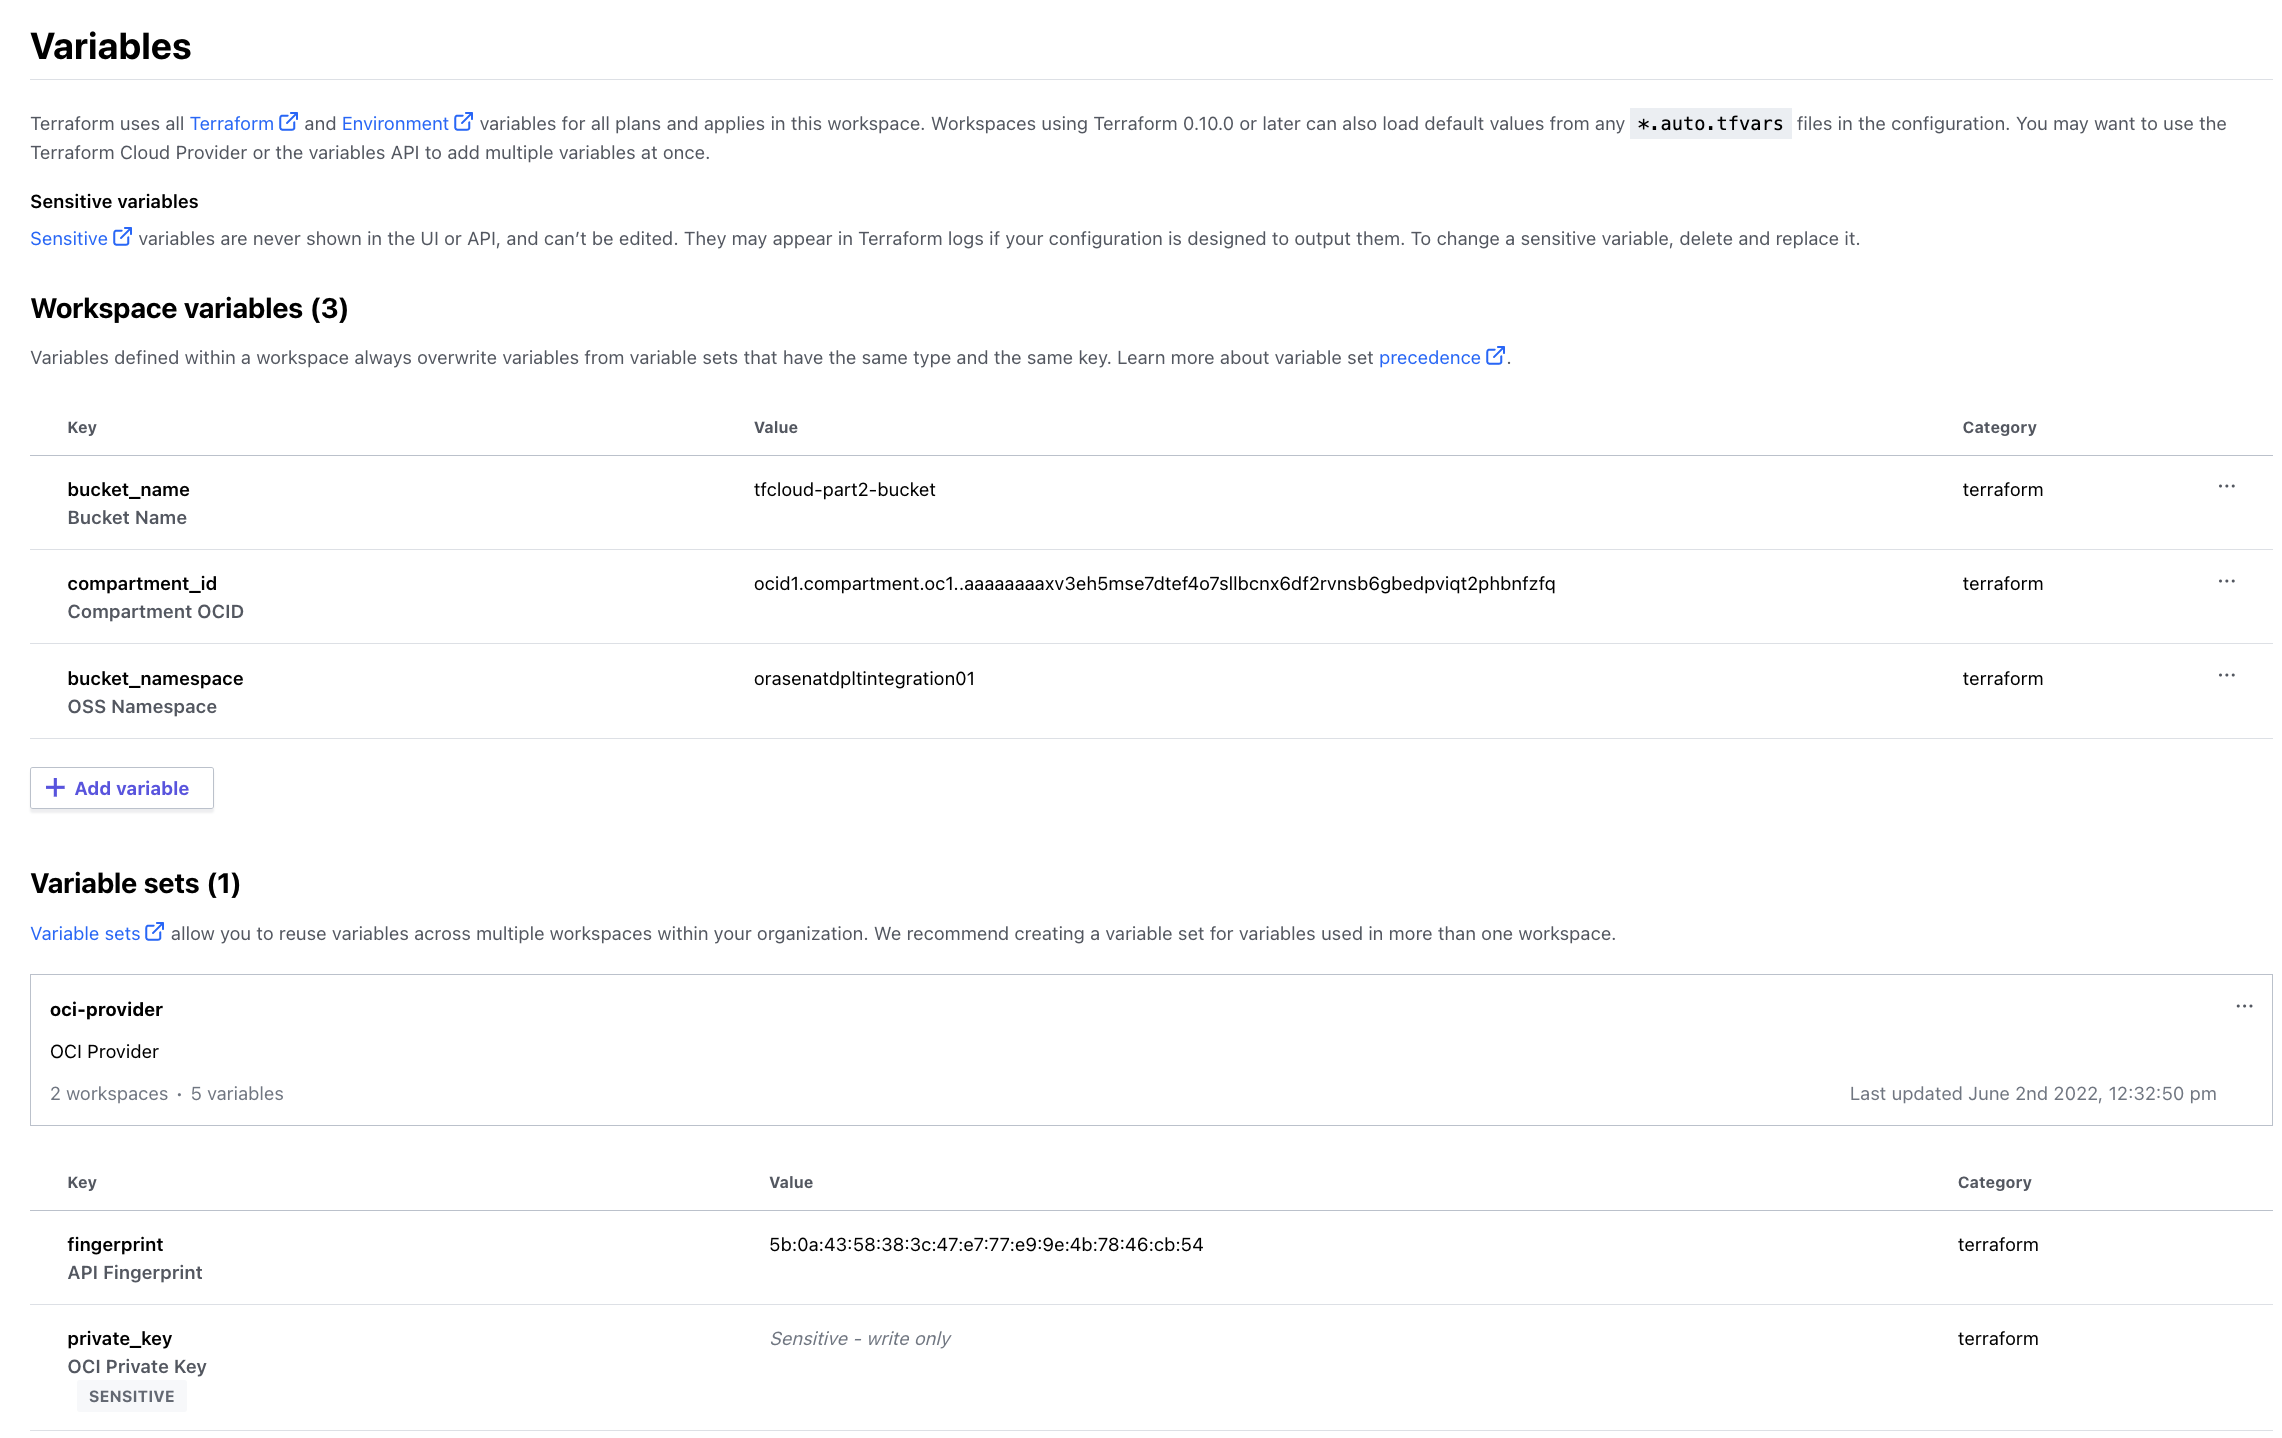
Just like last time, some variables are local to this workspace, while others come from the Variable Set previously created. On the execution side of things, it will all come out the same – variables, state, outputs all visible and tracked within your workspace.
Executing the Terraform (Again)
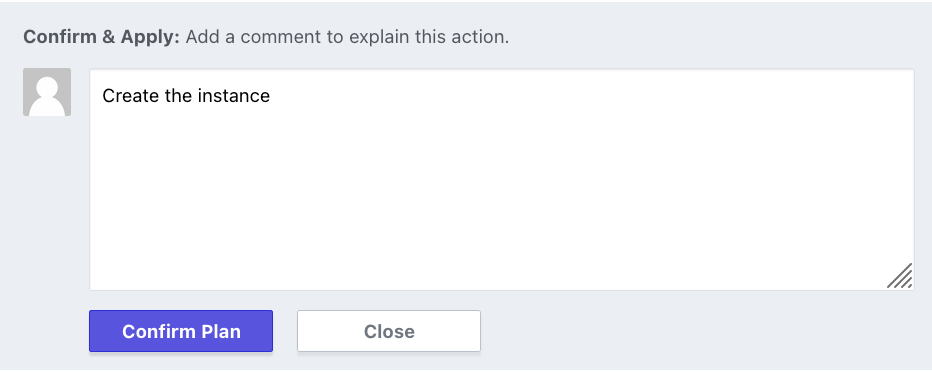
This will look familiar if you went through the previous blog post. However, since then, the Terraform Cloud UI has changed a bit, and now the menu is on the left. Under the category “Runs”, the action button at the top right has the “Start new run”. Do this and add a comment, which will kick off the plan.
When the plan has completed, check the changes it will make and apply the plan. Unexcitingly, you should be back to where we were before, with a single bucket in your tenancy.
Adding New Terraform Code
Now to the good part – when code is added to the repository, Terraform Cloud will pick that up and run a new plan for you. It actually can apply the plan automatically as well, but that is a setting that should be used with care, as it could affect your infrastructure. In a highly automated environment, this may be desired, but in others it worth looking at the plan before applying.
To add the code, you can use your choice of editors, or even do it within Github directly. I used VSCode for my work, where I cloned the repository, opened the folder in VSCode, made the changes, and pushed them.
Here are the changes to make:
Add a file called instance.tf:
module "instance" {
  source = "oracle-terraform-modules/compute-instance/oci"
  version = "2.4.0"
  # insert the 15 required variables here
  instance_count = 1 # how many instances do you want?
  ad_number = 1 # AD number to provision instances. If null, instances are provisioned in a rolling manner starting with AD1
  compartment_ocid = var.compartment_ocid
  instance_display_name = var.instance_display_name
  source_ocid = var.source_ocid
  subnet_ocids = var.subnet_ocids
  public_ip = var.public_ip # NONE, RESERVED or EPHEMERAL
  ssh_public_keys = var.ssh_public_keys
  block_storage_sizes_in_gbs = [51]
  shape = var.shape
  instance_state = var.instance_state # RUNNING or STOPPED
  boot_volume_backup_policy = var.boot_volume_backup_policy # disabled, gold, silver or bronze
}
This is actually a pre-built Terraform Module, out of scope for this blog post, but very useful in terms of reusable infrastructure. The module will require new variables to be added, so open the variables.tf file and add:
# Instance Module
variable "boot_volume_backup_policy" {}
variable "instance_display_name" {}
variable "instance_state" {}
variable "public_ip" {}
variable "shape" {}
variable "source_ocid" {}
variable "ssh_public_keys" {}
variable "subnet_ocids" {}
variable "compartment_ocid" {}
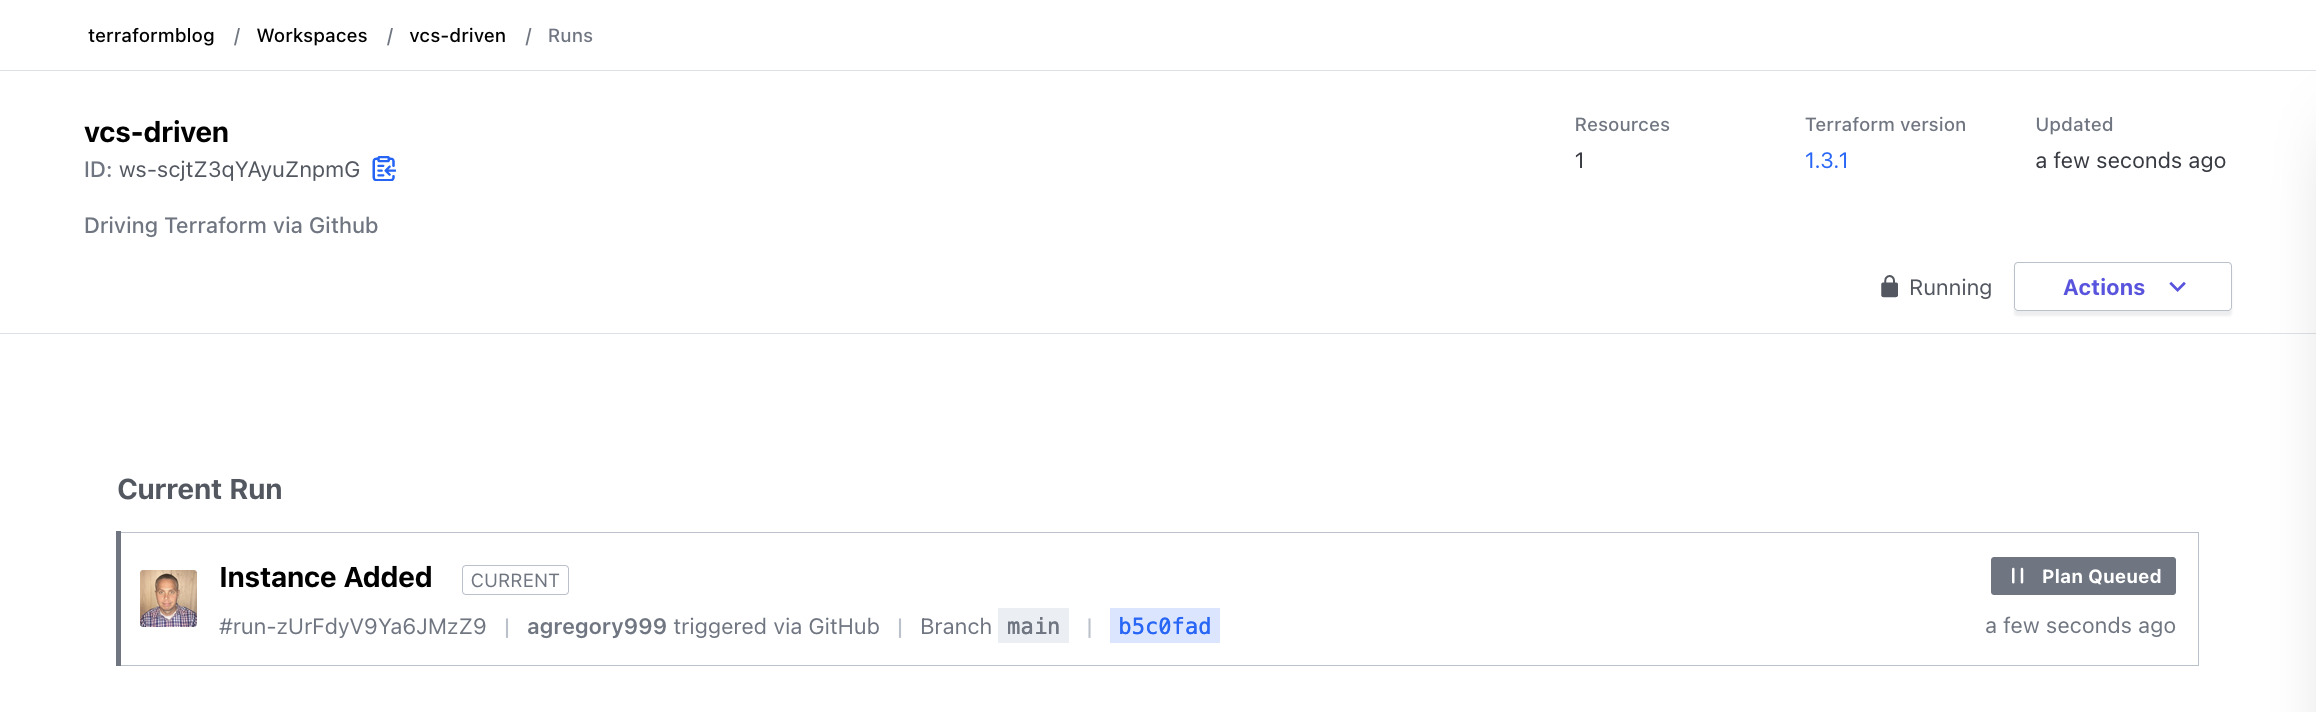
Following the save, git add, commit, and push (see below for VSCode steps), Terraform will automatically run a plan:
VSCode:


Automatic Plan
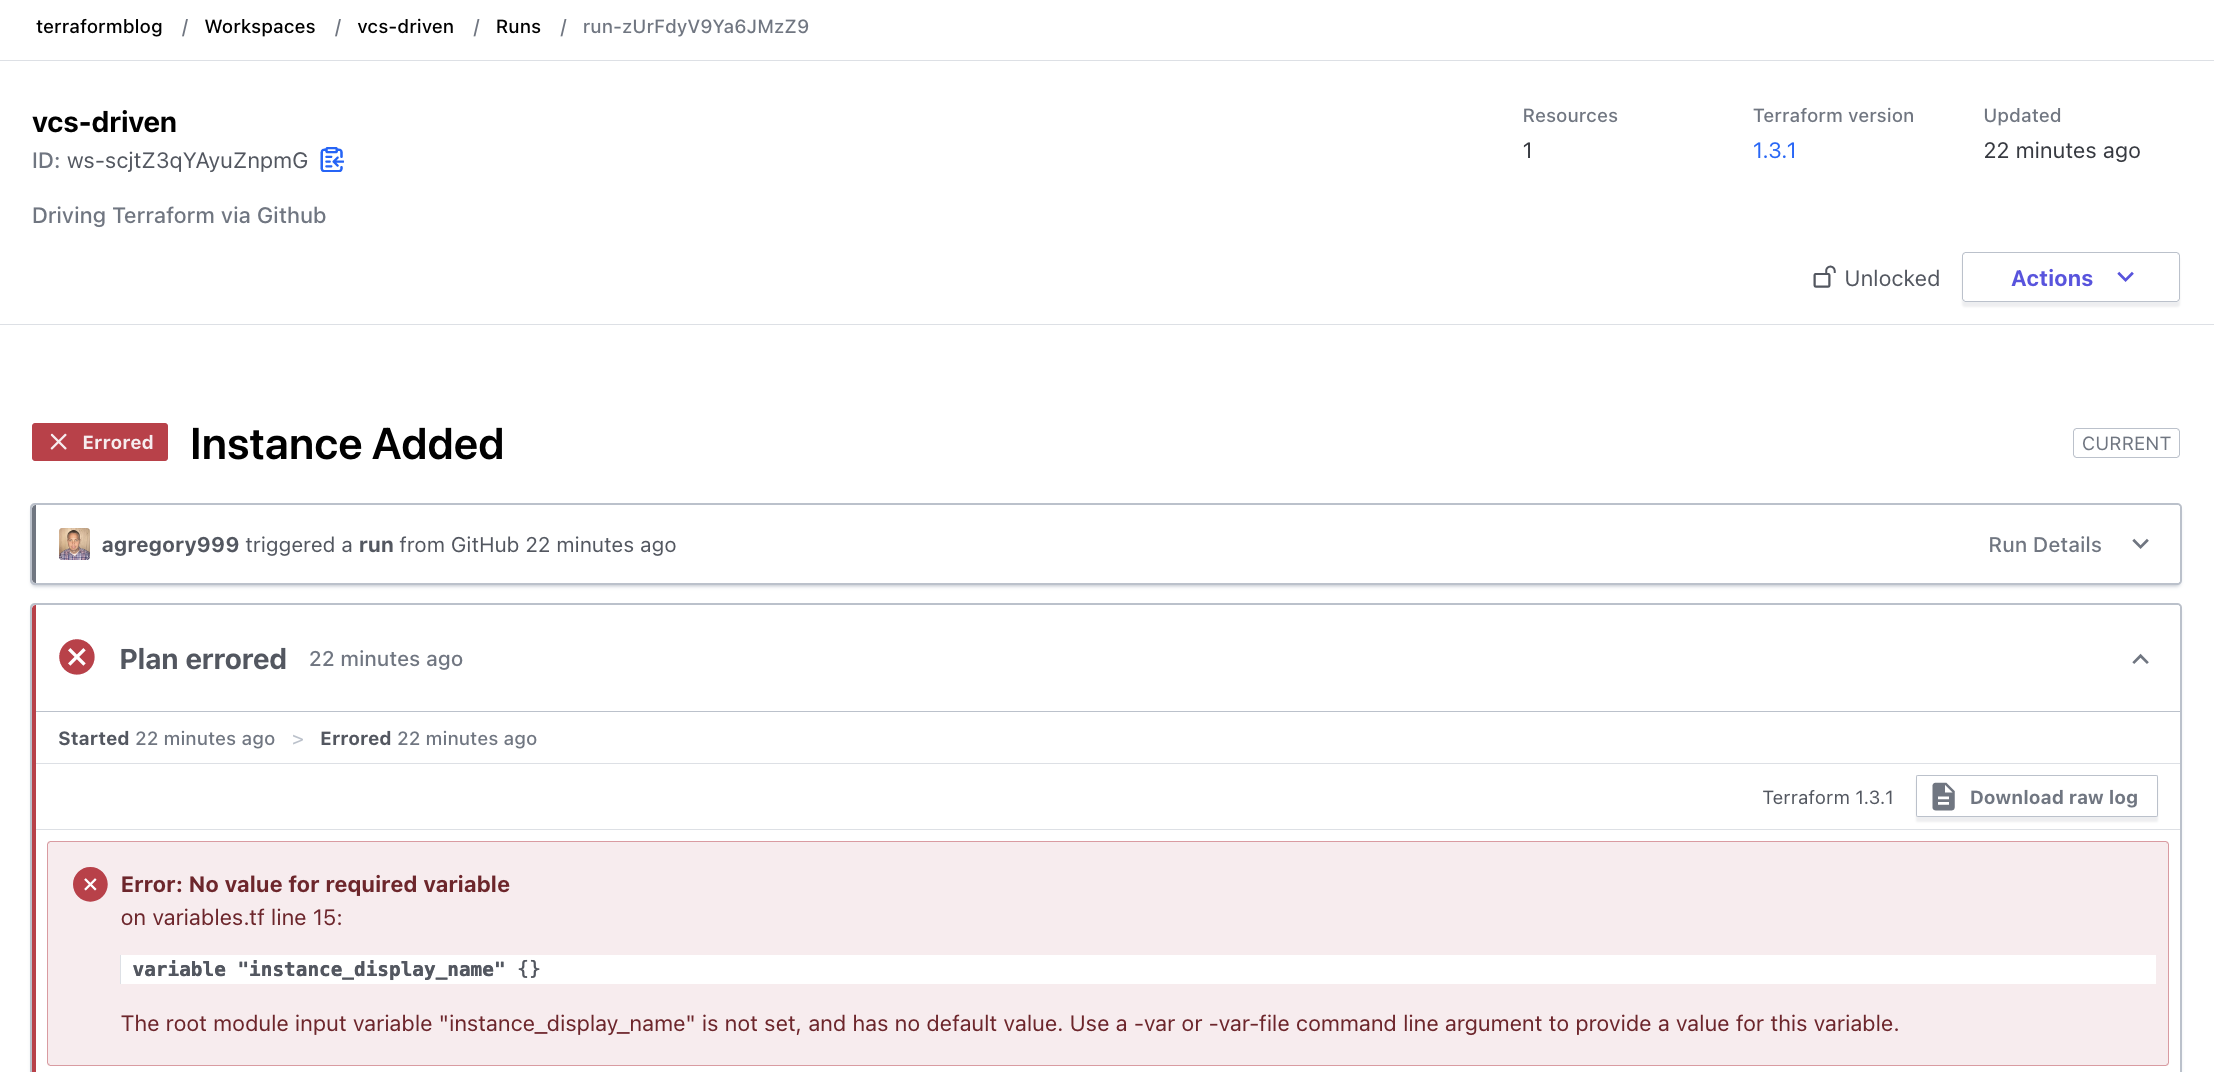
The plan actually fails, due to the lack of variables that are required. This is expected, as we introduced new required variables for the compute instance we are adding, but we haven’t given them values. Assuming we might want to re-use this, let’s add the variables to another Variable Set and apply that to this workspace. In order to actually build an instance, we do need a VCN with a subnet, and a valid SSH Public Key. Creating these ahead of time or re-using existing ones is out of scope here, but either works. In the case below, the required variables, including those from my existing VCN, are shown. For SSH Key, I simply used the public key that I already had, no need to create anything new there. Here is the failure:
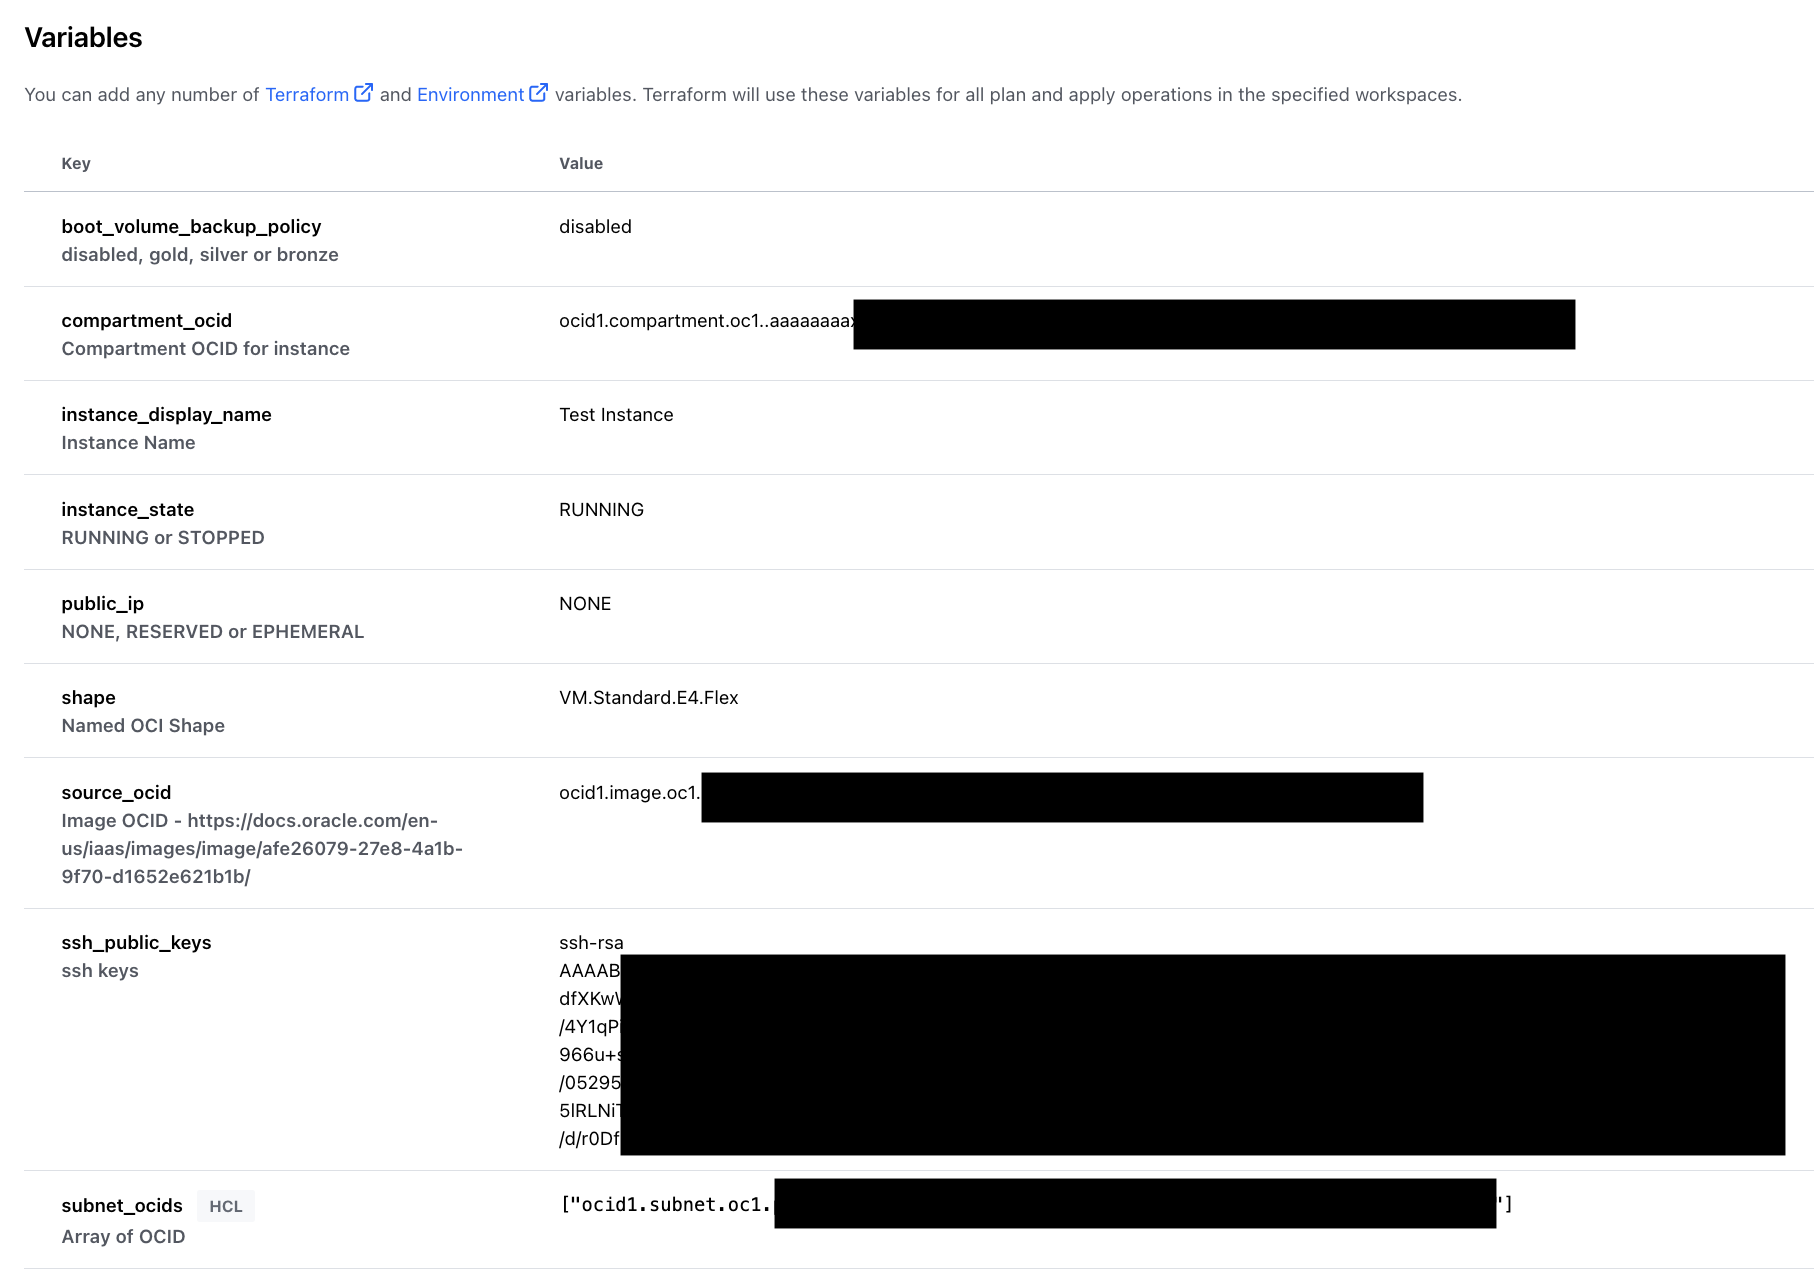
As mentioned, a variable set was created to contain the required (and optional) values for the variables the Terraform module requires. Here is the variable set:
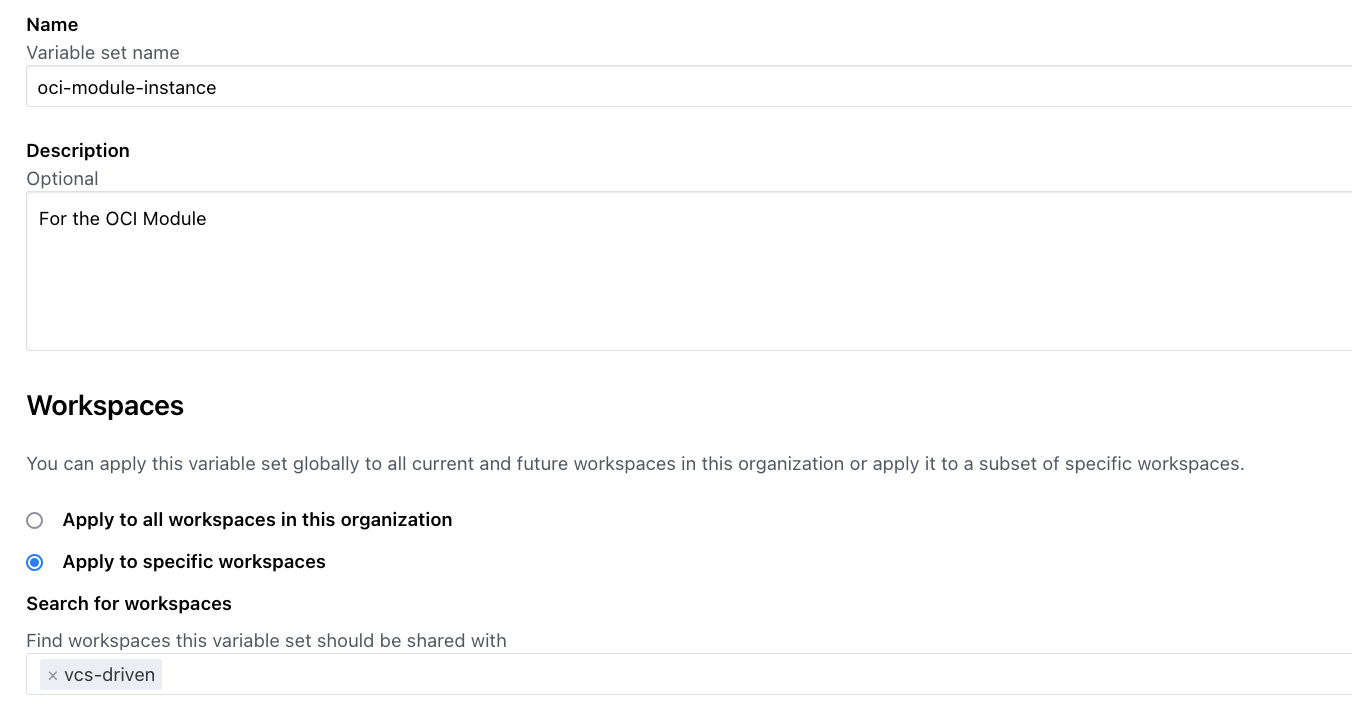
And the variables it contains:
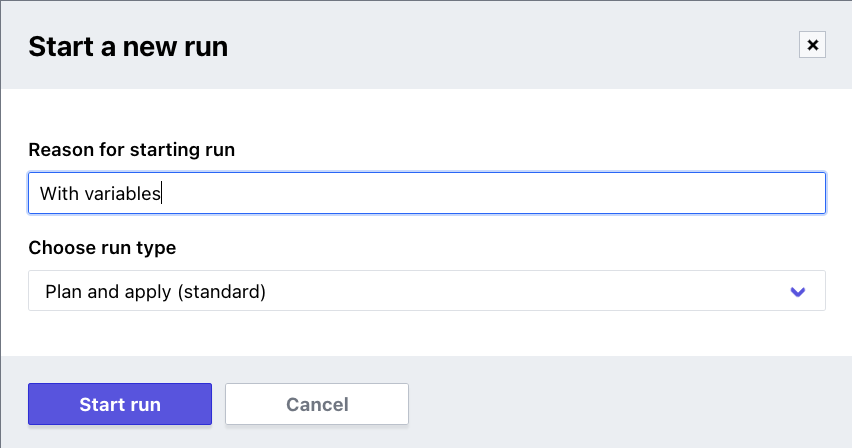
Now that this variable set is applied to the workspace, we can re-run the plan. Instead of triggering a plan via a commit to GitHub, we can simply kick it off manually, as before, using the Action menu:
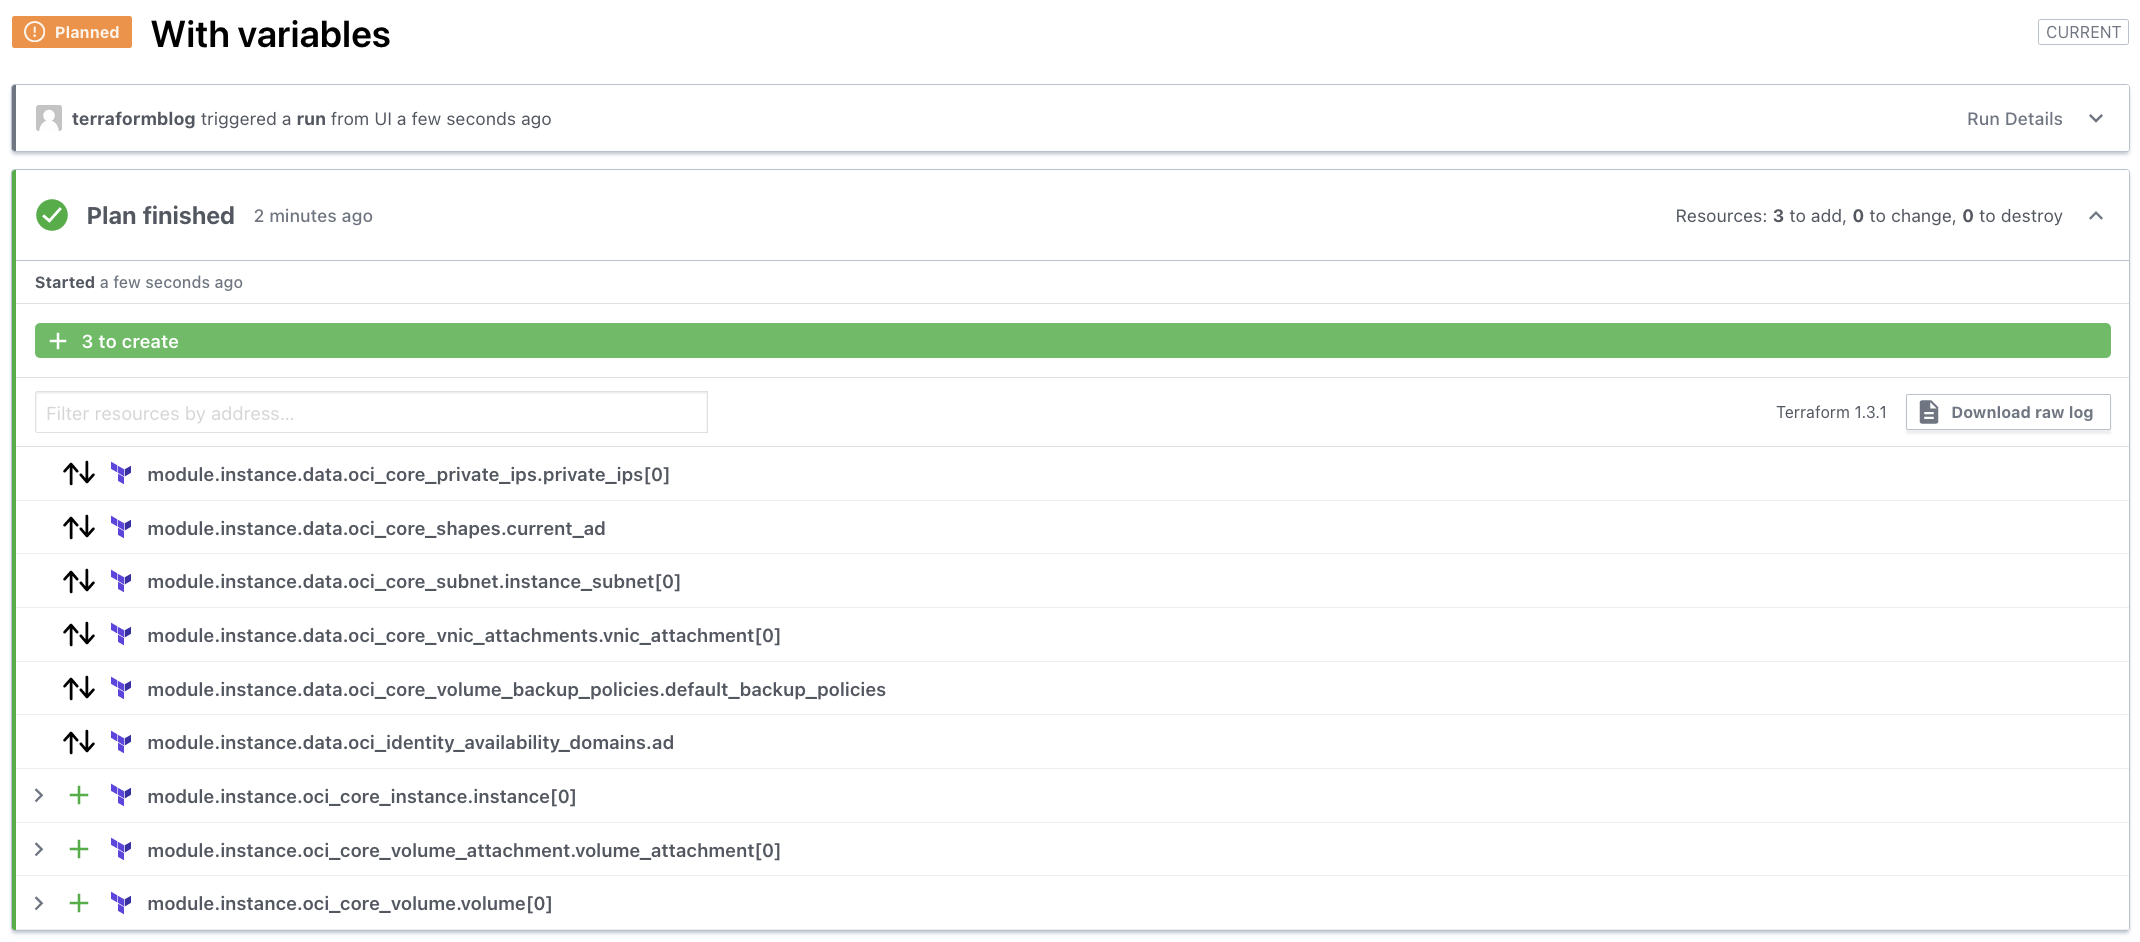
Given that the module has what it needs, the plan is successful and can be applied. As always is good practice, open up the + icons and inspect what will happen. Things can still fail, for example if you do not have permissions or quota required to do what you are asking for.
 If you are sure at this point, proceed to apply at the botton of the screen:
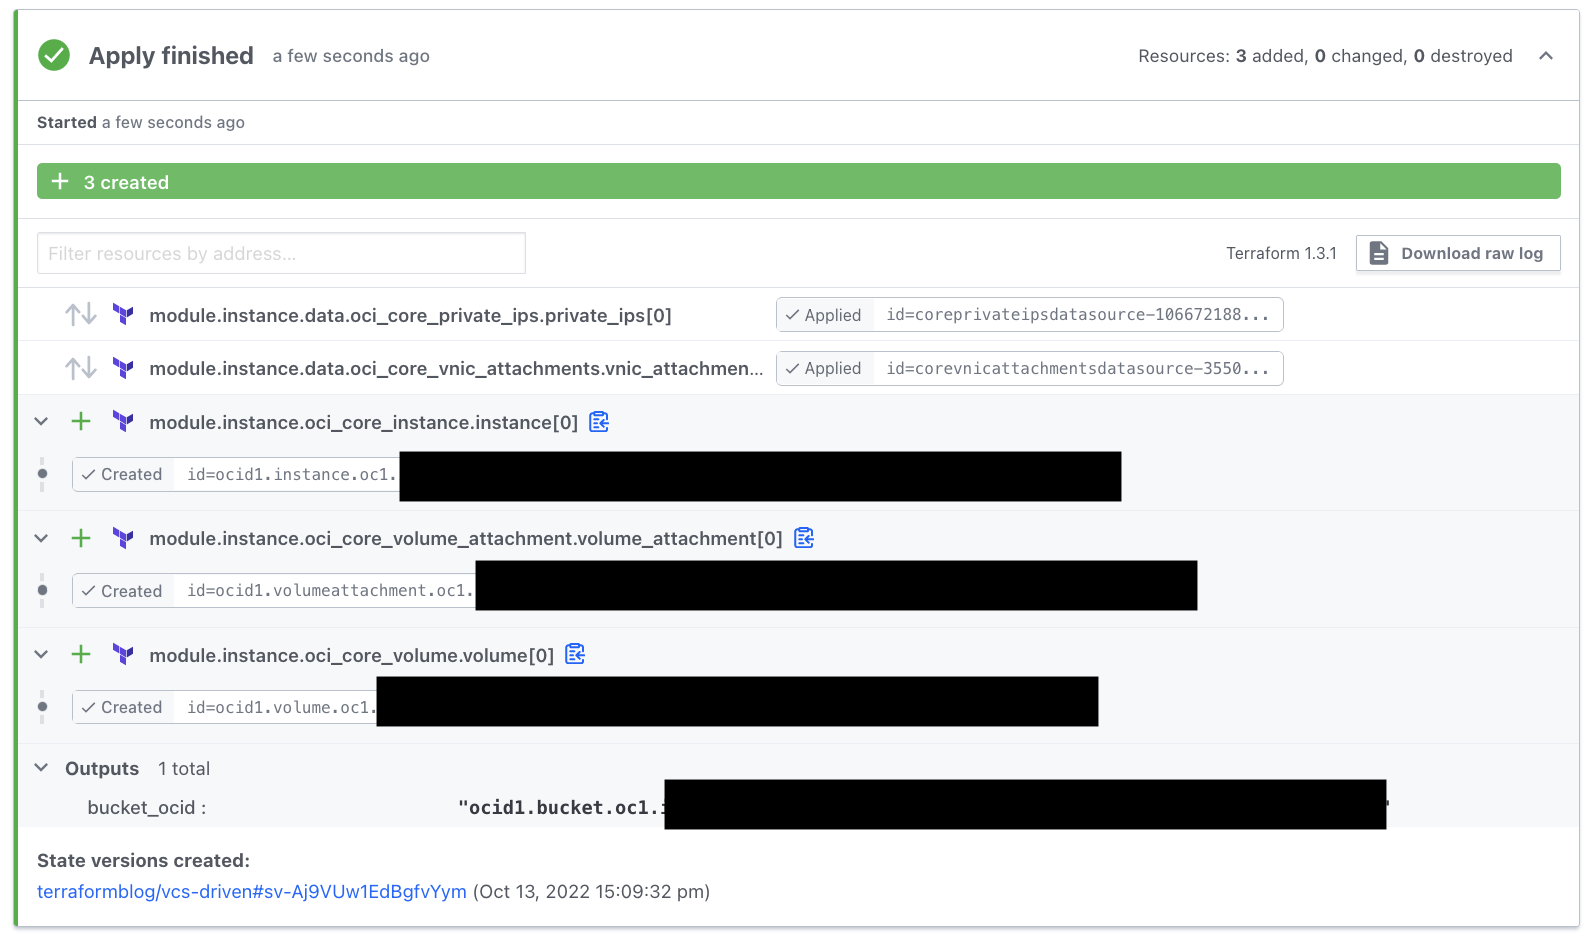
Grab a cup of coffee and come back in about 2 minutes. The apply finished, and we can look at the results, including outputs and OCIDs:
Updates and Changes
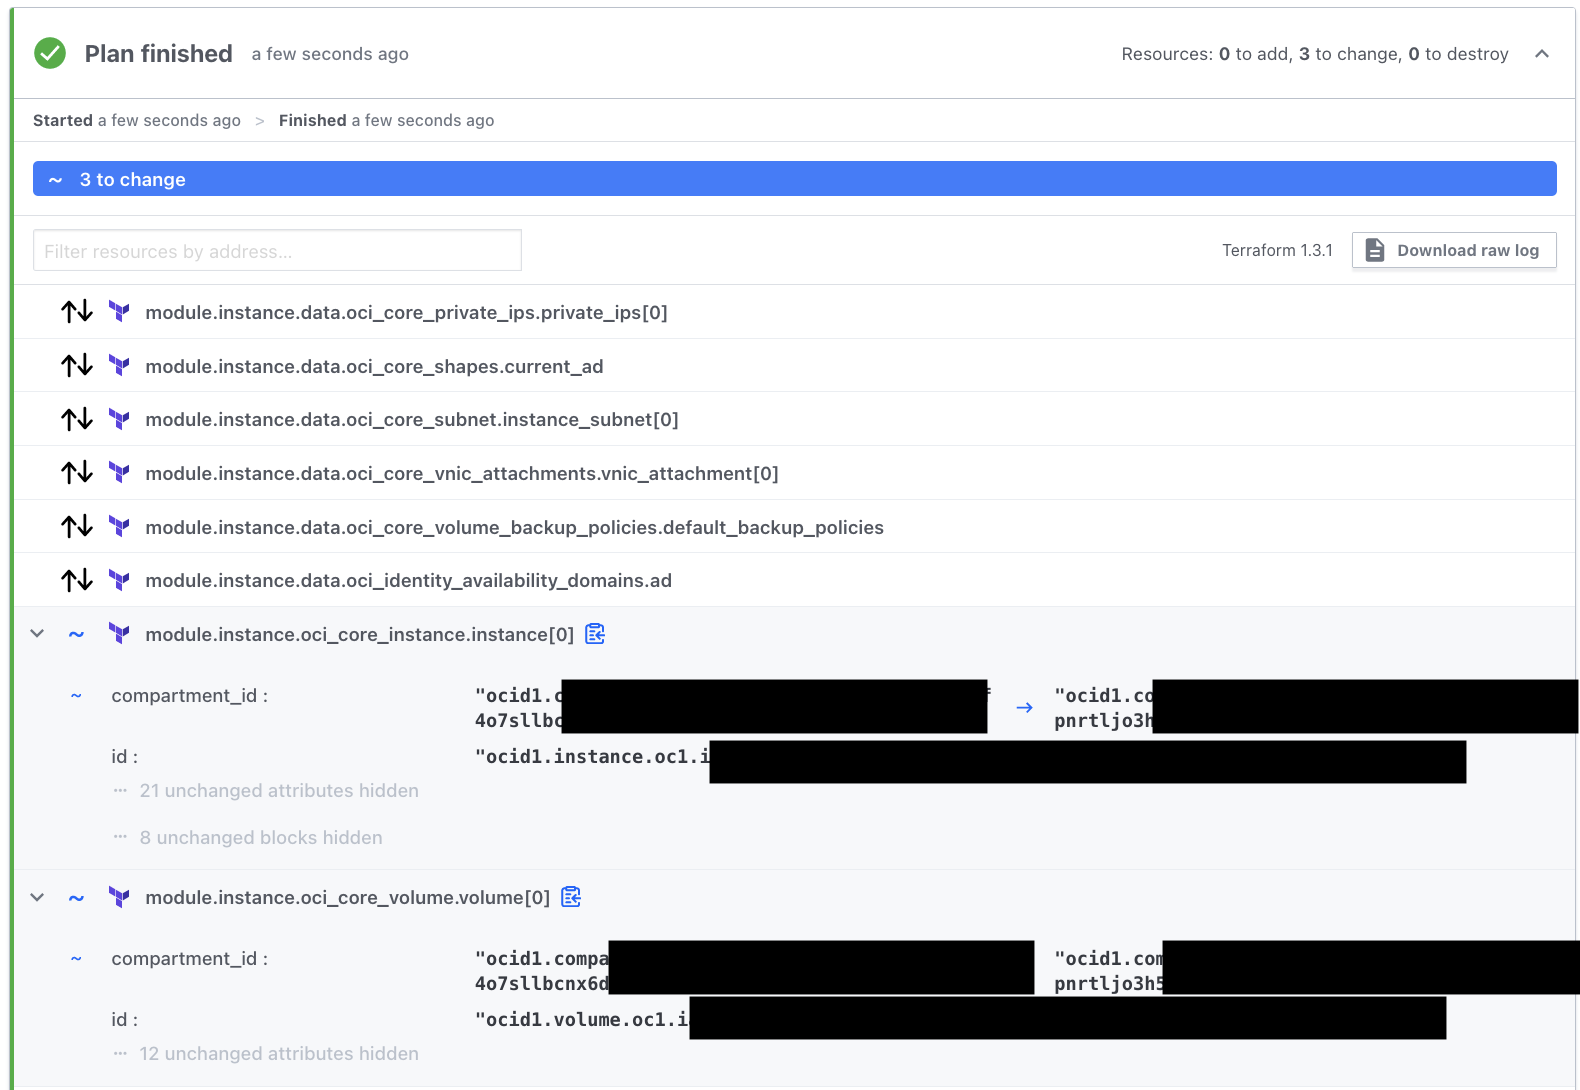
Now that the instance is in place, what happens to changes, drifts, such as from manual changes. This will be covered more fully in another blog entry, where branching and Git Flow can be discussed. But for now, one simple change we can make is out of necessity. When I spun up the instance, it was in the wrong compartment. To change this, and without taking the instance down, the variable set can be updated (compartment_ocid). A new Plan and Apply will update the instance accordingly.
The plan (after editing compartment_ocid) looks like this:
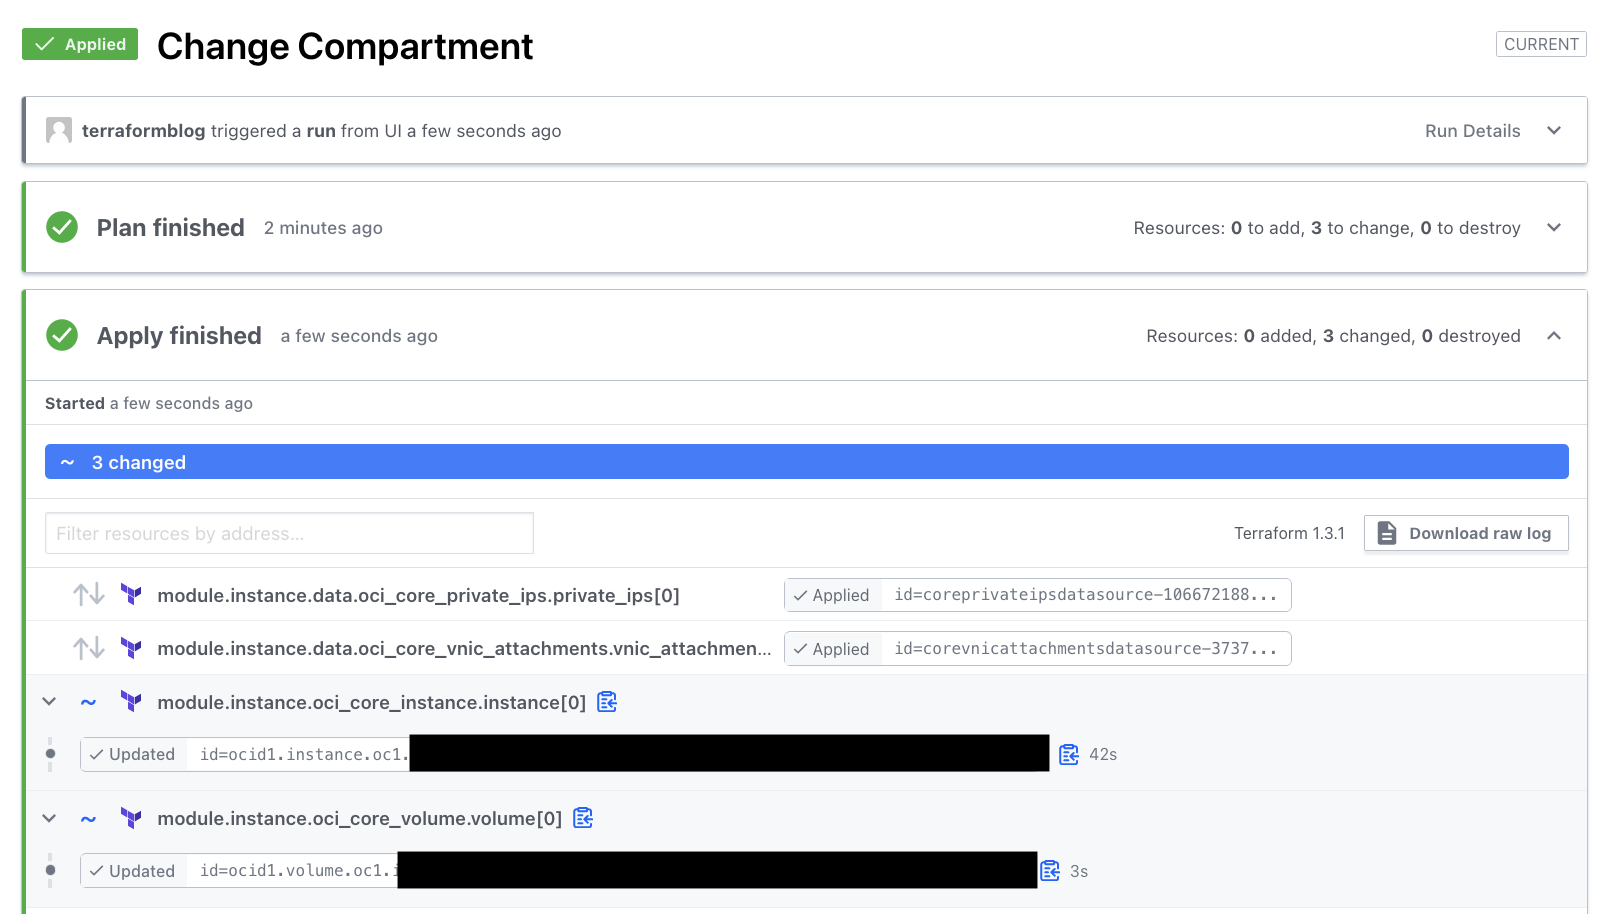
After running apply, the instance, the OCID, and nothing else is different, except the compartment. Importantly, we can show that for certain changes, nothing needs to be destroyed. But do check your plan carefully, as Terraform attempts to (and isn’t perfect) do as little destruction as possible.
Other changes will be covered in the next blog entry. That’s all for now here.
Conclusions
Terraform Cloud is now connected to an capable of feeding from repositories, with variables, state, and history managed in the Workspace. From here, you can see that re-usable Variable Sets, combined with independent workspaces can be combined to create a nice set of Infrastructure-as-Code that is easy(er) to spin up and maintain.
Next time we can look at using Git Flow with branching to ensure that the code is only running against the correct versions of your code.