There will be a requirement to query the data from Oracle databases from Microsoft SQL Server. To query the data from the Oracle database, you need to create the SQL Server Linked Server to query the Oracle data. You will need to install and configure the Oracle Database client to make a successful connection to Oracle Autonomous Database.
Perform the below steps on Windows Server to install and configure the Oracle Database 19c client:
Download the Oracle Database client:
You can download the Oracle 19c client software from the link.

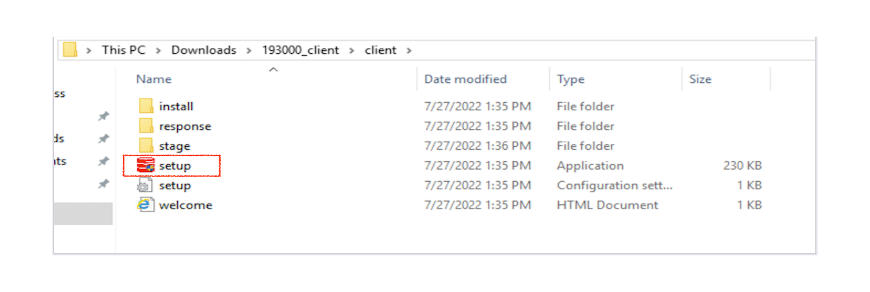
Extract the zip file and click setup.exe.
Install the Oracle Client 19c. During the installation, choose the installation type Administrator, as shown in the following image.Install the Oracle client 19c. During the installation, choose the installation type Administrator, as shown in the following image.

Download the Download Client Credentials (Wallets) from Autonomous database using the link.
Update Credentials (Wallets) in Windows Server:
Uncompress Wallet .zip file into a secure folder. In the uncompressed folder, edit the sqlnet.ora file, replacing “?/network/admin” with the name of the folder containing the client credentials.
For example:
WALLET_LOCATION = (SOURCE = (METHOD = file) (METHOD_DATA = (DIRECTORY=”C:\app\client\opc\product\19.0.0\client_1\network\admin “)))
SSL_SERVER_DN_MATCH=yes
Create Environment Variable:
To edit an environment variable, go to your computer’s control panel > System and Security > System > Advanced System Settings.
Navigate to System Properties, click on the Advanced tab, then click on Environment Variables.
Create a new environment variable ORACLE_HOME, then set it to the Oracle Client software location.
Create a new environment variable named TNS_ADMIN, then set it to the secure folder containing the credentials file.

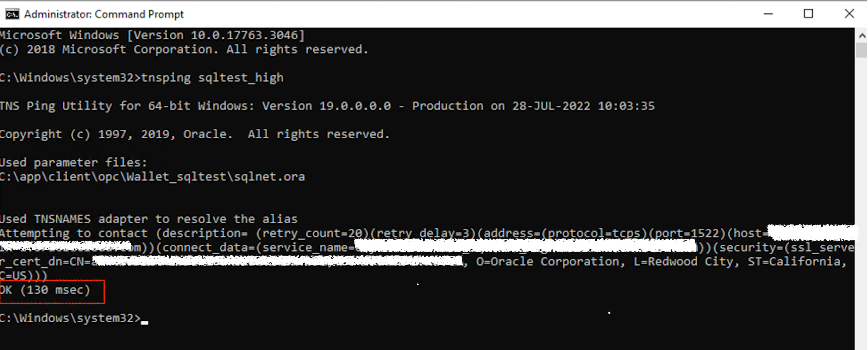
Test tnsname resolution:
Open cmd.exe and run the tnsping command. You will get the similar output as shown in the following image.
Create a Linked Server to an Autonomous Oracle Database:
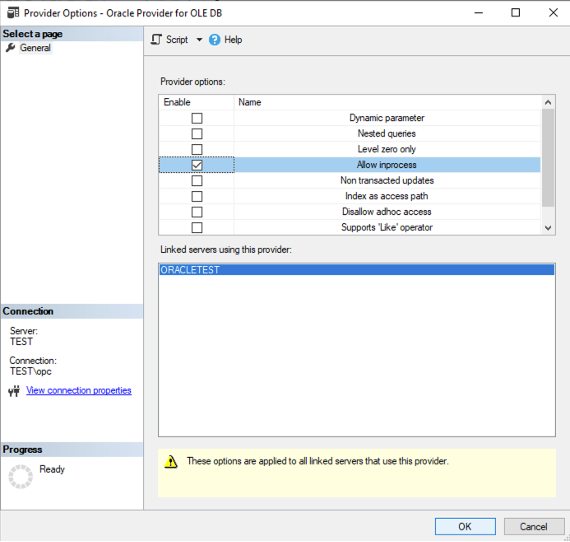
To verify the OLE DB provider, connect the SQL Server engine from SQL Server Management Studio and navigate to Server Objects >> Providers.
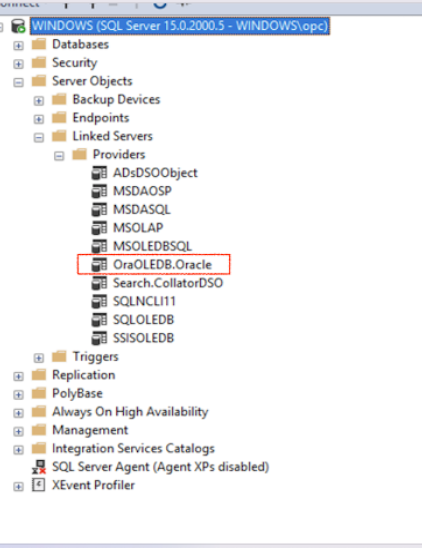
To allow inprocess, Right-click on ORAOLEDB.Oracle provider and enable Allow inprocess.
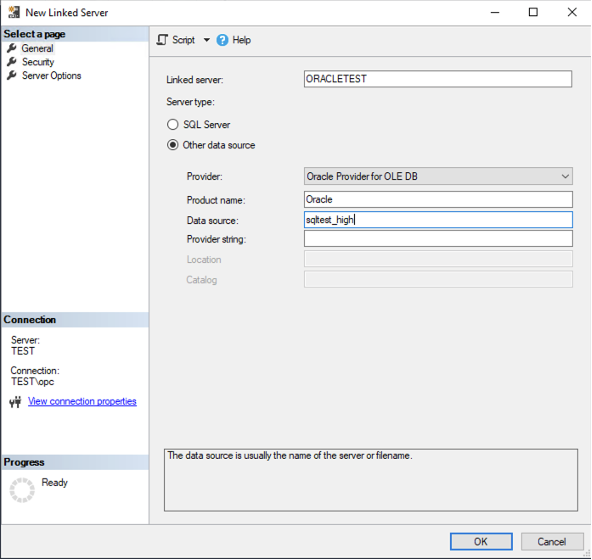
To create the Linked Server, connect the SQL Server engine from SQL Server Management Studio and navigate to Server Objects. Expand the Server Objects section, and you will find Linked Servers. Right-click on Linked Servers to create the New Linked Server.

Provide the details as shown in the following image and the Data source (Oracle Connection String TNS Name) details.
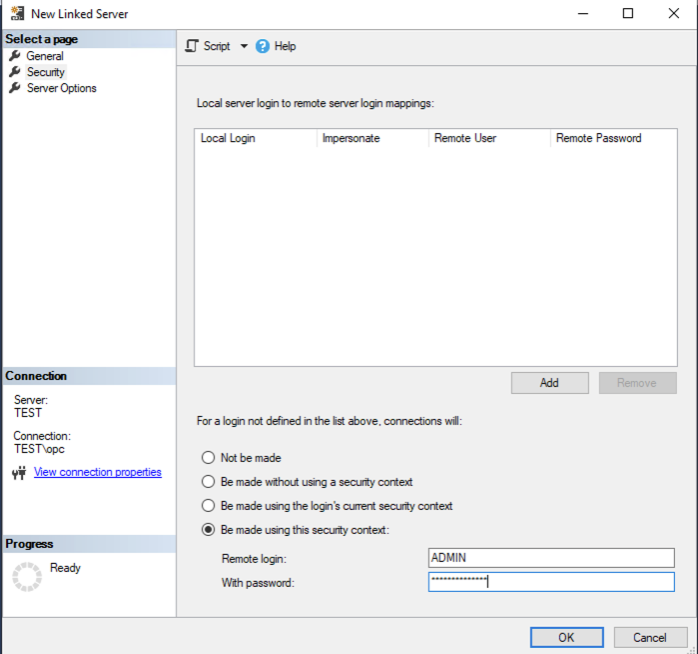
Provide the Oracle remote login and password, and click ok to create the Linked Server.
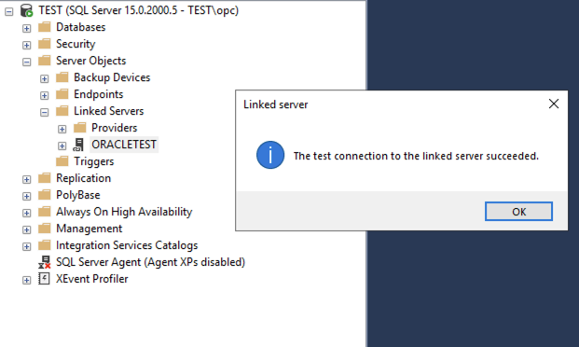
Right-Click on the Linked Server and click on Test Connection to check the linked server connectivity to the Autonomous Oracle Database.
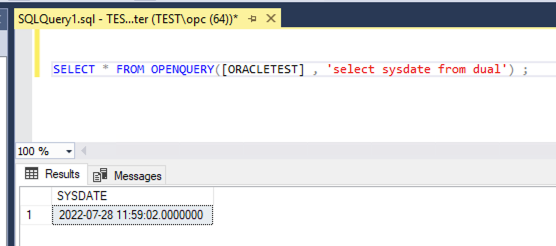
To query the Oracle table from SQL Linked Server, run the following query.
SELECT * FROM OPENQUERY([ORACLETEST], ‘select sysdate from dual’);
The results are shown as follows.