In this blog post I will create an HttpClusterServlet application and deployed on a managed server say “proxy_server” which acts as a webserver.
End Goal : You should be able use the “proxy_server” host and port to access any application deployed on a WebLogic cluster.
NOTE :
– If you have a chained proxy setup, where a proxy plug-in or HttpClusterServlet is running behind some other proxy or load balancer, you must explicitly enable the WLProxyPassThrough parameter. This parameter allows the header to be passed through the chain of proxies.
Download the sample HttpClusterServlet.war here!
Below are the steps to configure WebLogic Server as a webserver using HttpClusterServlet :
Step 1:
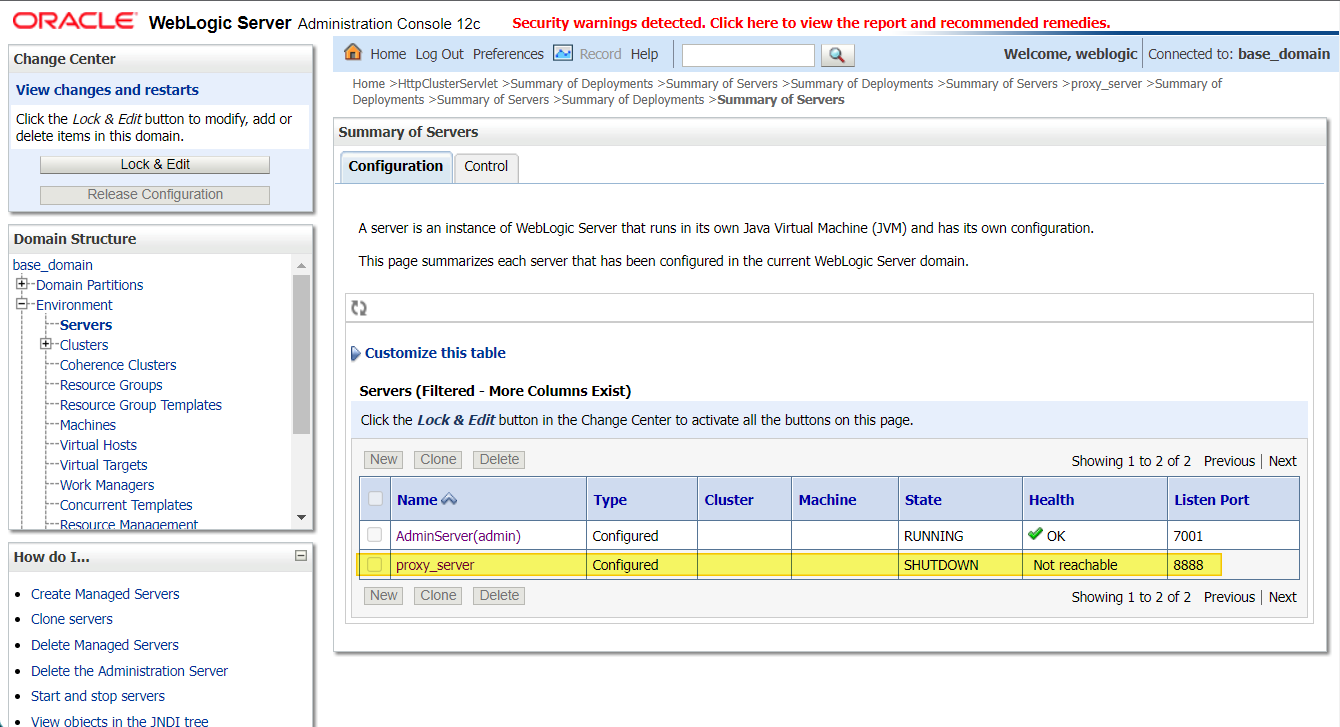
Create a separate non-clustered managed server, say “proxy_server”
Step 2:
Configure HTTP cluster servlet as the default Web application deployed on “proxy_server”
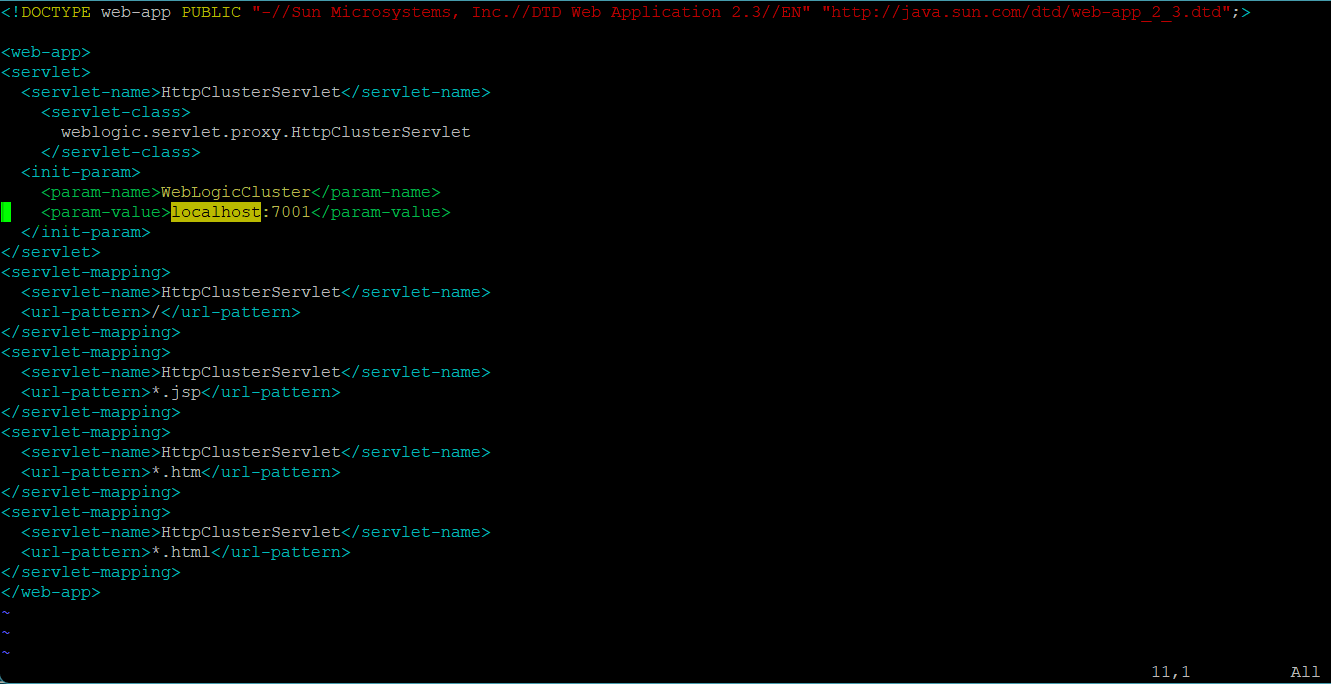
- Create a web.xml file with the following contents :
<!DOCTYPE web-app PUBLIC “-//Sun Microsystems, Inc.//DTD Web Application 2.3//EN” “http://java.sun.com/dtd/web-app_2_3.dtd”;>
<web-app>
<servlet>
<servlet-name>HttpClusterServlet</servlet-name>
<servlet-class>
weblogic.servlet.proxy.HttpClusterServlet
</servlet-class>
<init-param>
<param-name>WebLogicCluster</param-name>
<param-value>localhost:7001</param-value>
</init-param>
</servlet>
<servlet-mapping>
<servlet-name>HttpClusterServlet</servlet-name>
<url-pattern>/</url-pattern>
</servlet-mapping>
<servlet-mapping>
<servlet-name>HttpClusterServlet</servlet-name>
<url-pattern>*.jsp</url-pattern>
</servlet-mapping>
<servlet-mapping>
<servlet-name>HttpClusterServlet</servlet-name>
<url-pattern>*.htm</url-pattern>
</servlet-mapping>
<servlet-mapping>
<servlet-name>HttpClusterServlet</servlet-name>
<url-pattern>*.html</url-pattern>
</servlet-mapping>
</web-app>
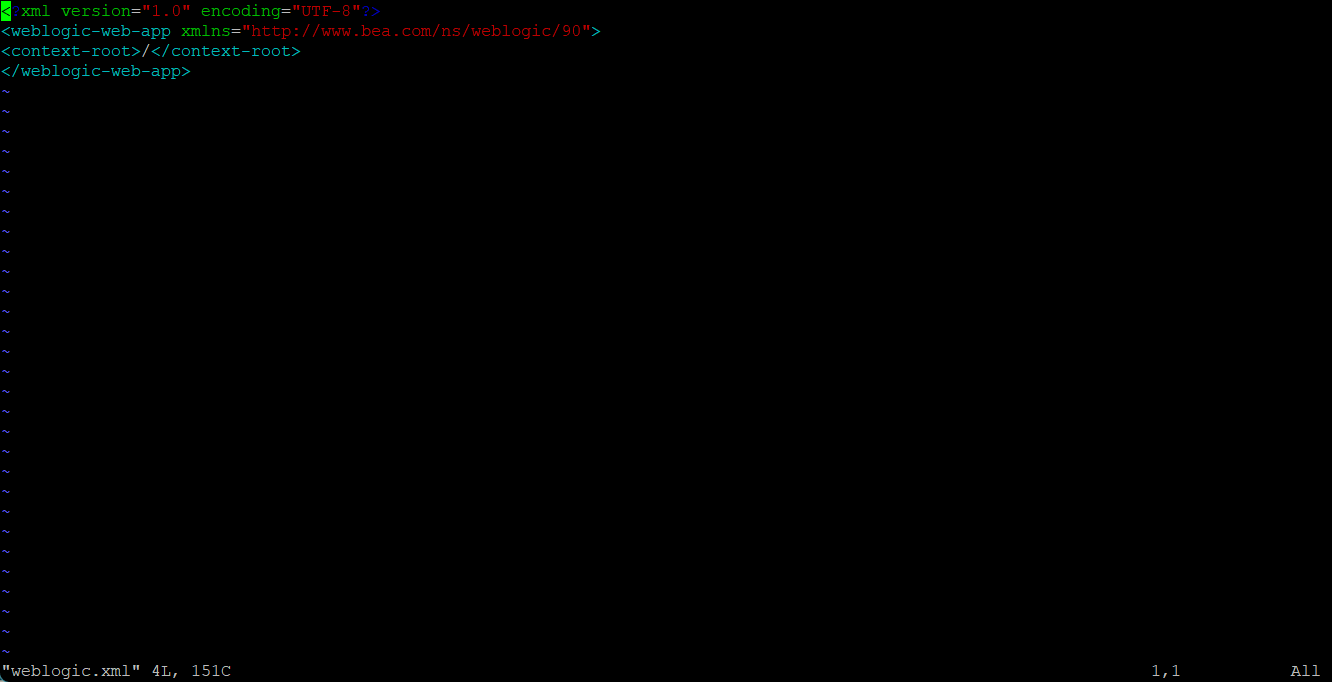
- Create weblogic.xml file :
<weblogic-web-app xmlns=”http://www.bea.com/ns/weblogic/90″>
<context-root>/</context-root>
</weblogic-web-app>
Step 3:
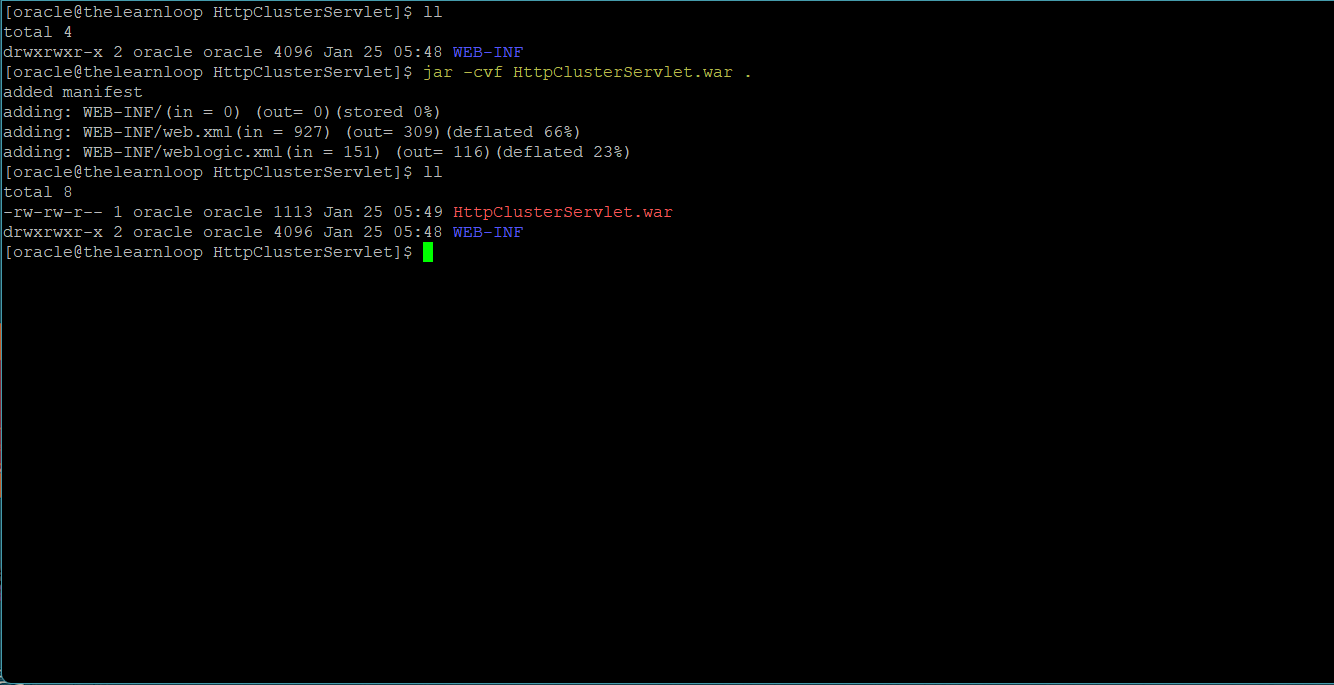
Create a war file using the above web.xml and weblogic.xml file (inside WEB-INF)
jar cvf HttpClusterServlet.war .
NOTE :
Make sure that the proxy servlet is the default application for the proxy server “proxy_server”
The <context-root> deployment parameter should be set to “/”.
Step 4:
Deploy this war file to “proxy_server” created in “Step 1” and make sure it is “Active”
Access any application deployed on your cluster (in this case we are accessing the AdminConsole deployed on AdminServer) using the “proxy_server” host and port.
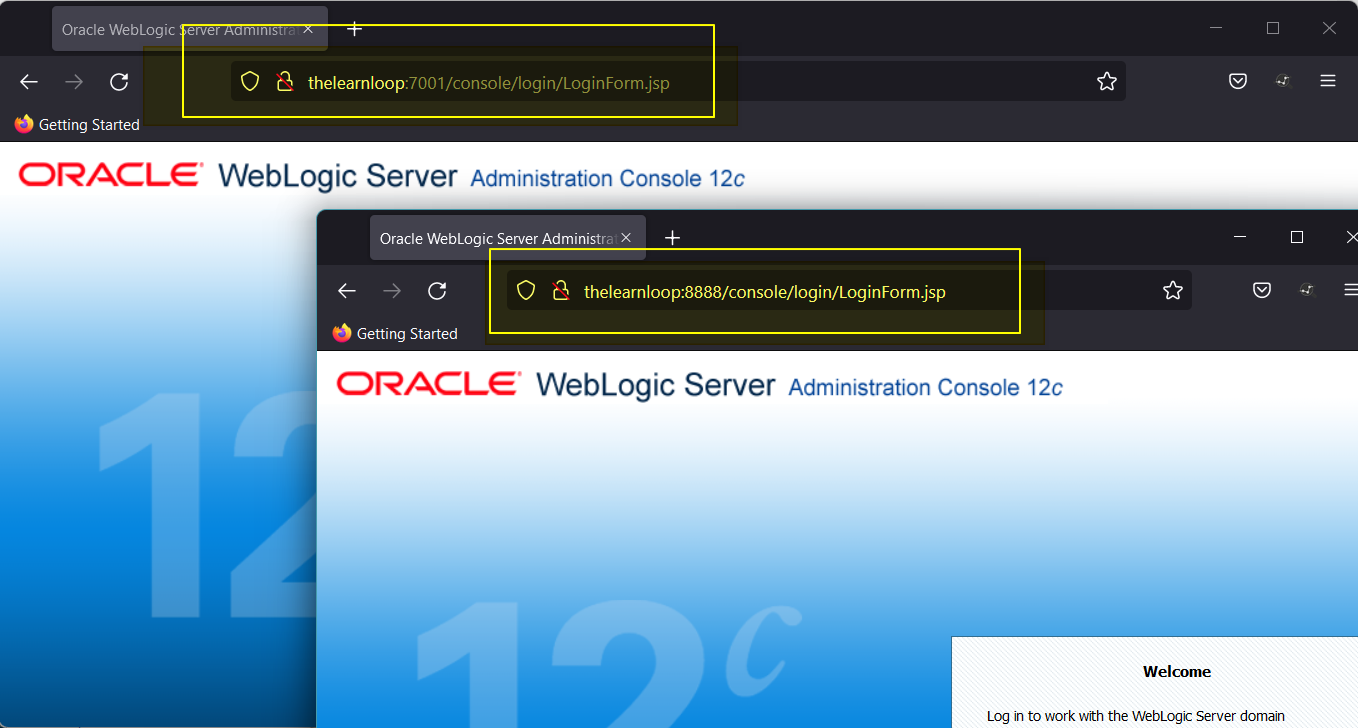
NOTE :
– In this example I have used “localhost:7001” as the value for WebLogicCluster parameter. You need to modify this according to your requirement.
– You can provide “|” separated host:port values for WebLogicCluster parameter.
Example :
…
<init-param>
<param-name>WebLogicCluster</param-name>
<param-value>ms1_hostname:ms1_port|ms2_hostname:ms2_port|ms3_hostname:ms3_port</param-value>
</init-param>
…
