![]()
Introduction
Oracle Analytics Cloud (OAC) now supports REST APIs for catalog operations. Using these REST APIs, you can perform the tasks below.
- Retrieve object details
- Update object ACL details
- Create or delete folders
- Copy or move catalog items such as folders, workbooks, subject areas, analyses, dashboards, dashboard pages, reports, connections, datasets, data flows, sequences, scripts, and semantic models
Use Case
In a multi-user development environment, automatic backups are required for certain catalog folders so users can revert to the previous versions of catalog objects when they want. While creating scheduled backups, there is also a need to delete the old backups to maintain the catalog storage efficiently.
Prerequisites
- OCI Command Line Interface (CLI): You need install and configure OCI CLI on an existing OCI VM (if you have any) or a server to deploy and schedule the Python scripts. The server should also have Python installed on it.
- Non-Federated User: To access OAC REST APIs, you need an OAuth 2.0 access token for authorization. This authentication type requires a bearer token, obtained by invoking an Oracle Identity and Access Management REST API. While the Python scripts will handle this, a non-federated user is required to grant this token generation. This user should have access to the DV Content Author role. However, depending on the actual permissions set in the OAC catalog folders, the user may require the BI Service Administrator role.
- Confidential Application: Create a new confidential application in identity domain with the OAC instance added to the scope. This scope is used to obtain the token.
- Identify Source and Target Folders: Identify the folder(s) to be backed up and create their corresponding backup parent folders.
- Deploy and Schedule Python Scripts: Deploy the scripts to identify Catalog folder IDs and to generate backups for the Catalog folders.
OCI Command Line Interface (CLI)
Follow these instructions to install and configure OCI CLI.
Verify if Python is installed on the VM/server using the command.
python3 –version
Non-Federated User
You can use an existing non-federated user from OCI Identity and Access Management. This user should be a member of DV Content Author role to access OAC Catalog APIs. However, please check the permissions on the catalog folders involved in this process and ensure that this user has additional role memberships to have read-write access on those folders.
Create Confidential Application
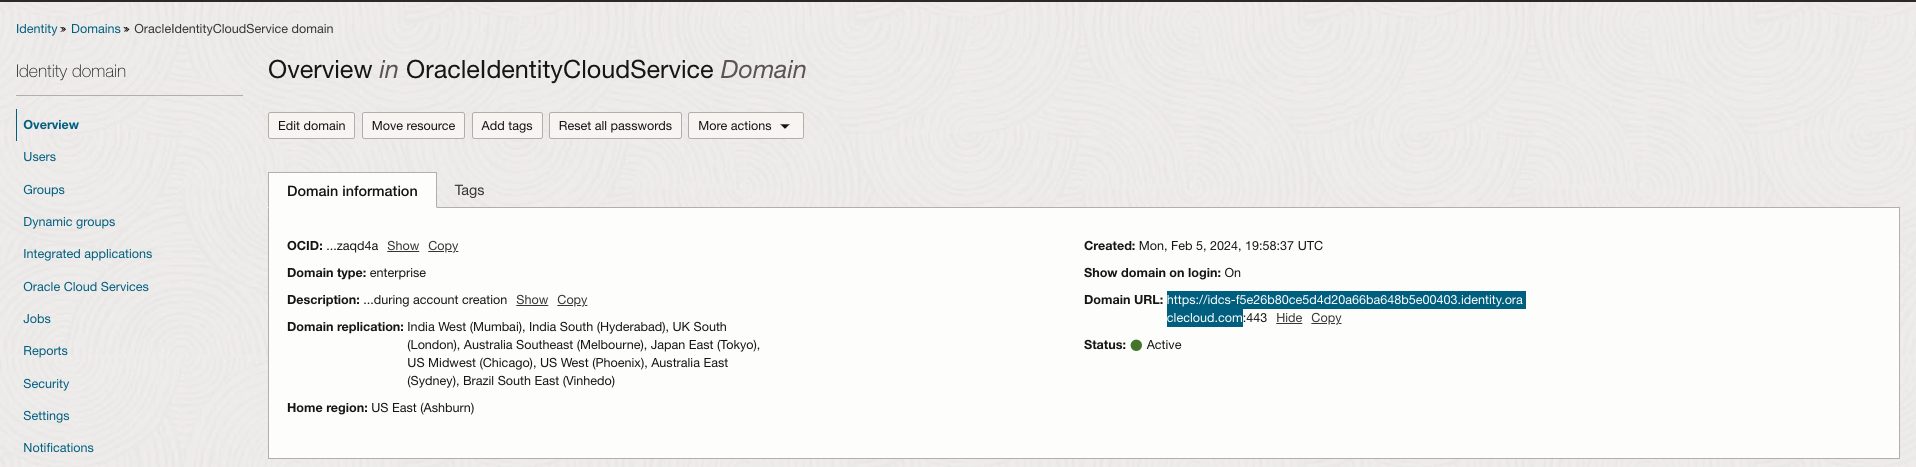
Sign in to your OCI account as an administrator. Navigate to Identity & Security and click Domains. Select the domain that contains the OAC instance.
Under Overview -> Domain Information, make a note of the Domain URL. You will need to provide this URL while generating the token.
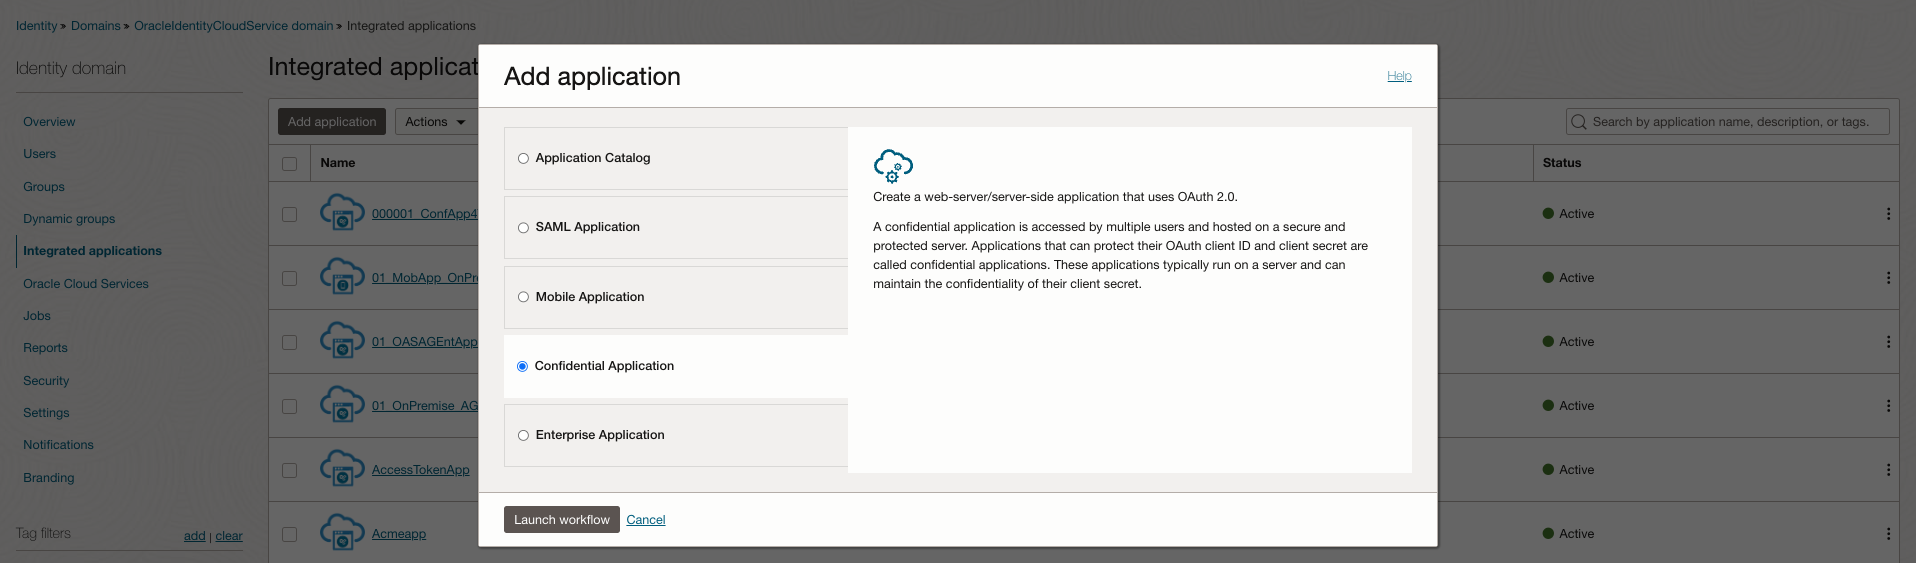
Navigate to Integrated applications and click Add application.
In the Add application dialog, select Confidential Application and click Launch workflow.
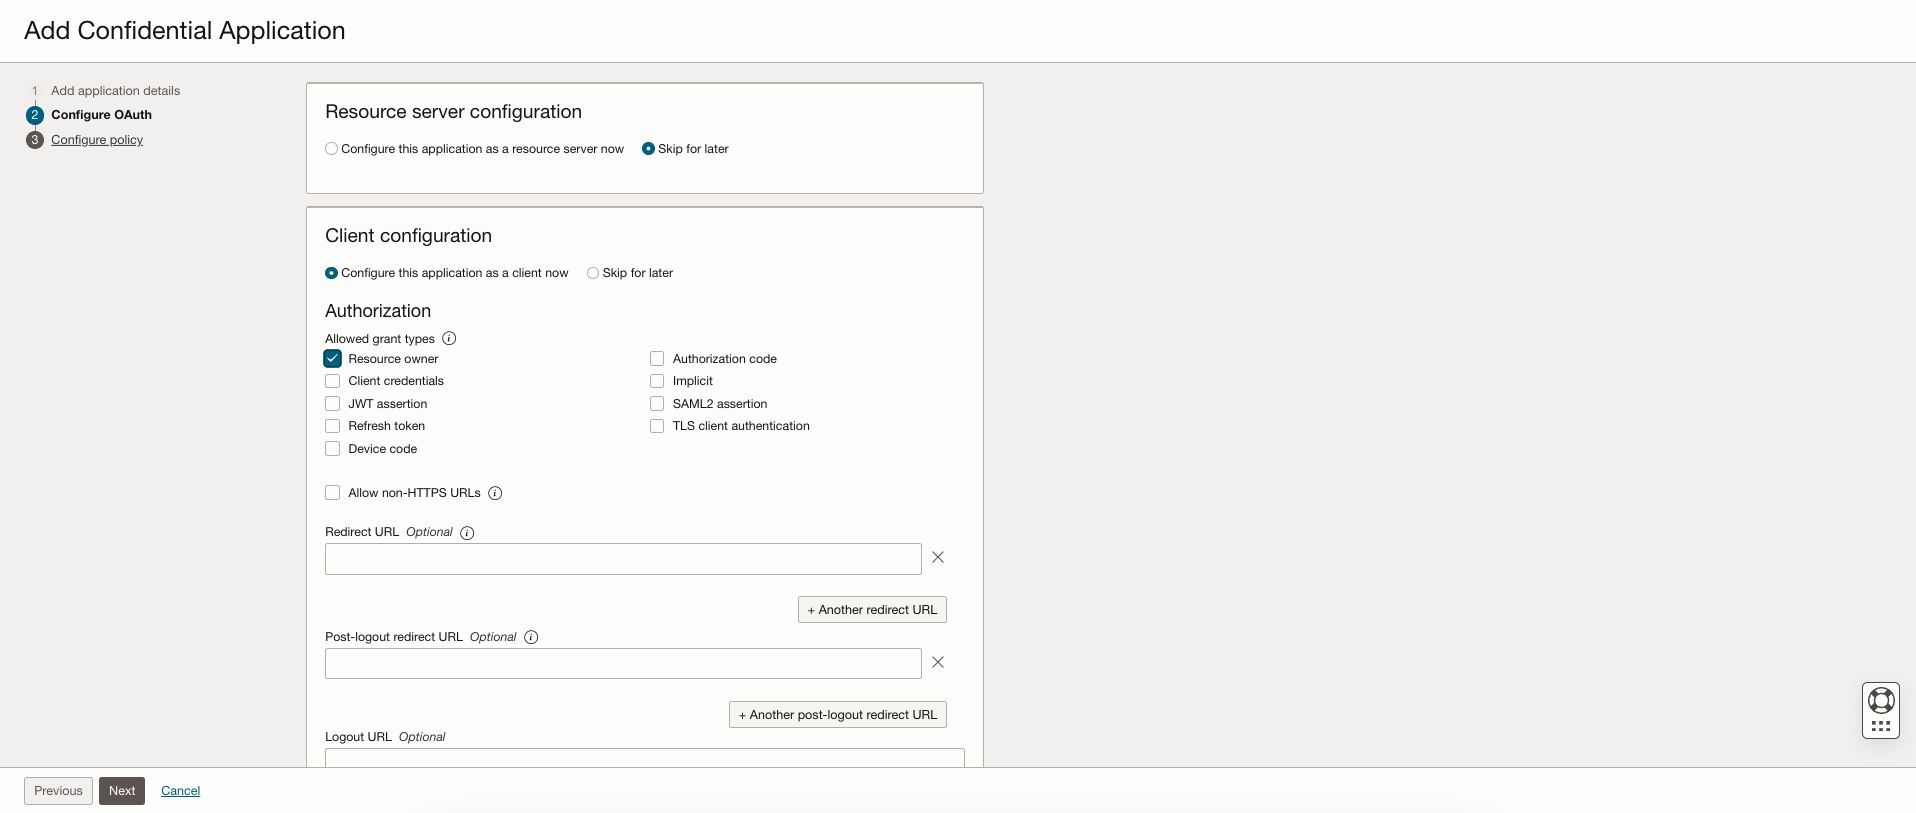
Specify a name and description, leave other fields blank, and then click Next.

Select Configure this application as a client now.
In Allowed Grant Types, select Resource Owner.
In the section Token Issuance Policy, select Specific under Authorized resources. Select Add resources checkbox.
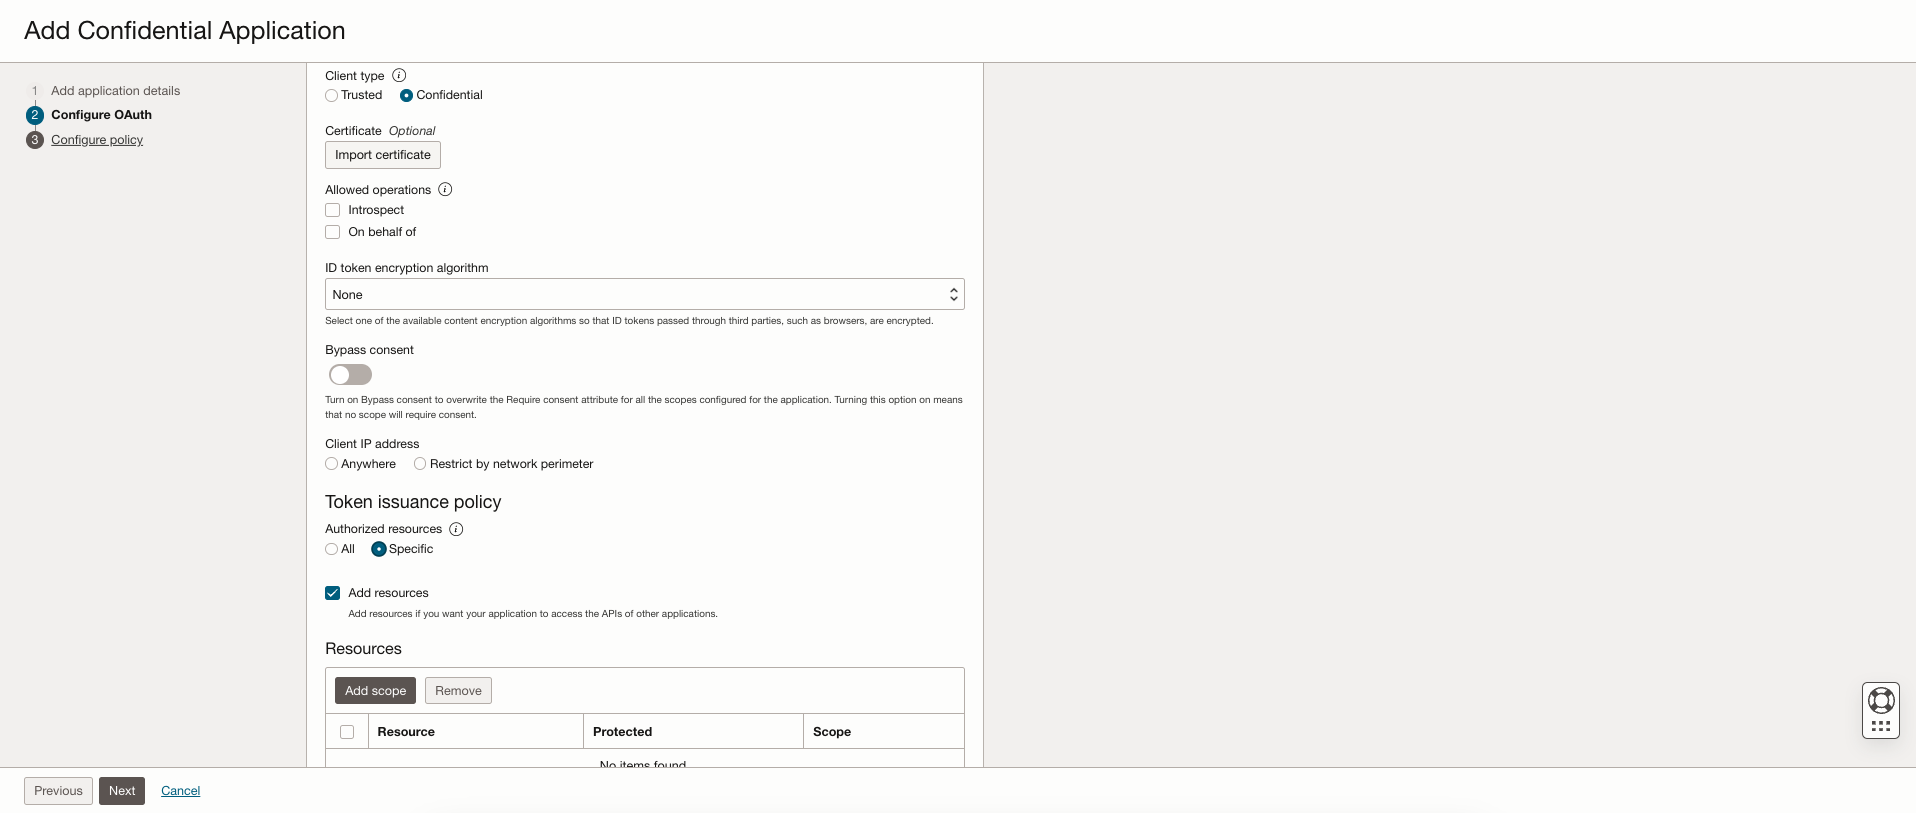
Under the Resources, click Add scope, select the Oracle Analytics Cloud instance you want to access. For example, select AUTOANALYTICSINST_< my_OAC_instance_ID >.
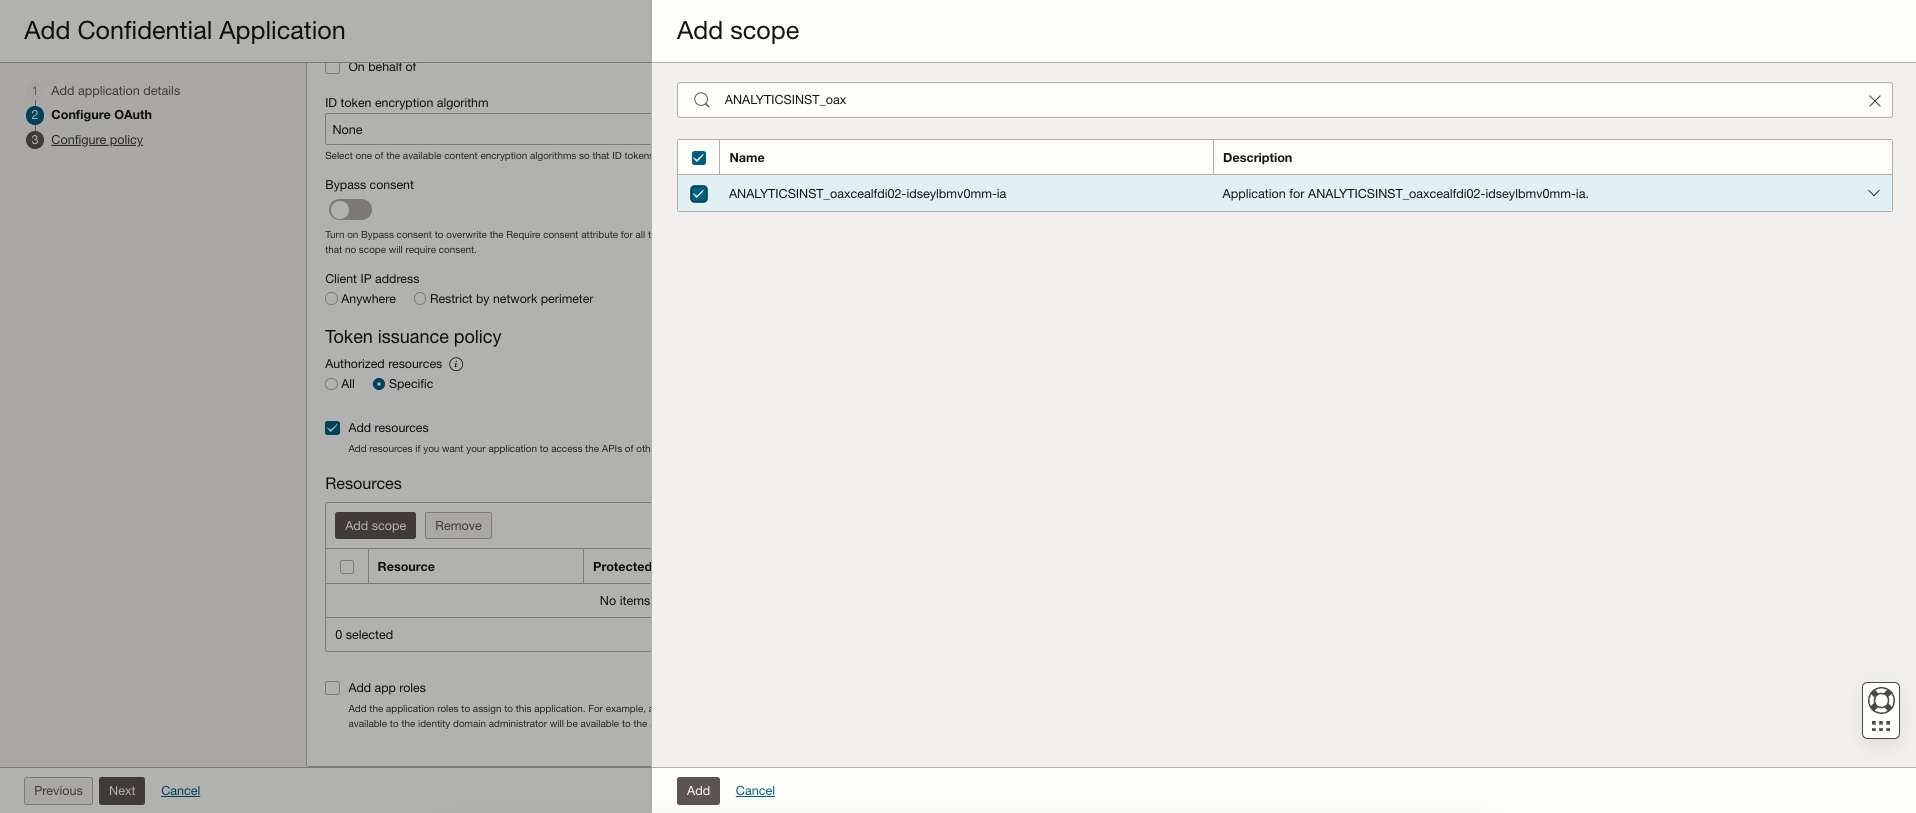
Make a note of the Scope value (a URL) as this is used to call the IDCS REST API to obtain a bearer token.

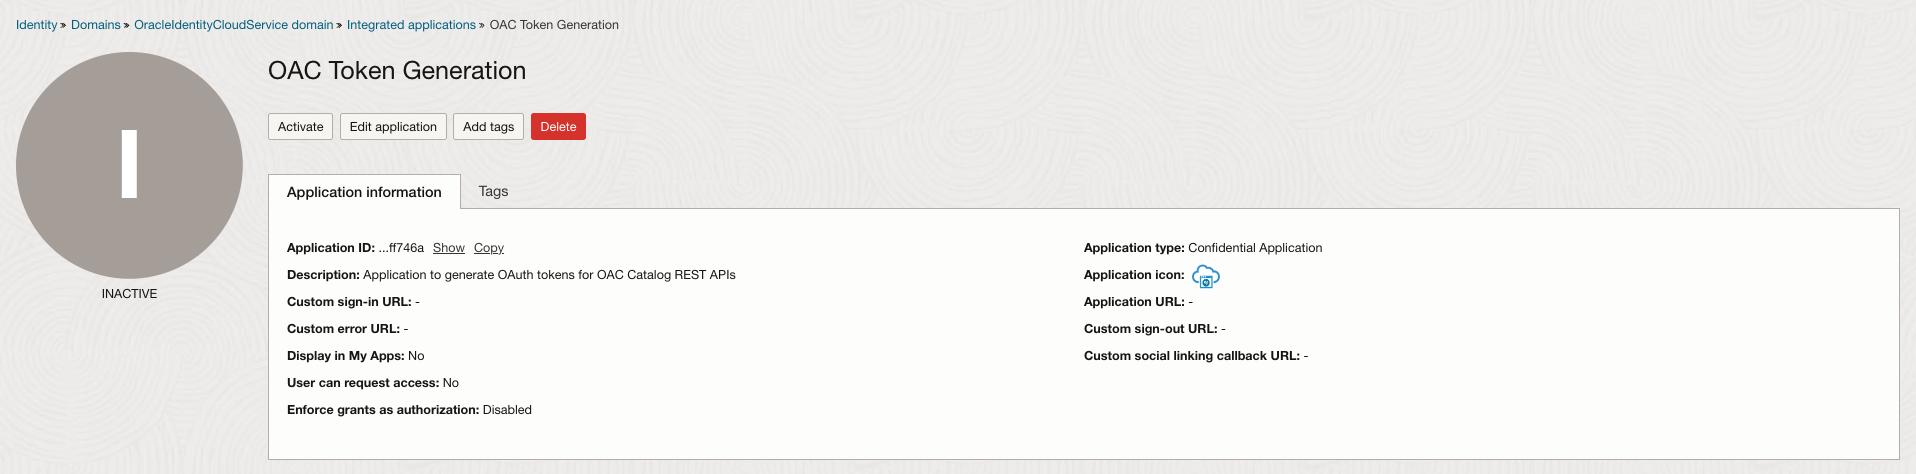
Click Next. Select Skip and do later. Click Finish to create the application.
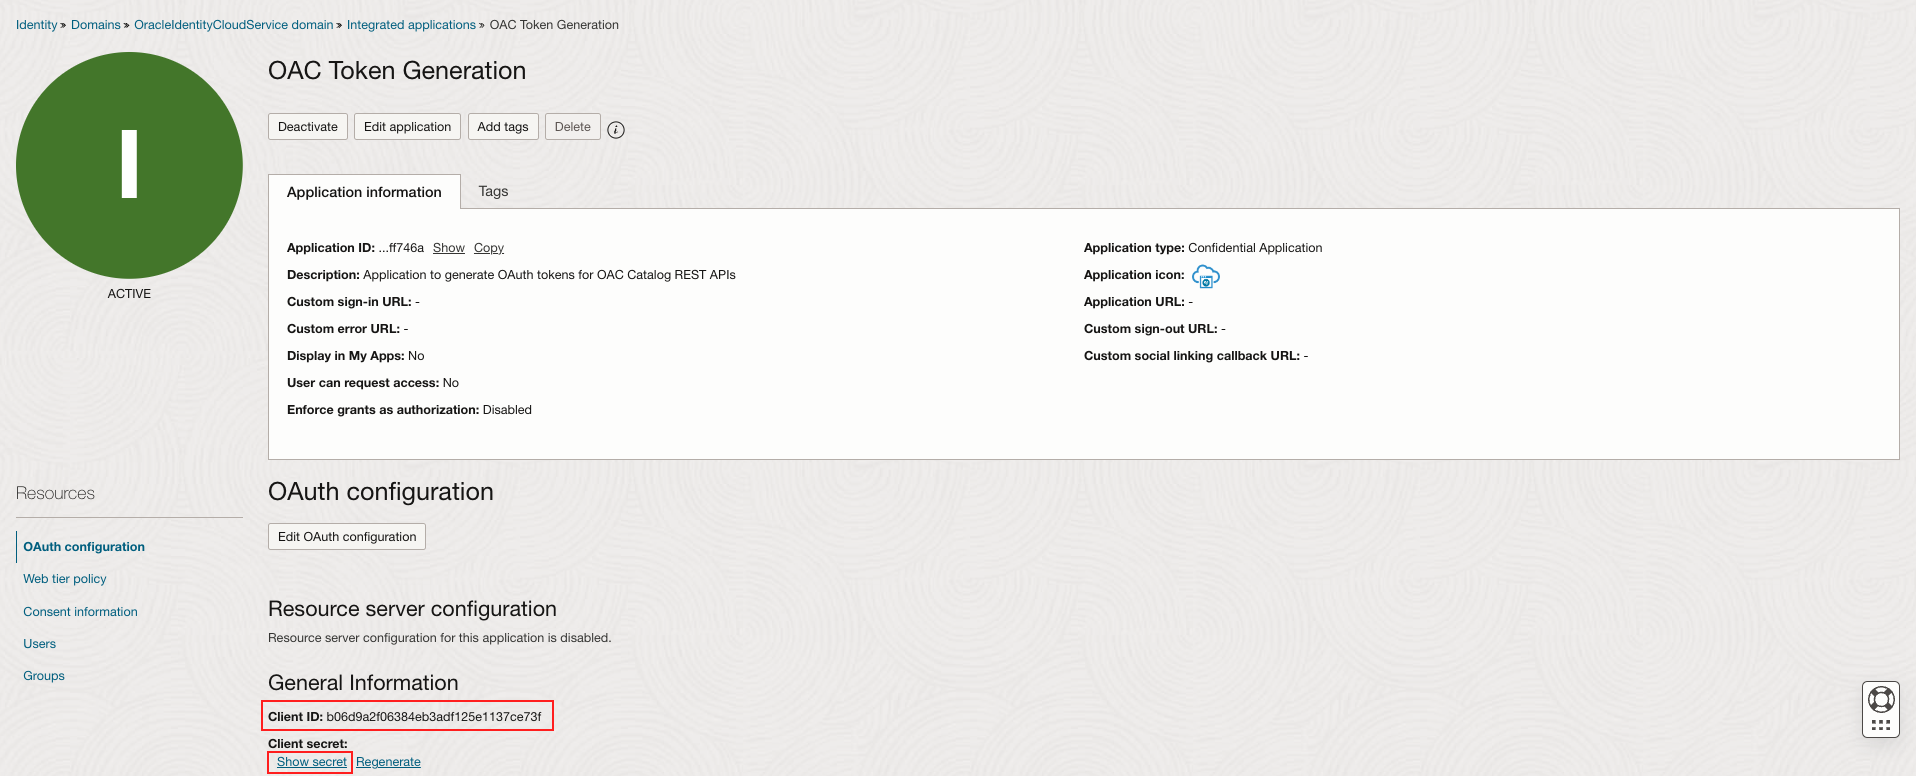
Click Activate to activate the application.
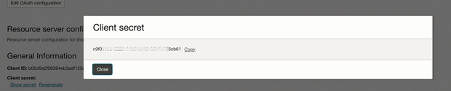
Make a note of the confidential application Client ID and Client secret.
Open the Cloud Shell or Terminal and run the following command to get the base64 encoded clientID:ClientSecret:
echo -n "<Client ID>:<Client Secret>" | base64
Make a note of the encoded string.

Identify Source and Target Folders
Identify the source folder(s) that need to be backed up.
Identify the target parent folder where the backups will be stored. Create one if needed.
For example, all objects under the “CatalogAPI” folder should be backed up under the “CatalogAPI_Backup” folder.

Deploy and Schedule Python Scripts
Download the OAC Catalog API Python scripts (get_catalog_folder_id.py and generate_catalog_backup.py) to the VM or server where you are deploying the scripts.
Create and navigate to the directory on the path where you want to deploy the Python scripts and copy the downloaded Python scripts to this directory.
mkdir <directory-name>
cd <directory-name>
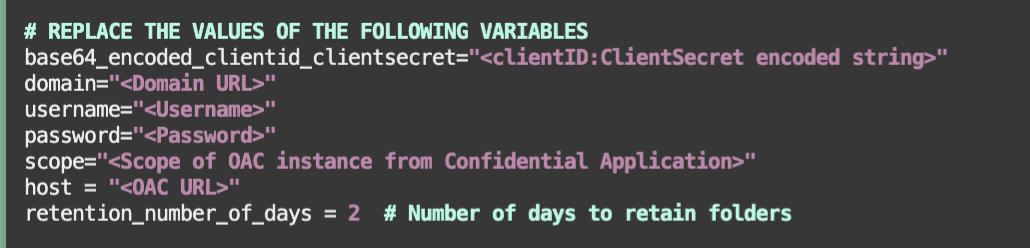
Edit files get_catalog_folder_id.py and generate_catalog_backup.py to replace the values for the following variables –
- base64_encoded_clientid_clientsecret = “< clientID:ClientSecret string noted from earlier >”
- domain = “< IDCS instance ID noted earlier from the Domain URL >”
- username = “< username of the non-fedarated user >”
- password = “< password of the non-fedarated user >”
- scope = ” < scope value copied while creating the confidential application >”
- host = “< OAC URL >”
- retention_number_of_days = < Number of retention days for previously auto-backed up folders > (only used in the generate_catalog_backup.py script)

Run get_catalog_folder_id.py to get the IDs for the source and target folders-
pyhton3 get_catalog_folder_id.py <search string (optional)>

Note down the IDs for the source and target folders.
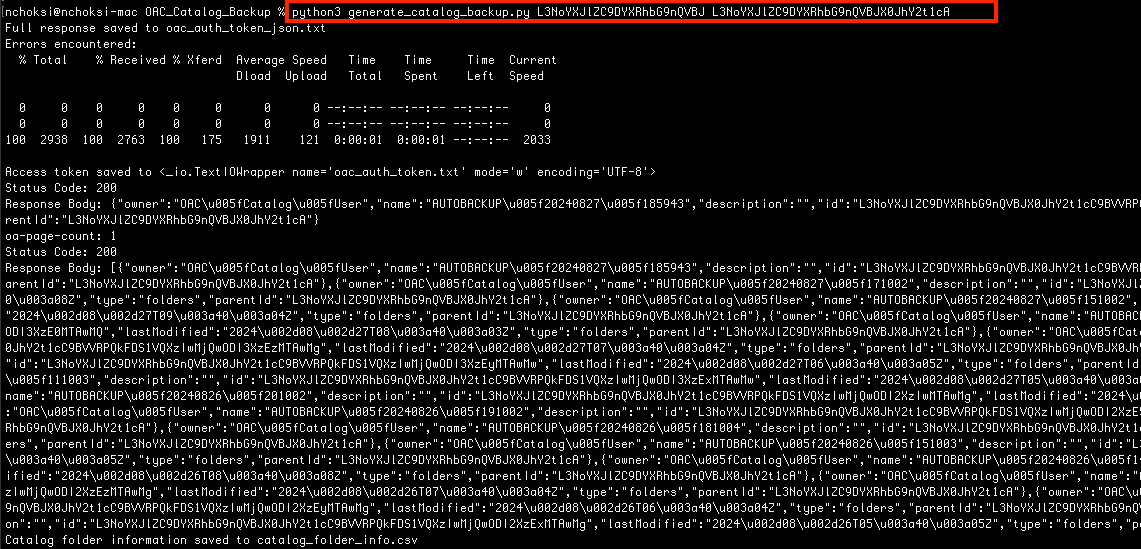
Run and test generate_catalog_backup.py to generate backups in the target folder. This script will also delete the AUTOBACKUP folders created before the cut-off date that is calculated by *retention_number_of_days provided in the script variables.
pyhton3 generate_catalog_backup.py <ID of the source folder> <ID of the target folder>

[*NOTE: OAC catalog objects are stored in the RCU schemas in the database. If the size of the source folder is very large, creating and storing frequent backups in the catalog could impact OAC. Hence, it is recommended to clear older backups that are no longer required. The retention_number_of_days provided in the script variables will make sure to delete the AUTOBACKUP folders that are created before the cut-off date that is calculated based on Current Date – < retention_number_of_days >]
Verify that the backup folder has been generated under the target folder, and the folders created before retention days are deleted.

To schedule the file, give execute permission to the generate_catalog_backup.py script using the following command –
chmod -x generate_catalog_backup.py
For Linux machines, the script can be scheduled by editing crontab with execution command and schedule as following –
crontab -e
30 * * * * python3 /<PATH TO SCRIPT>/generate_catalog_backup.py <SOURCE CATALOG FOLDER ID> <TARGET PARENT CATALOG FOLDER ID> /<LOG FILE PATH>/scheduled_run.log 2>&1
For example, the above job will run on 30th minute of every hour.

To back up multiple folders, you can schedule multiple commands, one for each source folder.
Save the file and verify the cronjob is active using the following command:
crontab -l
For Windows machines, the script can be scheduled using Windows Scheduler.
Call to Action
Try using the OAC REST APIs to maintain individual folder backups for your catalog and let us know your experience in the Oracle Analytics Community.
For more OAC REST API use-cases, refer to the following blog posts –
- To create Catalog Permission Reports for Oracle Analytics Cloud using REST APIs, refer to the blog post – Create Catalog Permission Reports for Oracle Analytics Cloud using REST APIs
- To manage the access control of catalog items programmatically, refer to the blog post – Managing Access Control for Catalog Items Programmatically in Oracle Analytics Cloud.
If you have questions, post them in the Oracle Analytics Community and we’ll follow up with answers.
![]()