![]()
Introduction
In today’s data-driven world, enterprises rely heavily on cloud ecosystems to consolidate, analyze, and derive insights from data across multiple applications. Oracle Fusion Data Intelligence (FDI) enables organizations to harness the power of Fusion ERP, HCM, CX and SCM data by providing advanced analytics capabilities. However, many enterprises also use Azure Data Lake (Blob Storage) as their centralized data hub for advanced analytics, AI/ML pipelines, and Power BI reporting.
To unlock the full value of enterprise data, businesses often need to export FDI data into Azure Data Lake. This integration allows seamless data movement between Oracle and Microsoft ecosystems, enabling better insights, cost optimization, and a unified data strategy
In this article, we’ll walk through a step-by-step guide on how to set up and export FDI data into Azure Blob Storage efficiently.
Prerequisites
Azure Side
- An active Azure storage account
- A container created with blob storage
- Storage account key
Oracle FDI Side
- FDI Console access
Step-by-Step: Export FDI Data into Azure Data Lake
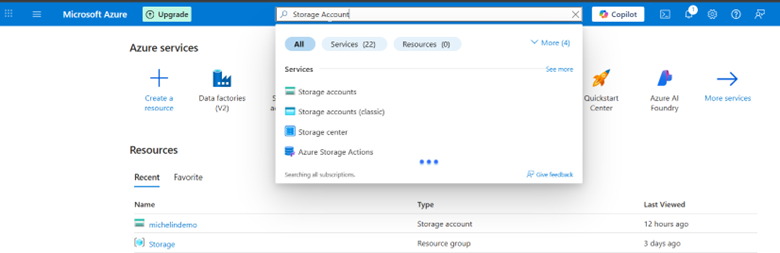
1. Log in to the Azure portal.

2. Go to or search for the Storage Account.
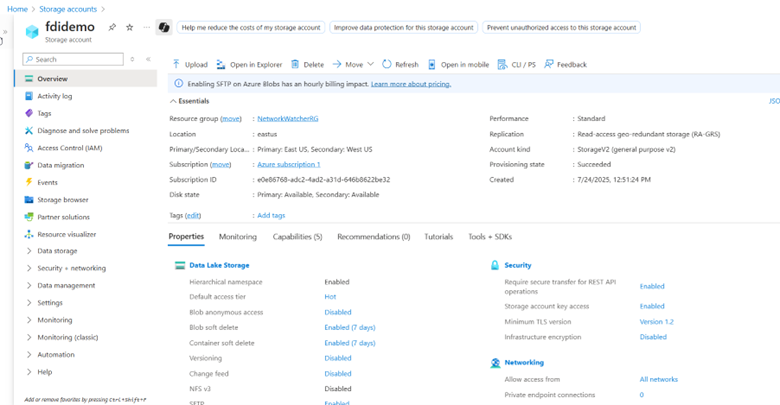
3. Click the storage account from which you want to access the blob container.
4. Click Storage browser and access the blob containers.
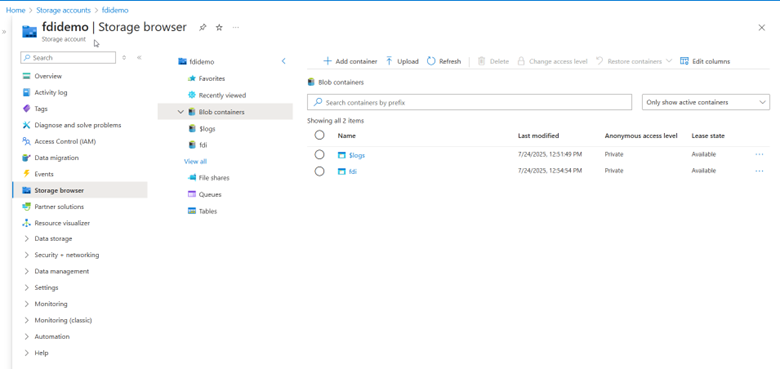
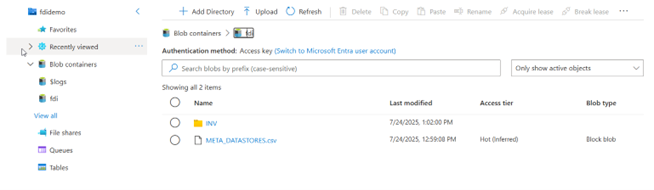
5. Make sure you follow the directory guidelines, as it is needed for refreshing metadata from the FDI.
- Create a base folder (for example, “fdi”).
- This folder contains a subfolder (for example, “INV”) and a META_DATASTORES.csv file. Multiple data files have corresponding subfolders.
- The subfolder, also called as data store folder, corresponds to the name of the CSV or Excel file.
- The subfolder, also called as data store folder, corresponds to the name of the CSV or Excel file.
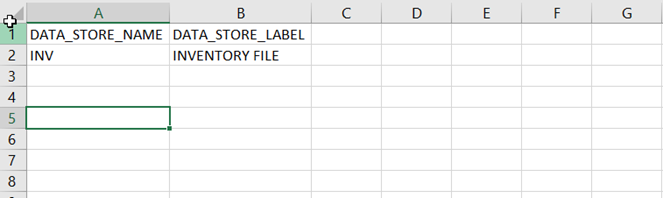
The META_DATASTORES.csv contains the following three fields: DATA_STORE_NAME, DATA_STORE_LABEL, and IS_EXTENSION. Each record in this file corresponds to each data store.
- Each source file has its datastore folder.
- Each data store folder contains two files: 1. Source file to load 2. Metadata of the source file that contains the column definition.
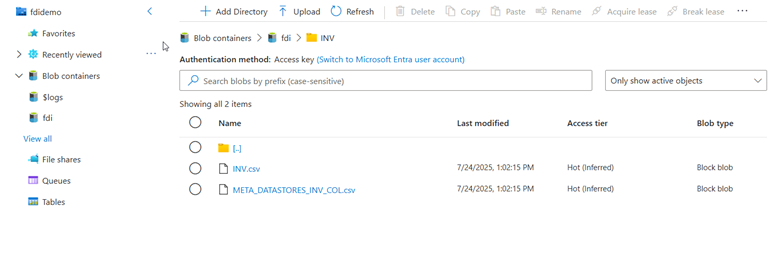
- The metadata file naming convention is META_DATASTORES_[DATA_STORE_NAME]_COL.csv
The header record of the META_DATASTORES_ _COL.csv are as follows: DATA_STORE_NAME, COLUMN_NAME, COLUMN_LABEL, DATA_TYPE, WIDTH, PRECISION, SCALE, KEY_SEQUENCE, and IS_EXTENSION.

6. To access the connection string for the Azure storage, navigate to Security + networking and then Access keys.
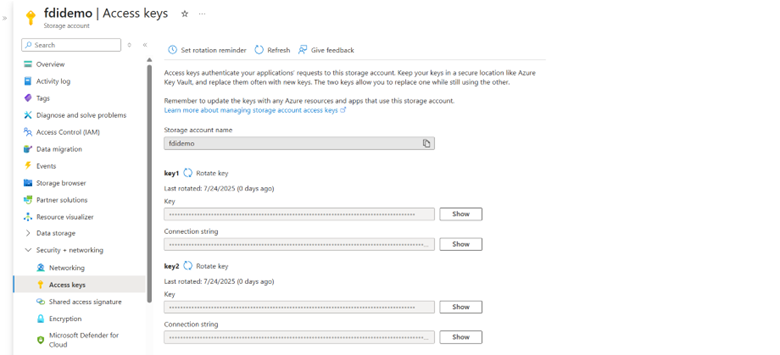
7. Copy the connection string and make a note of it.
Sample Connection String
DefaultEndpointsProtocol=https;AccountName=fdidemo;AccountKey=F5b4mtMEVmotXj2/Zz1gL+;EndpointSuffix=core.windows.net
Configure Azure Storage
1. In FDI, navigate to the Console and then click Enable Features.
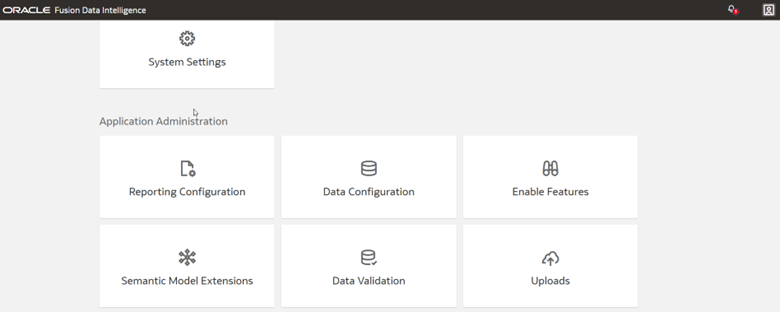
2. Within Enable Features and Connectors, click the toggle button for the Azure Storage Connector option.

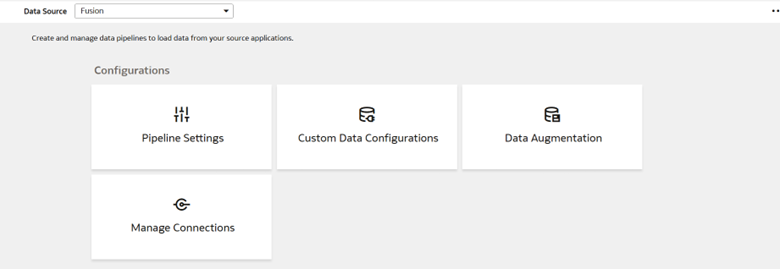
3. Navigate to the Console, click Data Configuration, and then Manage Connection.
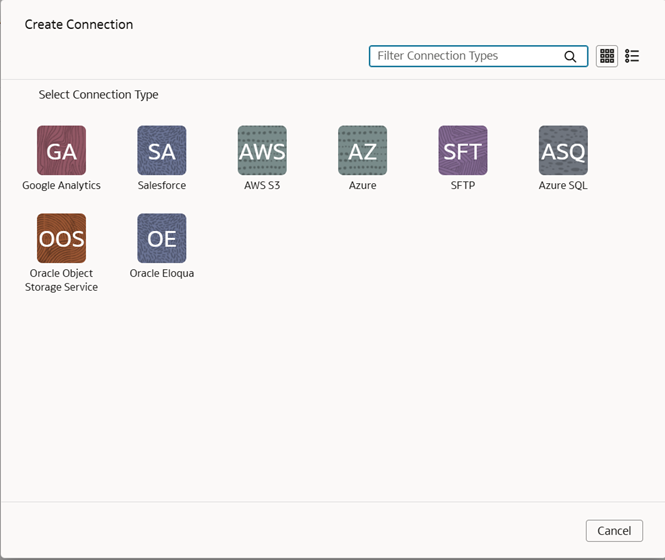
4. Click Create, then Connection, and then Azure.
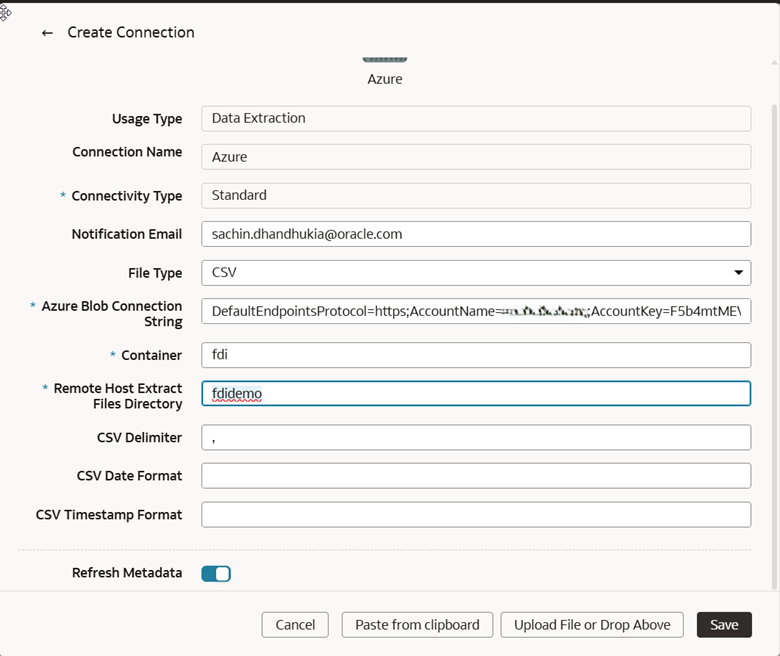
5. Fill in the connection details and click Save.
6. Right-click the connection, select Test Connection, and then Refresh Metadata.
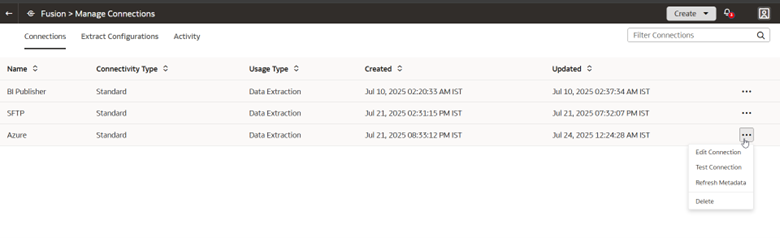
7. Go to the Activity tab to check the status.

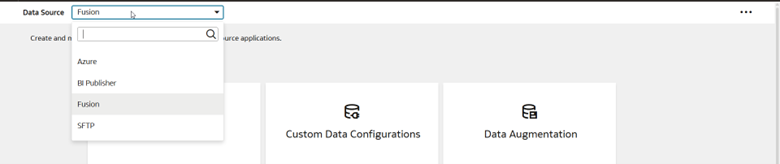
8. Select Azure from Data Source and click Data Augmentation.
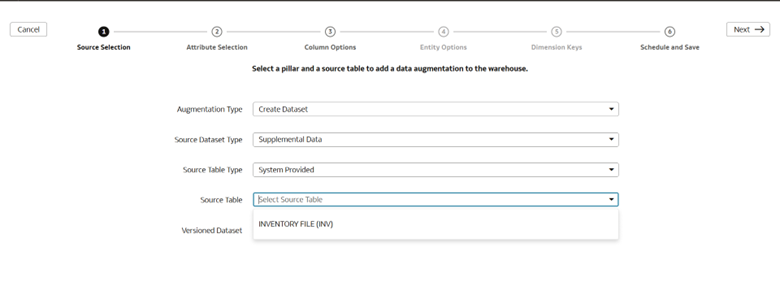
9. Perform the augmentation, as needed.
Call to Action
Follow the steps in this article to securely connect to the source data file using the Azure connector feature in FDI.
If you have questions, post them in the Oracle Analytics Community and we’ll follow up with answers.
You can also find FDI documentation in the Oracle Help Center.
![]()