Oracle Fusion Data Intelligence (FDI) is a family of prebuilt, cloud native analytics applications for Oracle Fusion Cloud Applications that provide line-of-business users with ready-to-use insights to improve decision-making. This article relates to Fusion Analytics Warehouse Release 22R3 and outlines the steps required in Oracle Fusion Cloud Applications to enable descriptive flexfields.
A flexfield is a set of placeholder fields associated with business objects and placed on application pages to contain additional data. You can use descriptive flexfields to capture additional information about items beyond what’s provided by the predefined set of operational attributes. All the business object entities that you can use in the application are enabled for descriptive flexfields in Oracle Fusion Cloud Applications. However, configuring descriptive flexfields is an optional task. It’s important to decide on the flexfield structure that fits your organization. You use descriptive flexfields to add attributes to business object entities and to define validation for them. Once descriptive flexfields are enabled, it’s essential to make them available for reporting.
You complete three major activities to report on descriptive flexfields in Fusion Data Intelligence.
- Enable descriptive flexfields for business intelligence
- Determine attribute names
- Enable attributes in Fusion Data Intelligence
Enable descriptive flexfields for business intelligence
- Log in to Fusion Applications.
- Navigate to Set up and Maintenance.
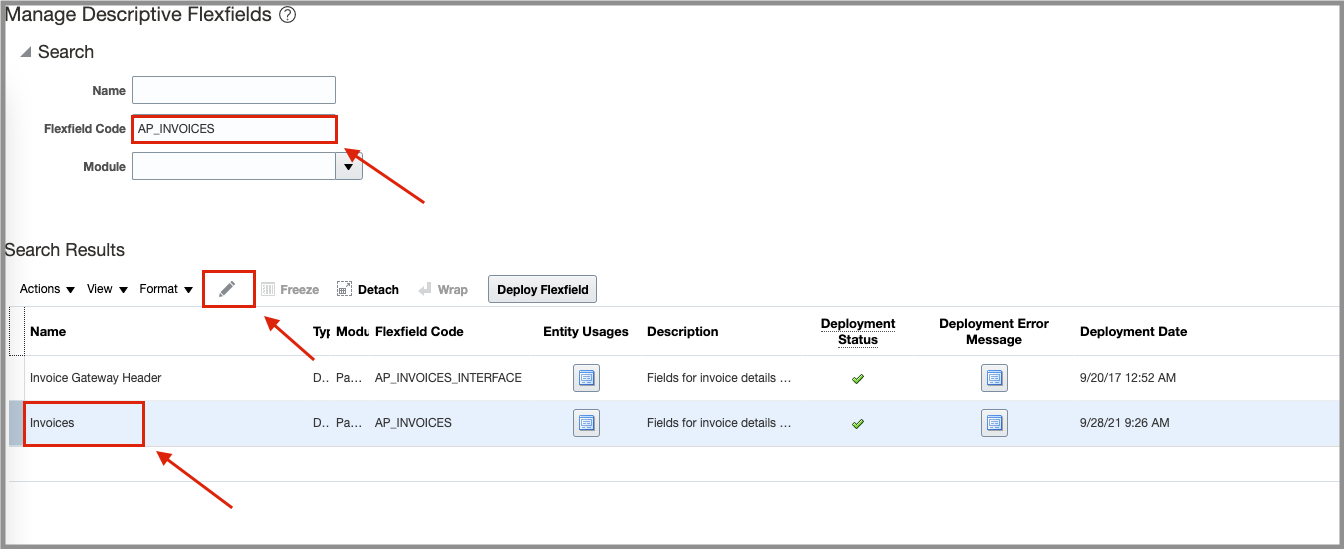
- Click Search and navigate to Manage Descriptive Flexfields.

- Click Edit.
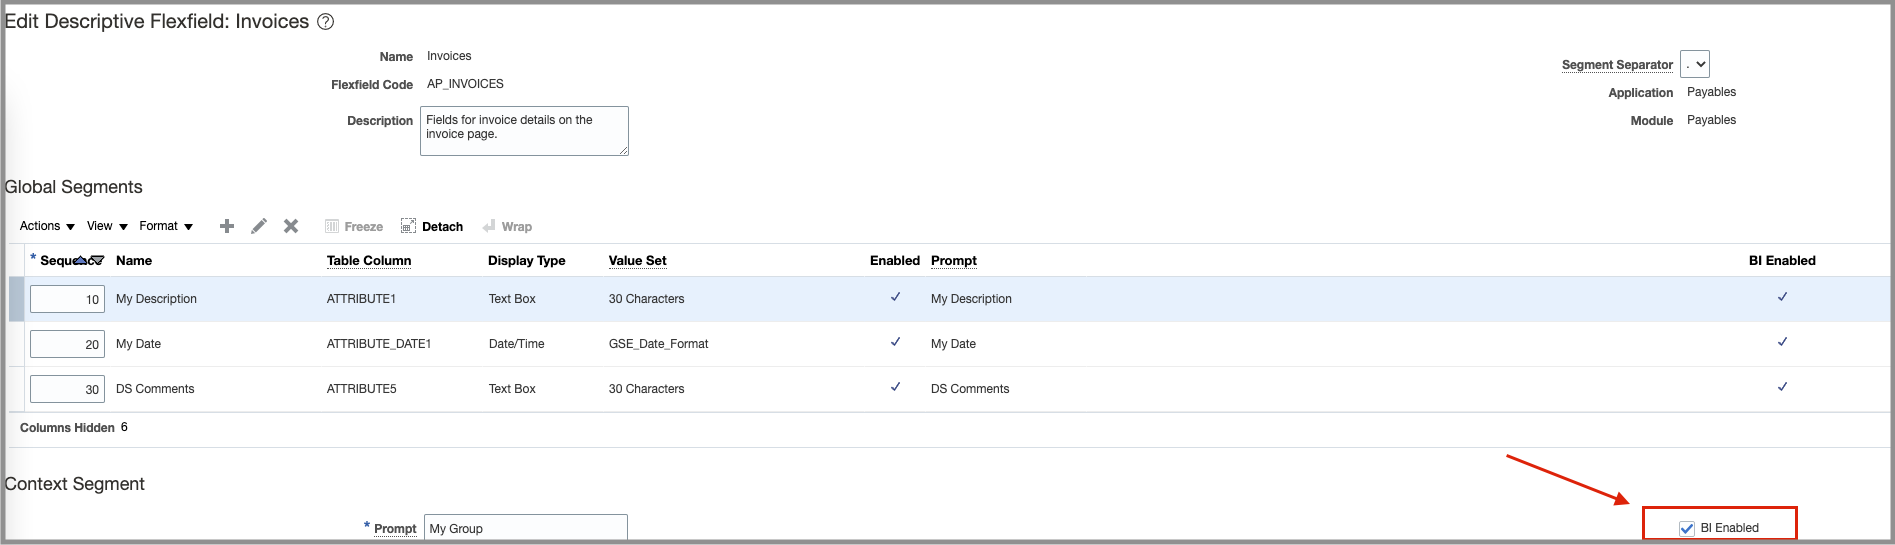
- Ensure that BI Enabled is checked.
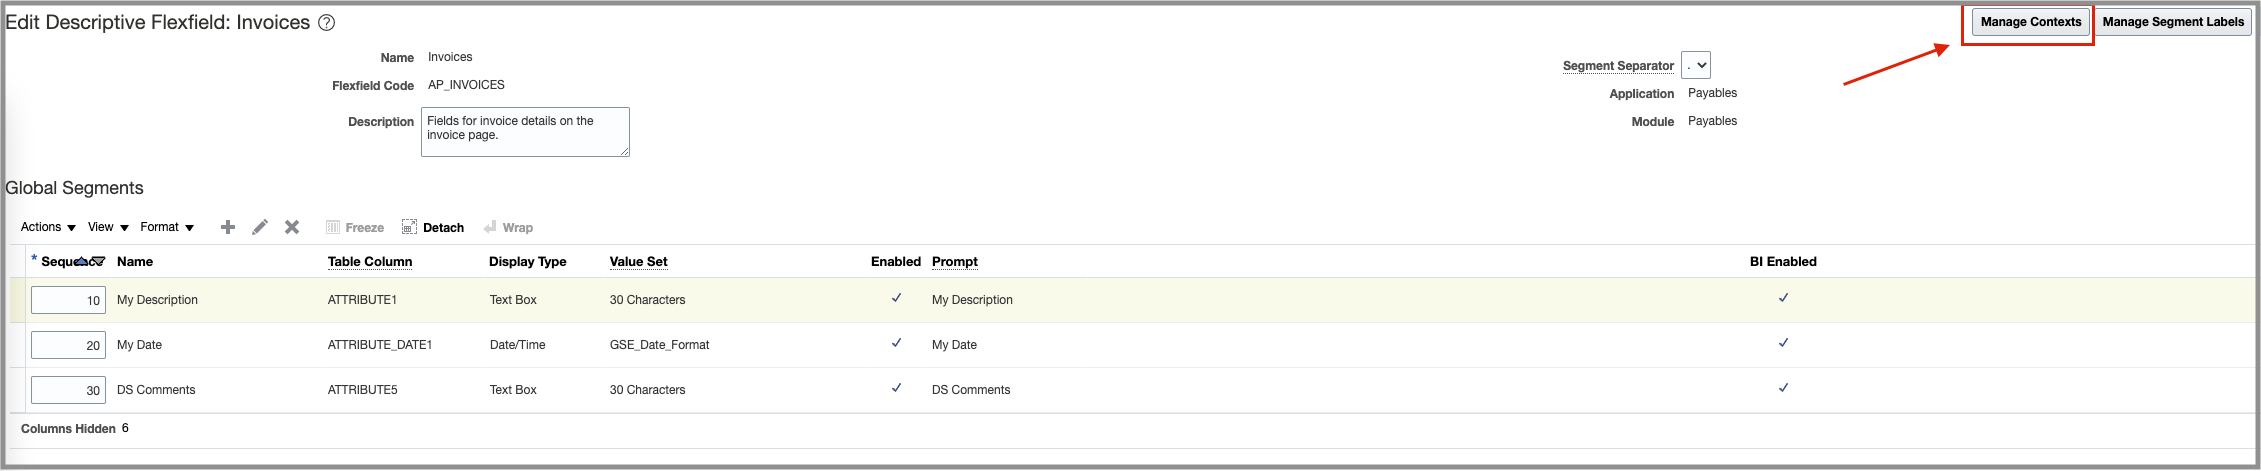
- Click Manage Contexts.
- Click Search and Edit Context.
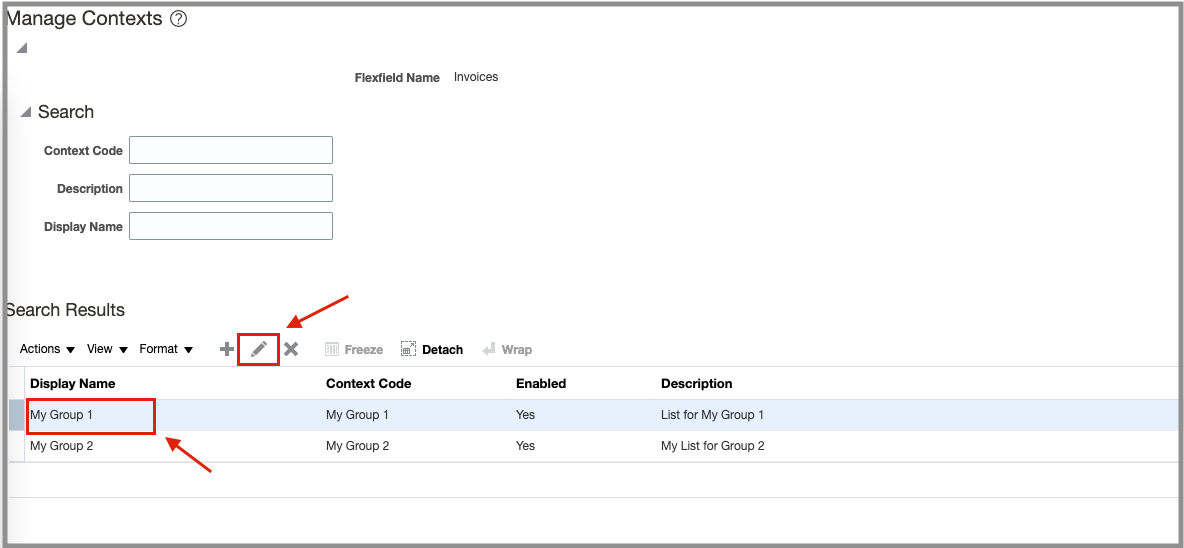
- In Context Sensitive Segments, click Edit.
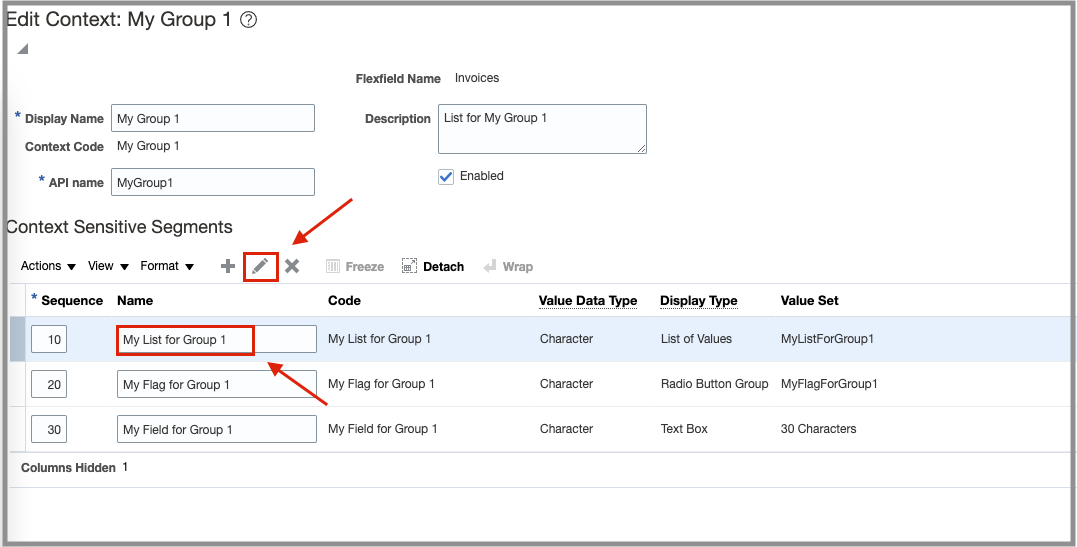
- Ensure that BI Enabled is checked under Business Intelligence.

- Save your changes and repeat these steps for all Context Sensitive Segments and for all Segments.
- Click Deploy Flexfield.

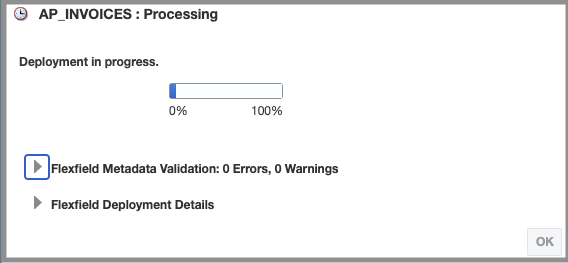

The flexfields should be deployed without any errors.
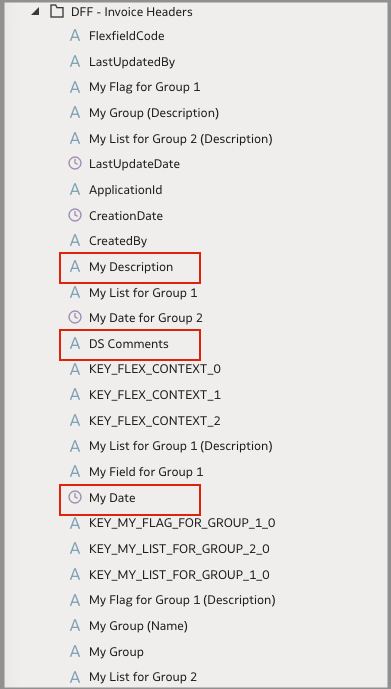
Determine attribute names
- Log in to Oracle Transactional Business Intelligence (OTBI) and confirm that flexfields are available in the subject areas.
- Create a report with all these flexfields and capture the OTBI logs.
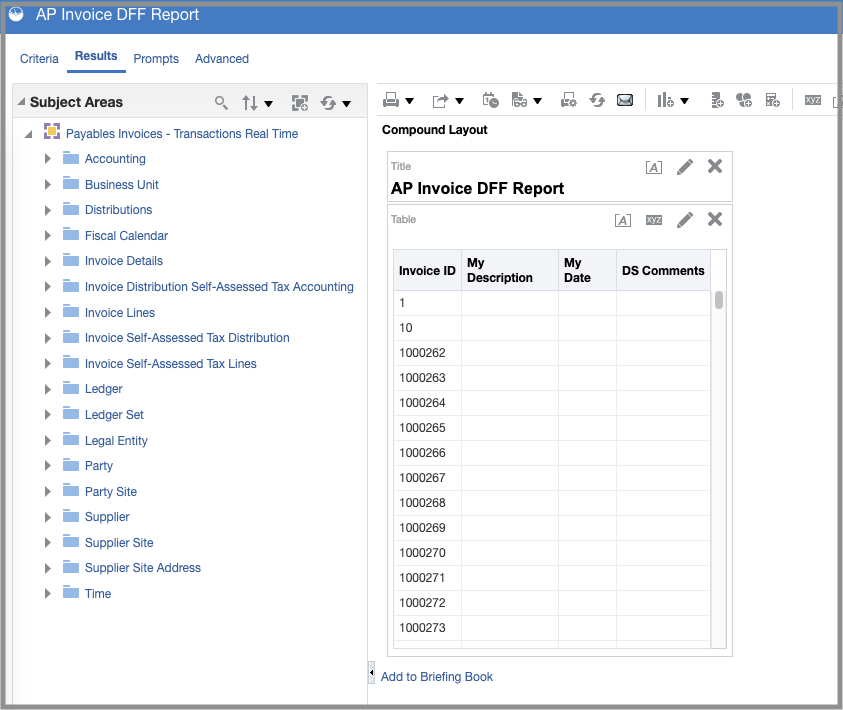
- Based on the logs, find the attribute names.

You’ll use these attributes in the descriptive flexfield mapper for Fusion Data Intelligence.
If you do not see the DFF columns in OTBI then run the “Import Oracle Fusion Data Extensions for Transactional Business Intelligence” ESS job in Fusion.
Enable attributes in Fusion Data Intelligence
- Log in to Fusion Data Intelligence.
- Navigate to Console.
- Click Data Configuration.
If you configure more than one source in Fusion Data Intelligence, then make sure that the drop-down list at the top shows Fusion and click Custom Data Applicatons.
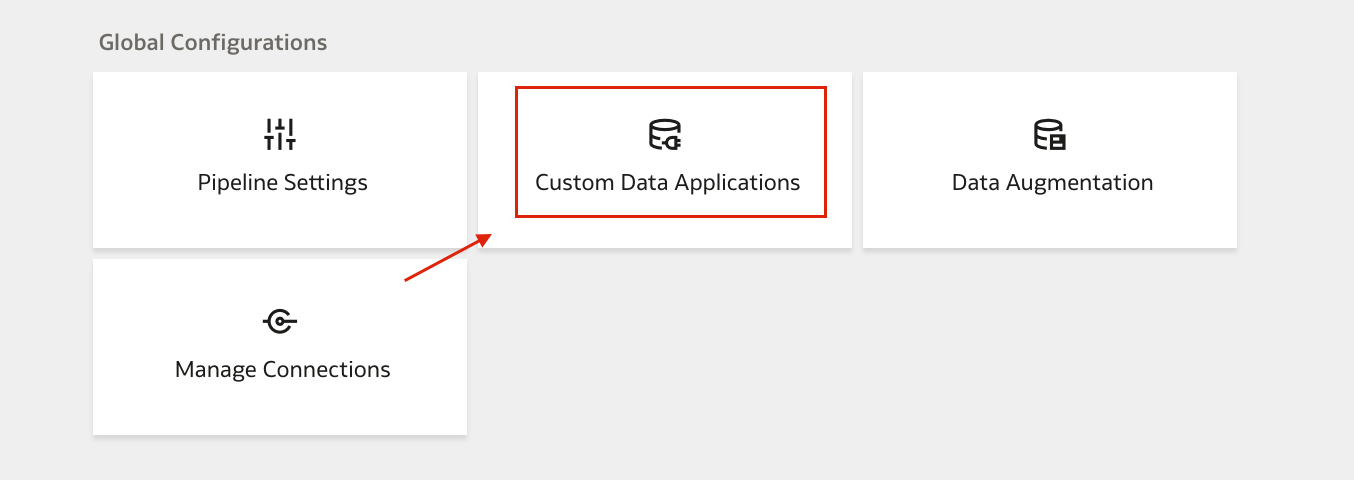
- Edit the Custom Apps and Select Descriptive Flex Fields.
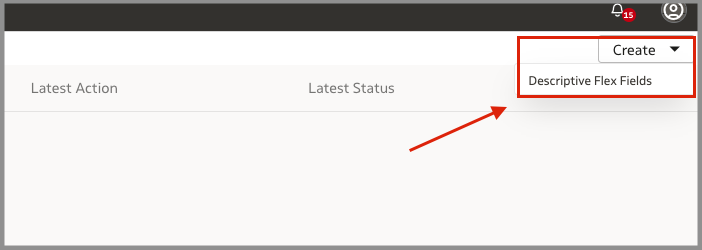
- Select the descriptive flexfield, and click Edit.

- Select the Columns based on the attribute names that you decided on using the OTBI query.
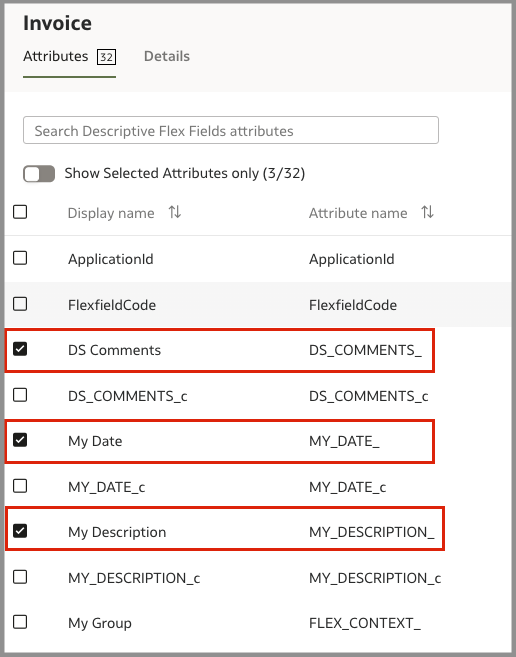
- Click Save.

- Click Generate.
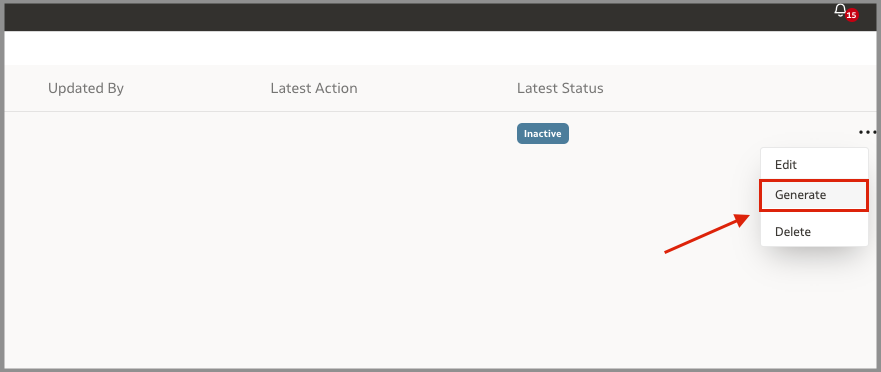


On the Custom Data Configurations page, when the status changes to Completed, click Actions for the applicable descriptive flex field and in Actions, select Deploy.
Once the deployment is completed then you see the descriptive flexfield in the subject area.
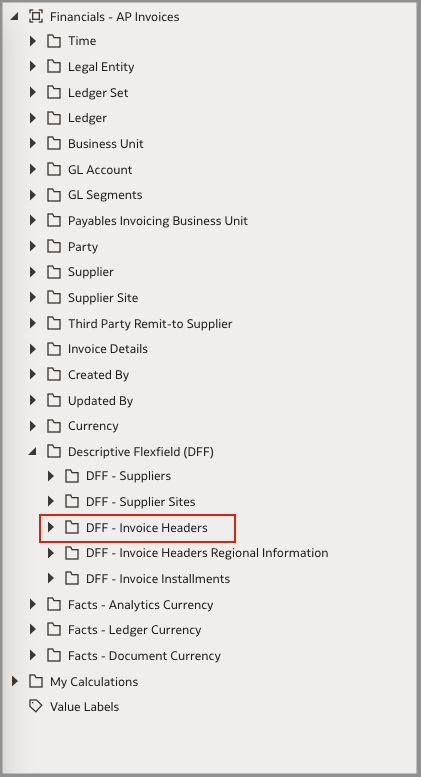
You can now use the descriptive flexfields to extend your data for detailed and varied analytics.
For more details on Data augmentation, see Fusion Data Intelligence Documentation.
Schedule a meeting today to talk to the Oracle Analytics product team and learn more about how you can deploy Oracle Fusion Data Intelligence.