1 – Introduction
In the previous post, we prepared the migration of VMs from our VMware environment to OCI instances using OCM. In this post, we will detail how to do the replication and migration.
2 – Replication
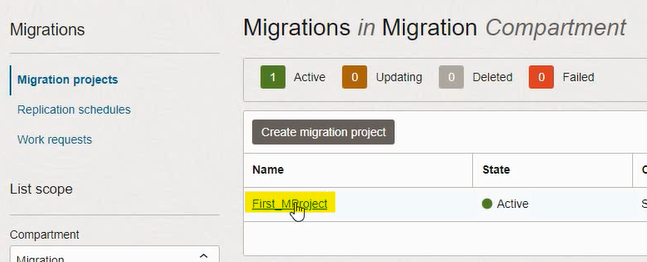
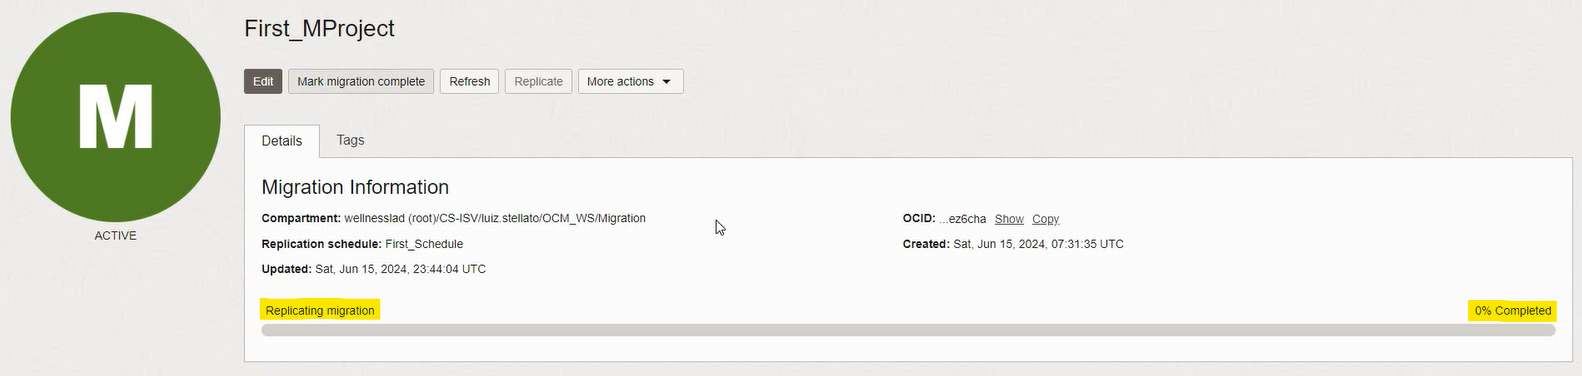
The replication process copies the VM data in vCenter to the Boot Volume of the OCI Instance. It is a time-consuming process, depending on the size of the VMs. If a Replication Schedule was defined when creating the project, the assets will automatically begin replicating at the scheduled time. To follow up the replication: in Cloud Migrations, Migrations, click on the Project, follow up in the Replicating migration progress bar:

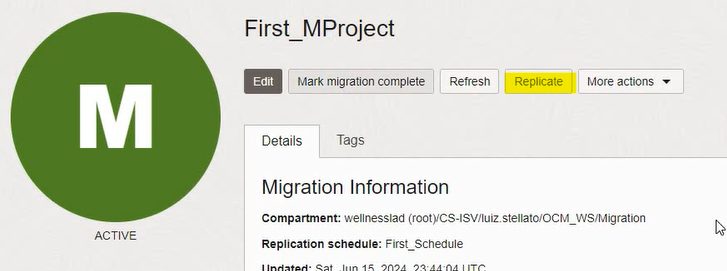
If a schedule has not been created, click on Replicate to start replication manually:
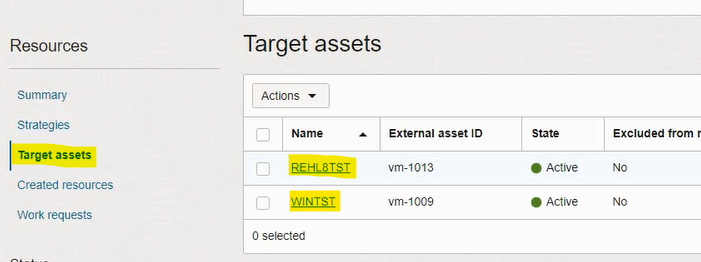
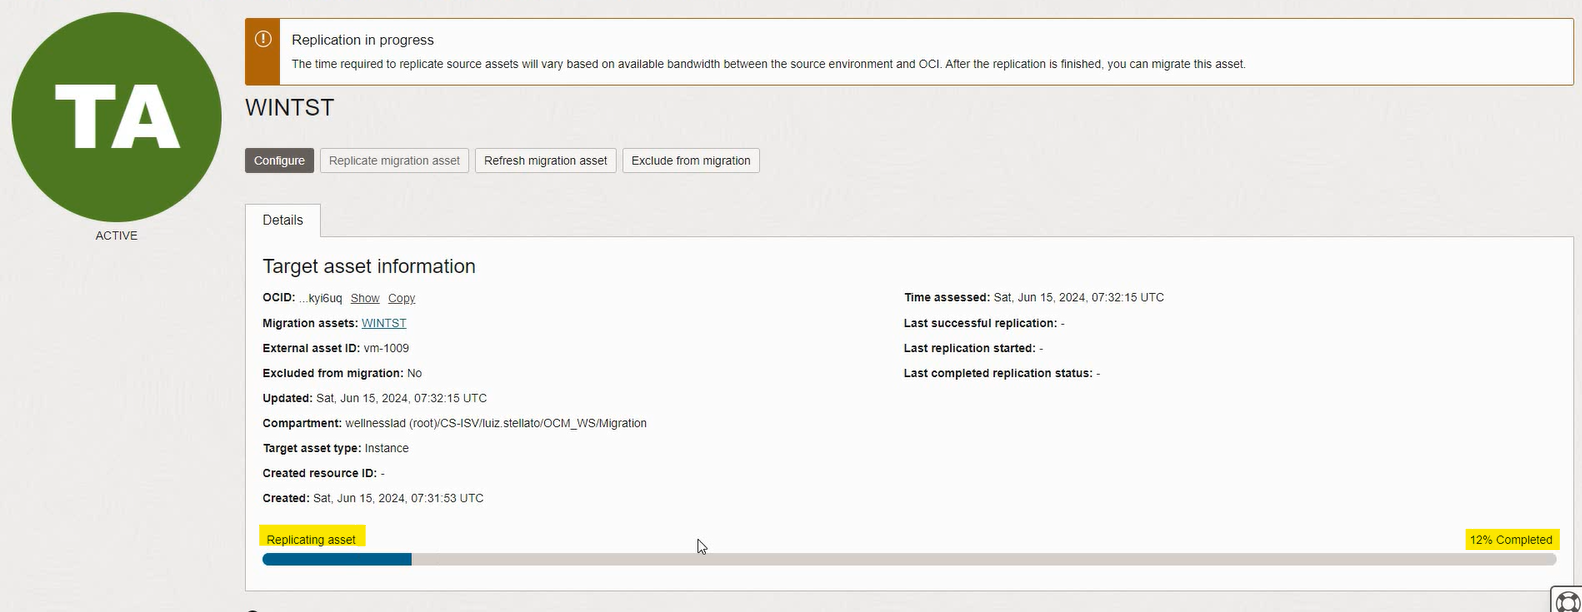
By entering the migration plan, Target Assets, and clicking on the VMs, it is also possible to see the individual replication progress of each of them:
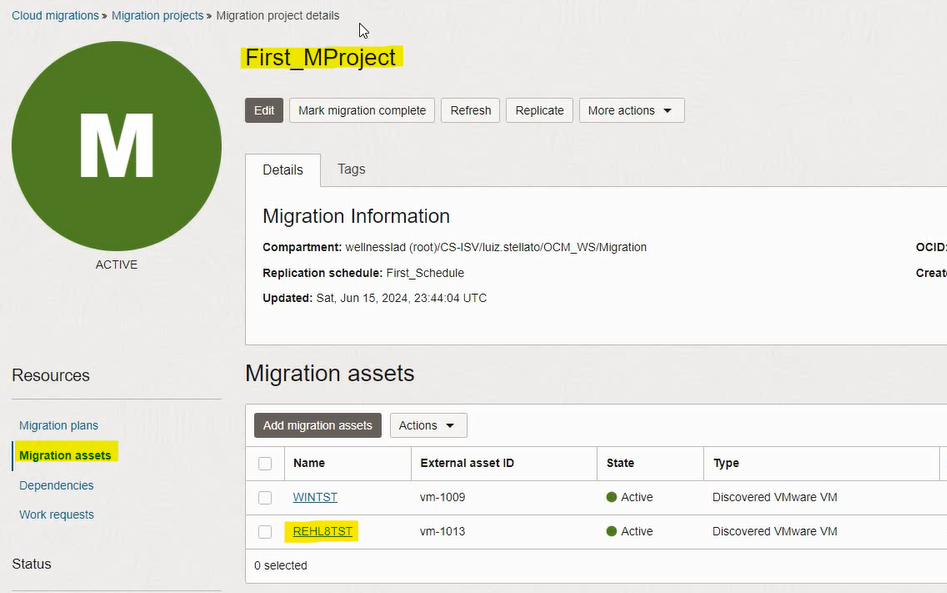
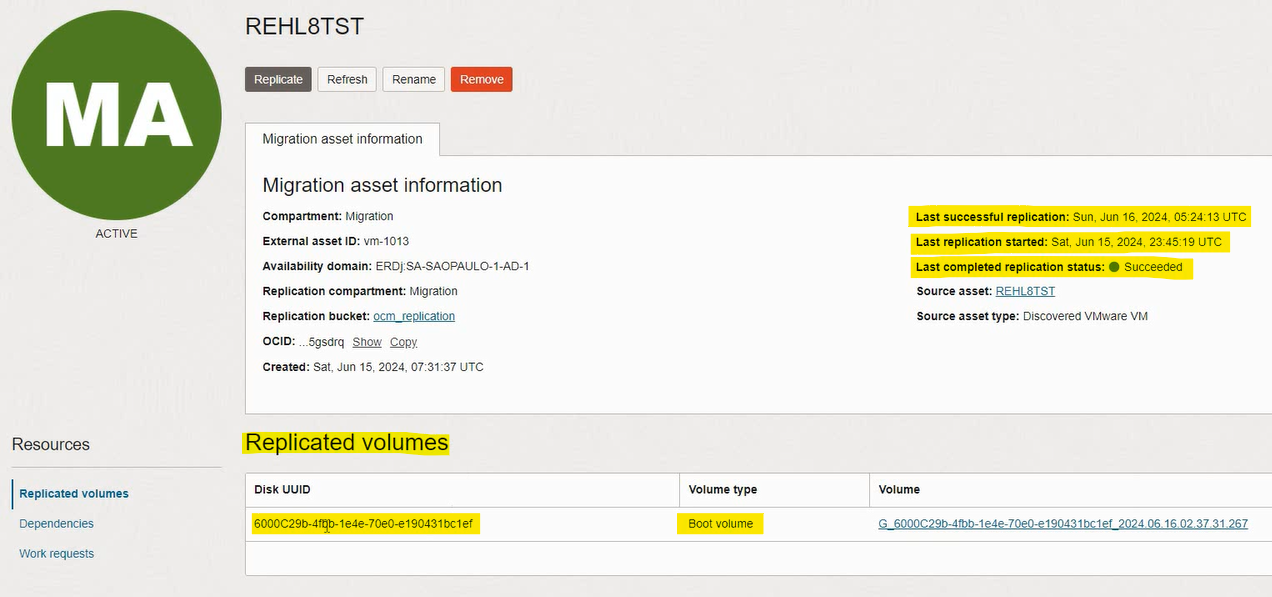
When the replication is finished, going into the project, Migration assets and clicking on the VMs, you can see the status of the completed replication and the Boot Volumes created:
If a new replication is necessary to update the changed data from the source VM to the replica in OCI, you can click on Replicate to start a manual replication, or else the delta data replication will proceed automatically on the next scheduled time.
3 – Migration
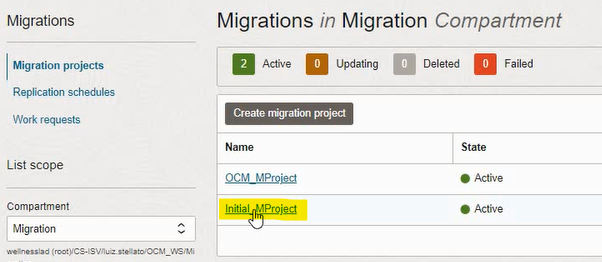
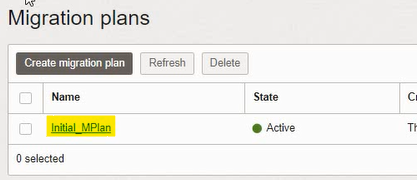
In Cloud Migrations, Migrations, click on the project:
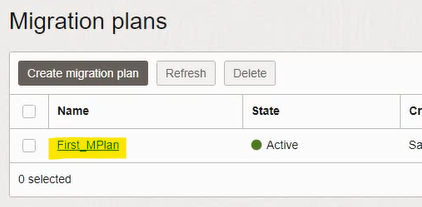
Click on the plan:
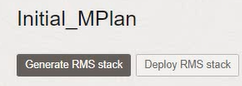
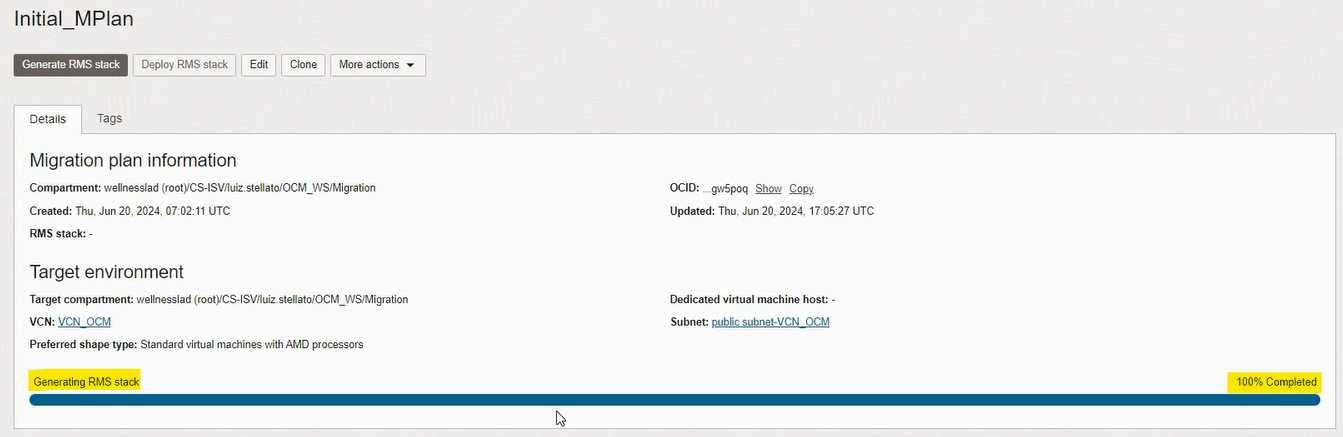
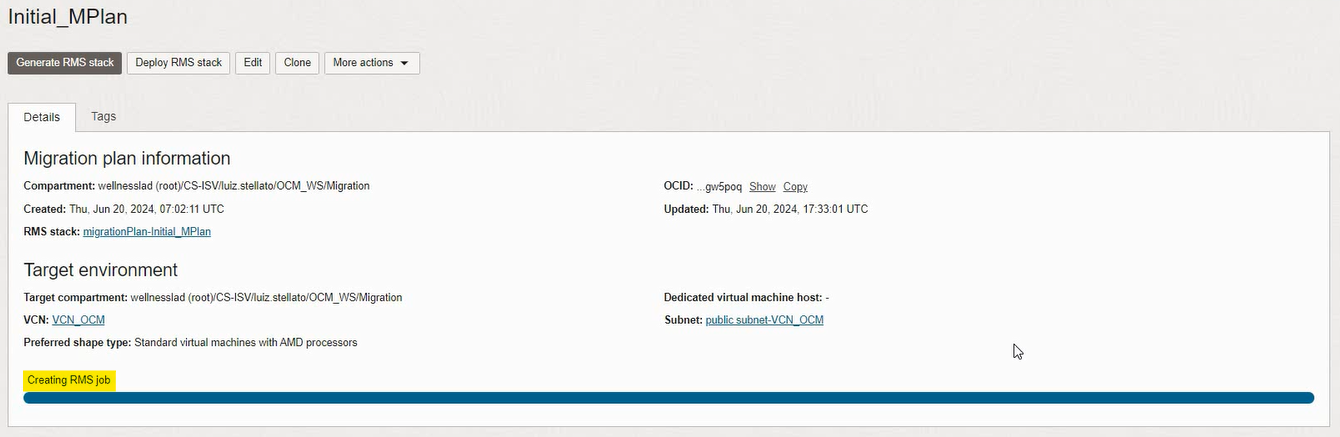
Click on Generate RMS Stack:

Wait for it to complete and click on Deploy RMS Stack:
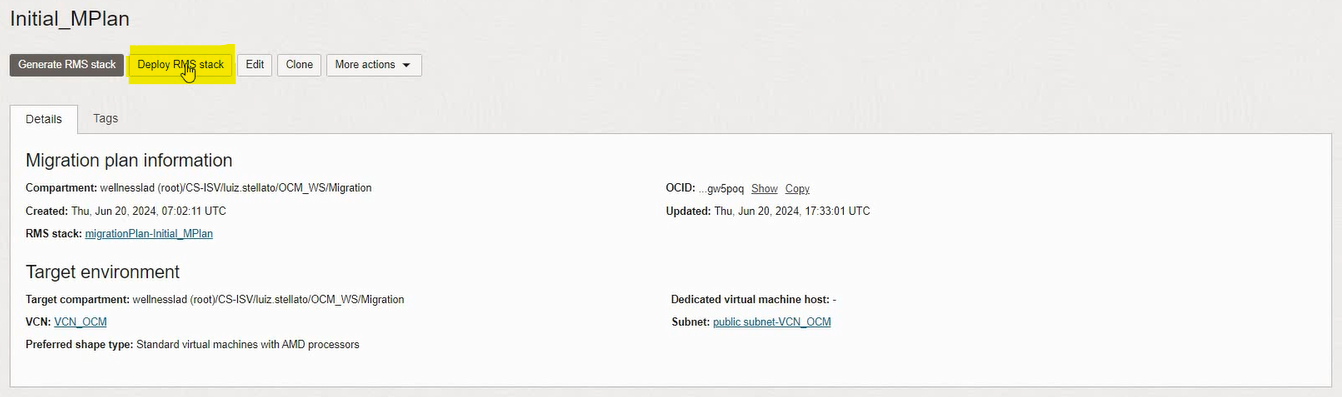

Wait for it to finish (the blue progress bar will disappear):
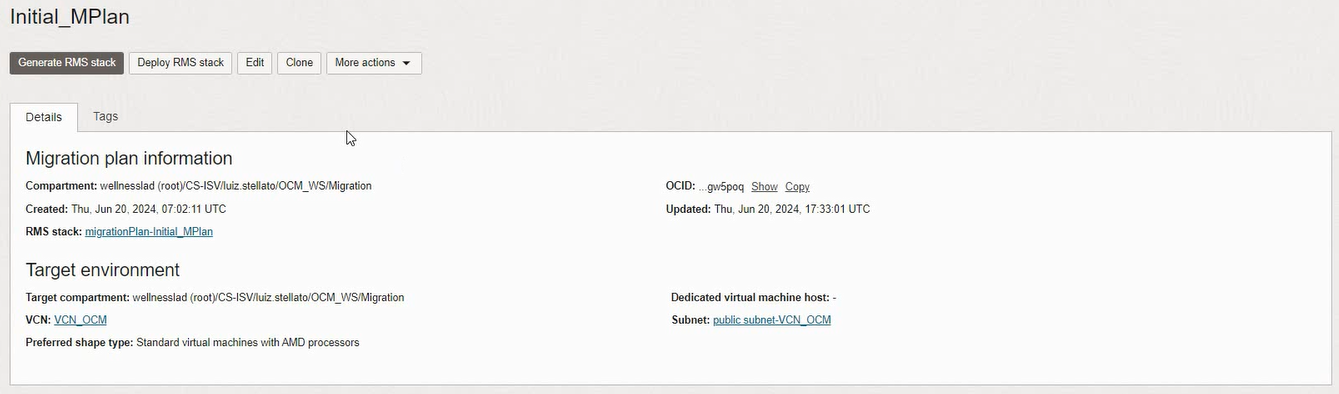
Access Compute, Instances in the navigation menu. The instance will be active and powered on, in the Migration compartment:

Note that the source VM is not powered off in vCenter.
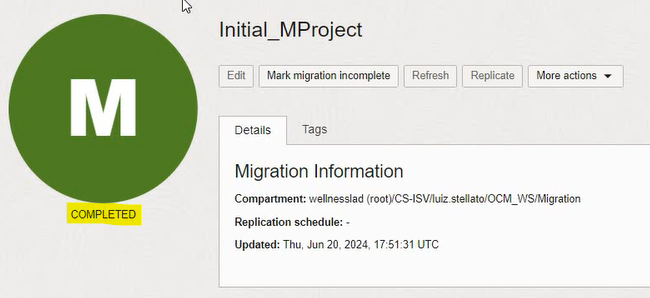
Once the migrations are complete, access the project and mark it as complete: