Oracle Intelligent Advisor is widely recognized for its capacity to expedite decision-making processes for customers and service agents through automated personalized branching questions. Many applications of Intelligent Advisor are eligibility checks, financial advice, policy assessment and so on. Use cases such as these often require presenting interview results in a downloadable and shareable document, with the occasional need for output to be in a PowerPoint presentation (PPT) tailored for management stakeholders.
This blog explains the process of generating a PPT at the end of an Intelligent Advisor interview, when deployed within Oracle Fusion Sales, utilizing Oracle Business Intelligence Publisher (BI Publisher). The choice of BI Publisher within Oracle Fusion, as opposed to form generation within Intelligent Advisor, stems from the fact that while Policy Modelling supports the creation of various document formats such as rich text format (RTF), PDF (including PDF/A and PDF/UA), HTML, XML, and Excel forms, PPT creation is not inherently available. Consequently, this blog harnesses the capabilities of BI Publisher in Fusion to seamlessly generate the interview report in PPT format and integrates it back into Intelligent Advisor as a hyperlink.
It’s essential to note that this blog assumes a prerequisite understanding of Intelligent Advisor, Oracle Fusion Sales, and BI Publisher for readers to effectively follow and implement the described procedures.
As an illustrative example, the article will guide readers through the process of creating a contact via Intelligent Advisor and saving it in Fusion Sales, culminating in the generation of a contact report using BI Publisher at the end of the interview.
Points to note:
- This use case is for Oracle Fusion and Intelligent Advisor.
- An interview is used to enter data using Intelligent Advisor and save data to Oracle Fusion.
- PPT is generated using the data (contact record in this example) saved at the end of the interview.
The following are the major steps in this example:
- Create and deploy the Intelligent Advisor interview to save the contact in Fusion Sales
- Create a data model in BI Publisher to load a contact with parameter
- Create a BI Publisher PPT template and report for this data model
- Generate the download URL for this report
- Add this URL in the interview to download the saved contact report in PPT format
1. Create and deploy the Intelligent Advisor interview to save the contact in Fusion Sales
To start with this, create a basic Intelligent Advisor interview using Oracle Policy Modeling that creates a new contact in Fusion Sales and follow the steps below.
- Use the built-in Oracle Sales and Fusion Service connector in Intelligent Advisor Hub to save the data to Fusion Sales.
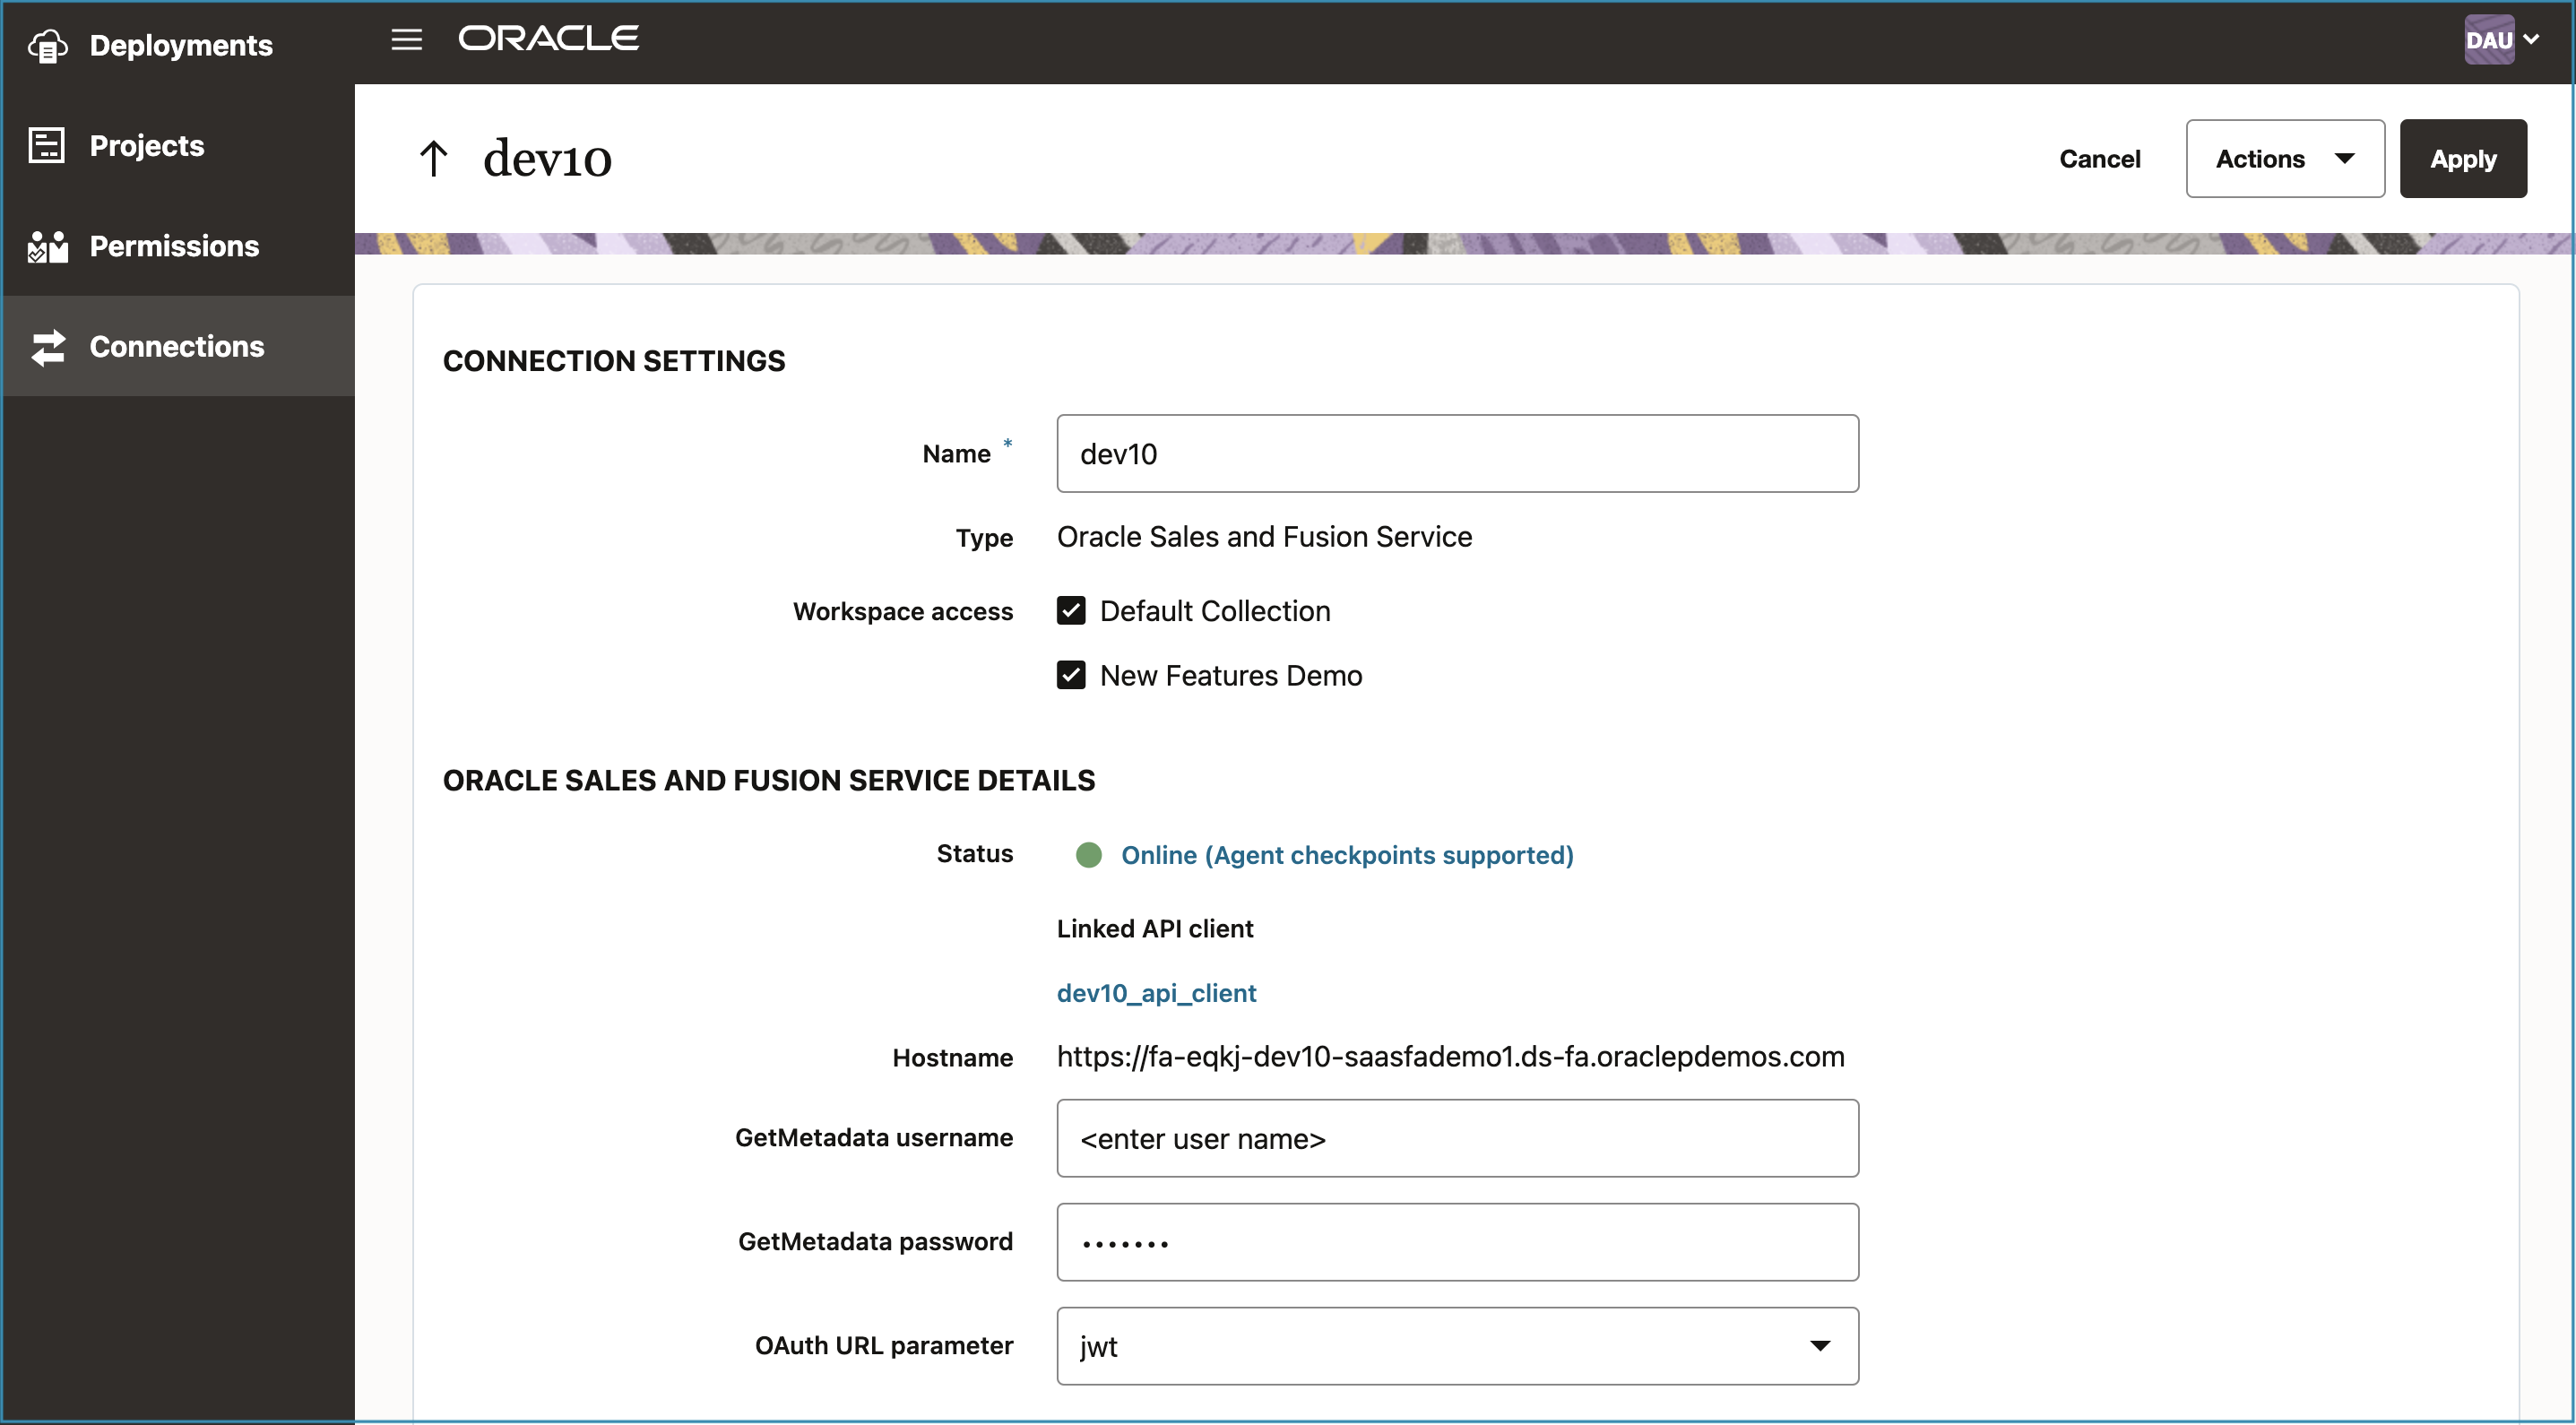
- Use the connection created in step 1, in the interview created using Policy Modeling to create a new contact in Fusion Sales.

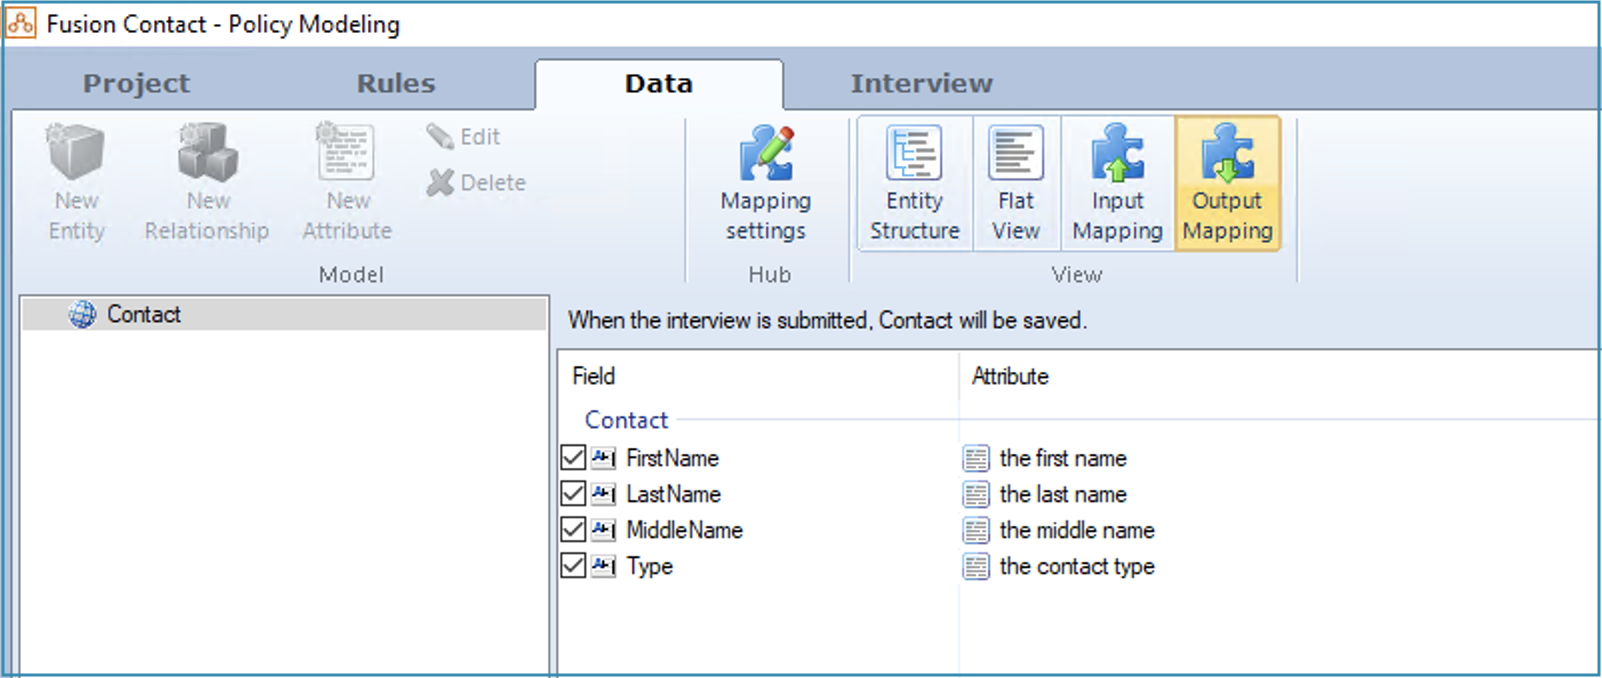
- Map out the first name, last name, and a few other fields for the contact in Policy Modeling.
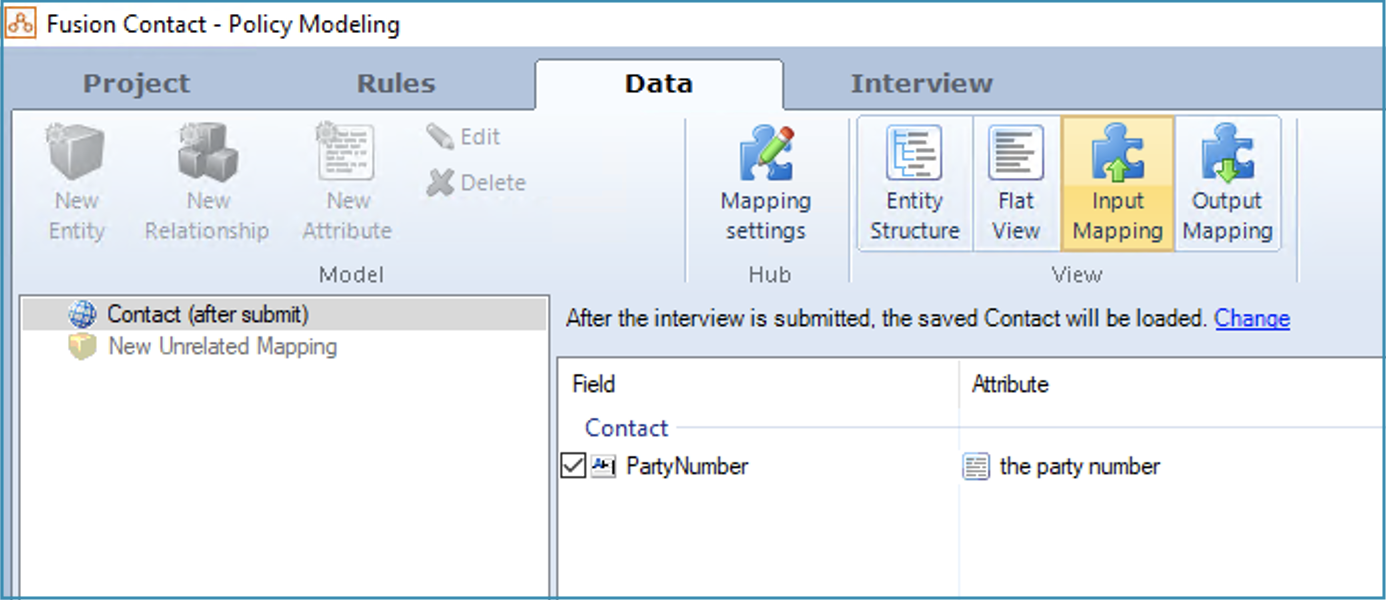
- Map in the party number to load after the contact details are submitted from Intelligent Advisor to Fusion Sales.
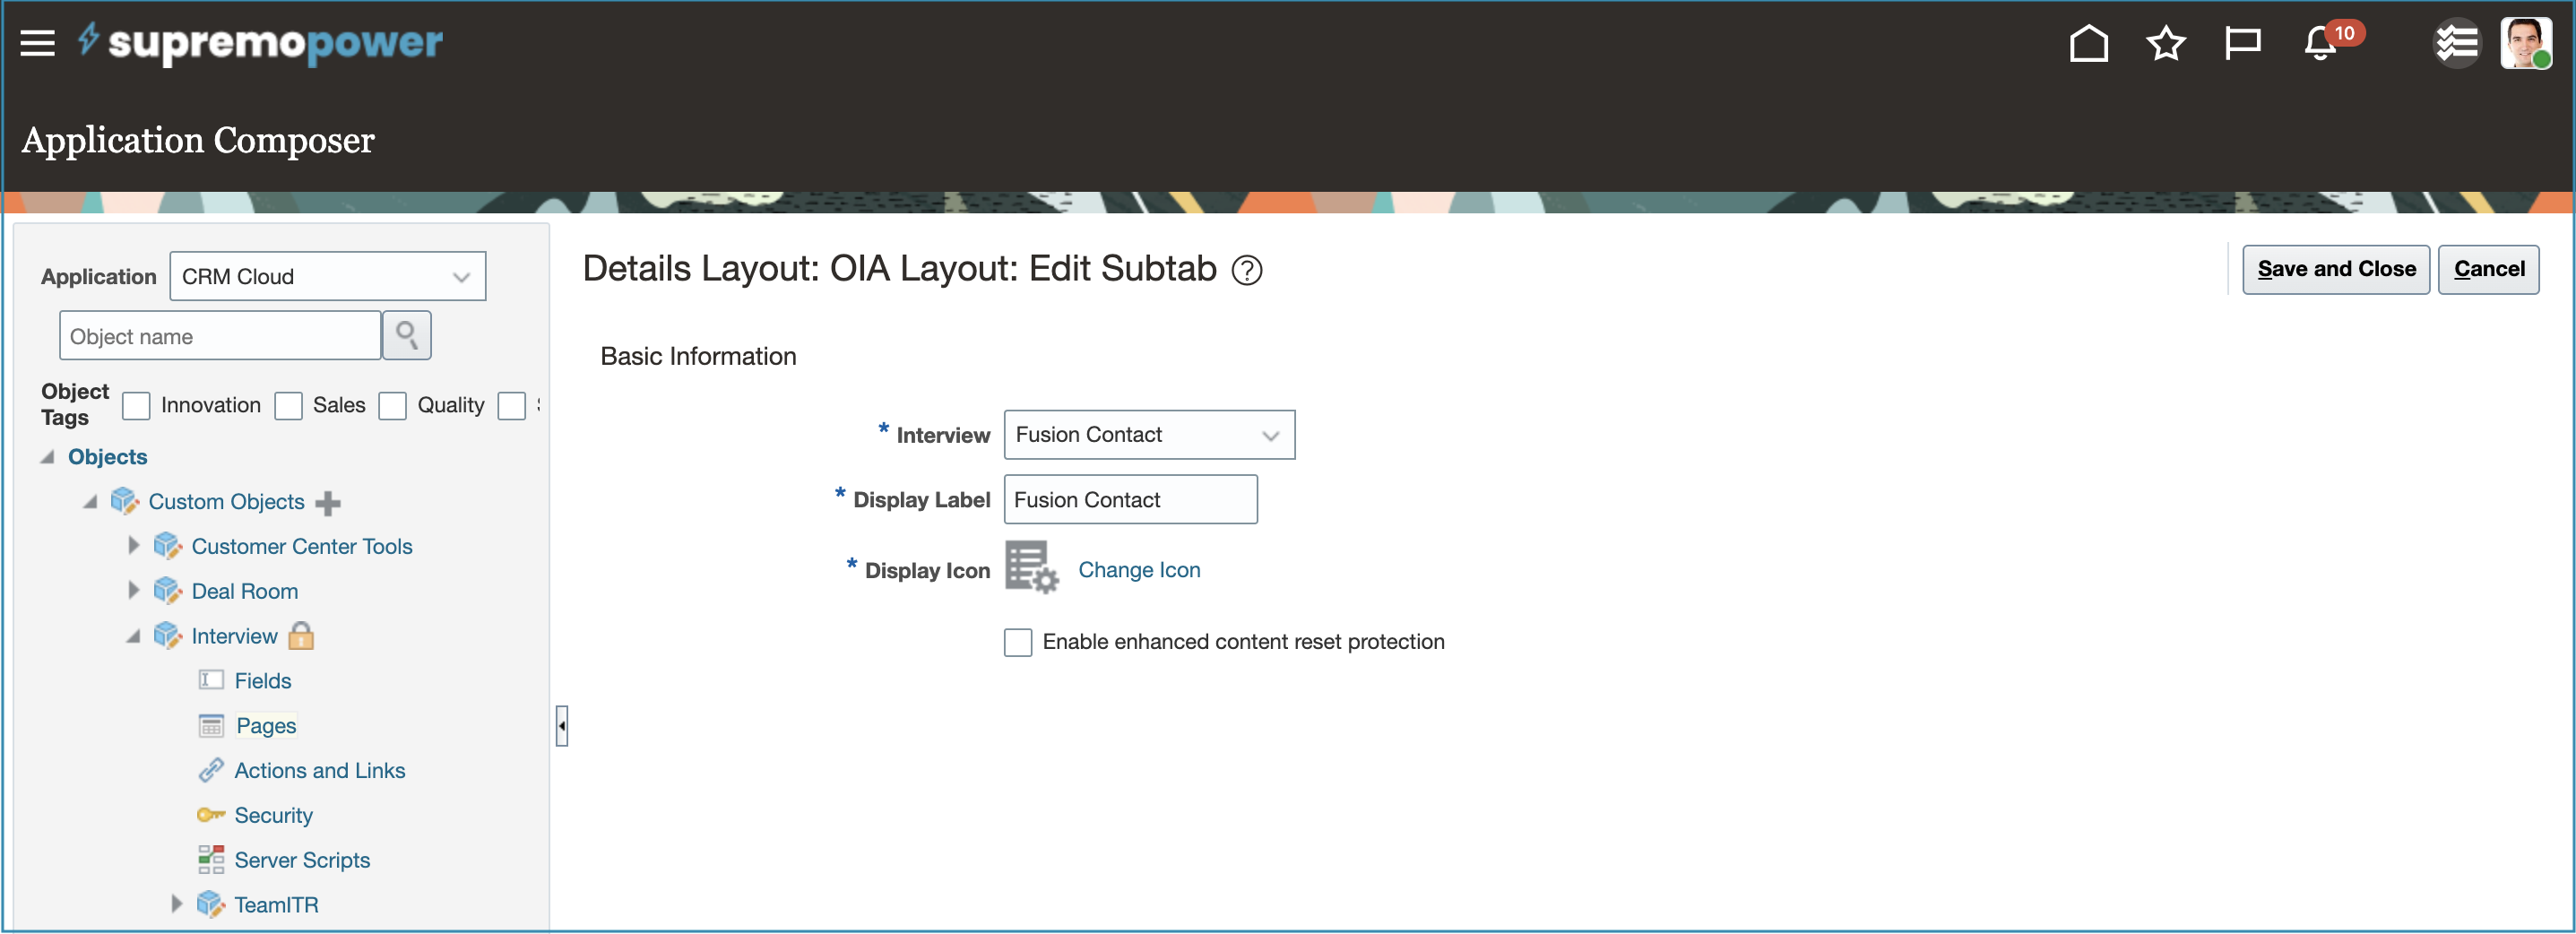
- Deploy the Intelligent Advisor interview and add to the custom object screen in Fusion Sales. Note: We have created the “Interview” custom object as an example, you can create any other custom object or even use the standard object.
2. Create a data model in BI Publisher to load a contact with parameter
Once the interview is deployed and added to Fusion Sales, we move on to BI Publisher to create the data model and add a parameter to load the contact.
- Create a data model in BI Publisher to load the data for the newly created contact, using a SQL query.
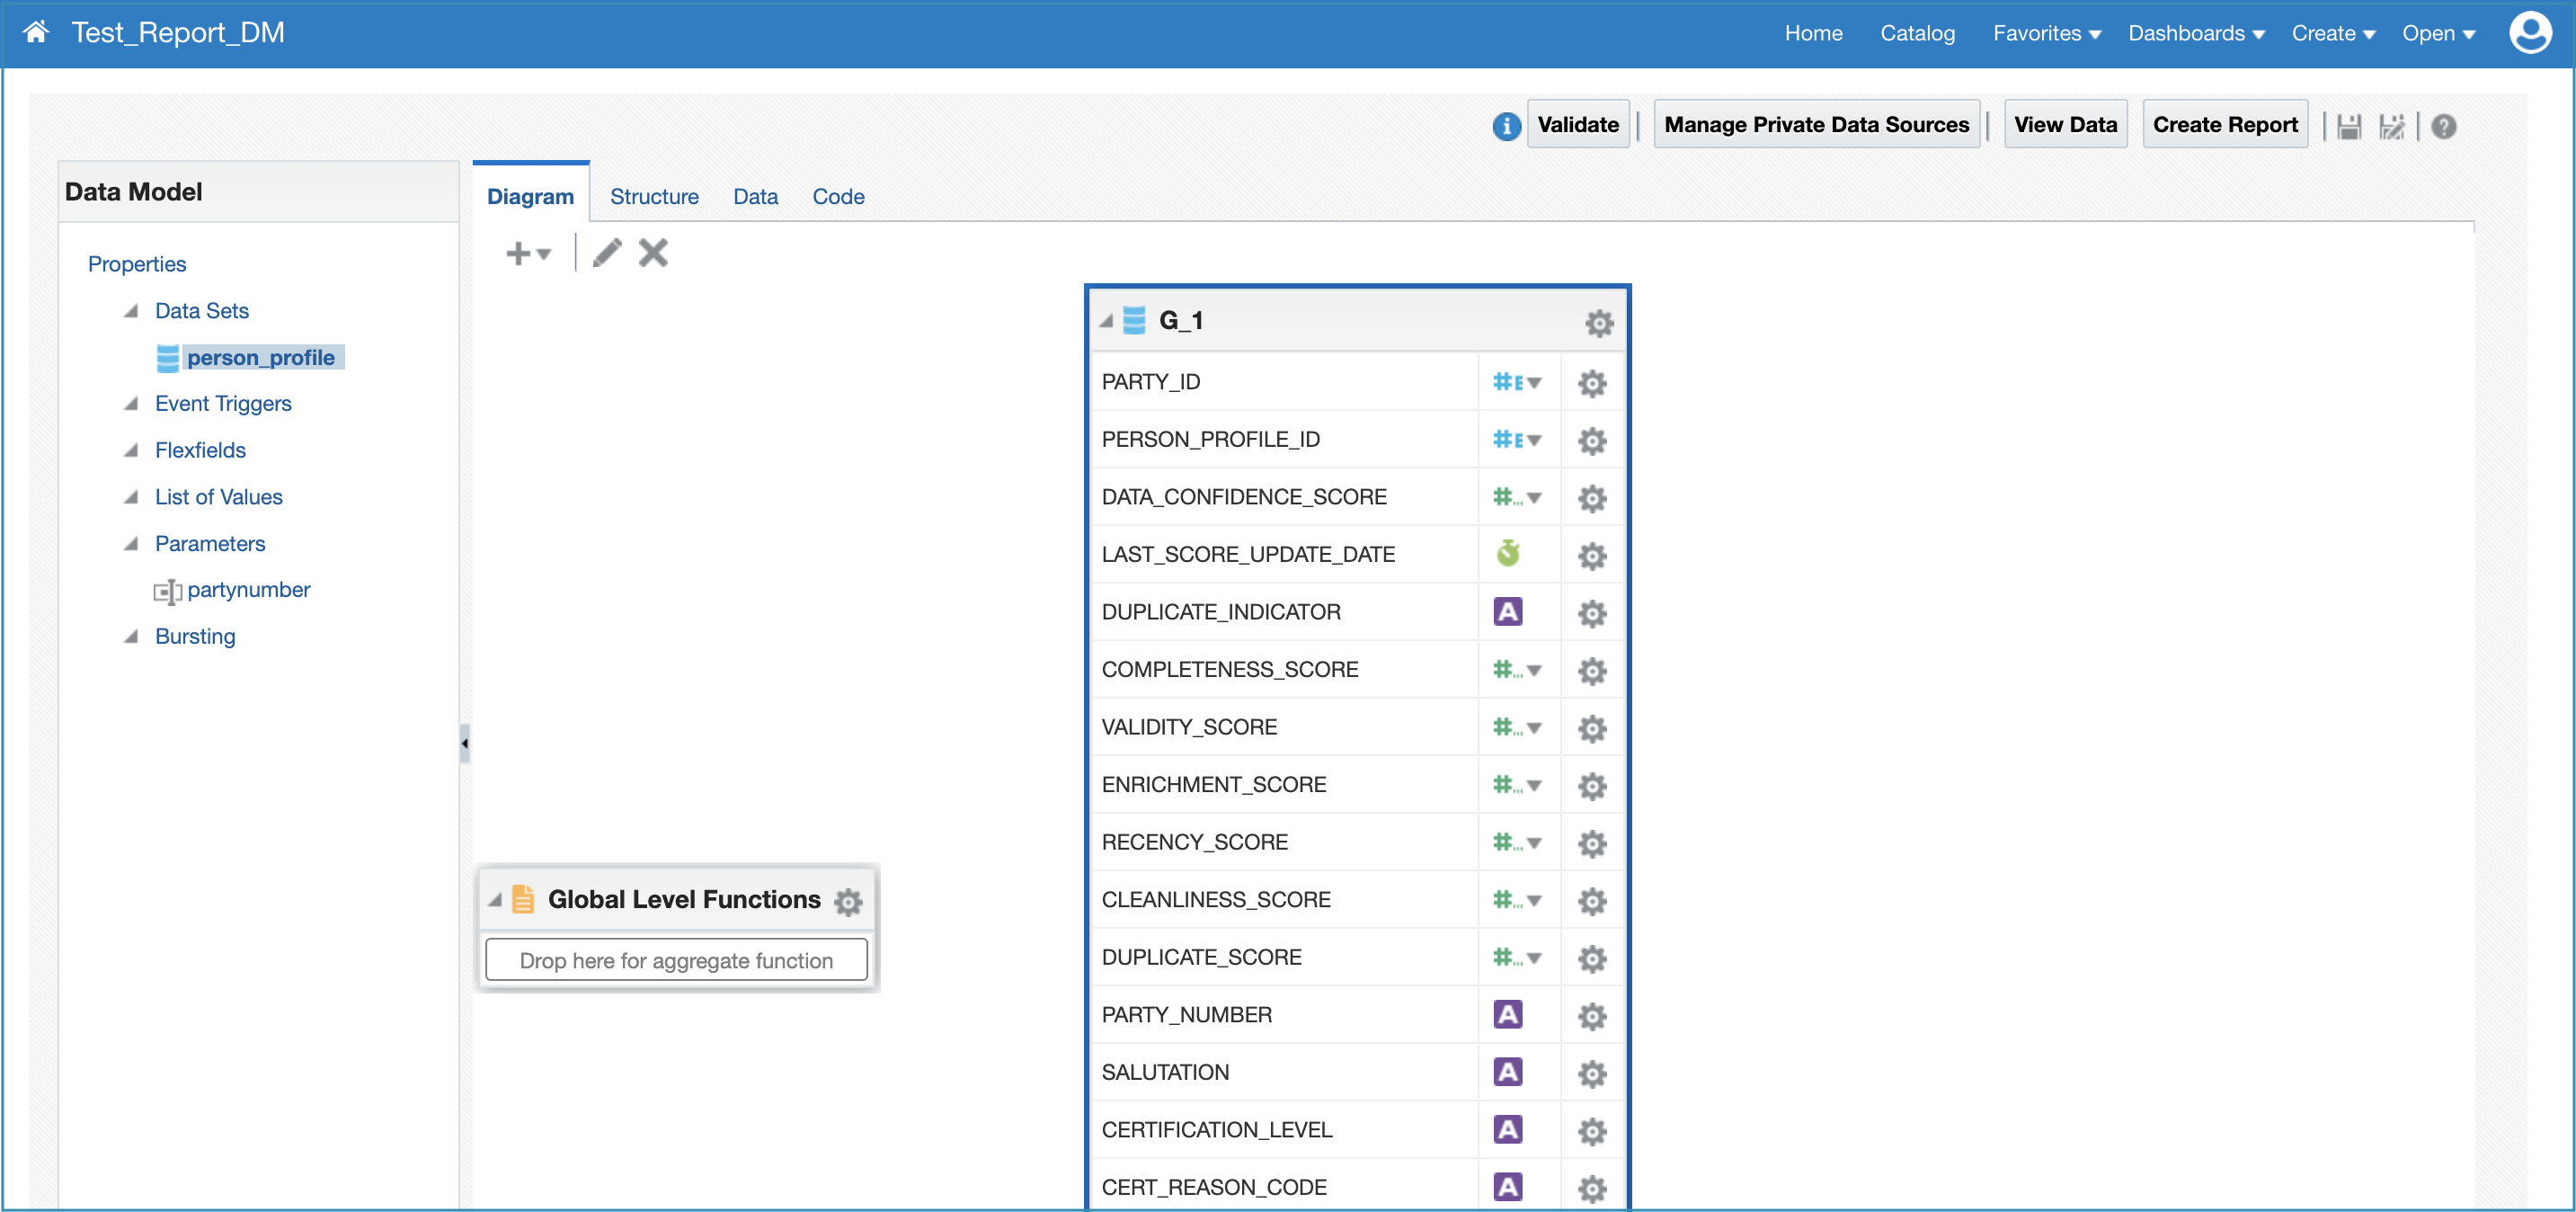
- To get a single contact record, add a parameter “partynumber” to the data model.

- Test the data model by entering the parameter value “82020” for partynumber.
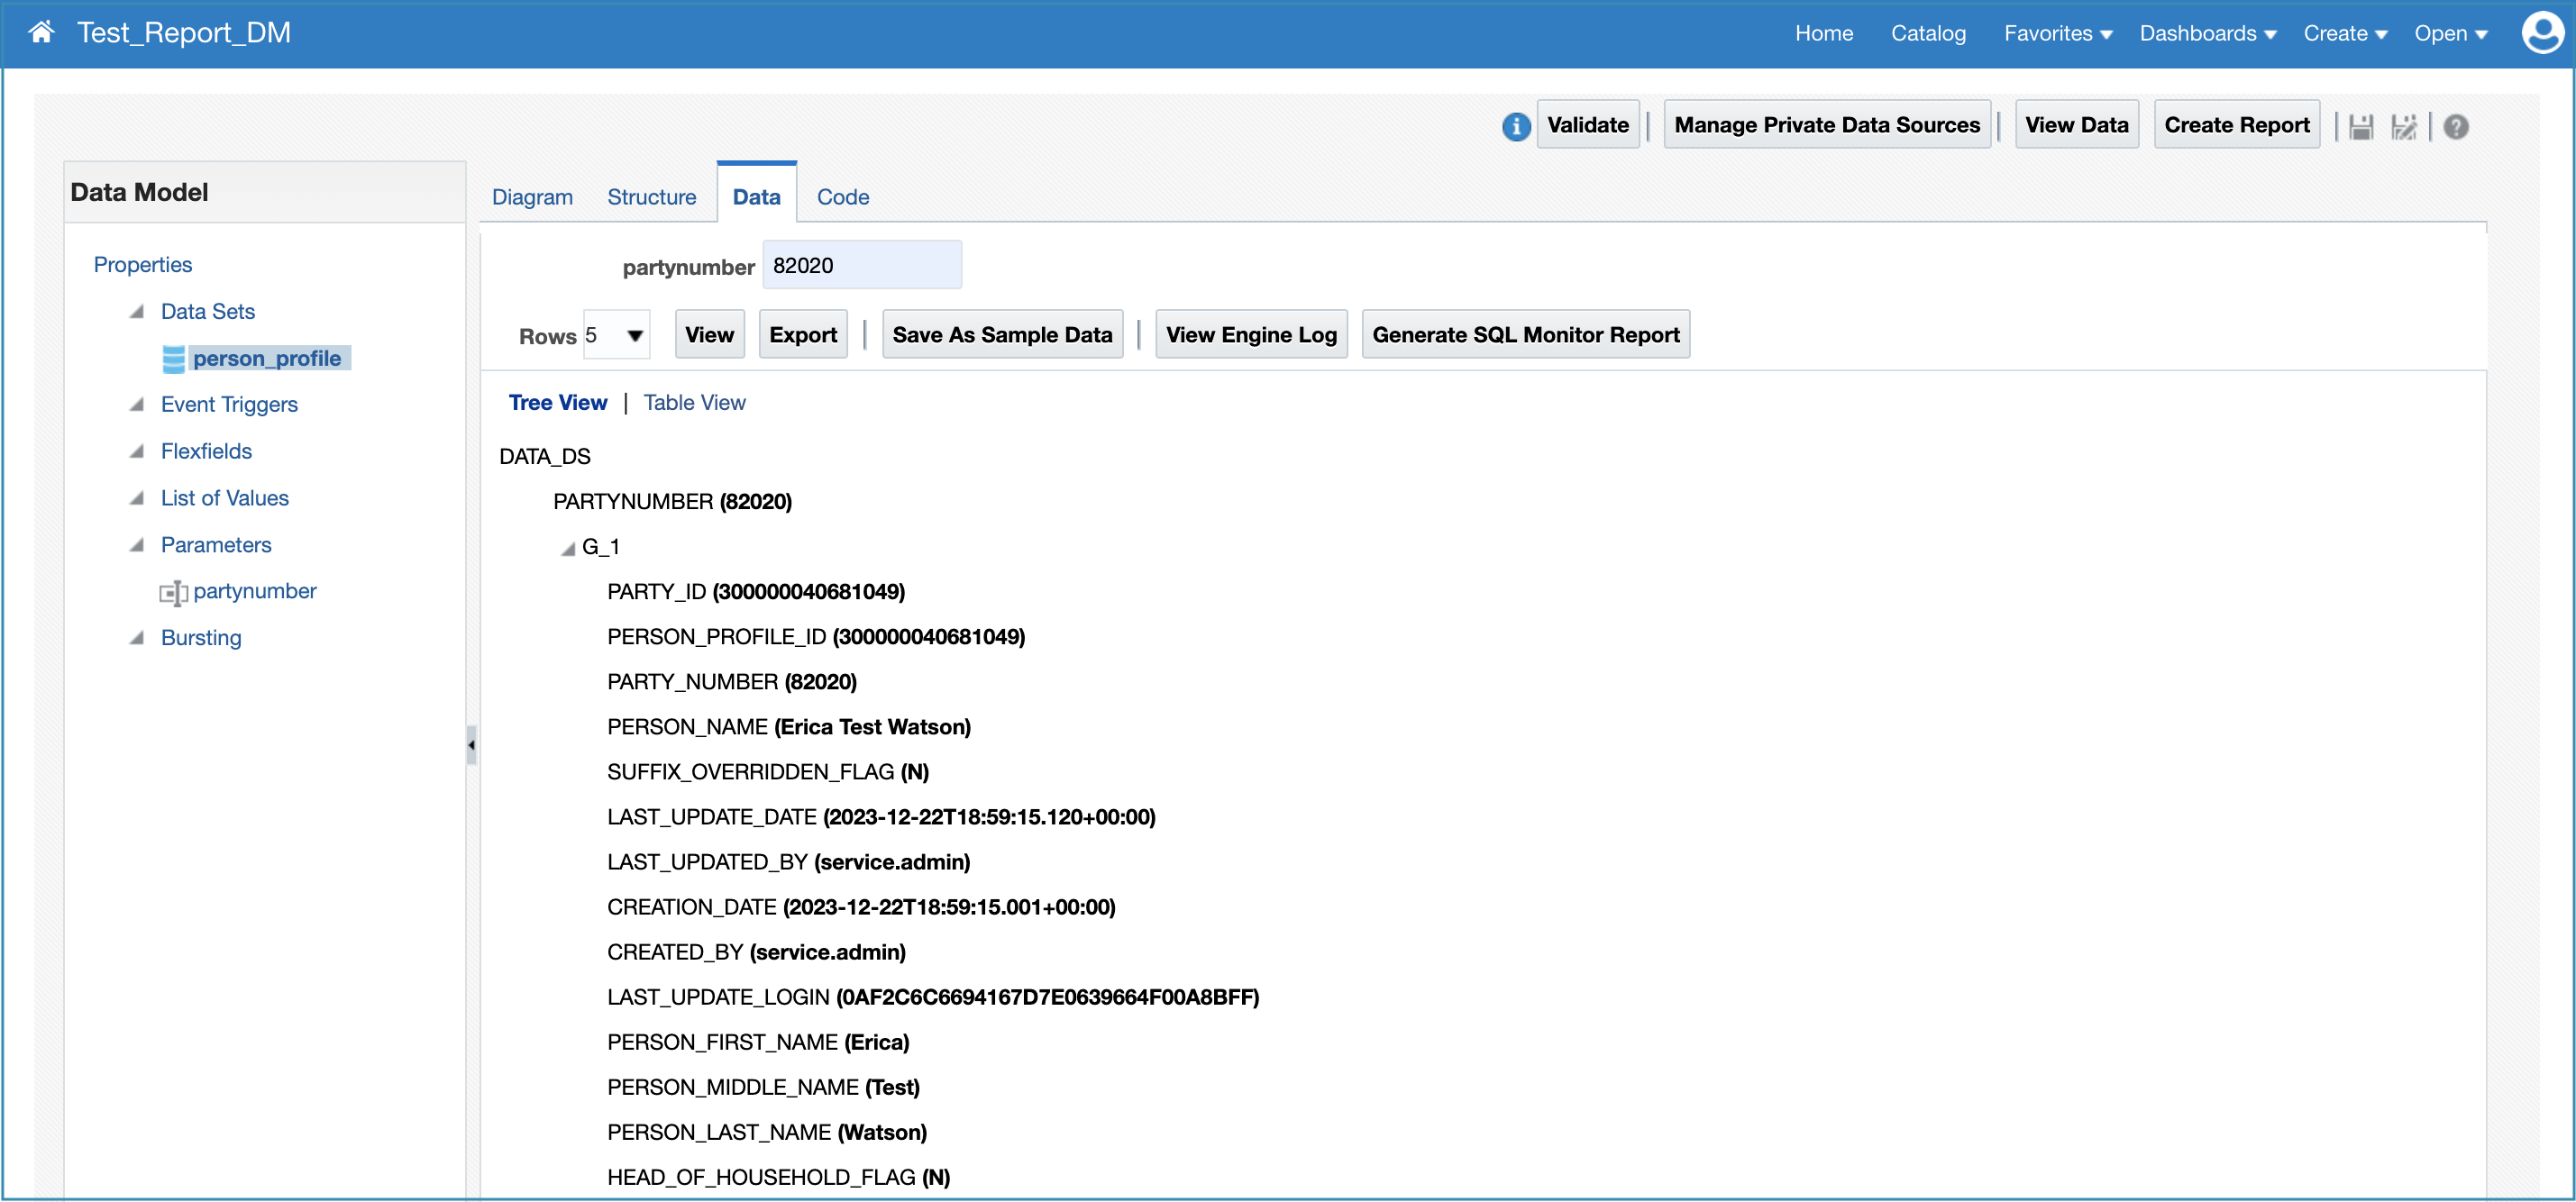
- View and export the data as XML. This will be used in preparing the template.

3. Create BI Publisher PPT template and report for the data model
Once we have the data model ready, we move on to creating the report template.
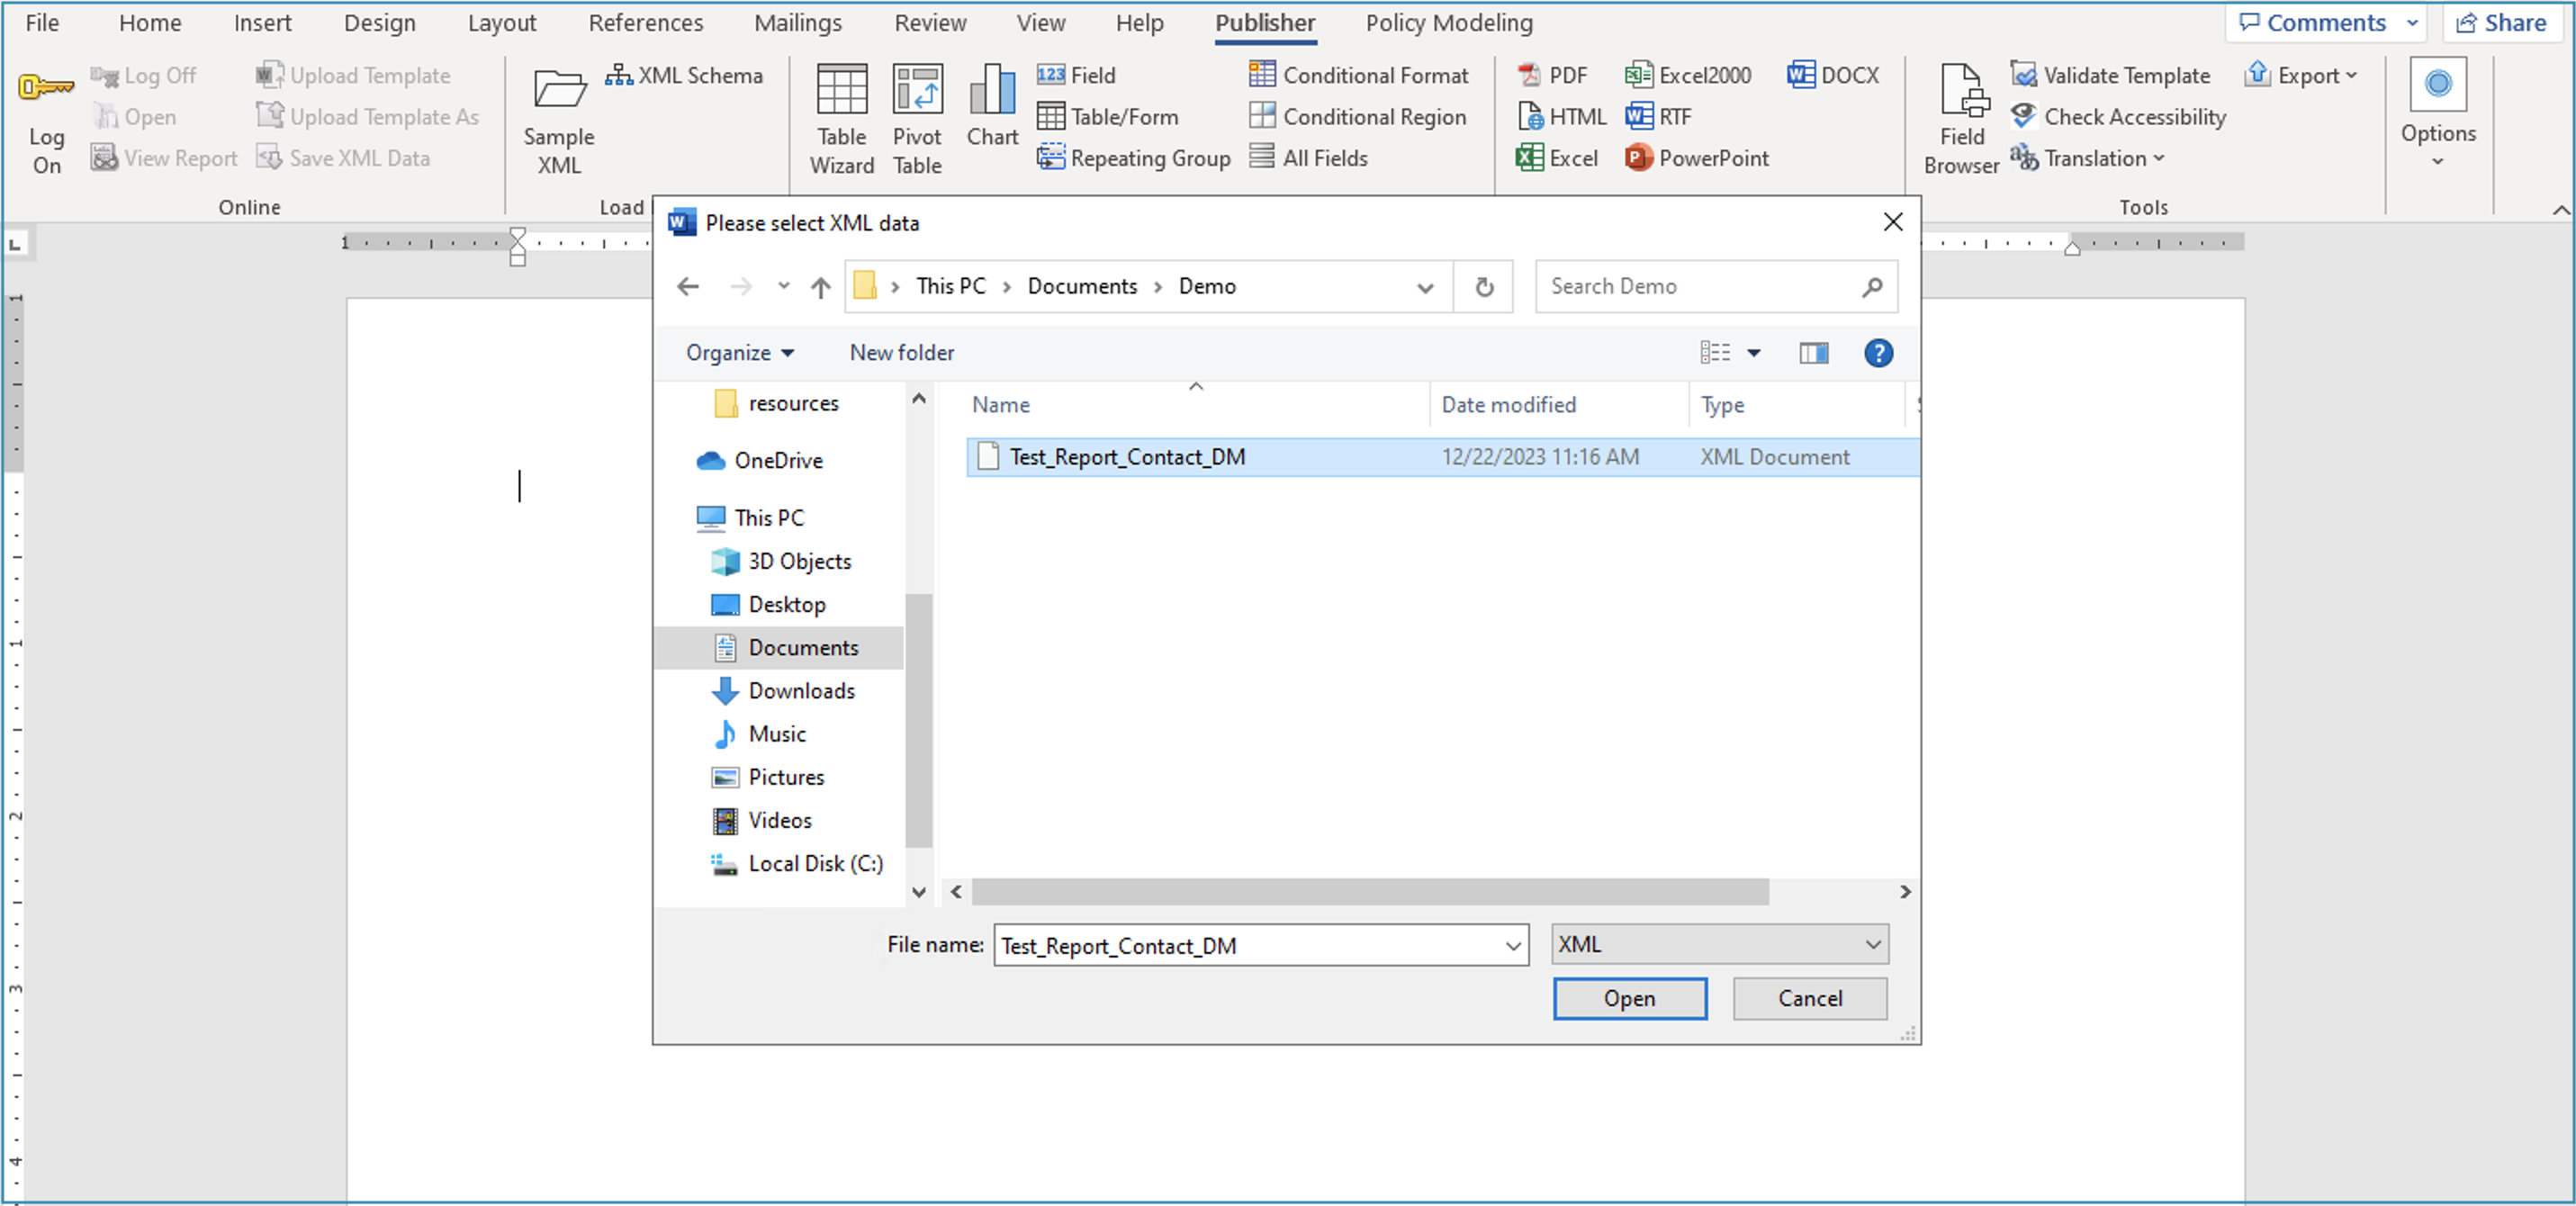
- Open a Microsoft Word document and save it as .rtf.
- In this Microsoft Word document, go to the Publisher tab.

- Load the XML file exported from the data model in step 4 of “Create a data model in BI Publisher to load a contact with parameter”.
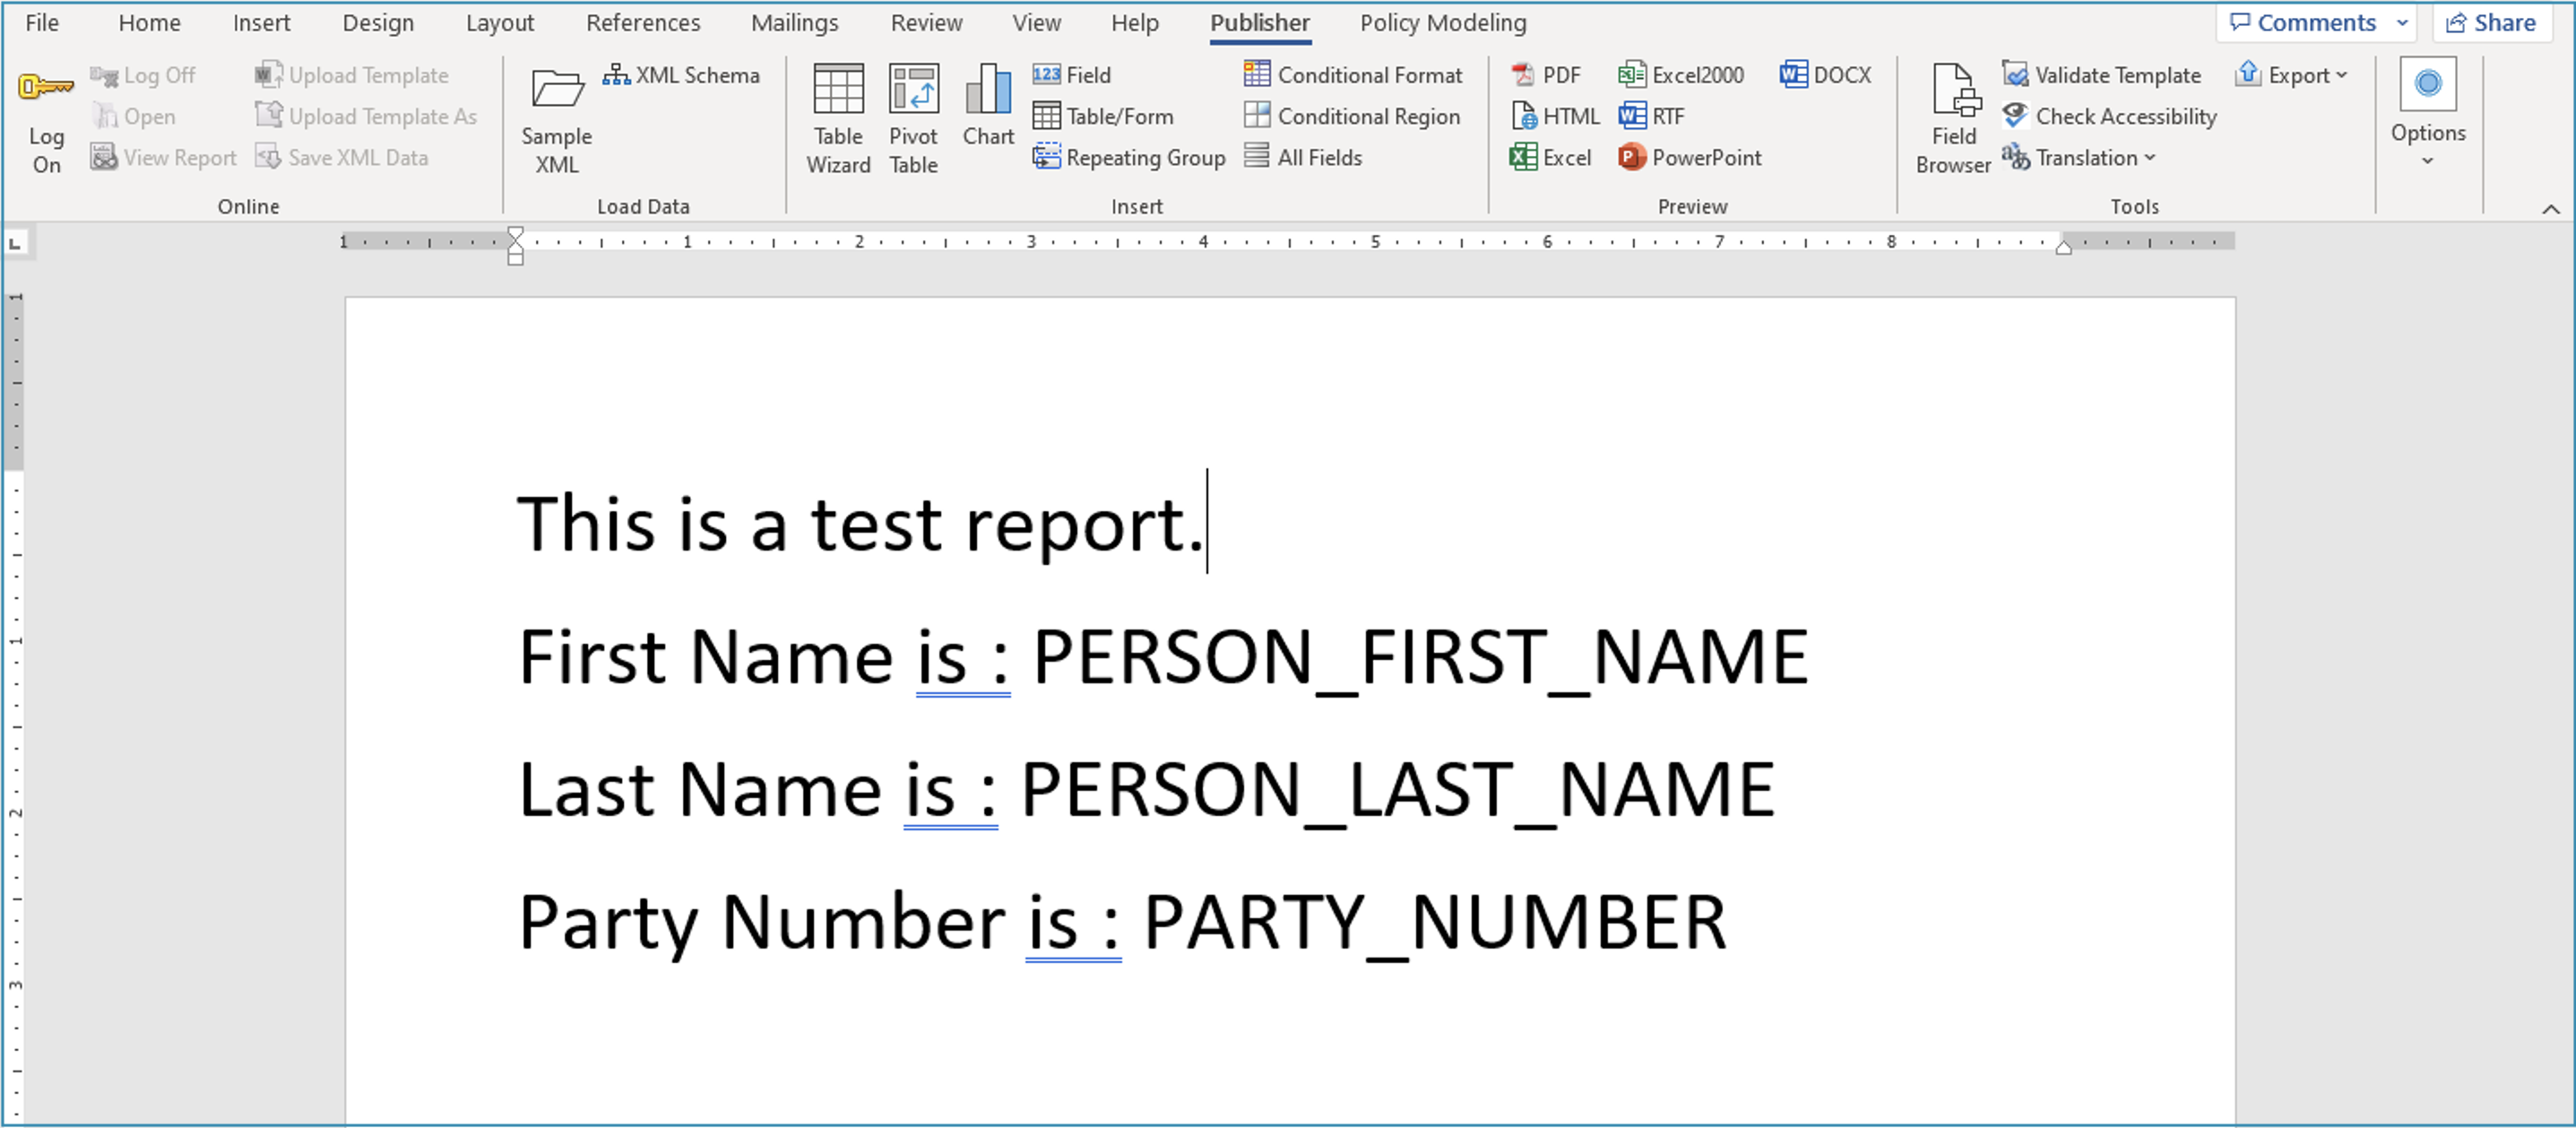
- Add fields, create the template and save.
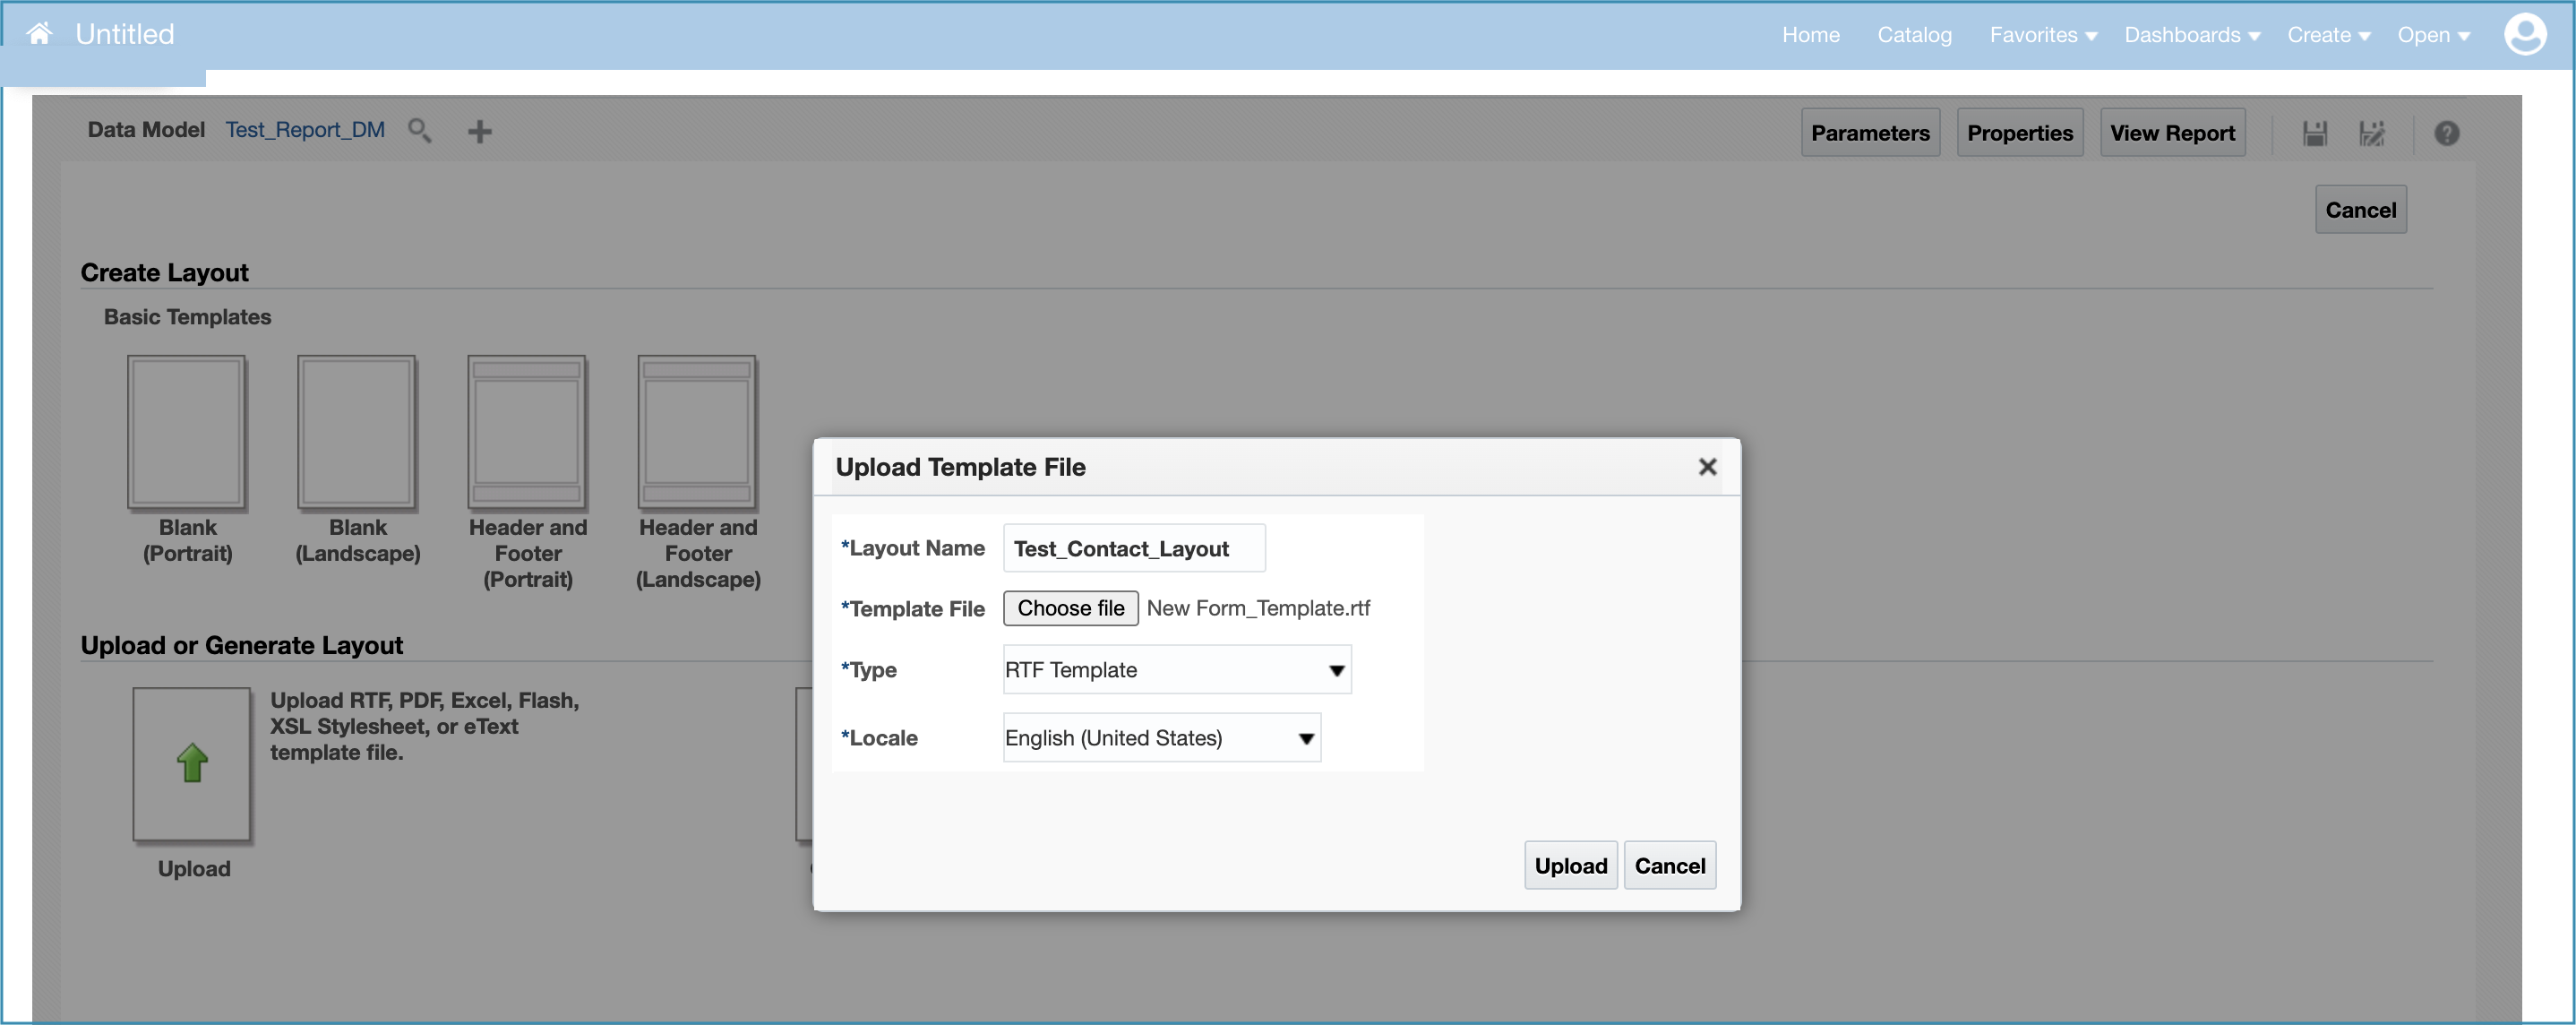
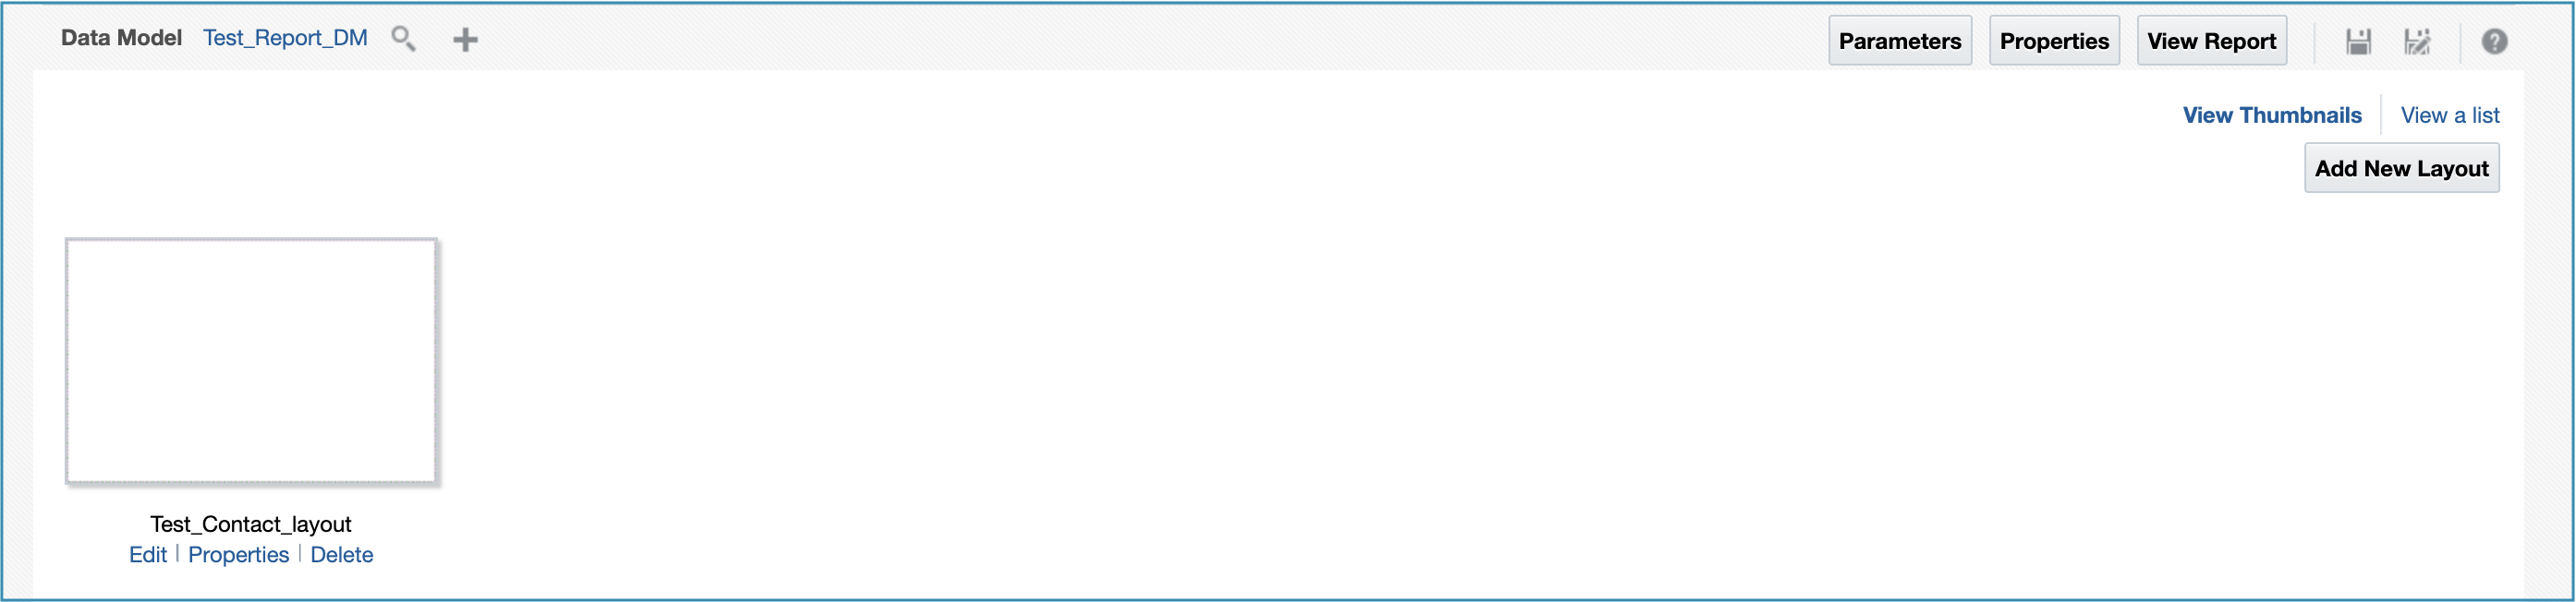
- Go to Fusion BI Publisher and upload the RTF template. Enter the layout name, choose the template file created in step 4 and then click Upload.
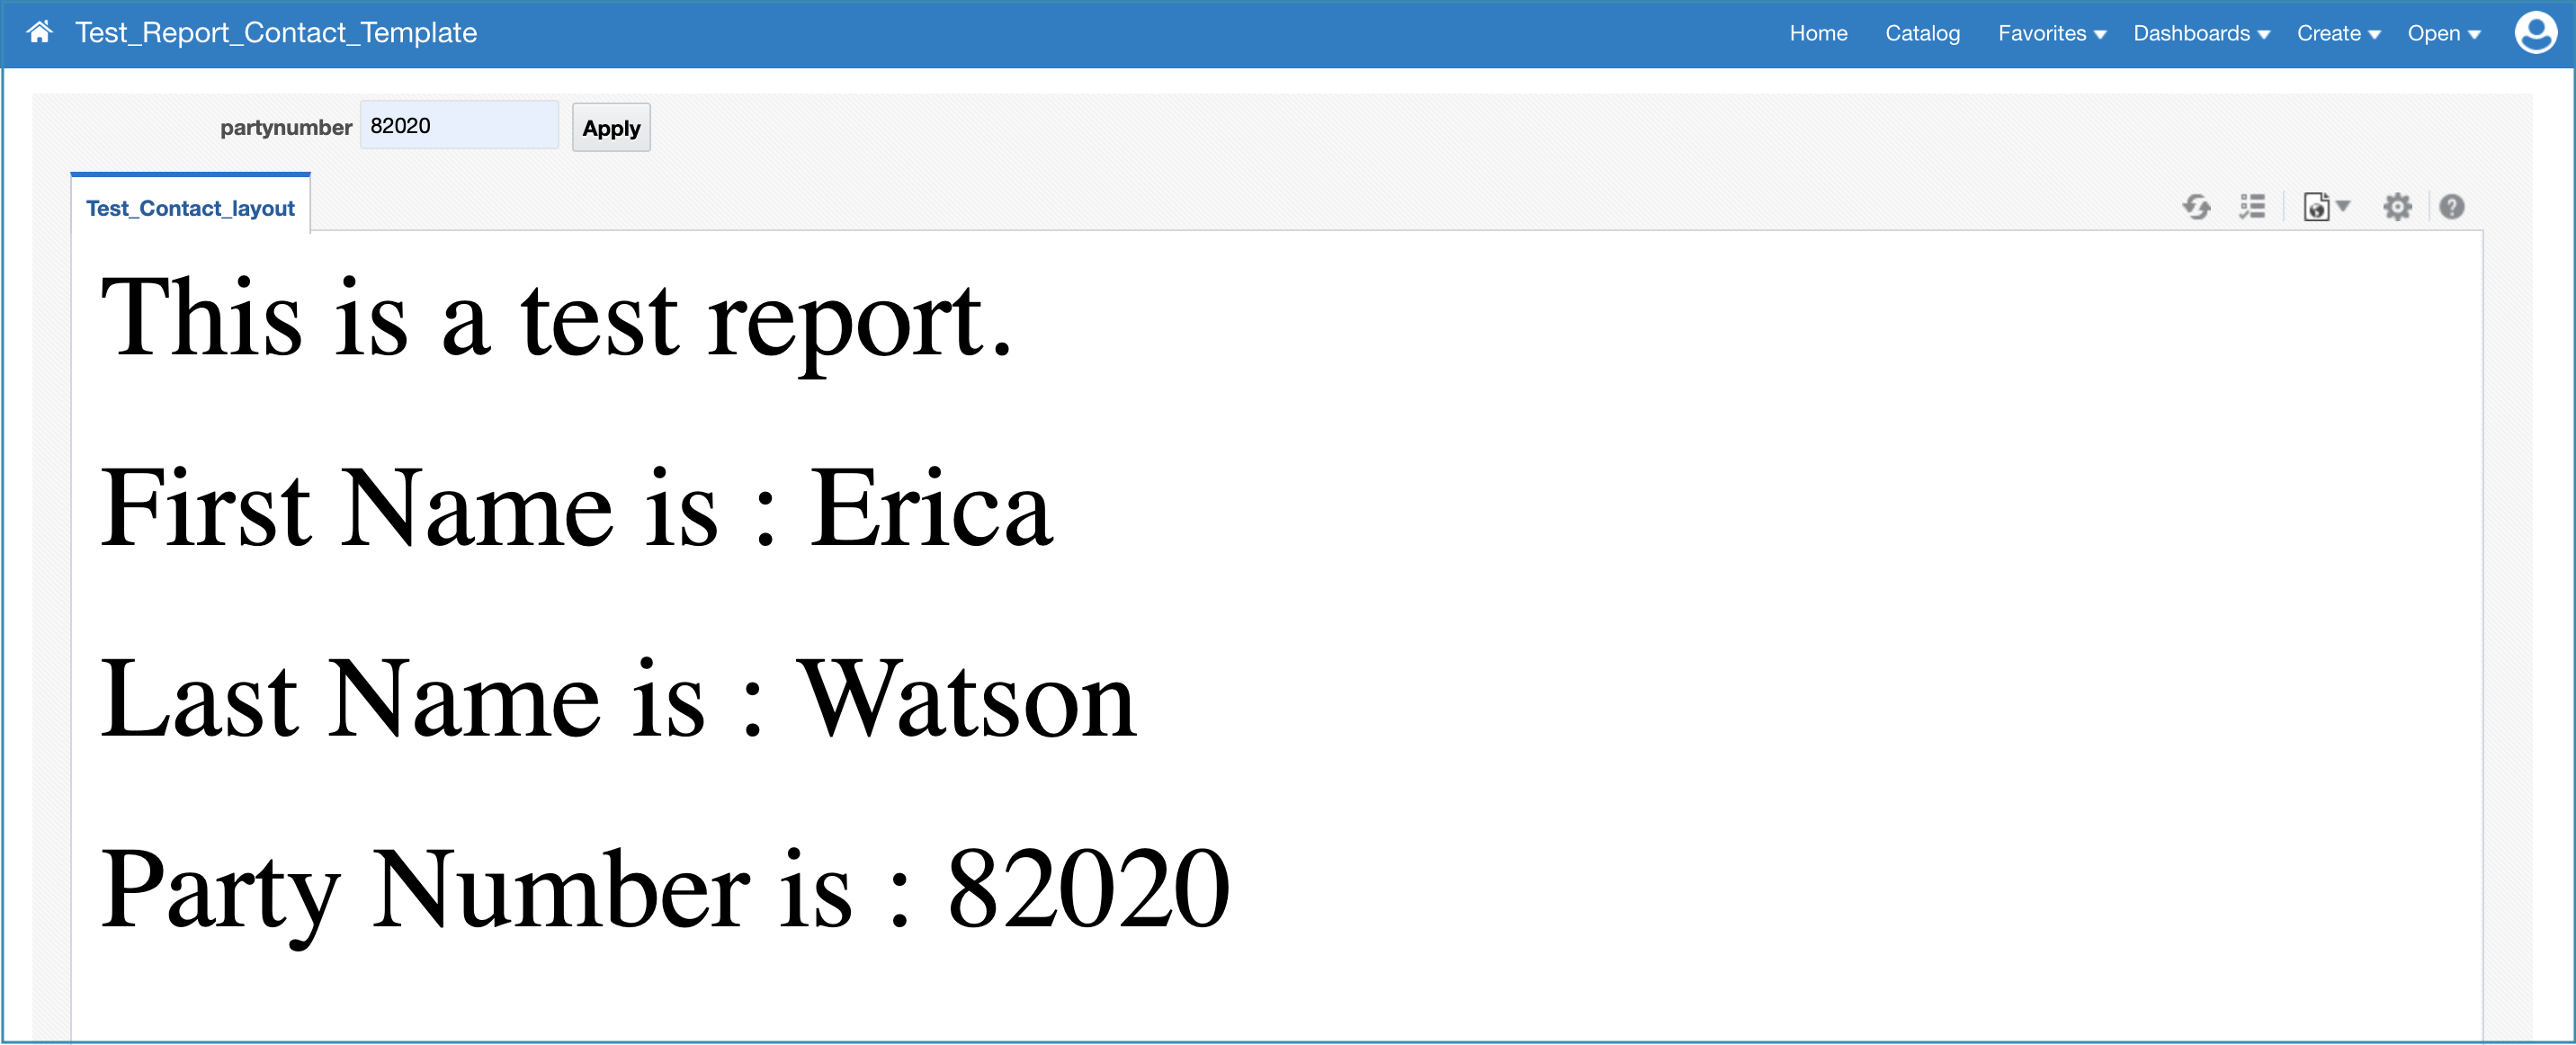
- Click on “View Report”.
- Enter the partynumber for testing the template. For example, 82020.
4. Generate the download URL for this report
The URL can be generated using the parameters provided in this document. The format for this URL will be like this: https://<fusion url domain>/xmlpserver/<report path>/<report name>.xdo?_xpt=1&_xmode=4&_xf=pptx&<parametername=value> where:
- _xpt=1 is used to export and download the report to an appropriate application window.
- _xmode=4 is used to get the only the report document/PPT, and hide the BI Publisher banner and parameters.
- _xf=pptx is used to specify output as PPT format.
- <parametername=value> is used to specify name-value pairs for the parameters specific to the report. You must use the parameter name as defined in the data model.
The final URL will look something like this: https://fusionurl.com/xmlpserver/Custom/Customer+Relationship+Management/Test_Report_Contact_Template.xdo?_xpt=1&_xmode=4&_xf=pptx&partynumber=82020 .
5. Add this URL in the interview to download the saved contact in PPT format
Now that the report is ready, we move on to using this report in the Intelligent Advisor interview.
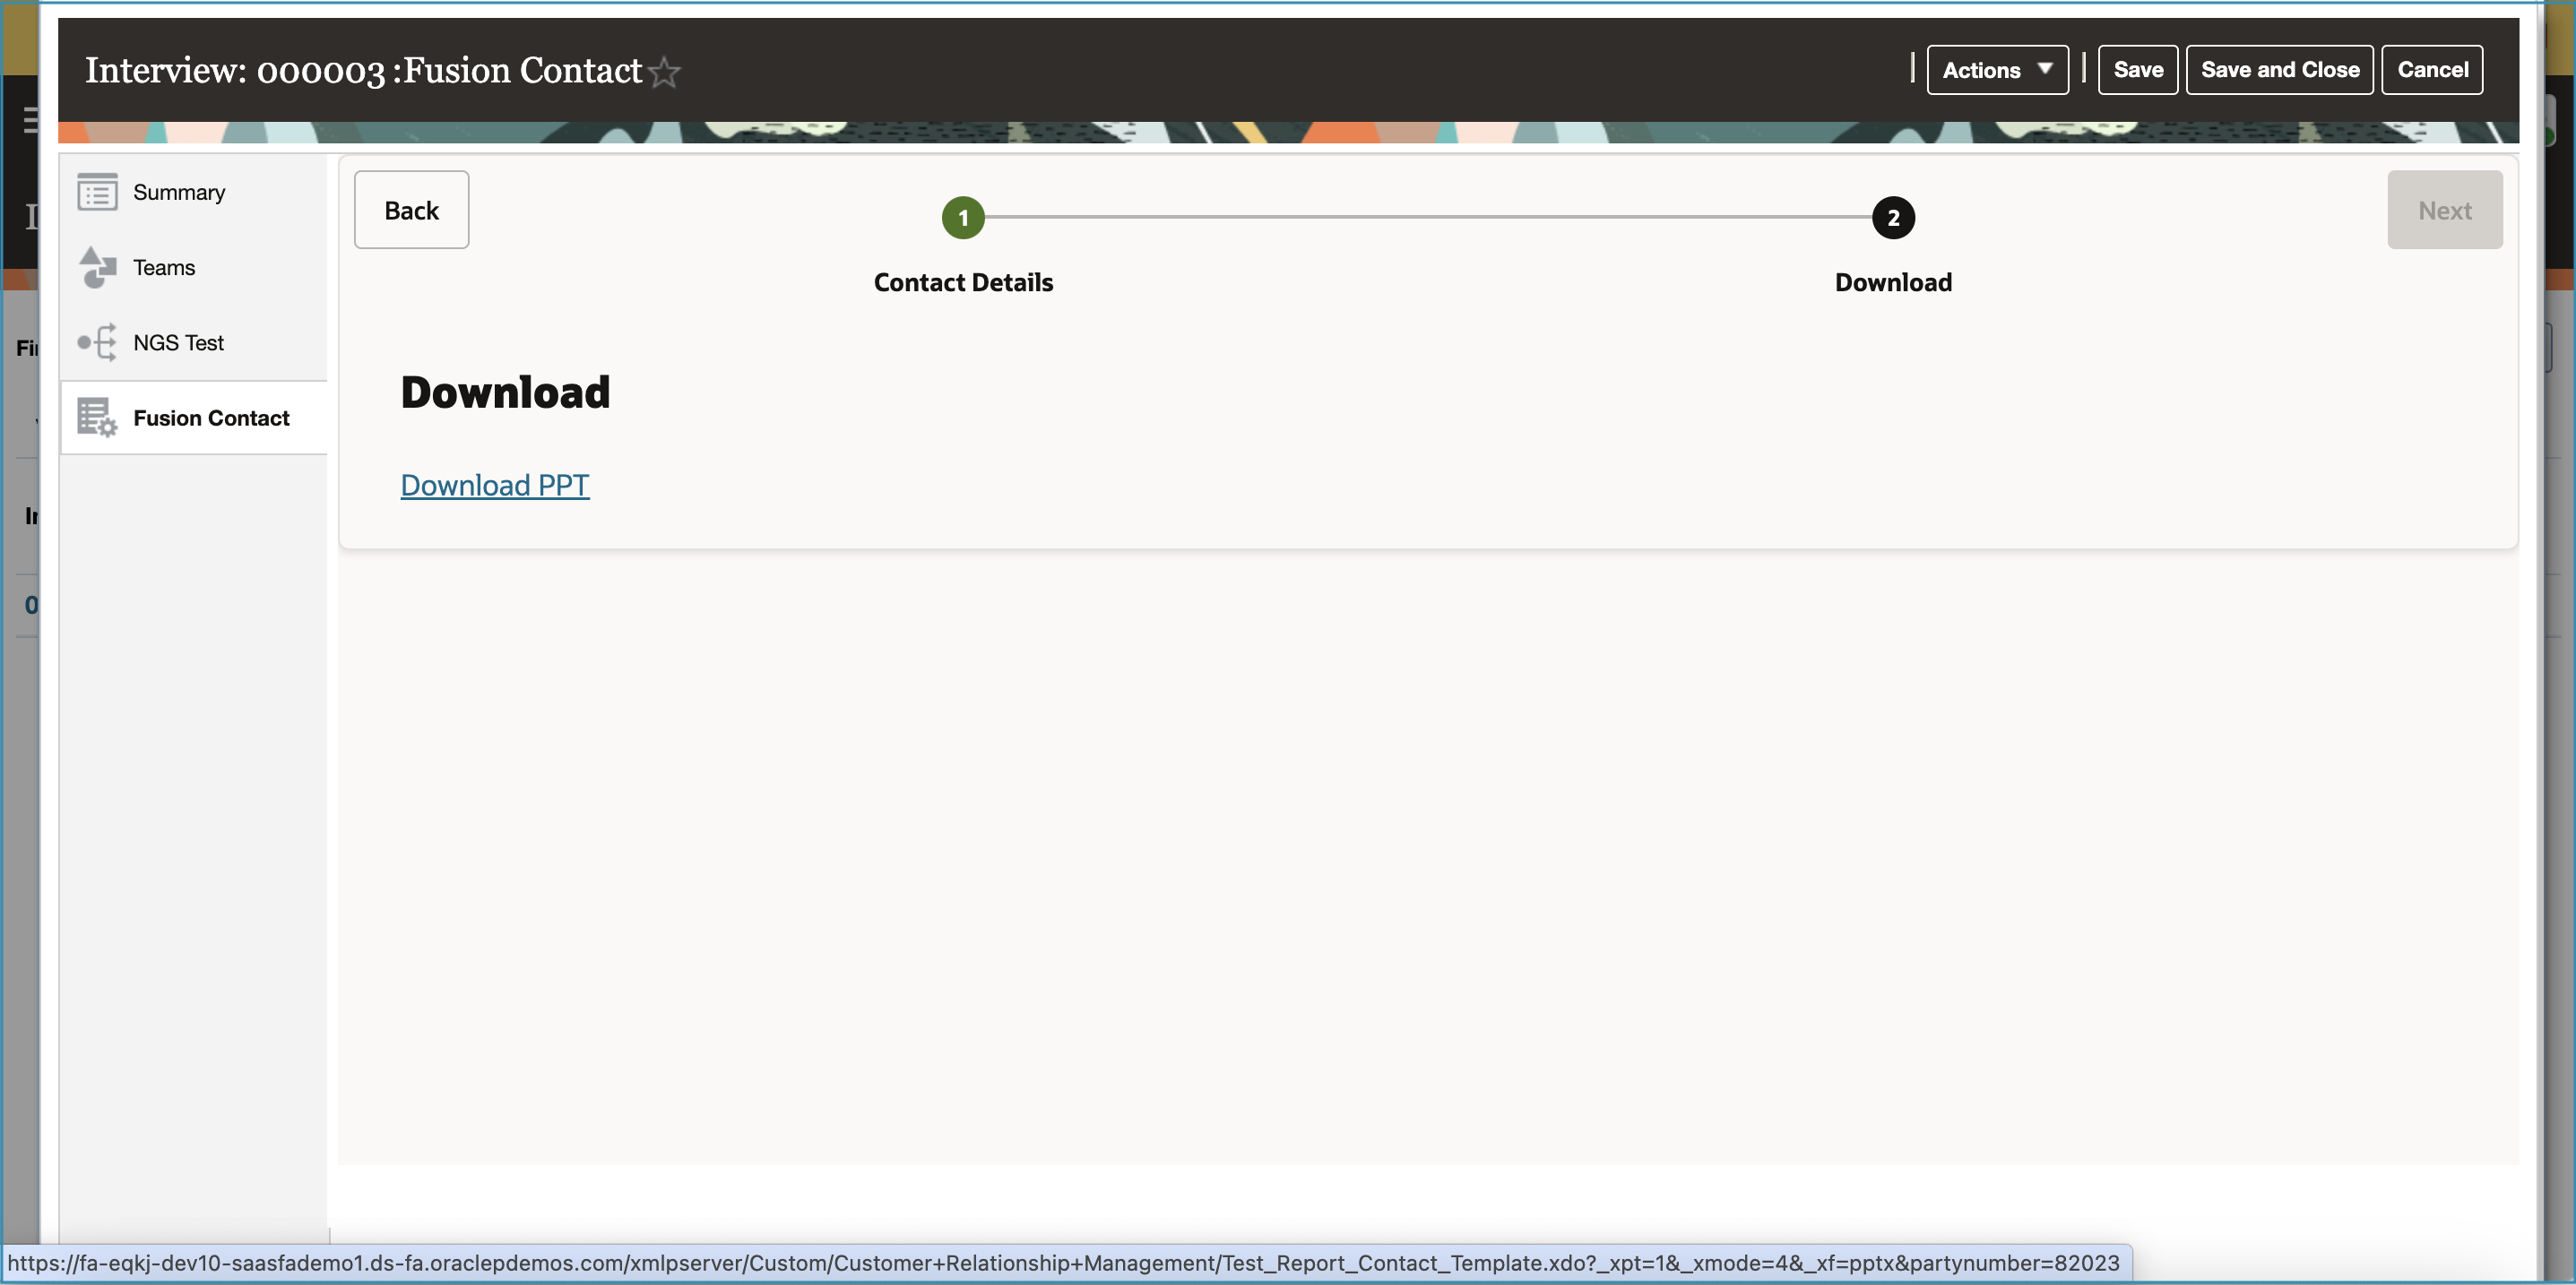
- Using Policy Modeling, add the report URL in a label on the interview screen along with the parameters.

- Deploy the interview and you can now download the PPT from the Intelligent Advisor interview within Fusion Sales.
The above steps highlight how we can leverage the complementary capabilities of Intelligent Advisor and BI Publisher to generate PPT after the completion of an Intelligent Advisor interview.
We have used the “contact” object for this example. You can apply the same approach to any other supported objects and custom objects as well.
Further information
For further information on the concepts covered in this post, visit these topics in the Oracle documentation:
