Introduction
Oracle CX Service’s Agent Browser User Interface (UI) is the next-generation agent experience for B2C service environments. The Browser UI delivers a modern, streamlined, and user-friendly experience to scale and grow with the demands of your contact center. It’s accessible to agents through any platform, on any browser, regardless of whether they’re on-site, remote, in a retail store, or in the field.
In this blog, we will discuss about, what is Intra Chat, in which use-cases it can help agent, how the agent can use Intra Chat and how the administrator of the site can enable Intra Chat feature.
What is Intra Chat
Intra Chat is a feature of the Oracle Service Cloud Browser UI and can be used for employee to employee collaboration.
When to use Intra Chat
Many times, an agent needs the assistance of fellow agent or supervisor to resolve some questions. The objective of the Intra Chat feature is to provide an effective tool for Agent to Agent collaboration.
An agent can send a message or question through an embedded Intra Chat Inlay and the message will be routed through a chat queue using business rules. A chat agent or supervisor will see a chat notification to accept the chat and can answer or collaborate with the agent who asked the question, using the Engagement Panel.
By using Intra Chat Inlay, the agent can also send attachment to another agent.
How to use Intra Chat
For the Agent profiles for which Intra Chat is enabled (see how to enable Intra Chat), a new Intra Chat icon with a Question Mark will display in the Global header next to the chat toolbar as shown in below image –

When clicked on the Intra Chat button, the Intra Chat Inlay will load at the right bottom on the Agent Browser UI as shown below –

The Agent can type the question in the subject field and start the chat with another employee by just clicking Start Chat button.
In case if the Agent doesn’t need to use Intra Chat Inlay, he can again click on the Intra Chat button in the Global header that will hide the Intra Chat Inlay.
How Intra Chat works
- When the first time, the Agent clicks on the Intra Chat button in the Global header, the application checks if the staff account of the Agent does have email address or not.
- If no email address associated with the staff account of the Agent, then the agent will be asked to enter an email address before loading Intra Chat Inlay. This email address will be cached for the browser session.
- If the email address is associated with the staff account of the Agent, then that email address is used for performing the next steps.
- The email address captured in the either of the above steps is used to match the Contact in the system. If any contact matches with the email address and Contact type of that contact is same as the value provided in the custom config “CUSTOM_CFG_CHAT_INTRACHAT_EMPLOYEE” then Intra Chat Inlay will be loaded and the Agent can go ahead and use it.
- If no contact matched with the email address, then a new contact will be created and Contact type value is set to the value provided in the custom config “CUSTOM_CFG_CHAT_INTRACHAT_EMPLOYEE”.
- After a question or topic is added to the Subject field, the Agent can click on the Start Chat button. The message will be routed through the Chat queue and the chat agent or supervisor will then receive notification of an incoming chat.
- By default, Subject will be visible in the Intra Chat Inlay, but the admin configure Intra Chat Inlay to show additional fields also (see how to enable Intra Chat).
How to enable Intra Chat
- To set up the Inlay; Oracle Service Cloud (B2C Service) customers must set the configuration setting OIT_CORS_ALLOWLIST properly to ensure the Inlays are approved to interact with your site. Note that prior to B2C version 20D, this configuration setting is labeled as OIT_CORS_WHITELIST. For testing purposes, you can set a value of .* which allows any site to utilize the Inlays. However, this value is not recommended for production. The recommended value for this configuration setting is a regular expression list of all approved domains that can access your inlays separated by a pipe character (e.g. | ). Documentation on inlays can be found here.
- In the B2C Service Agent Desktop, following two custom configs will need to be created by the administrator.
- CUSTOM_CFG_CHAT_INTRACHAT_ACCESS :
- Type Text.
- Value is the Profile ID for which the administrator wants to give Intra Chat access to. It can be multiple Profile IDs that are comma separated.
- CUSTOM_CFG_CHAT_INTRACHAT_EMPLOYEE :
- Type Text.
- Recommended Value: IntraChat.
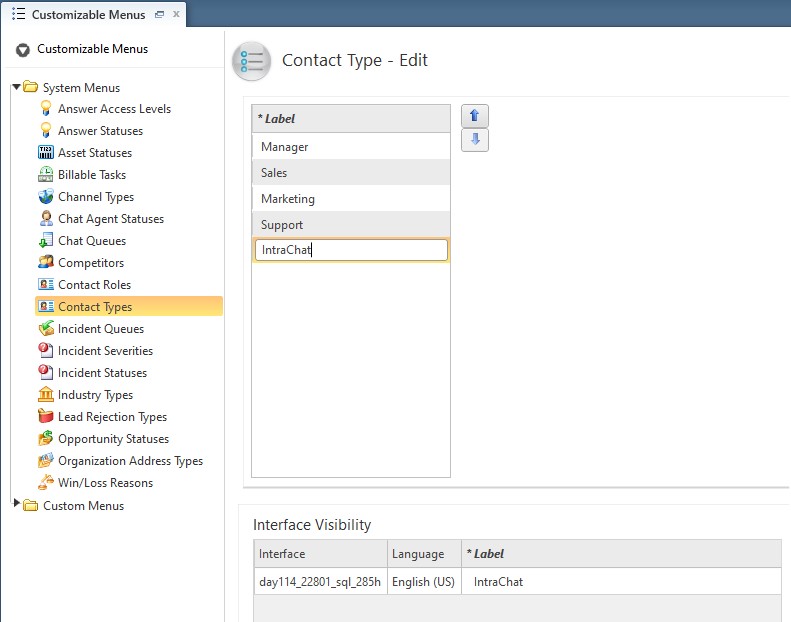
- This will be a new ContactType and can be configured in the Customizable Menu
- CUSTOM_CFG_CHAT_INTRACHAT_ACCESS :
- A new Contact Type must also be created and it needs to have the same value as the CUSTOM_CFG_CHAT_INTRACHAT_EMPLOYEE. It can be created from the Agent Desktop as shown below –
- The chat initiate from the Intra Chat will route to any Chat Agent who is logged-in to the Chat and meet the criteria provided in the Business rule if the customer has set any such business rule.
- Administrator can configure the fields which will display in the Intra Chat Inlay.
- Out of the box, the Intra Chat Inlay will show Subject field.
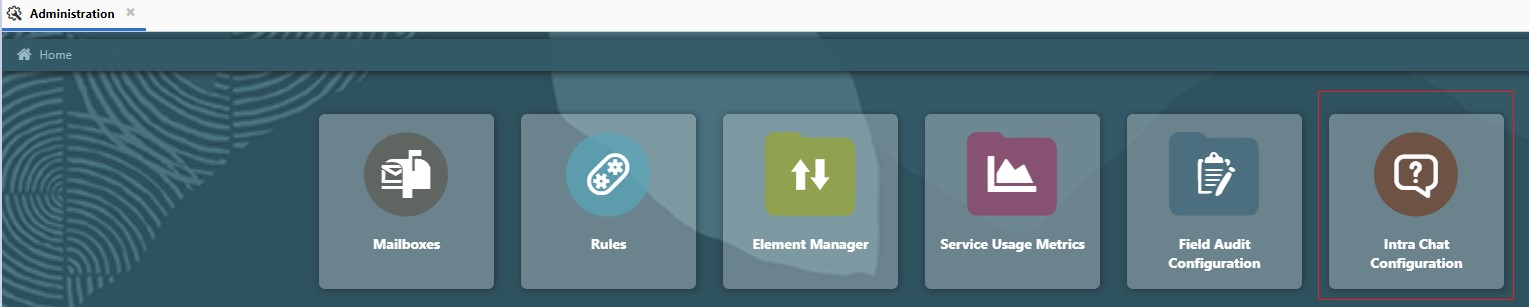
- Administrator can configure the fields display in the Intra Chat Inlay by using Agent Browser UI. For that he has to use Intra Chat Configuration which is present in the Administration tab of the Agent Browser UI as shown below.
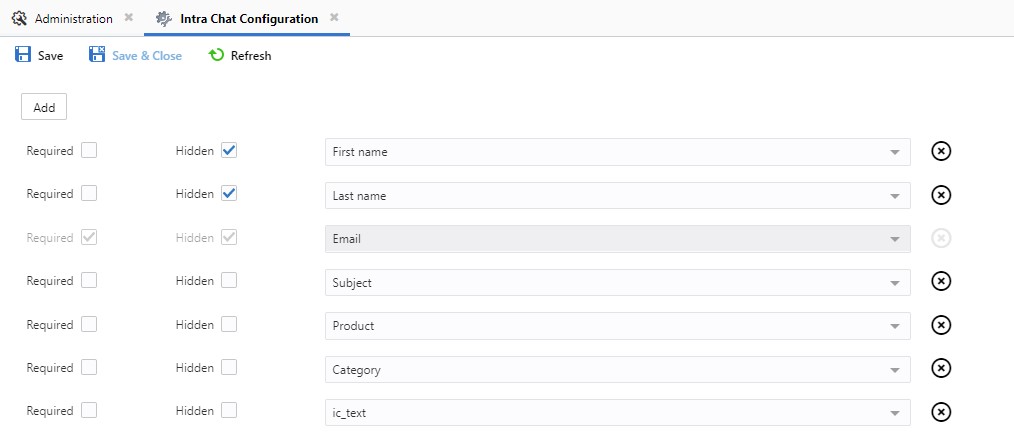
- As shown in the below image, the admin can add fields like Subject, Product, Category and Chat enabled custom fields of the Incident Object. Admin can also add First name, Last name and Email fields of the Contact Object.
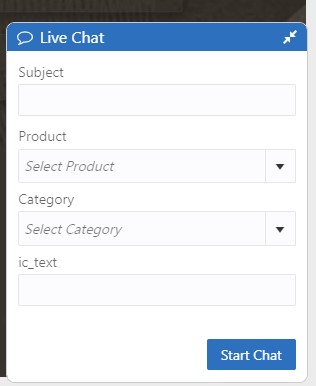
- After making the above changes, the Intra Chat Inlay will look as shown below
Key Resources –
- Documentation on inlays can be found here.
- Documentation on how to create custom configs can be found here.
- Documentation on creating Customizable Menu with Contact Type can be found here.
- Documentation on how to create business rule can be found here.