Introduction
When you first start experimenting with the NetSuite’s generative AI features, you get a limited amount of free usage each month. That’s great for testing, but most companies quickly outgrow those limits. The good news is that NetSuite allows you to bring your own Oracle Cloud Infrastructure (OCI) credentials. Once configured, your AI usage in NetSuite is powered directly through your OCI account, giving you unlimited capacity with the Oracle Generative AI Service.
In this post, we will see how to connect NetSuite to OCI using credentials from an Oracle Cloud account and how to store these credentials into NetSuite.
Getting my OCI credentials
To follow along, you’ll need an OCI account with the Generative AI service enabled. Once that’s done, there are a few critical details you’ll need from OCI:
- User OCID
- Compartment OCID
- Tenancy OCID
- Public key fingerprint
- Private key file that pairs with it.
- Endpoint ID– only if you’ve provisioned a dedicated AI cluster
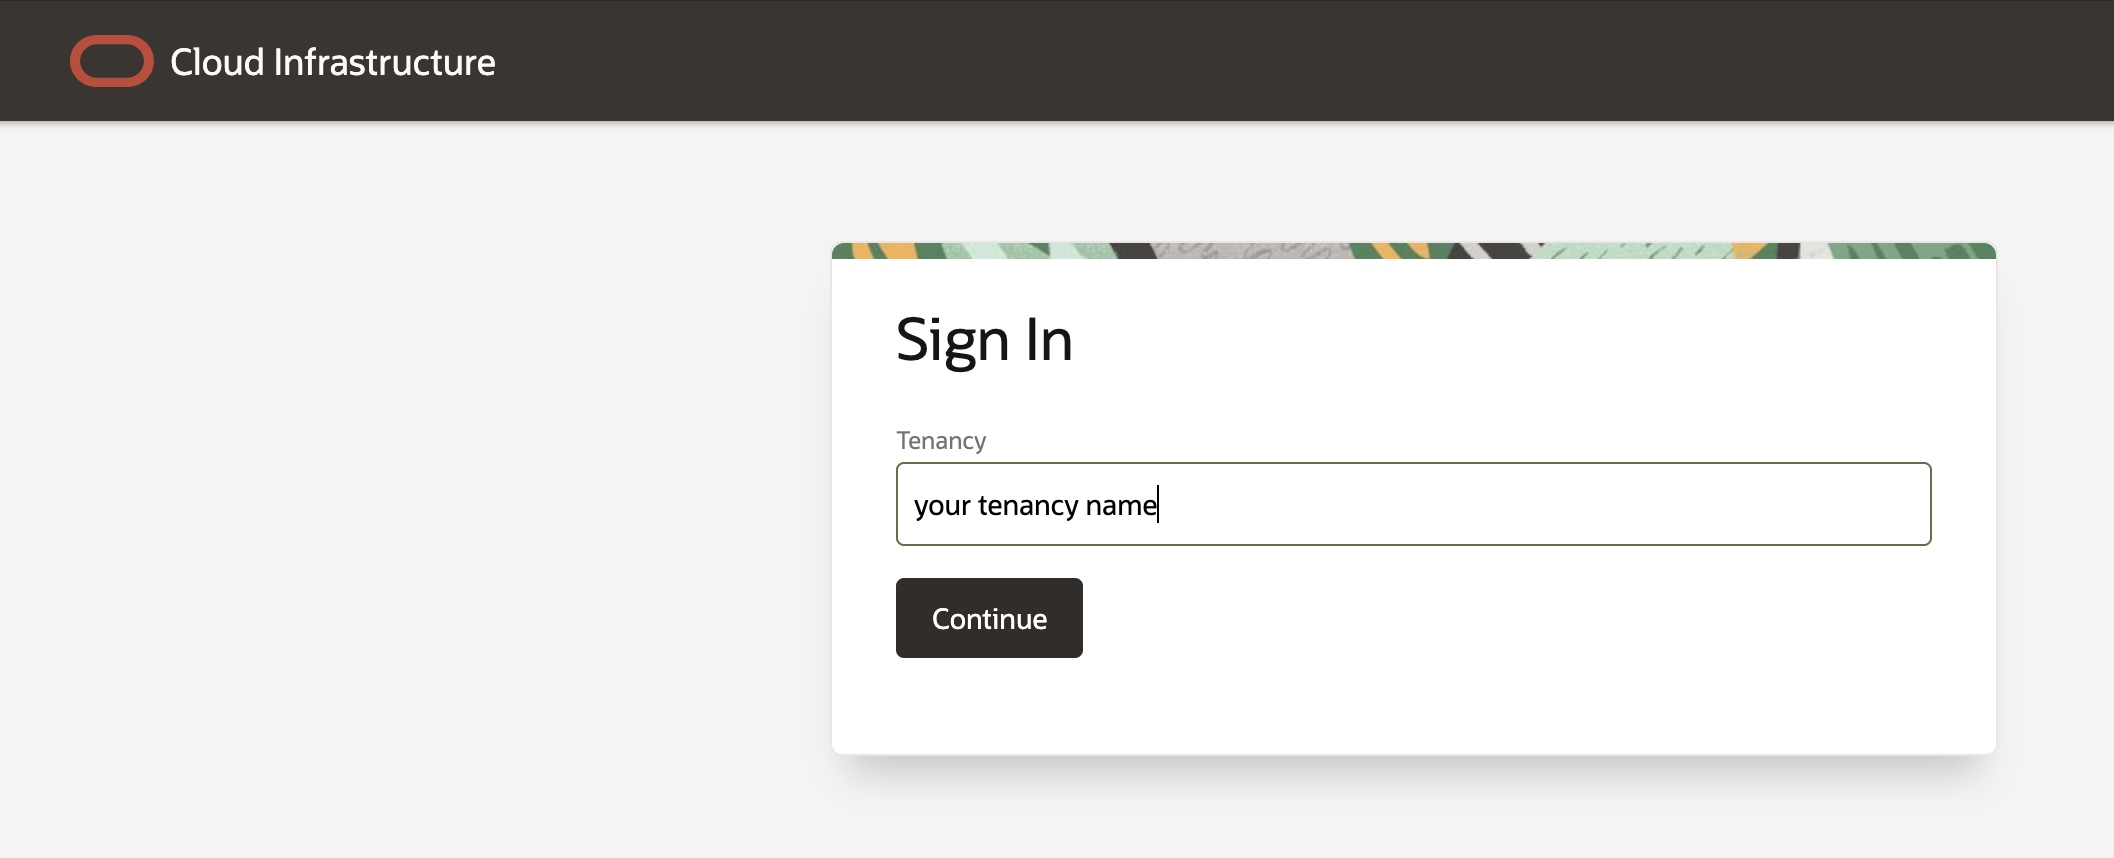
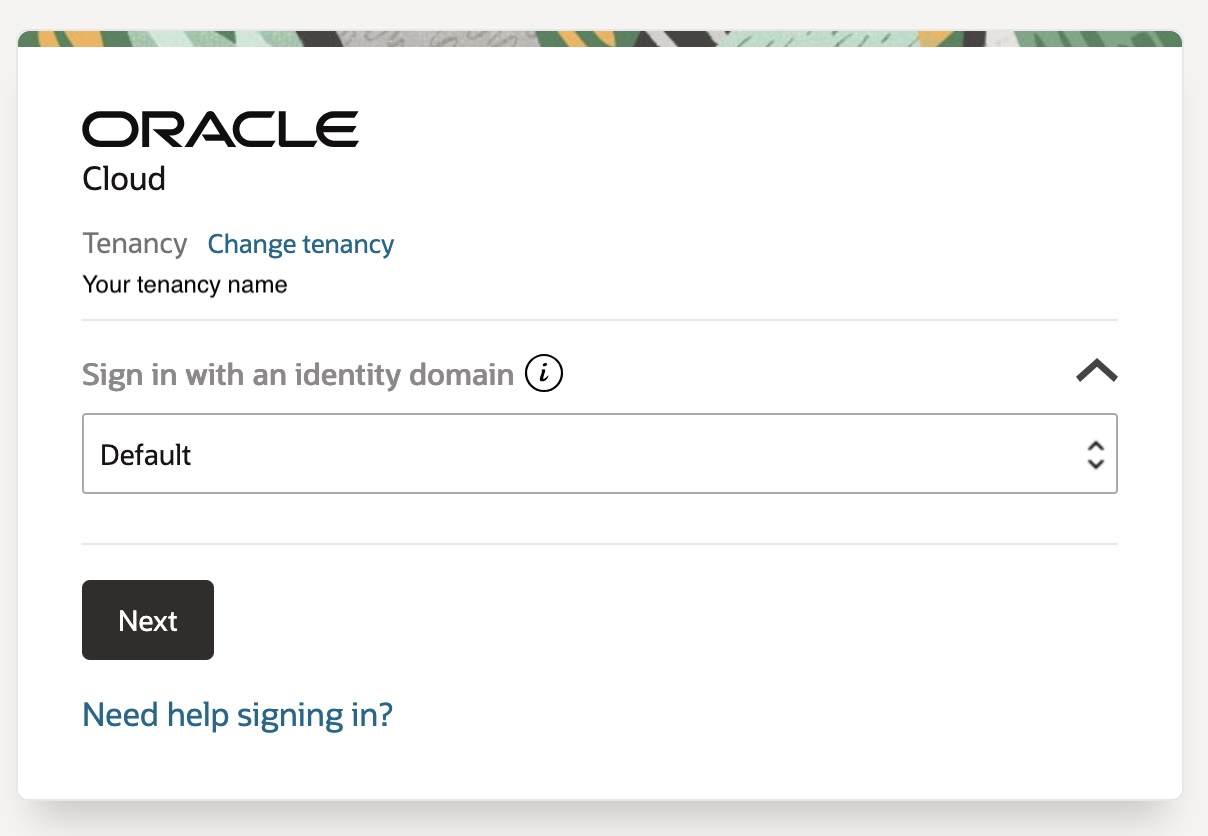
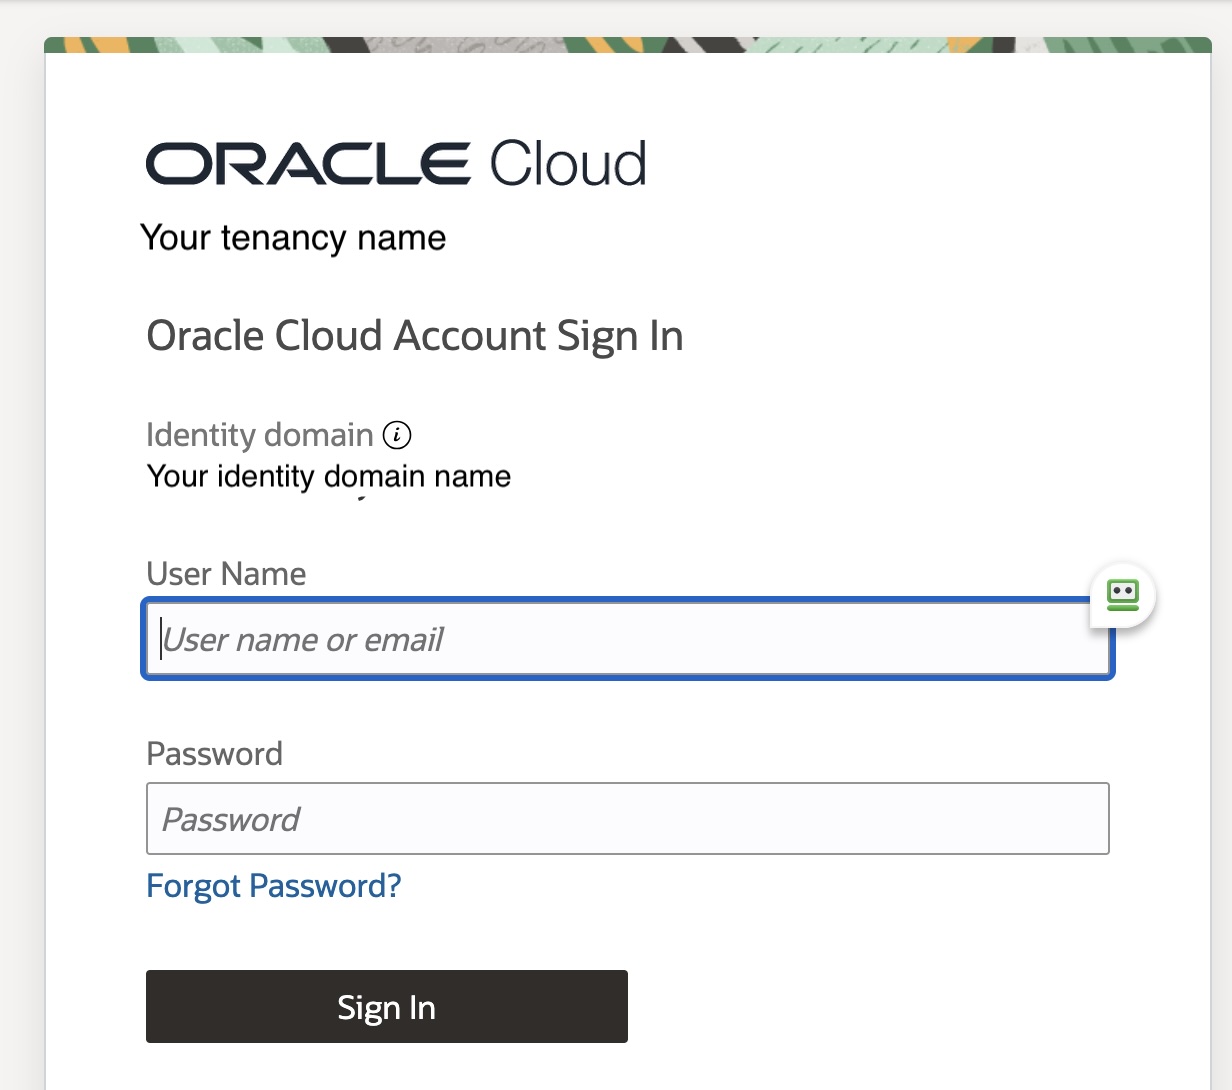
Let’s see how to obtain this information.Log in to OCI with your tenancy name and domain (the default domain if you haven’t changed it).
Now that we are connected we should be able to get the different fields we need. Let’s start by getting the easy ones:
- User OCID
- Compartment OCID
- Tenancy OCID
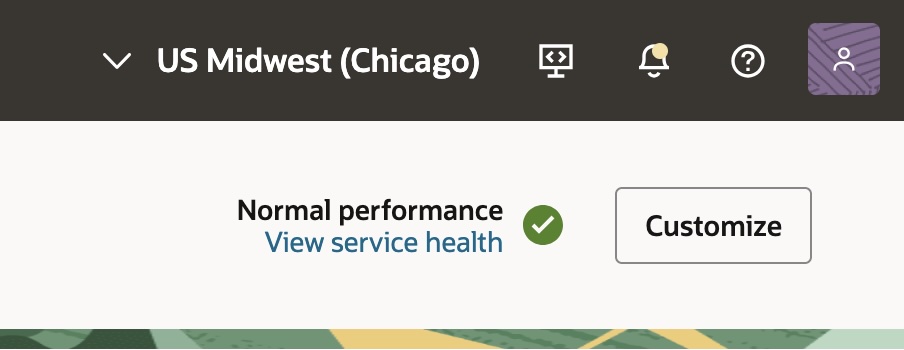
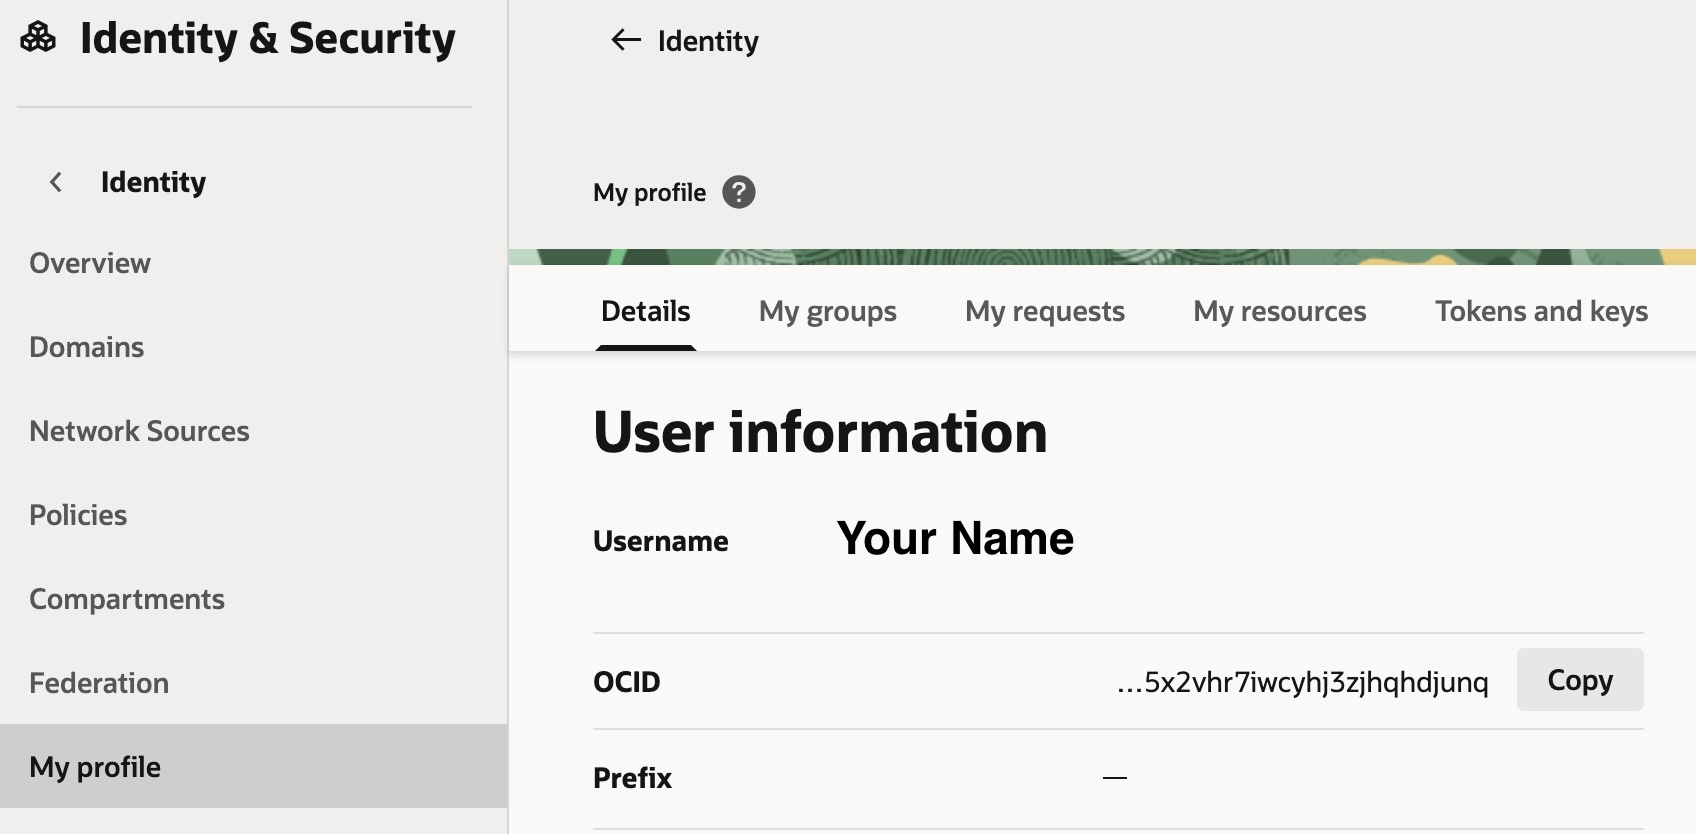
All these values can be obtained from the profile, click on the Profile Menu located at the right top corner (next to your region name) and then click on User Settings.
You will be redirected to your profile and from there you will be able to obtain the OCID value, under User Information, just click on COPY and save this value for later use.
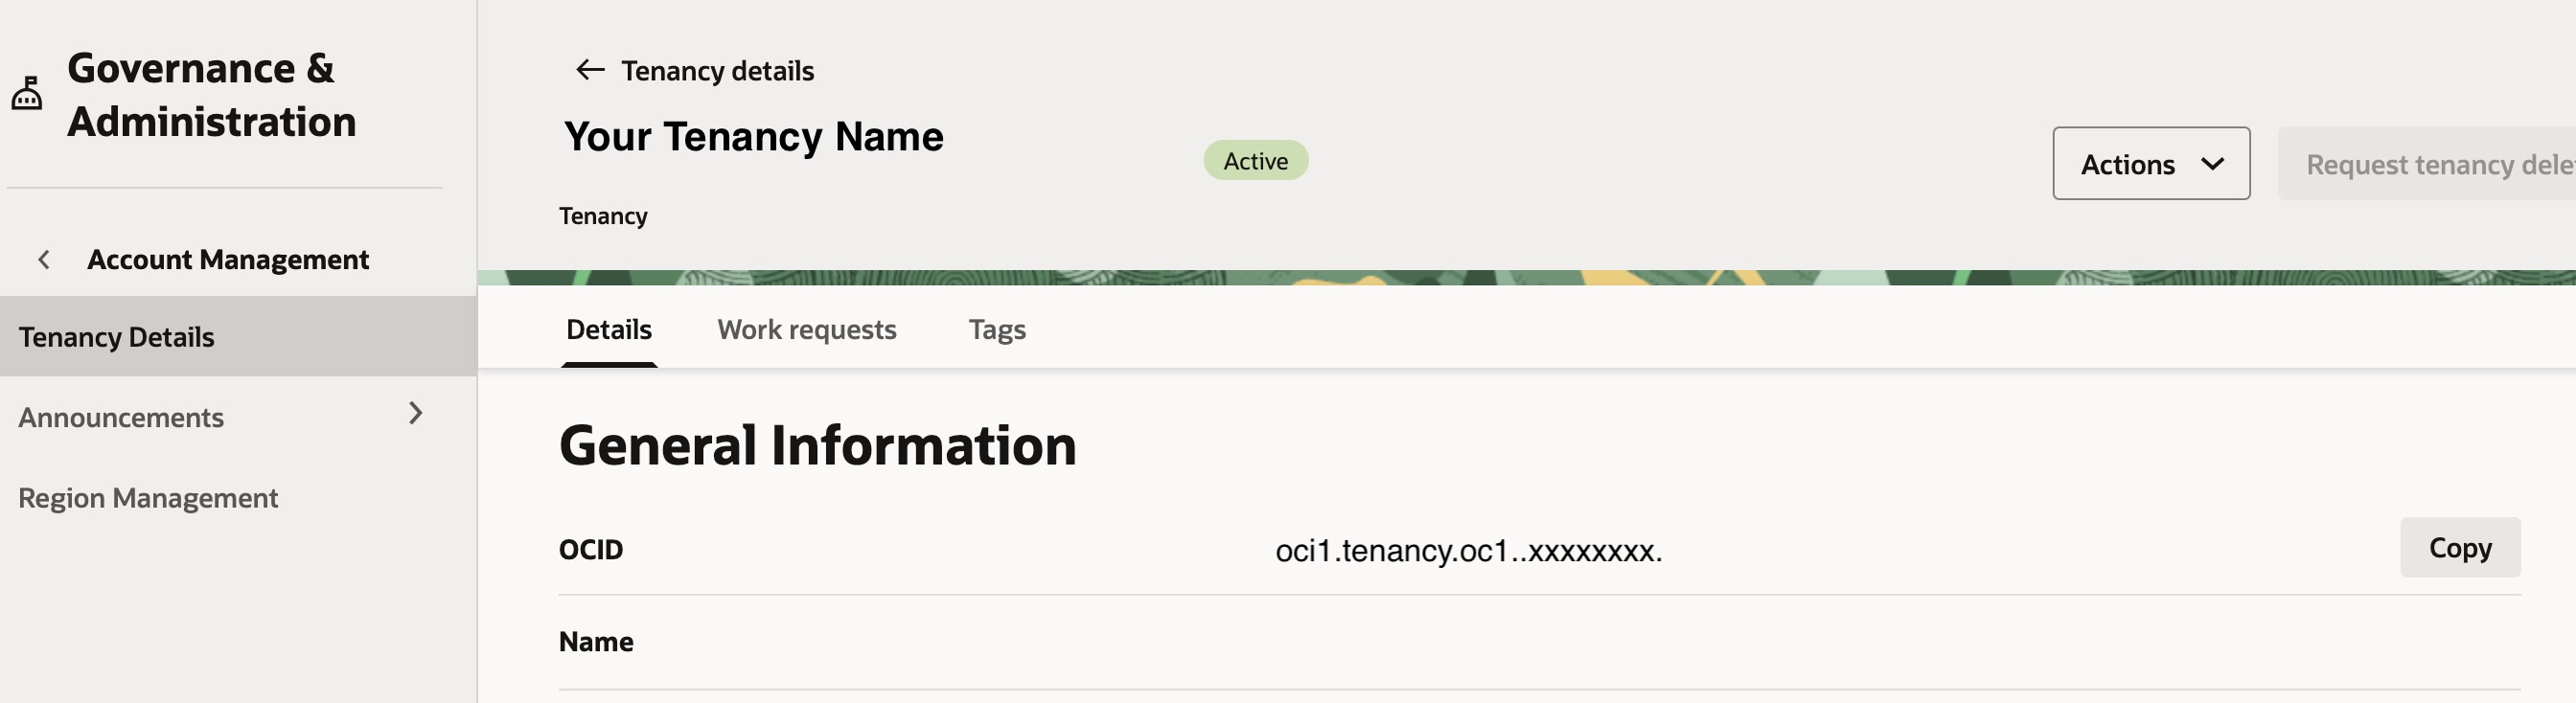
Now, in order to obtain the tenancy OCID, we must click again on the right top icon of your profile and select Tenancy from the dropdown menu.
You will be redirected to your tenancy details page and under General Information you will be able to get your tenancy OCID. Click on COPY and save this value for later use.
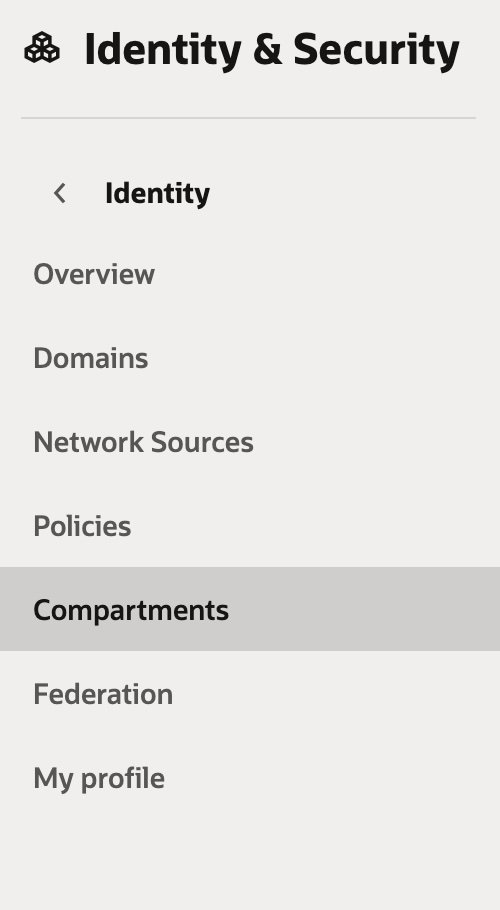
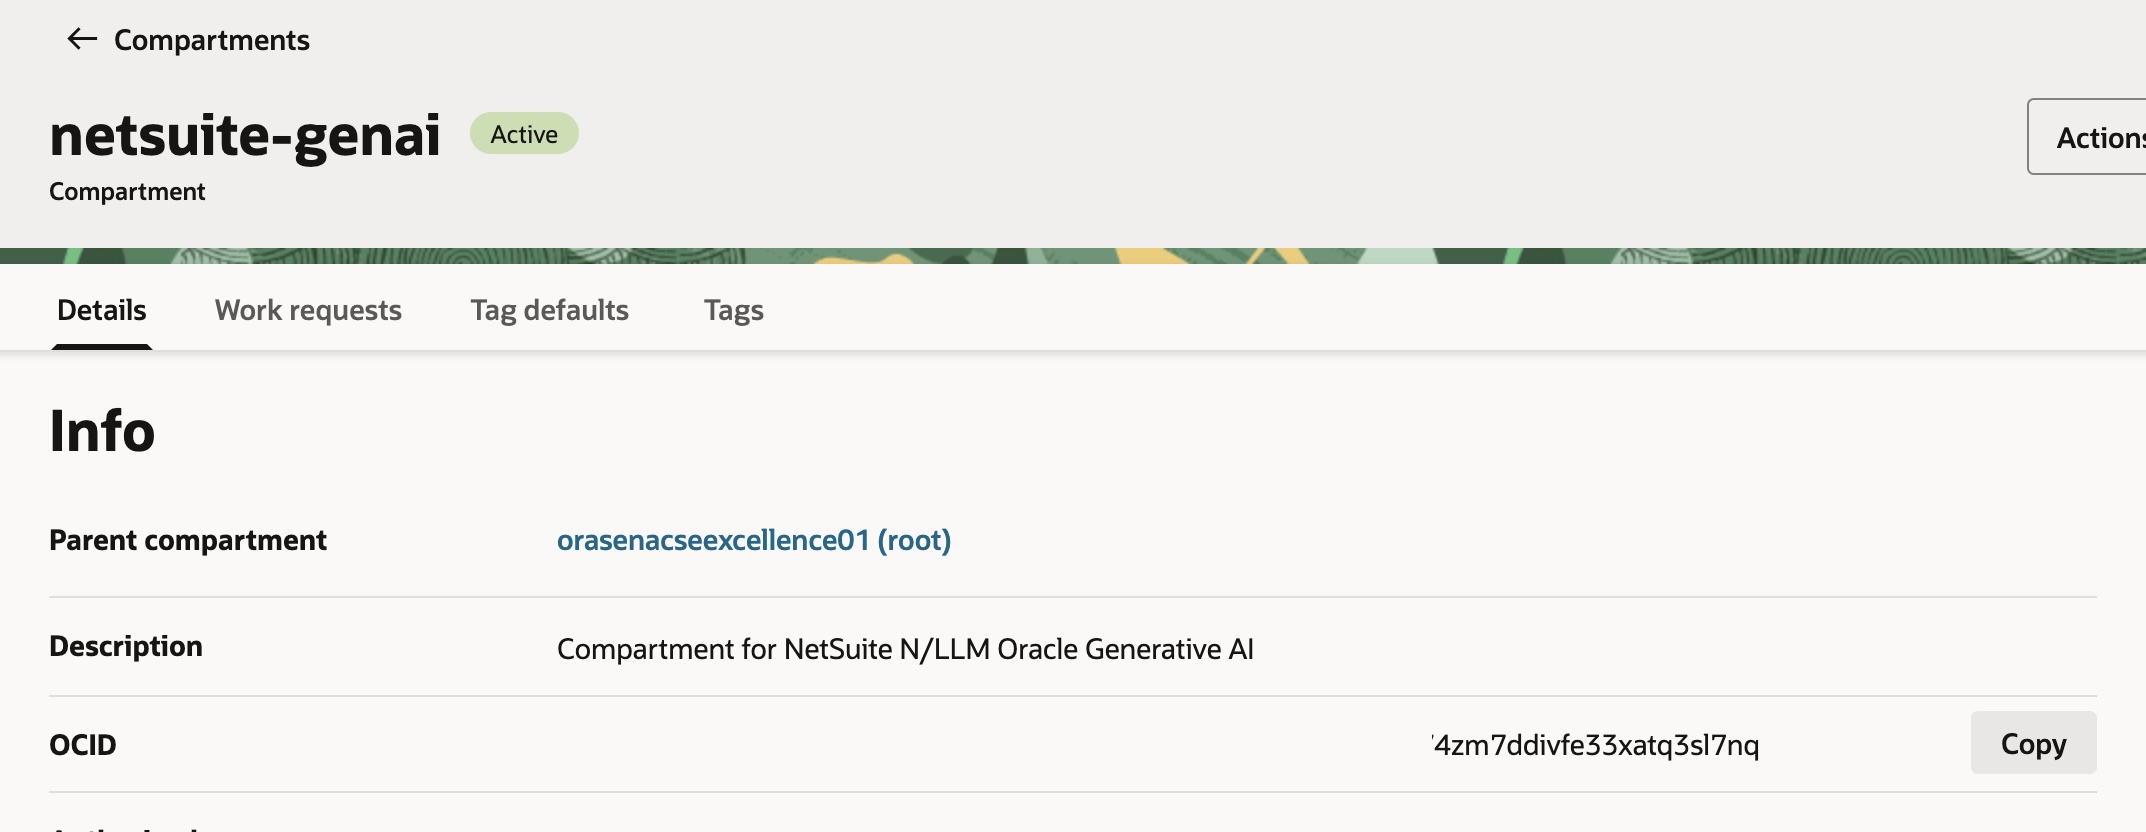
Now we need to obtain the compartment OCID. In Oracle Cloud Infrastructure (OCI), compartments serve as a core mechanism for isolating resources and managing access. They act like a global logical container—similar to directories in a file system—where you can apply and enforce policies. Because they are global by design, each compartment spans every OCI region within the tenancy. In order to get a compartment we should have created one. So go to the User Settings again but this time click on the Compartments option you will have on the left side menu.
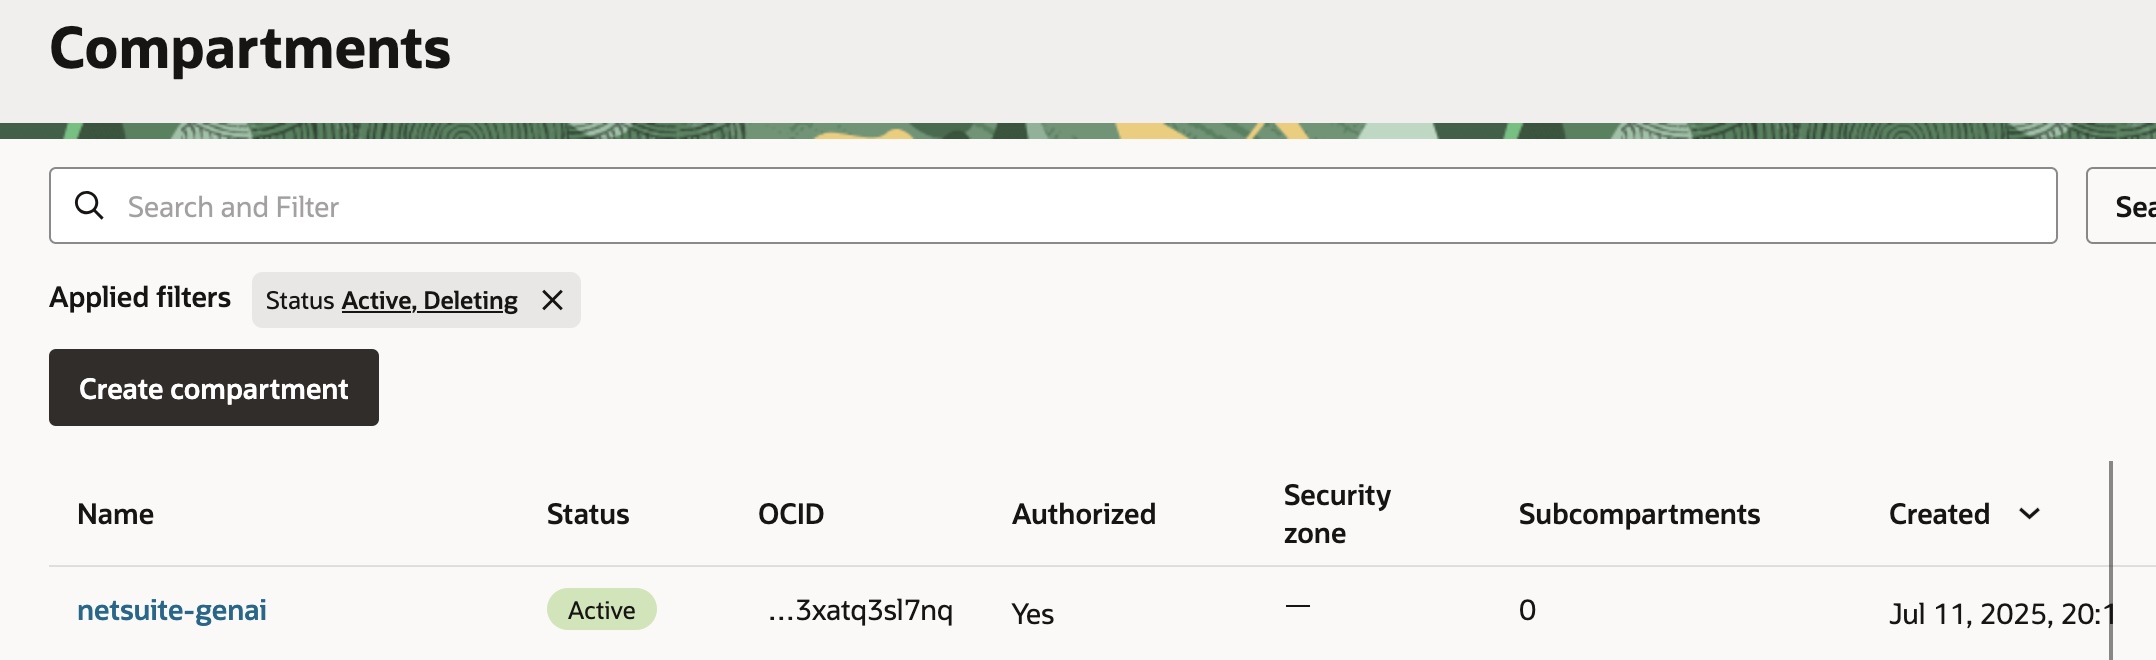
If you have not created any compartment, go ahead and create one by clicking on Create Compartment and then give permissions to it (feel free to read the Oracle documentation about how to set compartment permissions)

For the purpose of this blog post, we already have one created called netsuite-ai, so we can click on it and copy the Compartment OCID by clicking the COPY button next to the OCID value.
Next, let’s get the fingerprint and private key. From User Settings > My Profile, select Tokens and Keys. There, click Add API Key to generate a new key pair.
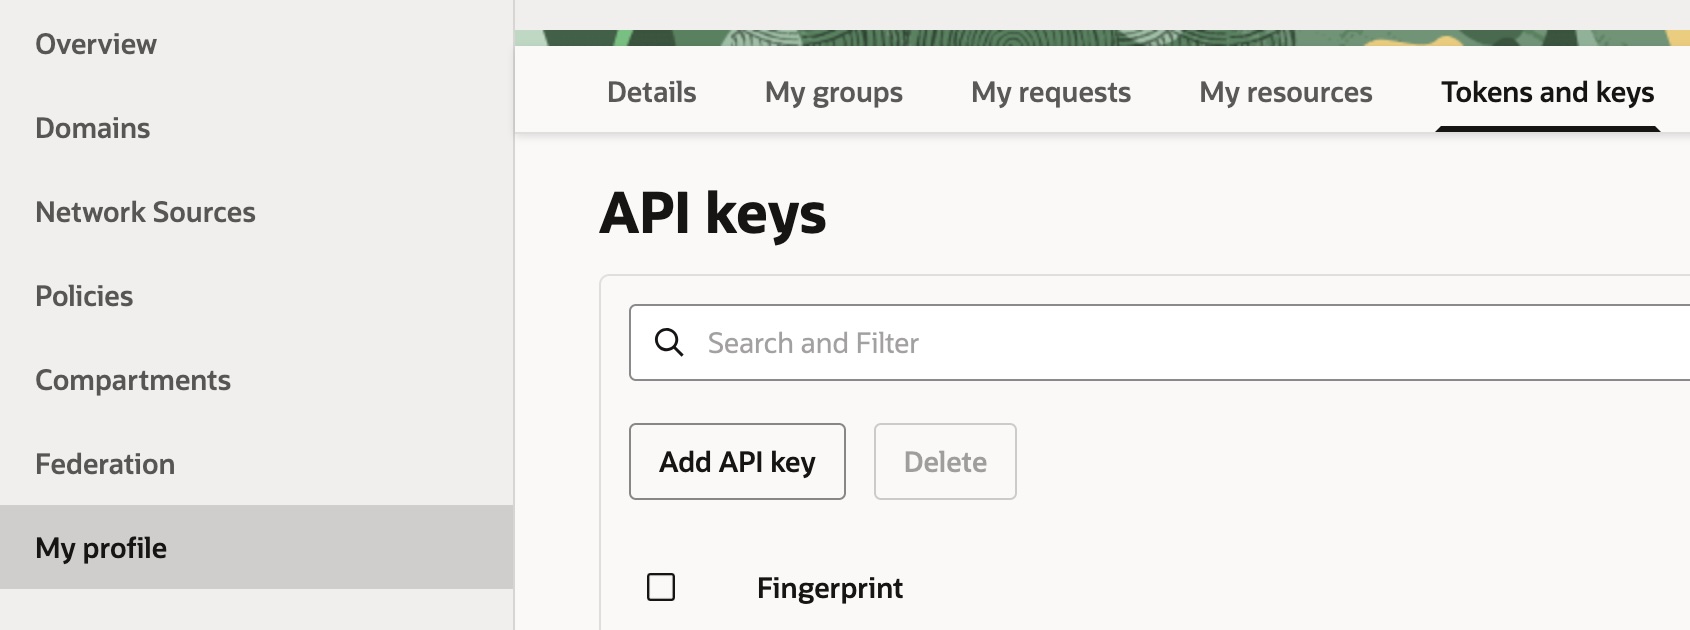

Then you should select Generate API key pair and click on the buttons below to download the private key. The two pieces of data you are going to need are:
- The private key
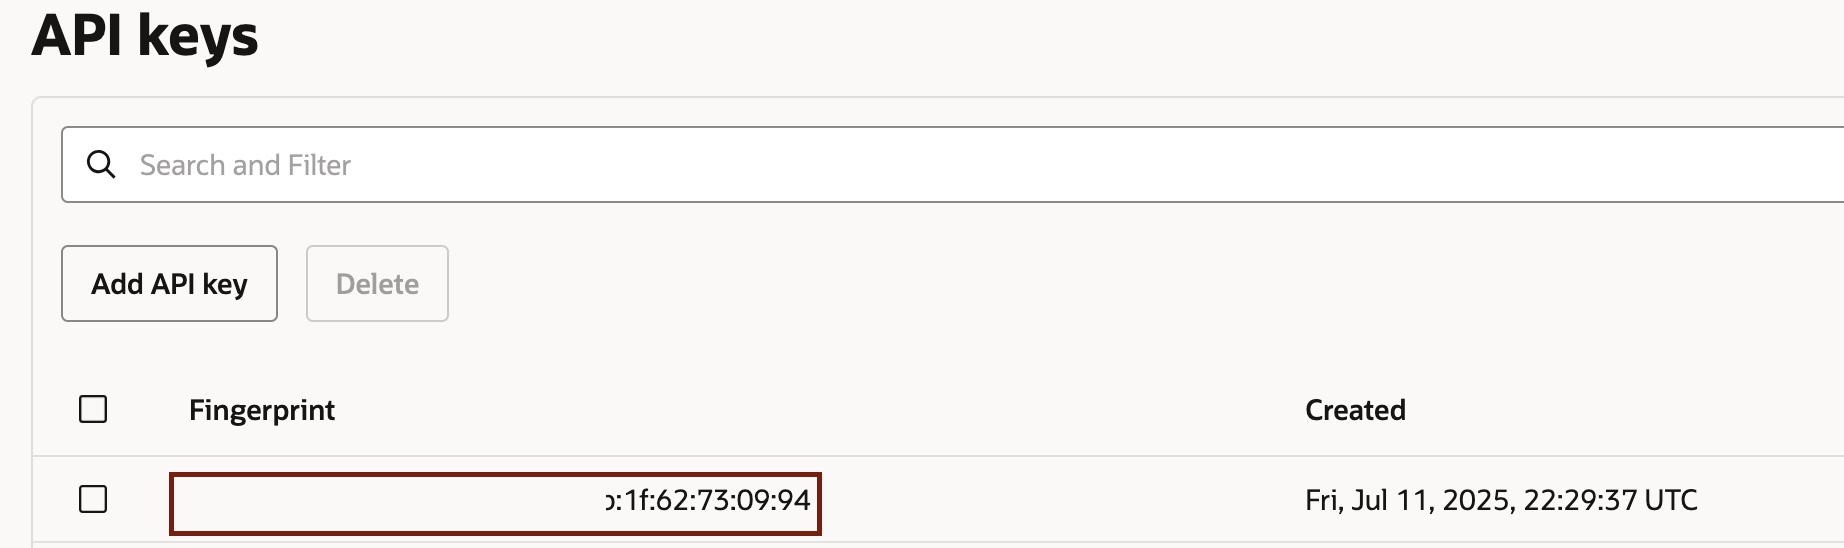
- The fingerprint, this is the string that appears under your API keys once it is generated.
Enabling OCI Configuration in NetSuite
The first stop in NetSuite is the AI Preferences page. You’ll find it under Setup > Company > AI. On the Settings tab, there’s an option to “Use OCI Configuration to Get Unlimited Usage.” As soon as you check that box, a set of fields appear where you can paste in your OCI values. This is the connection point between NetSuite and your OCI tenancy.
But before entering anything, there’s one important detour: securing your sensitive values with the NetSuite’s API Secrets.
Storing Your Keys as NetSuite Secrets
Rather than pasting your fingerprint and private key directly into the form, NetSuite requires you to store them as API secrets. This is a security best practice, and it keeps your keys reusable across features.
From the API Secrets page, create a new secret for your fingerprint. Give it an ID that starts with an underscore (NetSuite will add the custsecret_ prefix automatically). In the password fields, enter the fingerprint value exactly as it appears in OCI. Save it, and make sure to allow it for all scripts and leave domain restrictions as _none_.
Next, create another secret for your private key. This time you’ll upload the .pem file you generated earlier instead of typing values manually. Apply the same restriction settings. Once both secrets are saved, you’ll see them listed with their IDs on the API Secrets page.
Linking Everything Together
Head back to the AI Preferences page. In the fields for “API Secret for Fingerprint” and “API Secret for Private Key,” enter the internal IDs of the secrets you just created. Then fill in your OCIDs and, if applicable, your endpoint.
At this stage, you can click Validate credentials. NetSuite will attempt to authenticate with OCI using your credentials. If everything is correct, you’ll see a success message. If not, NetSuite will tell you what failed—usually it’s a mistyped OCID or a mismatch between the fingerprint and private key. The system will only show one error at a time, so you may need to validate, fix, and validate again until you get the confirmation.
Applying OCI Credentials to AI Features
Once your credentials validate, you can choose which AI features in NetSuite should use OCI. Each feature has its own tab under AI Preferences. For example, in the Text Enhance tab you’ll see a checkbox labeled “Use OCI Credentials for Text Enhance.” The same applies for Prompt Studio and for the SuiteScript N/llm module.
Enabling OCI here means that feature stops consuming free credits and starts running entirely through your OCI account. That’s a big shift—it allows you to scale without worrying about monthly caps.
Testing and Troubleshooting
The easiest way to confirm everything works is to try a quick action. If you enabled OCI for Text Enhance, go to a page in NetSuite with a Text Enhance field and run it. If it works and your free usage counter hasn’t decreased, you know you’re running through OCI.
If you see “Task Unavailable,” that’s out way of saying something in your configuration isn’t valid. Go back to the AI Preferences page, re-validate, and check that your secret IDs are correct (remember: it’s the custsecret_ prefix, not the display name). Double-check the format of your private key as well.
Disabling OCI (If Needed)
At any point you can return to the Settings tab in AI Preferences and uncheck the “Use OCI Configuration” option. This puts NetSuite back on the free tier. Your previous values aren’t lost—you can re-enable later without re-entering everything. If you want to completely wipe the credentials, you’ll need to clear the fields manually before disabling.
Wrapping Up
By configuring NetSuite to use your OCI credentials, you unlock unlimited access to generative AI features while keeping everything within Oracle’s ecosystem. It’s a secure, scalable setup, and once you’ve gone through the process once, it’s easy to repeat across environments.