Have you ever had to call a complex REST call that required very specific signatures and programatically generated authentication headers, or needed to do extra processing or transformation on the expected payload? Sometimes, depending on your context, doing that from a client is impossible, extremely cumbersome or downright unnecessary. Alternatively, coding and deploying a microservice or a backend to handle all that can be time consuming. What if there was an easier way to do it?
In the guide below, we’ll be looking at how to quickly move all that complexity in the cloud, with the help of a Serverless function, and an API Gateway to keep our calls secured.
As an example, we’ll be using the of Oracle Cloud Infrastructure, which is an API that requires REST calls to be signed respecting the .
We will learn how to quickly write a Serverless function in Python that handles the authorisation for us, and how to secure it behind an API Gateway in Oracle Cloud.
Prerequisites
Since we will be using OCI in our example, there are some prerequisites that need to be checked before we actually start. You can skip these steps if your policies are already in place, and if you already have a Virtual Cloud Network and a Subnet.
1. Dynamic Group and Policies
-
Create Dynamic Group for Oracle Functions
ALL {resource.type = 'fnfunc', resource.compartment.id = '<COMPARTMENT_OCID>'}
- Allow API GW access to Oracle Functions
ALLOW any-user to use functions-family in compartment <COMPARTMENT_NAME> where ALL {request.principal.type= 'ApiGateway', request.resource.compartment.id = '<COMPARTMENT_OCID>'}
-
Allow Oracle Functions Dynamic Group access to OCI resources
Allow dynamicgroup <DYN_GRP_NAME> to manage all-resources in tenancy
2. Create a VCN and a subnet, and add port 443 (HTTPS) to the security list in the Ingress Rules. If you already have a VNC and subnet, you may skip this step.
Seting up Oracle Functions
After we’re done with all the prerequisites, it’s time to create our serverless function that will handle the complex API call for us. In order to do that, we will be creating an Application in Oracle Functions, then write our code and quickly deploy it.
An application is a collection of functions, each of which can be coded in a different programming language. For our example this time, we will be using Python to write our code.
Create your first application
-
Sign in to the Console as a functions developer.
-
In the Console, open the navigation menu and click Developer Services. Under Functions, click Applications.
-
[OPTIONAL] Select the region you are using with Oracle Functions.
-
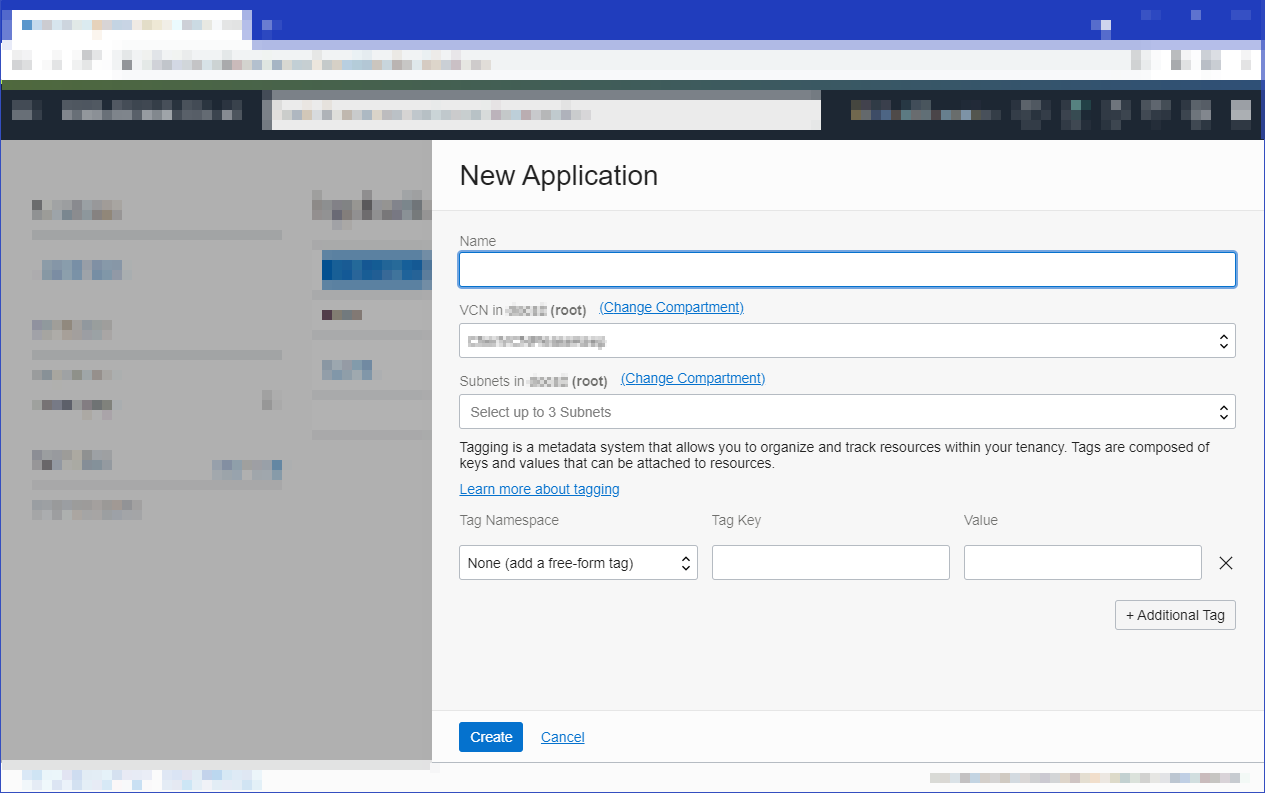
Click Create Application.
5. Specify:
-
oracleapi as the name for the new application. You’ll deploy your first function in this application, and specify this application when invoking the function.
-
The VCN and public subnet in which to run the function.
6. Click Create.
See for more information.
Now that our Application has been created, we can go ahead and write our function code. We can connect to the Functions environment using either the cloud shell or your local machine. For ease of use we will be using cloud shell in this guide.
Create the function from Cloud Shell
NB. This procedure will also appear in the Getting Started part of your Function Application, once it has been created.
Setup fn CLI on Cloud Shell
-
Launch Cloud Shell in your OCI Gen2 dashboard
-
Use the context for your region
fn list context fn use context eu-frankfurt-1 - Update the context with the function’s compartment ID.
fn update context oracle.compartment-id <COMPARTMENT_ID> -
Provide a unique repository name prefix to distinguish your function images from other people’s.
fn update context registry fra.ocir.io/<tenancy_name>/[repo-name-prefix] -
Log into the Registry using the Auth Token as your password.
docker login -u '<tenancy_name>/<user_name>' fra.ocir.io -
Verify your setup by listing applications in the compartment.
fn list apps
Verify your setup by listing applications in the compartment
Now that the Functions context is defined, we can create our function.
Create, deploy, and invoke your function
-
Write the function code.
A Python serverless function in Oracle Functions contains 3 files
-
A file called
func.pywith your function code -
A file called
func.yamlwhich contains the function definition (name, version, how much RAM to use, etc) -
A file called
requirements.txtwith the required packages
Let’s look at each one by one:
requirements.txt
fdk
oci
requests
The functions development kit (fdk) package is required for all functions, while we will be using the OCI package for signing the requests, and the requests package for the REST API invocation.
func.yaml
schema_version: 20180708
name: searchapi
version: 0.0.1
runtime: python
build_image: fnproject/python:3.8-dev
run_image: fnproject/python:3.8
entrypoint: /python/bin/fdk /function/func.py handler
memory: 64
timeout: 30
The yaml definition file contains the name of the function, runtime, the allocated memory (in MB), the timeout (in seconds) and the images that will be used to build the Docker container in the Functions environment.
func.py
import io
import json
import oci
import requests
from fdk import response
def handler(ctx, data: io.BytesIO = None):
try:
body = json.loads(data.getvalue())
except Exception:
raise Exception()
resp = search(body)
return response.Response(
ctx,
response_data=json.dumps(resp),
headers={"Content-Type": "application/json"}
)
def search(body):
signer = oci.auth.signers.get_resource_principals_signer()
endpoint = 'https://query.eu-frankfurt-1.oci.oraclecloud.com/20180409/resources'
try:
# Call the Search Service API and get the query data
output = requests.post(endpoint, json=body, auth=signer)
except Exception as e:
output = "Failed: " + str(e)
return output
We can see two functions defined in the code above. Firstly, handler is the entry point for the function code. We get the body sent by the client, and pass it as a parameter to the second function, called search, which will call the Search Service API with the proper authorization signature, and return the result to the handler, who will send it back to the client.
-
Publish the code on github or any other repository, and clone it in your cloud shell. ALternatively, you can create the function directly within the cloud shell console.
git clone [function repo]/search -
Switch into the generated directory.
cd search -
Deploy the function to Oracle Functions.
fn -v deploy --app oracleapi
After the deployment completes, you will see the function has been packaged in a Docker container and is available within the Application that you created previously.
At this point in time, we can call the function directly from the cloud shell to test it. Here is an example querying all ADB instances on our tenancy.
echo -n '{"type":"Structured", "query":"query autonomousdatabase resources"}' | fn invoke oracleapi search
Setting up API Gateway
After our function has been created and we’ve tested that it works properly, it’s time to set up a secure REST endpoint in API Gateway that we can call from a client application, and that will invoke the function above.
Create your API gateway
-
. Under API Management, click Gateways.
-
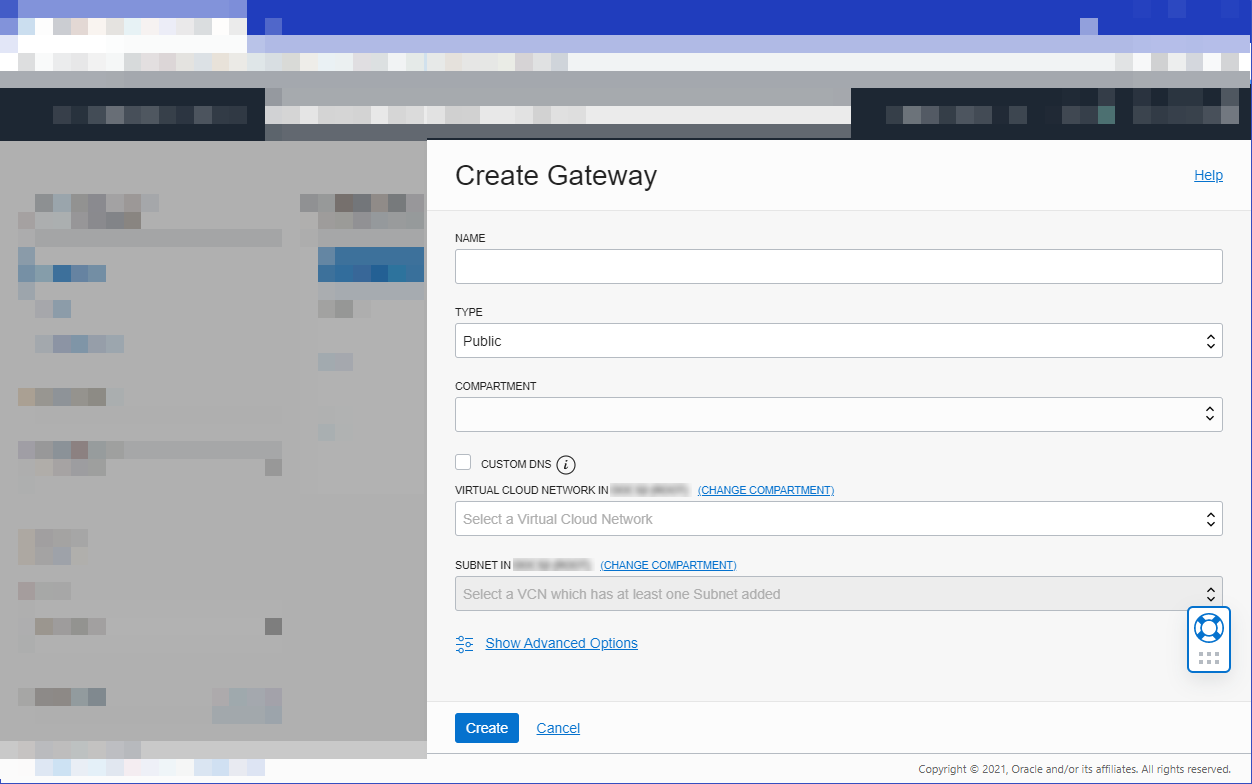
Click Create Gateway and specify:
-
a name for the new gateway, such as
oracleapi-gw -
the type of the new gateway as Public
-
the name of the compartment in which to create API Gateway resources
-
the name of the VCN to use with API Gateway
-
the name of the public regional subnet in the VCN
3. Click Create.
When the new API gateway has been created, it is shown as Active in the list on the Gateways page.
See for more information.
Create your API deployment
-
On the Gateways page in the Console, click the name of the API gateway you created earlier.
-
Deployments, and then click Create Deployment.
-
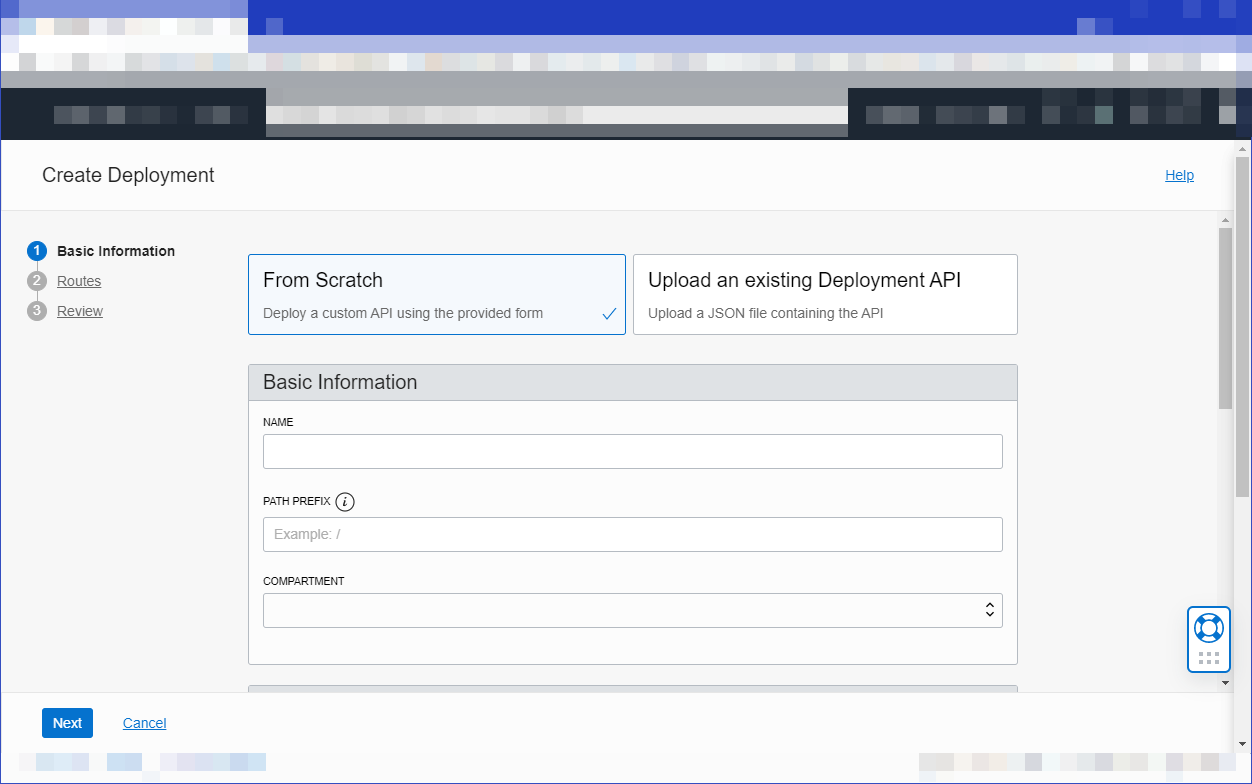
Click From Scratch and in the Basic Information section, specify:
-
a name for the new API deployment, such as
oracleapi -
a path prefix to add to the path of every route contained in the API deployment, such as
/oracleapi -
the compartment in which to create the new API deployment
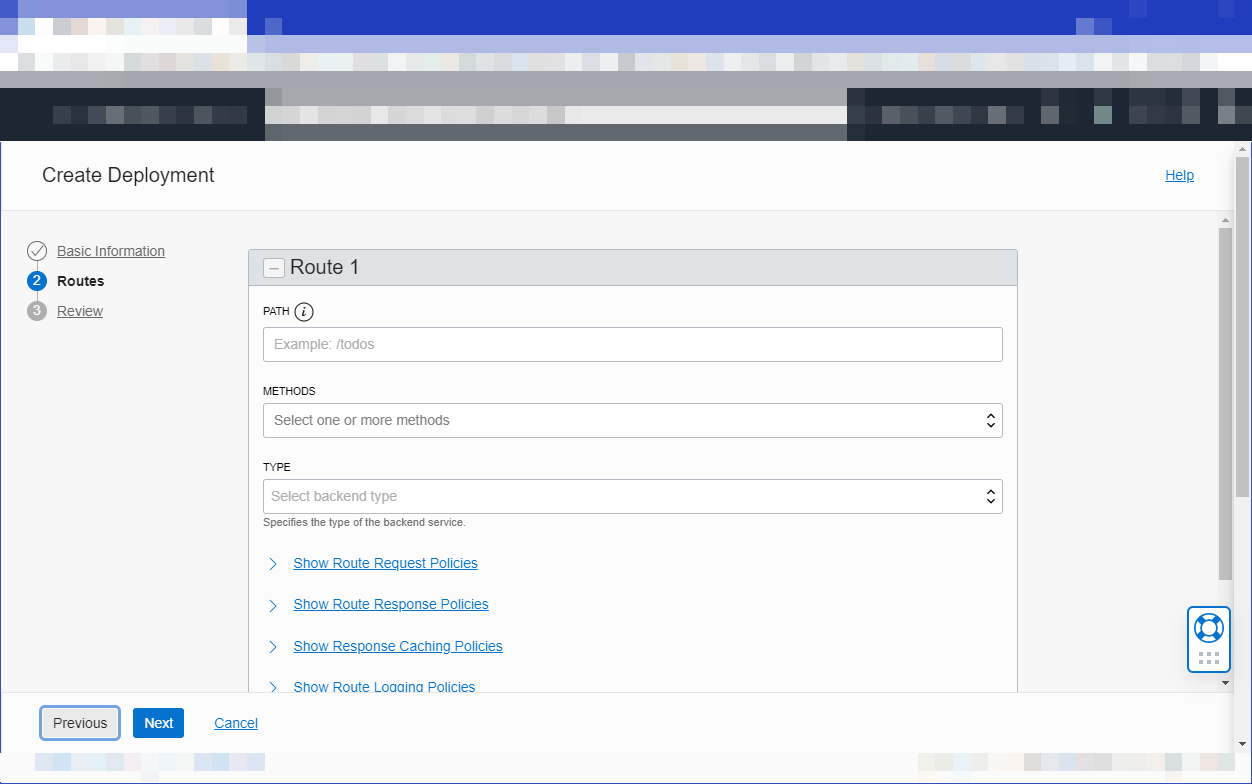
Click Next and in the Route 1 section, specify:
-
a path,
/search -
a method accepted by the back-end service,
POST -
the type of the back-end service, and associated details:
-
Oracle Functions
-
Choose the function called
searchfrom the drop down list.
Click Next to review the details you entered for the new API deployment, and click Create to create it.
When the new API deployment has been created, it is shown as Active in the list of API deployments.
See for more information.
[Optional] Setting up token authentication to API Gateway using Identity Cloud Service
API Gateway allows us to set up authentication using either a custom code that we can write in Oracle Functions, or an existing identity provider, such as IDCS, Auth0, and so on.
Let’s look at how we can set up an OAuth2 authentication flow in IDCS for our newly created endpoint.
Set up OAuth2 in IDCS
Prerequisites for using JWT Tokens
When enabling authentication and authorization using JWTs, you must consider the following:
-
You need an identity provider (Auth0, IDCS, etc) that can issue JWT tokens for client applications
-
In API Gateway, you’ll have a choice between using Remote JWKS (JSON Web Key Set) or Static Key in the authentication policy for the validation of JWTs:
-
Remote JWKS will be retrieving the public verification keys from the identity provider at runtime
-
Static Keys will be using public verification keys already issued by an identity provider and API Gateway will be able to verify JWTs locally without having to contact the identity provider
In this example, we’ll be using Static Keys
Obtain JWKS Static Key from IDCS
Permission required for this step only: IDCS Administrator
Before creating the Authentication Policy in API Gateway, we need to obtain the JWKS Static Key from IDCS>
-
From the IDCS Console – Identity & Security Menu – Federation – OracleIdentityCloudService, click on the Oracle Identity Cloud Service Console link:
-
In IDCS, go to Settings – Default Settings and Toggle ON the Access Signing Certificate option, in case it’s not activated already.
-
Get the JWKS from IDCS
https://idcs-1234xxx.identity.oraclecloud.com/admin/v1/SigningCert/jwk
When accessing the URL above, you’ll get a JSON file with the key as a response – save the response somewhere as we’ll need it later.
Once you’ve retrieved the JWKS Key, go back to IDCS and Toggle OFF the Access Signing Certificate option to prevent unauthorized access.
Create the Authentication Policy
Edit the existing API Deployment
Edit the deployment created earlier.
Add an Authentication Policy
Authentication:
Configure Authentication Policy
Configure the policy as follows:
-
Authentication Type: JWT
-
Authentication Token: Header
-
Authentication Scheme: Bearer
-
Audiences: Specify a value that is allowed in the audience (aud) claim of a JWT to identify the intended recipient of the token. For this example, we’ll be setting the audience as the API Gateway’s hostname
-
Type: Static Keys
-
KEY ID: SIGNING_KEY
-
Format: JSON Web Key
Example:
{ “kid”: “SIGNING_KEY”, “kty”: “RSA”, “use”: “sig”, “alg”: “RS256”, “n”: “abcd1234xxxx”, “e”: “AQAB” }
All the values for these parameters can be found in the JWKS we saved earlier. Replace the values with the ones for your instance.
For more info on what each field represents – please check
Create IDCS applications to generate and validate JWTs
We need to create two confidential applications in IDCS to generate and then to validate the tokens:
-
A Resource Server – this application will be used to validate the tokens
-
A Client Application – this application will be used by a client to obtain the tokens
Create the Resource Server Application
The Resource Server Application will be used for JWT validation.
-
From the IDCS dashboard, go to Applications, click on Add and select Confidential Application
-
Give the Resource Server application a Name and click on Next
-
Skip the Client configuration
-
Select Configure this application as a resource server
-
Set the Primary Audience with the same value as we set in the API Gateway deployment.
-
Add a scope for OAuth. For this example, it can be whatever you want.
-
Click on Next twice, and then on Finish
-
Activate the Resource Server application.
Create the Client Application
The Client Application will be used by the API clients to obtain the tokens.
-
From the IDCS dashboard, go to Applications and click on Add and select Confidential Application
-
Give the Client Application a Name and click on Next
-
Configure this application as a client, check Client Credentials and JWT Assertion
-
Add the Scope defined in our Resource Server app
-
Click on Next and skip the rest of the screens
A Client ID and Client Secret for this client application will be generated for you at the end of the process. You will need to save them, as they will be used from the client application, but they can also be consulted afterwards, in the application’s definition, on the Configuration tab.
-
Activate the application
Test the service
Using cURL, Postman or any other REST client, test out the services:
1. Get the JWT Token form IDCS:
curl --location --request POST 'https://idcs-1234xxxx.identity.oraclecloud.com/oauth2/v1/token' \
--header 'Authorization: Basic <BASE64 ENCODED CLIENT_ID:CLIENT_SECRET>' \
--header 'Content-Type: application/x-www-form-urlencoded' \
--data-urlencode 'grant_type=client_credentials' \
--data-urlencode 'scope=<scope>'
2. Call the API Gateway endpoint:
curl --location --request POST 'https://1234xxxx.apigateway.<region>.oci.customer-oci.com/oracleapi/search' \
--header 'Authorization: Bearer <TOKEN>' \
--header 'Content-Type: application/json' \
--data '{
"type":  "Structured",
"query":  "query autonomous resources"
}'


