Oracle recently announced a new feature for Autonomous Database that lets you directly query data in Snowflake, without any additional driver installs or compute/storage to manage. Oracle Autonomous Databases use Oracle-managed heterogeneous connectivity to accomplish this. Here is the link Oracle-Managed Heterogeneous Connectivity
In this blog I will walk you through how to connect to Snowflake and query Snowflake database tables using Database Link created in the Autonomous Datawarehouse Database. The same steps are applicable to ‘Autonomous Database for Transaction Processing’ as well.
Setting up your Autonomous Database
Step 1:
Create an Always Free Autonomous Data Warehouse FREE trial account in Oracle Cloud Infrastructure, use this link Autonomous Database Free Trial Link
Step 2:
To provision Autonomous Data Warehouse and to connect, follow this hands-on Live Lab Creating Autonomous Data Warehouse
Opening a SQL Worksheet
Step 3:
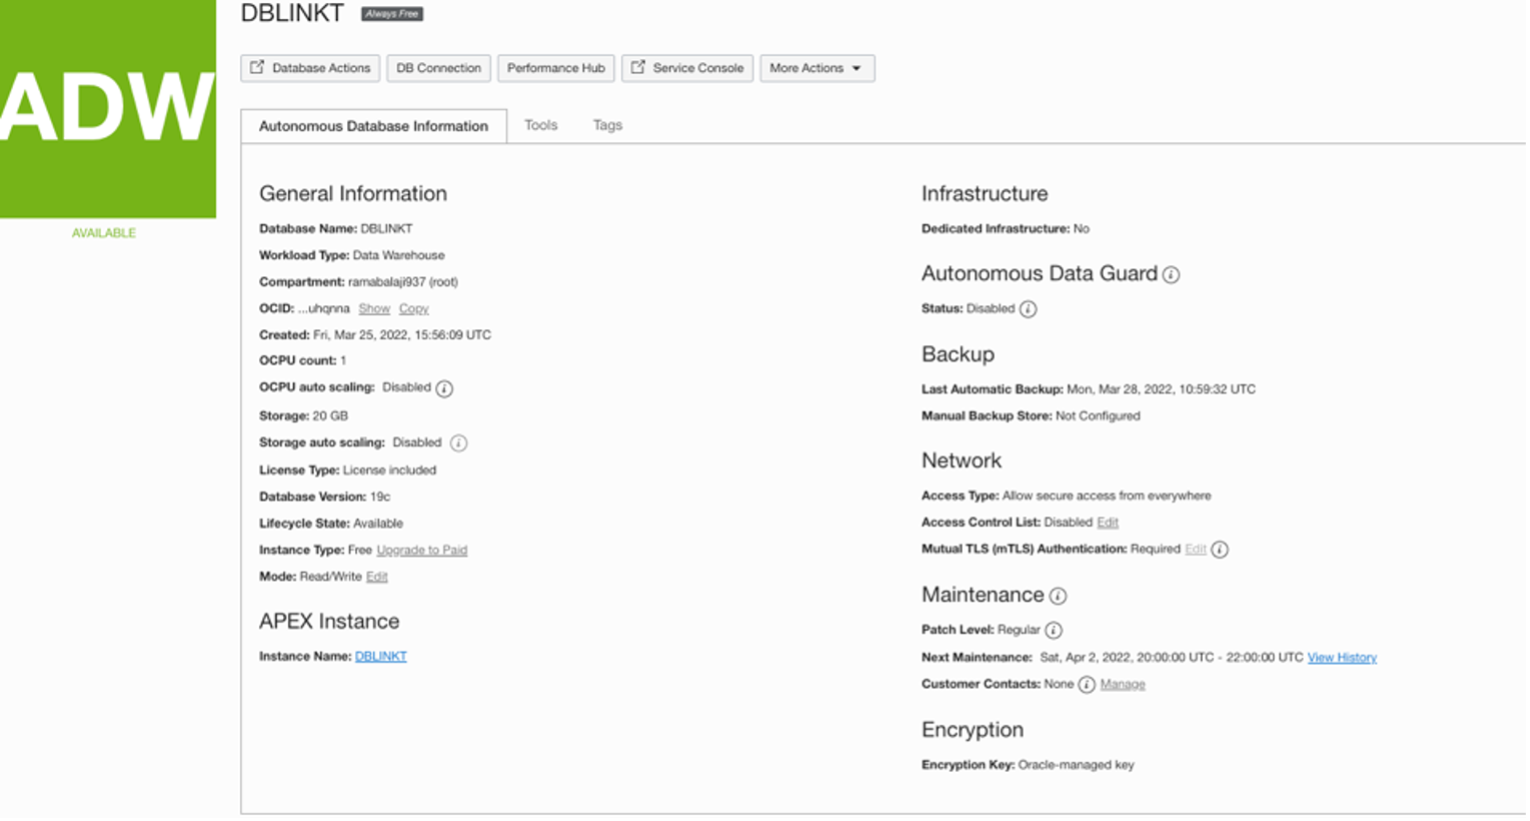
Click on the Autonomous Data Warehouse that you created

Click on ‘Database Actions’ tab as below
Click on SQL card
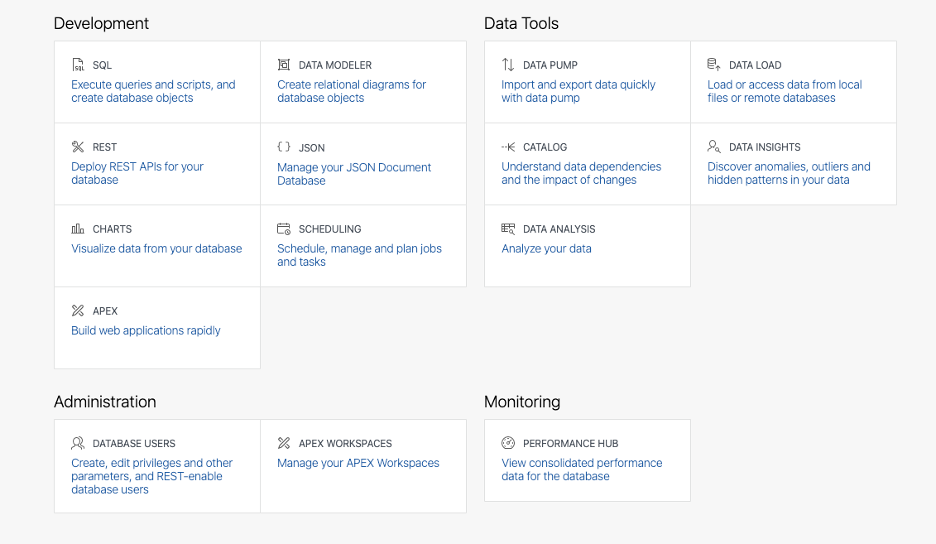
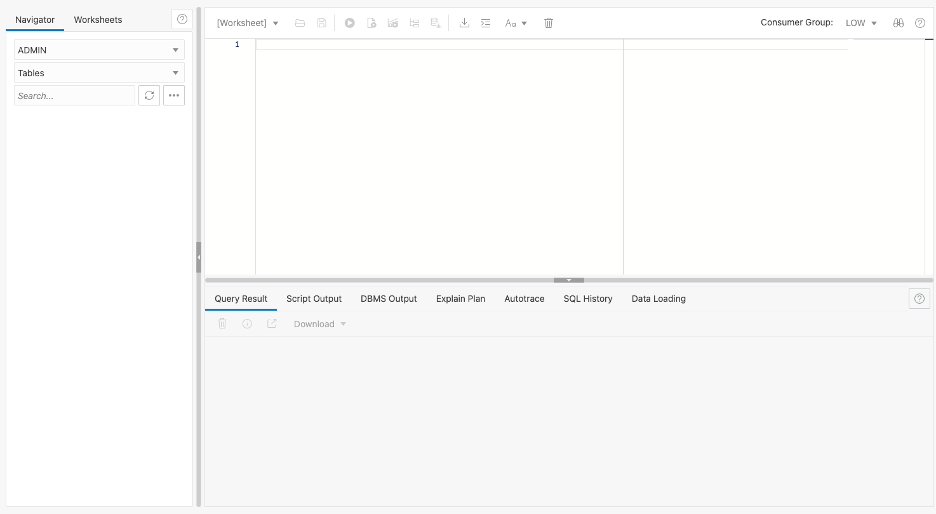
This opens up SQL worksheet in Autonomous Database UI
Creating the database link to Snowflake
Step 4:
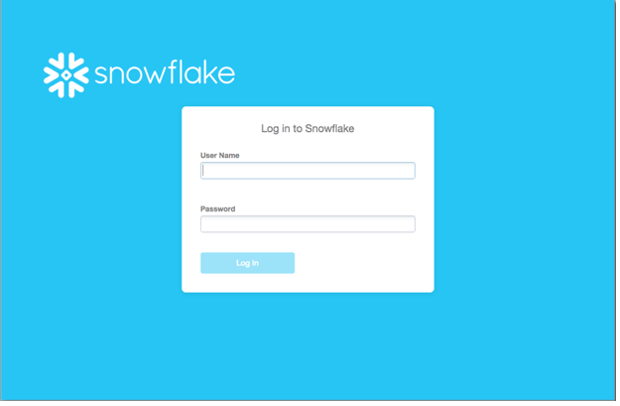
Using the SQL worksheet, define the credentials that you use in Snowflake using DBMS_CLOUD.CREATE_CREDENTIAL package. For details check this link DBMS_CLOUD Sub Programs . Username/password are values you enter in the below snowflake UI.
BEGIN
DBMS_CLOUD.CREATE_CREDENTIAL(
credential_name => ‘AWS_SNOWFLAKE_LINK_CRED’,
username => ‘brian67’, — this is an example username
password => ‘brian67’ –- this is an example password
);
END;
/
Step 5:
Execute the below step in SQL worksheet after creating the above credentials. Use the link DBMS_CLOUD_ADMIN.CREATE_DATABASE_LINK for details on create_database_link procedure.
- db_link_name is the name you provide for the link
- hostname is the ‘account identifier’ in Snowflake. To know what your account identifier is, refer to these Snowflake document links Using an Account Locator as an Identifier Account Identifier Format for your region
- Service_name is the database name created in Snowflake. For eg, SNOWFLAKE_LAB
- Gateway_params – ‘db_type’ value is ‘SNOWFLAKE’
- Directory_name and ssl_server_cert_dn are NULL.
For more details refer to Oracle-Managed Heterogeneous Connectivity
BEGIN
DBMS_CLOUD_ADMIN.CREATE_DATABASE_LINK(
db_link_name => ‘AWSSNOWFLAKE_LINK’,
hostname => ‘xy12345’,
port => ‘443’,
service_name => ‘SNOWFLAKE_LAB’,
credential_name => ‘AWS_SNOWFLAKE_LINK_CRED’,
gateway_params => JSON_OBJECT(‘db_type’ value ‘SNOWFLAKE’),
directory_name => NULL,
ssl_server_cert_dn => NULL);
END;
/
Querying Your Snowflake Data
Step 6:
Query from the any of the LAB tables.
select count (*) from CMPD.CMPD_DIVISION_OFFICES@AWSSNOWFLAKE LINK;
CMPD – schema name in Snowflake
CMPD_DIVISION_OFFICES – is a table owned by CMPD schema
AWSSNOWFLAKE_LINK – is the database link created above.
Wrap up
We did it! You have just used Autonomous Database to directly queried data stored in Snowflake.
If you are using Redshift rather than Snowflake, or maybe as well as Snowflake, then please refer to the companion post in this series: Redshift_to-Autonomous-db-link