Welcome back! We recently announced scheduling functionality in Oracle Cloud Infrastructure (OCI) Data Integration. Today, we’re learning about the scheduling feature in OCI Data Integration.
A scheduler provides a user the ability to schedule tasks to run at a predefined time and interval without manually running a task. A schedule determines how often the scheduler runs. In Oracle Cloud Infrastructure (OCI) Data Integration users can schedule Data Loader task, Integration task, SQL task and Pipeline task.
Let us now dive into it, and create a schedule for our first task. To get started, we need a published task in an application. The task can be of any task type including Data loader task, Integration task, SQL task or a Pipeline task. For this example, we use a data loader task.
Before we jump into the solution, let’s understand how scheduling works in OCI Data Integration. Assuming that we already have a published task, the first step is to define the schedule itself. A schedule contains frequency information and can be reused across different tasks. When a schedule is defined, you can attach the schedule to a task and define the task schedule, which tells the specific task when to start and stop the schedule, along with other information. When the task is configured for scheduled runs, its upcoming run shows up in the Task Schedule tab in the application.
To schedule a task, go to the application where the task is published. Let’s create one to understand the concept firsthand.
How to create a schedule
In the application where the task you want to schedule is published, click the Schedules tab in the Details section, and then click Create Schedule.

Figure 1: Creating schedules in an application
This selection opens the Create Schedule page, where we can create our first schedule. Provide a name and a description that makes sense for the schedule. You can select the time zone where you want the schedule to run. The time zone defaults to UTC. The most important field here is frequency, and you can pick from hourly, daily, and monthly.
- Hourly: Specify the minute of the hour when you want the task to run. If you want it to run ten minutes past every hour, specify 10 in the minutes field.
- Daily: Specify how often the schedule repeats and at what time in 24-hour format.
- Monthly: Specify how often the schedule repeats, on what day of the month, and at what time.
In the following screenshot, I’ve created a schedule called Demo Schedule that runs every month on the sixth day at 00:00 UTC.

Figure 2: Create Schedule
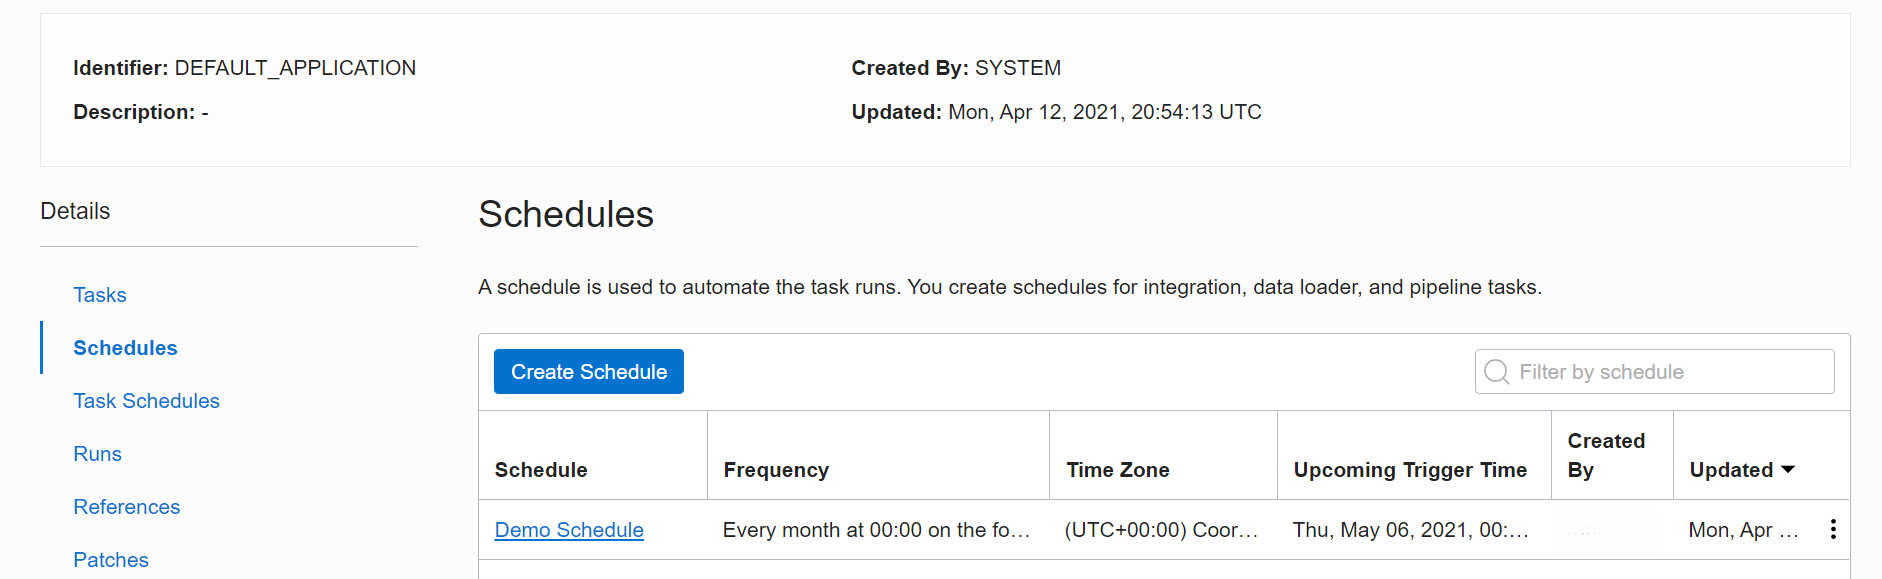
Figure 3: View a schedule
How to schedule a task
Now let’s use this schedule to schedule a task. In the application, click Tasks and right-click the three dots next to the task that you want to schedule.

Figure 4: Create a Task Schedule
Now we create the task schedule. Provide a name and a description to the task schedule, and click the Select button on the Schedule block. The Select Schedule window opens.

Figure 5: Select a schedule while creating Task Schedule
In the configure Task Schedule section one can optionally specify when the schedule will be Start and End. You can also specify the Task Run Limits and Retry counts.
Finally, save the schedule. It shows up on the Task Schedule, informing you when the task runs, using which schedule and when.
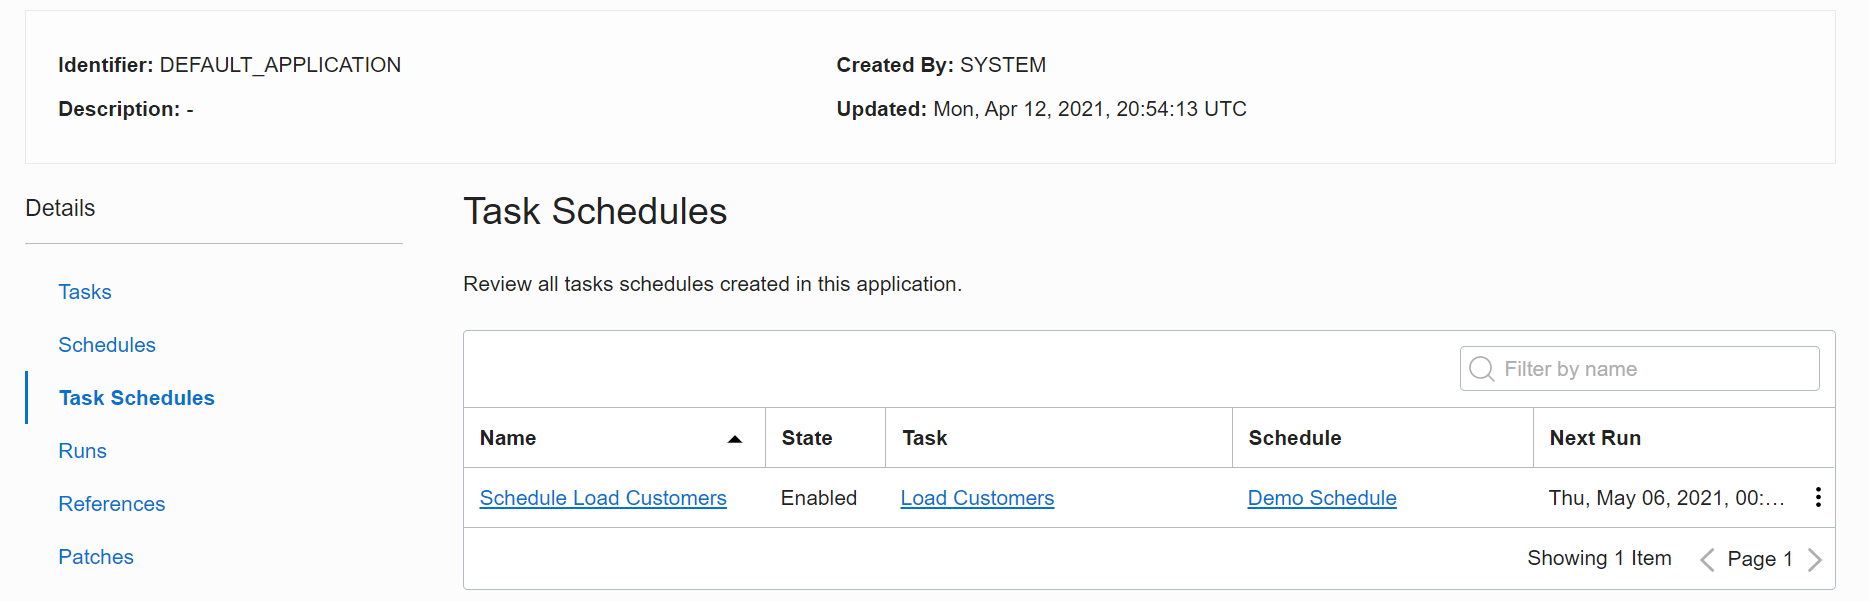
Figure 6: View a Task Schedule
Upcoming Schedules and Monitoring
User can view upcoming schedules by clicking on the Schedules tab in the Details section as shown below:

Figure 7: View upcoming schedules
Users can view the previous runs and currently running tasks by clicking on the Runs tab under Details. You can view the task status along with other task details like type, data read. For a Pipeline task, users can view the Pipeline task details and also the details of the sub-tasks, please refer the image below:

Figure 8: View Runs
Conclusion
The scheduling capability in OCI Data Integration makes scheduling jobs simple, and you can schedule jobs without writing a line of code. We hope that this blog helps as you learn more about OCI Data Integration. For more information, check out the tutorials, documentation, and the blog site.