Oracle GoldenGate Veridata is a high speed, heterogeneous, data comparison and repair solution. It is completely independent of any replication technologies. Having said that, Veridata works with or without a real time data replication in place.
To know more about Oracle GoldenGate Veridata 23c, please refer to the below link,
Oracle GoldenGate Veridata 23c General Availability
Sometimes, we miss to enable SSL during the installation or we might have planned to enable SSL post installation and configuration.
In this blog, we will see on how to enable SSL (HTTPS) post the installation and configuration of Veridata 23c.
Here the VDT23c_HOME is /scratch/vdt23c.
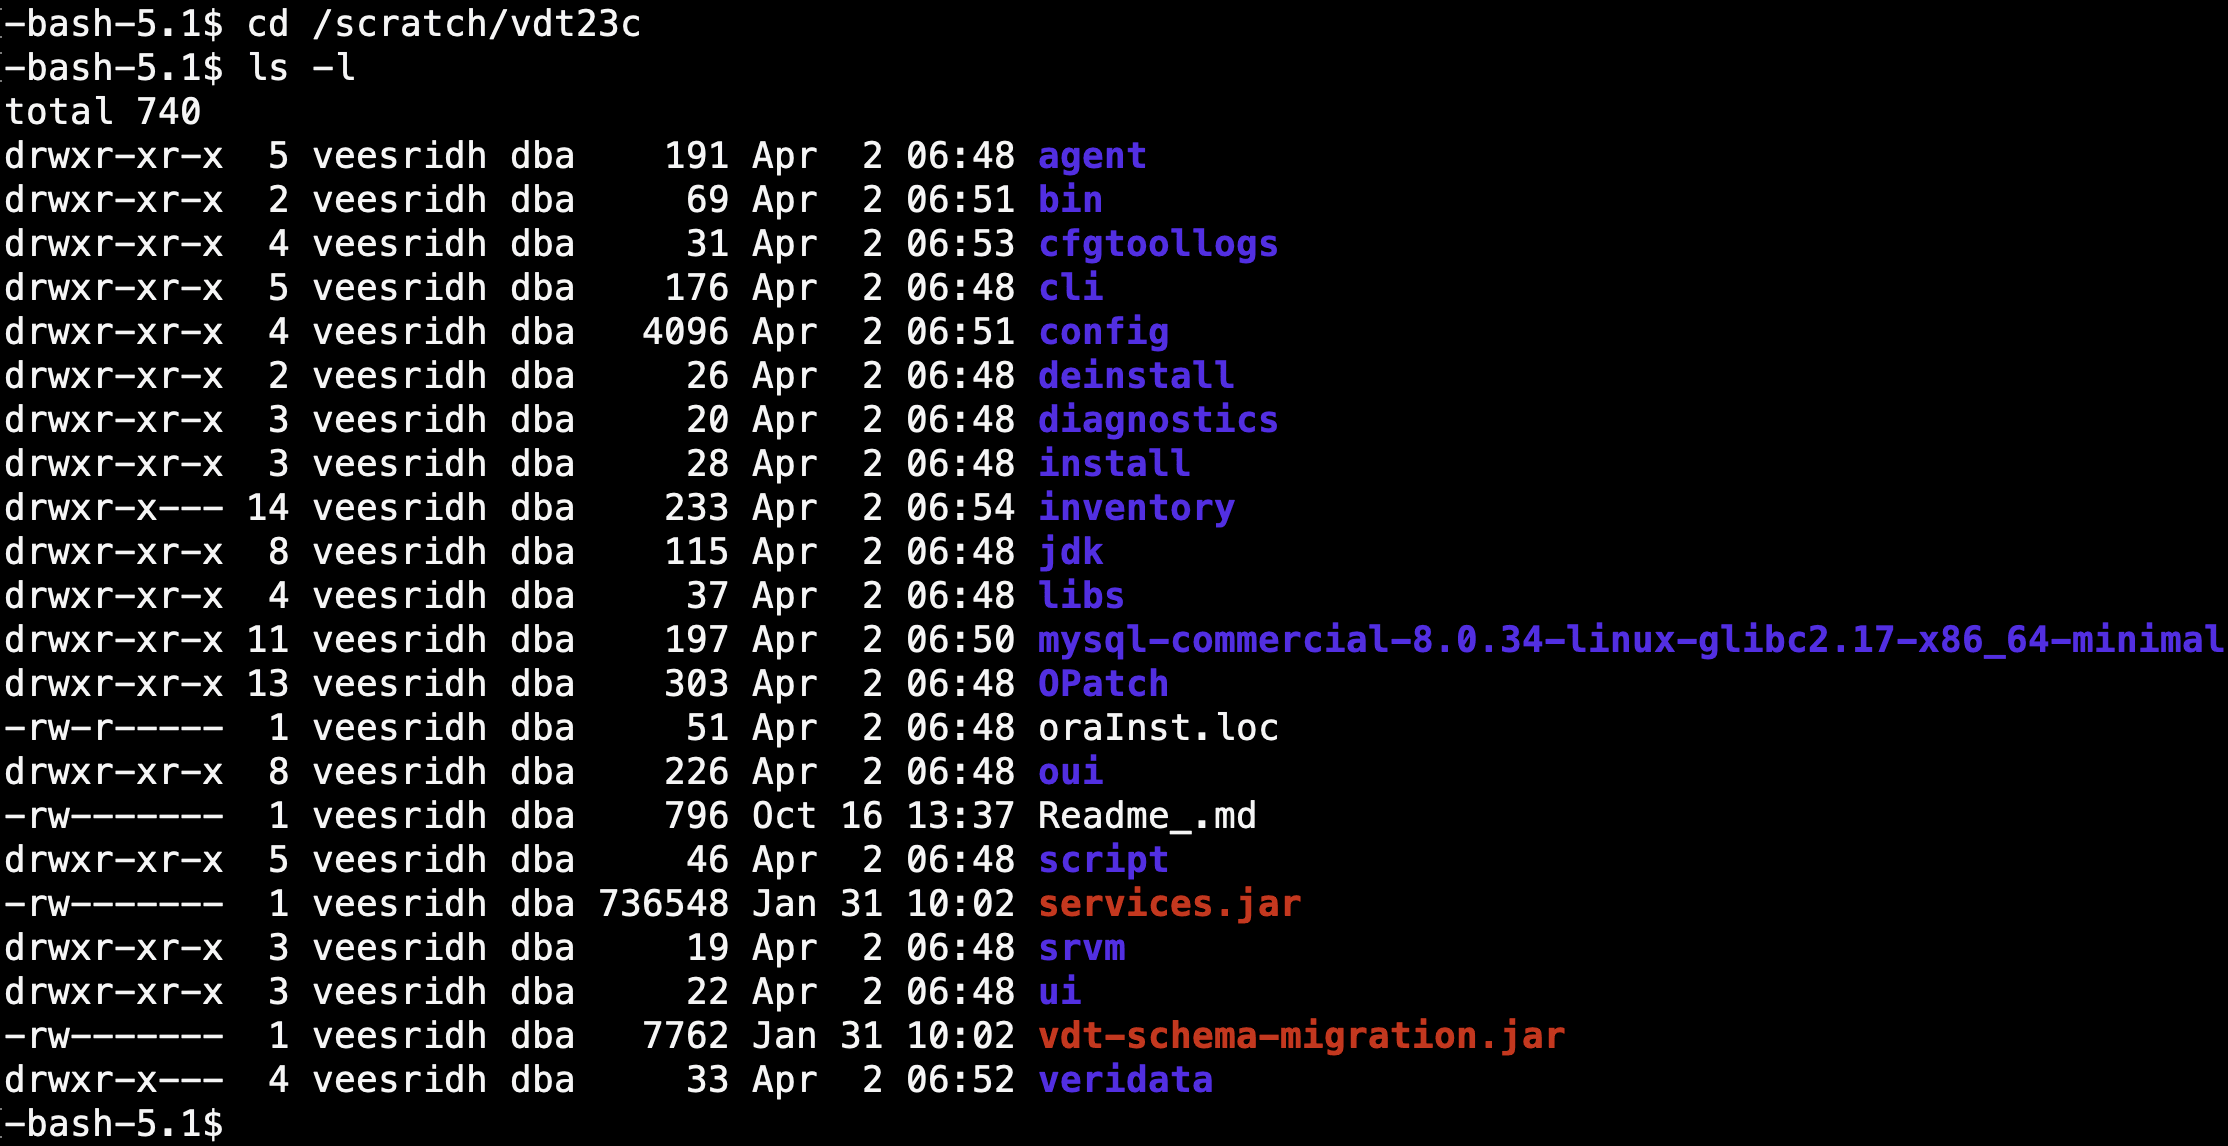
Navigate to the below directory,
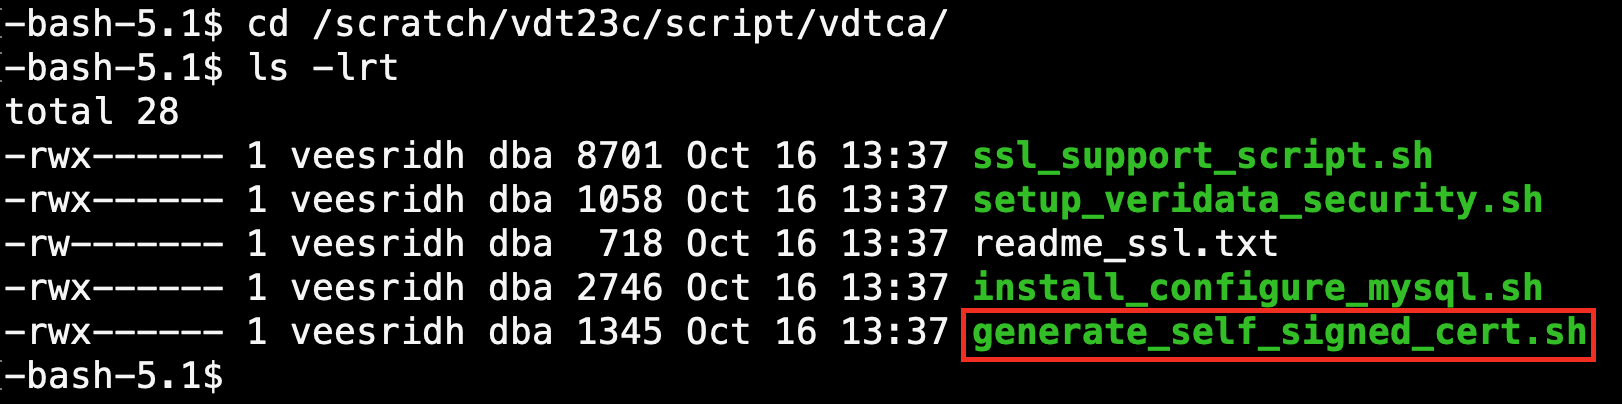
Under this directory, you would see generate_self_signed_cert.sh
Run that script to create a a self signed certificate.

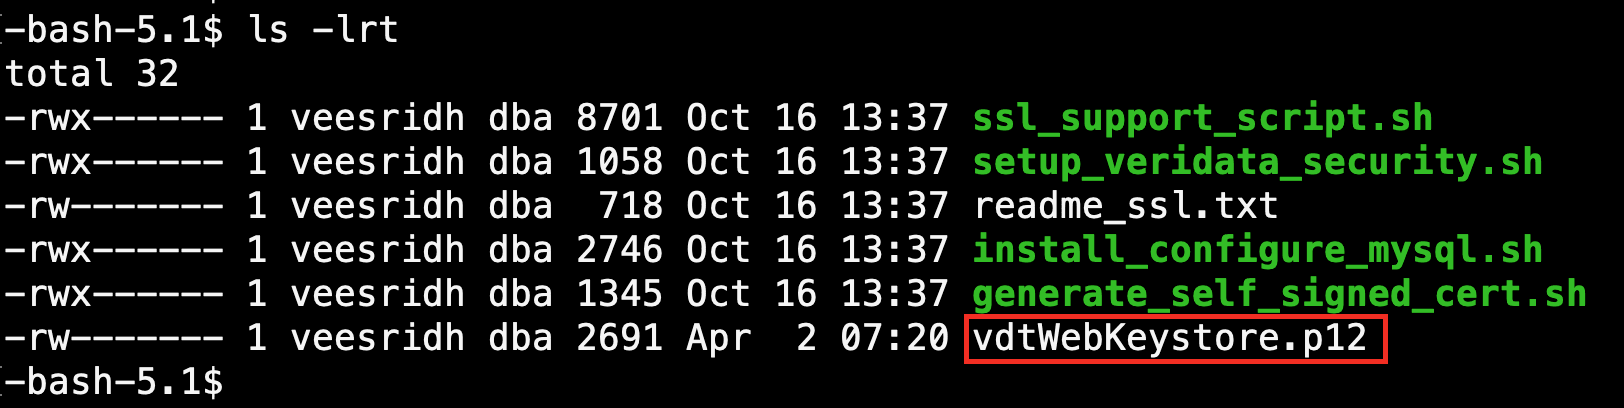
A keystore with name vdtWebKeystore.p12 will be created.
Now copy this generated file to the config directory under the Veridata home. Here the Veridata home is /scratch/vdt23c
cp vdtWebKeystore.p12 /scratch/vdt23c/config/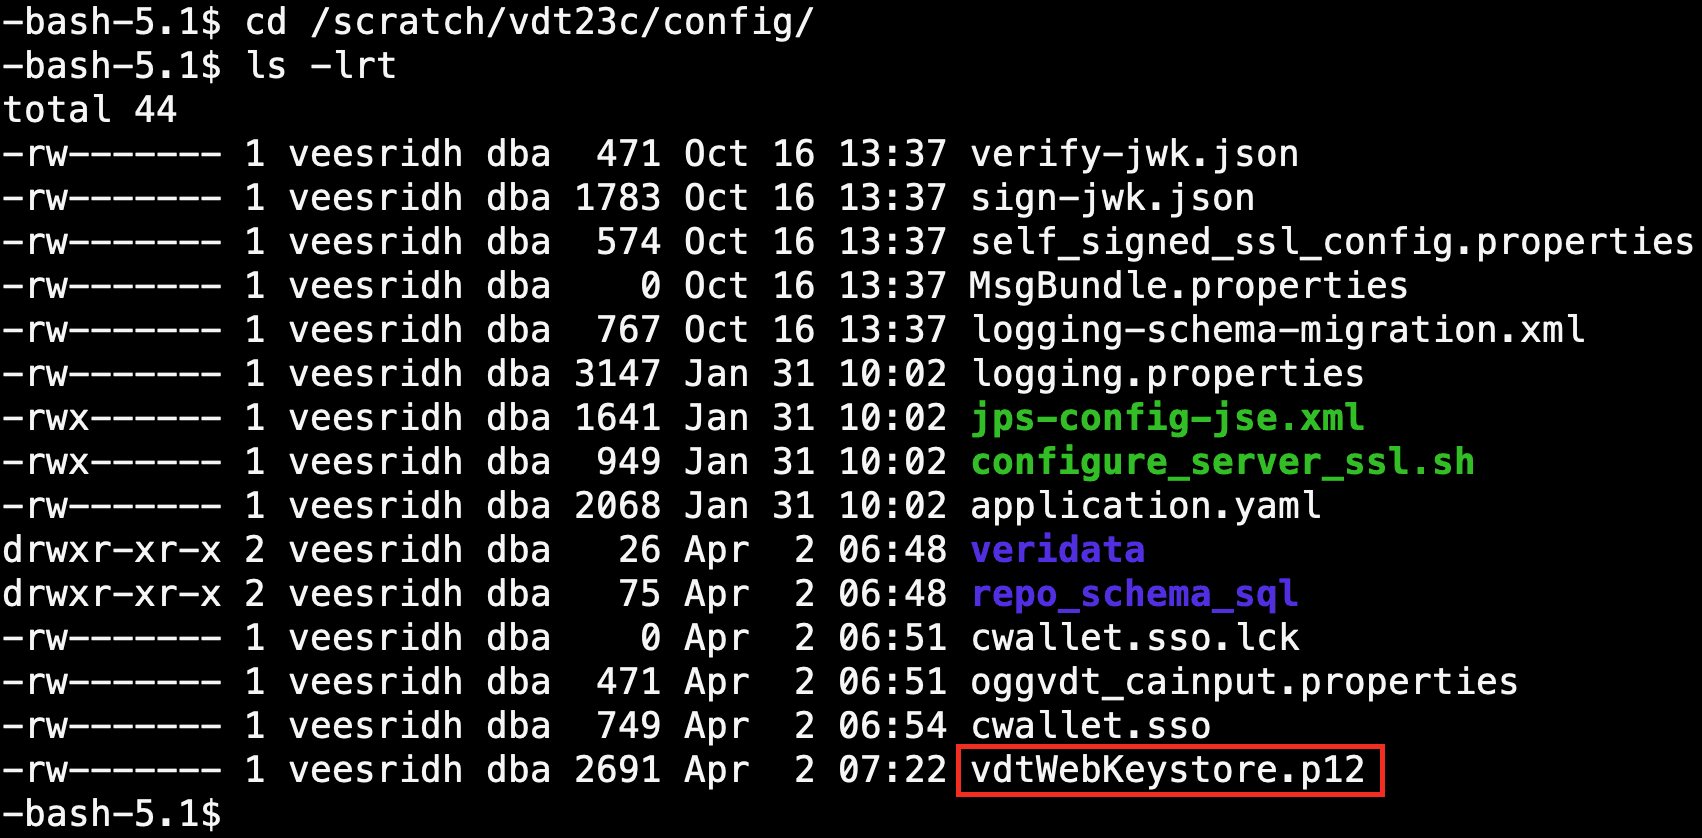
Rename the vdtWebKeystore.p12 to veridata-23c.p12
mv vdtWebKeystore.p12 veridata-23c.p12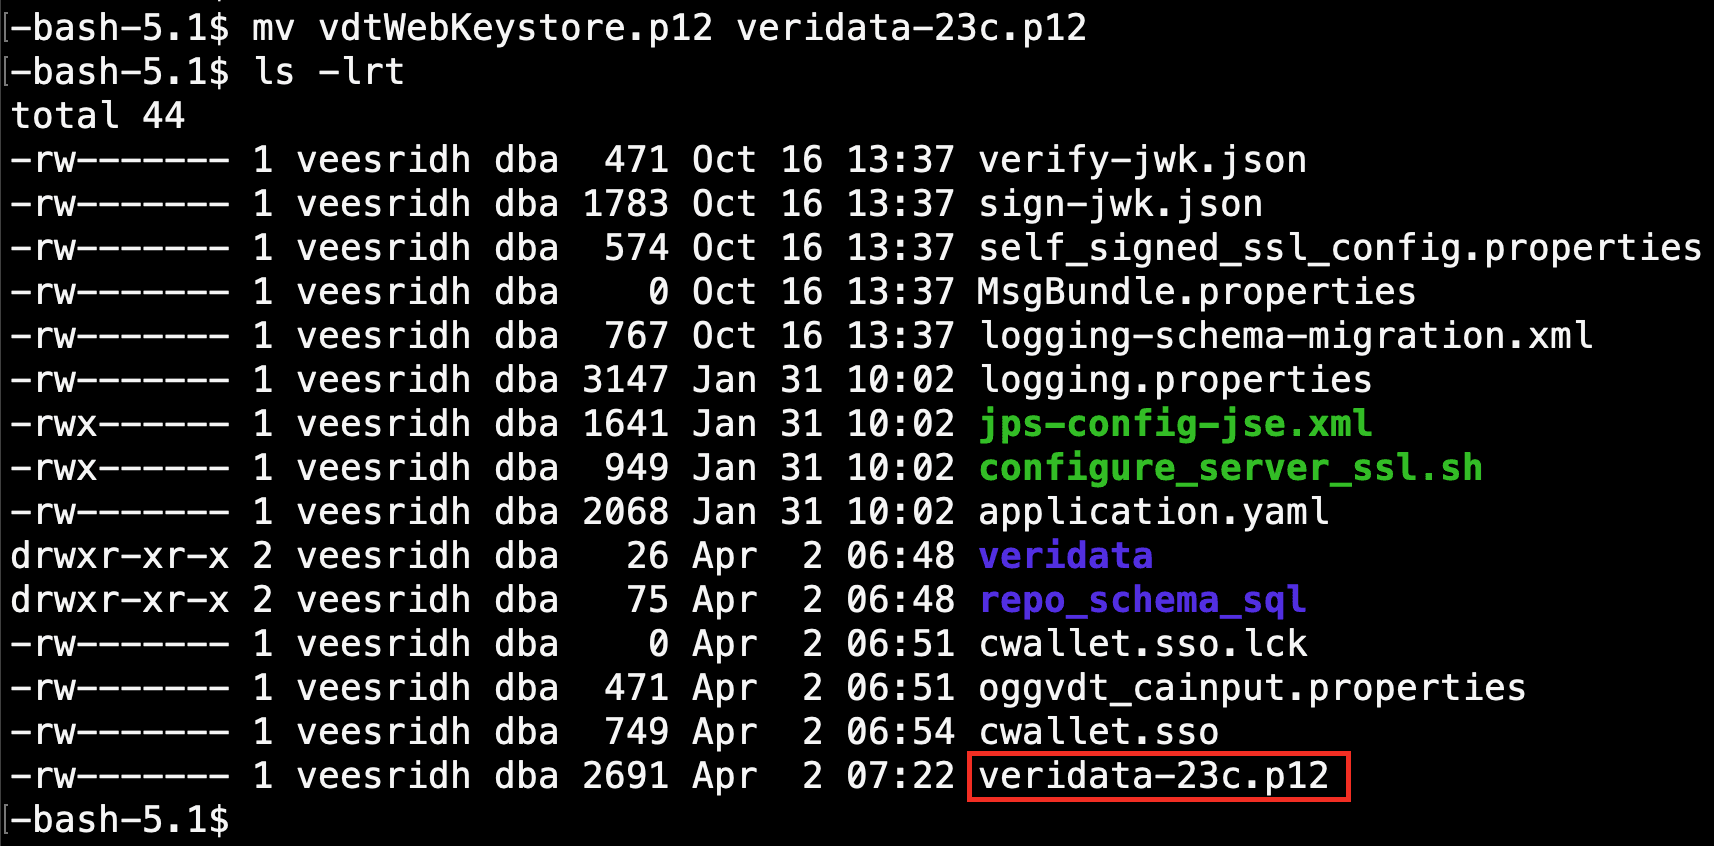
Under the same directory, there are two properties files named self_signed_ssl_config.properties and oggvdt_cainput.properties
Copy the contents of the self_signed_ssl_config.properties file to oggvdt_cainput.properties file.
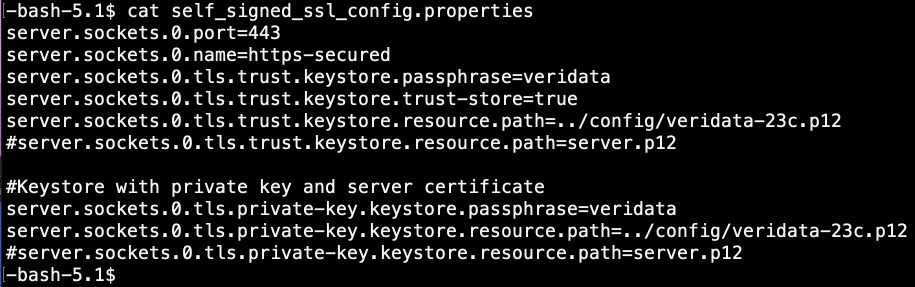
Contents of the self_signed_ssl_config.properties file
Contents of the oggvdt_cainput.properties file

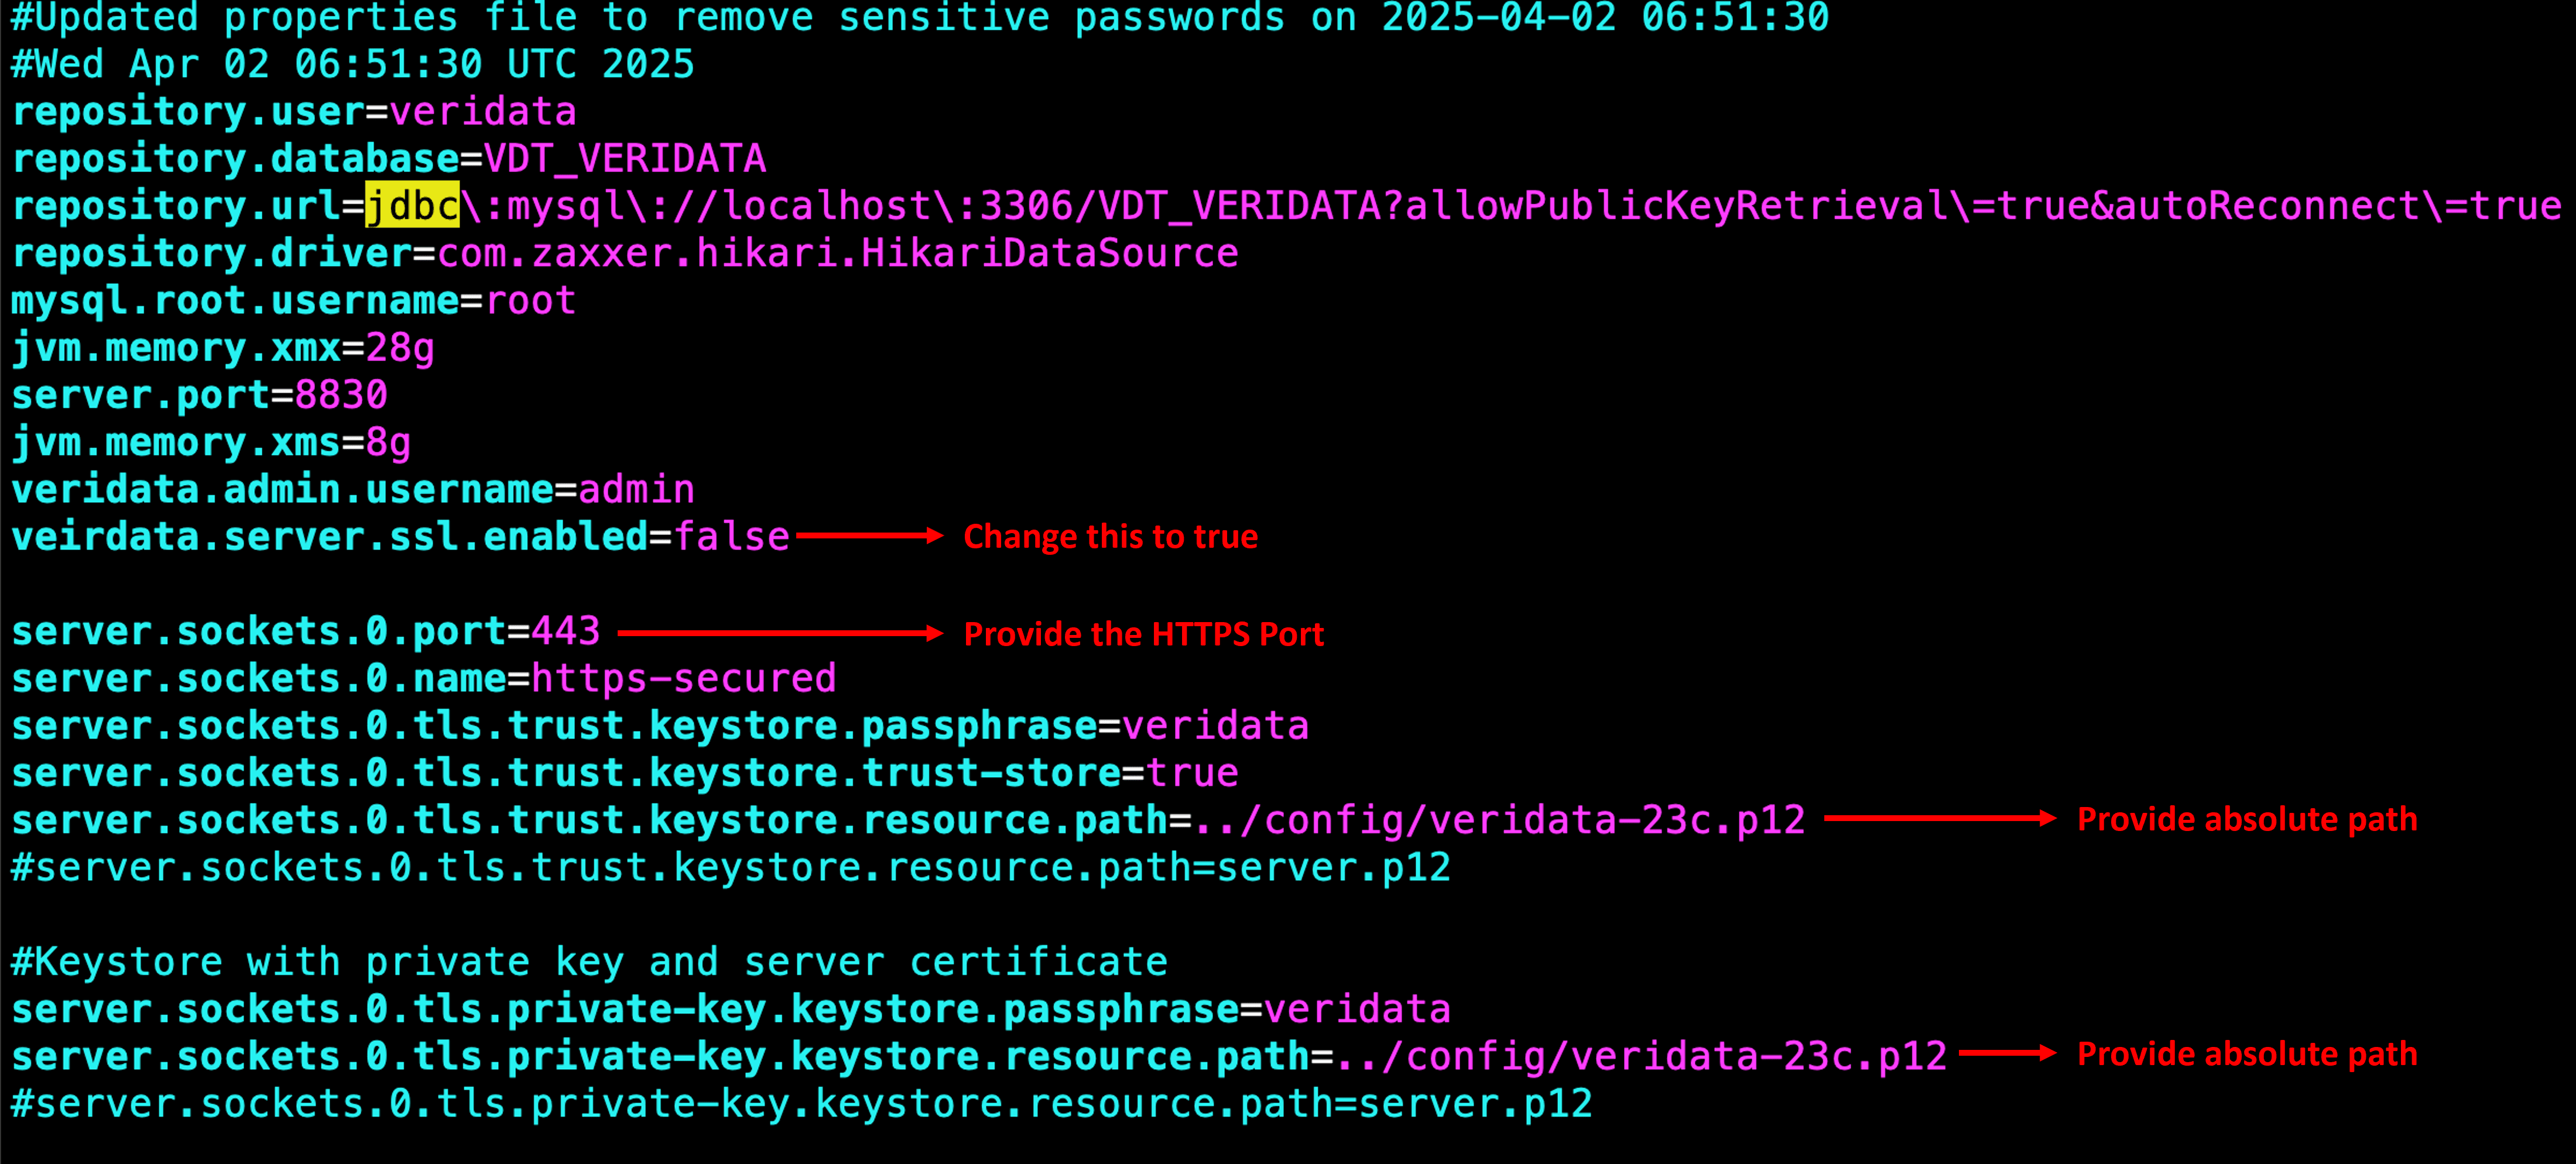
After copying the contents of the self_signed_ssl_config.properties file, below is how the oggvdt_cainput.properties file looks like,

Modify the oggvdt_cainput.properties accordingly and provide absolute paths instead of relative paths. Refer the below,
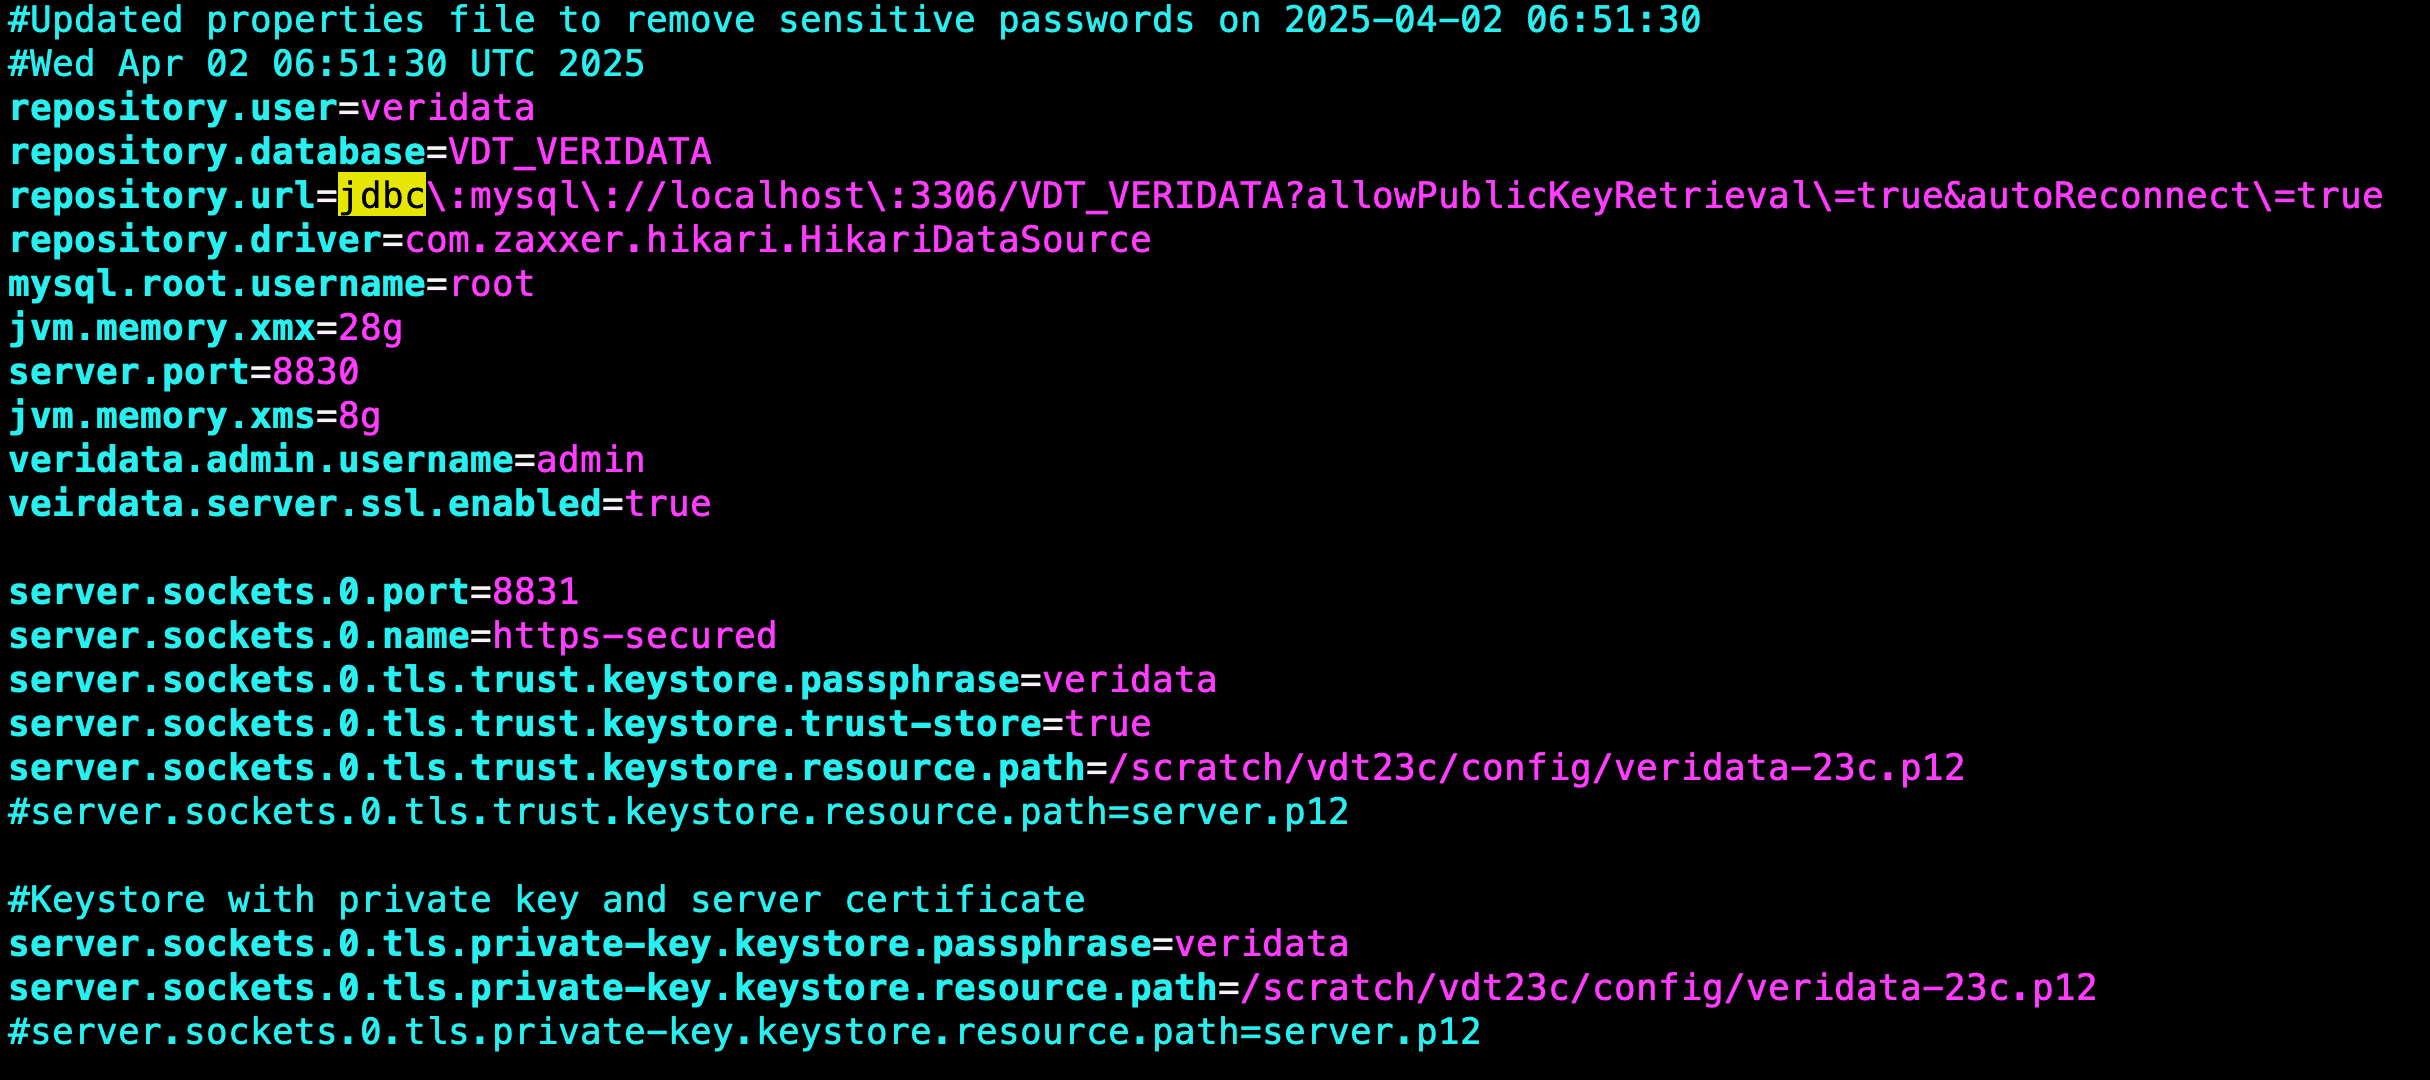
Below is the oggvdt_cainput.properties file after modification.
Now, restart the Server and Agents.
To restart the Veridata Server, please follow the below steps.
Navigate the directory cd /scratch/vdt23c/bin/ and execute the run.sh stop
./run.sh stop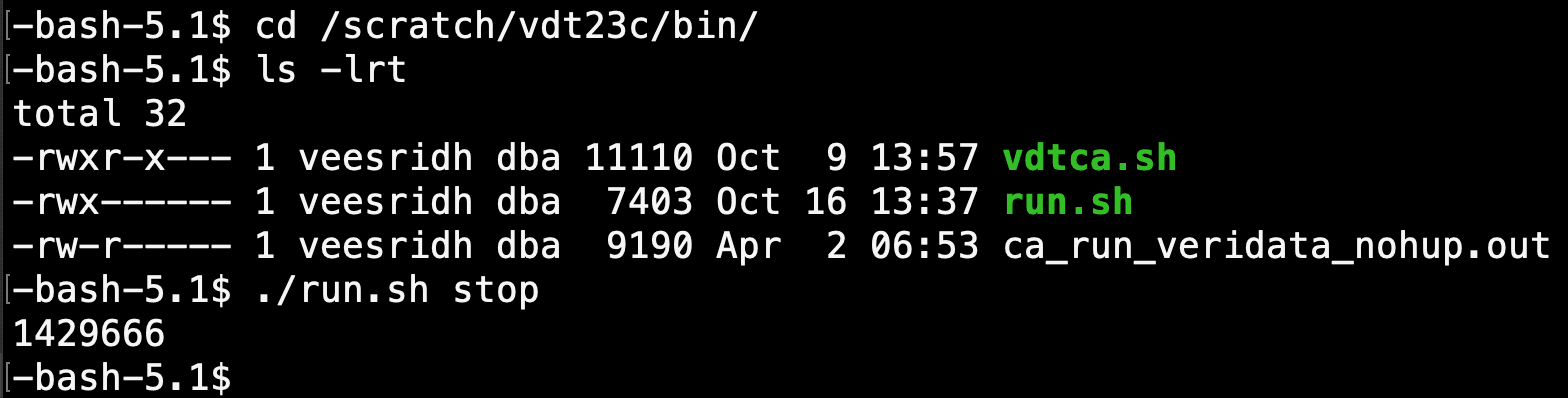
Now the start the server using the same command with option start.
./run.sh start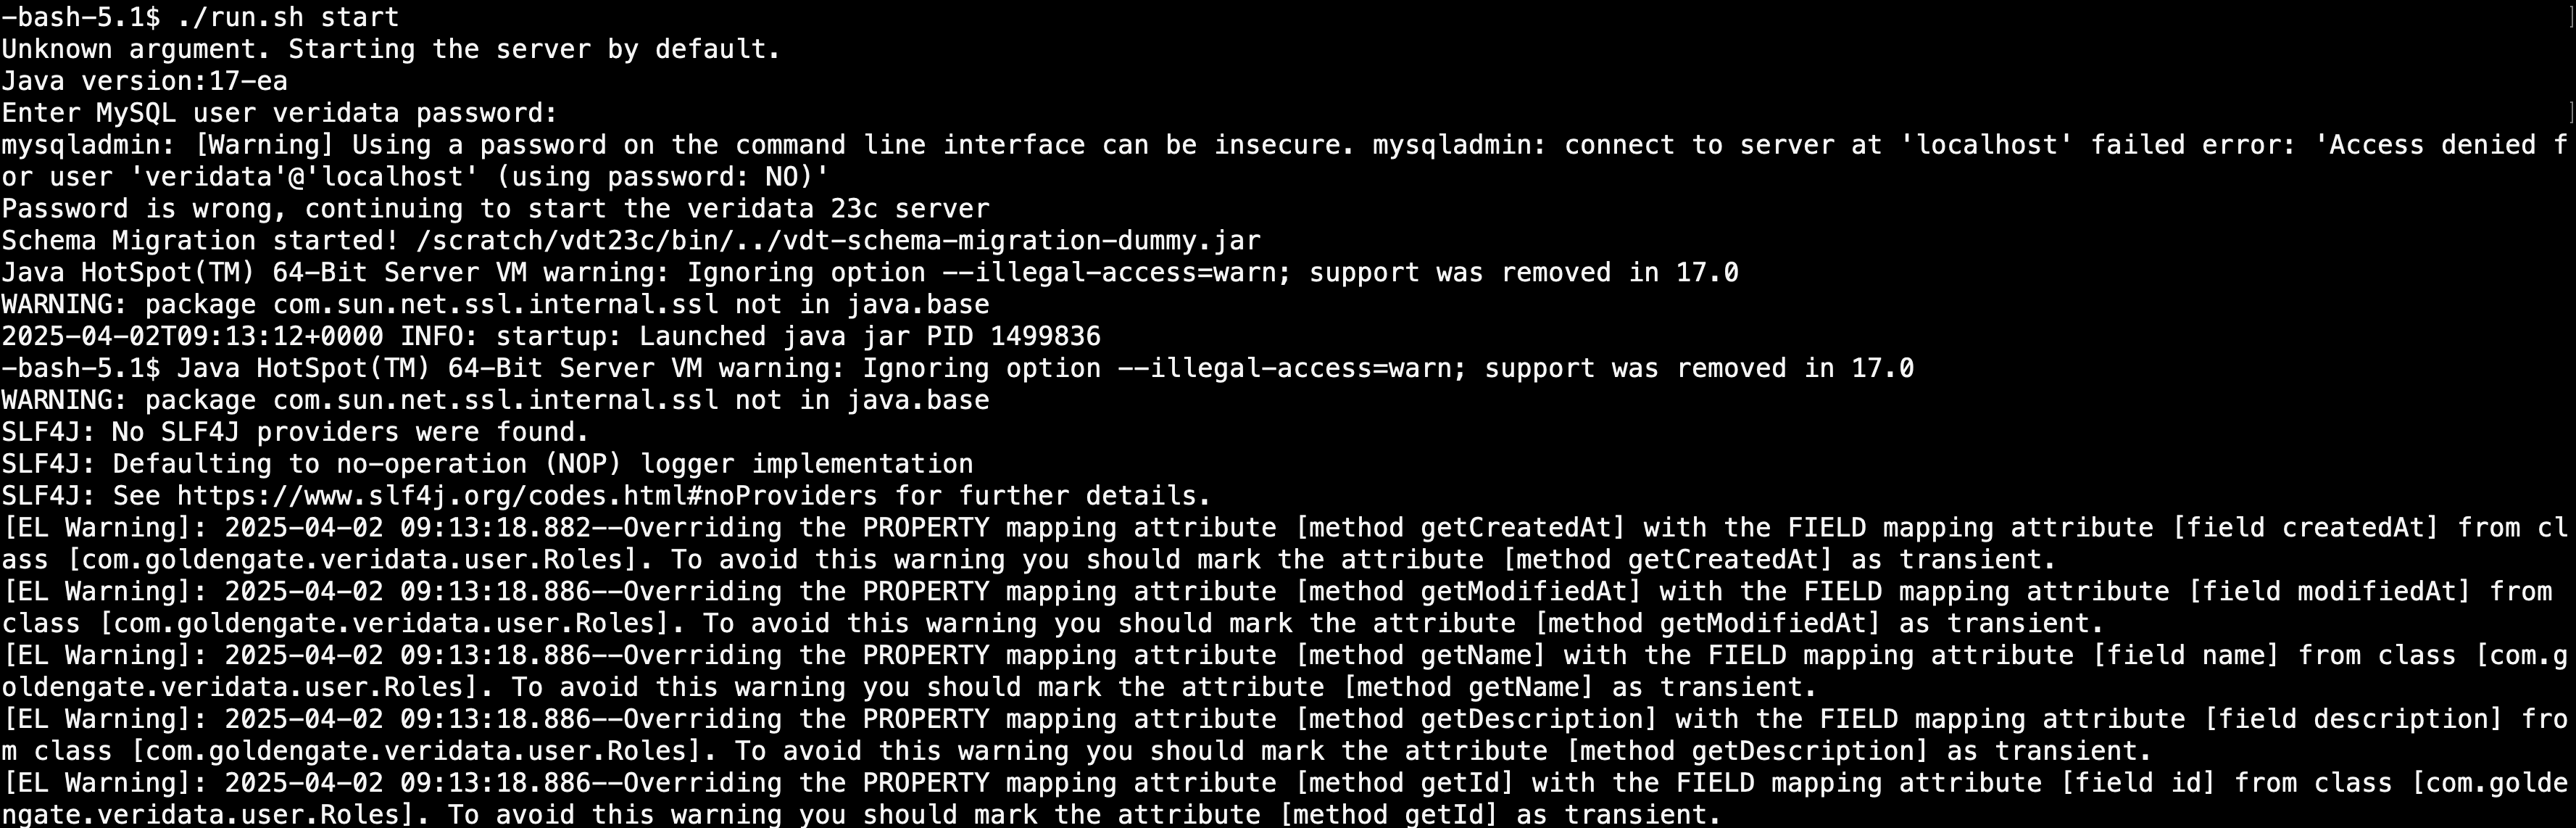
Check if the Veridata Server is up and running.

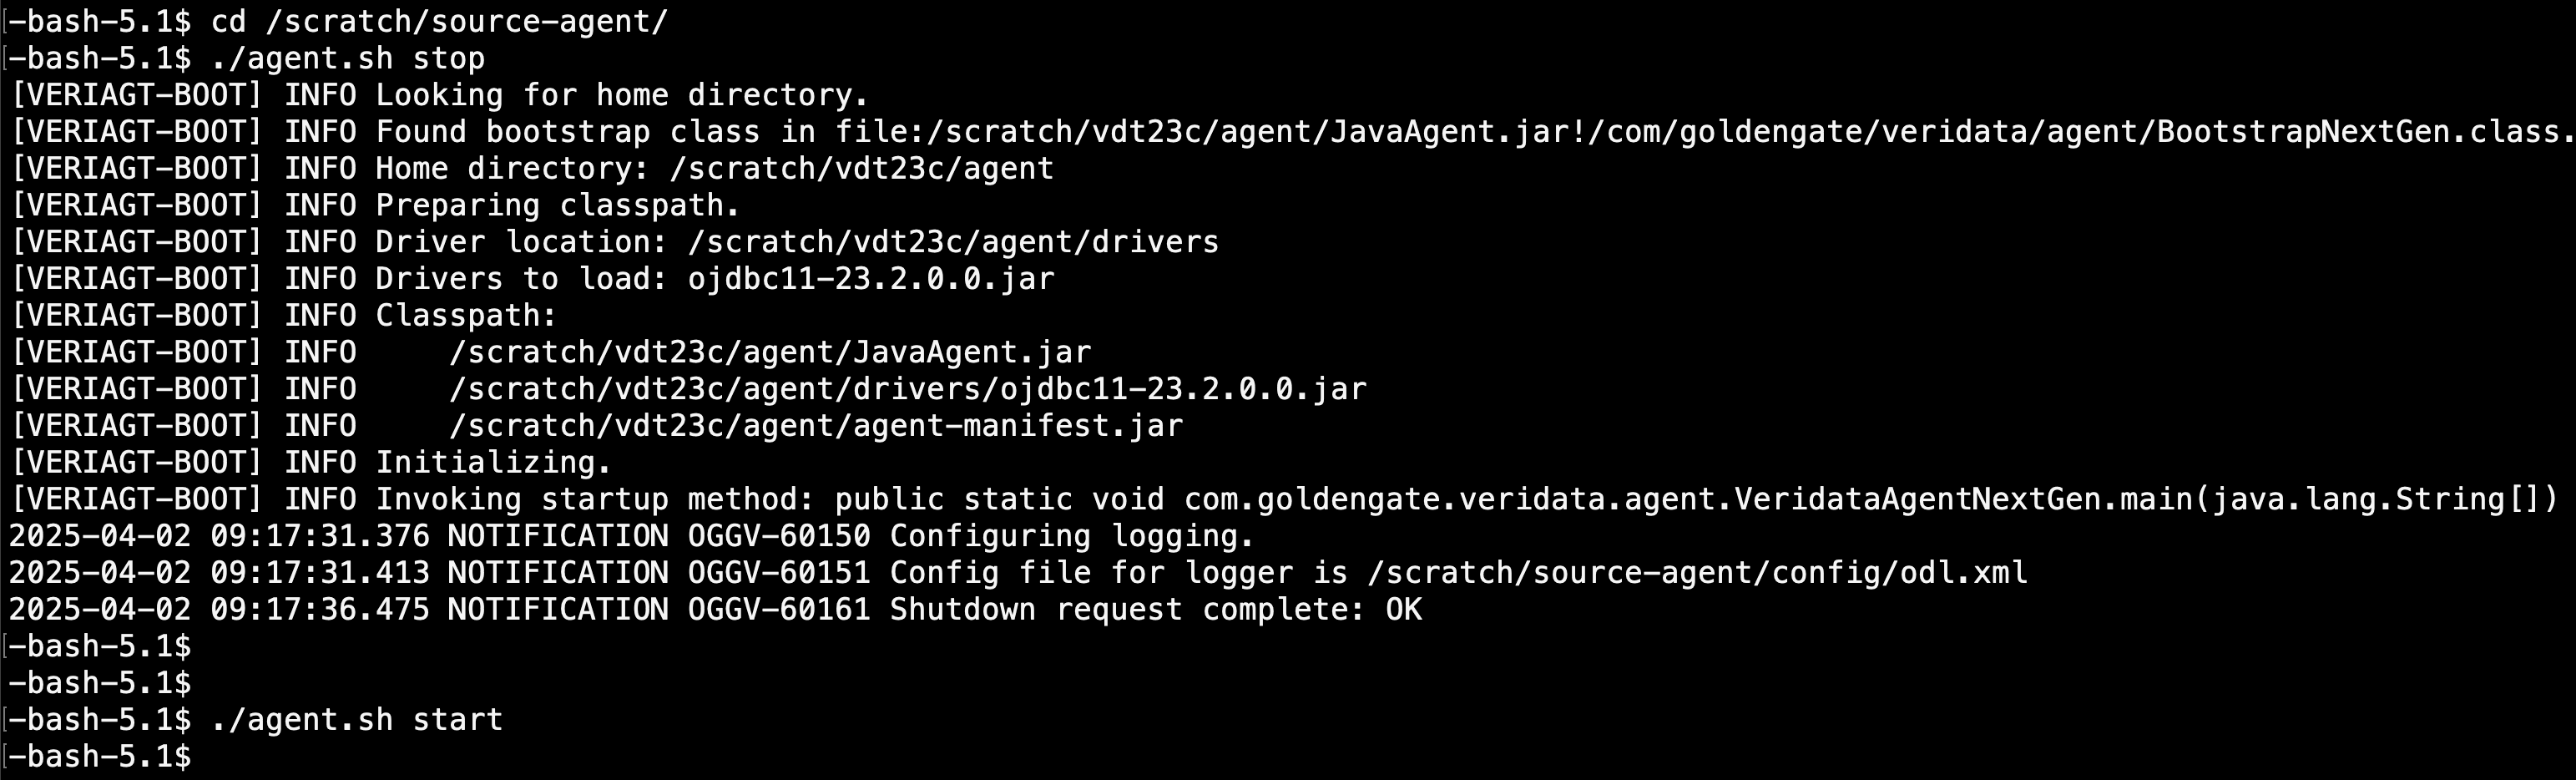
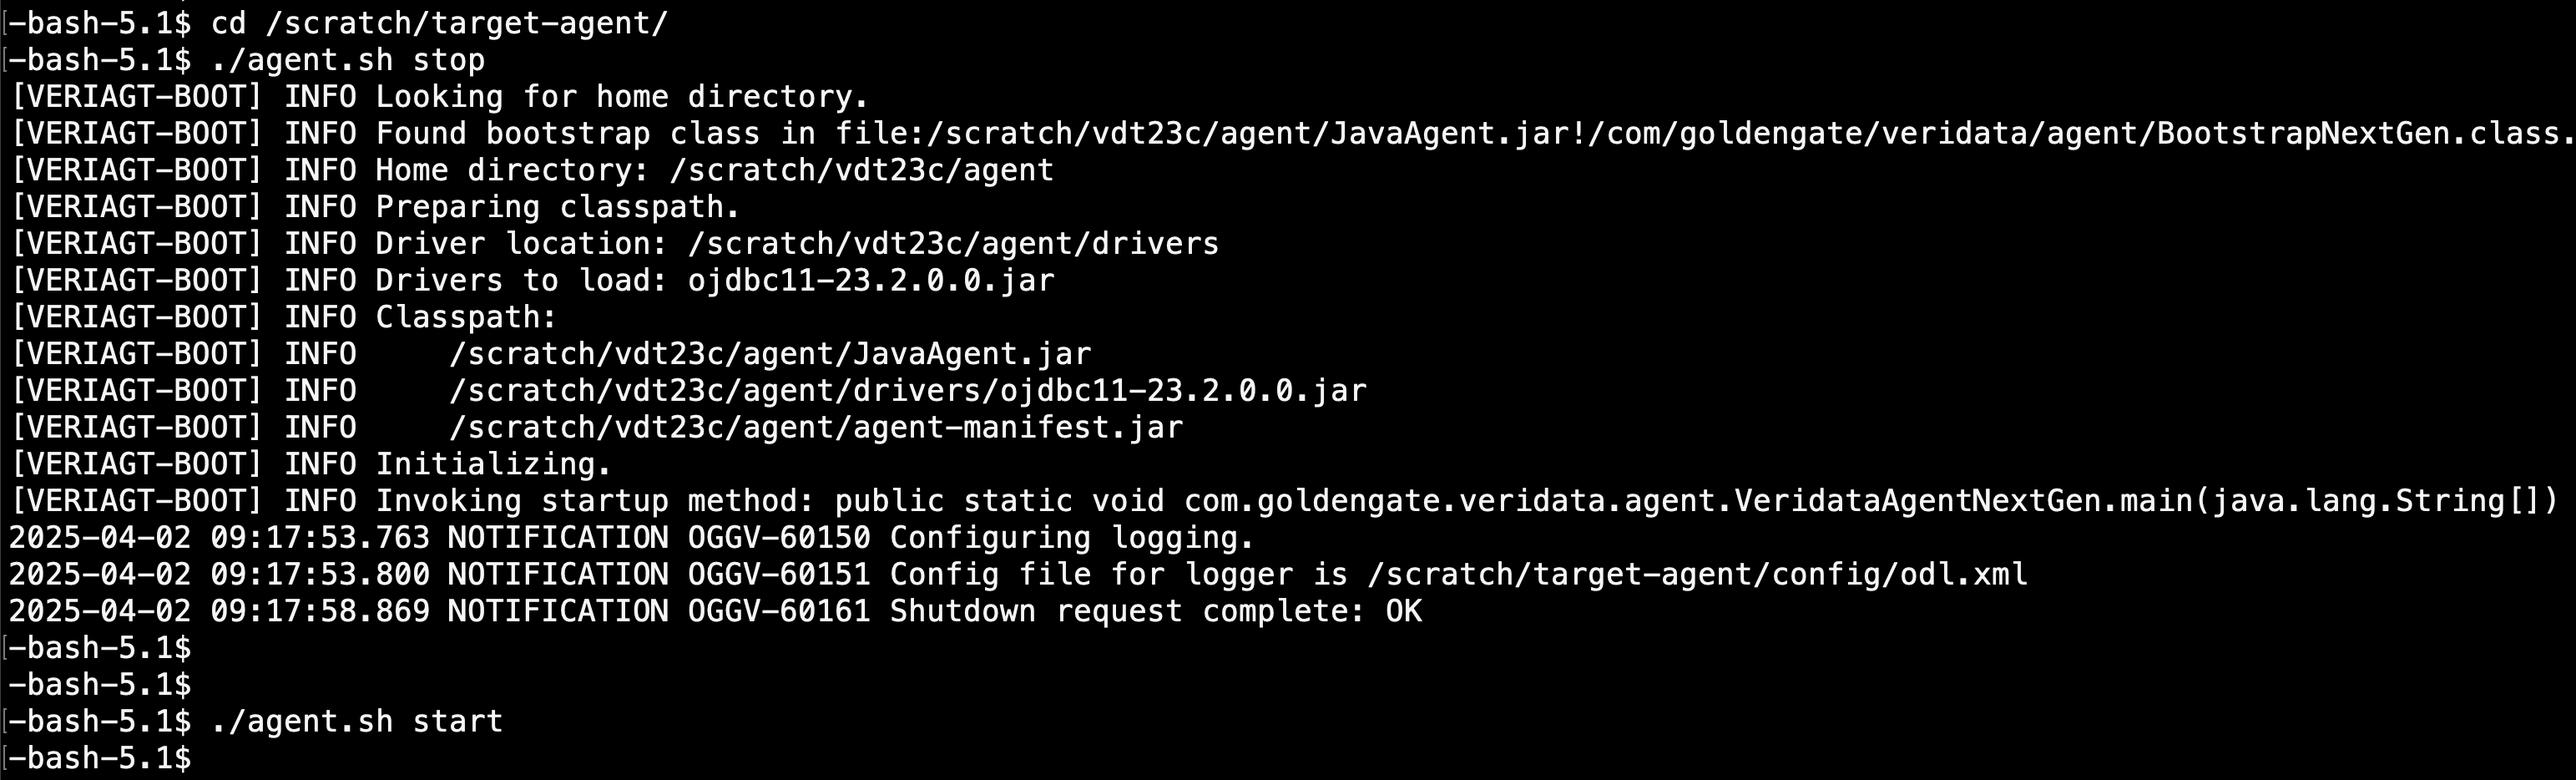
Now restart the Veridata Agents. In my case, I have two agents configured.
To start and stop the Agents, navigate to each Agent’s home and run the below commands,
./agent.sh stop
./agent.sh start
Check if the Veridata Agents are up and running.

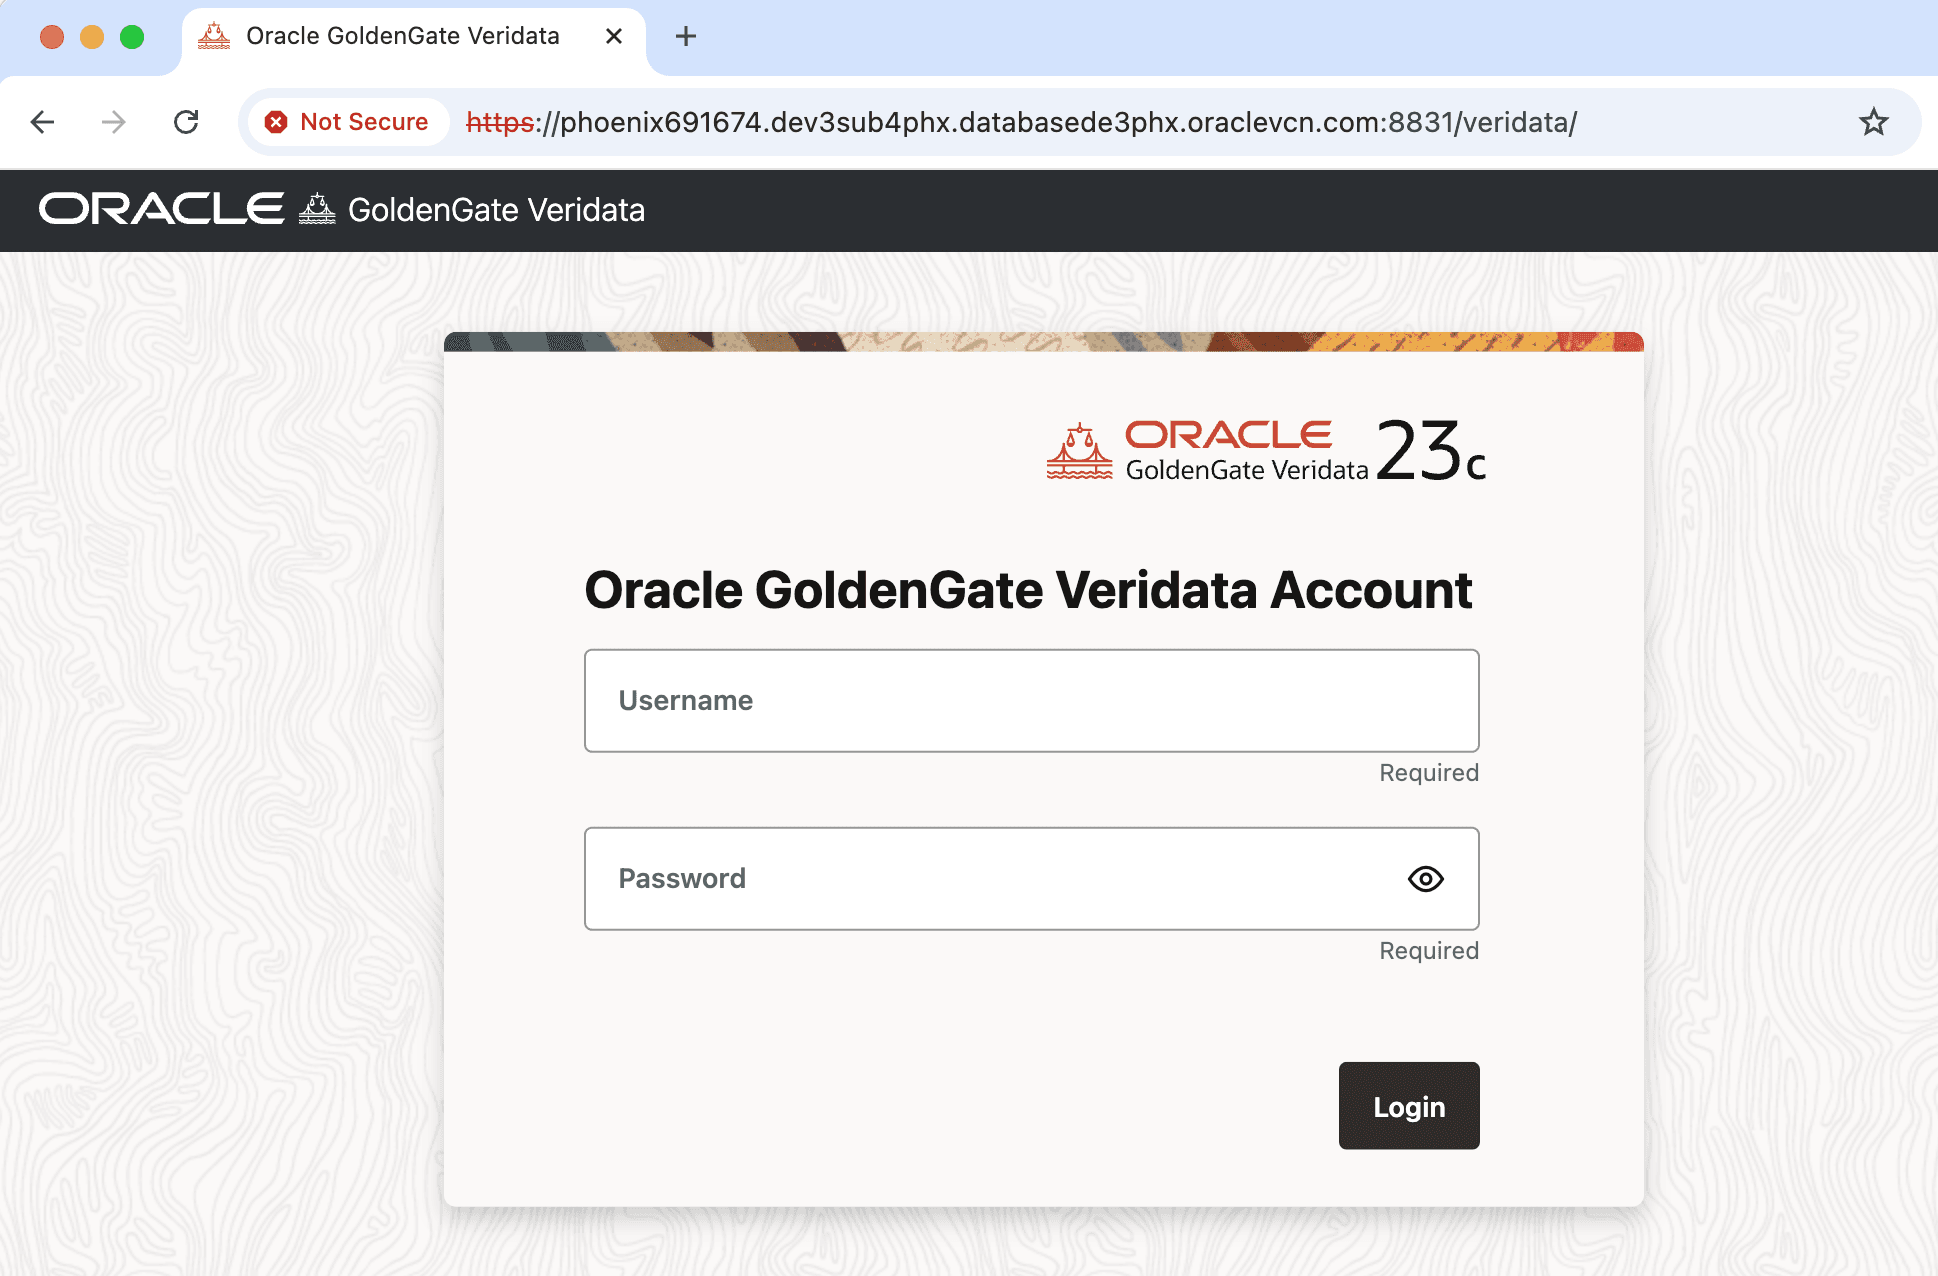
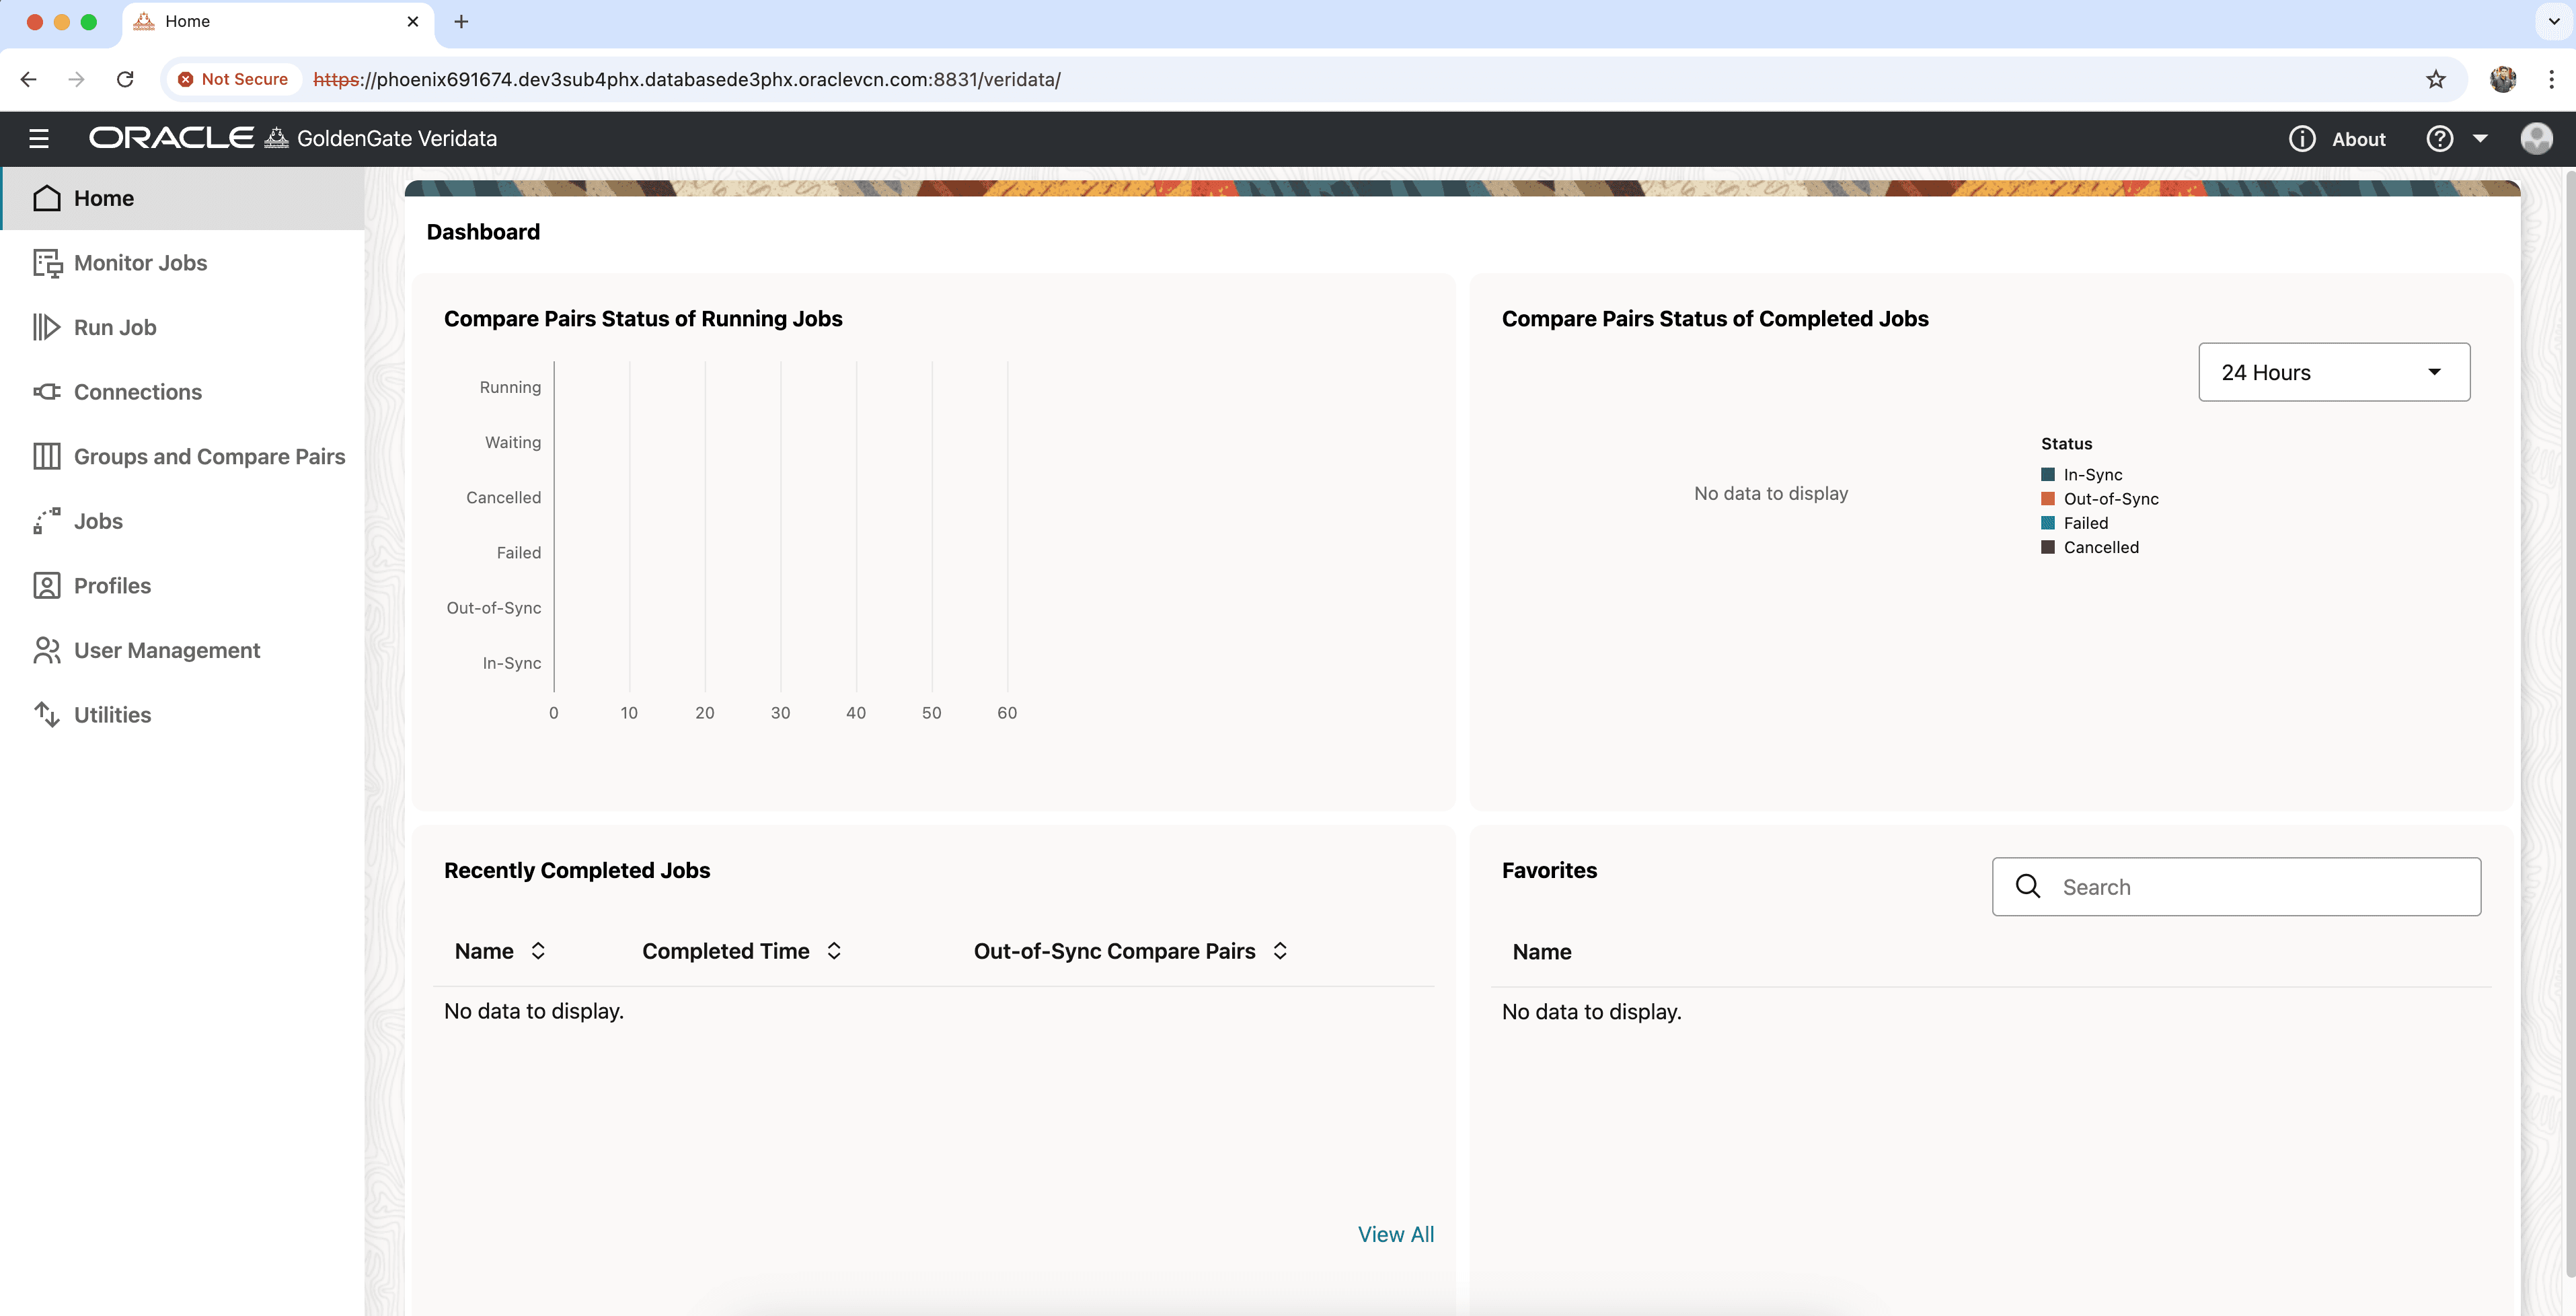
Now, try to login with https and check if the URL is working fine.
The above steps are to import a self-signed certificate. You may ask how to use custom certificate? Please follow the below steps to use custom certificate.
Step 1: Run the below command to generate the .pem certificate files and key.
./ssl_support_script.sh --server --client
This command will generate the below files,
1. ca-key.pem
2. ca.pem
3. server.key
4. server.pem
5. client.pem
6. client.key
Step2: Run the below command to create the .p12 format,
./ssl_support_script.sh --p12="custom_combine.p12" --server-crt="server.pem" --server-key="server.key" --client-crt="client.pem" --client-key="client.key" --ca-crt="ca.pem" --ca-key="ca-key.pem"
This will generate the custom_combine.p12 file. The above arguments are all optional, based on the user input the command can be framed.
Remaining will be taken care by the script itself.
Hope this gives you a clear understanding about enabling SSL in Oracle GoldenGate Veridata 23c post installation and configuration.