Last update: May 2024
Terraform is the most popular infrastructure as code (IaC) tool to easily define and automate the creation of cloud and on-prem resources. Fortunately, Oracle Cloud Infrastructure (OCI) offers a Terraform provider to interact with OCI resources, including OCI GoldenGate objects. In this article, we will review how to define and automate the creation of a deployment and several connections, the connections assignments, and the creation of a deployment backup using the Terraform OCI provider.
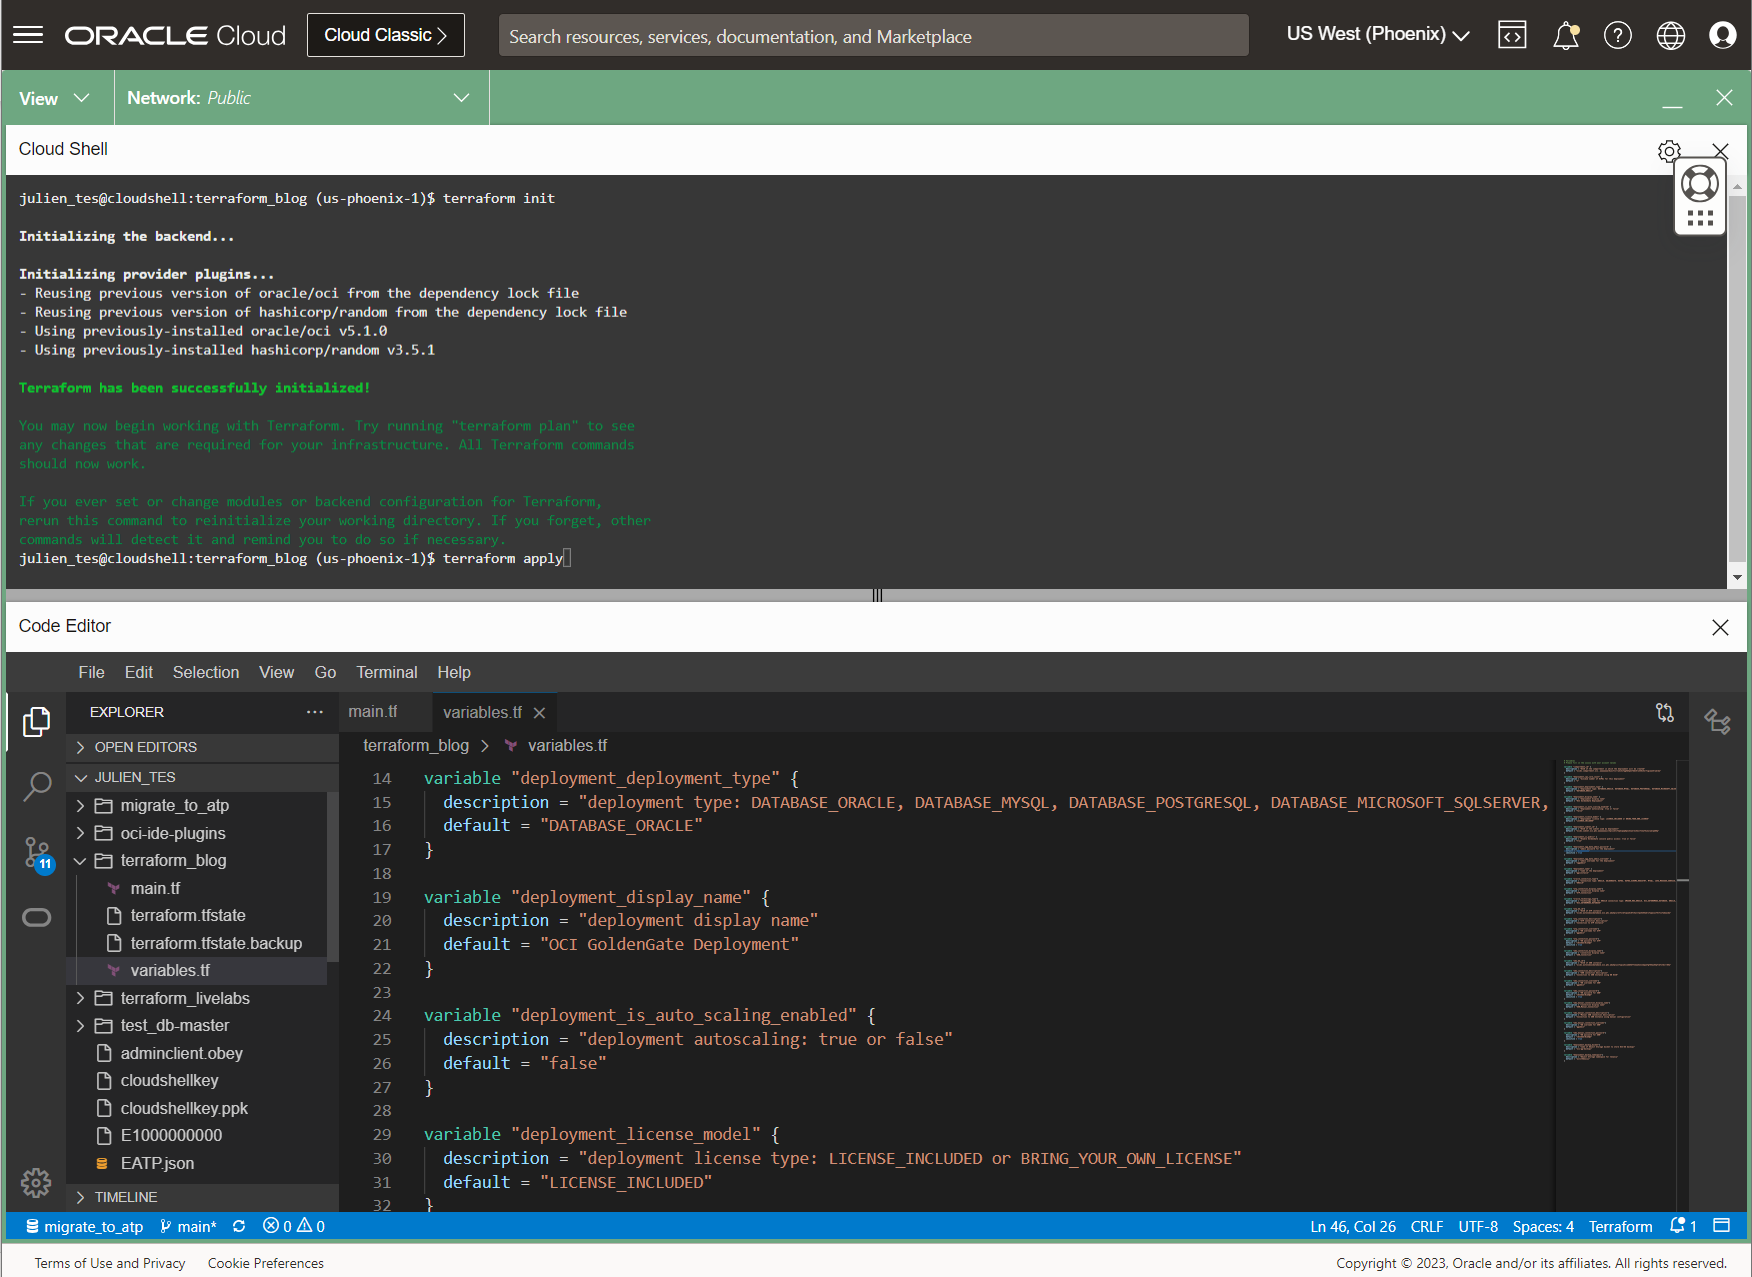
OCI Console Developer Tools
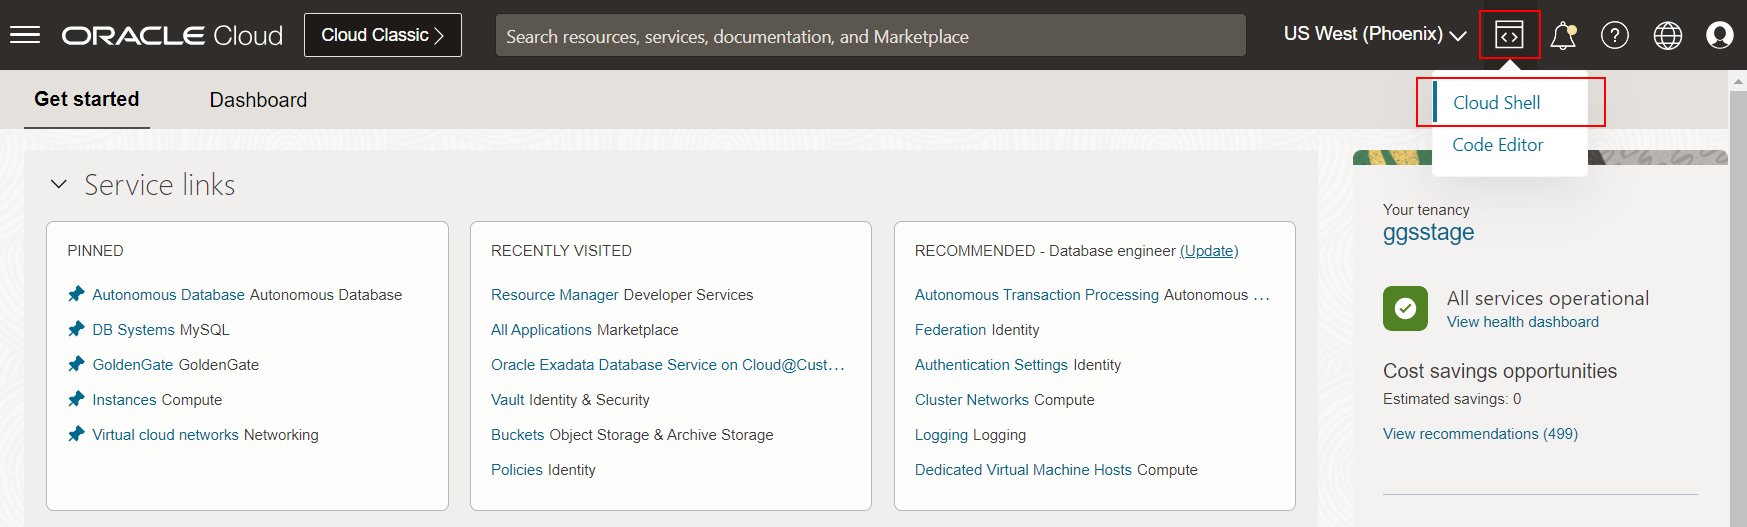
OCI Console comes with a built-in Code Editor and Cloud Shell. I used both to write and run Terraform scripts, as it is probably the easiest way to leverage Terraform in OCI. To access the Code Editor or Cloud Shell, log into the Oracle Cloud Console and click the Developer tools icon next to your Region, then select Code Editor or Cloud Shell.
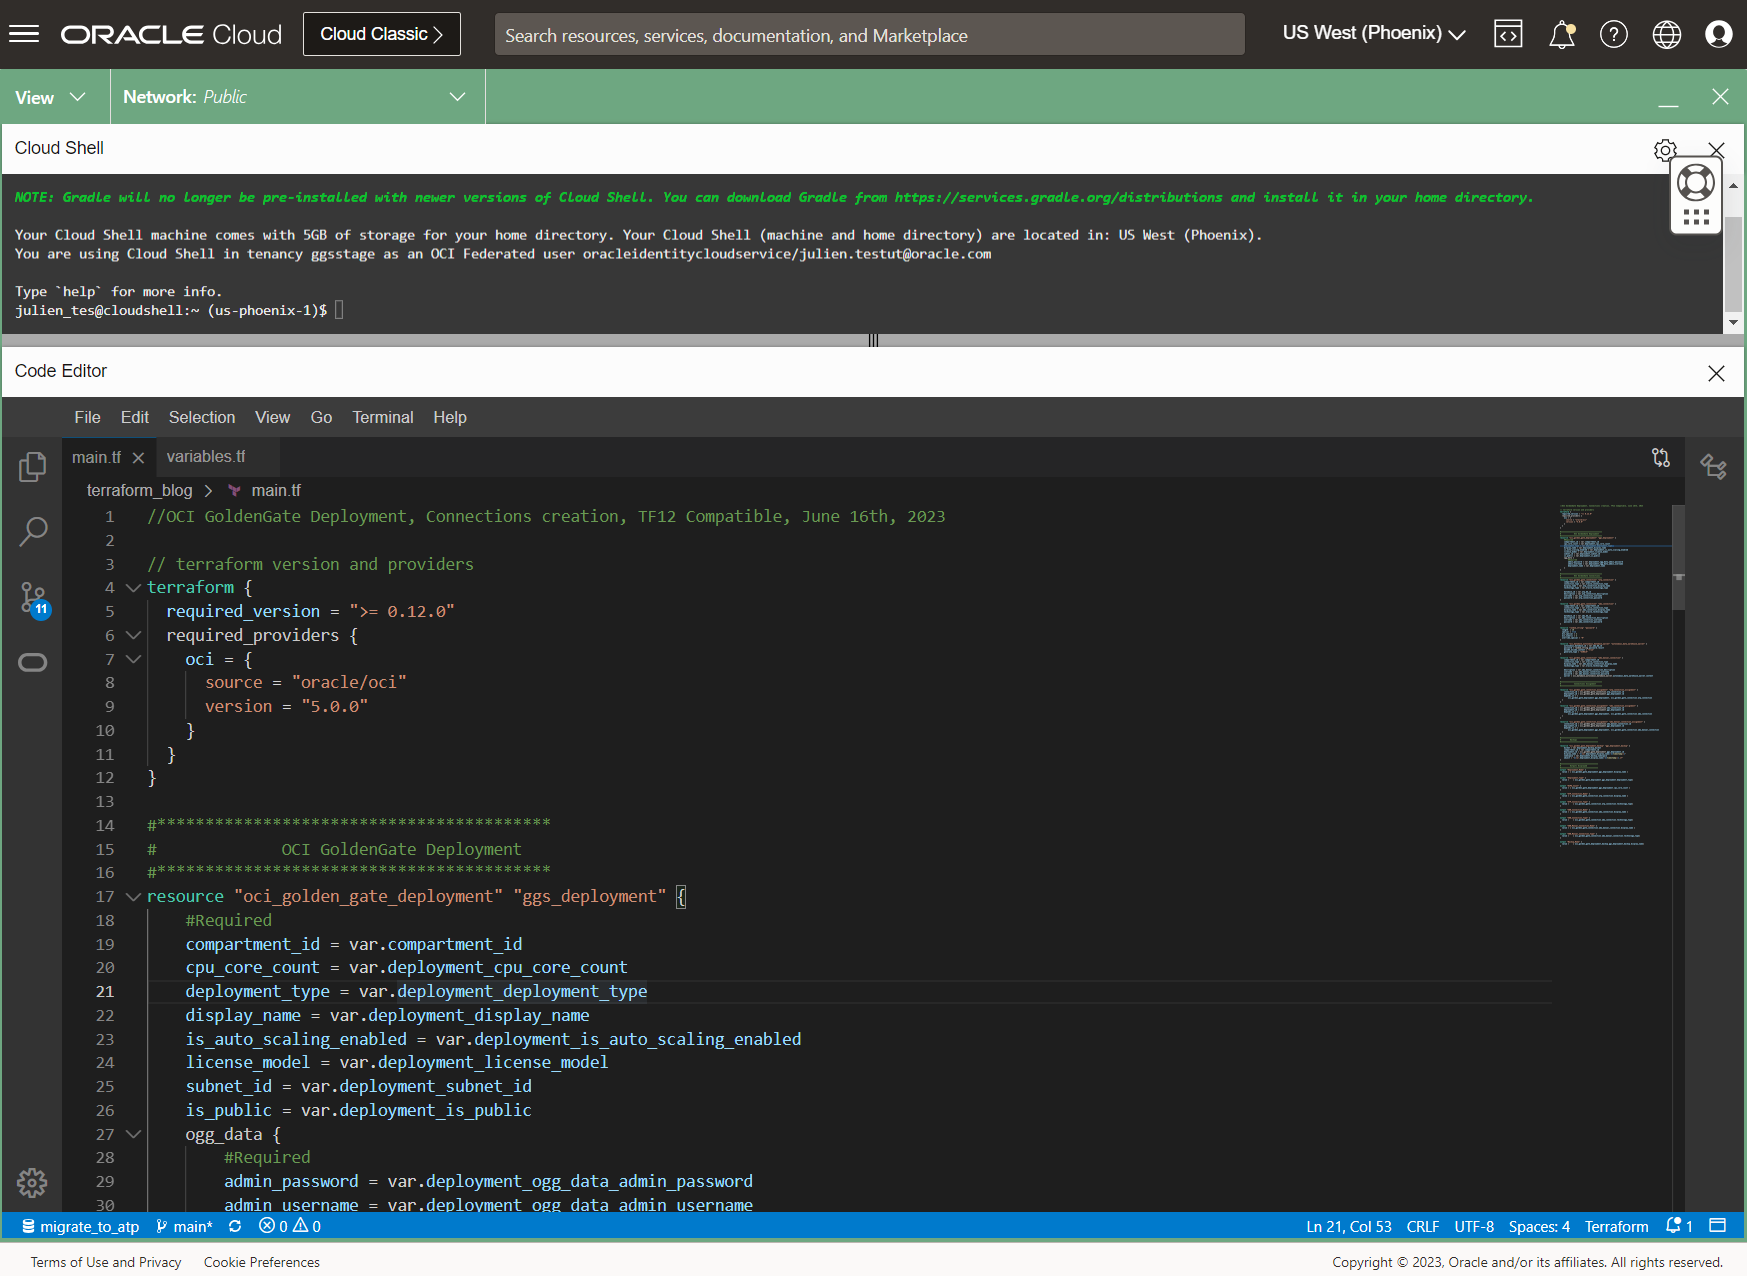
Their windows open at the bottom of the Oracle Cloud Console and load the required environments. It takes a few minutes the first time you connect and when you have not used them for some time.
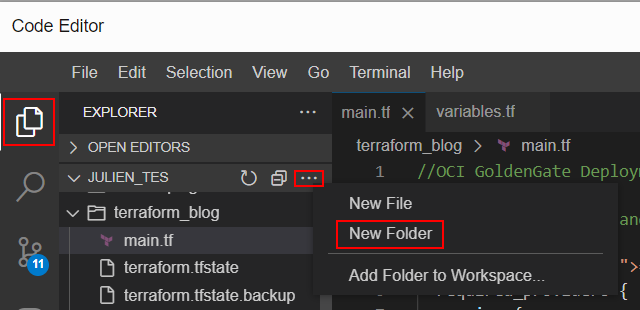
To get started, create a new directory in Code Editor to store your Terraform files. Click Explorer, find your home directory, click More Actions, select New Folder, and provide a name.
Right-click on the newly created folder and select New File. Name it main.tf, it will contain the main configuration for our OCI resources.
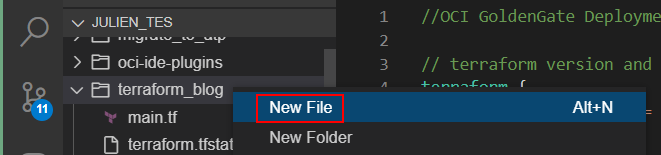
Create another new file, variables.tf, and leave it blank. This file will store all our variable values.
OCI GoldenGate Deployment Creation
Creating a deployment using Terraform is done using the oci_golden_gate_deployment resource, which has several required parameters:
- display_name: name of the deployment displayed in OCI Console
- compartment_id: OCID of the compartment in which the deployment will be created
- cpu_core_count: minimum number of OCPUs to be made available for this deployment
- is_auto_scaling_enabled: set to true to enable auto-scaling, false otherwise
- subnet_id: OCID of the subnet being referenced
- license_model: deployment license type (LICENSE_INCLUDED or BRING_YOUR_OWN_LICENSE)
- is_public: set to true to enable public access to deployment, false otherwise
- load_balancer_subnet_id: OCID of the public subnet used to enable public access to deployment
- deployment_type: the type of deployment (DATABASE_ORACLE, DATABASE_MYSQL, DATABASE_POSTGRESQL, DATABASE_MICROSOFT_SQLSERVER, DATABASE_DB2ZOS, DATA_TRANSFORMS, GGSA or BIGDATA)
- deployment_name: GoldenGate deployment name
- credential_store: credential store type (IAM or OGG (default))
- identity_domain_id: Identity Domain OCID (if using IAM)
- admin_password: password associated with the GoldenGate deployment console username (if using OGG)
- admin_username: GoldenGate deployment console username (if using OGG)
Instead of setting the parameters’ values in main.tf, we use variables to set them and will provide their values in variables.tf.
resource "oci_golden_gate_deployment" "ggs_deployment" {
    display_name = var.deployment_display_name
    compartment_id = var.ociCompartmentOcid
    cpu_core_count = var.deployment_cpu_core_count
    is_auto_scaling_enabled = var.deployment_is_auto_scaling_enabled
    subnet_id = var.ociPrivateSubnetOcid
    license_model = var.deployment_license_model
    is_public = var.deployment_is_public
    load_balancer_subnet_id = var.ociPublicSubnetOcid
    deployment_type = var.deployment_deployment_type
    ogg_data {
        deployment_name = var.deployment_name
        credential_store = var.deployment_ogg_data_credential_store
        identity_domain_id = var.ociIAMDomain
    }
}
Next, define the variables and their values in variables.tf. Replace ‘xxxxxx’ below with values matching your tenancy.
# Variables
# Please fill in the xxxxxx with your account values

variable "ociCompartmentOcid" {
  description = "OCID of the compartment in which the deployment will be created"
  default = "ocid1.compartment.oc1..xxxxxx"
}

variable "deployment_cpu_core_count" {
  description = "minimum number of OCPUs for this deployment"
  default = "2"
}

variable "deployment_deployment_type" {
  description = "deployment type: BIGDATA, DATABASE_DB2ZOS, DATABASE_MICROSOFT_SQLSERVER, DATABASE_MYSQL, DATABASE_ORACLE, DATABASE_POSTGRESQL, DATA_TRANSFORMS, or GGSA"
  default = "DATABASE_ORACLE"
}

variable "deployment_display_name" {
  description = "deployment display name"
  default = "OCI GoldenGate Deployment"
}

variable "deployment_is_auto_scaling_enabled" {
  description = "deployment autoscaling: true or false"
  default = "false"
}

variable "deployment_license_model" {
  description = "deployment license type: LICENSE_INCLUDED or BRING_YOUR_OWN_LICENSE"
  default = "LICENSE_INCLUDED"
}

variable "ociPrivateSubnetOcid" {
  description = "OCID of the private subnet used by deployment"
  default = "ocid1.subnet.oc1.xxxxxx"
}

variable "deployment_is_public" {
  description = "Enable GoldenGate console public access: true or false"
  default = "true"
}

variable "ociPublicSubnetOcid" {
  description = "OCID of the public subnet used by deployment"
  default = "ocid1.subnet.oc1.xxxxxx"
}

variable "deployment_ogg_data_credential_store" {
  description = "type of credential store: IAM or OGG"
  default = "IAM"
}

variable "deployment_name" {
  description = "name of the deployment"
  default = "ocigginstance"
}
Save the .tf files. You can test the Terraform script, at any time throughout this article, in Cloud Shell or a new Terminal in the Code Editor:
- Navigate to the directory storing your tf files
- Run terraform init
- Then run terraform validate to ensure the files are valid
- Finally, run terraform apply to create the resources in OCI
OCI GoldenGate Connection Creation
Next, we will create a connection to an Autonomous Transaction Processing (ATP) database. We use the oci_golden_gate_connection resource, which has several required parameters for Oracle databases:
- display_name: name of the connection in OCI Console
- description: connection description
- compartment_id: OCID of the compartment in which the connection will be created
- connection_type: Connection type: ORACLE, GOLDENGATE, KAFKA, KAFKA_SCHEMA_REGISTRY, MYSQL, JAVA_MESSAGE_SERVICE, MICROSOFT_SQLSERVER, OCI_OBJECT_STORAGE, AZURE_DATA_LAKE_STORAGE, POSTGRESQL, AZURE_SYNAPSE_ANALYTICS, SNOWFLAKE, AMAZON_S3, HDFS, ORACLE_NOSQL, or MONGODB (list evolving with new OCI GoldenGate releases)
- technology_type: technology type for ORACLE connection type only: AMAZON_RDS_ORACLE, OCI_AUTONOMOUS_DATABASE, ORACLE_DATABASE, ORACLE_EXADATA
- username: Oracle database username
- password: Oracle database username password
- routingMethod: Controls the network traffic to the target
- DEDICATED_ENDPOINT
- SHARED_DEPLOYMENT_ENDPOINT
- subnet_id: if using DEDICATED_ENDPOINT, subnet in which a Private Endpoint will be created
For this connection, we will reference the OCID of the ATP instance to have OCI GoldenGate automatically fetch its wallet to connect. Add the following parameter:
- database_id: OCID of the database being referenced
Here is the code block for this connection in main.tf:
resource "oci_golden_gate_connection" "atp_connection" {
    display_name = var.atp_connection_display_name
    description = var.atp_connection_description
    compartment_id = var.compartment_id
    connection_type = var.oracle_connection_type
    technology_type = var.oracle_technology_type

    database_id = var.atp_db_id
    username = var.atp_connection_username
    password = var.atp_connection_password
    routing_method = var.atp_connection_routing_method
    subnet_id = var.ociPrivateSubnetOcid
}
and the corresponding variables in variables.tf:
variable "oracle_connection_type"{
  description = "Connection type: ORACLE, GOLDENGATE, KAFKA, KAFKA_SCHEMA_REGISTRY, MYSQL, JAVA_MESSAGE_SERVICE, MICROSOFT_SQLSERVER, OCI_OBJECT_STORAGE, AZURE_DATA_LAKE_STORAGE, POSTGRESQL, AZURE_SYNAPSE_ANALYTICS, SNOWFLAKE, AMAZON_S3, HDFS, ORACLE_NOSQL, or MONGODB"
  default = "ORACLE"
}

variable "atp_connection_display_name"{
  description = "connection display name"
  default = "ATP_Connection"
}

variable "oracle_technology_type"{
  description = "Technology type for ORACLE connection type: AMAZON_RDS_ORACLE, OCI_AUTONOMOUS_DATABASE, ORACLE_DATABASE, ORACLE_EXADATA"
  default = "OCI_AUTONOMOUS_DATABASE"
}

variable "atp_db_id"{
  description = "OCID of ATP instance"
  default = "ocid1.autonomousdatabase.oc1.xxxxxx"
}

variable "atp_connection_description"{
  description = "ATP connection description"
  default = "Connection to ATP Instance"
}

variable "atp_connection_username"{
  description = "DB username for ATP"
  default = "ggadmin"
}

variable "atp_connection_password"{
  description = "DB password for ATP"
  default = "xxxxxx"
  sensitive = true
}

variable "atp_connection_routing_method"{
  description = "Controls the network traffic to the target: DEDICATED_ENDPOINT or SHARED_ENDPOINT"
  default = "DEDICATED_ENDPOINT"
}
The sample code (main.tf, variables.tf) also contains an example of creating a connection to an Autonomous Data Warehouse instance without referencing its OCID. It requires downloading its wallet and using it during the connection creation.
Assigning a Connection to a Deployment
Connections can only be used in deployments once assigned to one of them. The oci_golden_gate_connection_assignment resource is used to define the association between a connection and a deployment. It requires the following parameters:
- connection_id: OCID of the connection
- deployment_id: OCID of the deployment
Here is the code block for the connection assignment in main.tf:
resource "oci_golden_gate_connection_assignment" "atp_connection_assignment" {
    connection_id = oci_golden_gate_connection.atp_connection.id
    deployment_id = oci_golden_gate_deployment.ggs_deployment.id
}
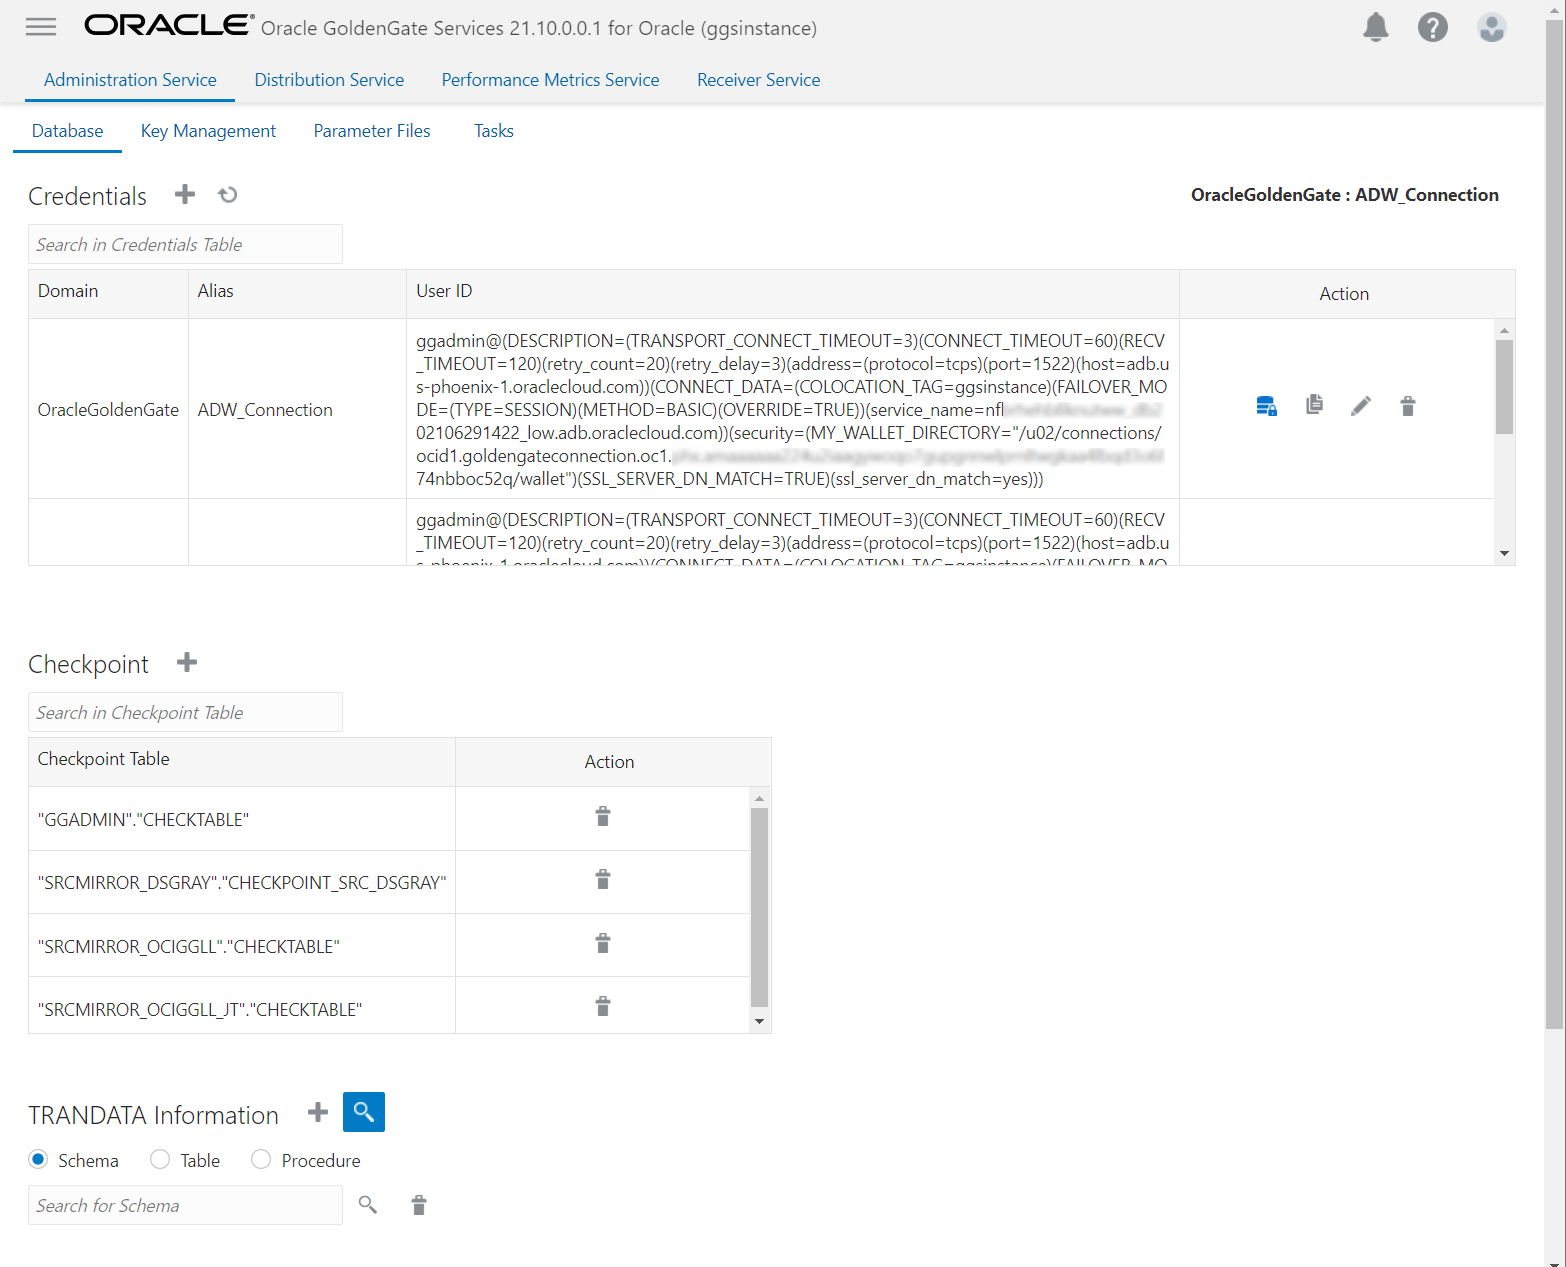
You can test your Terraform script now (Run terraform apply). After a few minutes, you can log into your deployment and test connectivity to the databases from the GoldenGate deployment console.
Deployment Backup Creation
Finally, we can automate the creation of a deployment backup using the oci_golden_gate_deployment_backup resource. It requires the following parameters:
- bucket: name of Object Storage bucket to store OCI-GG backups
- compartment_id: OCID of the compartment in which the backup will be created
- deployment_id: OCID of the deployment to back up
- display_name: name of the backup in OCI Console. I use the display name of the deployment and add a timestamp suffix.
- namespace: tenancy object storage namespace
- object: name of the backup file. I use the same logic as the display_name parameter and add the .xz file extension.
Here is the code block in the main.tf file:
resource "oci_golden_gate_deployment_backup" "ggs_deployment_backup" {
    bucket = var.deployment_backup_bucket
    compartment_id = var.compartment_id
    deployment_id = oci_golden_gate_deployment.ggs_deployment.id
    display_name = "${var.deployment_display_name}-${timestamp()}"
    namespace = var.deployment_backup_namespace
    object = "${var.deployment_display_name}-${timestamp()}.xz"
}
and the corresponding variables in variables.tf:
variable "deployment_backup_bucket"{
  description = "name of Object Storage bucket to store OCI-GG backups"
  default = "oci-gg-backups"
}

variable "deployment_backup_namespace"{
  description = "Object Storage namespace for tenancy"
  default = "xxxxxx"
}
Conclusion
In this article, we have seen how easy it is to leverage Terraform and the OCI Terraform provider to design and automate the creation of OCI GoldenGate resources, such as its deployments or connections. The sample files are available here: main.tf and variables.tf. You can reuse them to manage your OCI GoldenGate infrastructure as code, along with other OCI resources!
References
- OCI Terraform Provider: https://registry.terraform.io/providers/oracle/oci/latest/docs
- OCI Documentation for Terraform Provider: https://docs.oracle.com/en-us/iaas/Content/API/SDKDocs/terraform.htm