Introduction
In the previous blog we provisioned and connected to an Autonomous Transaction Processing instance. Autonomous Transaction Processing supports a complex mix of high-performance transactions, reporting, batch, IoT, and machine learning in a single database, allowing much simpler application development and deployment and enabling real-time analytics, personalization, and fraud detection.
In this blog you will install Oracle Client libraries, install Visual Studio, install Anaconda and run a few simple commands on Jupyter Notebook.
Step 1: Download the Oracle Instant Client
In order to connect and run applications from your PC to remote Oracle databases, such as Autonomous Transaction Processing, Oracle client libraries must be installed on your computer. Oracle Instant Client enables applications to connect to a local or remote Oracle Database for development and production deployment. The Instant Client libraries provide the necessary network connectivity, as well as basic and high-end data processing features, to make full use of any Oracle database. It underlies the Oracle APIs of popular languages and environments including Node.js, Python and PHP, as well as providing access for OCI, OCCI, JDBC, ODBC and Pro*C applications. Tools included in Instant Client, such as SQL*Plus and Oracle Data Pump, provide quick and convenient data access.
Let us start with Oracle Instant Client for Microsoft Windows (x64) 64-bit. You can find it here. If you happen to run another operating system, you can find the relevant Oracle Instant Client libraries here.
- Accept License Agreement and select Basic Lite Package.
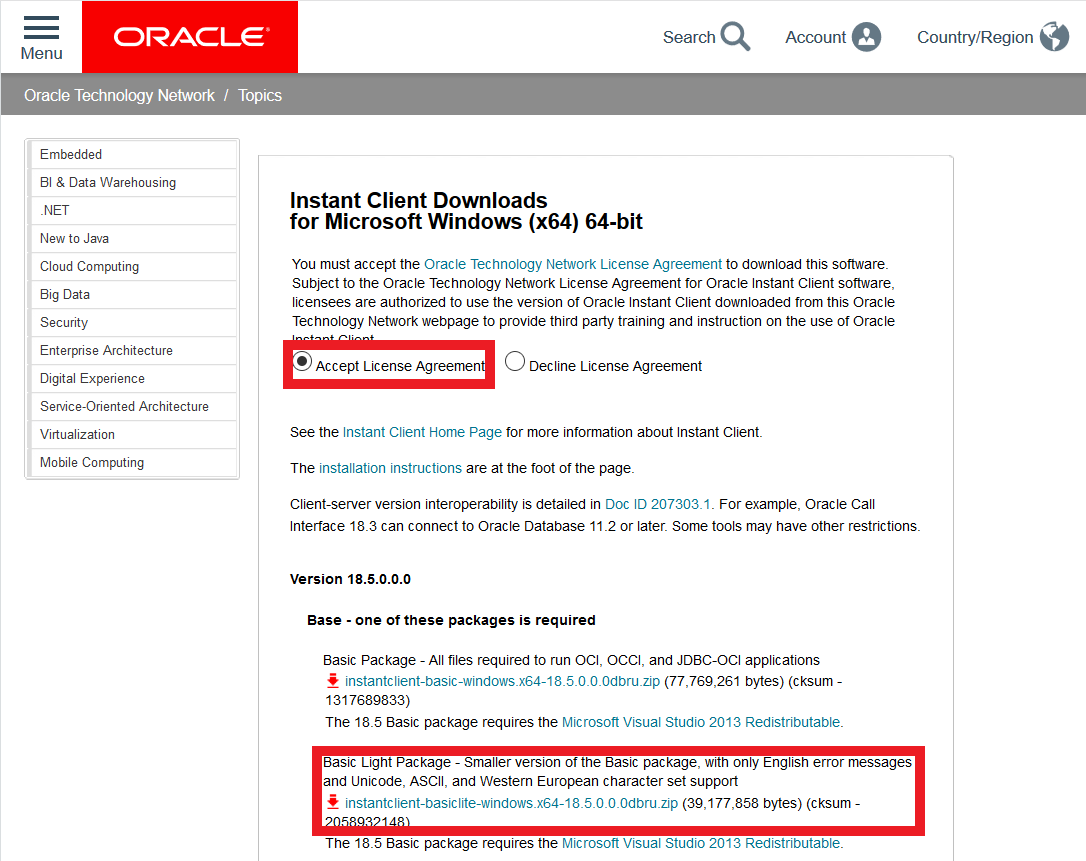
- This will require you signing into OTN with your SSO account. If you do not have an account you need to create one.
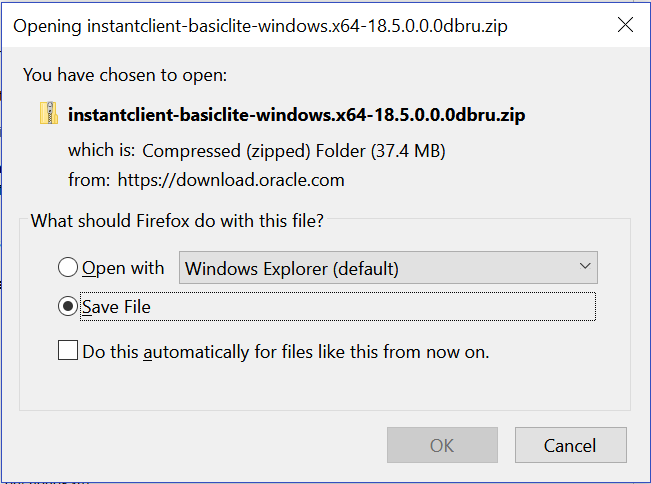
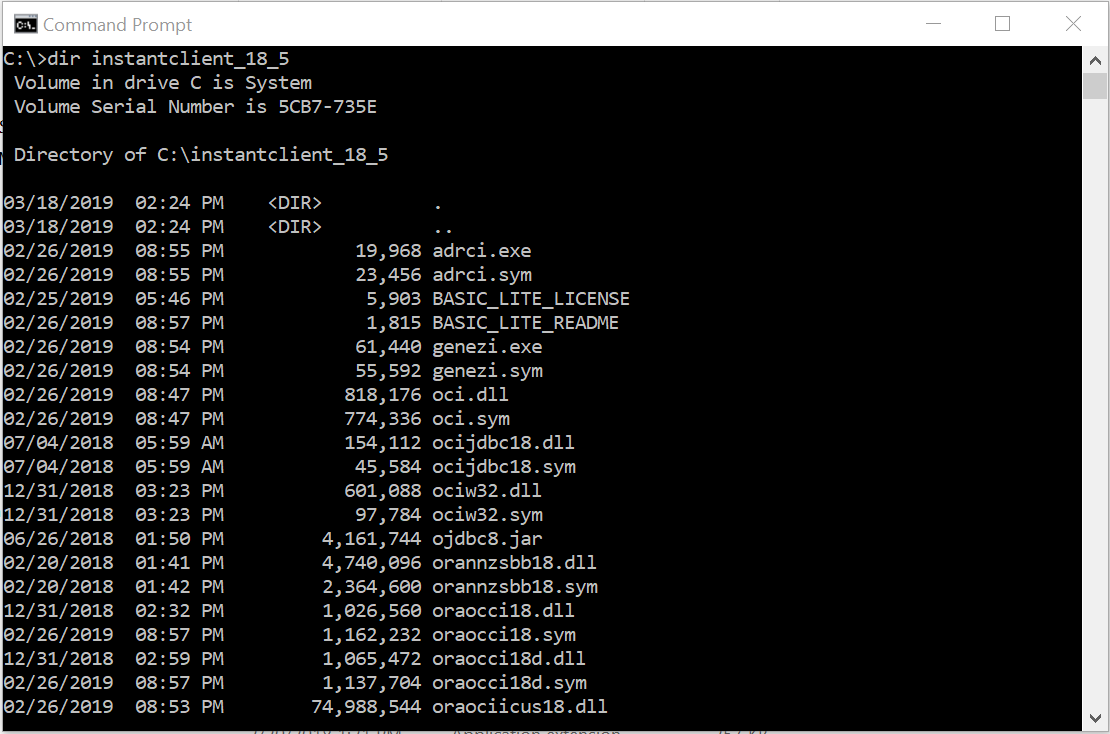
- Download the file and then proceed to the directory where the file was downloaded. Unzip the file into a directory. Open Command Prompt and navigate to the directory.
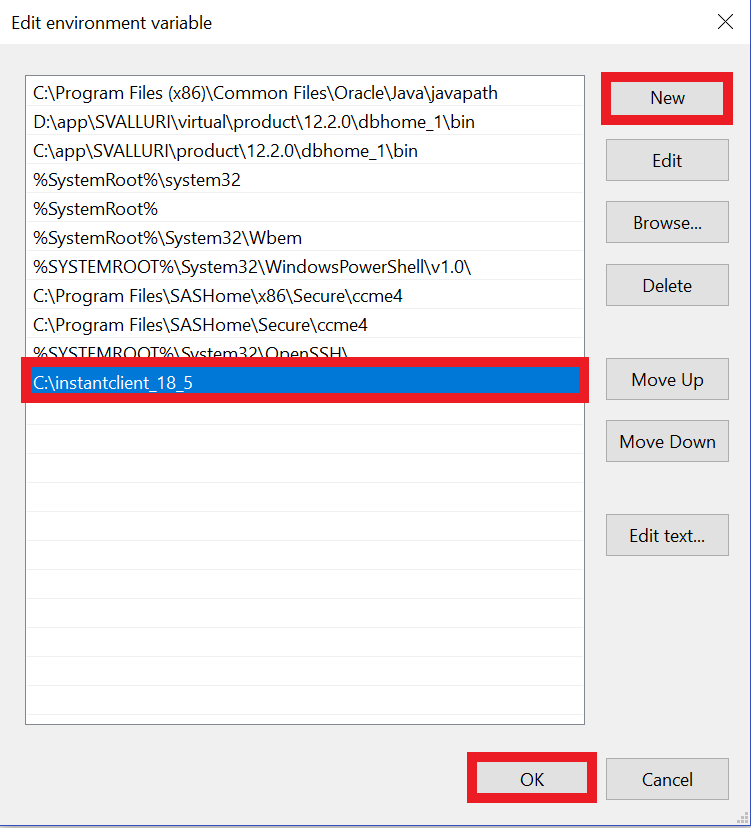
- Add this directory to your path in Windows:
- In Search, search for and then select: Advanced Systems Settings (Control Panel)
- Click Environment Variables at the bottom of screen
- In the System Variables double click Path
- In the screen that opens up select NEW
- Add full path to the instant client directory (C:\instantclient_18_5)
Step 2: Installing Microsoft Visual Studio Redistributable
- Oracle Client libraries for Windows require the presence of the correct Visual Studio redistributable. Follow the link below to install:
- Select the correct architecture

- Double Click the downloaded file and proceed with the installation
- This completes the installation of the pre-requisites
Step 3: Installing Anaconda/Python/Jupyter
Anaconda/Jupyter is a popular IDE. Anaconda/Jupyter is very sensitive to other installed versions and PATH’s associated with previous installations on your computer. If you have other versions of Python installed, remove them as any PATH’s and projects associated with them or this installation may not work.
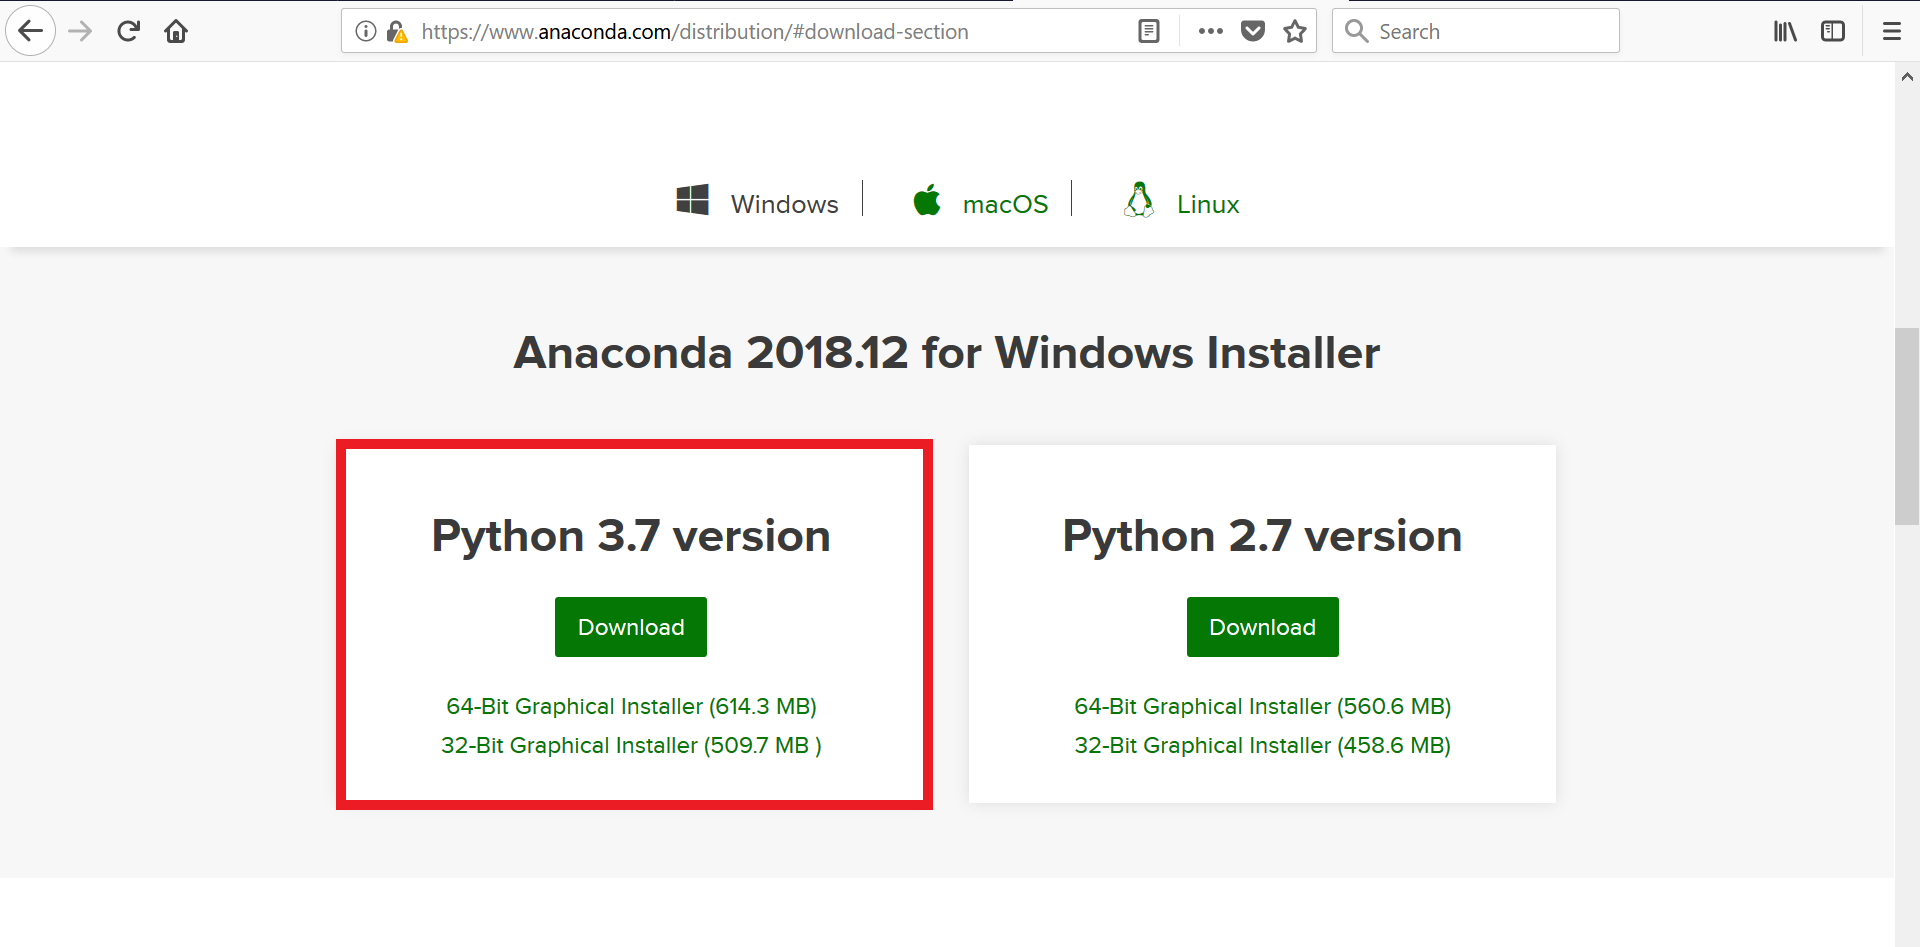
- Download the software from www.anaconda.com/download
- Select the Python 3.7 version download highlighted below, make sure you select the one for your correct architecture (32 or 64-bit)
- Go to the folder where the file was downloaded and Double Click it. This brings up the Anaconda installation page, go ahead and Click Next.
- Click I agree on the next screen
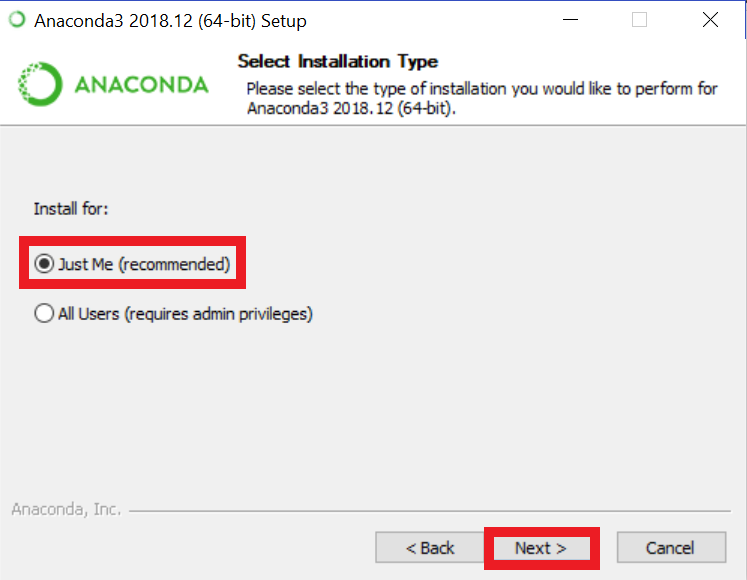
- In the next screen Select Just me and Click Next
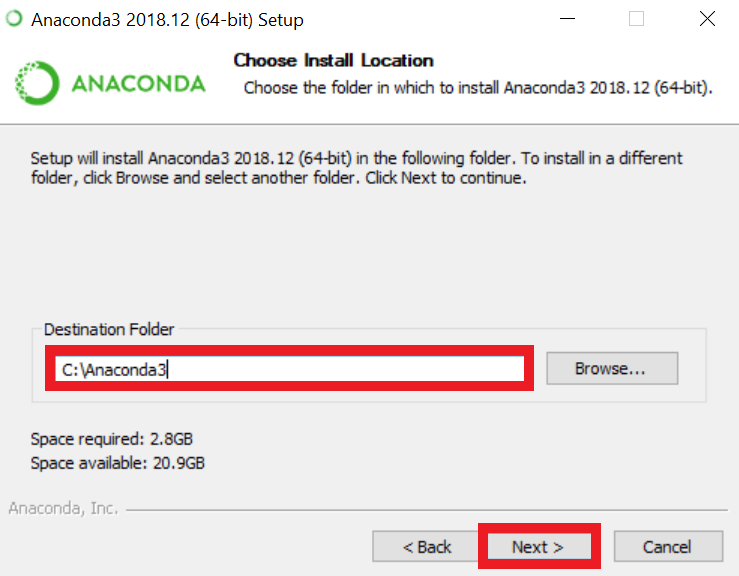
- Install in the following directory: C:\Anaconda3 You must create the directory if the directory does not exist create (the installer will not create it). Click Next
- Make sure you Select Register Anaconda as my default Python 3.7. Leave Add Anaconda to your PATH environment variable non-selected. Click Install

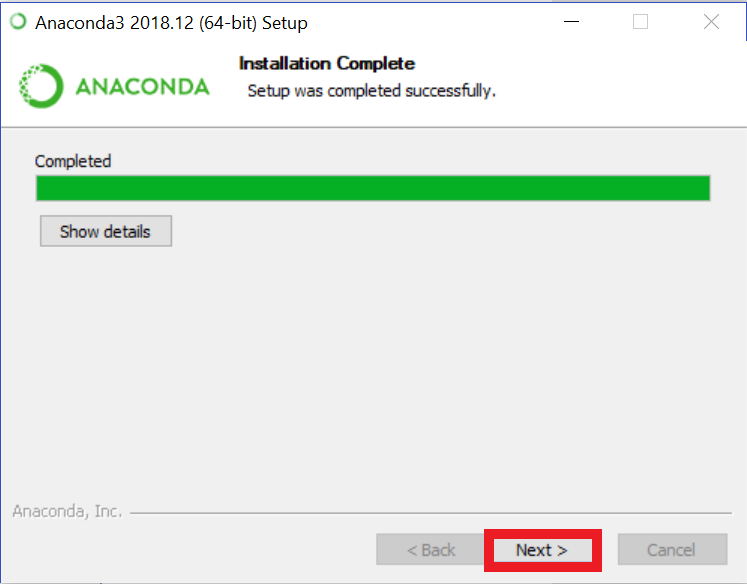
- The installation will take a few minutes. Once complete Click Next
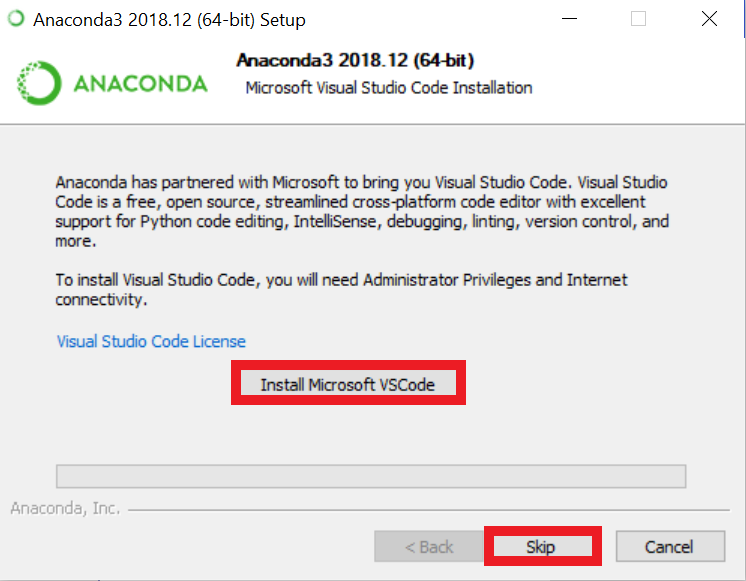
- You will get a prompt to install Microsoft VS Code. Skip this step.
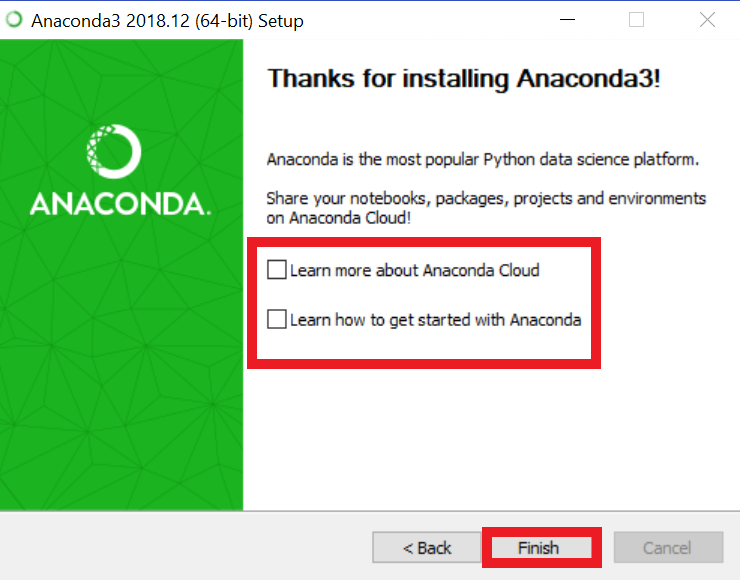
- Deselect both options in the next screen and Click Next.
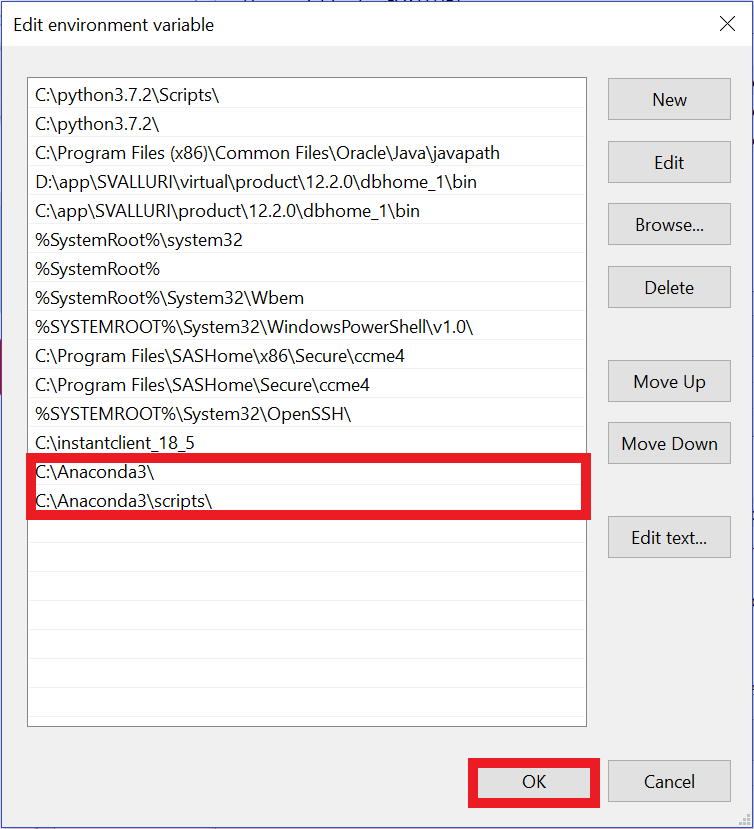
- You must add the new install directory into your PATH. Add C:\Anaconda3\ and C:\Anaconda3\scripts\ to your PATH:
In Windows 10:
- In Search, search for and then select: Advanced System Settings (control panel)
- Click Environment Variables at bottom of screen
- In the System variables double click Path
- In the screen that opens up select NEW
- Add full path to the anaconda directory (C:\Anaconda3)
- Add full path to the anaconda scripts directory (C:\Anaconda3\scripts\)
Hooray!!! Anaconda and Python is now installed.
Step 4: Using Anaconda/Jupyter/Python with Autonomous Transaction Processing
Before running any Python apps that access the database, the correct packages must be loaded into the Python environment. Open a Command Prompt Window and navigate to the directory where you installed Anaconda (C:\Anaconda3) and run the following commands in order. pip is a package management system used to install and manage software packages written in Python. We will use pip to install the packages:
pip install –upgrade pip
pip install keyring
pip install cx_oracle
pip install sql
pip install ipython-sql
pip install python-sql

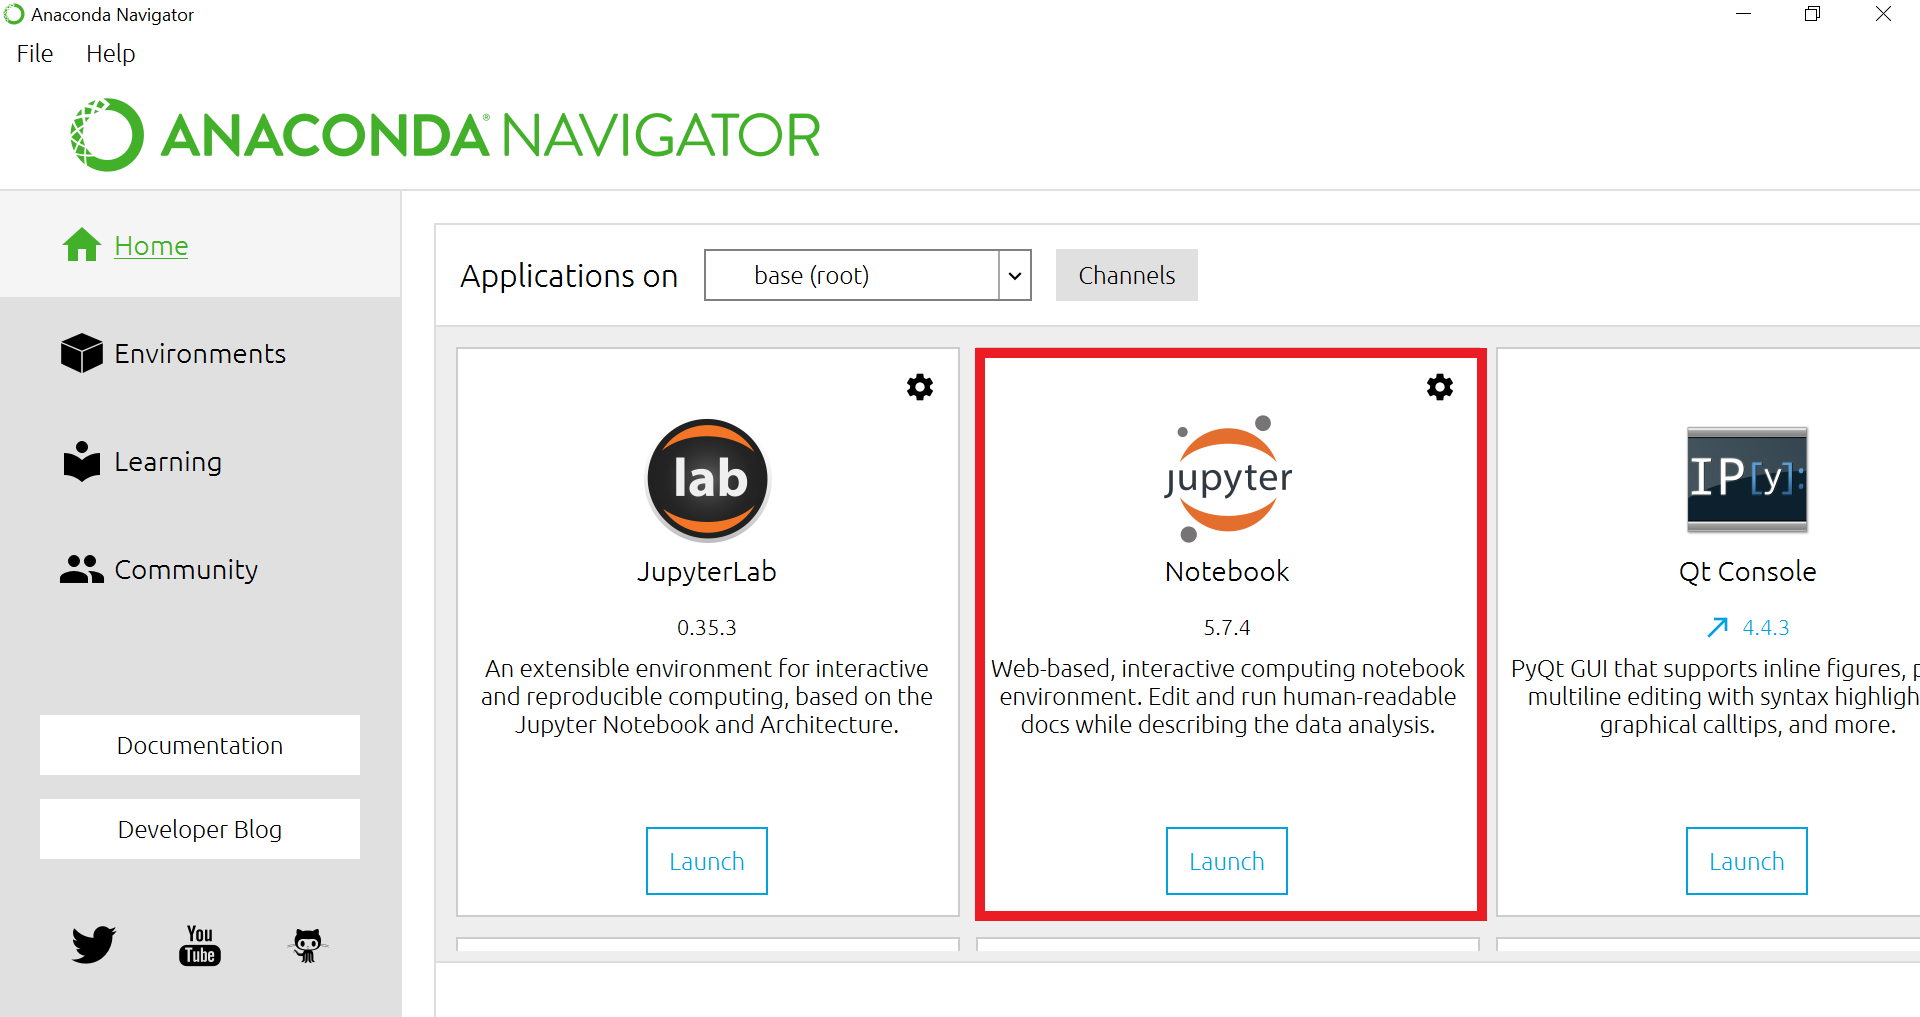
- To Start Anaconda/Jupyter, go to the Windows Start Icon, Click and Select Anaconda Navigator under Anaconda3. Once inside Anaconda, Select Jupyter
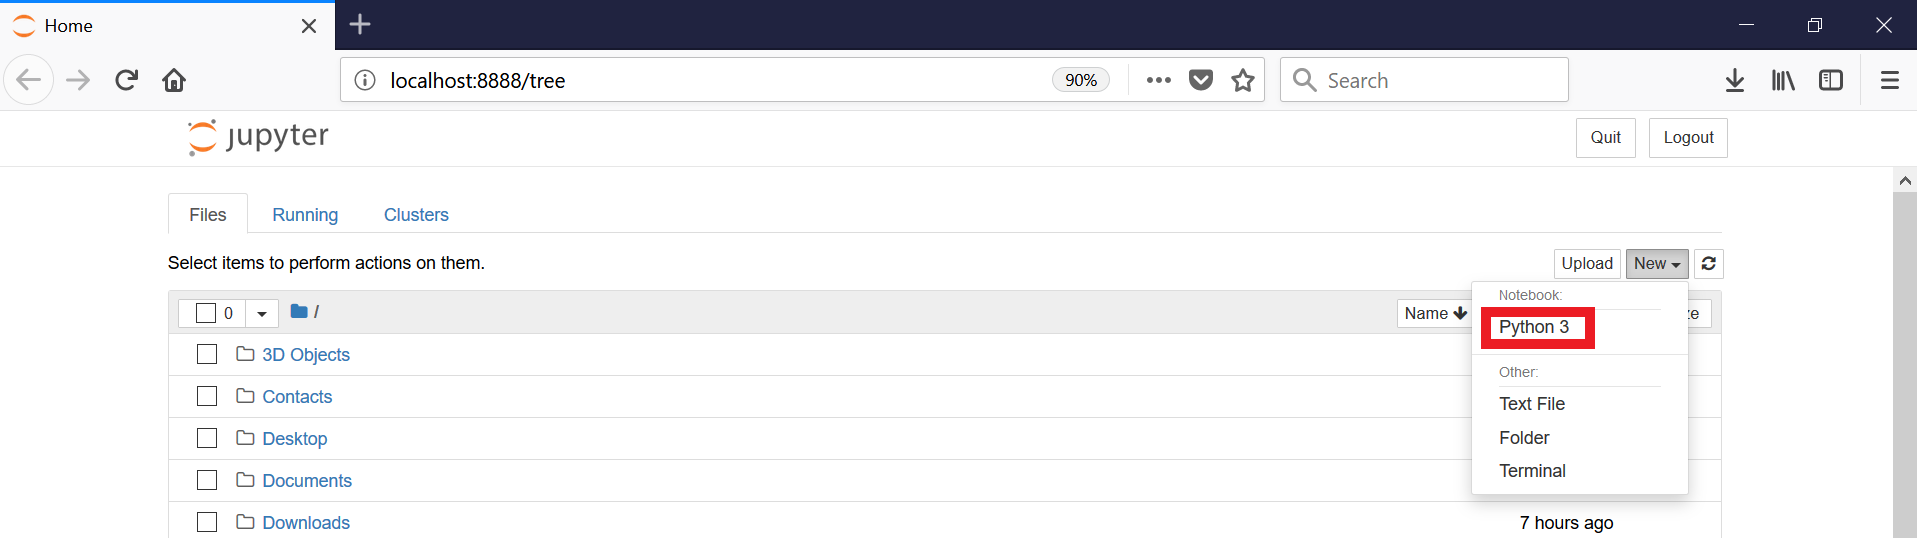
- A new browser page will open up, running Jupyter, Select New and then Python 3 highlighted below:
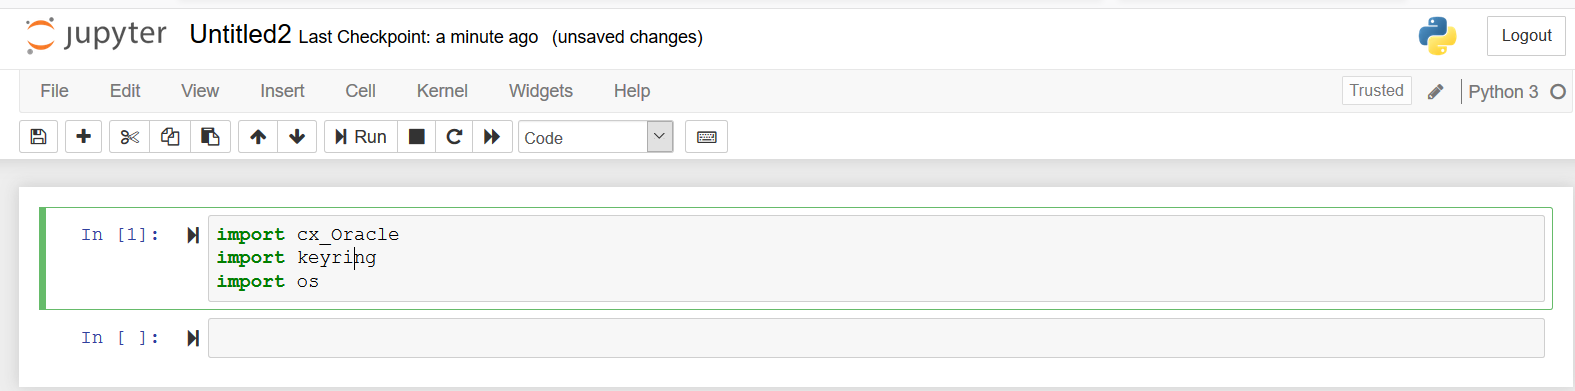
- A new Python Notebook will open up. Python is an interpreted language so we must load libraries to use every time an environment is started up. Libraries are loaded with the import command, we will use 3 libraries. Run the following commands as shown below. Copy the 3 lines below and Paste them directly in the box next to the In[]: prompt, then select Run.
import cx_Oracle
import keyring
import os
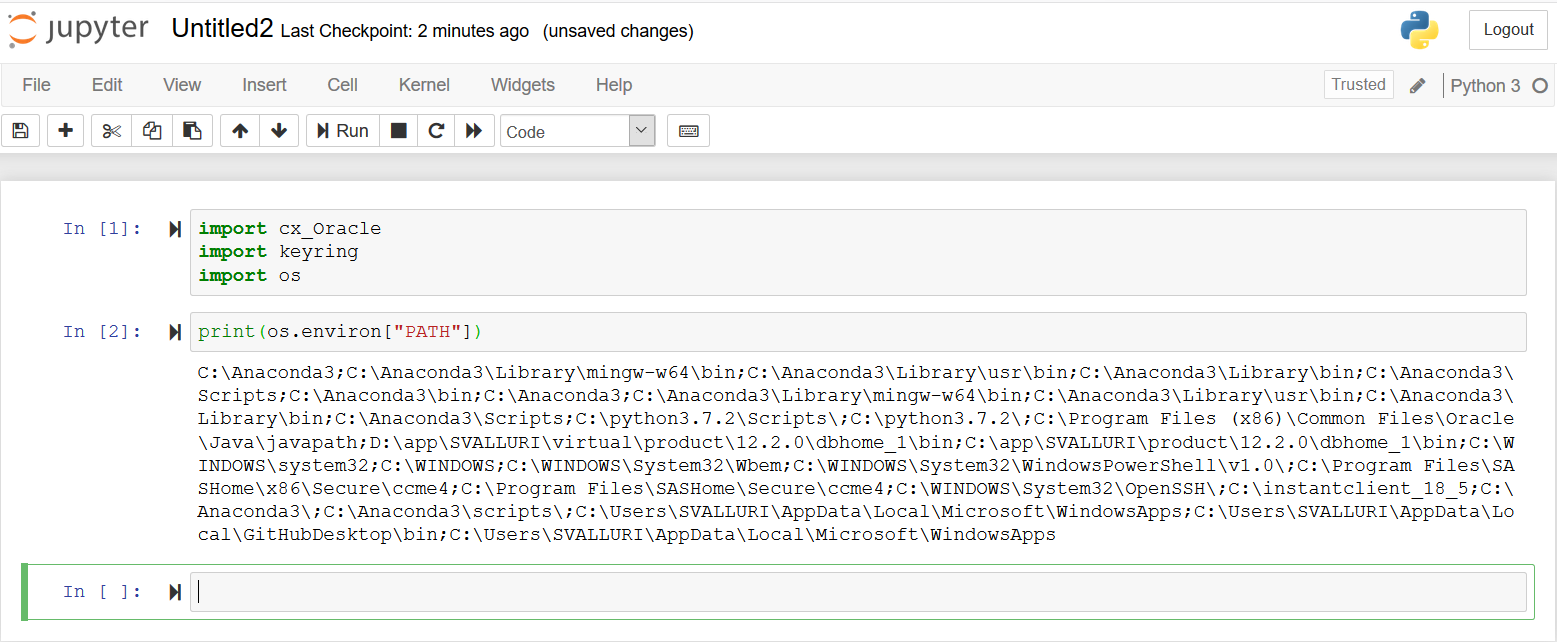
- Run a simple command to display your PATH. Run the following command (copy and paste into the box and select Run): print(os.environ[“PATH”]
- Now let us set the TNS_ADMIN variable. TNS_ADMIN is the location of the unzipped wallet files. Instructions on how to create a wallet can be found here (Hyperlink to previous blog post). Below we set and then check the variable (the first command sets it, the second displays it back). Run the following command (copy and paste into the box and select Run):
os.environ[‘TNS_ADMIN’] = ‘c:\wallets’
print(os.environ[“TNS_ADMIN”]

- Let’s make some external calls to the Autonomous Transaction Processing. For that we need to load another library. Run the command below which will load the library needed to call external sql databases (ignore warning/error messages, make sure to include the %):
%load_ext sql
- Next let us connect to the Autonomous Transaction Processing database using a user name, password and service. Use your admin account and password created when the ATP database was created. The format of the command is:
%sql oracle+cx_oracle://user:password@service
Once connected you will get the message ‘Connected: admin@None’
- To run a query, once connected use the oracle+cx library calls followed by the SQL statement (notice no ; at the end of the statement). The SQL below is the same one we ran in previous labs, copy the statement below and paste it in the box and click Run.
%sql oracle+cx_oracle://user:password@service
SELECT channel_desc, TO_CHAR(SUM(amount_sold),’9,999,999,999′) SALES$,RANK() OVER (ORDER BY SUM(amount_sold)) AS default_rank,RANK() OVER (ORDER BY SUM(amount_sold) DESC NULLS LAST) AS custom_rank FROM sh.sales, sh.products, sh.customers, sh.times, sh.channels, sh.countries WHERE sales.prod_id=products.prod_id AND sales.cust_id=customers.cust_idAND customers.country_id = countries.country_id AND sales.time_id=times.time_idAND sales.channel_id=channels.channel_idAND times.calendar_month_desc IN (‘2000-09’, ‘2000-10′)AND country_iso_code=’US’ GROUP BY channel_desc
Awesome. Now you are connected to Autonomous Transaction Processing using Anaconda.
Written by Philip Li & Sai Valluri